

Are you ready for Easter? I am very grateful it is a little later this year, otherwise I definitely would not be.
Last week, I finally got around to lining our baskets.
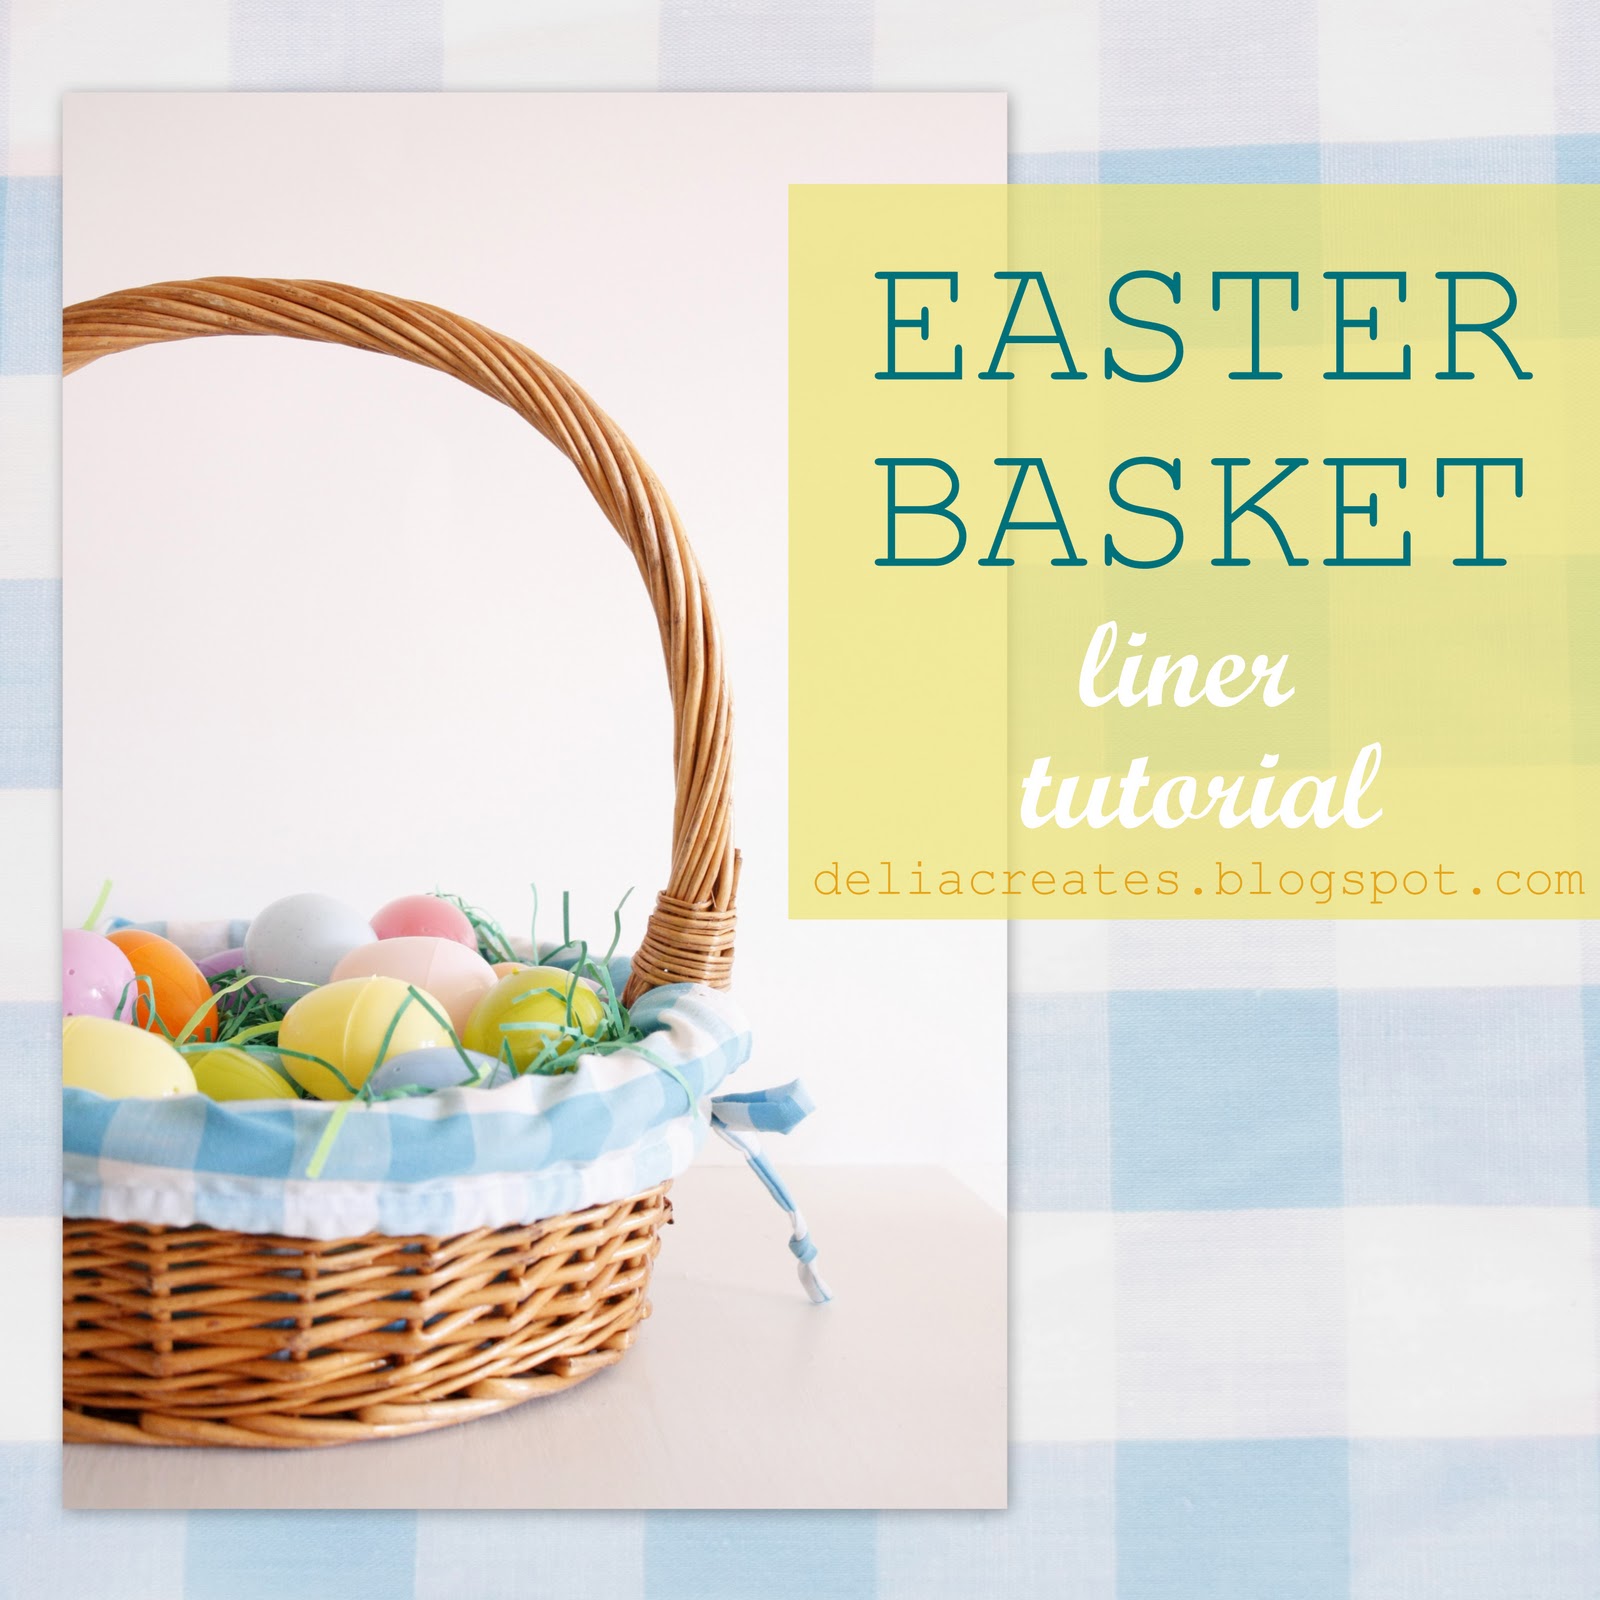
Now I know basket liner tutorials have been done before {like this pretty ruffled one from Oopsey Daisy}, but I just thought I would share what I did with you.
It doesn’t take much fabric. It just takes a bit of math and maybe an hour or less.
You need:
about 1/3 a yard of cotton fabric, depending on how large your basket is
measuring tape
rotary cutter, ruler and mat {optional but very nice to have}
sewing machine
safety pin
STEP ONE: Size up your basket and cut your fabric.
Get the diameter of the bottom… {as you can see this one had some hot glue stuck to the bottom…I got it from the thrift store…so it REALLY needs a liner}

the top – not including the basket rim,

the height of the basket

and the width of the rim.

Take all those measurements and bust out your calculator.
You want to take your diameter measurements and plug them into this equation:
Take those two circumference measurements, add 1/2 inch for seam allowance {1/4 in. on both ends} and cut a trapezoid piece.
Edited to add…Thanks to my sweet reader Connie, I realized I am showing this measurement incorrectly. You want to take HALF of the circumferences and use them for the top and bottom lengths of your trapezoid. The height should stay the same. Sorry for the confusion.

For the height you want to take the height of the basket, add the width of the rim and then add about 3 inches.
For example. My basket was 4 inches tall and 1 inch in rim width.
4 in. + 1 in. + 3 in. = 8 inches
Cut two identical trapezoids.
Now cut a circle using the bottom diameter measurement. I went hunting through my kitchen bowls, pans, and lids to find the closest size I could. I then traced it on my fabric and cut it.

One last cut…cut 1 1/2 inch strips for the ties. I am sorry, I forgot to measure but I had to piece them together because they were too short anyway. I think my finished ties were about 48 inches {2 feet} long. You need two ties.

STEP TWO: Sew pieces together.
First, sew the trapezoids together short end to short end. But only sew up a few inches. I sewed about 3 inches and ended up picking out half of an inch off of that.

Then pin the shorter side of the trapezoid pieces to the circle and sew all the way around.

Sew the raw edges of the unsewn sides of the trapezoid under.

underside view

top side. You see how I back-stitched over the beginning of the split to reinforce it and make it sturdy?
Now fold the long end about an inch {I did 3/4 inch} and sew under to make a casing for the ties.

Make your ties. Fold in half, sew and turn inside out with a safety pin.

As I mentioned earlier…I had to piece mine together. I joined it like you would with quilt binding and bias tape.

Now knot the ends.

Use that safety pin to thread them through the casings.

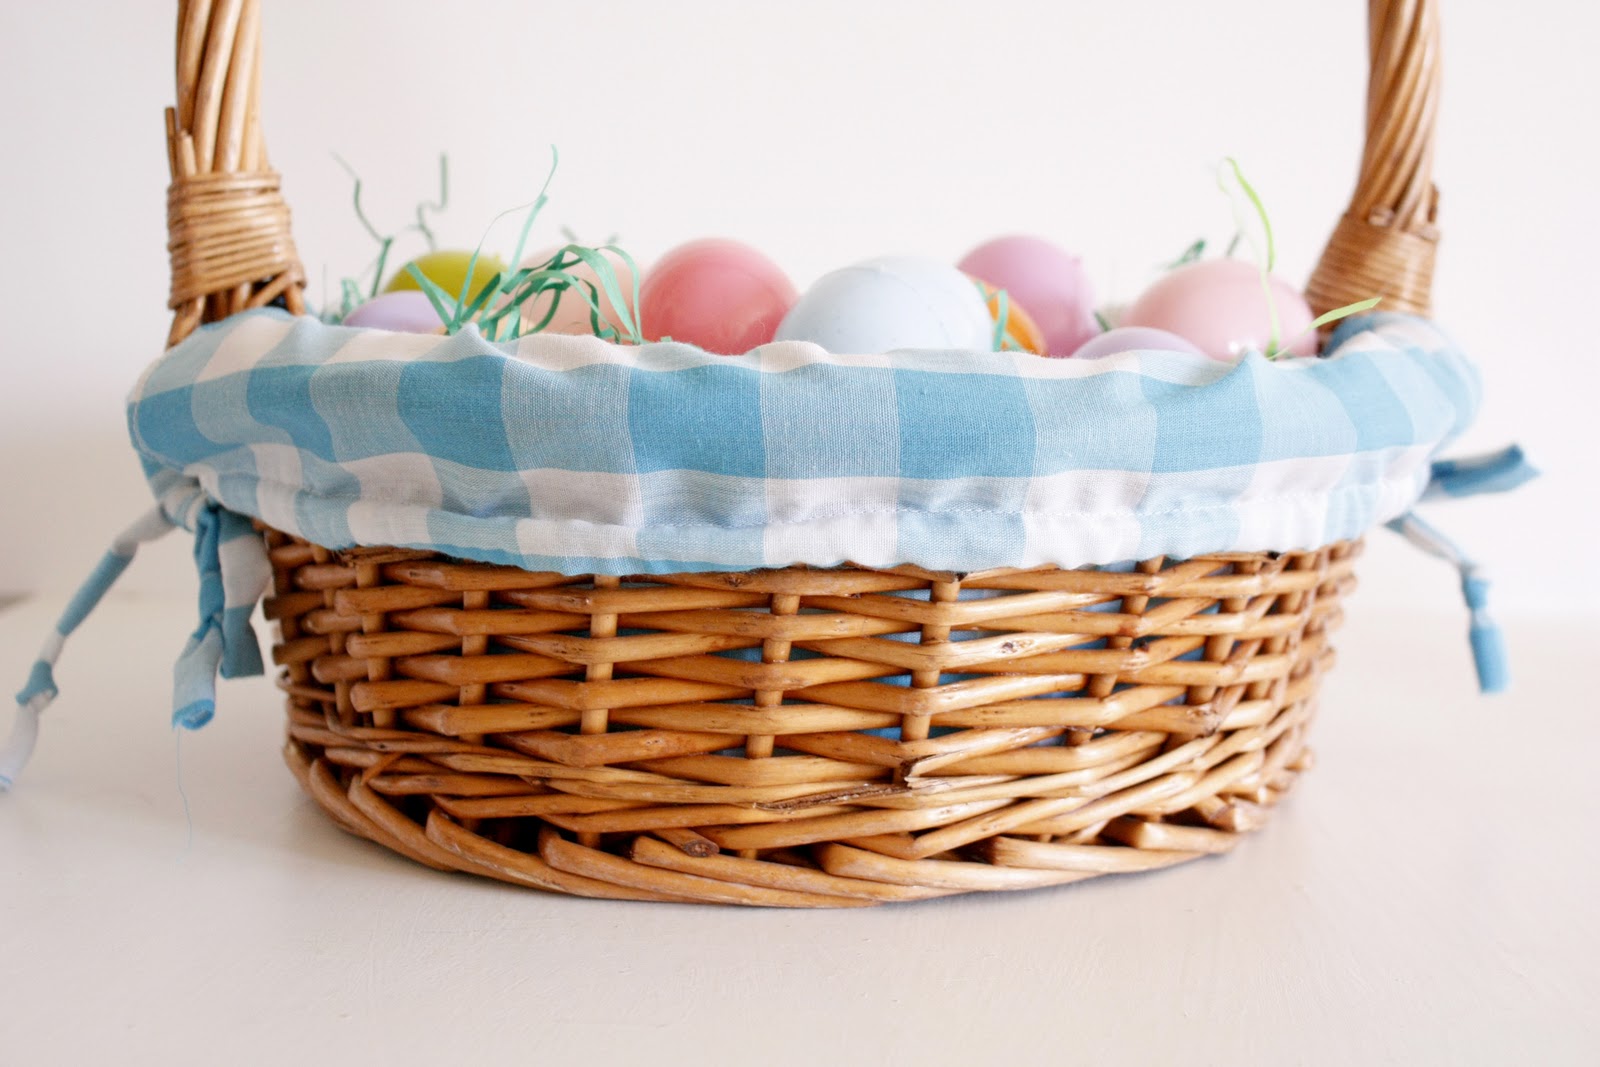
And fit it on your basket.

Ah…lovely.

Add your Easter grass and plastic eggs.

And you are done!

Your baskets are all dressed up and ready for Easter egg hunting.


I made a yellow one for this basket. Then I repainted the basket {because it needed it} but I made it a very…hmmm…unique color. I’ll have to show you soon. I still don’t know how I feel about it.

Yay… I am one step closer to being ready for Easter. Now I just need to finish collecting little basket fillers.
I hope you have a bright, beautiful day!
oh, delia! this is just adorable! i'm tired of sugar falling thru on easter baskets, so this is my next project! thank you!
Hey Delia it is Ashley Wood. I met you at the young women broadcast. I just wanted to say hi, and say I absolutely love your blog, you have such great ideas and tutorials. Thanks for sharing your talent!
Brilliant! Brilliant!
I'm adding this to my next roundup of ideas!
Aw…this project is adorable! I love the checkered fabric you selected. Super pumped for Easter this year…I can already hear all of the PEEPS calling my name from the Easter candy aisle 🙂 xx Cat
I love this! Can't wait to try making basket liners! Thanks for sharing!
Bravo! This is totally rad! I want to do it, but I am suck a chicken. I just finished my SUPER easy tablecloths yesterday. It took a TON of self pep talks and psyching up. Ugh…I am so lame.
Beautiful! That actually looks pretty easy. I've thought about Easter a few times, but then the thought passes before I get anything done. I doubt I'll have anything crafty accomplished this year for Easter.
Can I be your shadow for the week? I'm dying to see how you concoct and then accomplish all these fun little projects. I am in awe of your creativity.
I need these! thanks so much for the tute!
I love the gingham one!! 🙂
VERY cute!! I would love for you to link this up over at Sassy Sites. We are having an Easter basket party! Come by and check it out!! xoxo!
awesome! I really wish I had this information nine years ago. You should see what I tried to come up with. not awesome.
This is great! I love that you can make it for any basket. Thanks so much, I’ll be linking.
This is SO SO darling, Delia! And I love the gray/yellow basket, too!! Thanks for the link, my dear!
Cute and simple, I love it!
Only problem I had trying to make it was my basket was taller and MUCH harder to do this way… I have tried 2x and both came out too small at the top.. 🙁 I may have to modify it to make it work for my baskets!
I just wanted to say that your tutorial is much clearer than the one you linked to at the beginning of your post. After reading both, I came back to read yours again and see what made it so easy to follow. I teach crafts and am always looking for good, clear directions for projects.
Thanks for laying it out nice and simple. And your results are charming too!
Hi there! Thanks very much for this tutorial. I wanted to let you know that I followed it to make a liner and it came out great! Thanks again 🙂 http://so-sue.blogspot.com/2012/01/round-basket-liner.html
Thank you, what you need!
Hi! Love this tutorial! I was wondering, how could I make one for a basket that is not a circle, like an oval or something? Thanks so much!
Love this tutorial! How would I make one for an oval basket? Thanks so much!
Great tutorial! I made 2 in less than an hour and blogged about it at lovetocolormyworld.blogspot.com.
Thank you!
Thanks for this tutorial, but especially for already having the math already worked out for us :). I used it to make my Tulle Easter Basket liner!! http://www.bearrabbitbear.com/2012/04/pottery-barn-knockoff-easter-basket.html
This was a great tutorial! Thanks for sharing! You helped me make my first basket liner and I'd love to blog about on http://www.optionsabounddesigns.com. I'll be sure to link back to you! Thank you!
Love it! How great would this look using some really rustic fabric for fall and then filling the basket with gourds, mini pumpkins and leaves!
Wow… this is exactly what I was looking for. Thank you so much for sharing it with the rest of the world.
You have a great tutorial here. Thank you for taking the time to share!
That is so very beautiful .You have created it with accuracy.Measuring all the angles and then giving it the best shape is very commendable.
Lovely work! I am impressed to see the new look you have given to the basket.
Thank you for this awesome tute 🙂 I used it to FINALLY line our front door shoe basket and it turned out great!
Thank you, this is just what I needed to make some liner for the flower girl baskets I only have to rim.
Thank you for posting up your clear instructions and photos. I was looking everywhere on the internet for a pattern to line my round wicker basket with handles, and found your pattern. Thanks so much for sharing.
I am so glad it was helpful to you. Thank you for your kind comment!
Please help! Ha.. very new to this. Diameter+Pi instructions??
Thanks for your help!
Hi Linda! I would love to help. I hope I’m understanding your question correctly. The diameter is the length straight across the middle of your basket and pi is 3.14. Let me know if you have more questions and I’ll do my best to help. 🙂
Delia
Loved the tutorial on lining the Easter baskets, but what measurements would I use for an oval basket?
Thanks Carol!
ooh…that can be a little trickier math wise, but doable, I think. I don’t have a precise answer because I haven’t done it, but I would either kind of wing it. Maybe use the largest diameter and cut everything for a circle and then cut it down to an oval, then trim away excess of the liner that comes up the sides. OR I would divide the bottom oval shape into two semi circles and a rectangle and then do some creative math to get it just right. Does that make sense?
Let me know if you have any more questions.
Delia
Do you sew the trapezoids right sides together? Then you open it up and see the right sides together of the smaller circumference? Sorry, this wasn’t clear to me. Everything else seems to be though!!
Yes. You sew the right sides of the trapezoids together but only about half way up the sides (with the wider portion of the sides left not sewn). Attach the ring of fabric you have created to the circle of fabric. Then finish the edges of the non-sewn ends by folding under the raw edges and sewing them. These will split to fit around the handles. Does that answer your question? If not, please feel free to email me: [email protected] and I can answer you more quickly that way.