

This is a sponsored post written by me on behalf of Reeves. All opinions are 100% mine.
There’s no question that florals are a hot trend right now…which almost doesn’t seem worth noting, since to me, florals are timeless.

Wherever you fall on the floral trend spectrum, I’ve partnered up with Reeves to share a quick, easy, fashion DIY that will have you coming up roses.
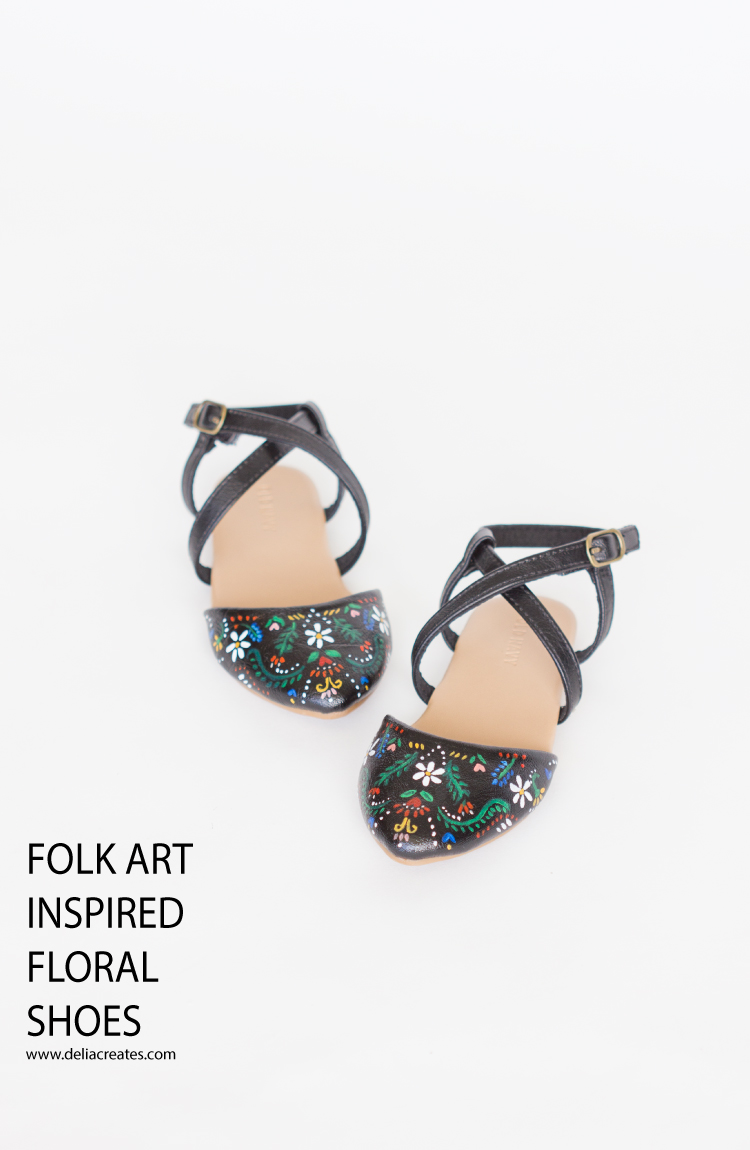
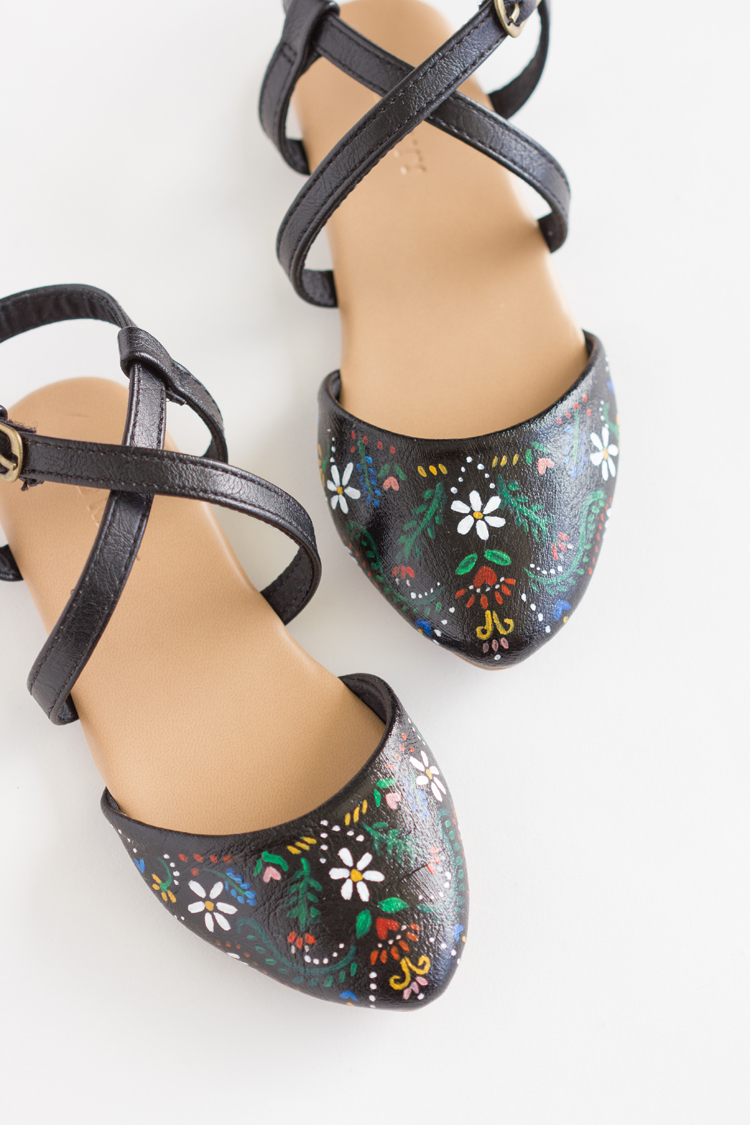
…Or I should say folk art inspired daises!
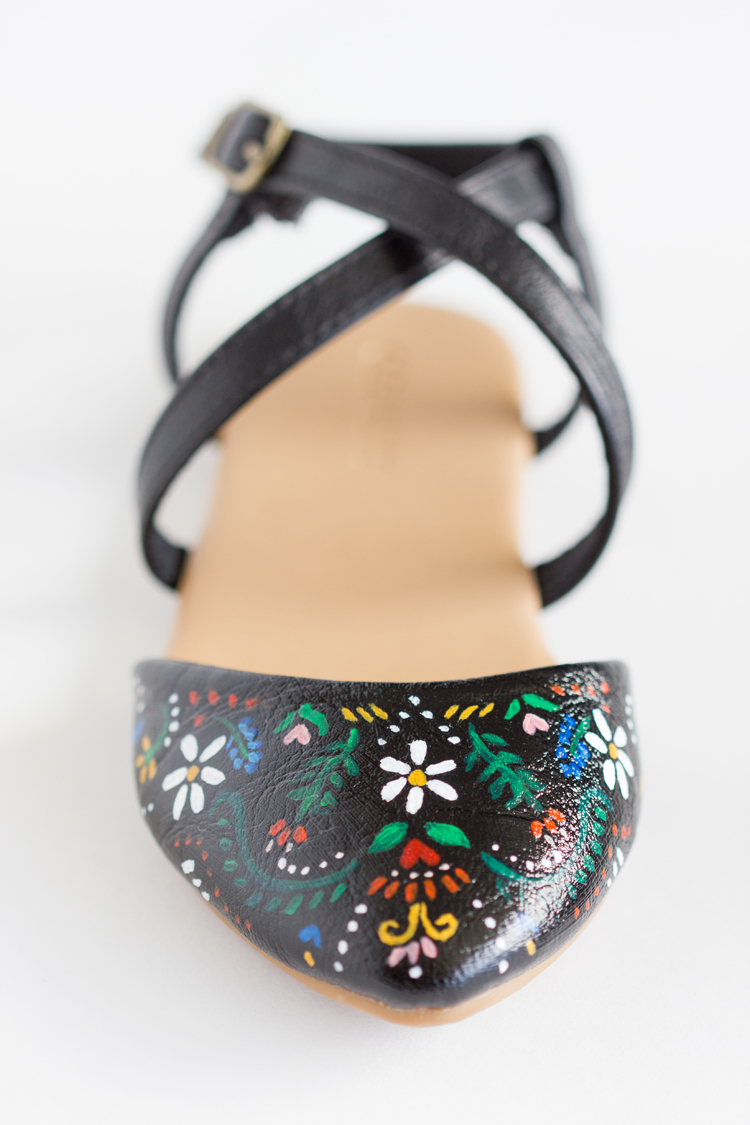
I tapped into my Danish roots, and drew inspiration from Scandinavian folk art to come up with a floral design for these basic little black shoes for my daughter.
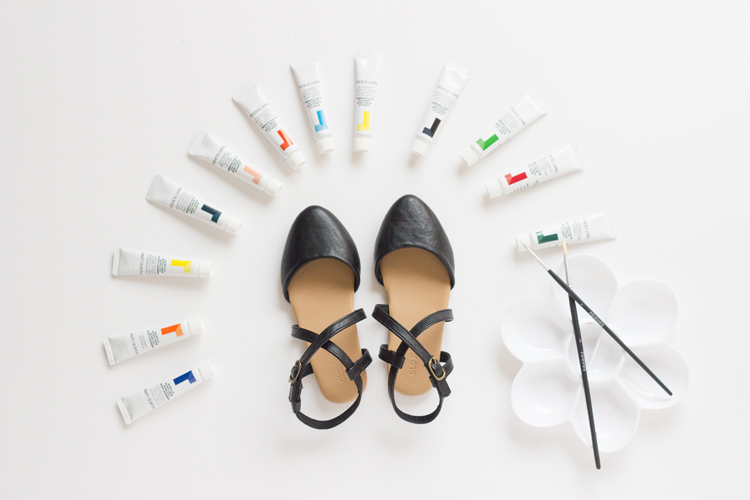
MATERIALS
- Shoes*
- Reeves acrylic paints**
- Reeves paintbrush, size 1 + 5 (fine tips)
- Plastic paint palette (makes mixing colors easier)
- Cup of water
- Waterproof clear coat
- Scratch paper
Material notes:
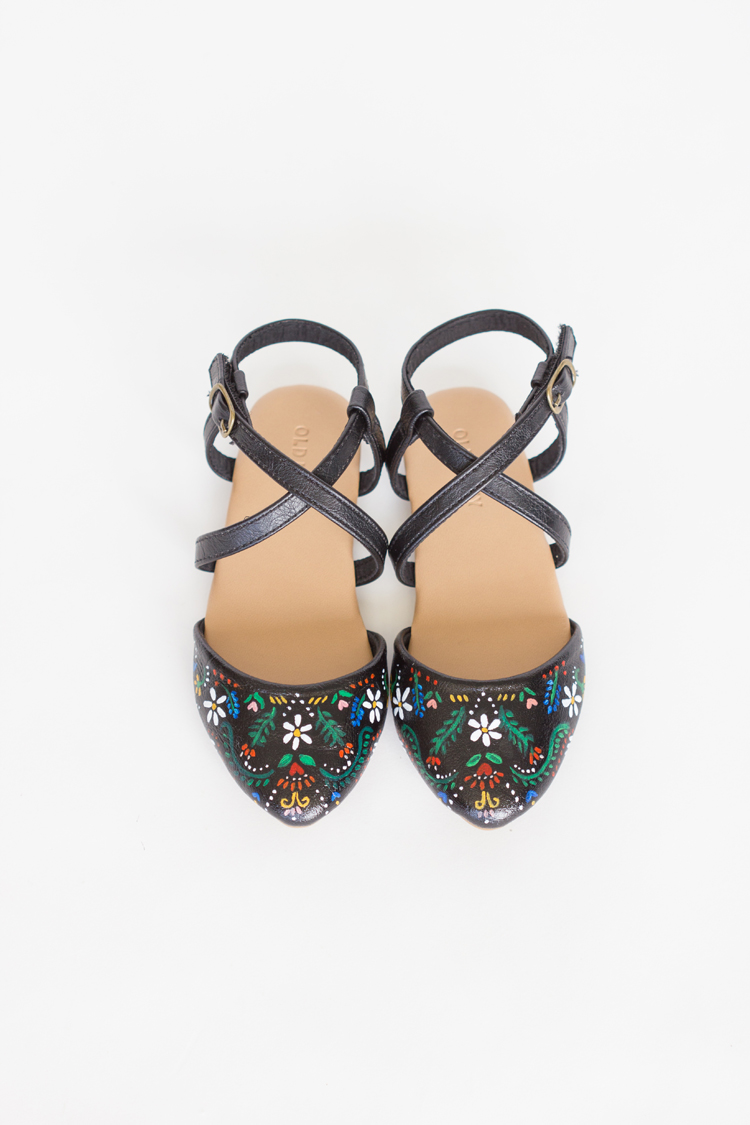
* I chose a shoe that is made of vinyl (a shiny leather works too) because it’s easy to fix mistakes while it’s still wet. Simply wipe the paint away with a cotton swab and continue. Only choose another material, like suede, if you feel confident in your ability to not make any mistakes.
** The Reeves acrylic paints mixed beautifully and had great coverage. It really makes a difference in the finished look of your shoes if you use a high quality art paint as opposed to a craft acrylic paint.
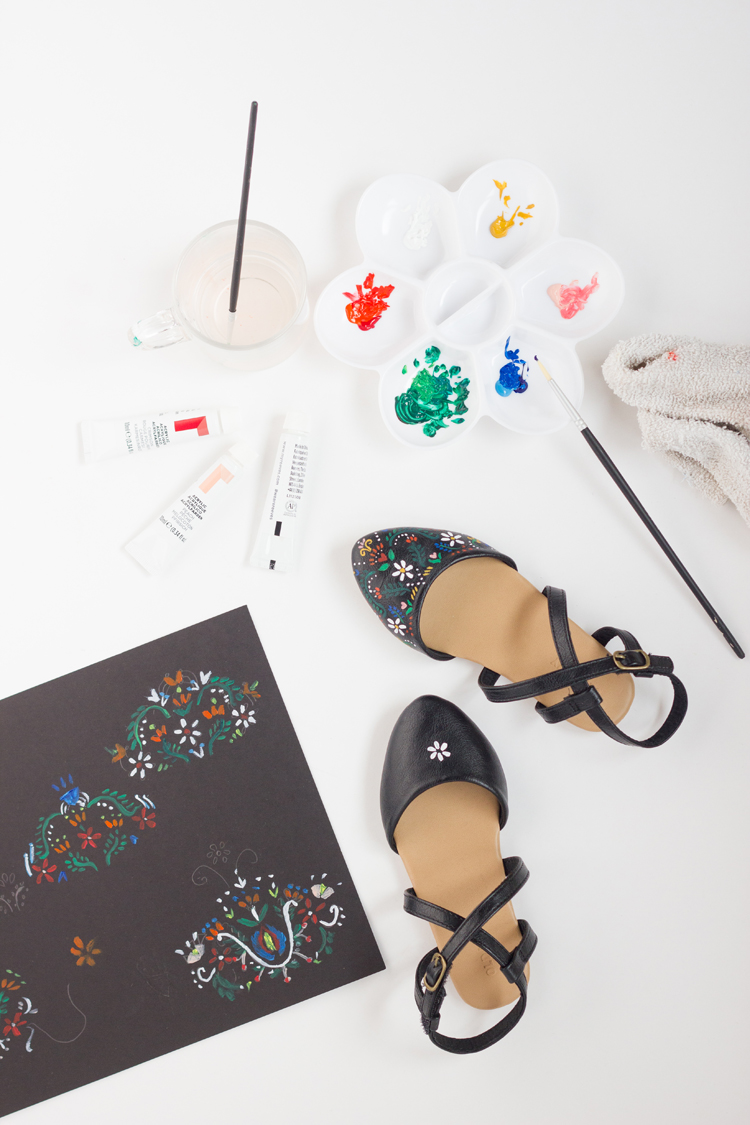
STEP ONE: Paper first.
Map out your design on a piece of paper and then practice it to hone in on your technique. If you can use a piece of paper close to the color of your shoe, this will help you determine how well each color will show up, so you can adjust your design accordingly.
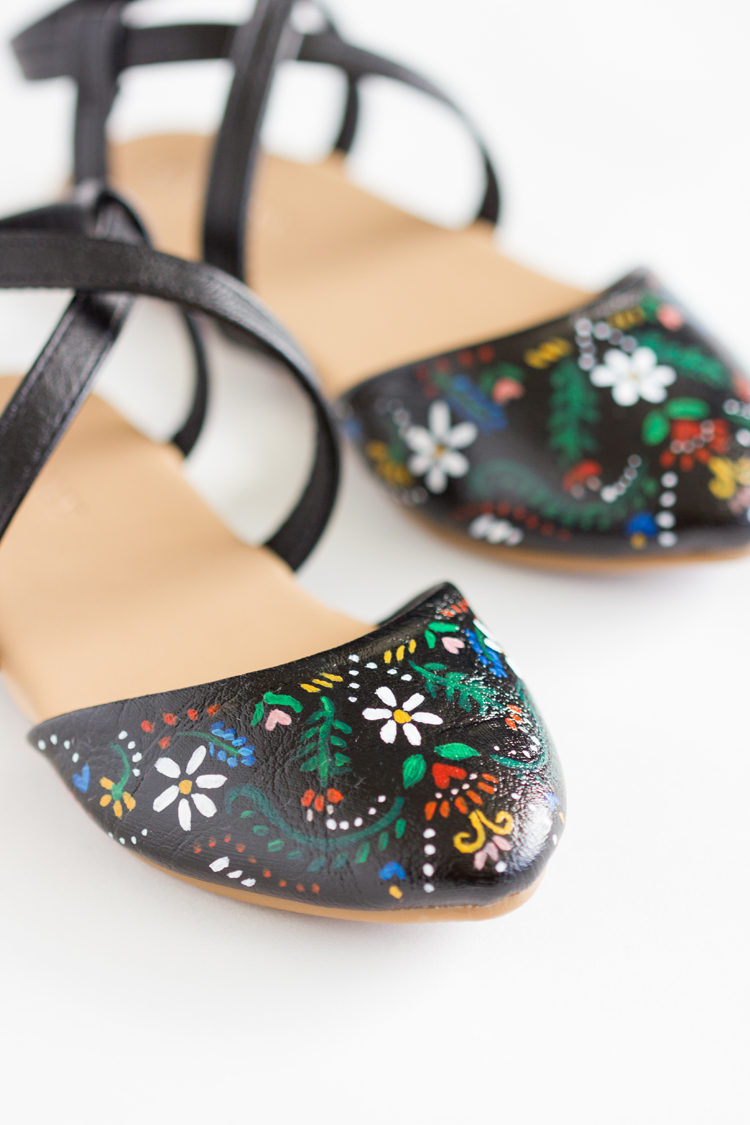
If you feel overwhelmed by the design process, keep in mind that it’s all simple shapes….a lot of it is just dots! I am a crafter but not an artist. If I can do it, you can too! I’d compare it to adult coloring books. It just takes time, patience, and maybe a good podcast to keep you company while you work. Please also feel free to copy my design if you like.
Note: I mentioned in the materials list that it’s pretty simple to wipe away any mistakes if you are using vinyl/leather shoes, but the paint can impose a little bit of a haze on your shoe, if you wipe away too many mistakes. So, it’s best not to skip this step.
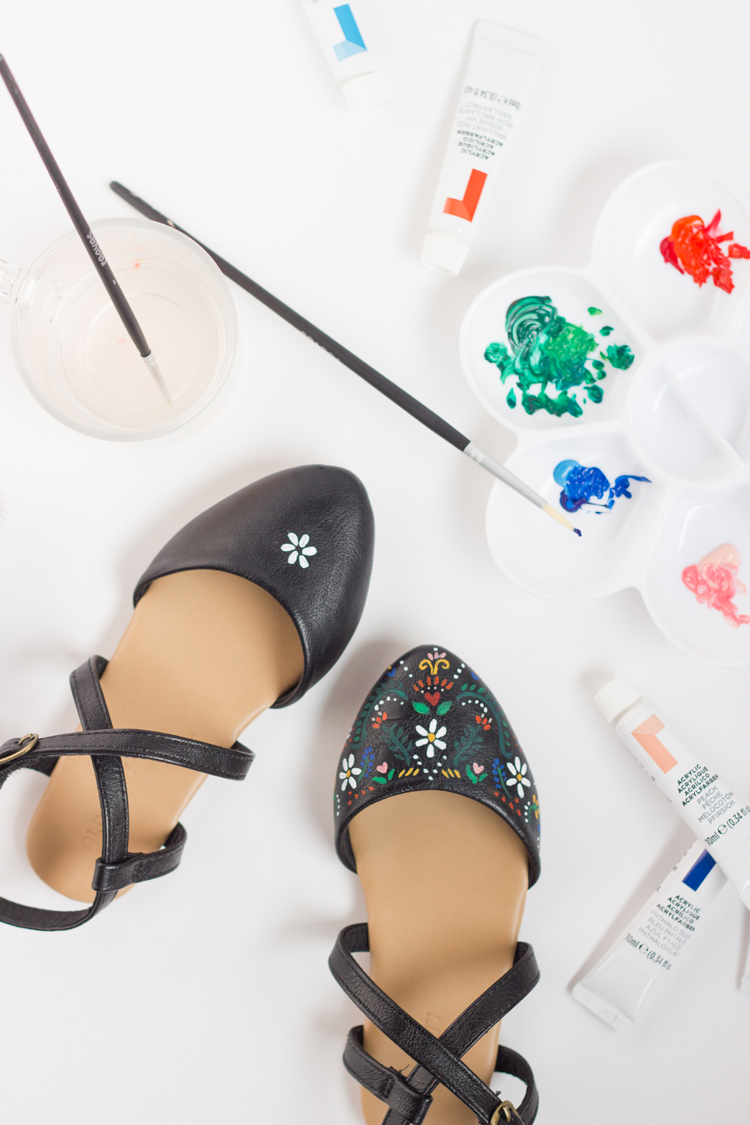
STEP TWO: Let’s paint!
Start by painting your design at the mid-line of the shoe and work your way outward.
I completed one shoe before moving onto the second shoe. If you would rather complete them in tandem to save on washing your brush, I don’t think there’s one right way to do it.
Here are some tips that helped me through the process in case you need some pointers:
- Be flexible. I found that when painting on a 3D object as opposed to flat scratch paper, the designs and the paint looked and behaved a little differently. I gave myself room to adjust my design and also add to it as I went.
- Thin layers. You don’t want to add thick layers of paint to a shoe, because it will crack when it bends. I made sure to apply thin layers to prevent that. With Reeves paint, I was able to get the coverage I needed in one coat for the most part. Only some spots need some touch up second coats.
- Mixing colors. I found that dark colors had a harder time showing up on the black background, so I either mixed it with lighter colors, or I added highlights with lighter colors.
- Mistakes. If you make a mistake, take a damp, soapy cotton swab and wipe away the mistake. Use the other side of the cotton swab to wipe away any soapy residue. Let it dry completely before trying again.
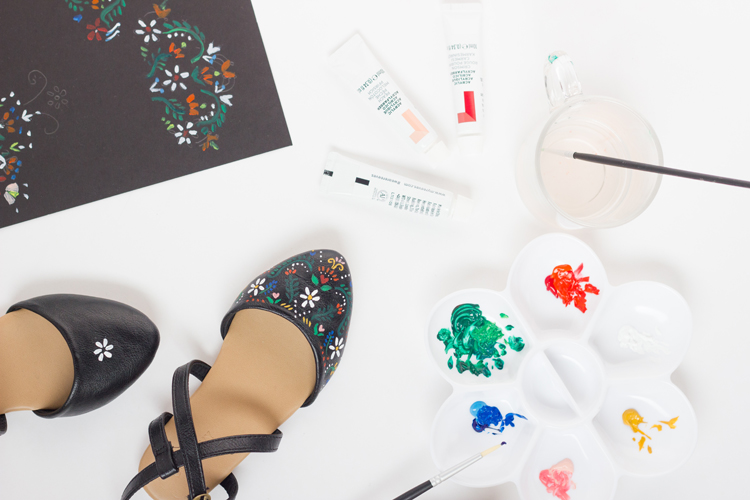
STEP THREE: Seal the deal.
Add a waterproof or water resistant clear coat and let it cure for the full amount of time listed on the product.
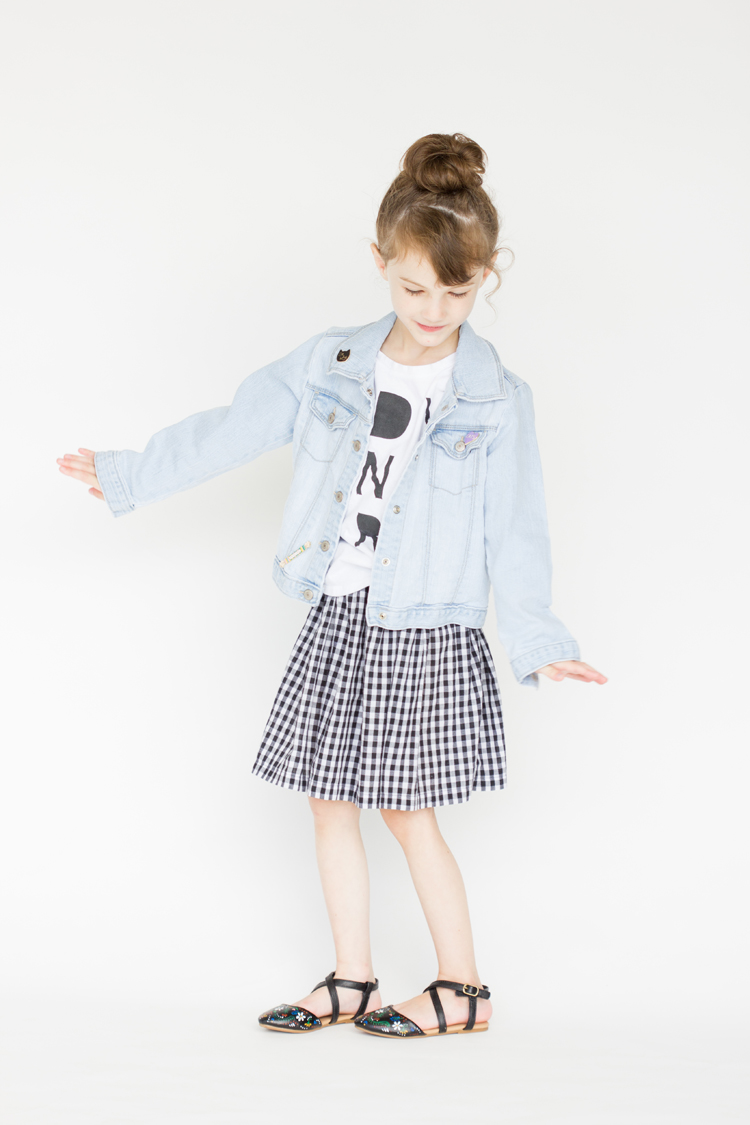
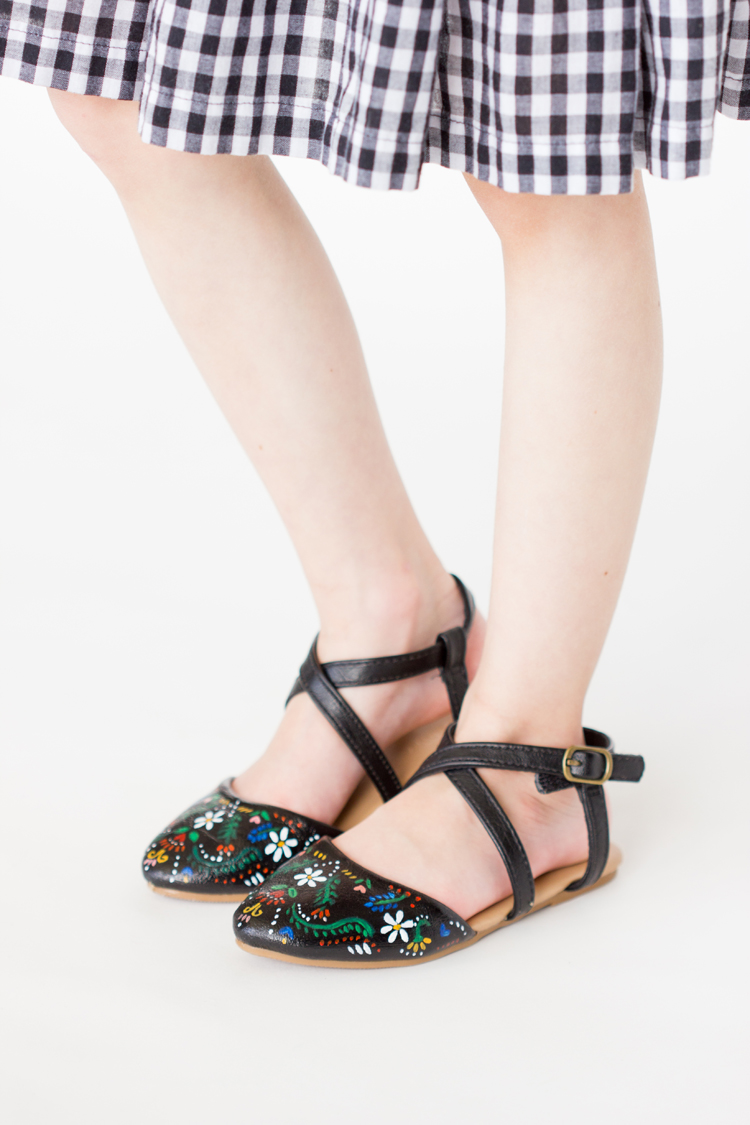
Ta da! With just a little patience and a little paint, you can take a basic shoe and make it a real statement piece.
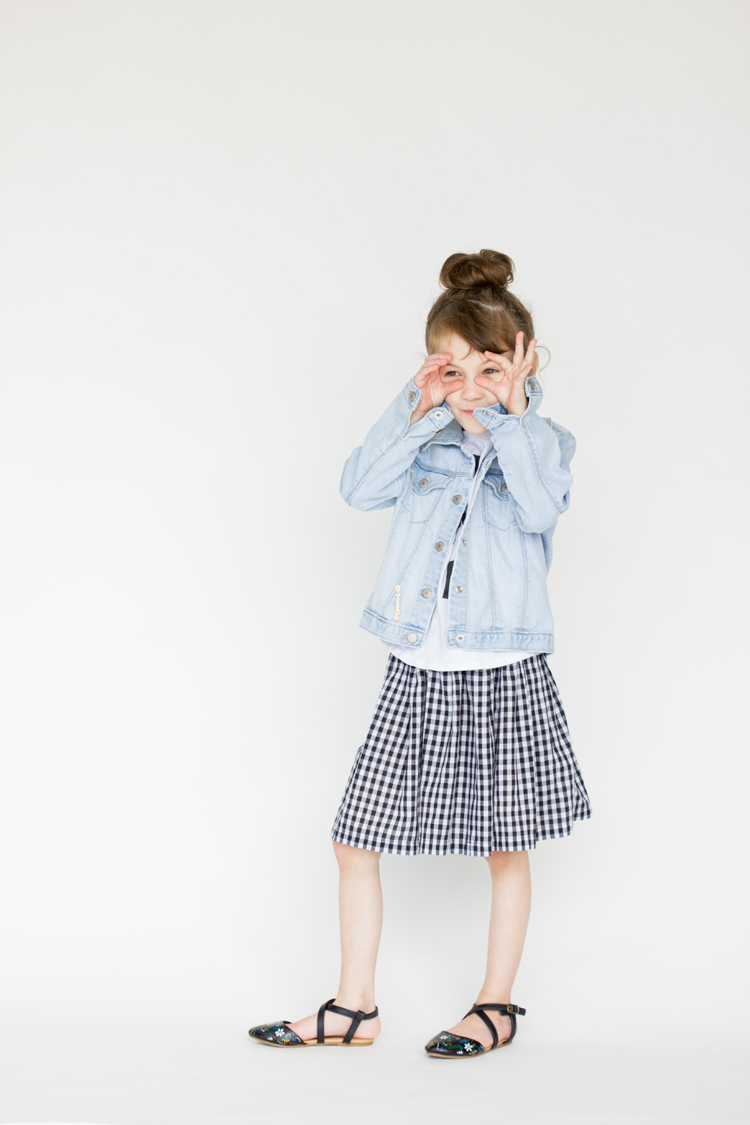
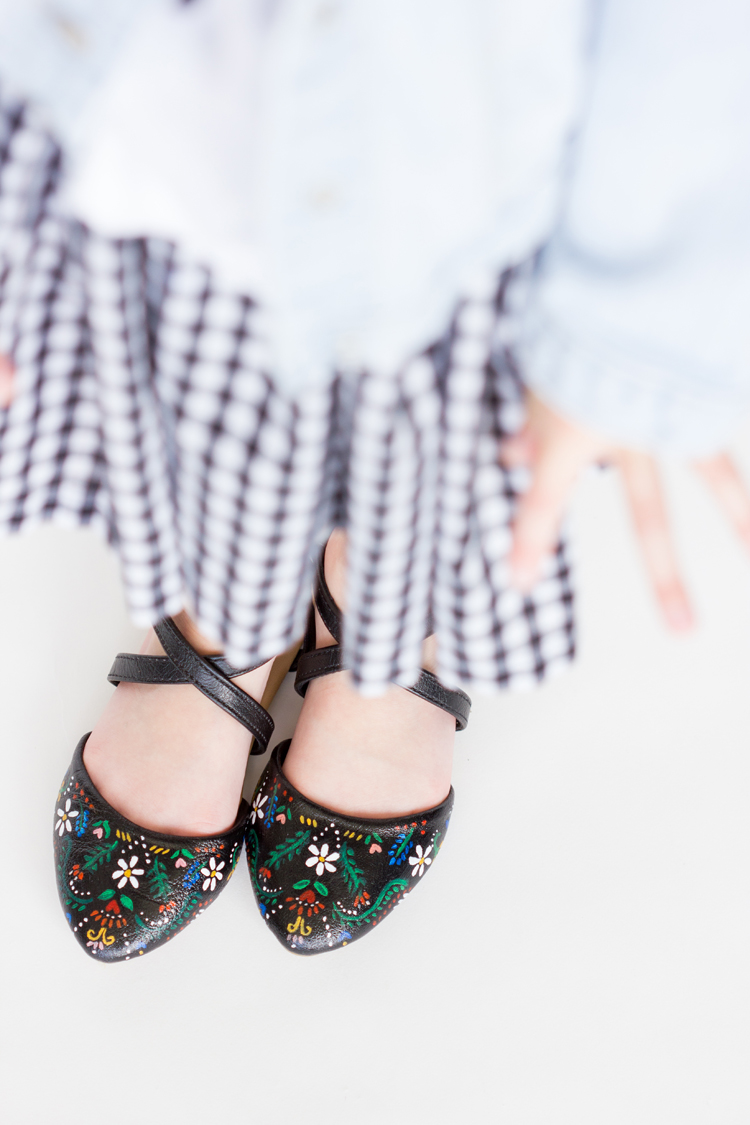
I can’t wait to try it with some of my shoes next!
You have the most creative ideas! Love this!
Those are really cute! And such a fun idea!
These are fantastic! I love your design.
These are beautiful!! What sealer did you use?
Thank you Allison! I used a thin coat of outdoor Mod Podge.