

Have you ever made a beautiful pompom, only to have it shed and start to come apart with the gentlest of tugs from the center? Arrrgh….
Today I’m going to show you how to fix that with 3 easy tips!
Also can I be honest…I didn’t know pompom was one word. I thought it was two: pom pom, until I started writing this tutorial and the red squiggly lines kept yelling at me, telling me I was wrong. Anyway…let’s make some POMPOMS shall we? 😉
I’m going to explain this from a very beginner perspective. Because, even though the pompoms themselves are simple enough, some pom makers have made me question everything. After a little explanation it all starts to make sense.
MATERIALS
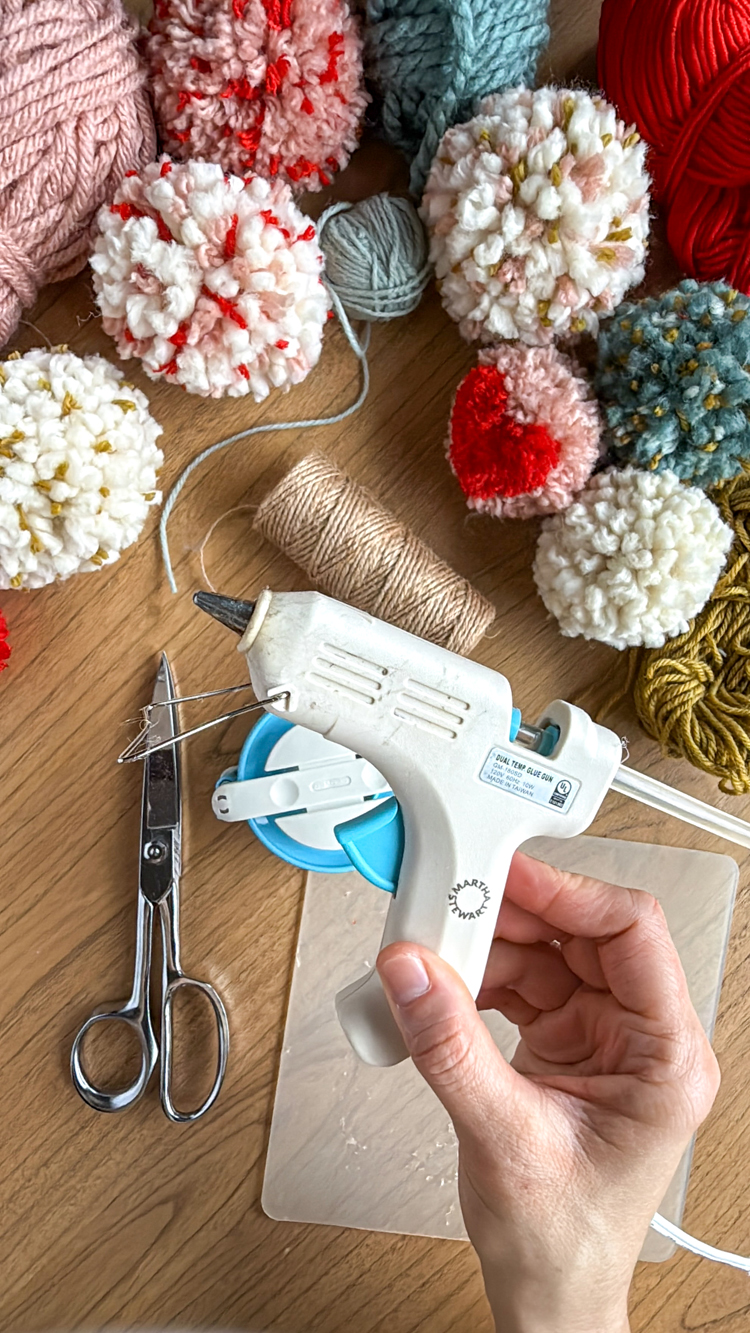
- Pompom Maker*
- Scissors
- Jute String**
- Hot Glue and Glue Gun
Material Notes
*I’m using a Clover pom maker. Although the tutorial focuses on specifically how to use this pom maker, the tips can work for any pompom making method.
**Any “sticky” or strong waxy string works great. I simply list jute because it is so easy to find. In the video tutorial I mention artificial sinew used for leather work. It is fantastic for making pompoms because it is really strong and it’s waxy so it sticks to itself, making tying a really tight knot easier.
VIDEO TUTORIAL
The video should have already popped to the top or side of your screen. It will play after some initial ads. If you “x” out of the video, you need to refresh the page to get it back.
Music is by Pleasant Pictures Music Club.
HOW TO MAKE POMPOMS THAT WON’T FALL APART
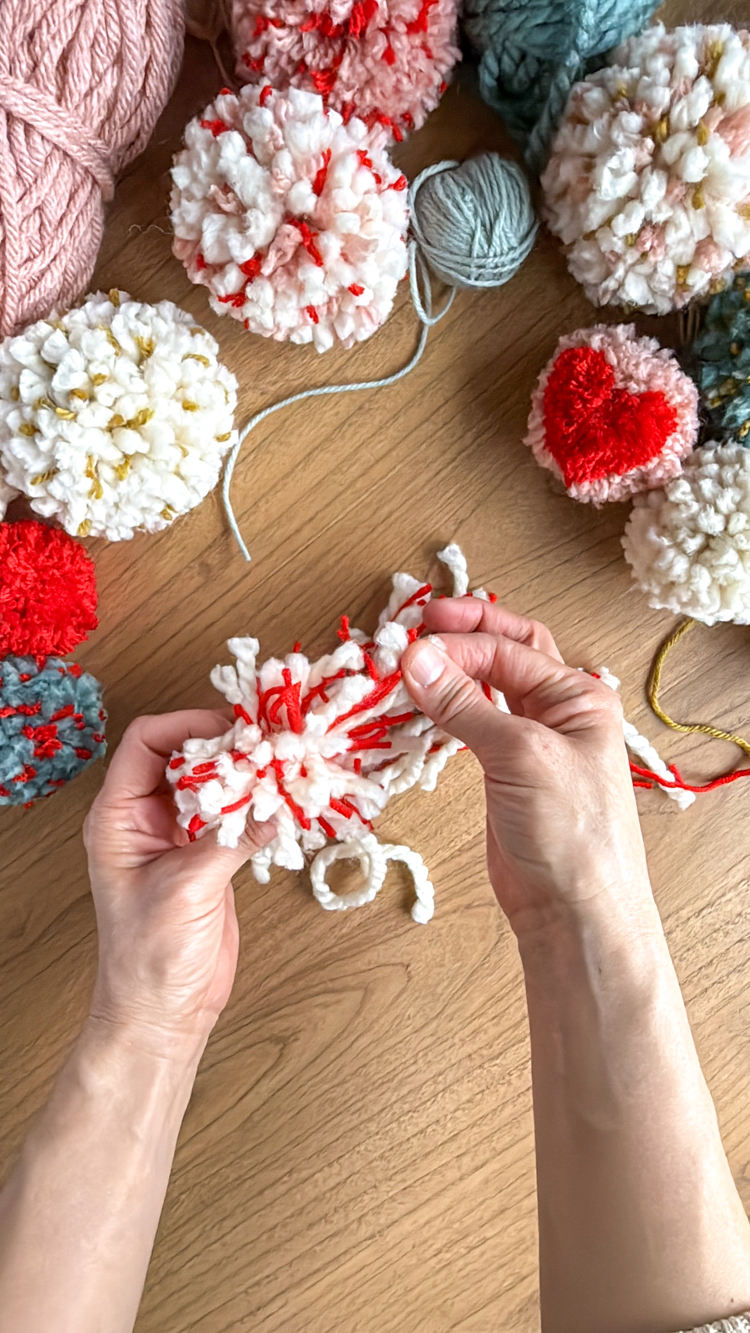
First, let’s talk about the anatomy of a pompom.
You are essentially wrapping yarn around the arms of the pom maker. Then swinging them inward to form a ring of wrapped yarn, so that you can cut through the wrappings and have a fat bundle of short pieces of yarn being held together by the pom maker. To make your pom pom, you simply tie something around that bundle.
And that’s the trick. The more secure we can make the middle of that bundle the less likely it is to fall apart.
Here are THREE ways to do that.
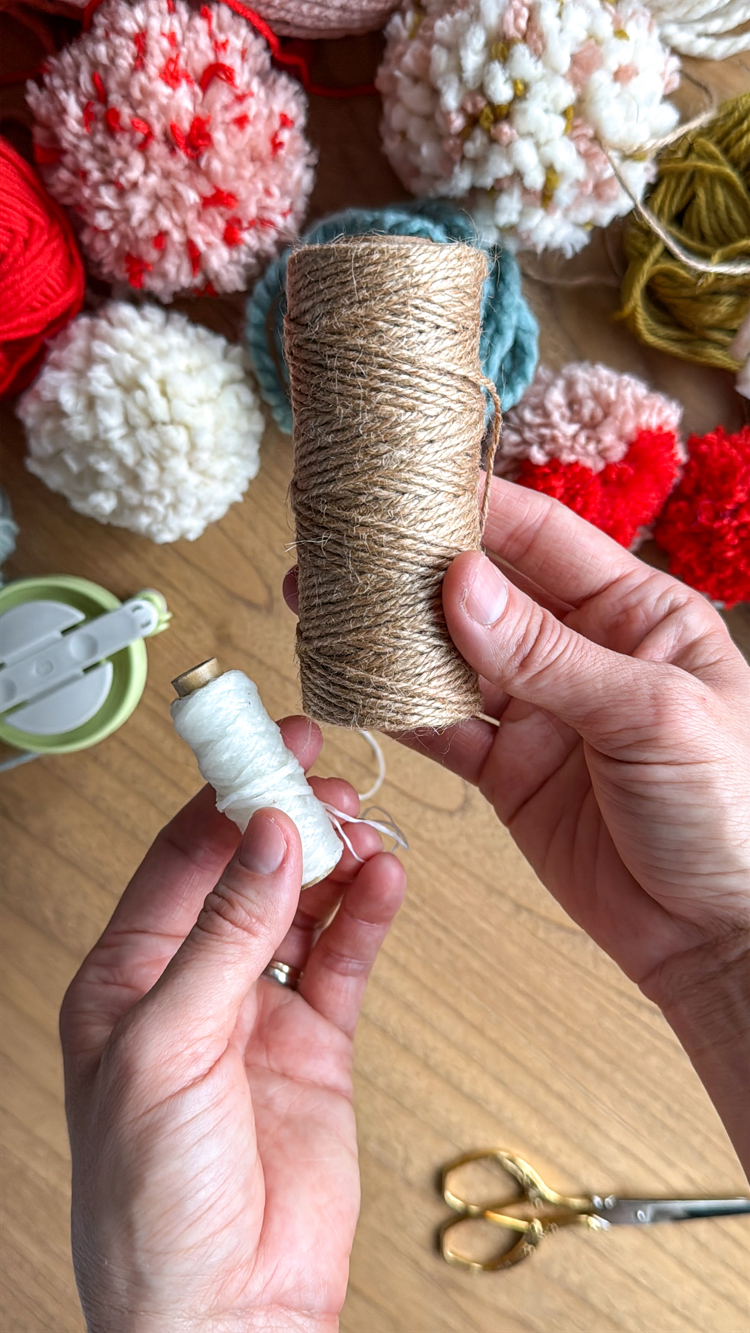
TIP ONE: Use “sticky” string like jute or waxed cording.
The stronger the tie, the more secure the pompom is. Jute or a sticky, strong cording will stick to itself and not slide around, making it easier to get a nice tight tie.
TIP TWO: Make the pompom dense.
Not only will the pompom look nicer, but there is strength in numbers. When you have more yarn in the center, it creates a tighter pompom.
TIP THREE: Glue the center of the pompom as you make it.
I prefer hot glue because it cools/dries very quickly. You can also use fabric glue if you want. It just takes time to dry.
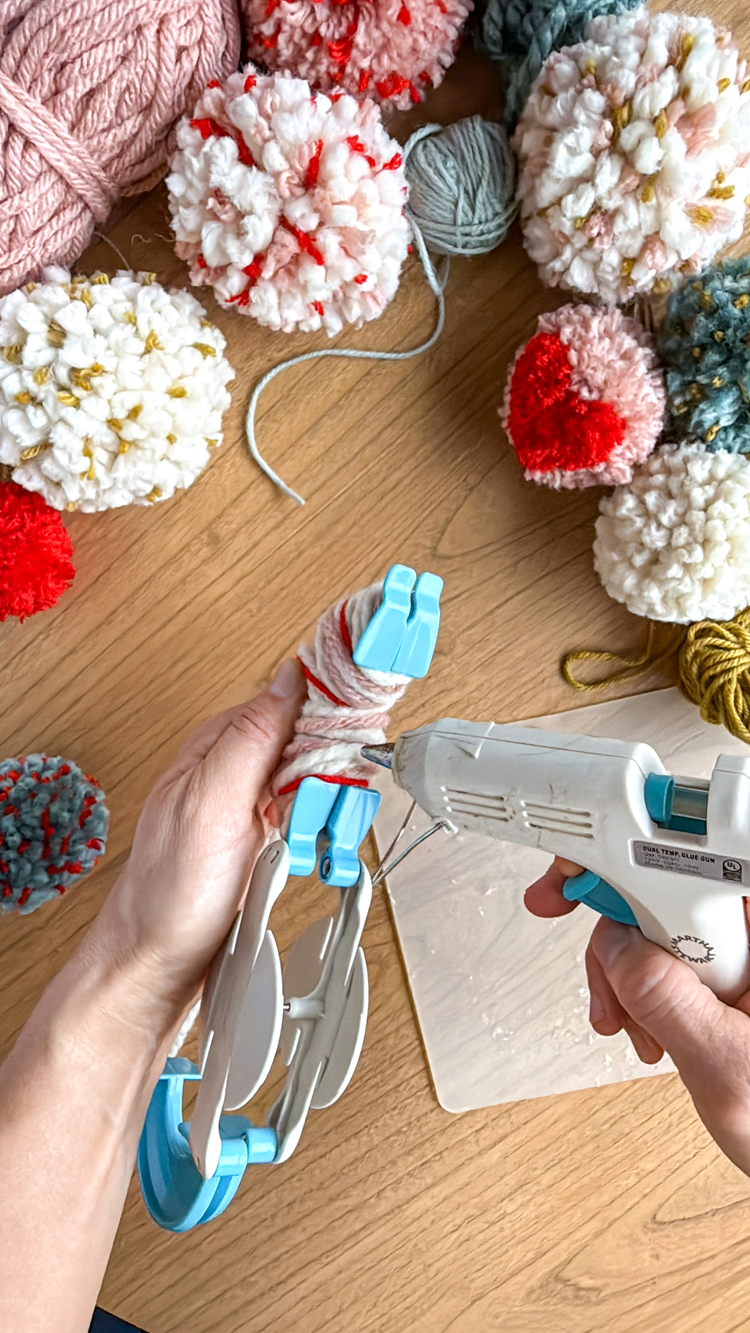
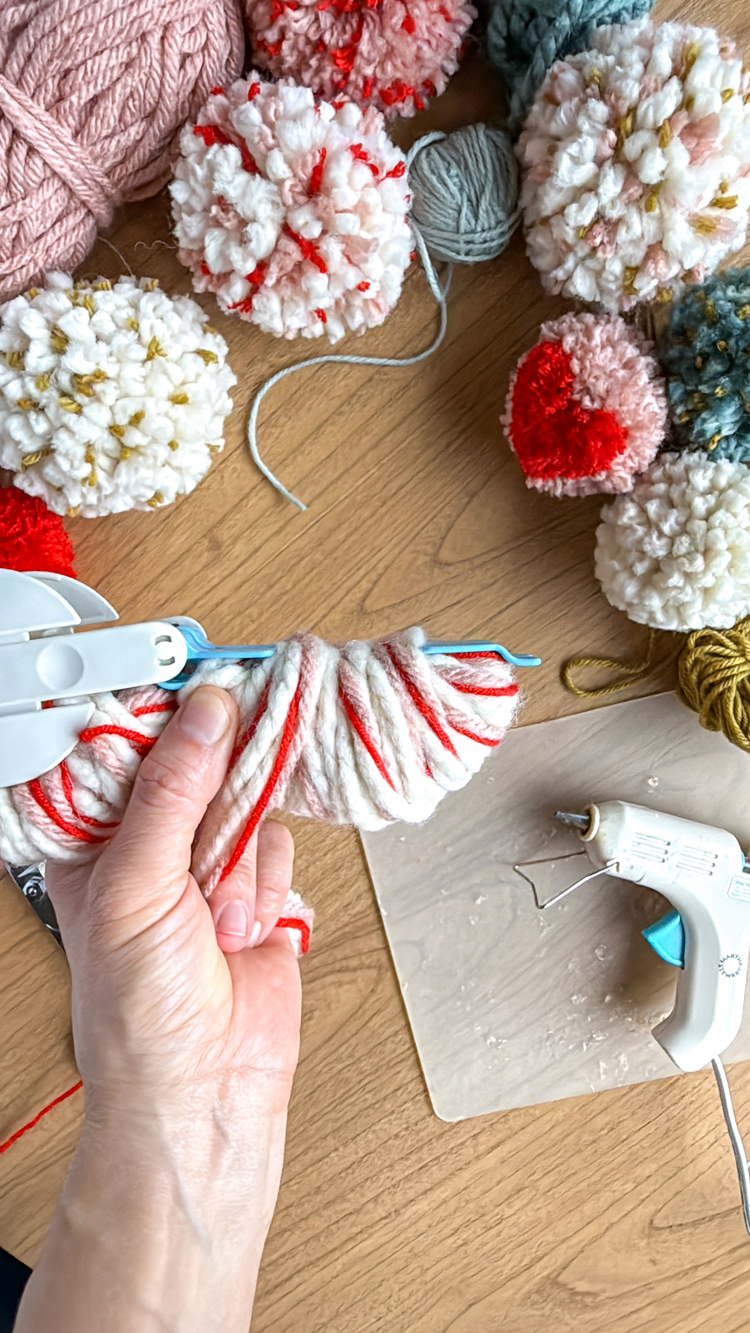
So, as you wrap the yarn around one arm of the pom maker, add glue to the inside arch or the center of the pompom. Wrap it back the other way and add another line of glue to the inside arch.
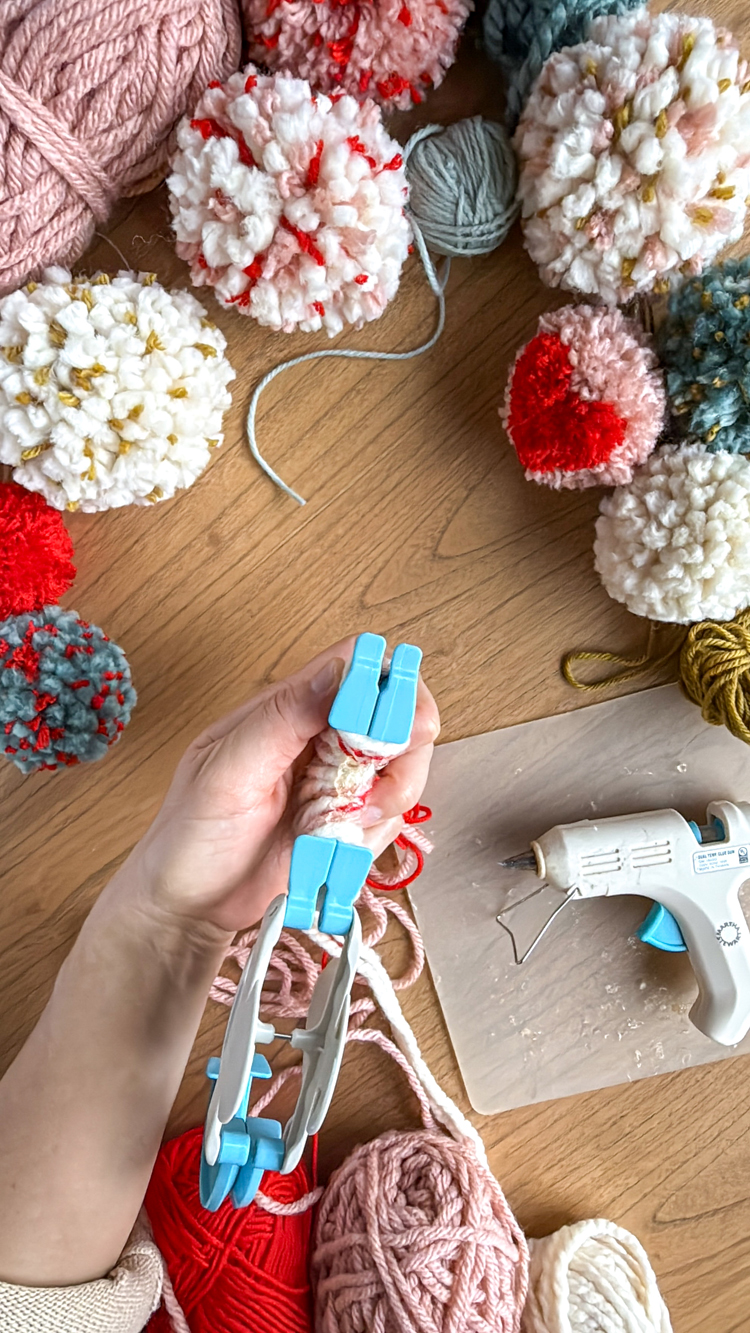
Keep wrapping and gluing until the inside arch disappears because it’s all filled in with yarn wrappings. Cut off the working yarn and repeat the process for the other arm.
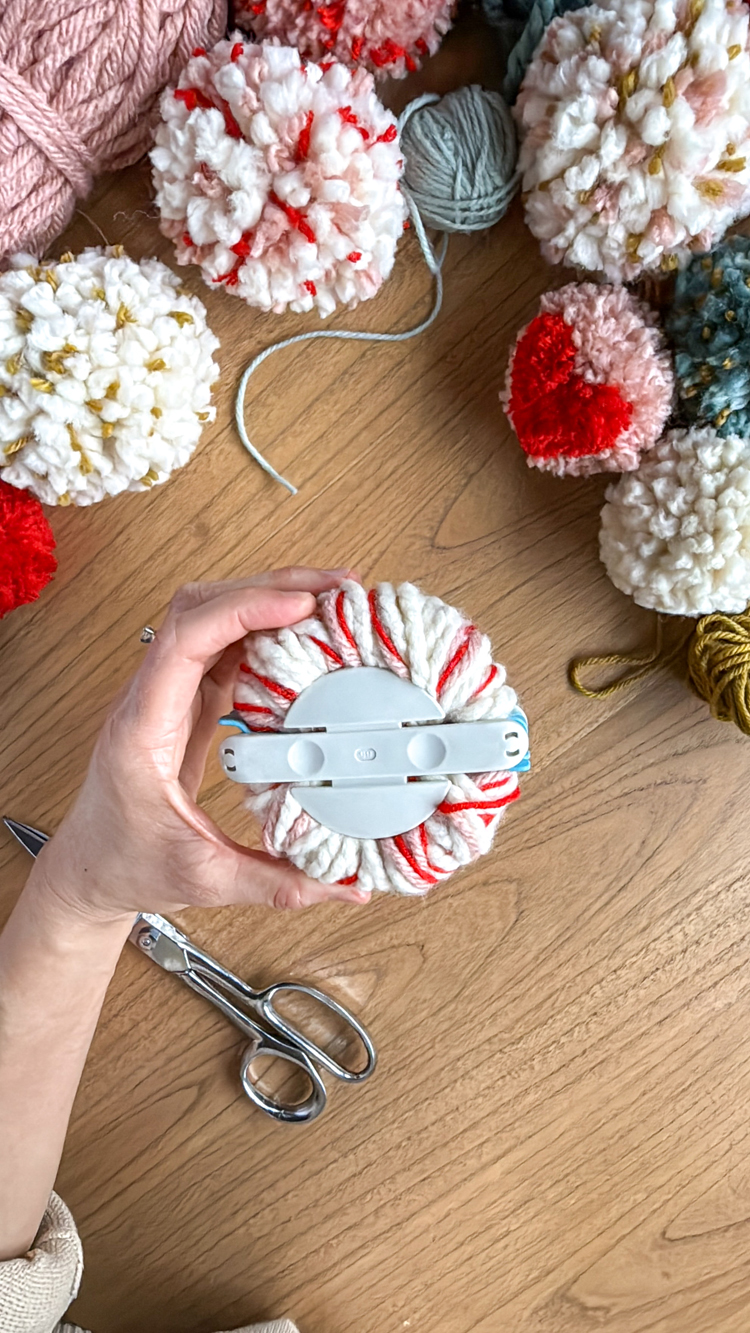
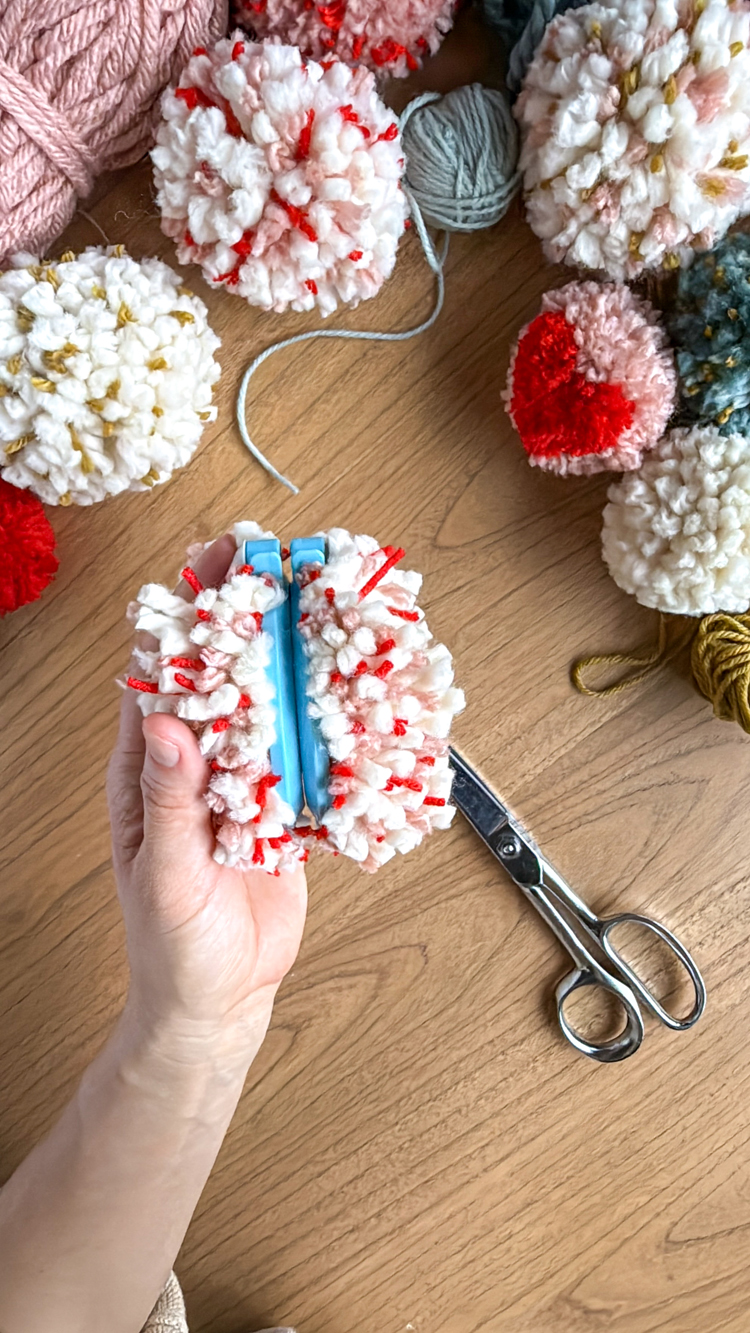
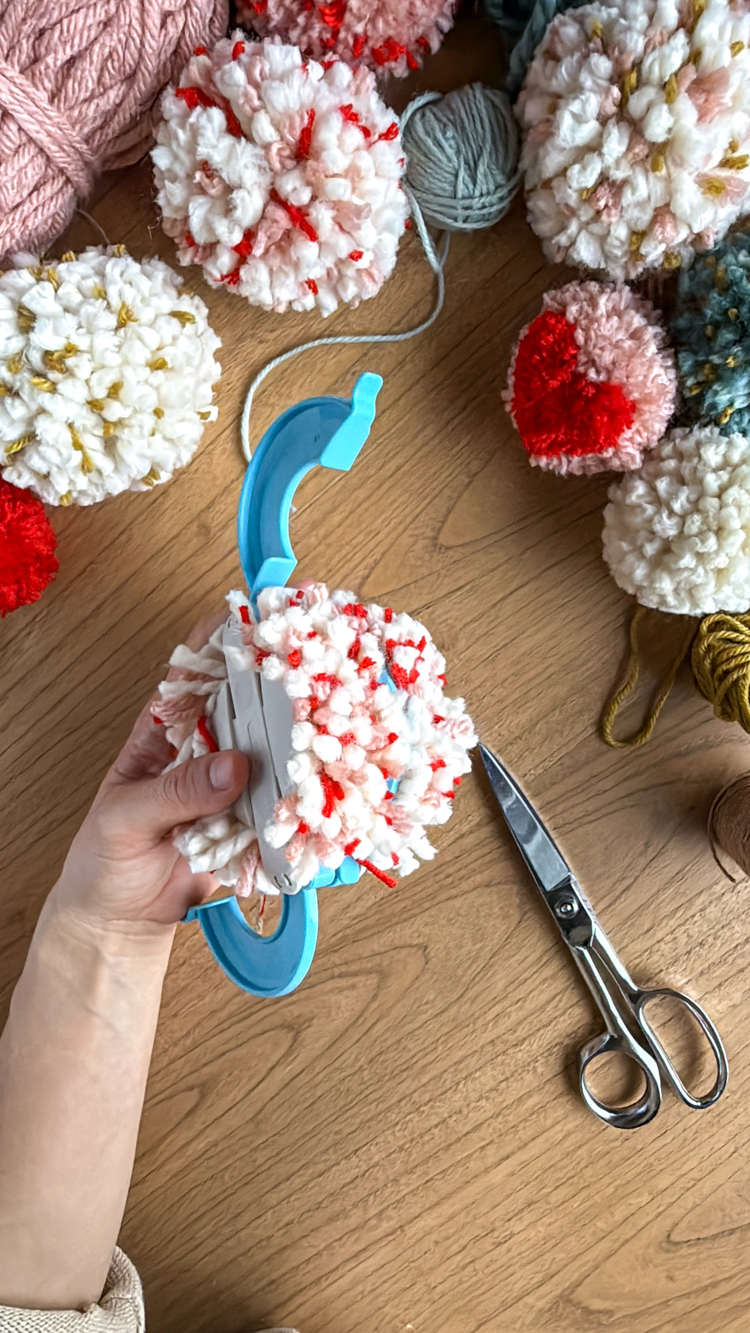
Then cut along the groove or track around the circumference of the pom maker, starting at one of the hinges.
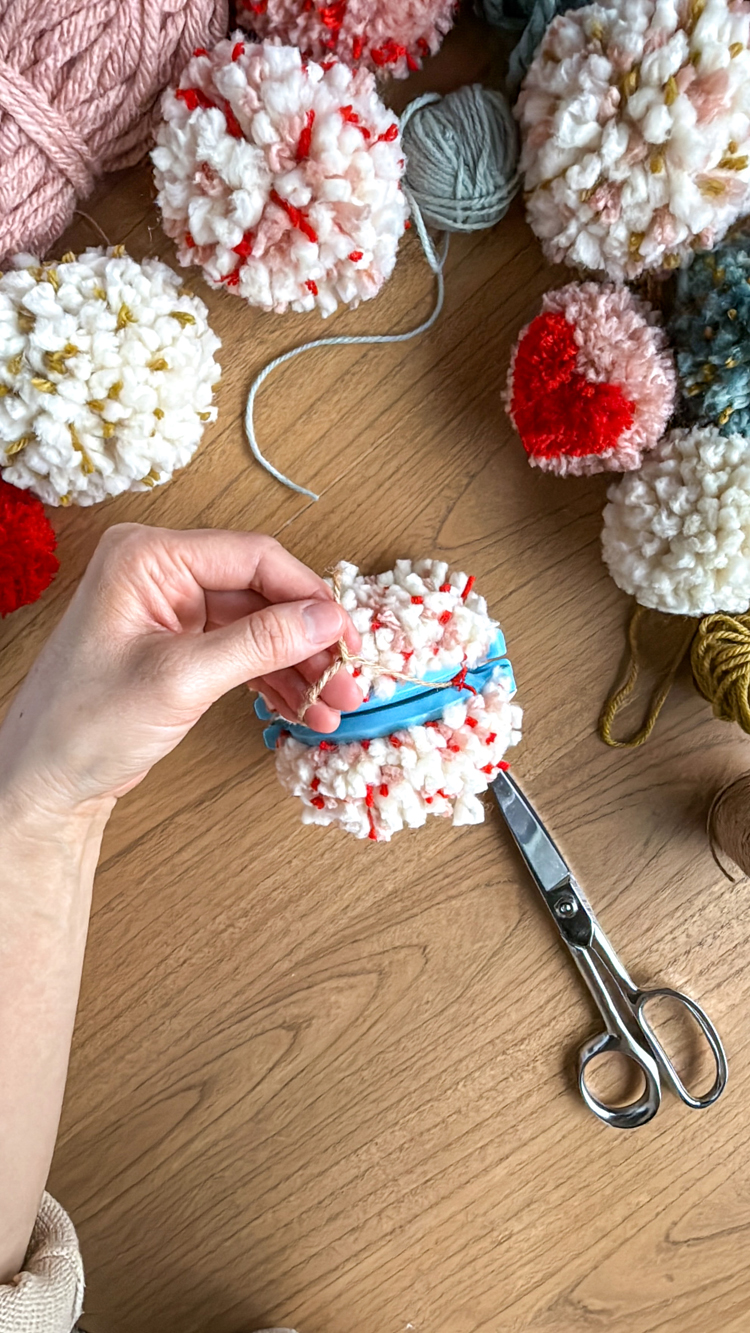
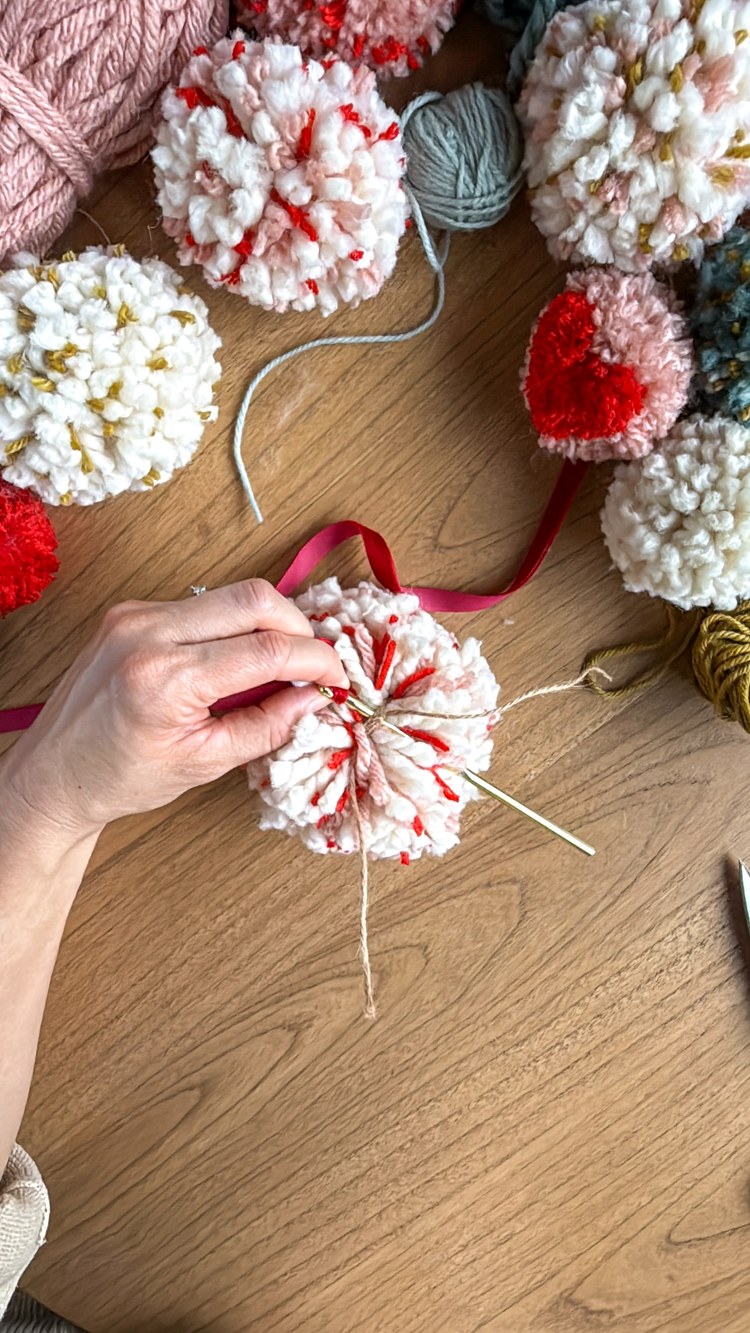
Cut a piece of jute or sticky string about 12 inches long and floss it through the track you just cut around until you get to the bundle of yarn in the middle.
Tie a square knot. Flip the pom maker over and tie another square knot on the other side.
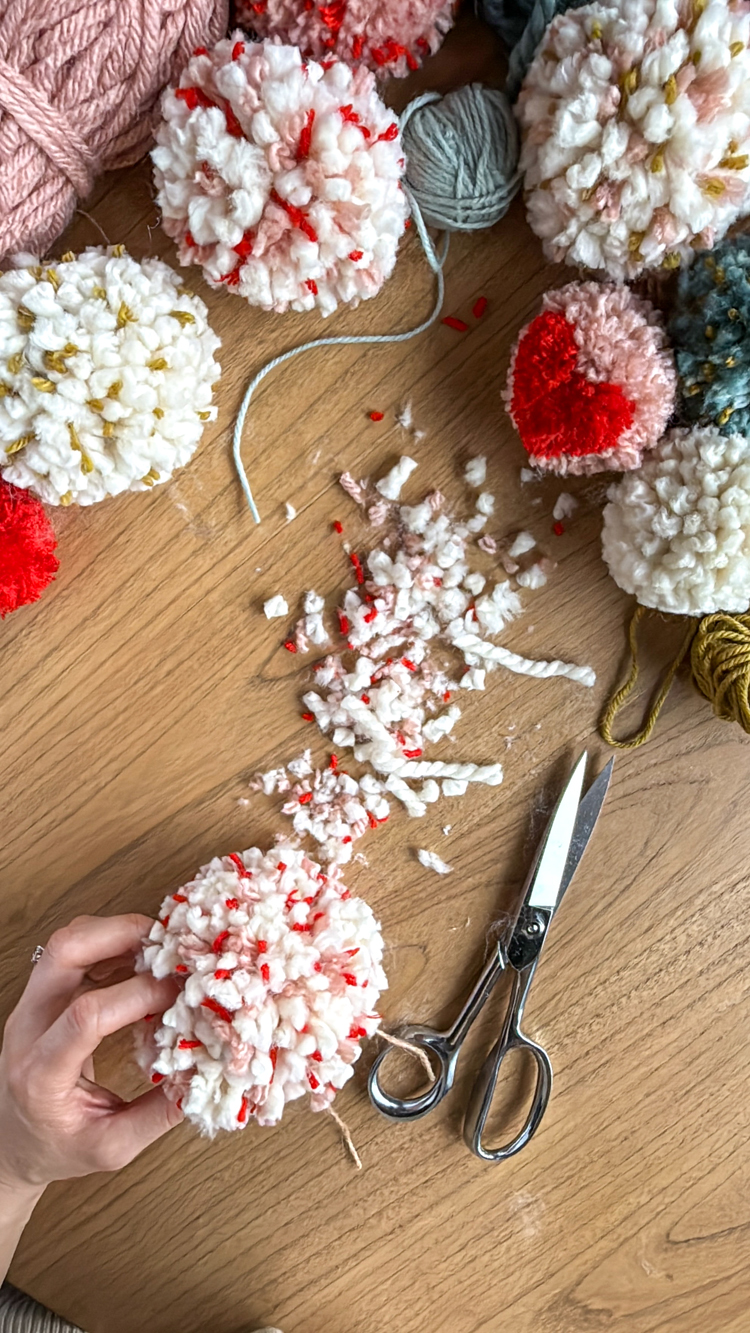
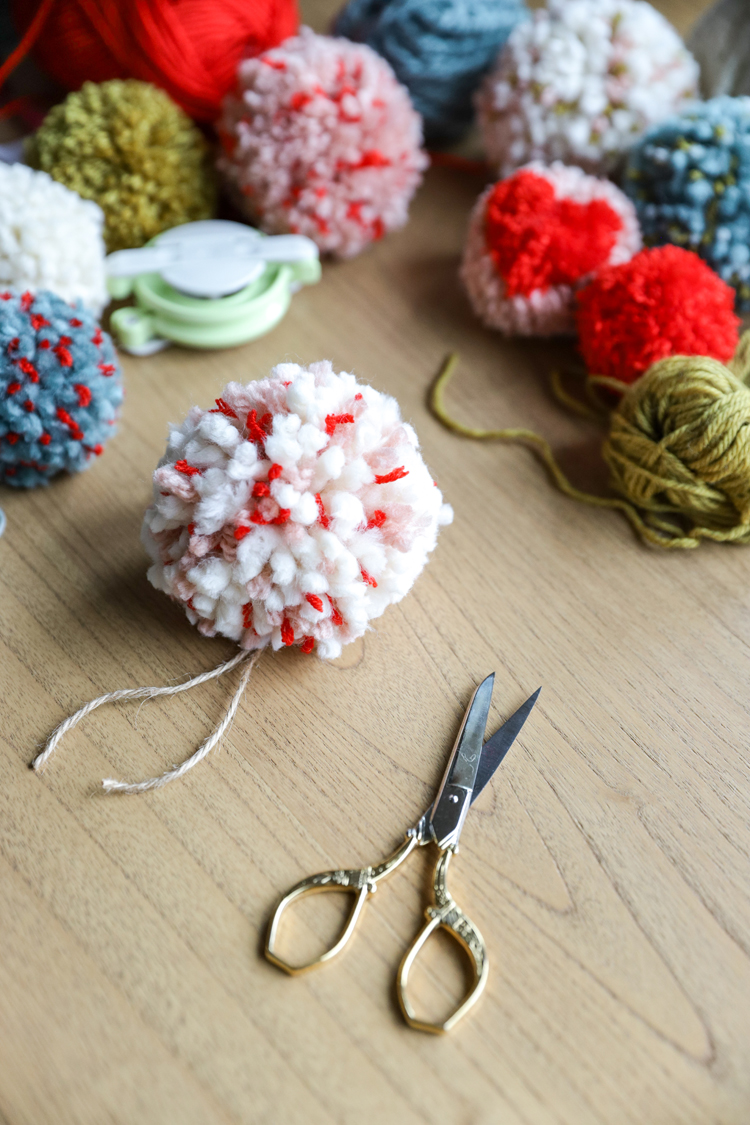
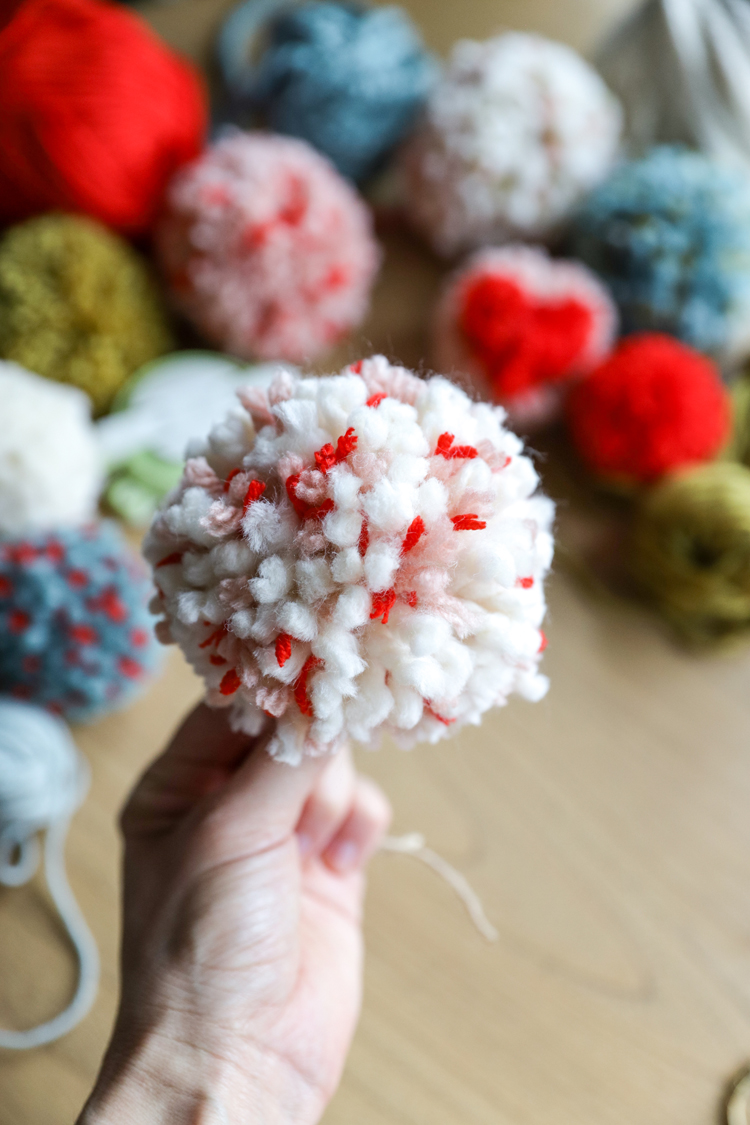
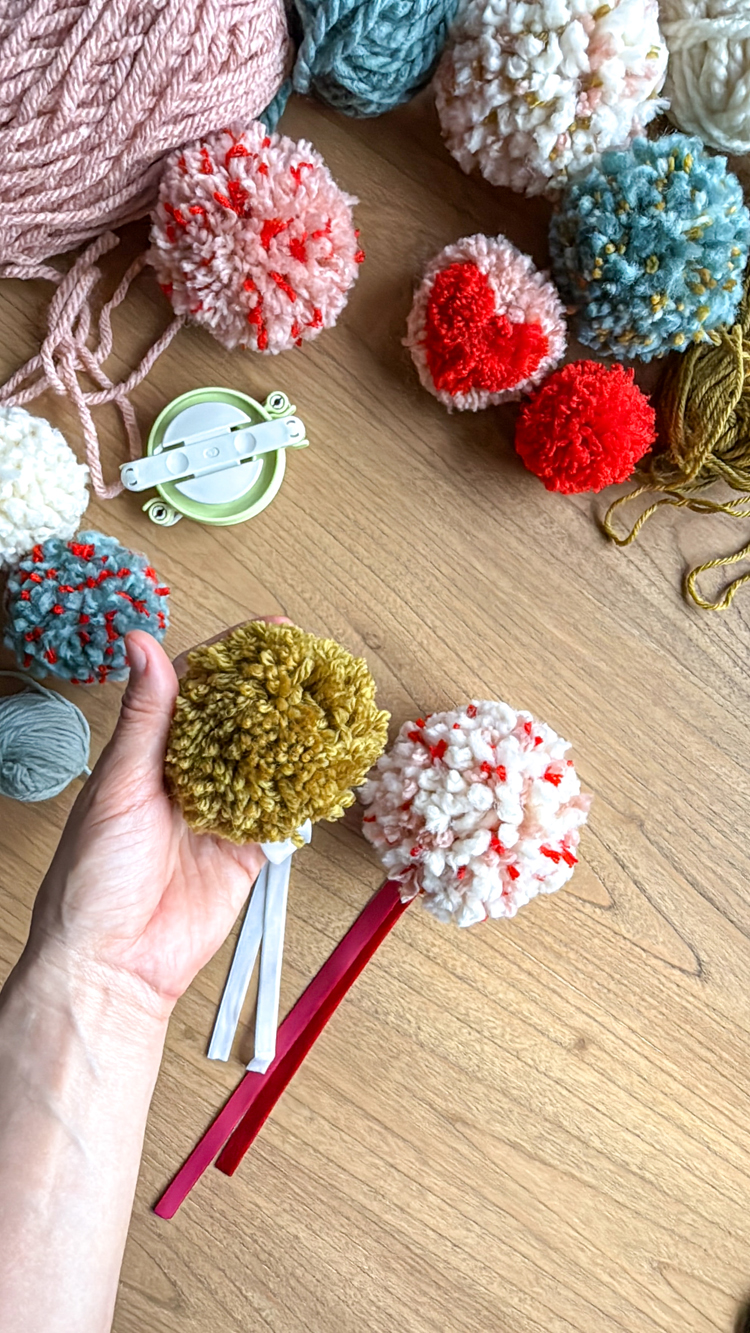
Remove the pom maker and give the pompom a little haircut to make sure it’s even on all sides.
That’s it!
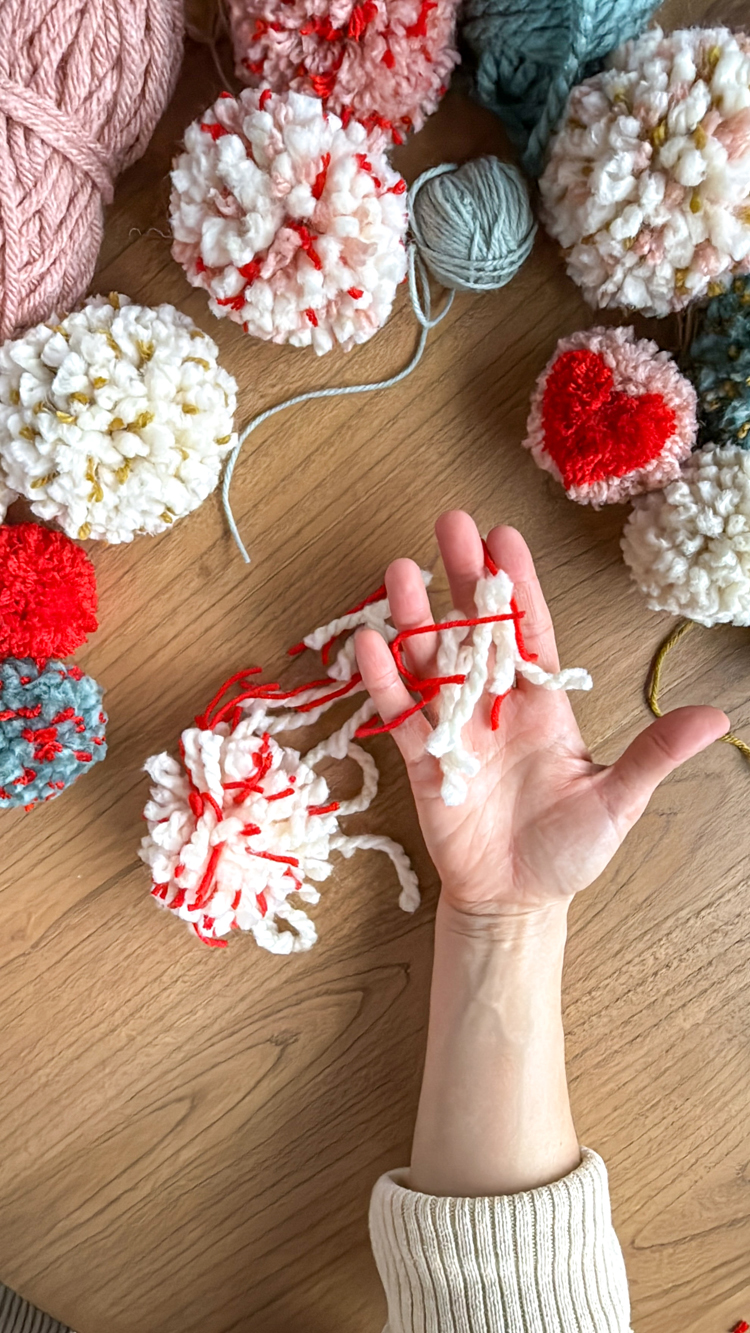
You may get a few rogue strands that will still fall out, but the majority of them should stay put.
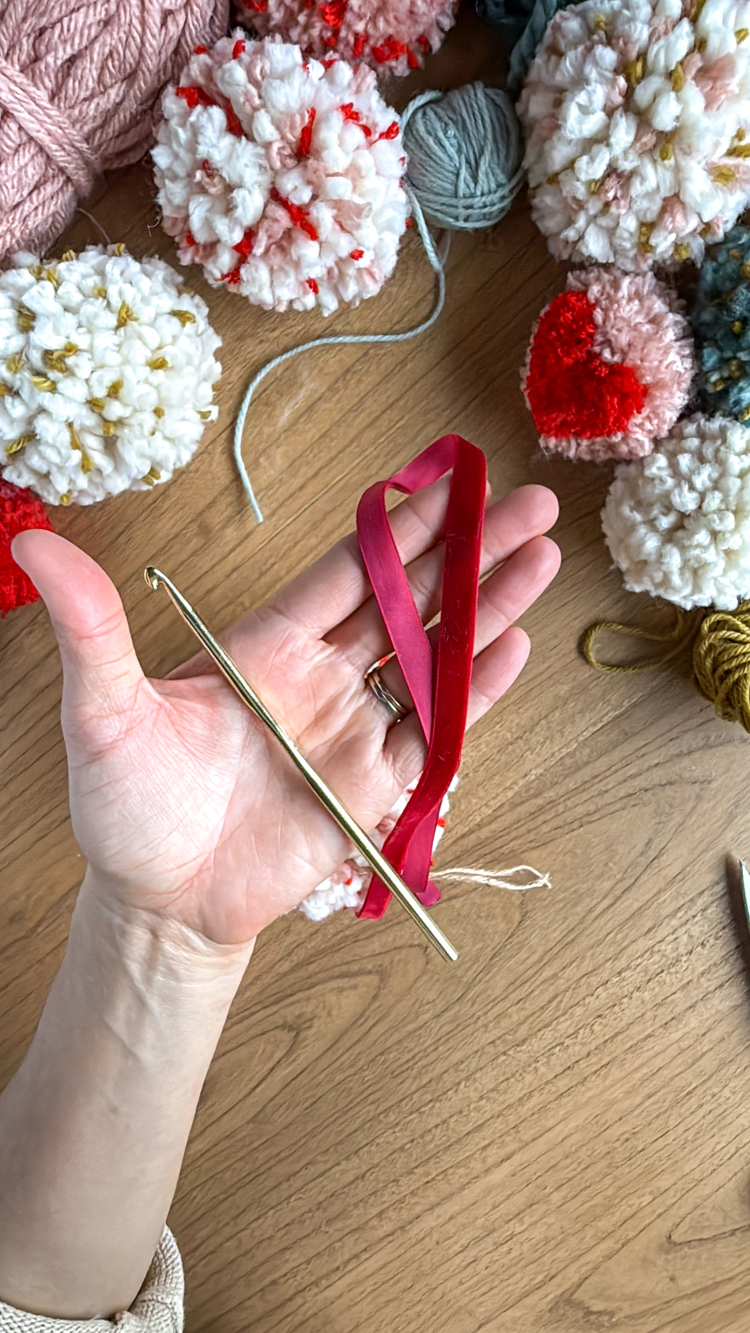
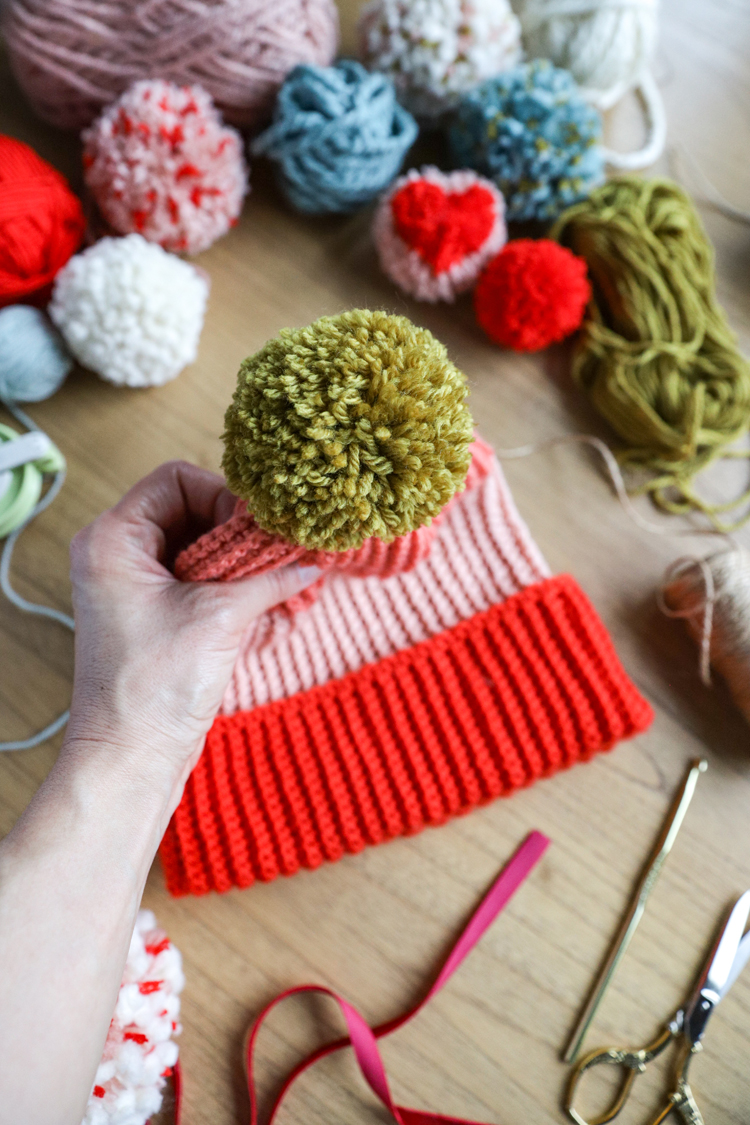
BONUS: EASY, NO SEW WAY TO ADD A POMPOM TO A BEANIE
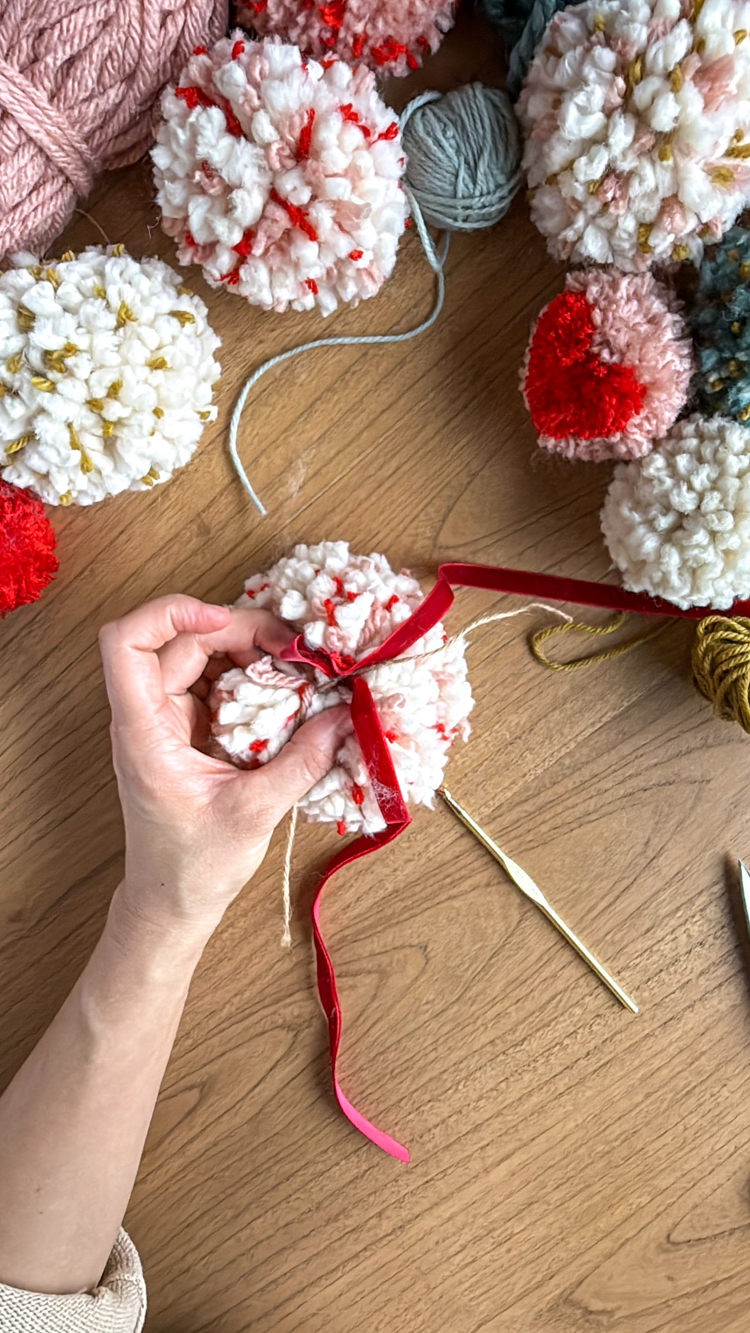
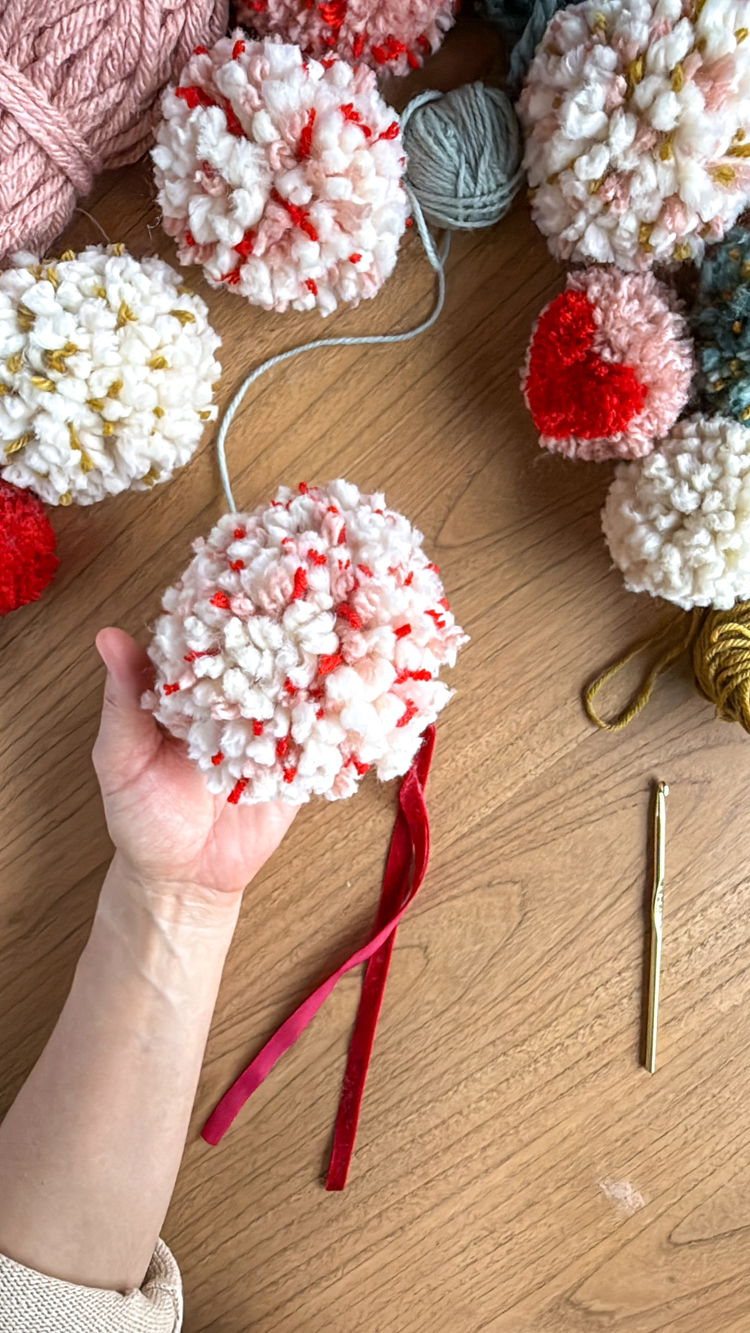
Use a crochet hook to thread some soft thin ribbon through the jute center. I used quarter inch velvet ribbon.
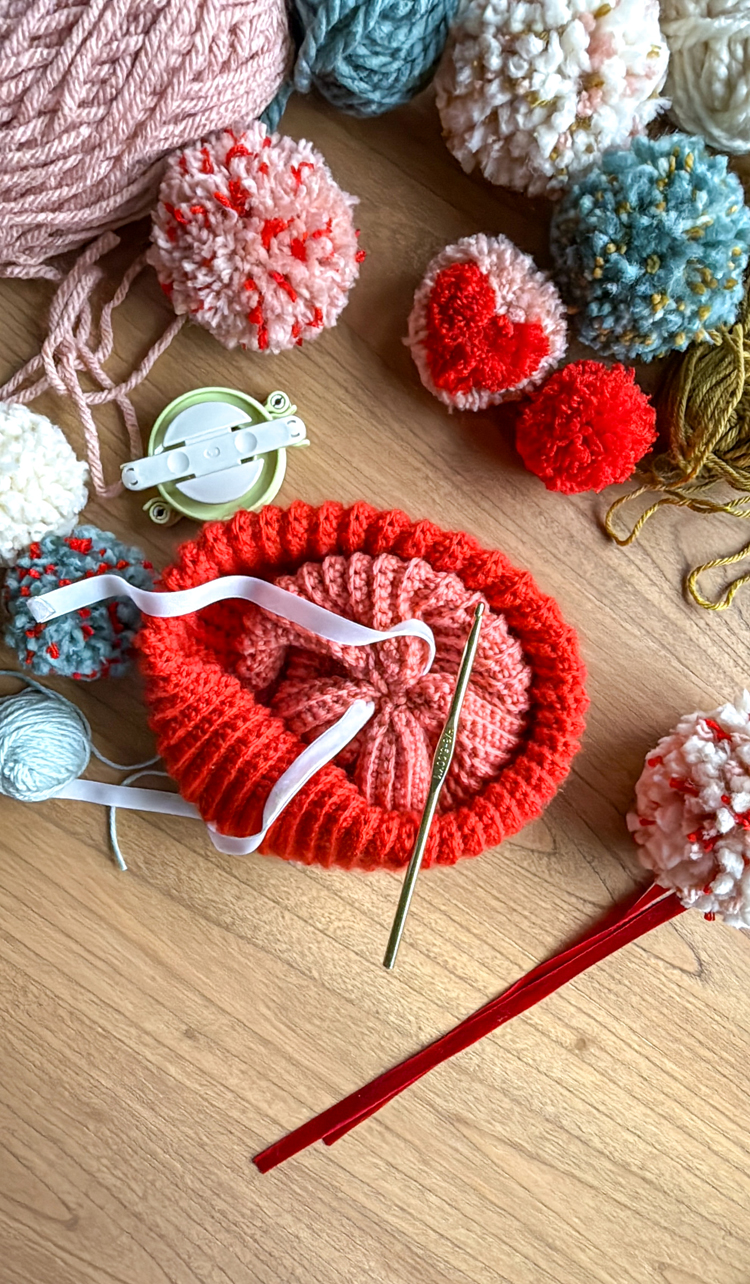
Then use the crochet hook to thread the ribbon through the top of a beanie. Tie a bow on the inside to secure the pompom. This securely holds it in place but is also easy to remove for washing or if you change your mind.
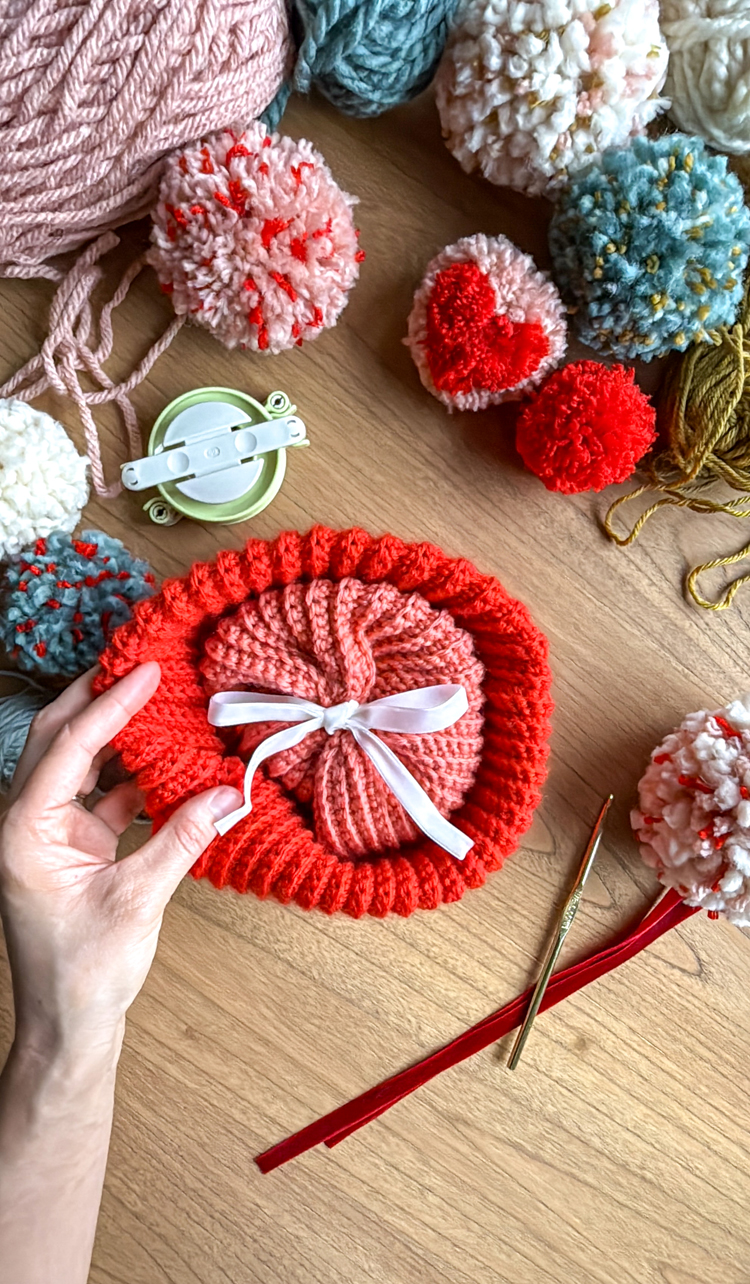
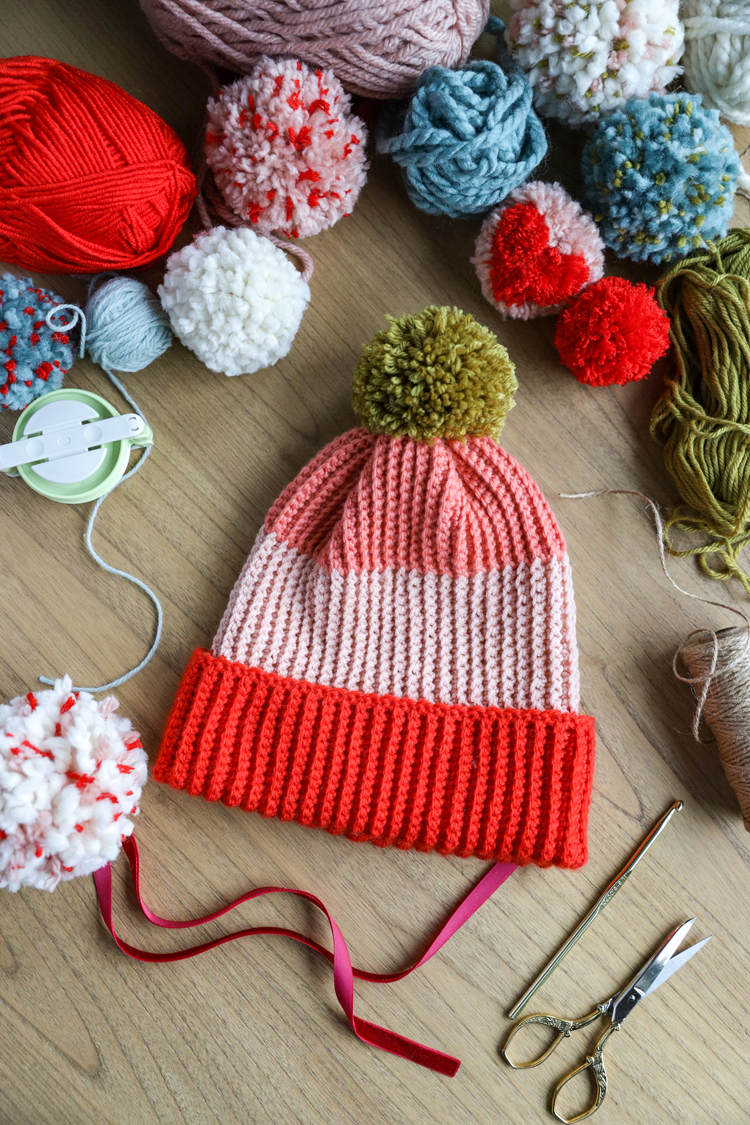
And now you know how to make beautifully dense and secure pompoms that you can confidently add to any project knowing it won’t fall apart!
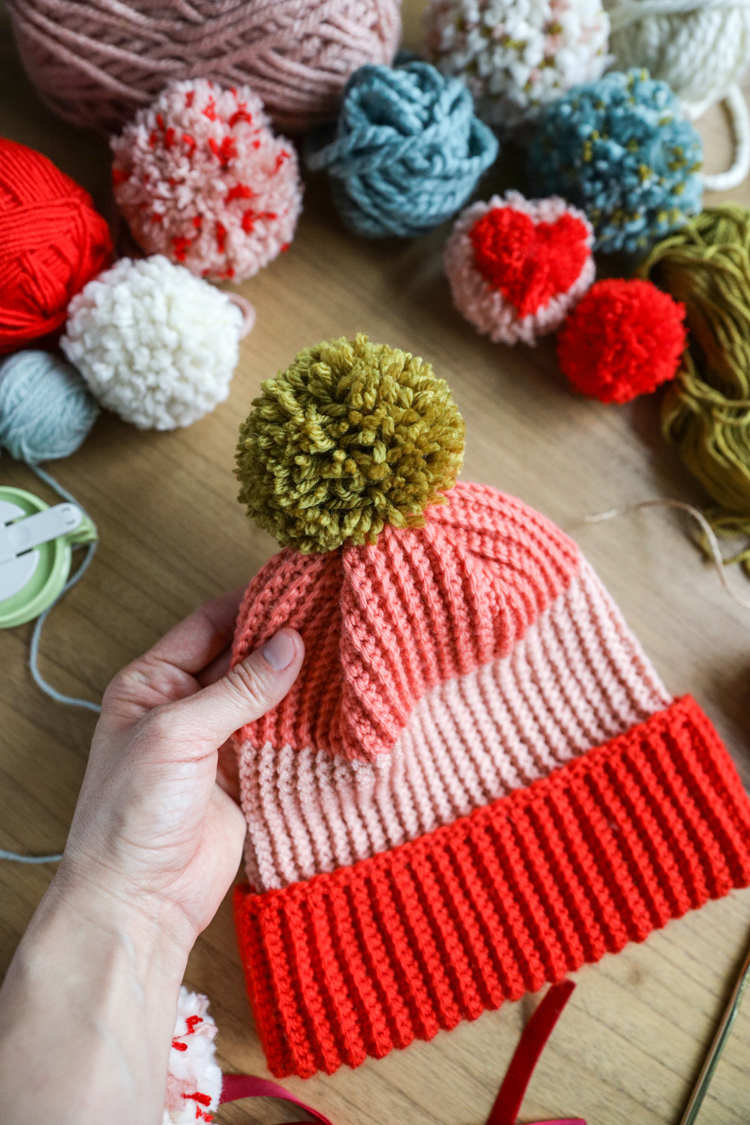
Find the free pattern for this Color Blocked Crochet Beanie HERE.
Leave a Reply