


I am a mom to two sweet little boys, 2 and 6. Being a mother is my most cherished role in this life and I wouldn’t be who I am today without my dear mother, so I am honored to be sharing a Mother’s Day gift idea with you.
When I was brainstorming for what to make this Mother’s Day for our mothers/grandmas, I naturally thought of aprons. They were a necessity to every wife and mother decades ago, becoming more of just a useful accessory in our day; but they will always remind me of being a mother and the mothers in my life.
After sketching around a bit, I came up with this…

This apron is actually quite simple to make.
Let me show you how…
Gather your materials:

3/4 yd. of cotton fabric {for the main body of the apron}
1/4 yd. of coordinating cotton or broadcloth fabric {for ties}
matching or coordinating thread
rotary cutter and mat
quilting ruler, plus one more ruler or straight edge
disappearing ink fabric pen
iron

1. Pre-wash your fabric and then cut the length down to about 30 inches. So it would fit on my mat, I folded it in half before cutting it.

Then trim off rough edges as needed.

A note about grain: For an apron it usually matter too much since you just tie it on, BUT with the pin-tuck detail coming later, it is preferred that you use the cross-wise grain for the width of the apron. That means the width of the apron {across the waist} should be against the grain and have very little stretch to it. If you stretch it the other way, lengthwise, with the grain, it will stretch much more.
2. Heat up your iron and double fold the sides {only} of the apron in like so…
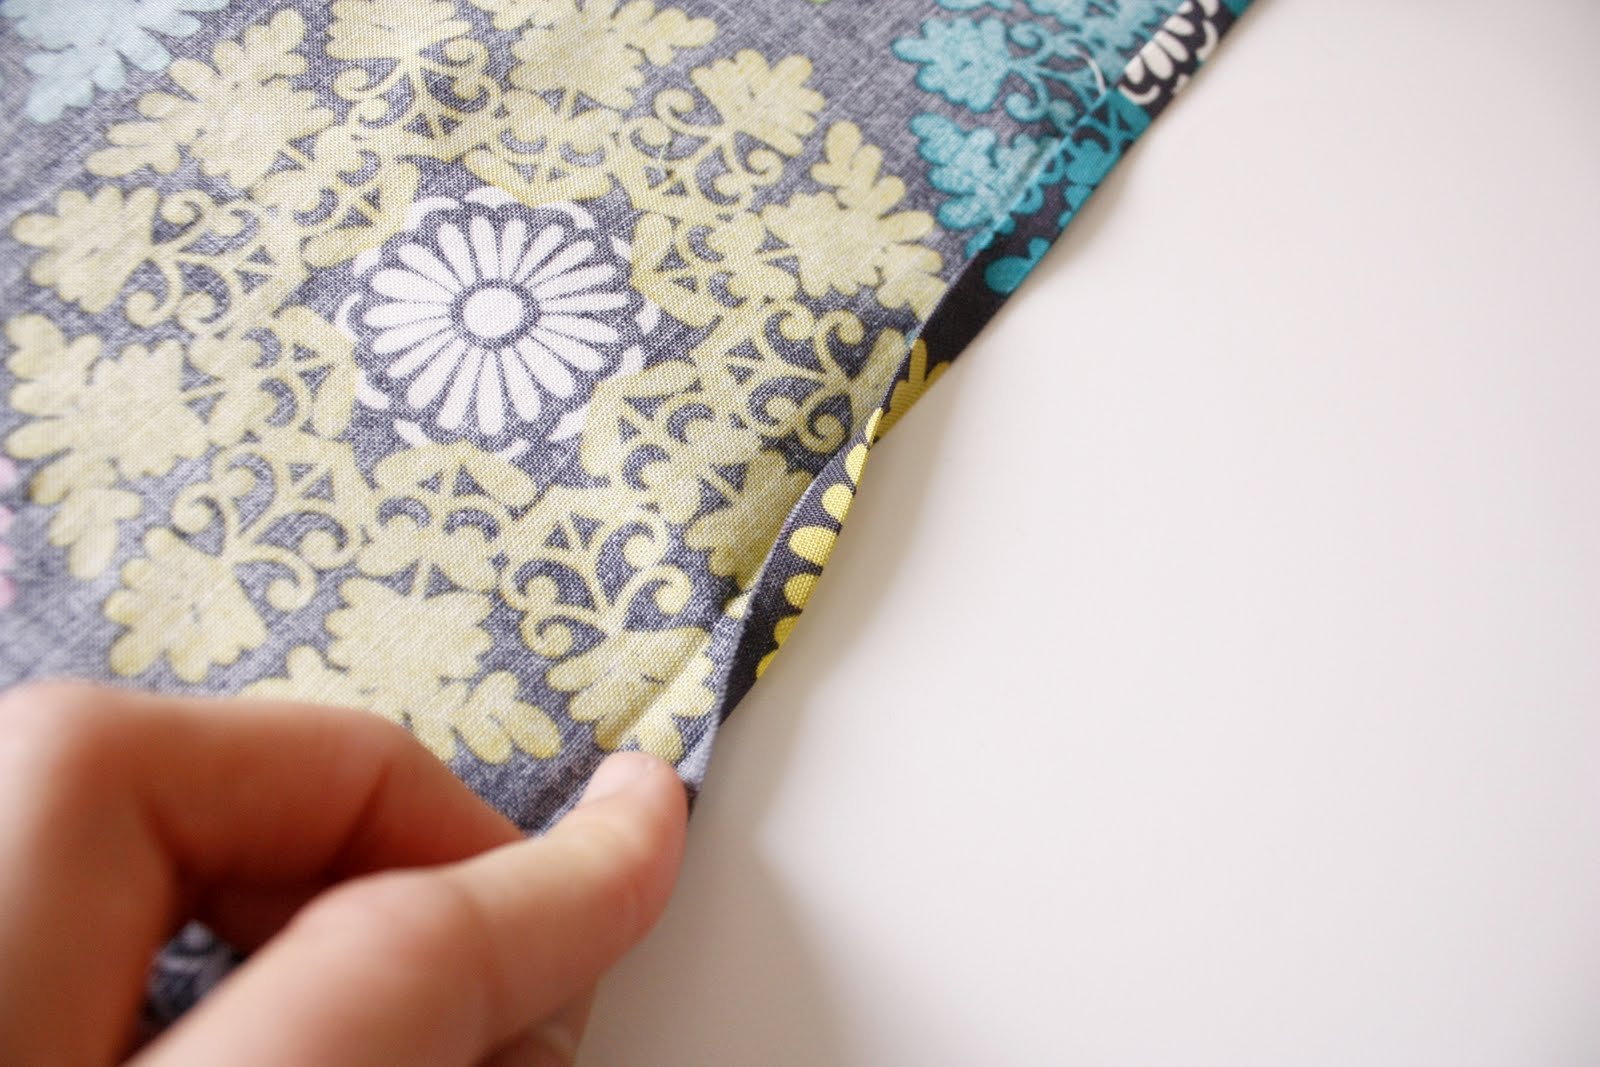
For the waist, you want to fold that over about four inches, plus an extra 1/4 in.


Leave the bottom of the apron raw for the moment.
You may choose to reduce bulk at the corners like so…

with a snipped out little square…You can unfold it and cut a more precise square, but I just snipped it quickly and once it was sewn over…you couldn’t tell.
3. Now sew up the sides of the apron.
*BE SURE NOT TO SEW ALONG THE WAIST LINE JUST YET.

4. Mark your pin-tuck lines. Lay down your quilters/rotary cutter ruler on your mat four inches from the top of the waist of your apron. Now with another ruler or straight edge slide it across marking a line every inch with a washable marker. Leave about 2 inches at the ends unmarked.

5. Sew your pin-tucks. Starting on one side, fold the fabric at the first blue line, pin it in place to keep the fabric from moving around, and sew close to the edge.

Once you get to the end of the blue line, turn it and sew up and down every blue line in the same fashion.

Just turn, pin, and sew…all the way to the other end.

I won’t lie. This takes some time. But the result is very worth it.

Pretty huh?

Just remember to stop the pin-tucks about 2 inches or so from each end. You will need this space for the ties.

And here is how the back should look when you’re through.

5. Finish the bottom of the apron, correcting the length first if needed.

Fold it under, pin, and sew.

6. Add a pocket – optional.
I won’t go into the details of pocket making too much. But you can see here that I added pin tucks to a square of fabric, double folded and ironed in the sides…

sewed across the top of the pocket,

and then added it to the apron.

I made sure to sew back and forth several times at the top of the pockets for strength.

7. Make your apron ties.
Cut two strips about 3 3/4 inches wide and < 25 inches long. I made them longer than I thought I would need and adjusted length later. It is much better to have to much than too little.

Piece your fabric together if needed.


I needed to.

Then fold strip in half, right sides together. Sew along the raw edges, leaving a 1/4 inch seam allowance.

Turn it right side out. I like to use a safety pin for this step. Pin it to one end, on one layer of the tube from the inside {right side}. Scrunch and inch the pin through to the other side. It will pull the right side of the fabric along with it and pull it right side out.

Press the strips flat. I pressed it with the seam on the side so that it would look uniform when I tied it around to the front of the apron.
8. Attach the ties in the middle of the pin-tucked area of the waist. Un-pick the stitches, insert one end of the ties and sew it back up following the original seam.


Remove any extra length from the ties if needed. Tuck the raw ends inward into the tube and sew across the edge to close it off.

You may be wondering why I bothered sewing the waist band sides up before now? The initial sewn lines keep the top of the apron from shifting while you sew the pin-tucks.

And you are done!

Don your fresh, new apron.

Tie a nice, neat bow in the front…

Relish in the elegant detail the pin-tucks afford…

And give it a whirl.

I made a second apron with matching ties, a cream colored bottom border and no pocket.

With aprons, there are endless possibilities.
As an added bonus…You can use the ties for hanging a towel on, since they come around and tie in the front.

Pretty nifty huh?
Useful, cute, and perfect for any mother.

Still loving this apron, yet too chicken to actually attempt it. Maybe one day this summer when all my kids are napping. Bwahahahaha! How about I just fly you out here to make me one instead? That's much more plausible. 🙂
Adorable! I LOVE the pintucks. I just pinned it onto one of my boards on Pinterest. Hopefully, I'll get to make this one soon.
Just love it! Great fabrics and what a clean and simple pattern!
I saw this one a while ago and actually made one for my niece, an aspiring cook. 🙂 She loves it.
I love this! Those pintucks are beautiful!
Wow! You amaze me at how talented you are! Thank you for so many different ideas you give me! I need a break from crocheting once in a while, and your blog provides a wonderful getaway for me!
Come see my work if you'd like! http://www.facebook.com/SugarMamasSweetBowtique
Have an awesome day!
Amanda
This is such a cute tutorial! Thank you for sharing!
P.S. Wish I looked as beautiful as you do in an apron 🙂
Very pretty – thanks for the tutorial!
Andrea
http://www.addicted2tutes.blogspot.com
I REALLY love the fabric you used! So cute
this is just beautiful delia! I want to make it for myself. I'm definitely thinking of updating my kitchen (ha, again) and starting with this apron would be so fun!
cute Delia! And funny…I almost JUST bought that fabric today at Hobby Lobby :). Love it!
I really, REALLY love this fabric. Do you know who makes it? I have been searching high and low for a fabric to back a china hutch in and it’s been one of those quests where I will know the fabric when I see it….and I have seen it. Big pattern, bold colors, but not floral. Please let me know- Thanks!!
Holly
darling!