

I love tangrams.
They are pretty little things and they are a great brain game.
I like that they combine math and creativity in one.

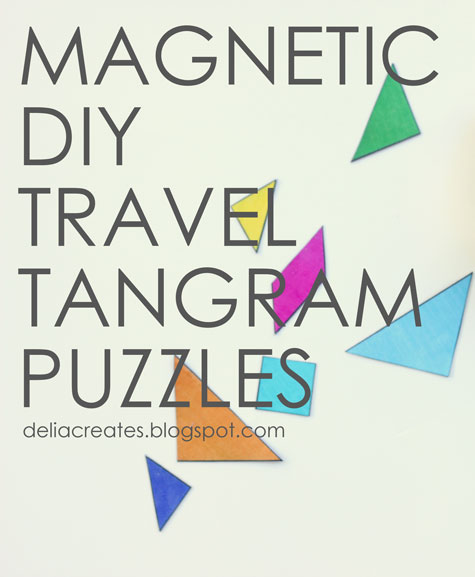
And they are great for helping kids combat summer brain deterioration. So, today we’re making…
It’s a fairly fast and simple project.
You’ll need:

*You could also recycle business magnets. I didn’t have any to spare so I bought some sheets of magnetic paper at Michael’s for a few bucks.
*not pictured: a strong glue/glue stick
1. Print out your tangram images.
This is the tangram image sized in Word. Print from HERE. Please note that the tangram idea guide is taken from here. I sized them to fit in the Altoid box for your convenience.
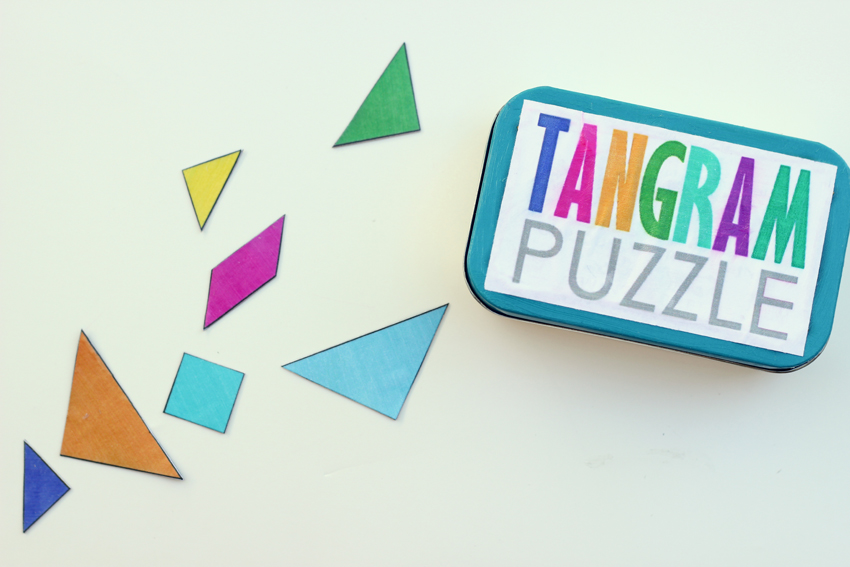
And here is the label. You can print it scaled to size in Word HERE or right click and save the below image.
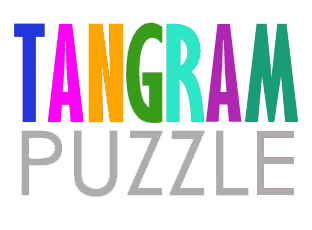
Size it to about 3 inches wide before printing.
I used my inkjet printer to print everything for convenience sake, but if you can get it printed with laser toner at a print shop it will turn out better. The inkjet ink tends to run when mod podge or gel is applied on top of it.
2. Adhere the tangram images to your magnetic paper.

3. Mod Podge your tangram images.
*Note: I use gel medium because it’s less sticky after it dries, than mod podge is, but they both work the same for the purposes of this project.

-Apply gel/mod podge to the tangram squares.
-Then mod podge the tangram idea charts to the inside of your Altoids tins. Apply a generous, even coat.
*The original tangram idea chart was square. I divided it in half so the top half goes in one tin and the bottom half goes in another.

-Add the label to the front to cover the branding. You may notice some bubbling. Try to push the big bubbles out the best you can. Any small bubbles should diminish after drying.
-Let everything dry completely.
**You can also skip these steps by printing your tangrams on magnetic paper and then mod podging the top for durability. Go to this post for more information about that.
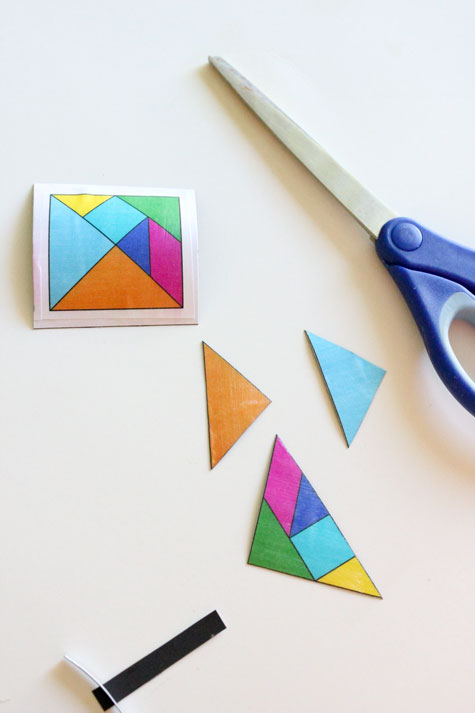
4. Cut up your tangram square and trim off any excess.
5. Optional: Add some washi tape to the bottom of the tin.

Clean up the edges with an exacto knife.

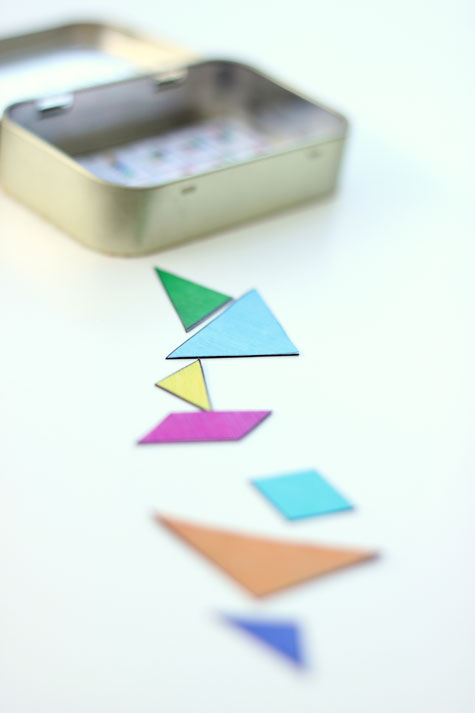
And you’re all set!


If the paper starts to pull away from the magnet, simply add more gel medium/mod podge and smooth it down.

One thing I didn’t foresee is that not all tangram designs can be accomplished in this little tin. You can make your pieces even smaller if this matters to you.
Have your child follow the ones in the idea chart or they can come up with ones of their own.
 My oldest son, Owen, really enjoyed playing with his puzzle. I made one for Reid as well. He might not be quite ready for it, but he would be sad if he didn’t get the chance to try. 🙂

Lucky for me, the Altoids came in a two pack.

You may notice, if you came from Kojodesigns first, that it is actually supposed to be “white” day. My guest for today has been affected by the Colorado wild fires. Don’t worry…she and her home are fine, but she had to post pone her project until tomorrow.
So…go see Kojo to learn how to make some white wide leg pants and construct your own pants pattern!

Thanks for stopping by!
Very cute! 🙂
How fun! I have some mini Altoid boxes that I've been wondering what to do with.
I love this, my little one's a bit young for these but it would make a great present for my nephews and nieces
Oh my goodness. The nerdy Cheri just jumped out. I absolutely LOVE tangrams. Love 'em. I never thought to make some though…not to mention magnetic ones. I would love the file as well. Thanks Delia. You rock!
Cheri
I love it! Perfect for traveling. Those altoid tins are so useful!
Ooh, smart! I used to love playing with tangrams when I was younger, but I never had any magnetic ones. I might make some of these even though my daughter is way too young for them.
You could use an acrylic sealer on top of the mod podge to reduce the stickiness if you can't find the gel medium.
Those look fun!
This is such a great idea for kids. I had forgotten about these.
Another awesome idea!!!!
Thank you, Delia 🙂
I will sure be making these for my boys
I know my son would love this. I think I have some tangrams made from wood that I can apply magnetic paper to the back of. I think he would like that better. This looks like a fun project though.
I’ve missed a lot! So many new great tutorials. You have been busy! Great ideas–I love this, I love the purple bag, and the towel ponchos are so cute. You are amazing!
I love it! Thanks for sharing. I've posted a link to it from http://craftandkids.blogspot.com.au/2012/07/tangram-puzzle.html
That little set would be perfect for playing with patchwork block designs! Fun!
Will definitely be trying this for my 6 year old with ADHD. Always lookong for ways to entertain him. Thanks for the tutorial.
Thanks for a fun idea!
A small tip for Mod Podging ink jet printed items. Try spraying first with a clear acrylic spray. (Lightly and from a distance so it doesn't make the colors run!) Let dry, and then Mod Podge. Spray both sides -drying in between – and it's supposed to help avoid wrinkles when you Mod Podge.
Thankyou! I made some and they're great. I did it slightly differently to your tutorial, and they turned out like this: http://a-little-crafty.blogspot.com.au/2012/08/magnetic-tangrams.html. They're too big for a tin, so I'll have to think of something else 🙂