

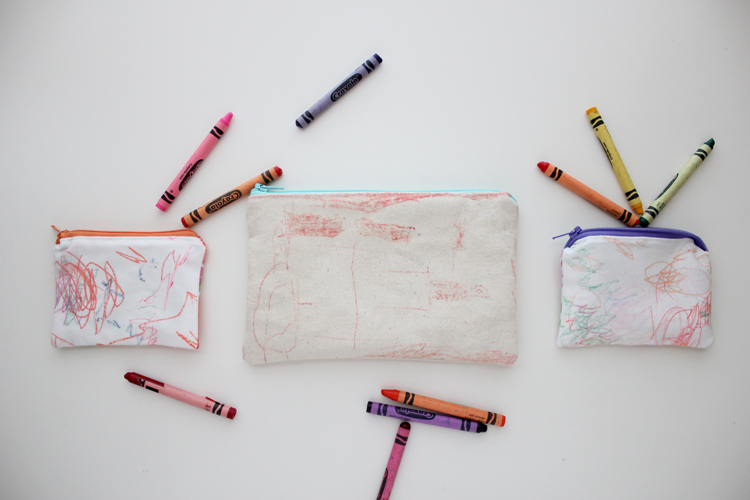
All this week I’m sharing grandparent gift ideas that kids can make or help make. Yesterday, I shared easy lavender photo sachets, and today I’m sharing…
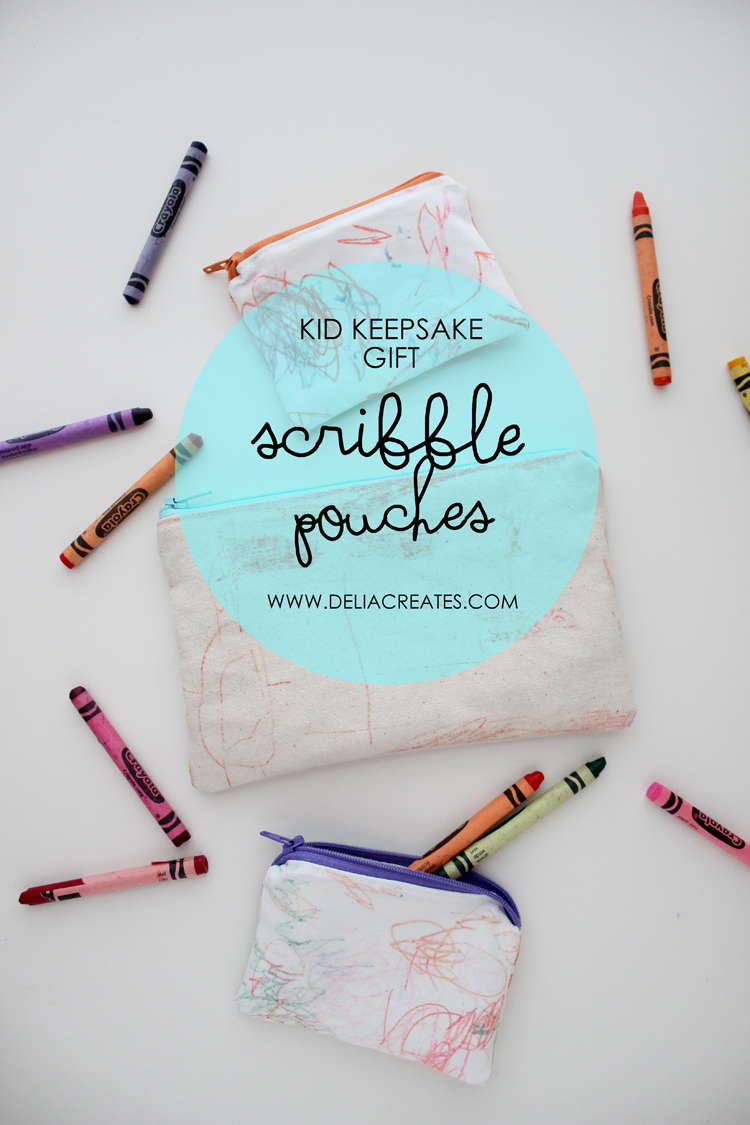
 If your child can color, then they can help make these pouches!
The secret ingredient to this project is:
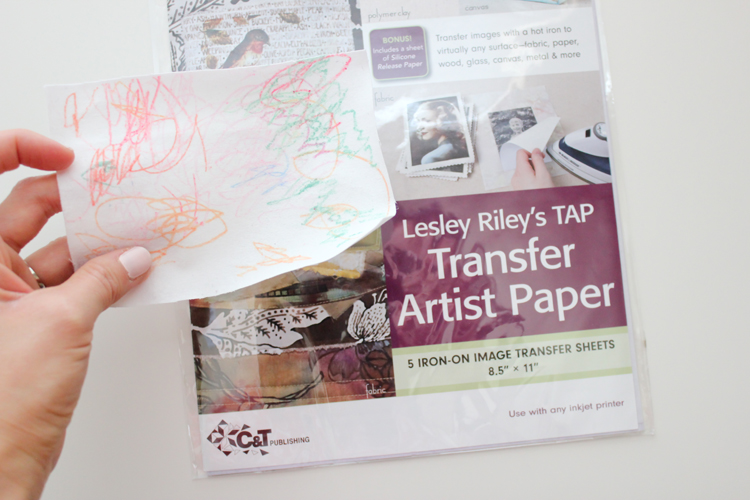 Lesley Riley’s TAP Transfer Artist Paper
 (affiliate link).
This stuff is awesome. You can transfer drawings, paintings, or images you print on your ink jet printer onto wood, clay or fabric!
Obviously, we went with fabric for this project.
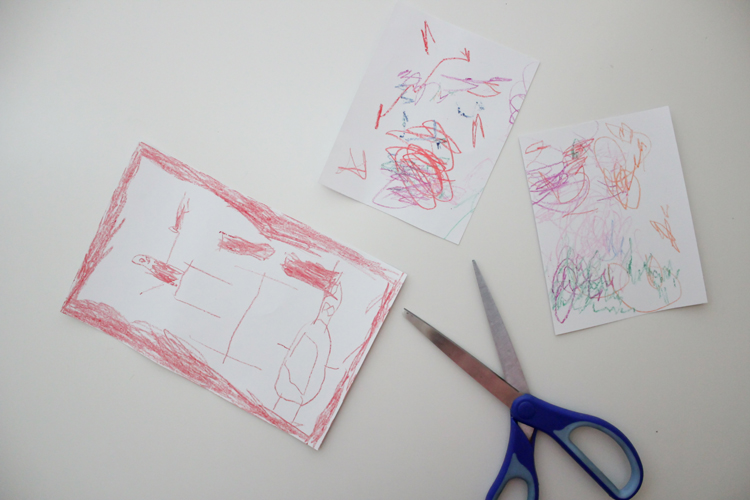
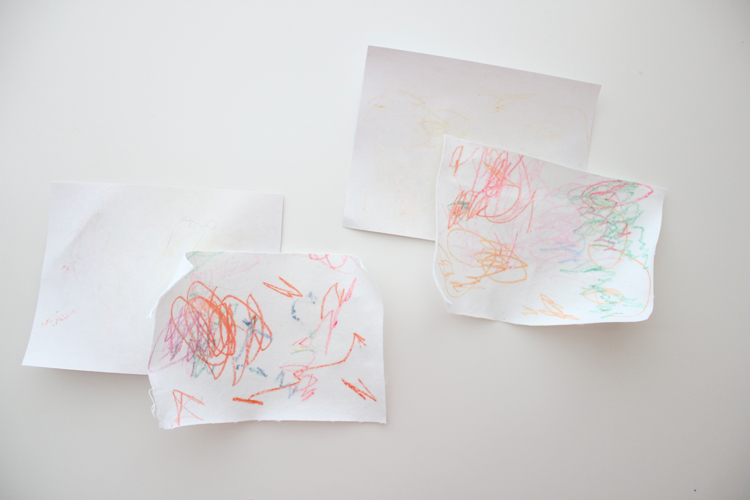
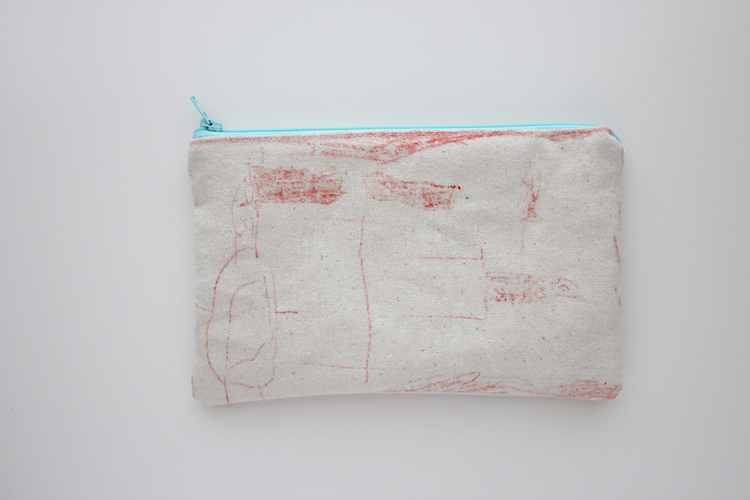
Just have your kids draw on the white side of the TAP paper. Then, follow the instructions to transfer it to fabric.
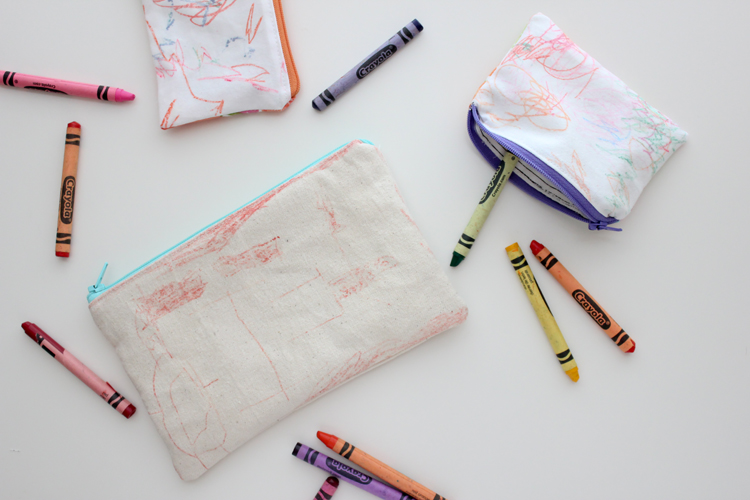
As you can see, it transfers better if your fabric is smoother.
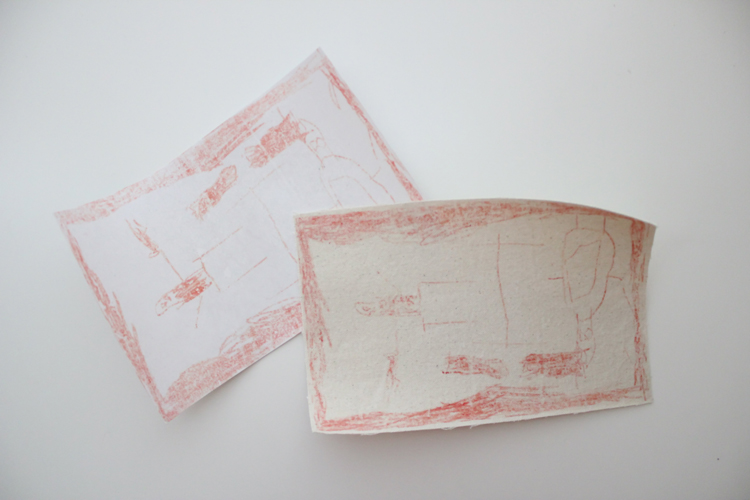
 It also leaves a little bit of a waxy film and causes the fabric to get slightly stiff. But it’s not too bad.
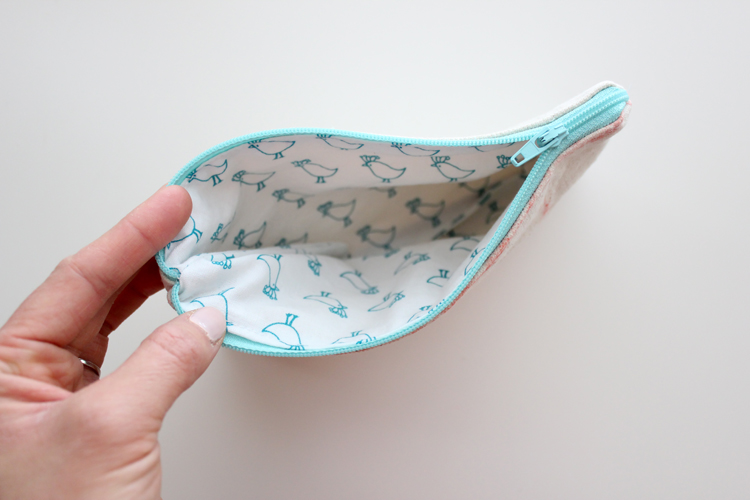
Once you transfer your drawings to fabric, you’re ready to sew the pouches. Here’s a quick tutorial:
MATERIALS
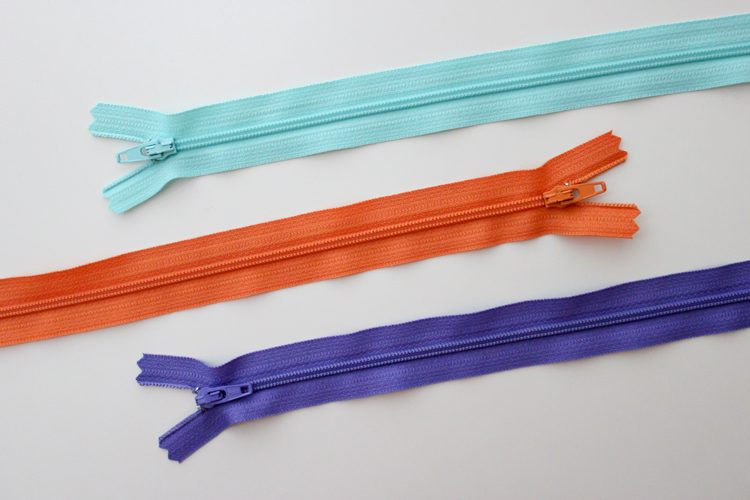
zipper
outer fabric
lining fabric
matching thread
*I am not sharing dimensions, because you can adjust it to however large or small you want your pouch.
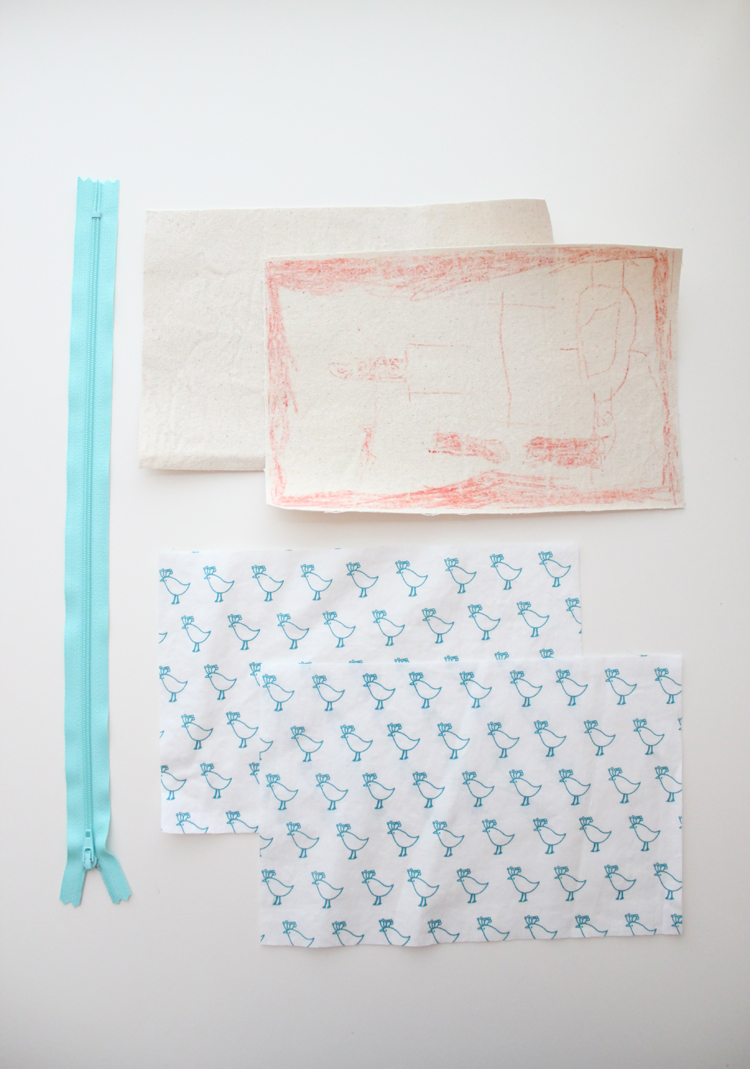
Before you begin, make sure you have two outer pieces (at least one of them being the TAP transferred fabric) and two lining pieces all the same size. You also need a zipper that is the same size or longer than the length of the pouch pieces.
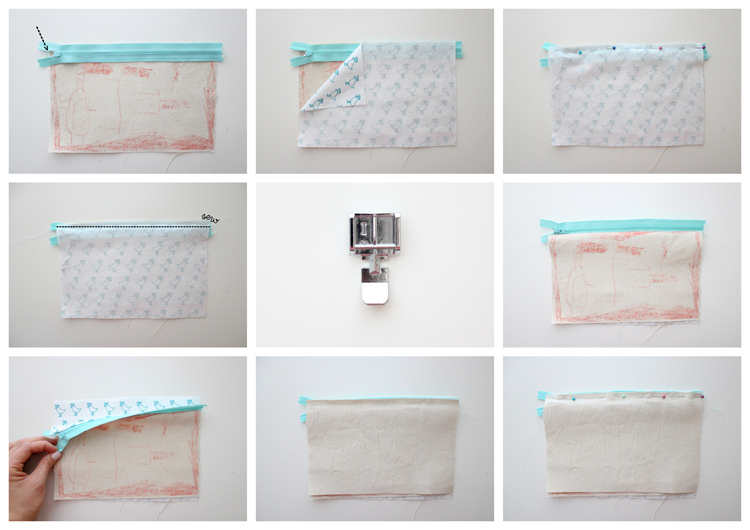
1. Cut your zipper to size if needed. Place the zipper, pull side facing the right side of athe outer piece. Make sure the zipper pull is 1/2 inch from the edge.
2. Place a lining piece right side down or facing the right side of the outer piece.
3. Pin the lining and outer pieces together with the zipper in between.
4. Sew the length of the pouch, close to the zipper teeth. A zipper foot is helpful at this step.
5. Flip the pouch pieces right sides out.
6. Place the half sewn pouch on top of the other lining piece, with lining pieces facing.
7. Place the other outer piece on top of the half sewn pouch. Make sure the other lining and other outer pieces line up with the un-sewn side of the zipper.
8. Pin and sew close to the zipper, like you did previously.
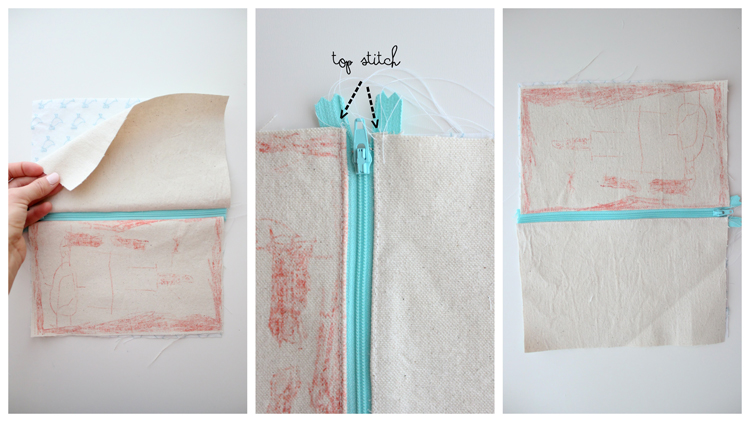
9. Open up the pouch so right sides are facing out.
10. Top-stitch where the outer pieces meet the zipper, close to the seam.
 11. Now flip the outer pieces and lining pieces so they face each other, right sides together. Oh! But don’t forget to open the zipper halfway first!
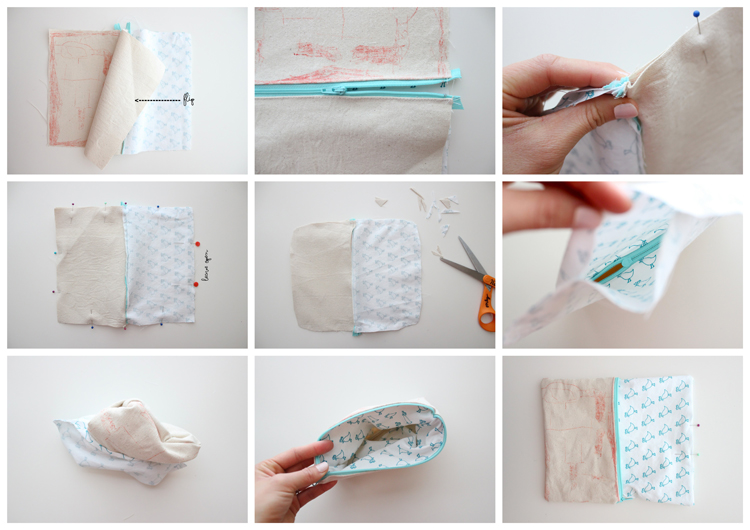
12. Pin everything together, making sure to fold the zipper teeth toward the lining side.
13. Sew all the way around, leaving a 3 inch opening in the middle of the long edge of the lining.
14. Trim down the corners to reduce bulk.
15. Pull the pouch right sides out. Nudge your zipper open a little bit more first, if needed. Take time to push the corners out so everything lays nice and flat.
16. Pull the lining out. Pin and sew the opening closed with a straight stitch along the entire length of the bottom of the lining.
 17. Push the lining back into the pouch.
 Tada! Done!
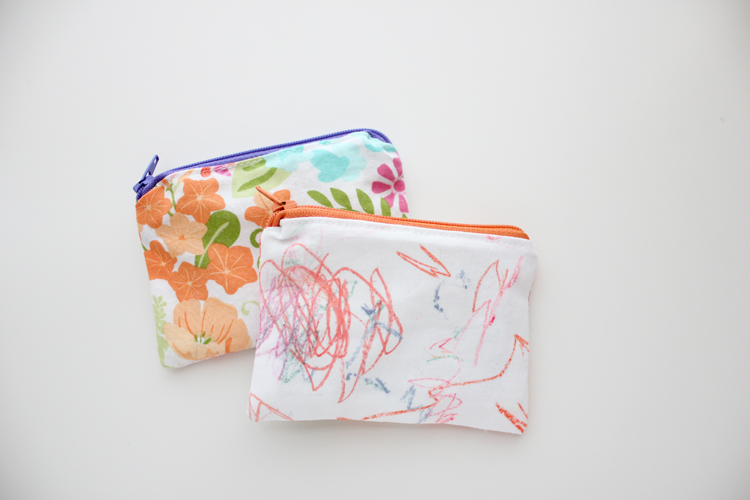
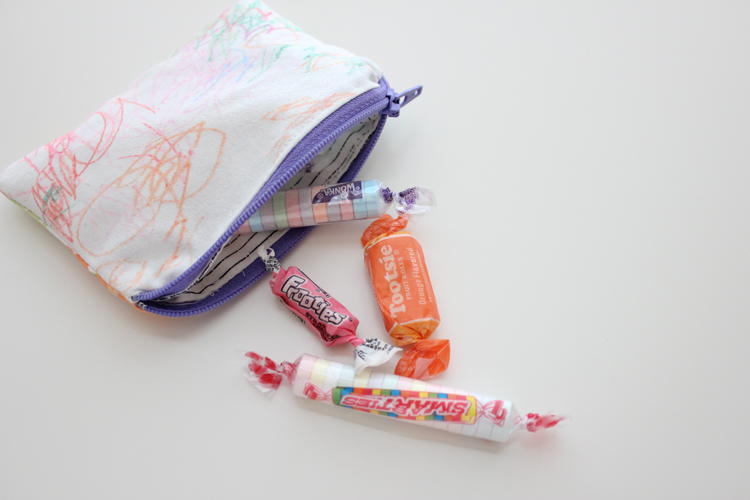
Fill with goodies or something fun!
such a cute idea! 🙂
Thanks Jane!
if you don’t have the transfer paper you can have them color on sandpaper with crayons, then put the fabric on top of it and iron it. The crayon color will melt into the fabric. Our kid’s summer camp did t-shirts that way. Thanks for another fun idea!! 🙂
That is awesome. Thanks for the great tip!
Thanks for the tutorial Delia and great tip on the sandpaper Kristi!
You come up with such creative projects. Even if I don’t try all of the projects you post I love to look at them!
Cheers Delia!
Thank you Vanessa!
These are really cute! I’d probably go straight for drawing on fabric, since I used some TAP a few days ago and I was really disappointed with how it transferred… though possibly my iron just doesn’t get hot enough for it. Obviously it worked great for you! =)
I know what you mean. It did great with some fabric and not so great with others. My printed images (another project) came out only alright too. I bet fabric was a factor with that one too though.