

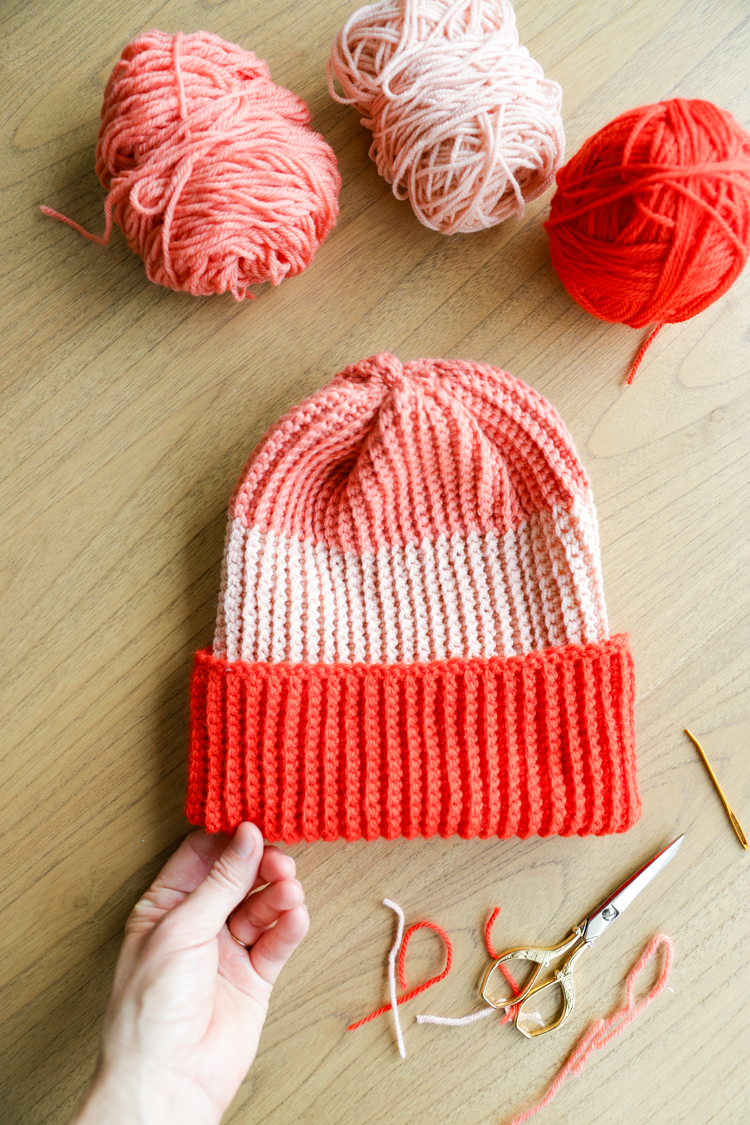
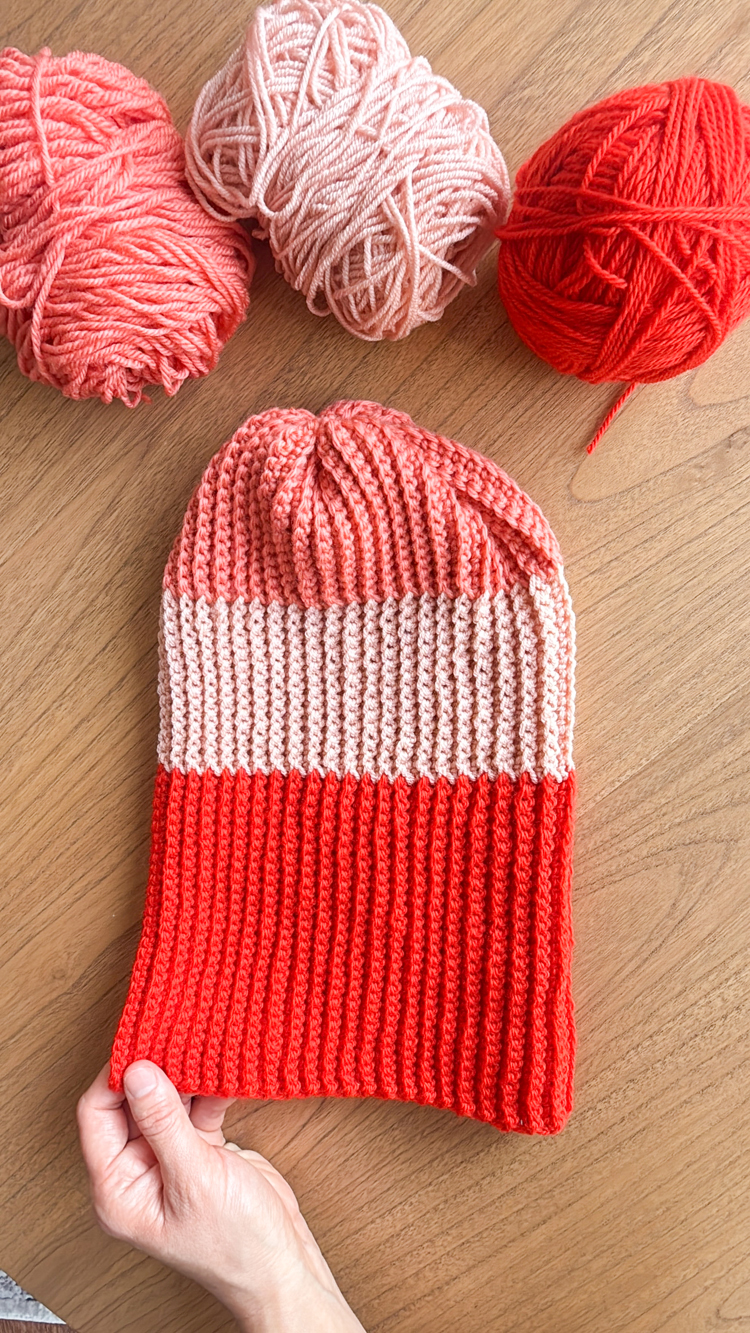
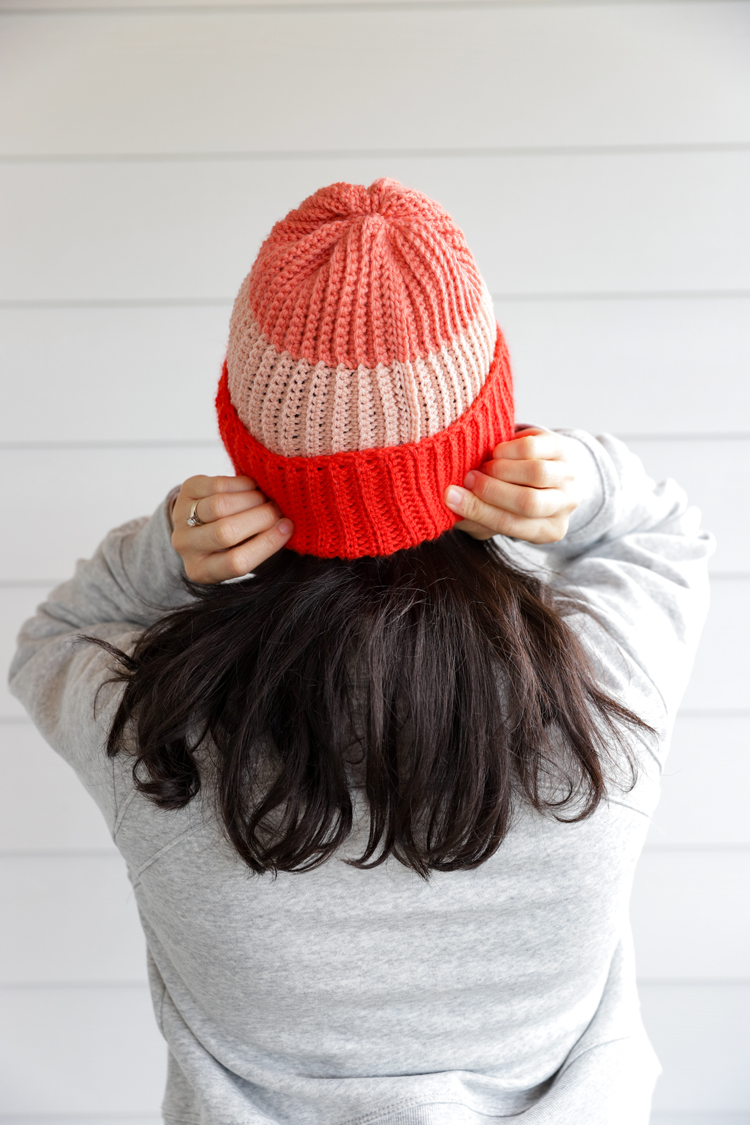
If you liked my Basic Single Crochet Beanie pattern, but want to add more color and a little bit of a challenge, this Color Blocked Crochet Beanie is the big sister, leveled up version.

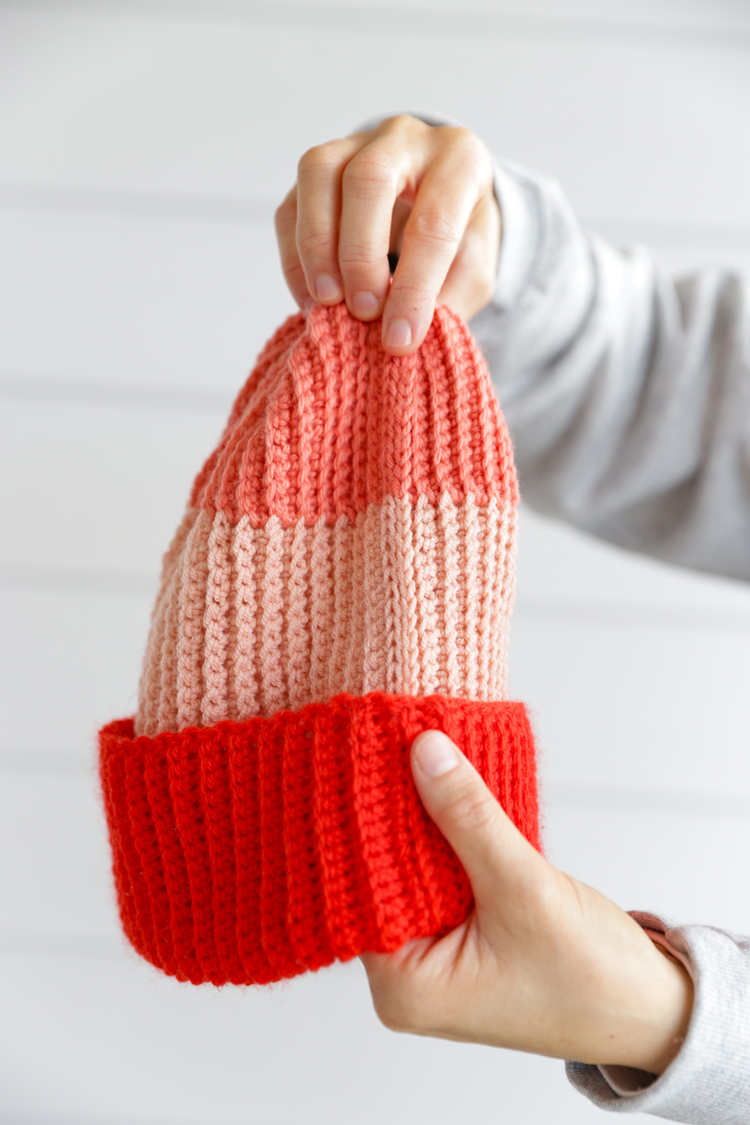
It’s still has that lovely, ribbed, suuuper stretchy texture but with some changes:
- This pattern uses a smaller hook, so the ribs are tighter and it’s a little denser.
- It starts with a chainless foundation single crochet (sc) rather than a starting chain. It’s an easy stitch once you get the hang of it and it makes the hat even stretchier.
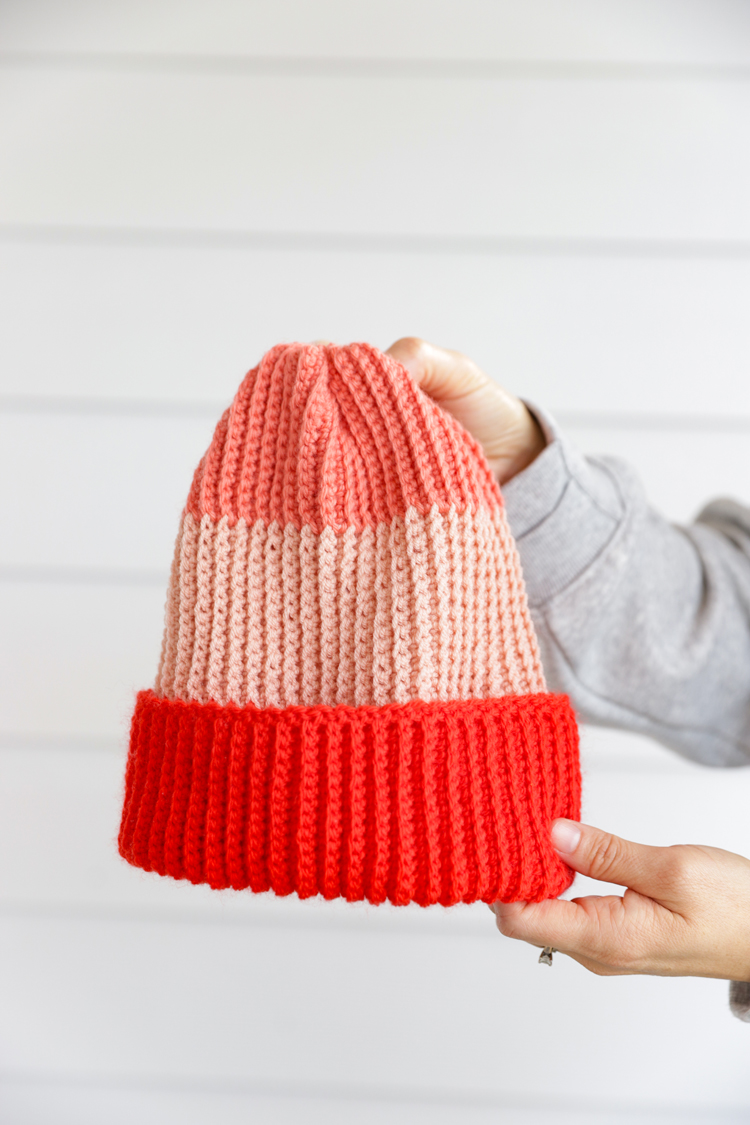
- It’s color blocked, of course! I show you how to make color changes that are seamless on the outside (right side) of the beanie.

I’m sharing this beanie in one size (Adult Medium – Large) and in three colors, but you can of course add or remove stitches and rows to adjust sizing. You can also use just 2 colors or add a bunch more colors! The simple design of this hat leaves a lot of room to play.
See the sizing and design adjustment sections for more.
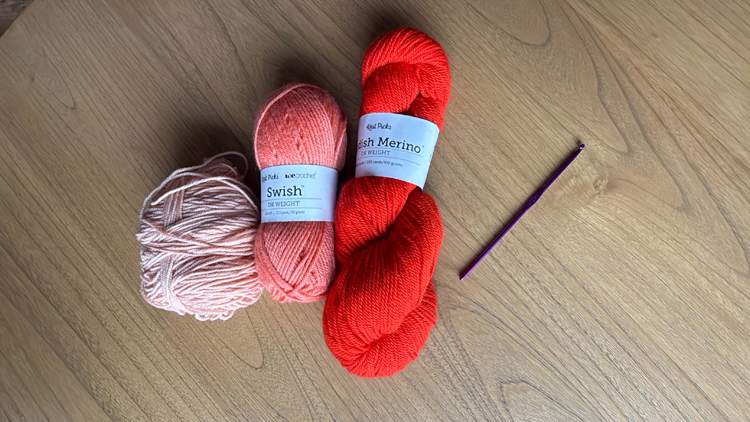
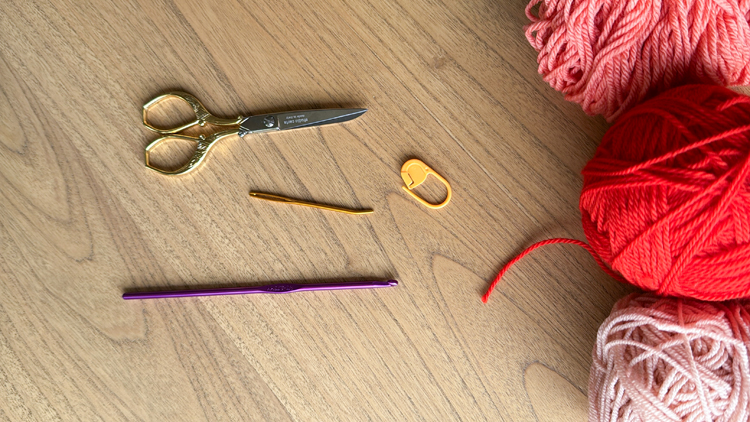
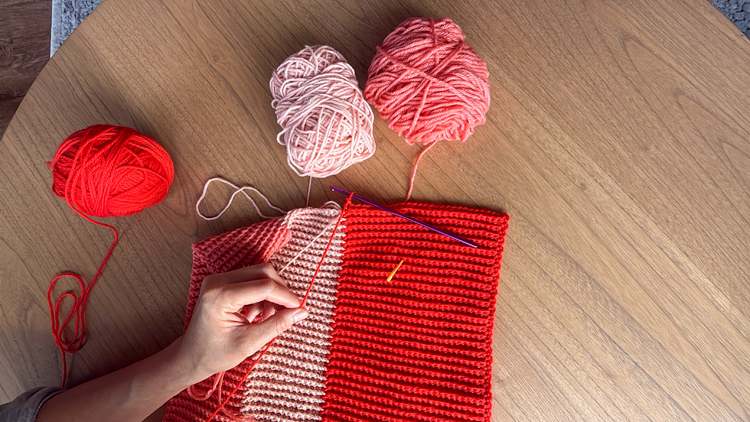
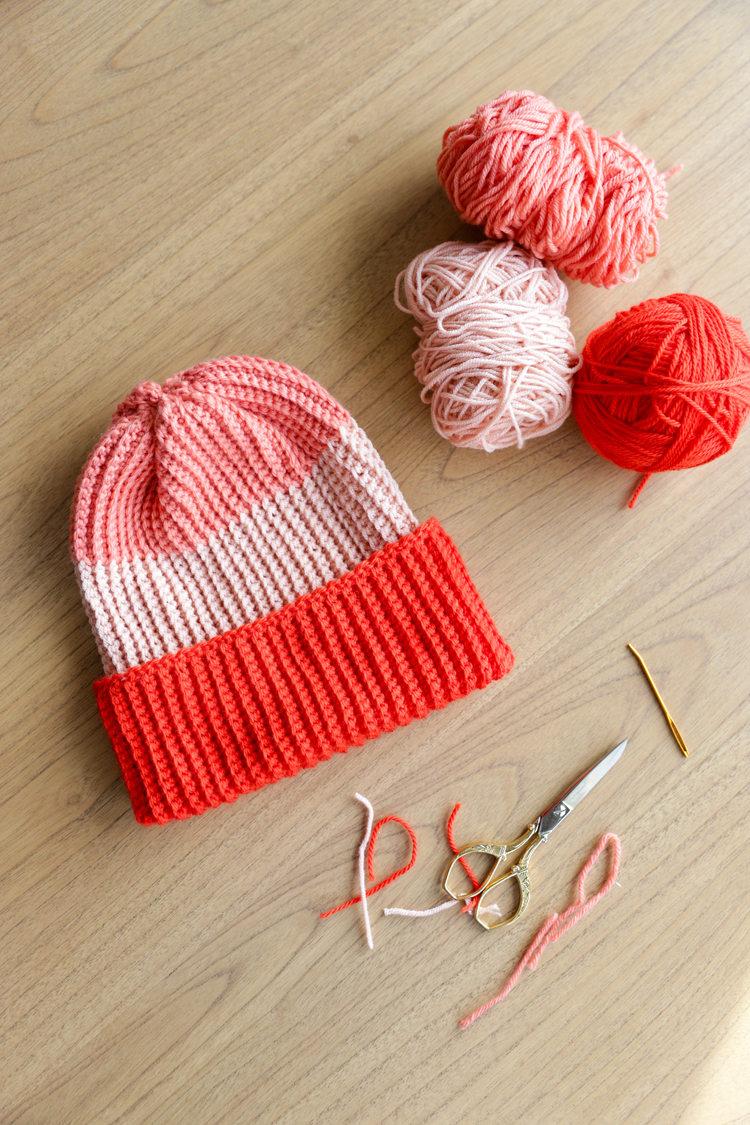
MATERIALS
- DK or category 3 yarn in three colors*
- 3.50 mm crochet hook
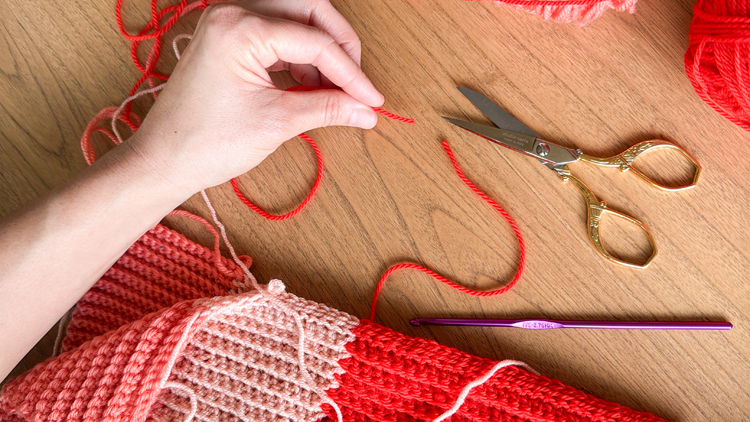
- Yarn needle
- Scissors
- Stitch marker (you an use a contrasting 3 inch piece of yarn or ribbon instead)
Material Notes
*I used 27 g of Merino wool yarn from Lion Brand in ballet slipper, 28 g of Swish merino wool yarn from Knit Picks in Conch, and 46 g of Modish Merino wool yarn from Knit Picks in Nasturtium.
*Even though they are all listed as size 3 or DK yarn and they are all merino wool yarns, the Lion Brand merino wool yarn is thinner than the Knit Picks yarns. If I wasn’t stuck on using this color combination, I would have swapped it out with a yarn that matched the density and thickness of the Knit Pick yarns. Having it be the middle color, helps compensate for the difference in thickness a little. I would not make it the brim however as it would throw off the proportions.
SKILL LEVEL
Intermediate
The design of the beanie is very simple. It’s mostly the same stitch throughout and it’s just a rectangle seamed into a tube and then gathered at the top. But the color changes and the starting chainless foundation sc stitches make this a project for when you’ve already made a few beanies and feel ready for more of a challenge.
If you want a beginner friendly version, check out the Basic SC Beanie, or better yet, check out my Crochet Basics series where I start from the very beginning on how to get started with crochet.
SIZING
This hat pattern come in one size: Adult Medium/Large and should fit a head circumference of of up to 24 inches or 61 cm.
For sizing and design adjustments, see the end of the post.
SIZING ADJUSTMENTS
If you want the hat to have a larger or smaller circumference, add or subtract increments of 2 rows. You always want to end with an odd number of rows, so that when you seam up the beanie, you end at the top of the hat where you will close it up. It also makes the seam look better to end on an odd number.
To make the hat taller or shorter, add or remove stitches. Number of stitches does not matter in this case but will of course impact the proportions of how many stitches you work in each color.
DESIGN ADJUSTMENTS
Use two colors, 4, 5, 6, 8 colors! Just be mindful of the brim. The hat is designed to be long with a generous brim. That brim will likely cover up a lot of color changes at about the 2/3 mark down the length of the beanie. That’s why I kept a lot of color changes higher up on the hat.
I’ve toyed around with the idea of doing just two colors and making just the edge of the brim a different color. There are a lot of ways to make this beanie look totally different by changing where you implement the color changes.
GAUGE
4 x 4 inches = 19 sc x 21 rows
To make a gauge swatch, start with 22 or so chainless foundation sc, and then work 22-23 rows. I like to make the swatch slightly larger because I think it gives a more accurate gauge.
If your gauge is smaller or tighter, go up a hook size. If it’s looser and larger, go down a hook size.
ABBREVIATIONS
This pattern uses U.S. crochet terms.
- Ch = chain
- sc = single crochet
- blo = back loops only
VIDEO TUTORIAL
The video should have already popped to the top or side of your screen. It will play after some initial ads. If you “x” out of the video, you need to refresh the page to get it back.
Music is by Pleasant Pictures Music Club.
PLEASE NOTE: THIS PATTERN USES U.S. CROCHET TERMS.
WRITTEN PATTERN
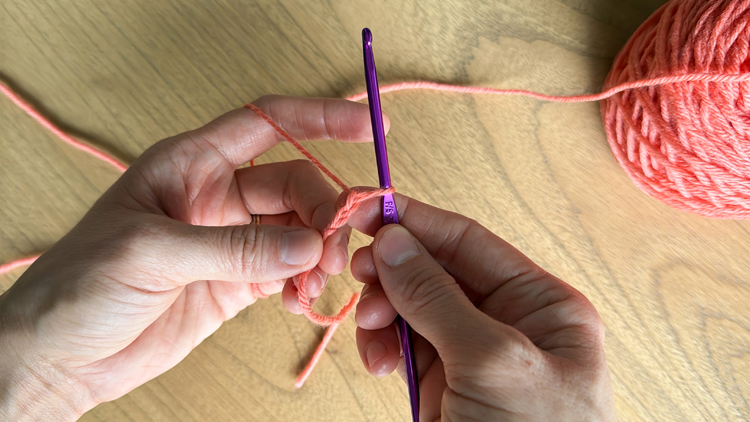

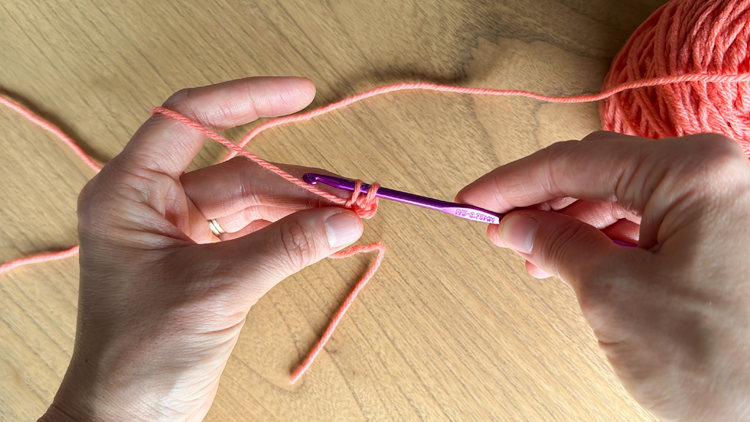
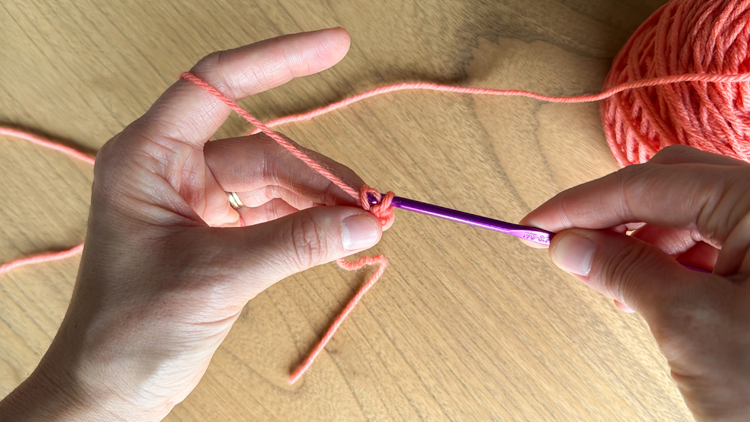
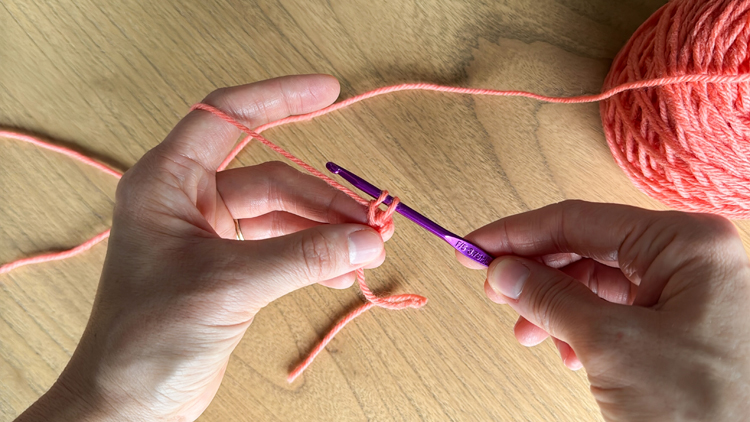
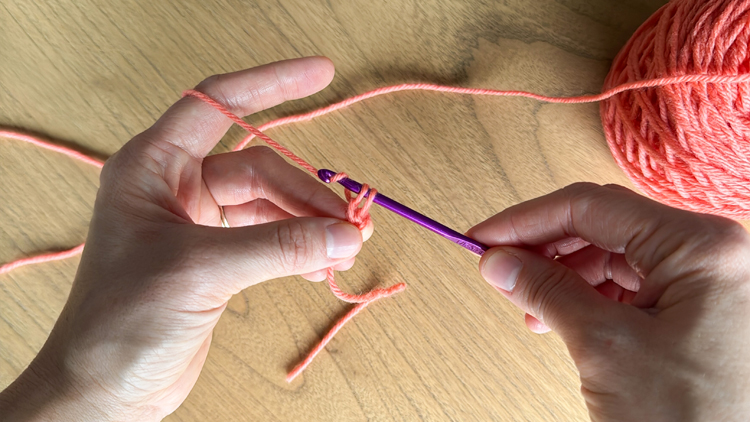
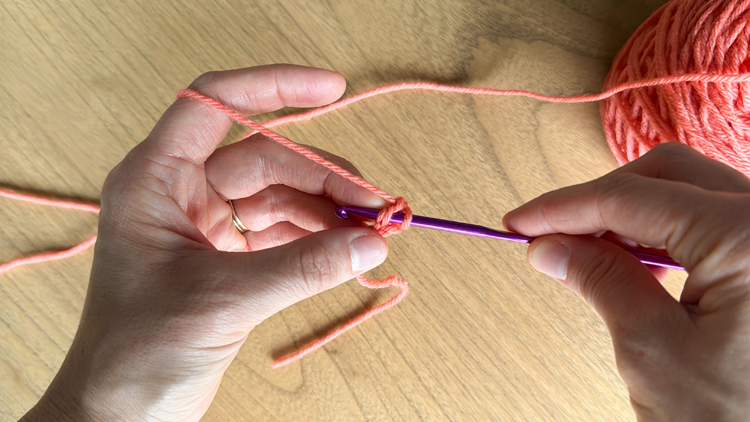
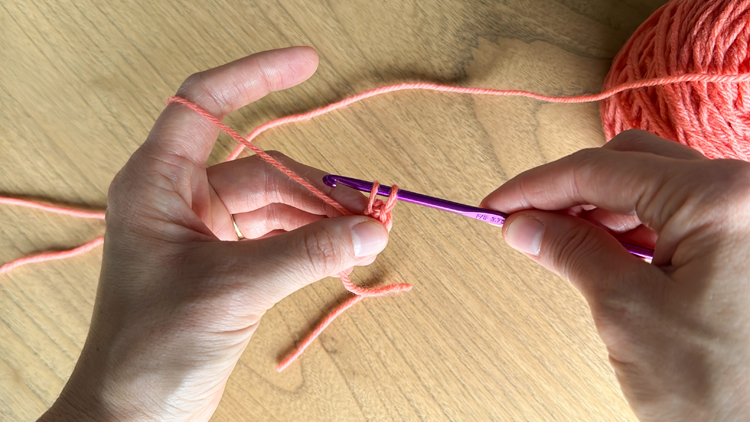
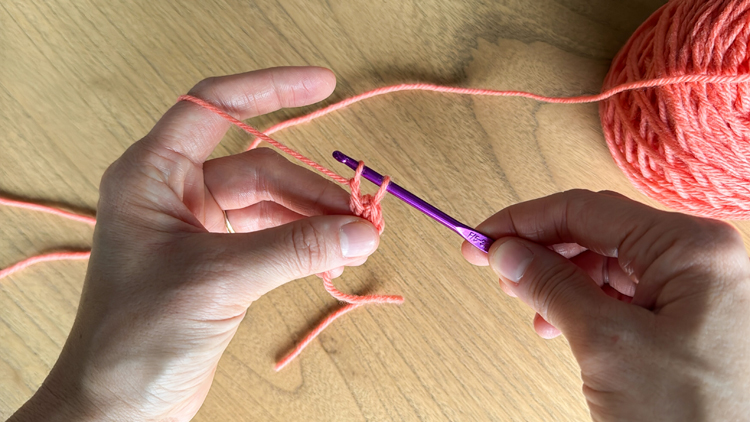
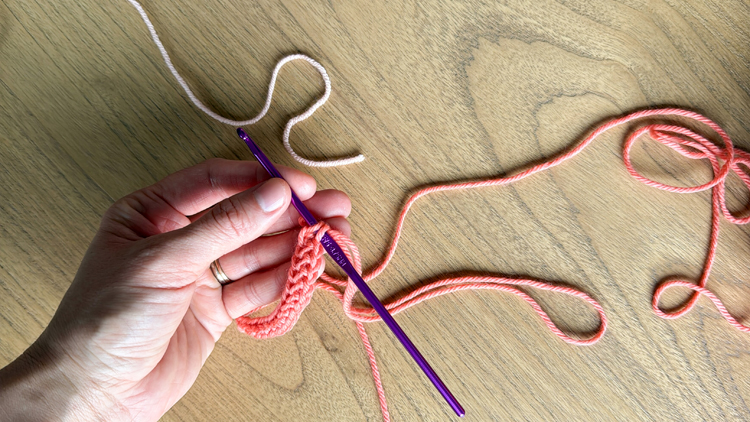
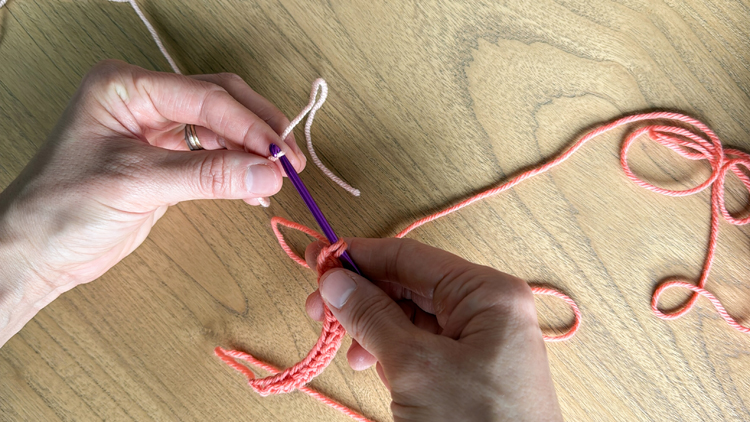
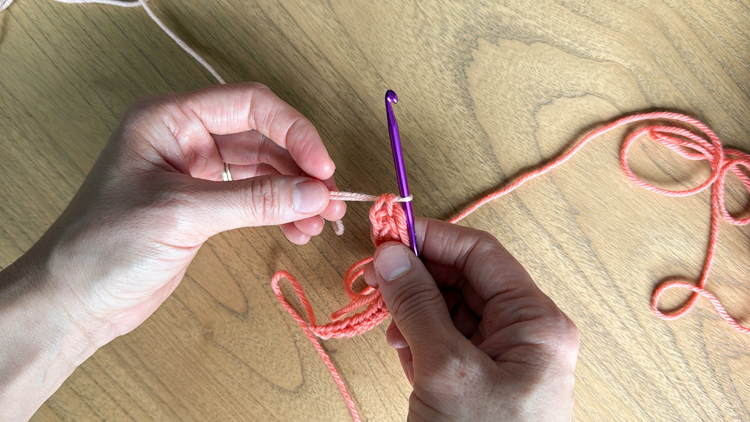
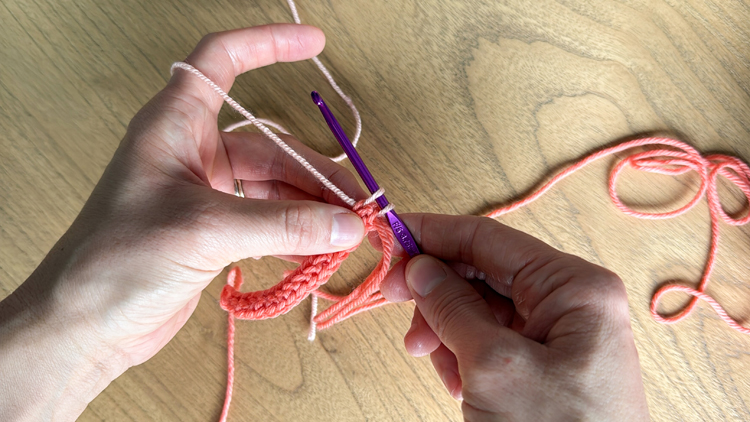
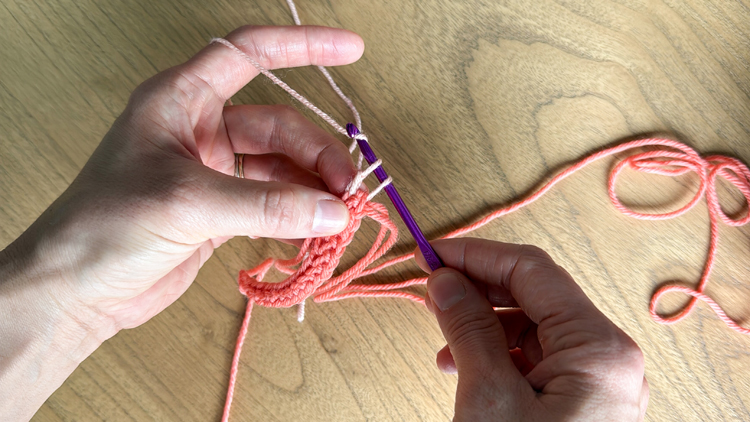
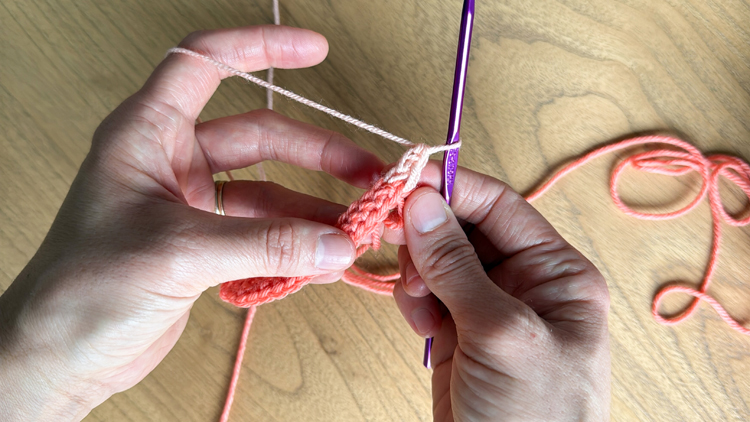
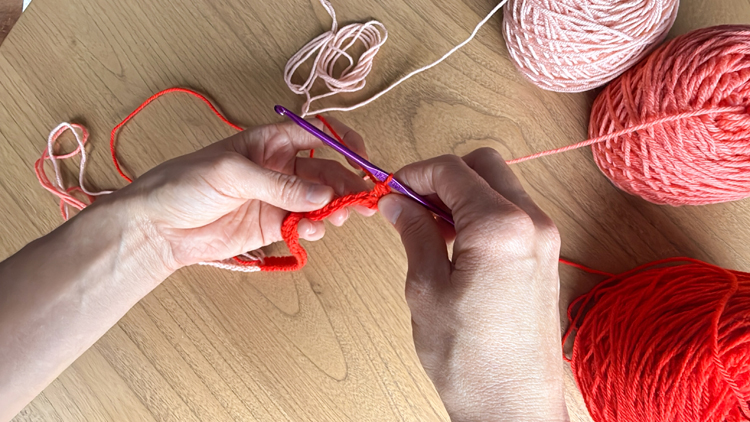
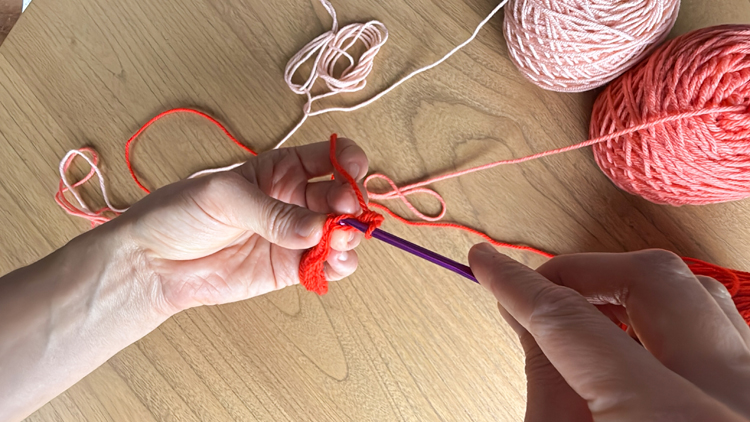
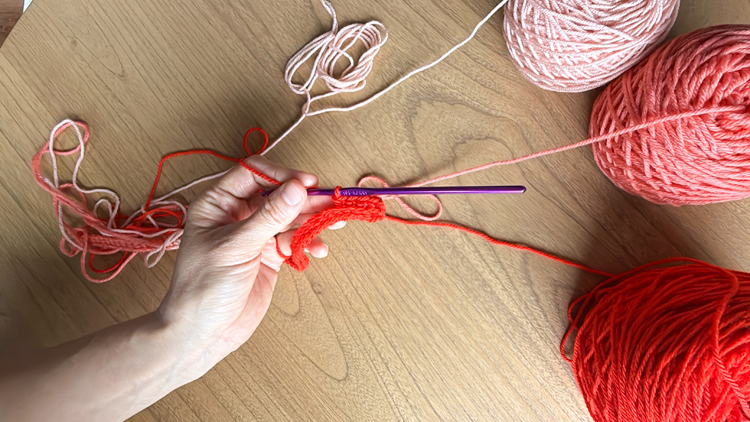
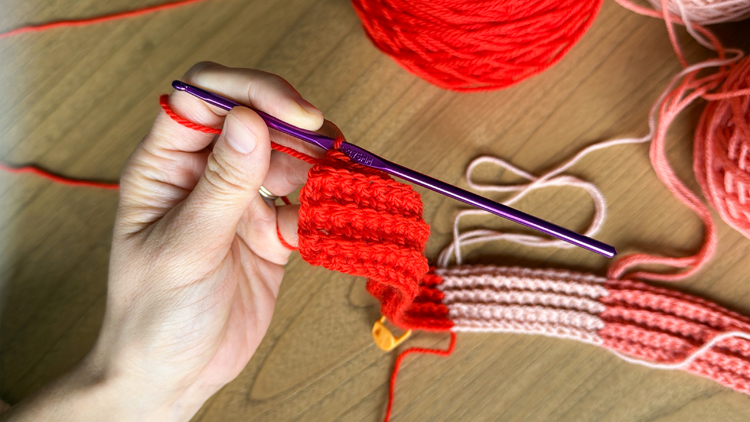
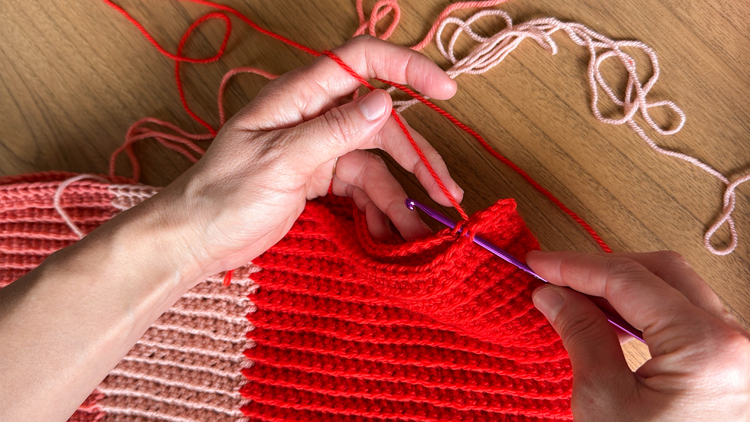
ROW 1: (Color 1 – top of the hat)Tie a slip knot in the first color, leaving a 5 inch tail. Ch 2. Insert your hook into the first ch. Yarn over and pull through. You should have two loops on your hook. Yarn over and pull through one loop. Yarn over and pull through two loops. This is a chainless foundation sc. Work a total of 16 chainless foundation sc.

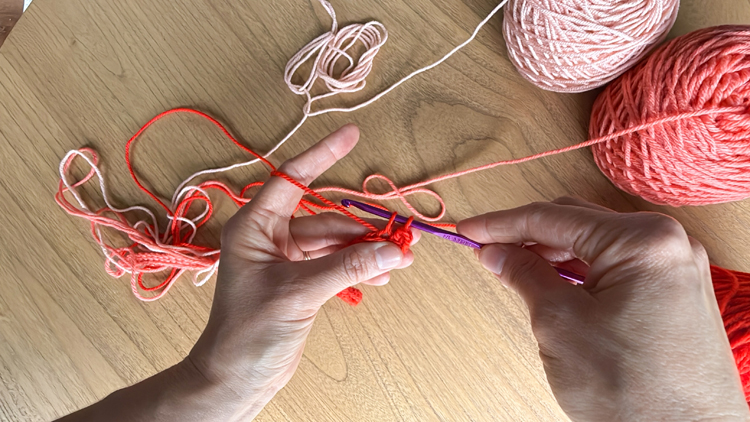
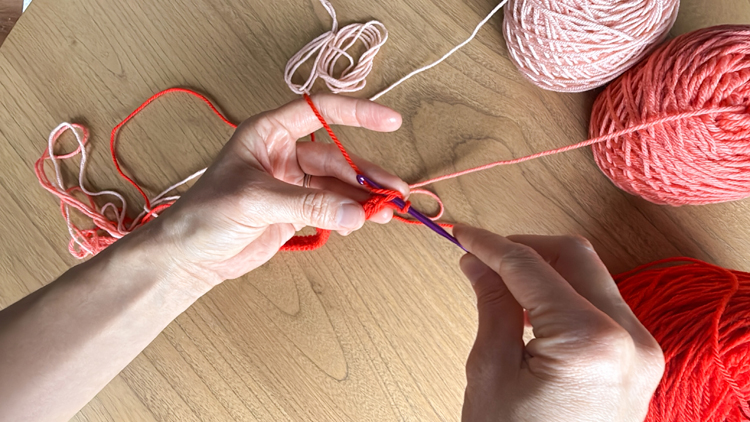
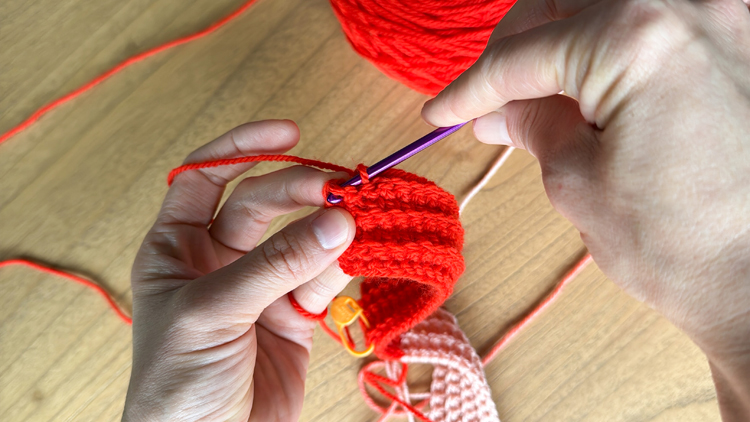
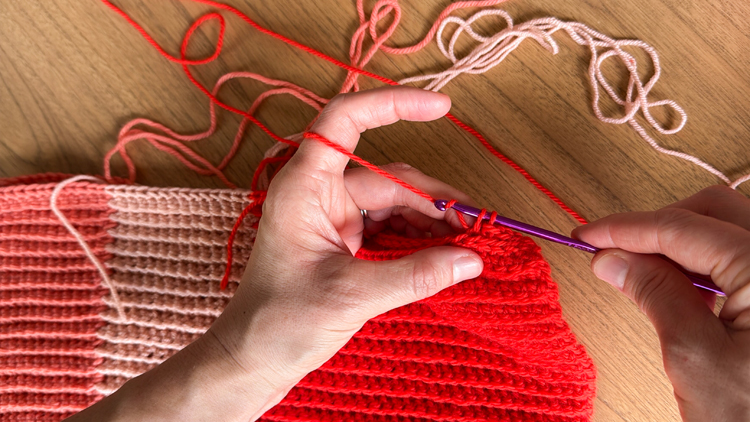
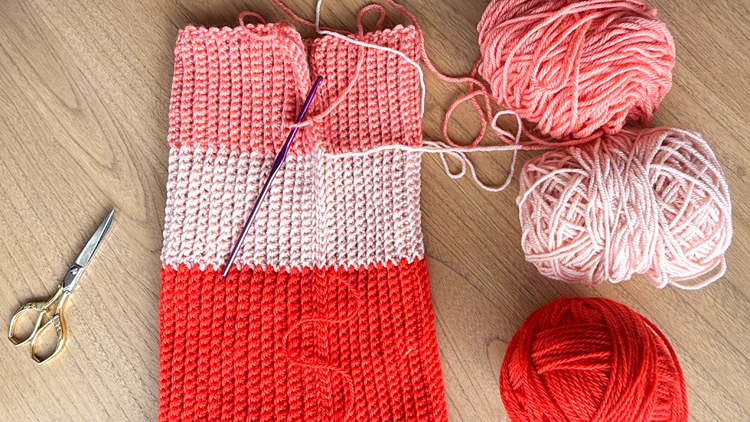
(Color 2 – middle color) Switch colors by pulling the last color up in a long loop, remove the hook and insert it into the two loops beneath the stitch (see the video tutorial for more clarification), lay the new color of yarn on top of the hook and pull it through the two loops. Then proceed to work chainless foundation sc for 14 stitches.
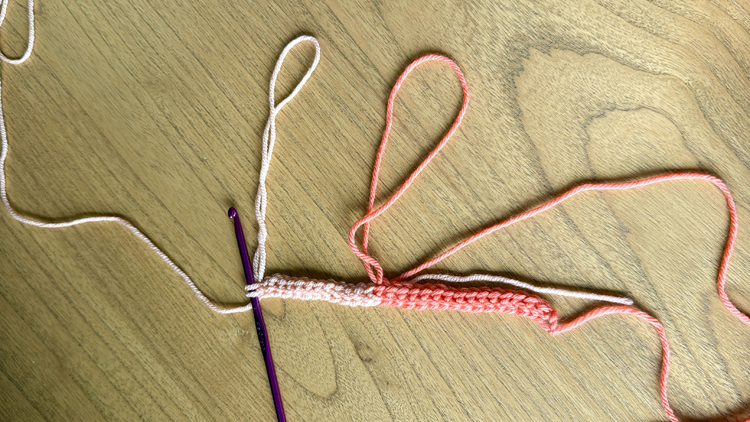
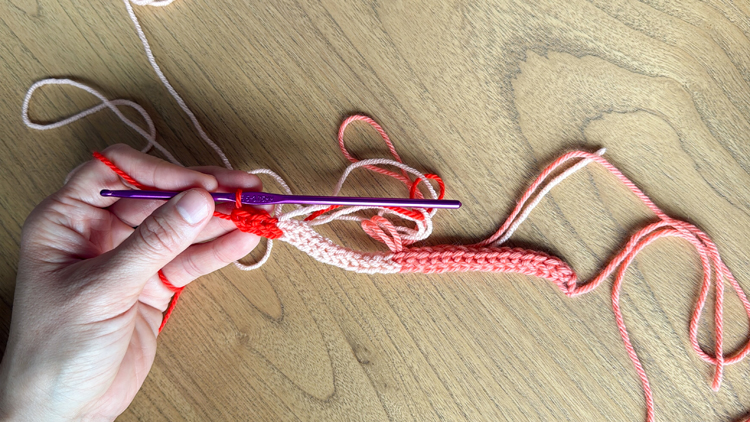
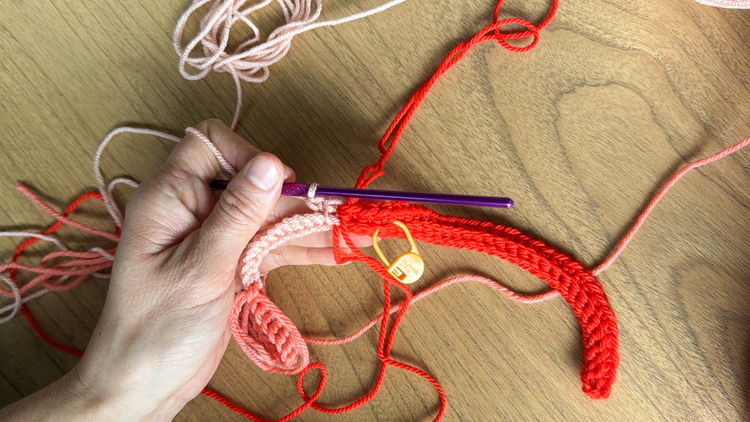
(Color 3 – brim of the hat) Switch colors one more time in the same way as the second color. Work a total of 29 chainless foundation sc. (Total stitch count should always be 59 for the entire beanie.)

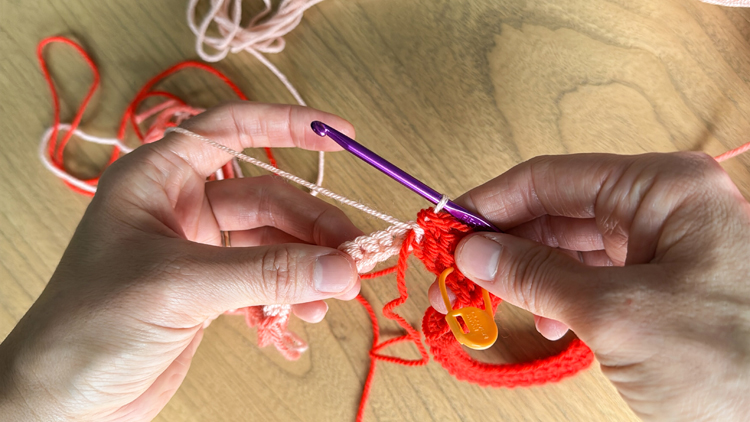
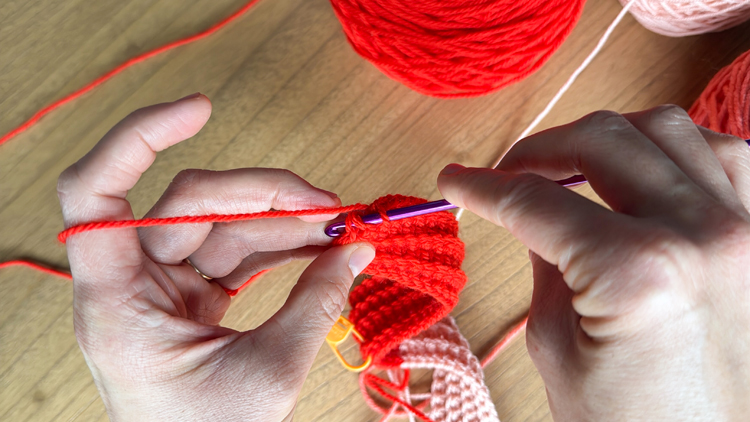
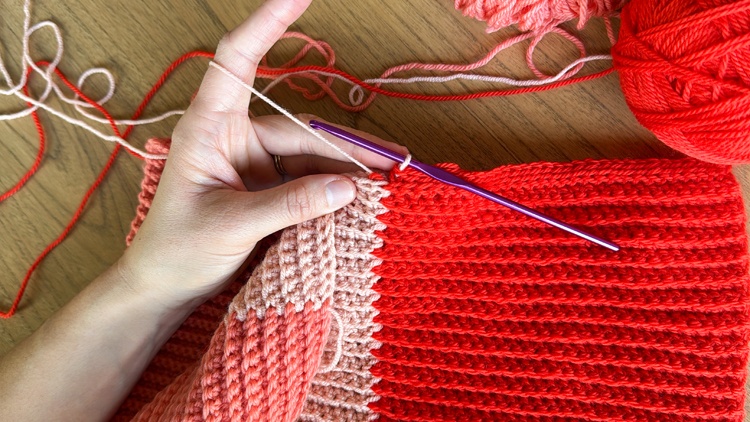
ROW 2: Turn, chain 1, sc in blo only for 29 stitches in the third color. Pull up a long loop, insert hook into the two loops under the long loop. Lay the working yarn IN FRONT, THEN lay the long loop of the next color over the hook and pull it tight. Pull it through the two loops, and then continue sc in blo for 14 stitches.
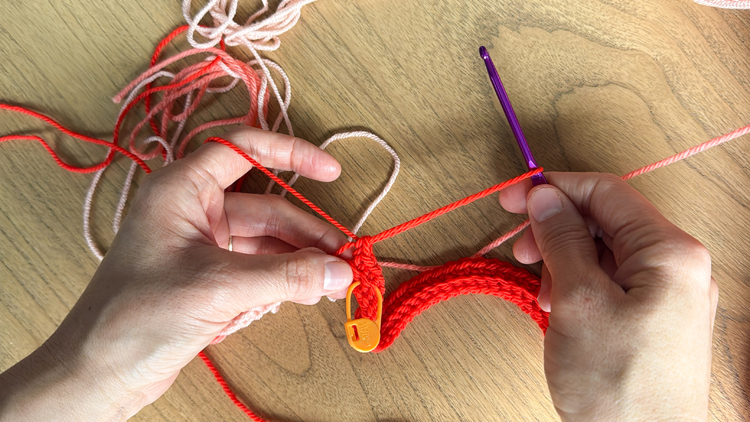
Place a stitch marker on this side of your work to remind you that this is an even row or what will become the “wrong” side of the beanie.
Change colors in the same way, taking care to lay the working yarn in front before adding the next loop of color. Work 15 sc in blo. Then work the 16th sc under both loops in the last stitch.
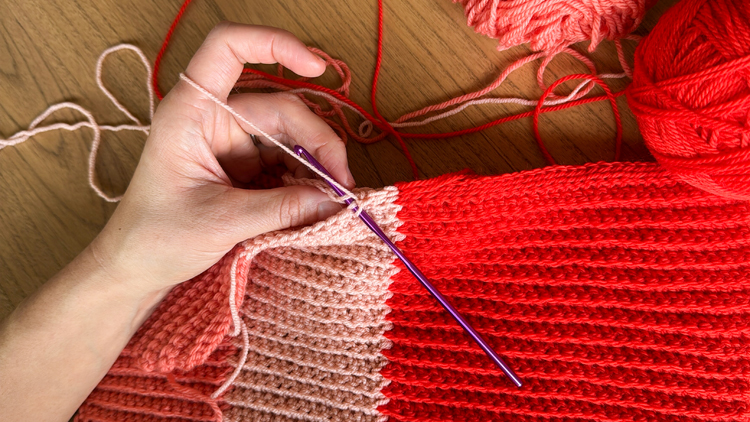
ROW 3: Turn, chain 1, sc in blo for 16 stitches in the first color. Pull up a long loop, insert hookd into the two loops under the long loop. This time and for every ODD row, lay the working yarn BEHIND before adding the next loop of color. Sc in blo only with the 2nd color for 14 stitches.
Change colors one more time, take care to lay the working yarn behind before adding the next loop of color. Work 28 sc in blo. Then work the 29th sc either under both loops in the last stitch, or in the third loop and the side of the ch 1 from the previous row. See the video tutorial for clarification. I think the second way makes the edge of the hat look better and more even.
ROW 4: Repeat Row 2, make sure to lay the working yarn in front before adding the new loop of color. Finish the last stitch in the row the same way as Row 3.
ROW 5: Repeat Row 3, making sure to lay the working yarn behind before adding the new loop of color.
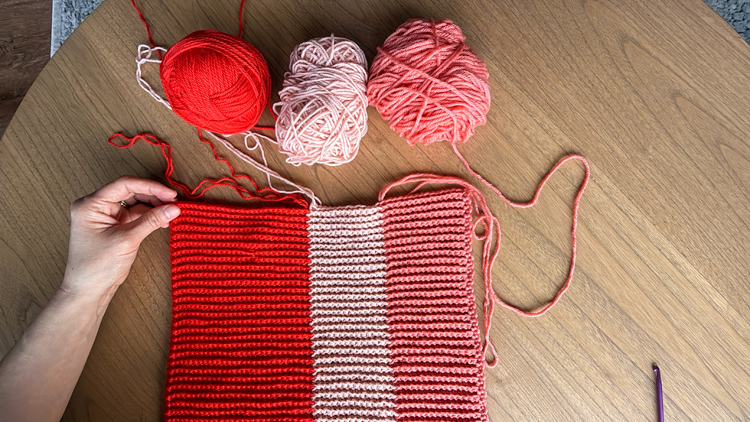
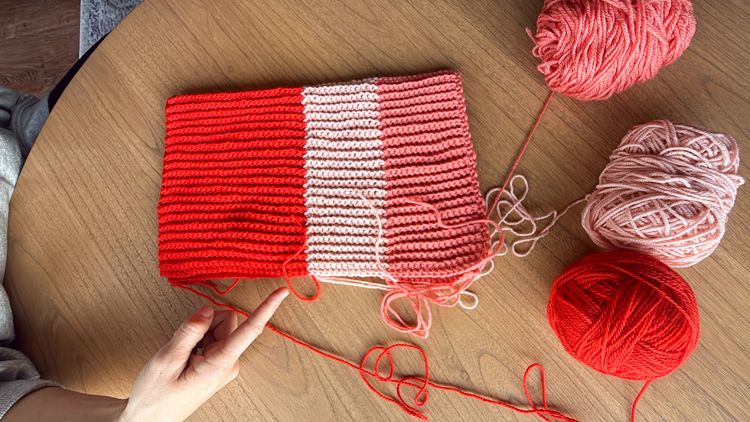
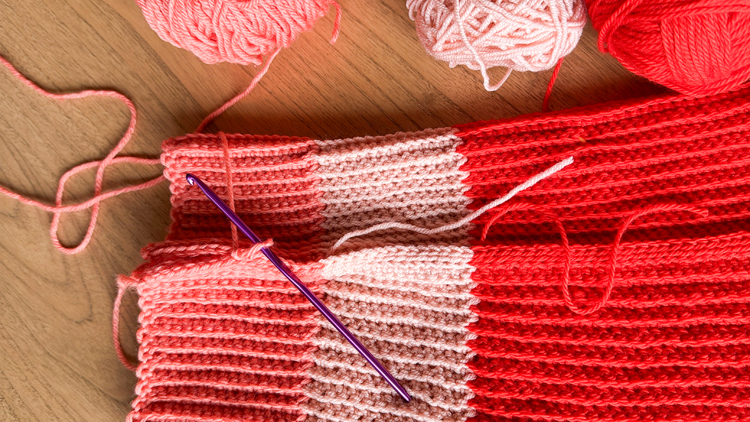
Repeat rows 4 and 5 until you get to Row 91.
Keeping the loops long and being consistent with the way you do the color changes is key to making the final hat look seamless.
If you run into any issues, I have a troubleshooting section in the video tutorial that walks you through some common pitfalls and how to fix them.
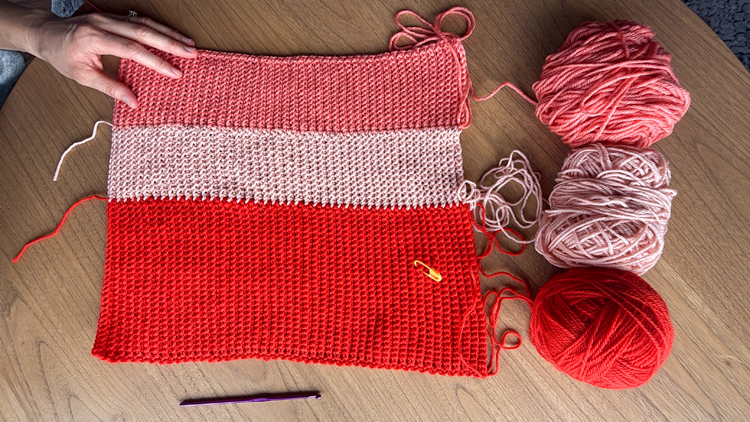

The resulting rectangle may look a little uneven at first. As long as your stitch count is correct, hand shaping should fix this. But if you’re concerned, you can also wet block it before proceeding.
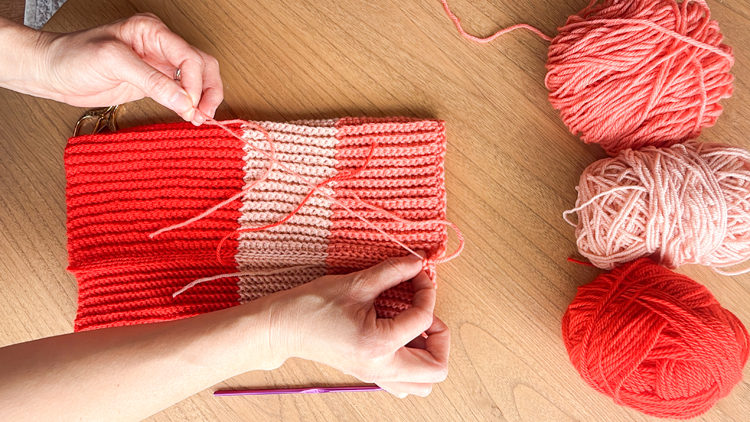
Seam Together Beanie
Fold the rectangle in half, with wrong sides facing. You can decide to make it right sides facing, but I wanted to prioritize the better seam at the brim so I did wrong sides facing.
Insert your hook through the end of the starting chainless foundation sc row and then grab the loop of yarn at the end of the last row you worked. Pull it through to connect these corners together. Ch 1.
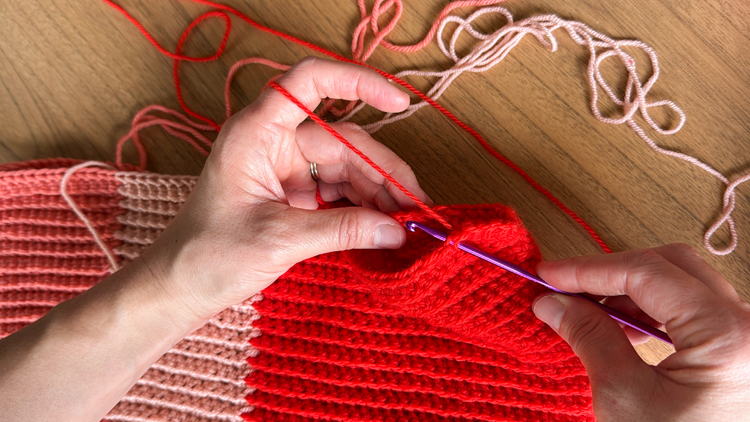
Insert your hook into the blo of each layer and then sc. Join each side together, matching stitch for stitch. Change colors the same way, but this time, after you’ve worked a few stitches in the new color, pull the previous color’s loop out and cut a 5 in tail. It will be secure and not pull out any stitches.
Once you’ve seamed the rectangle into a tube, cut a 12 inch tail and tie off the end.
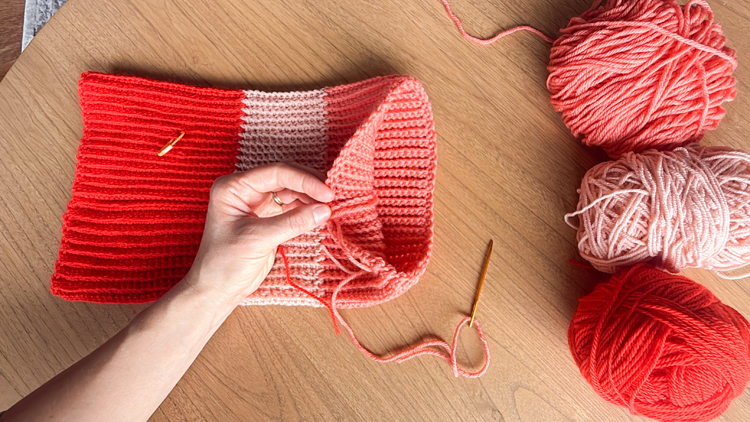

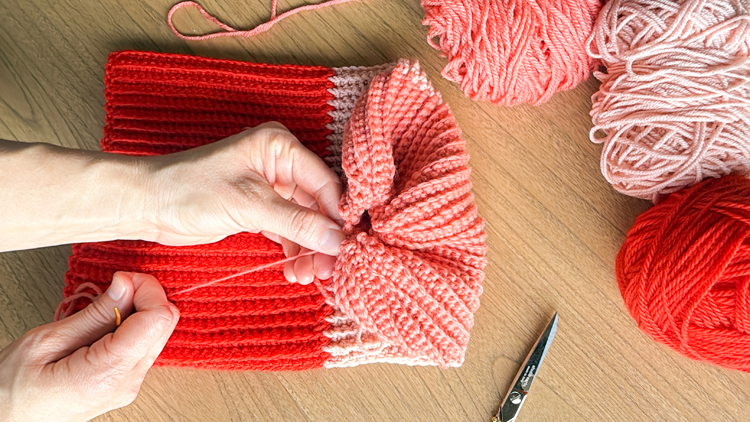
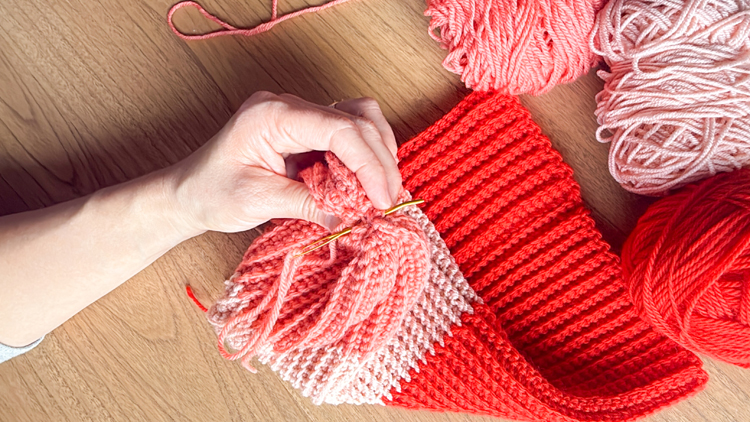
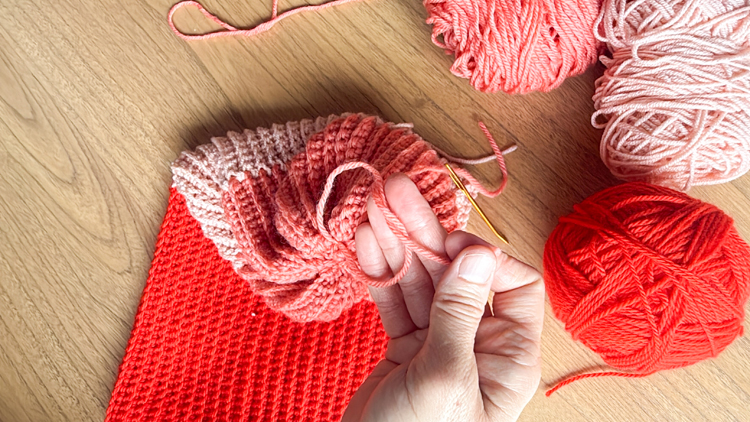
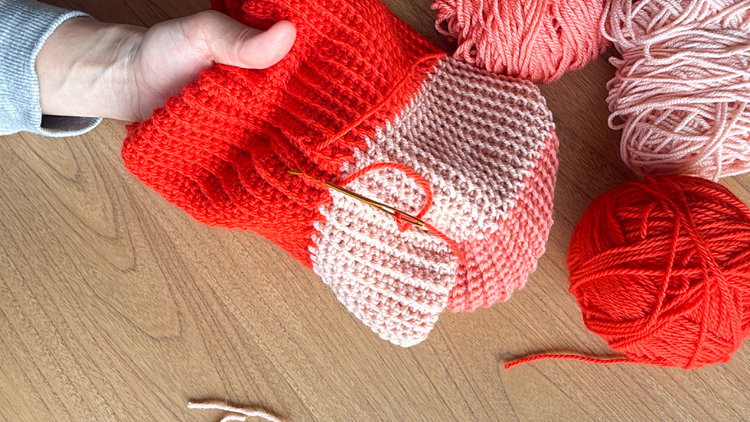
Turn the hat inside out and use the long tail to cinch up the top of the hat with running stitches around the perimeter of the opening.
Once you make it around once, pull it tightly and then sew around the smaller circle again. As the opening gets smaller, sew through it to fully cinch up the opening. Make sure it looks good from the “right side” then tie the long tail to the starting tail with a square knot. Weave in the remainder of the tail for a few inches and cut off the excess.
Weave in the rest of the tails.
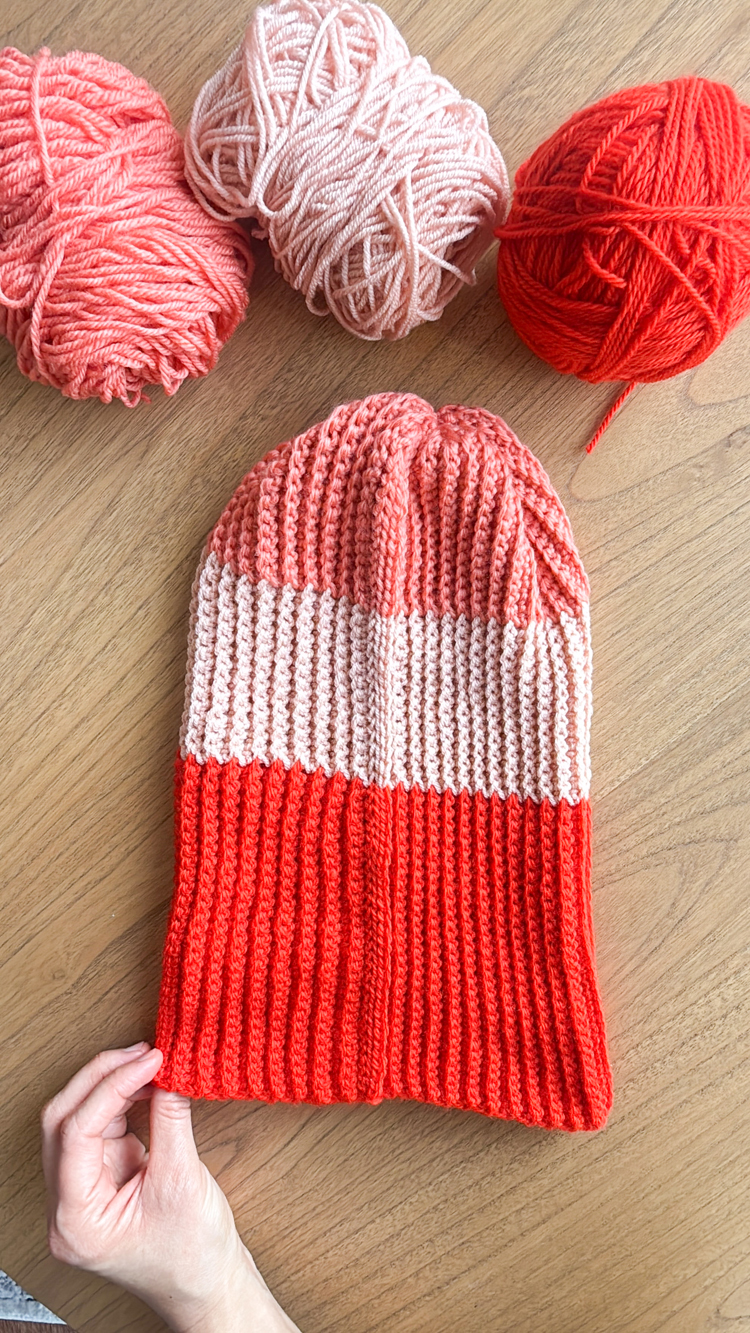
All done!
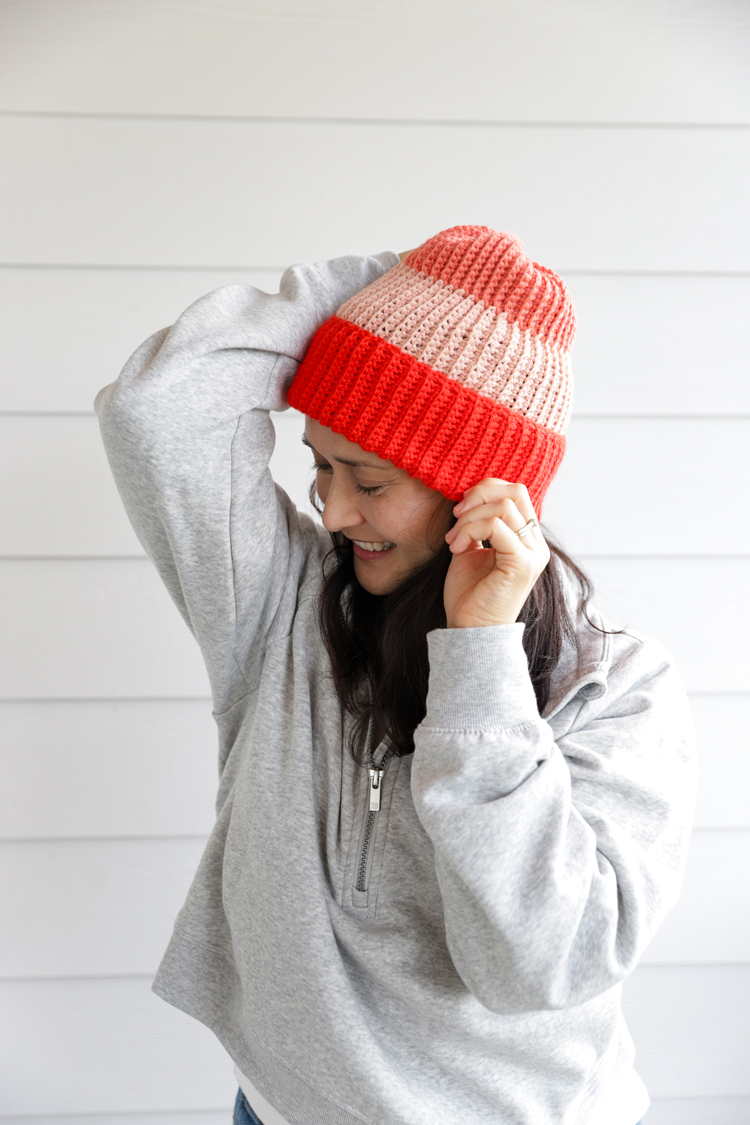
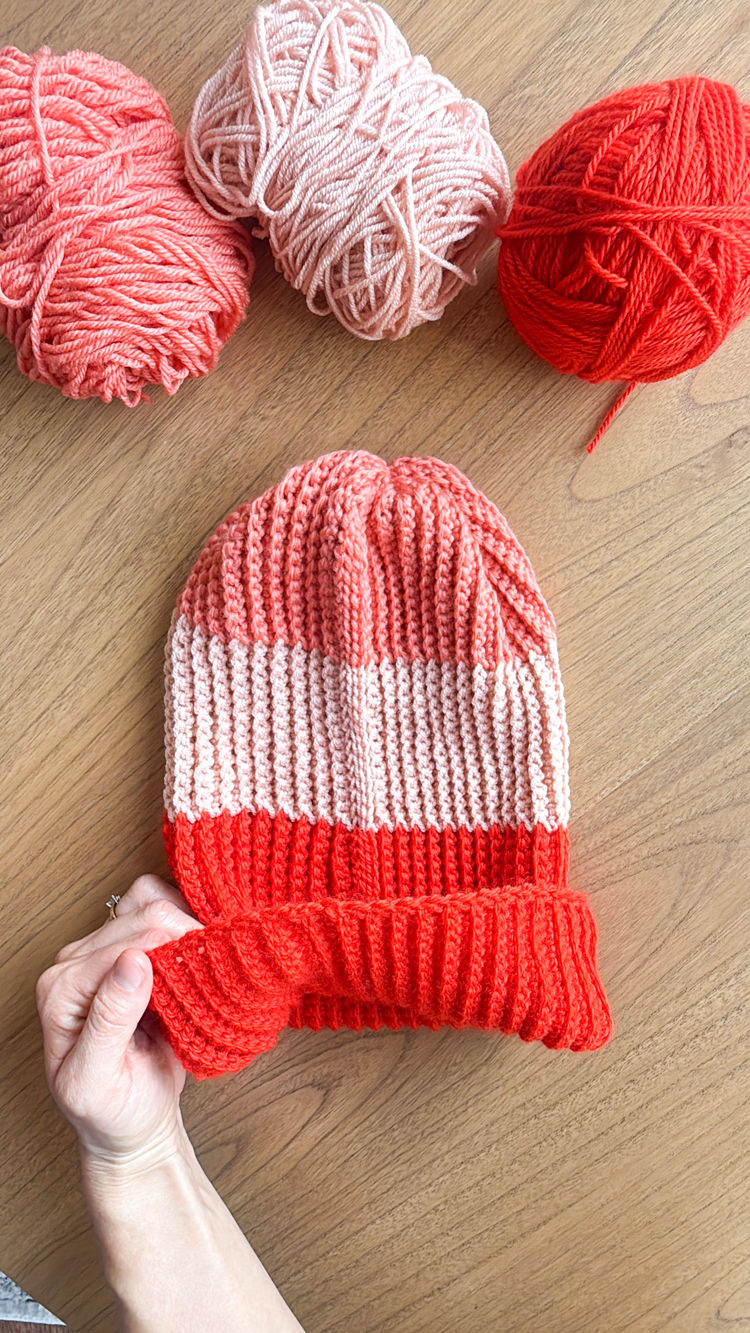
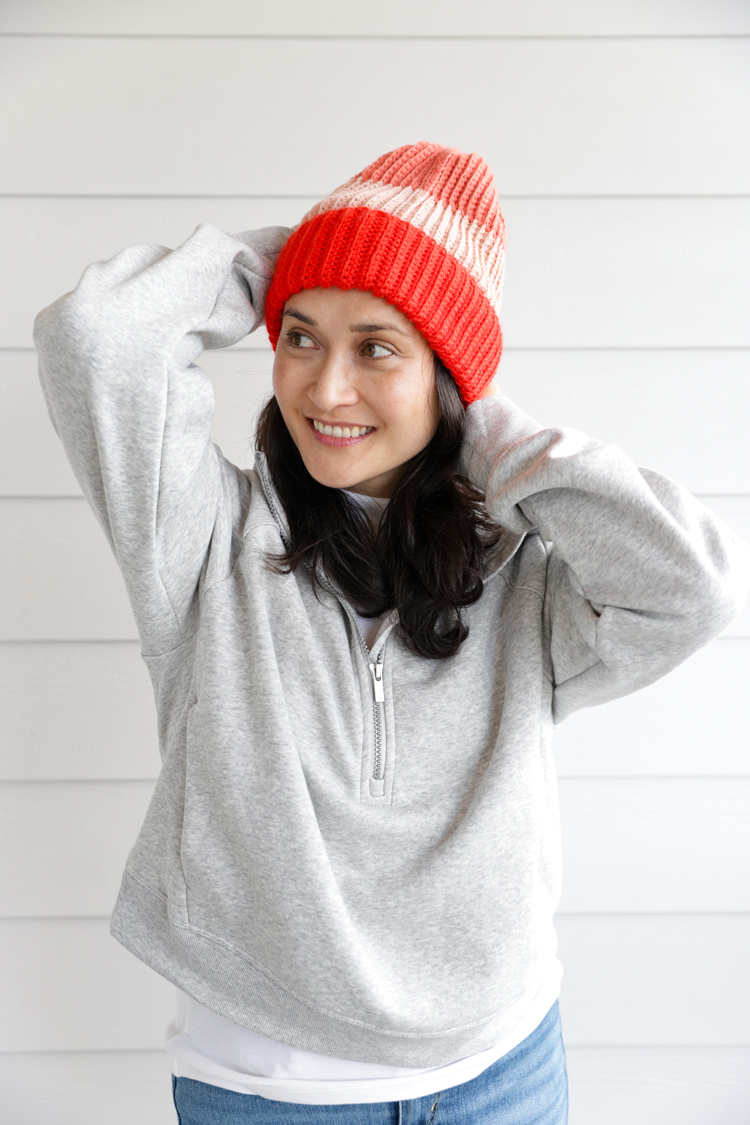
Fold up your brim and you’re ready to party!
I love how simple sc can create such a beautiful texture that is SOOO stretchy. You have to see the video to see the stretch in action.
The seam is a bit obvious here, but when worn, not as much.
I wore it seam side in the front without realizing it for several pictures. Ha!
Leave a Reply