

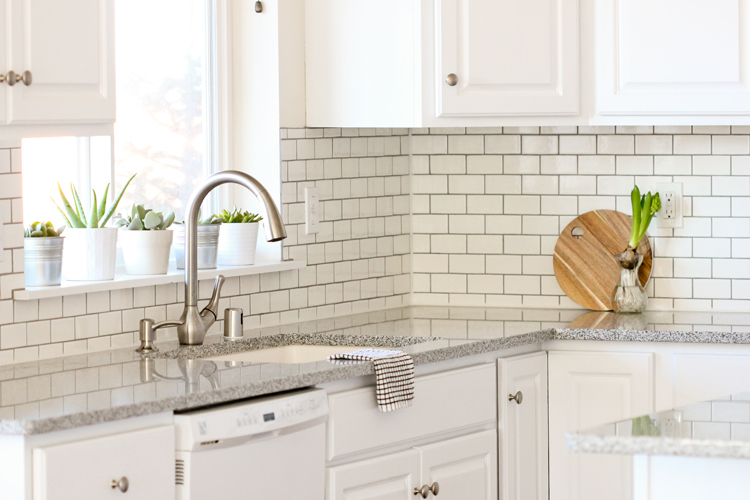
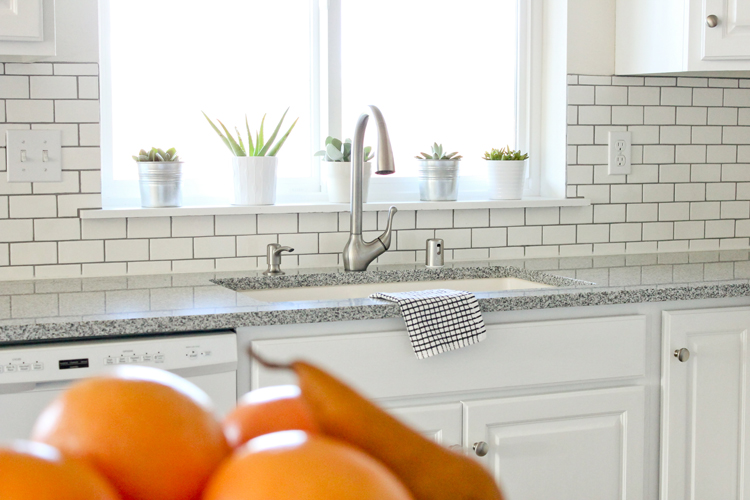
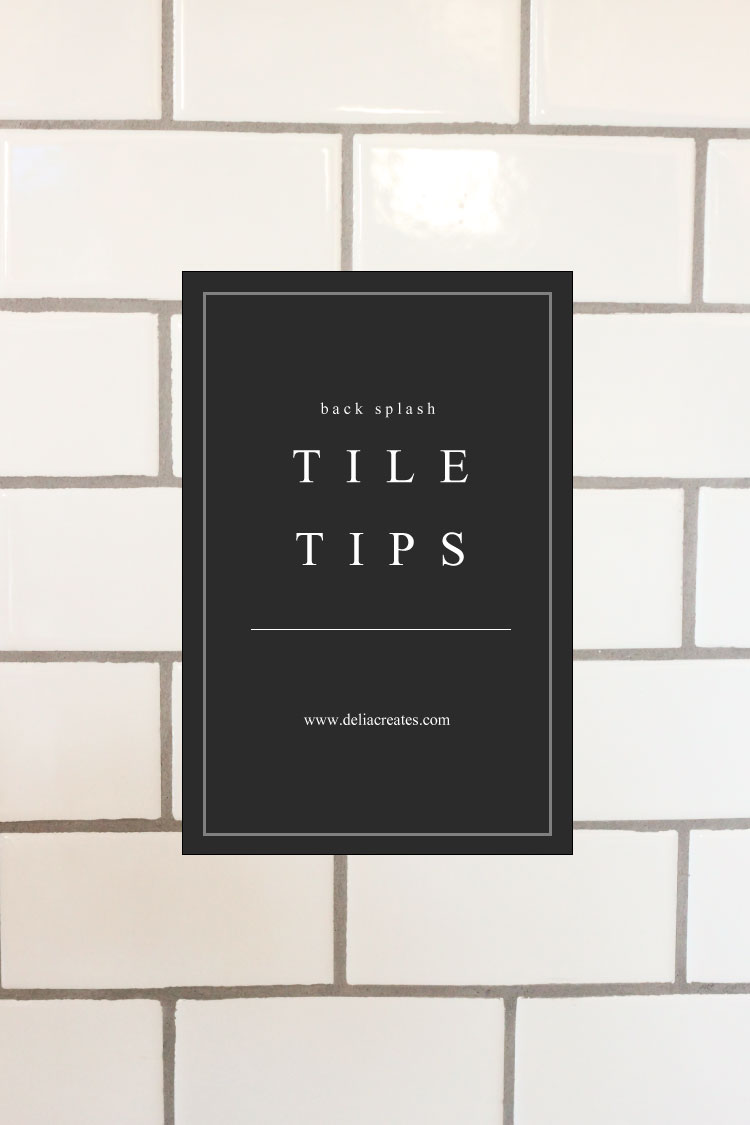
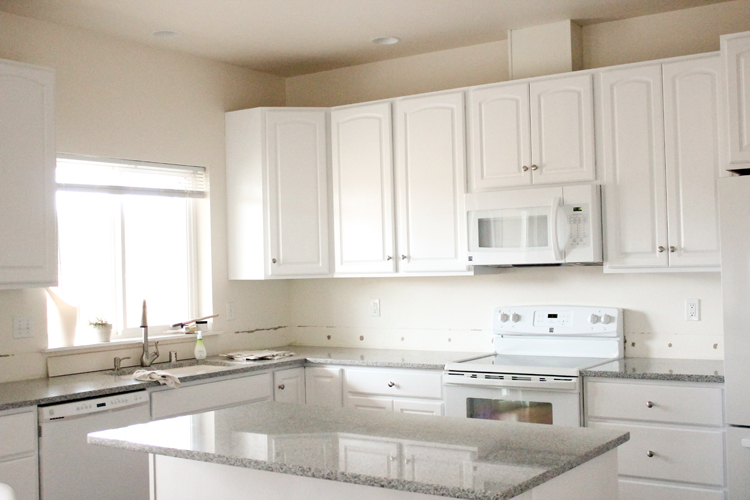
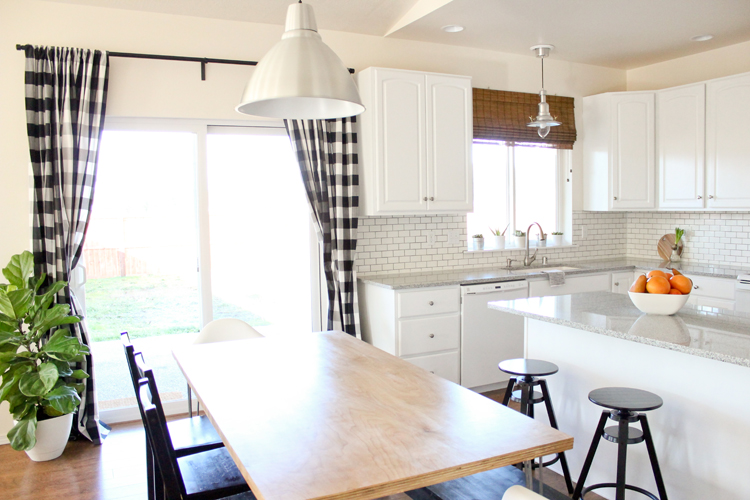
The final major hurdle in our kitchen renovation was the tile back splash.
Up to this point, I had been carrying the brunt of the kitchen reno workload, but for the tile, I was realllly happy that my husband took over most of the work… Mostly, because I don’t trust myself around a tile saw. ha!
This isn’t a full tutorial, but here’s what we learned along the way… (spoiler alert…it’s A LOT!)
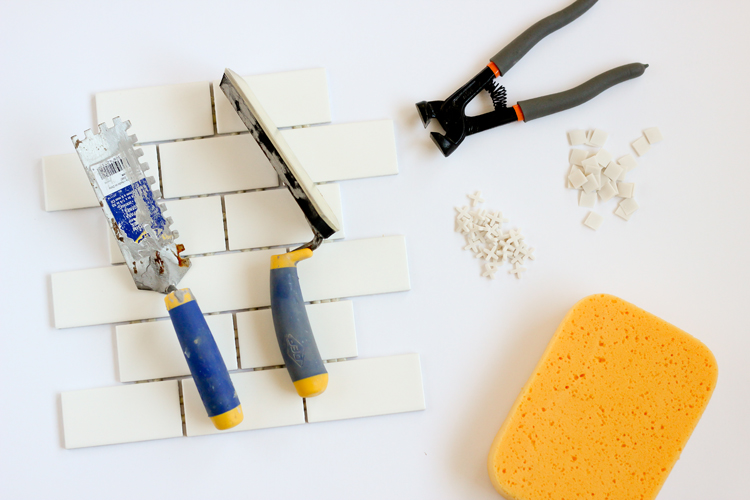
Materials (we used)
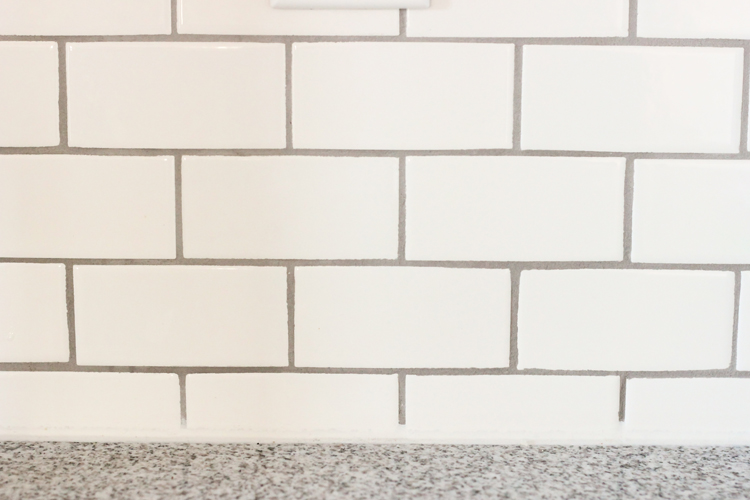
*2 x 4 White Mosaic (subway) Tile – $3.28 per sheet at Home Depot
Versabond thin-set (bag of powder)
**Delorean Gray Polyblend Sanded Grout
Rubber grout float
Notched trowel (metal)
Tile nippers (for small cuts)
Tile wedges and spacers – 1/8″
Large tile sponges
Flexible, waterproof white caulk
Rubber gloves
***Diamond sanding block
****Wet saw
Material Notes
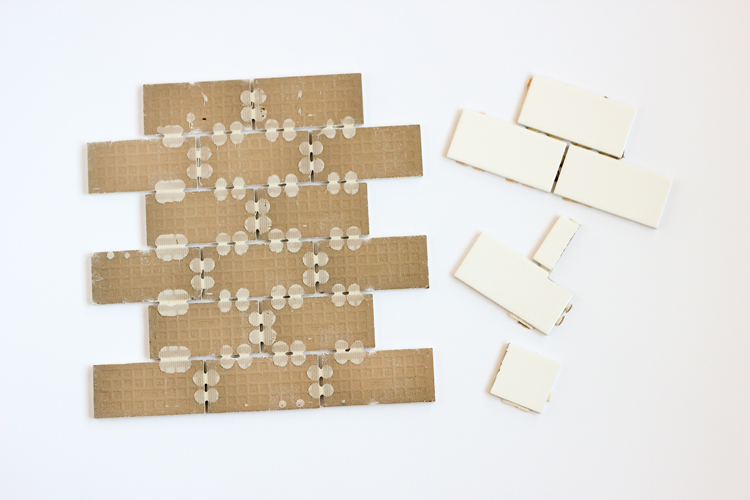
* The 2 x 4 tile is smaller version of the popular 3 x 6 subway tile with individual tiles measuring 2 inches by 4 inches. It comes in sheets, rather than individual tiles. This was both a pro and a con. It was a pro in that it saved time and saved us from having to put tile spacers in between every single tile. The con was that not all the tiles on each sheet were spaced correctly. At first, we tried to work around it, but then my husband started removing skewed tiles and setting those tiles in individually. So, the sheets did save time, but also…not as much time as we had expected.
It also doesn’t come with a mesh backing like other tile sheets. It seems like it’s just “glued” into sheets with blobs of glaze. I think it’s part of the reason why it’s so inexpensive.
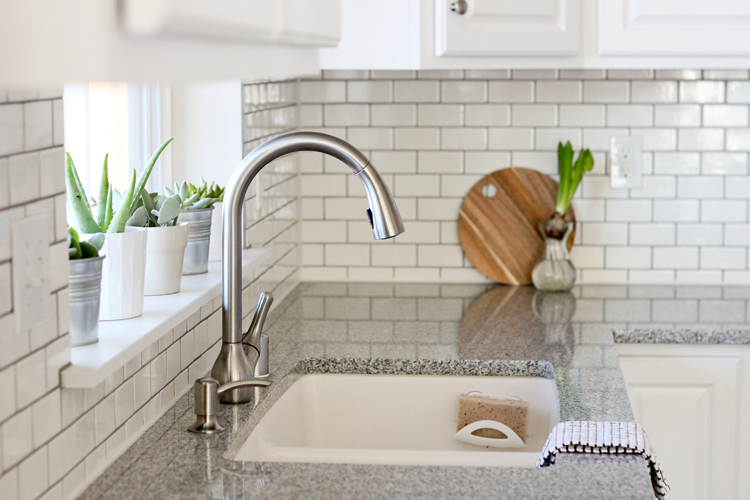
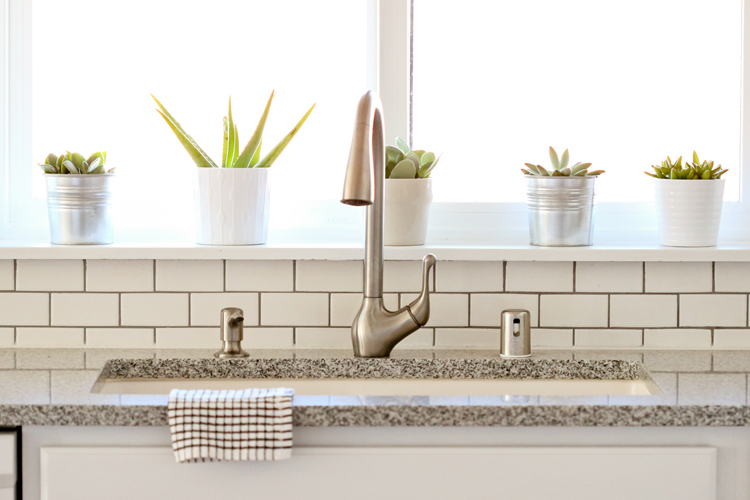
** We chose Delorean gray, expecting it to match the counter tops. It ended up looking a lot darker than we thought, but we love it!
***Diamond sanding blocks are like sand paper for tile. When you cut it, it helps to be able to sand down and smooth out the sharp edges.
*** A friend lent us his wet saw which was a HUGE lifesaver. We considered buying a manual tile cutter which essentially scores the tile so you can snap it down to size. We still might get one when we tile the bathroom floors, but for a back splash, a wet saw was so so helpful in helping us get more precise cuts. If you can borrow one or rent one, do.
Prep
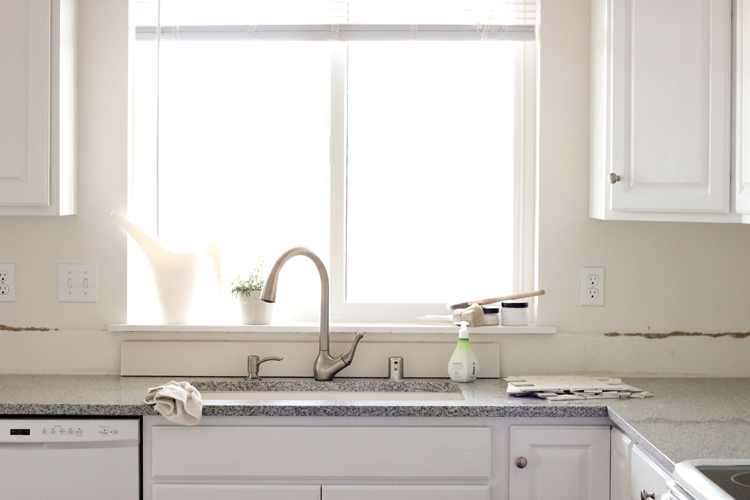
Before tiling, we applied a Zinsser Primer to the spots of damaged dry wall just above our counters. The previous counter tops had a cheap plastic back splash installed with it and it ripped spots of the wall down to the paper when we removed it. Even though we were tiling over the damaged walls, we painted primer over it to protect those weak spots and to make sure the wall was as even as possible before we began.
We also installed a temporary wood board, even with our counter tops, behind our oven, so that the tiles would have something to rest on while they were set in place.
Installation
To install the back splash, we simply brushed up on a few how to videos like this, until we felt comfortable tackling the project.
Measuring
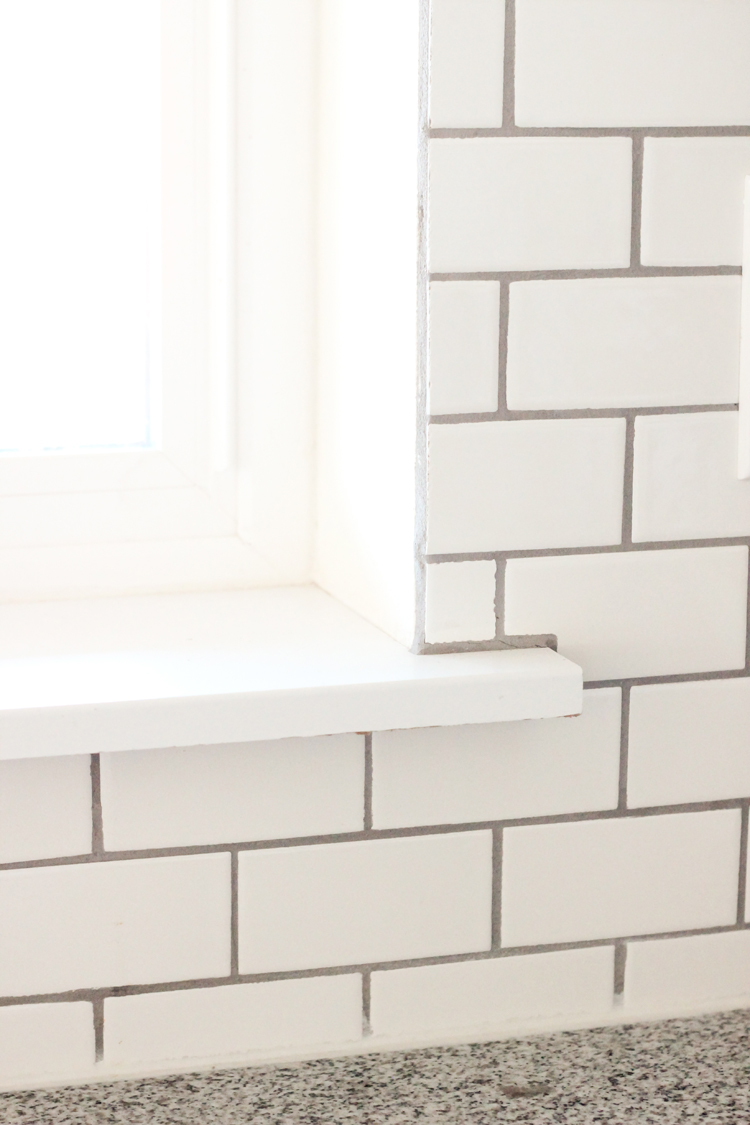
This was the most time intensive step. My husband spent a lot of time measuring to make sure everything would look right from all angles, dry placing the tiles, and then marking everything out with pencil. We didn’t want huge gaps of grout at the top or bottom and we discovered certain spots where our cabinets are not all level (ugh). The extra time measuring paid off though, because he blended the tile really well, and you can hardly tell that one side is thinner than another (because of the cabinets).
We had a little miscommunication on how high I wanted the tile up to go around the window, but once it was in place, we decided not to tempt fate and leave it as is. 😉

Thin-Set + Grout
At the advice of our pro tile friend, we used the powder stuff for the grout and thin set. Getting the mixing ratios just right and mixing the right amount for when we needed took a lot of guesswork that didn’t come as easily to us non-professionals. You can buy pre-mixed versions which are more expensive, but they take out the guesswork and save time. We tested some out on a sample project and we really like it. When we install the back splash in the bathrooms, we’re definitely going with pre-mixed.
We also consulted our pro tile friend about using Simple Mat, an adhesive tile sticker that you use in place of thin-set. He warned us that not only does it really work, it actually works too well. Once you get the tiles stuck to it, it’s hard to remove, so it doesn’t leave you a lot of wiggle room to make mistakes. While thin-set is still wet, it’s easy to remove tiles that aren’t placed just right. As beginners, we didn’t feel brave enough to not have this margin for error, so we stuck with the traditional thin-set method.
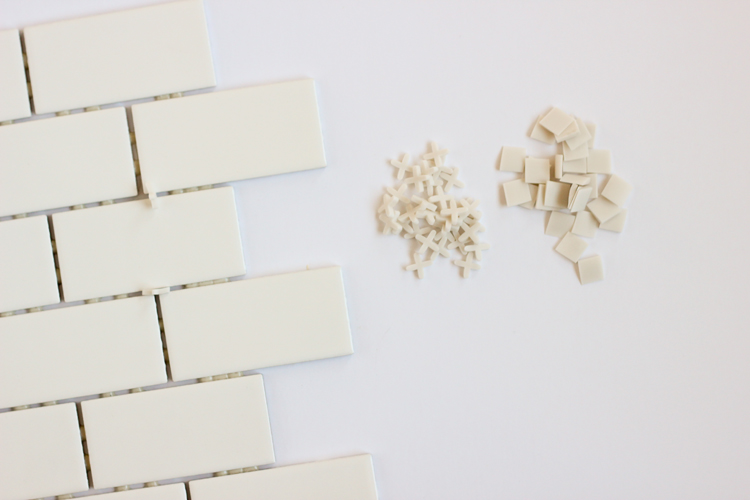
Spacers
To help the tile maintain a 1/8″ gap above the counter top, we placed wedges all the along the counter every few inches. The cross shaped spacers were better for placing between tiles and tile sheets.
Edging
We decided to skip rounded edging tile or metal edging and simply finished on off the raw edges with lines of grout. It’s not perfect (not pros here) and we know this probably isn’t the “proper” way do things, but I really like how it turned out and it’s holding up really well.
Counter Gap Solution
In my counter tops post, I mention the 3/8″ gap between the counter top/wall joint. The gap luckily wasn’t 3/8″ across the board, but just in spots here and there. When we placed the wedges along the counter top, this helped to prevent the tiles from falling through. For especially pronounced gaps, we used thick cardboard as a stand in the for the wedges, for extra support.
During the grout phase, we had to carefully add layers of grout to fill in that gap so that all the grout wouldn’t just fall down behind the cabinets as well. It helped if we used grout that had started to dry slightly, because it made it easier for us to pack it in. Then we’d add another layer of fresh grout on top to give it a good seal. We made sure to get the grout all the way across to make a seal between the tile and counters, then we added caulking at the end to give another layer of protection. I’ll talk more about that in a second.
Haze
After you grout the tile, it will develop a haze, or a very thin layer of grout residue over the tiles. To combat this, more than one tutorial shows that you can easily wipe it away with a sponge. Honestly…this was not my experience. It was a lot harder than that. Either I waited too long for it to dry when I started wiping it away…or something…but I had to seriously scrub the haze away, diligently, tile by tile. My arms were super sore the day after. I constantly refreshed my sponge in clean water and went over every tile, cleaning up the haze and even some of the grout lines as well. If the grout was a little too thick, I would just scrub it away until the lines looked right. It was comforting to know that I had another chance to fix any mishaps. Then, I did a couple more lighter duty haze removal scrubs, as the grout continued to dry.
TIP: Don’t skip the rubber gloves. This step is hard on the hands.
To Seal Or Not To Seal
Our tile friend, also said that sealer is not always necessary. Since sealer is used to prevent staining, and since we used a porcelain tile with dark grout, we decided to skip the sealer steps altogether. It’s only been about five months, but I can’t really ever see staining becoming a problem. We plan to use a lighter grout in the bathrooms, so we probably won’t skip sealer then.
Caulk
When we were done, I added caulking to the counter joint. You know those YouTube videos of professionals caulking a sink? The ones where the guy makes it look so easy, a three year old could do it. Yeah…that was not me. Caulk is not easy to get the hang of! I applied and removed the caulking a bajillion times, before I finally learned how to smooth it with my pinky. Luckily caulking is pretty cheap, so I didn’t feel bad blowing through so much of it.
PHEW! That about wraps up our kitchen renovation.
I’ve got just one more post about our kitchen table. It’s not a renovation post per se, but it was key to completing our kitchen space. I’ll share more details tomorrow!
He did such a great job! Amazing how much more finished the kitchen looks before/after tile. Also, that’s so hilarious, we used Delorean Gray grout in our bathroom. I think I even referenced it in my Back to the Future film petit post. ;P
Thanks Kristin! Yes, it makes such a dramatic difference. I totally didn’t know that you used the same grout! How fun!
I’m with you on getting the haze off of the tiles! As long as your tiles aren’t textured, a razor scraper can really help. This turned out amazing though! (And I really love those curtains!)
Ooh. Good tip! Thank you Charity!
I am so glad I found your post! It served as inspiration when we were replacing our granite and visualize what our kitchen would look like with new backsplash. My husband and I just completed a weekend spent putting up this exact backsplash tile/grout and LOVE it!!
I am so glad my post helped you! <3 Isn't the dark grout with the subway tile so pretty?