


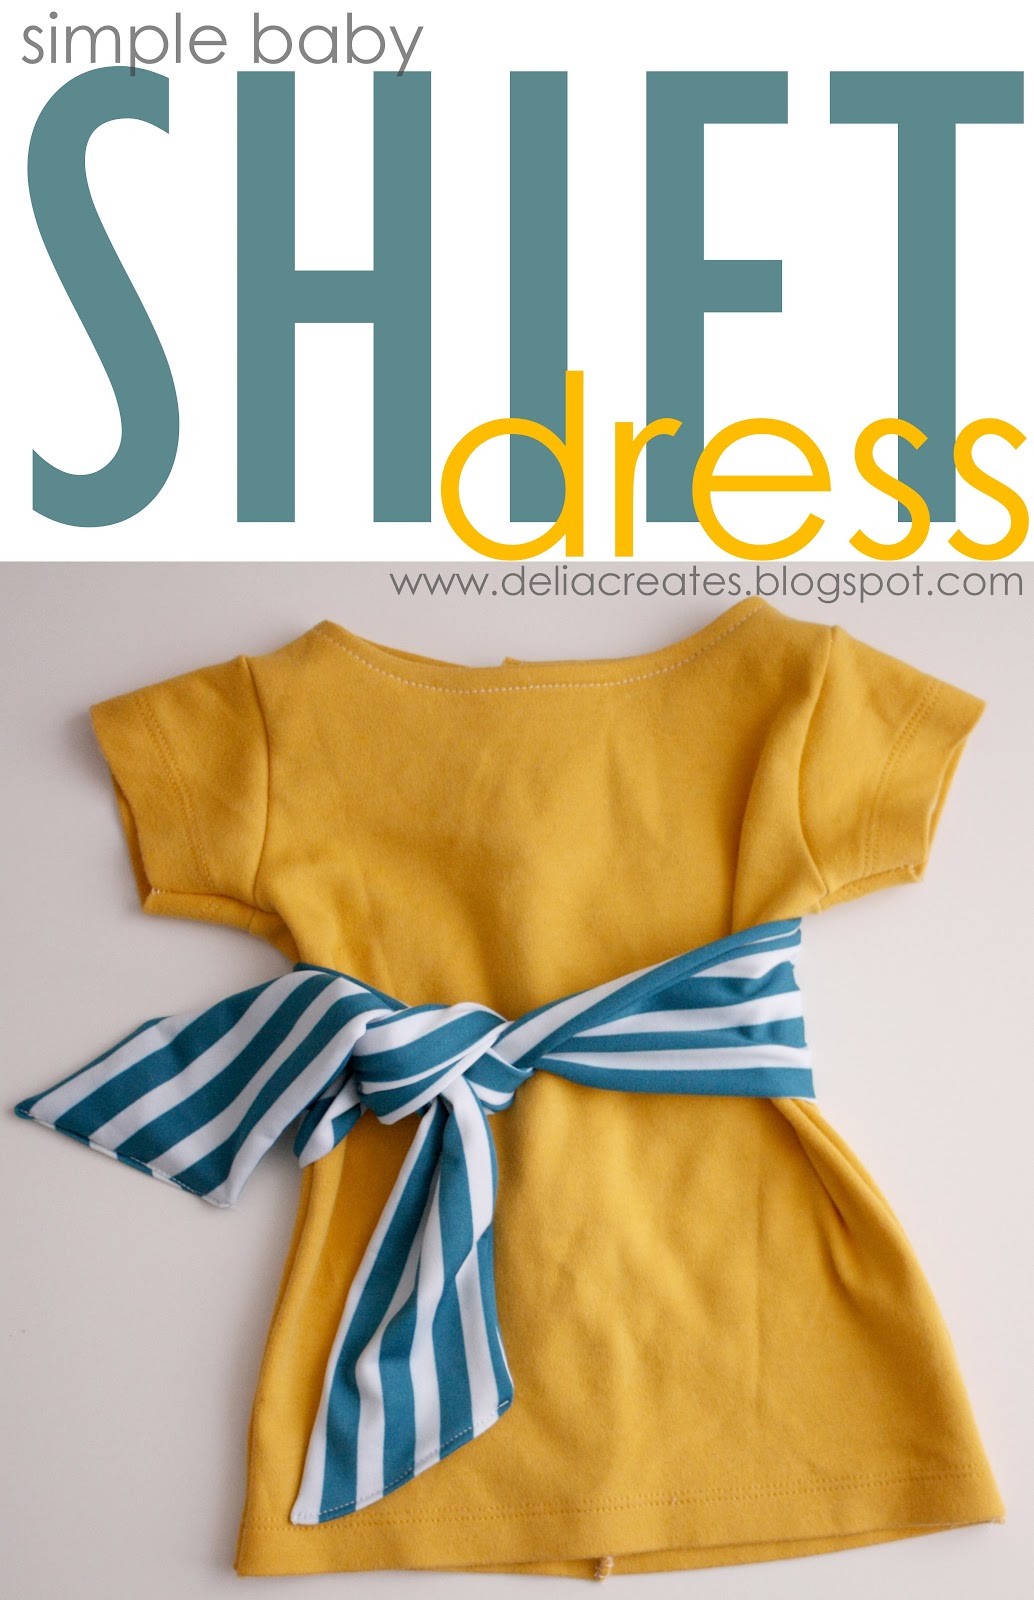
I’ve noticed, now that I’m paying attention to the girl clothes in the stores, that dresses tend to err toward the busy side. I was in Target the other day and found a few cute outfits/dresses. Upon closer inspection, there would be an elephant plastered to the side, or the coordinating onsie would say something like “giggle” on it. And ruffles… ruffles were everywhere to be found. Now, I’m not saying all those are bad things. I like ruffles. But it is weird when a newborn can’t even smile yet and her shirt says “I like to giggle.”
What about just plain, simple, pretty clothes…with nothing to say?
I want to see more of that, so I tried my hand at this simple shift dress.
I went back and forth about whether I should share the tutorial or not. I am still learning to sew in many ways so I don’t want to lead anyone astray or to think that I purport to know it all, when I don’t!
I made up a way to install the buttons into this dress {actually two ways but I just show one}and I’m not sure if it’s right. So…if you have a better way or don’t like what I did. I won’t blame you.
I, obviously, in the end, decided to share the tutorial because what I do know is that sewing should be a fun adventure. Don’t let lack of sewing experience keep you from trying.
Let’s go…
First, make your pattern pieces.

Using a onsie turned inside out with the sleeves tucked in, I traced the dress how I wanted it to go.
I’m not going to share a pattern to download because I am still not sure of the fit. Is the collar too wide or narrow? These are things I would know if I could try it on my baby, but seeing as I can’t yet, I’ll just show how I came up with the pattern.

The front of the dress is cut on the fold and the back piece is cut twice.
The back piece is wider than the front piece by about 1 inch and the collar doesn’t dip down as far.
Make sure the dress angles/flares out as you reach the bottom.

I am using an old knit shirt for my fabric. You could use a cotton or other fabric since it has button closures. I think knit is best for babies though because it moves with them and is more comfortable. Plus…you won’t have to iron it! 🙂
Cut your pieces out using the patterns you just made…

For the back piece, add a notch of fabric to one of the pieces, about 3-4 inches long and 2 1/2 inches wide.

Make sure you cut the sleeves and the front piece on the fold.
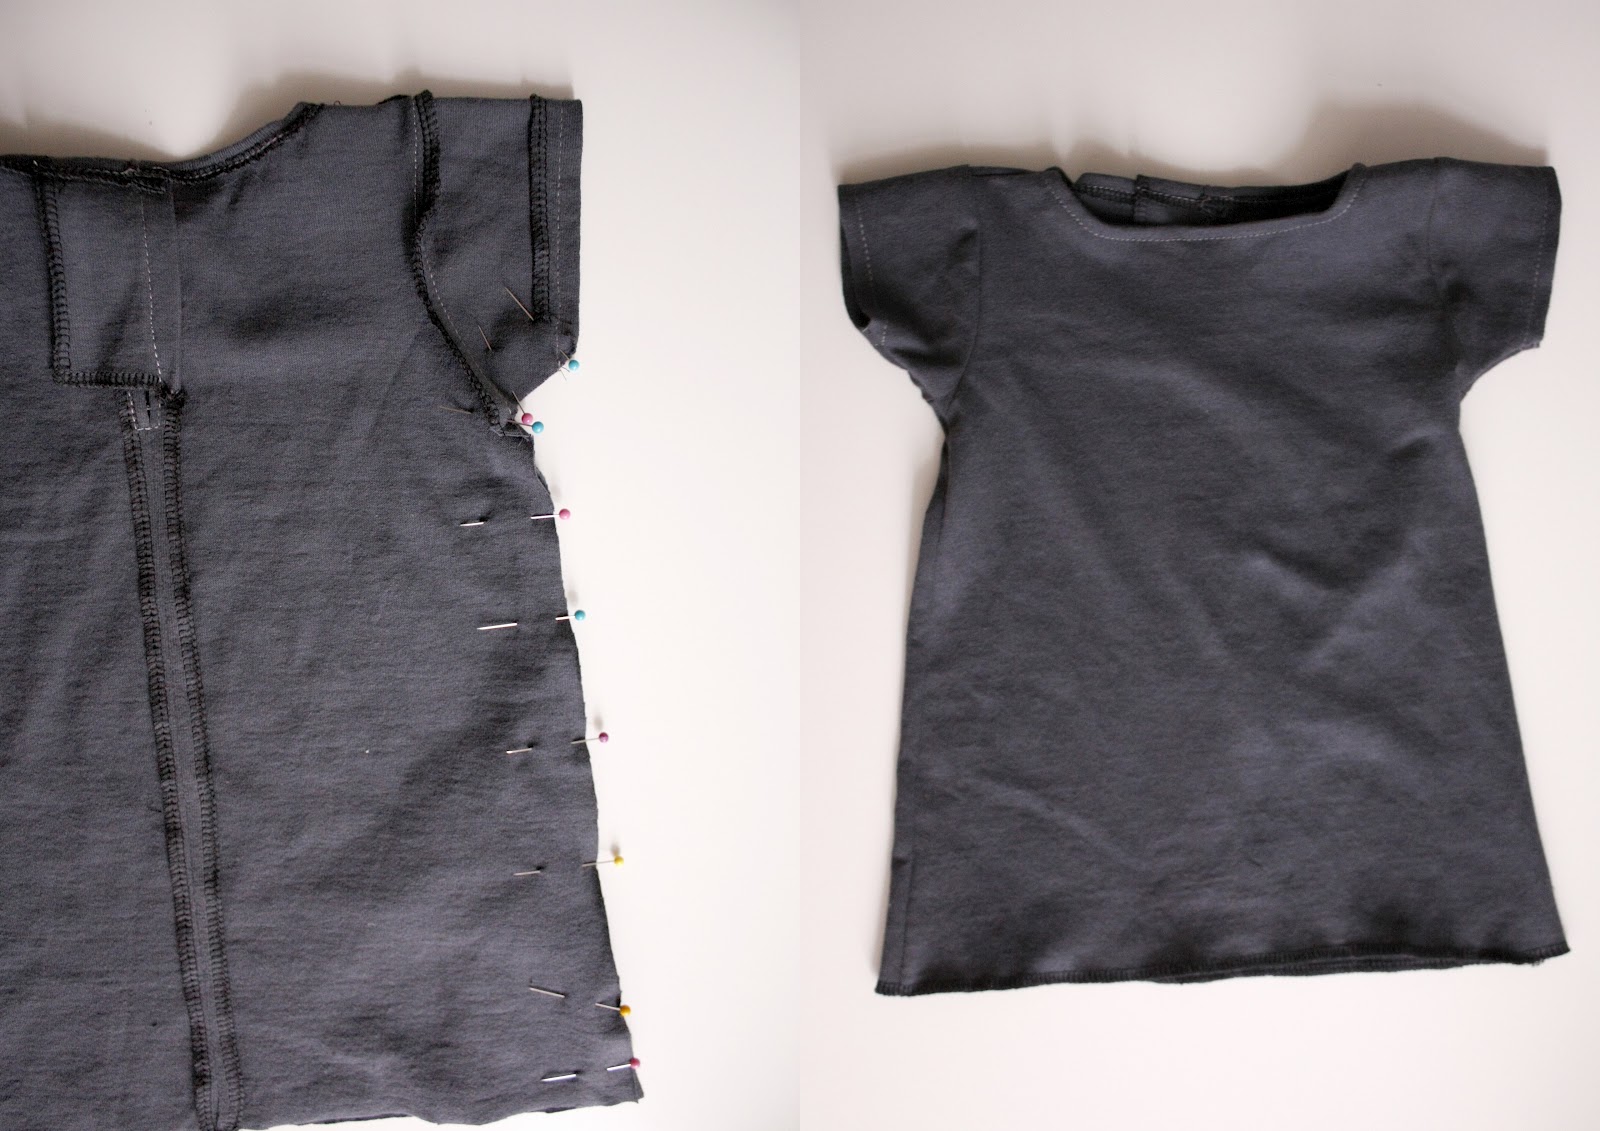
Now serge off or zig-zag around the collar, back inside edges, and ends of the sleeves that will get hemmed or sewn together later.

Pin the back pieces together and sew up to the notch.
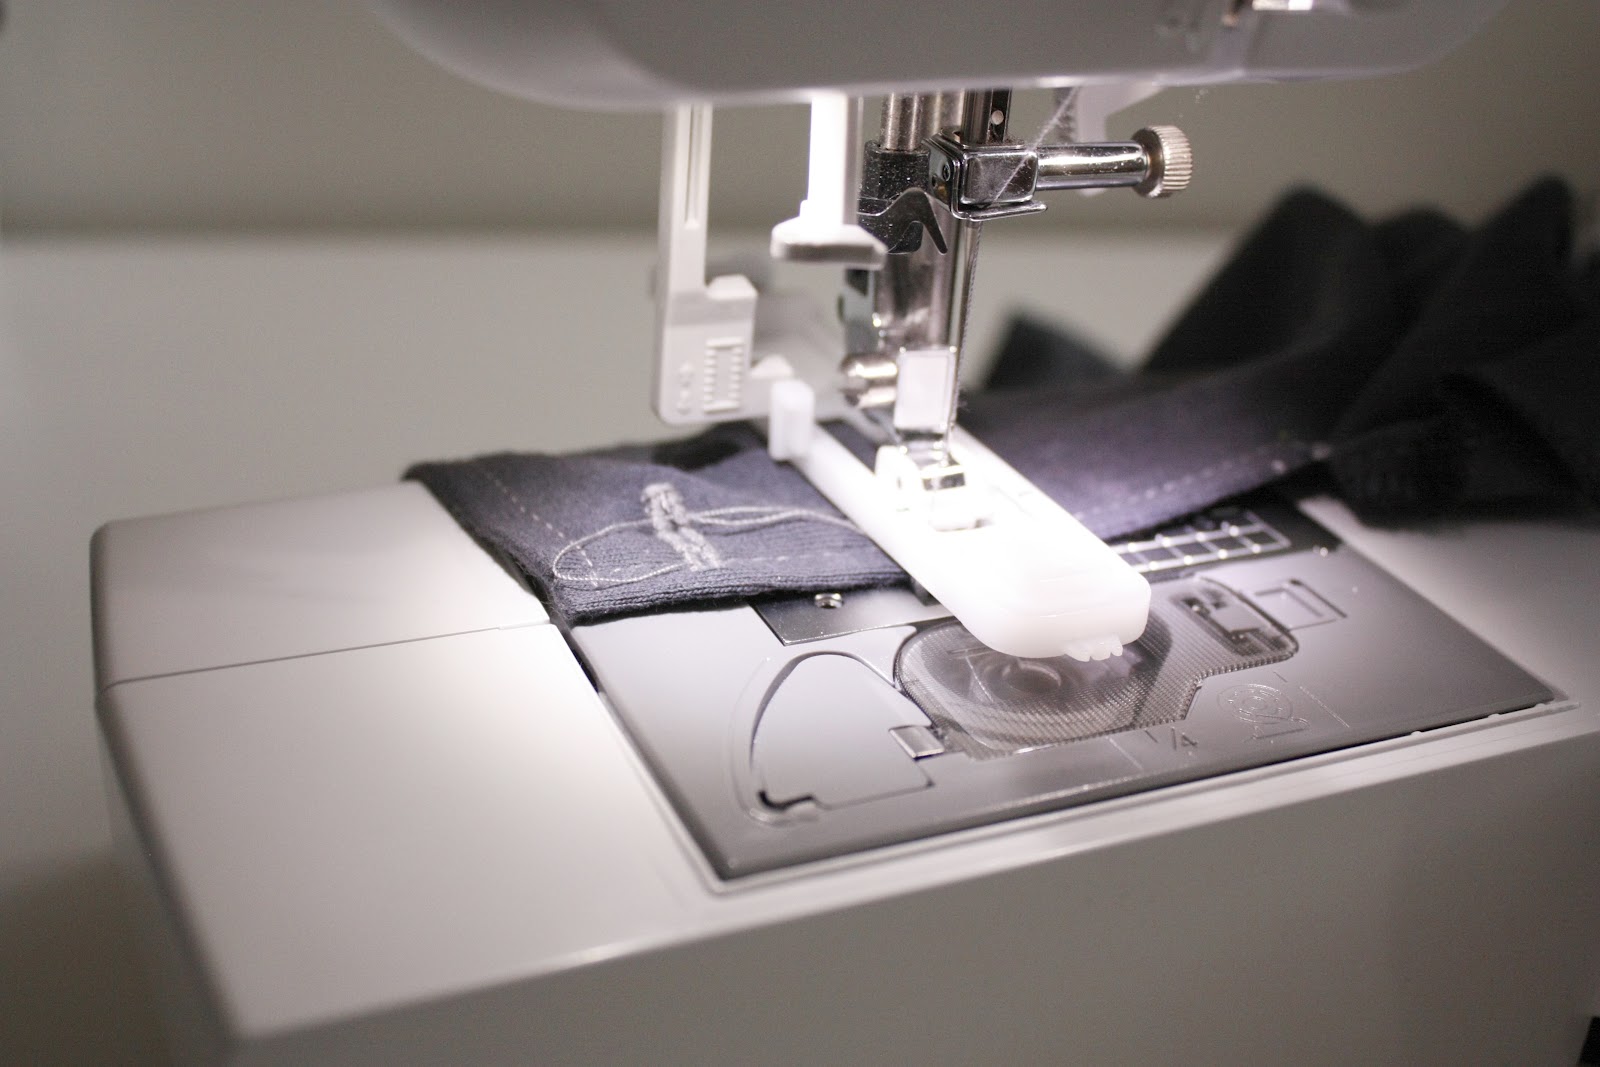
FYI: When sewing with knits, it’s best to use a serger, zig zag stitch, or a double needle. For this dress it isn’t totally necessary since there is a button closure. But as you will see, I serged almost every seam.

Press the seam open.
Fold the notch over the gap, iron.
Fold the other side under, iron. Pin and sew around this opening.

So it will look like this when you’re done.

The view from the back.
Tip: When sewing with knits you want your stitch length to be at least a 3. The preset stitch length on my machine is a 2.5. Moving it up to a 3 makes it sew much nicer, more evenly, prettier. For really stretchy knits I go up to 3.5 or even a 4 sometimes.

Pin the front piece and this now sewn together back piece, right sides together.
Sew at the shoulders only.

Iron the collar under and sew around.

Iron and hem under the ends of your sleeves.
Then attach sleeves to the dress. Pin right sides together and sew.
With sleeves attached. Sew up the sides of the body of the dress, into the armpits and the bottom of the sleeves.
Now add your button holes and buttons.
This tutorial from Grosgrain on how to use your automatic button holer is great.

Mark where your buttons should go.

Zig zag stitch your buttons on.
Ruffles and Stuff has a tutorial for that found here.

Done…almost!

Hem the bottom of the dress under.

Leave as is or add a sash.
I just cut a strip of knit fabric for this dress. I was using a scrap and had just enough to be able to tie it into a knot in the front. Measure it out to your liking. If you want a bow you’ll need a longer sash.
I personally prefer the knot anyway, because it’s not as bulky on a little baby body.


Done!
I’m excited to try it on our baby to see if I might even like it without the sash. Hmmm…
For the yellow dress, I did things a little differently.

I added what I think you could call “facing” under the collar – thanks for helping me get that term right Shannon!


I also sewed the sash into a tube first since the knit had a right and wrong side.
This was my test dress, so the buttons are also done differently.


I quite like the blue and yellow. My husband hates it.

So I made the milder gray and green dress in response.
Meh…She’ll probably wear both. When he dresses her he can skip over the yellow one I guess.:)
love it!!!
I love the yellow and blue one! 🙂 great tutorial!! Would love to see some of the outfits you have made on your little girl after she arrives! 🙂
So cute! I LOVE the yellow one!
i love the yellow one too, maybe it's a girl thing. both are really cute. i like simple too.
What you added to the neck of the yellow dress is called a "facing".
Cute dresses!
Way cute! I agree with the "giggle" type clothes… not a fan! I can't wait to try this dress out for my little one! I've already made a couple of the simple baby skirts for my girly and they are stinking cute!
I love them both!
Adorable…want to try one for an older girl!
Those are so cute! The yellow and blue is my favorite, forget the hubby!
OH my you are so creative! I love these dresses! And I agree, the yellow one is stinkin' cute 🙂
Aww so cute! …This ALMOST makes me want to cave in and find out the gender on this baby so i can start making cute things. 🙂
All these adorable baby girl clothes are making me want to find out what I'm having now! We don't really want to know, but it would be so fun to have some time to craft up something like this before! I love the yellow dress, so cheerful!!
No way! This is too cute. Good job!
Girlie Blog Seattle – Beauty Tips, Makeup How To, Seattle Lifestyle
I'm really happy that I came across this! I drafted some patterns last night for my unborn niece, and this will make a great addition! I love how you did the button closure, I wasn't sure how to do that so I didn't try to tackle it!
Very cute and would be adorable with some baby legs (super cute baby legwarmers for those who don't know). I also struggle with finding baby clothes with "nothing to say". What is with all those nonsense sayings?
so cute! both of them…and I love how you did the button flap!
So cute—I think I would totally wear it in my size to!
liZ
I'm a new follower and I've awarded you and your amazing blog the Versatile Blogger award! I hope you can accept it – details are at http://ajennuinelife.blogspot.com/2012/02/versatile-blogger-award.html
Delia, this is a great tutorial! You did a good job with it. I LOVE the yellow and blue version! My only helpful comment for you is that with knits you really need to either use the stretch stitch (if your machine has it), a zig zag, or the serger. If you use a regular straight stitch the threads will break faster. Probably not a big deal on a tiny baby dress – but if you go bigger…. BTW, Made
Oh man, LOVE the yellow dress. So cute. I also completely agree with you about busy dresses everywhere. I feel that way not just about kids clothes (although Target is probably the best at not having them), but they're is also way too many toys and decor with ridiculous busy stuff on them!
Thanks for the tip Kelly. I added that point to the tutorial. Although for this dress there is a button closure so it is not entirely necessary to use a zig zag stitch. I did use my serger for comfort and to keep it clean.
For anyone who doesn't have a serger, you can buy a double needle for a few bucks {with coupon} from Joann. When you stitch with a double needle you get two
Great tutorial! You've been featured on the Quality Sewing Tutorials blog.
We hand select only the best free tutorials and patterns for the home sewist.
Grab a brag button!
those are so stinkin’ cute!
Can you please start a Kid’s line of clothing. I love all the cute styles and colors you’re doing Delia. really fun.
What you’re declaring is totally correct? I am aware that everyone must say the same thing, but I just think that you put it in a way that everyone can understand. I also love the photos you set in here. They fit so nicely with what you want to say.
I am so with you on the busy-issue with baby clothes. Can't we just enjoy some solid colors? Understated cuteness instead of blatent advertising of it?? I love this tutorial. I'm interested in possibly making it boy-baby friendly too…
A great tip for this dress would be to cut the body and the sleeves on the shirt body and sleeve hemlines, so you don't have to worry about hemming them as an extra step!
Thank you so much for takubg the time to make this tutorial. I really appreciate it, I'm new to sewing and I've only found 2 tuts that are so easy to follow yours is one. Thank you!!! Thank you!!! Thank you!!!
constantly i used to read smaller articles that as well clear
their motive, and that is also happening with this paragraph which I am
reading here.
My blog post – dangers of plastic surgery (Charmain)
Hey, so now that some time has passed, can you tell us what the fit was like? How bout including that pattern like you said you might? VERY interested!
Hi! so the fit was actually okay. She didn’t wear it very much, because I forgot to put her in it until she was about ready to grow out of it. (Isn’t that how it always goes?) I may do a free pattern in the future, but I am not sure yet. Sorry about that! You can use the bodice of another pattern and then follow the tutorial if you like. Using an existing bodice should help ensure a good fit.
Thanks so much for sharing how to make a pattern! I love both dresses. Can’t wait to try making some for my grand daughter! You are awesome!
Thanks Christine!