

This is a re-post of my guest post from the Color My Summer series Kojodesigns and I co-hosted in May….
___________________________________________________
Today I’m going to share a spin off my beeswax lip gloss. Instead of gloss, today we are going to make:

The key is the amount of beeswax you include. The more you put in, the less glossy and the more firm and balmy it gets.

The great thing about beeswax is that it has natural sun protection qualities. I can’t quantify how much exactly, but any little bit helps when you’re in the sun all day in the summer time!

Clearly I haven’t had that problem yet, as pale as I am. 🙂 But it won’t be long!
Alright… let’s get started.
Gather your supplies:

2 Tablespoons of grated beeswax
Grate it with a dollar store or old cheese grater. You will never be able to use it for anything else after you grate beeswax on it.

1 Tablespoon Coconut Oil {the kind you cook with}
2 teaspoons sweet almond oil

A chunk of some red lipstick.
How much depends on your preference. Just keep in mind that it will look dark in the pot but won’t be that dark on. A lot of color goes a little way.

1/2 teaspoon of shimmery eye shadow – to add some subtle sparkle.

– Boil water in a small sauce pan and rest a metal bowl on top – to make a double boiler. Or with a small metal bowl in a larger pan of boiling water to give it more of a “water bath.”
– Melt all the ingredients together until it liquefies and there are no more visible beeswax flakes. Then immediately remove it from the heat. You don’t want to overcook it or boil it. It will not last as long {get grainy and rancid} if you do.
– Use a bamboo skewer or other throw way tool, to stir it.

– Off heat, stir in 10 drops or so of essential oil. I used peppermint but lemon or orange would be so yummy for summer.
You add the essentail oil at this stage so that it doesn’t completey evaporate away during cooking.

– Then using a disposable medicine dropper fill your lip gloss containers. You can pour it instead, but this helps it look cleaner.
– Let it sit at room temperature or in the fridge {speeds things up} for a couple of hours so that it completely hardens and turns opaque.

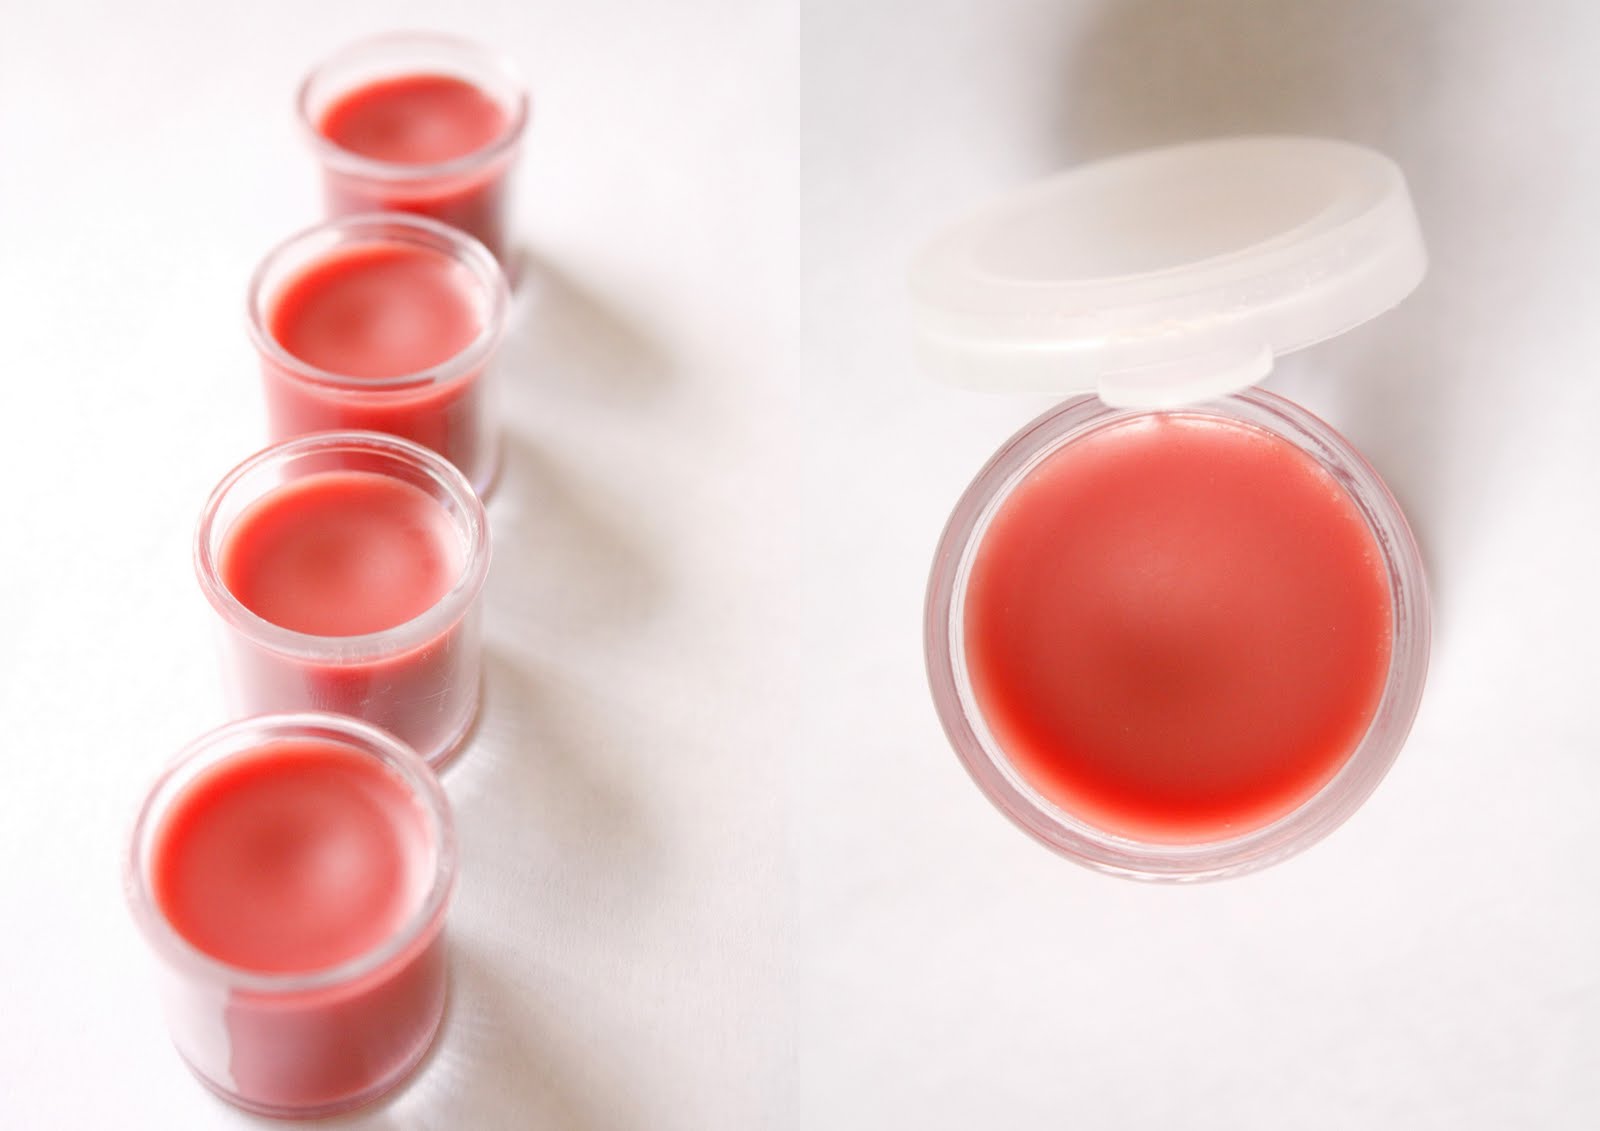
And now you have a soothing, smooth lip balm with just a hint of color and a hint of sun protection.

Here is the recipe all in one easy to copy place:
Pink Tinted Lip Balm
2 TBSP grated beeswax
2 TBSP coconut oil
2 tsp. sweet almond oil
chunk of red lipstick
1/2 tsp. of shimmery eye shadow powder
10 drops of essentail oil (I used peppermint but you can use any kind)
Melt all but essentail oil in a doubleboiler until completely melted and there are no more beewax flakes.
Do not boil or overheat. Stir with a throw away tool like a bamboo skewer.
Remove from heat and add essential oil. Using a syringe or medicne dropper fill your lip balm containers.
Let it sit at room temperature or in the fridge until hardened or opaque.

And here is a
facts and tips section
facts and tips section
to explain everything you might be wondering:
Versatility of ingredients:
Feel free to change the ratios of the ingredients and play around with it. The more coconut oil and sweet almond oil you use, the more glossy it will be. The more essential oils you add, the more potent the smell. Add glitter…the possibilities are endless fun.

Where do you get beeswax?
I got mine from a bee keeper. I found my bee keeper by calling an exterminator. They often use bee keepers to remove and relocate pesky beehives.

Where do you get the rest of the ingredients?
The essential oil and the sweet almond oil came from the health/organic food section of my Smith’s Marketplace grocery store. Any health food store should also carry them. The coconut oil came from the cooking oils section of my local Walmart.
Containers:
I got mine from the dollar store in the craft section. They were sold as empty containers and looked much like little paint pots. You can order more traditional looking containers online, but it is only economical if you order in bulk. Craft stores like Hobby Lobby and Michael’s only carry them in their kits {at least where I live} so you can do that as well.

I….am cheap. So I used these cute little pots and I’m happy with them. 🙂
Have more questions? You can email me or check out my lip gloss tutorial for more information. I made the gloss a little differently than this balm. The more I make balms, and glosses, the more I realize that this process is fairly flexible.
So don’t be afraid to just go for it. The only way you can really mess it up is by over cooking it.

Hope you have a delightful day!
You are BEAUTIFUL! The lip gloss looks greaT!
Awesome Delia! My daughter asked the other day if we could make lip gloss. Yay! Great pictures by the way. You are gorgeous!
you are so beautiful!!
I always have to have lip balm with me. I will have to try this. Thanks so much for the tutorial.
Um…This totally rocks!!!! Thanks for sharing!!
Perfect thing to do with that last bit of lipstick that you can actually put on your lips because it doesn't come out beyond the applicator so you have to try to use your finger… Just dig it out with a Q-tip and make some new lip balm. Awesome!
This is so awesome!! Your blog is fantatsic!!
Oooh, a new recipe to try. Thanks!
I have been learning about essential oils the past couple of years…and I would strongly caution AGAINST using lemon or orange in your summer lip balm!! They are both photosensitizing, and you could end up with some serious lip burn if you put it on and go in the sun. The dilution might be enough, but I wouldn't want to take the chance. There&#
What a fun idea!!! ANd I love your little pots! They are adorable. Why are little things so cute?
Can't wait to try this!
Natural and homemade, i like it !!
Just visiting from ucreate! I can't wait to try this. I love lip balm and I'm always struggling to find the right colour – now I can make my own:-)
Love this tutorial and especially all the tips and tricks you list at them bottom… I love thorough products lists… Thanks
I love this, this is a great idea!
this is a much more natural way than I've been doing so I do want to try it.. but I think my way is easier… I just get carmex or nivia lip balm (or any that's already in a jar) and then melt part of a lipstick and balm and mix them together.. works fantastic and everyone always asks me where I got the pink carmex lol 😀
Great post! I am going to try this but I think I am going to use beet juice for a more natural lip balm 🙂
thank you for this great tutorial!
This is SO awesome! I cannot wait to try it! I had to share it on my site
couldbeinteresting.com
Thanks for sharing!!!
xoxo,
Emily
So pretty! Thank you for sharing!
This is wonderful and so pretty! Thanks for sharing!
I'm a lip balm addict but I've never tried making my own, thanks so much for sharing!
Interestingly, I went to an event at BlogHer one year where Vaseline was blending color and flavoring into little pots of Vaseline for us. I've never thought to try that, either!
This is great! Can you please tell me what DSLR camera you used to take the pictures? I love your photos and I'm thinking of getting one soon! Thanks!
Awesome tutorial and fantastic photography!
Just made this! Love love love. Thanks!
To get beeswax off your grater or any metal object, like candle stick holders, put in the oven with a piece of wax paper underneath and turn the temp up. It will melt right off. Oil can remove little bits of wax, too.
Wauw, It looks really nice! Keep going!!
LOVE this I’m going to make it for my mom for Christmas. I thought u got pics off the internet until u pointed out your paleness you look like a model!
You are so kind. Thanks Olive! 🙂
How many lip balms does this make?
about 4-5 small pots. I believe they were 1 oz jars.
Your pictures are GORGEOUS!
My Mother and I have become lip balm and soap makers. We loved how the tinted lip Balm turned out.. The balm turned out to have a beautiful pinkish color and we used Lemon Cake oil and it was delicious. Thank you so much for the recipe we loved it..
Traci
oooh. Lemon Cake oil sounds amazing. Thanks for your super sweet comment!
love your stuff..
Wow, fantastic weblog format! How long have you ever been running
a blog for? you make running a blog glance easy.
The full look of your web site is great,
as well as the content material!
Could you add vitamin E to this concoction if so how much
Also fantastic post never though to try this
Thanks! If you are using vitamin E oil, I would swap out whatever amount of vitamin E oil you want to use with that amount of sweet almond oil. That way your oil ratio stays the same. You should need too much, I wouldn’t think.
sorry…I mean shouldN’T need too much. 🙂
Could you have half of each for example 1 tea spoon of almond oil and 1 tea spoon of vitimin E oil?
Sure! It’s really up to you. You could probably even sub the almond oil out and just use Vitamin E oil.
Wow wow wow i mean this site is superb…d lip gloss lukz gr8!!!
It’s a pity you don’t have a donate button! I’d without a doubt donate
to this brilliant blog! I suppose for now i’ll settle for
book-marking and adding your RSS feed to my Google account.
I look forward to new updates and will talk about this blog with my Facebook group.
Chat soon!
Do you have a recipe without beeswax? I’m allergic.
Tess,
I am so sorry, I don’t. I wish I did.
I made this an substituted almond oil for jojoba oil. Went well! Also, the recipe says 1 tbsp of coconut oil one place and 2 tbsp later. I made both–1 tbsp was a lot thicket. Thanks!!
What a lovely site! I will be back here 🙂 Thanks for the recipe, creative, simple, super clear to follow, and well explained. I am doing this tomorrow! Thanks!!
Thanks Charlotte! Have fun!
I used beeswax + shea butter + watermelon seed carrier oil with some essential oils, and the texture was soft and lovely, but the jar I had kept aside for later use – it developed fat bloom after a few weeks.
Same thing happened with candelilla wax + cocoa butter + shea butter + sweet almond.
Does anyone know how to prevent fat blooms in homemade lip balms please?
hmmm. I’m not sure. I don’t use shea butter. I wonder if it has something to do with that? I really can’t be sure without doing more research. The flavors sound lovely though!
Thank you Delia
I want to make these for shower favors. How large can you make a batch?
Joan
Good question Joan. It makes about 3-4 TBSP. of lip balm per recipe batch. Depending on how big your containers are, will determine how far this stretches. I hope that helps!
I just made this today and it turned out well 🙂 However, i found it started to solidify while I was pouring into jars. Is there any way to avoid this? Also, what is the best way for washing the bowl and other materials used while making this? (it was hard to clean).
Thanks for the feedback, I love making things from home 🙂
Sarah
Hi Sarah!
Great questions. Do you happen to live in a cold place? If you live in a cool climate, the balm will solidify quicker. I suggest working as quick as you can, or if you can, turn up the heat in your home while you work (or put a space heater near you). In case anyone else is having the opposite issue, please note that those living in warmer climates will have to wait twice as long for the balm to harden and it will still be a little soft.
If you live in a warm place and it still is solidifying too quick, you may need to reduce the amount of beeswax in your recipe.
As far as washing the materials afterward, you will want a good quality dish soap. First wipe away as much oil as you can with a paper towel and throw it away. Then work up a really concentrated batch of soapy water and soak your dishes for a while. Give them a good scrub and you should be good to go. The only exception is the cheese grater you used for the beeswax. Once you use it with beeswax it’s done. That cheese grater can only be used with beeswax at that point. I suggest using a cheap cheese grater from the thrift store or the dollar store. If you really need to reclaim your cheese grater, you can try melting it off the medal part of the grater with a lighter. I’m not totally sure that would work though.
I hope that helps!