

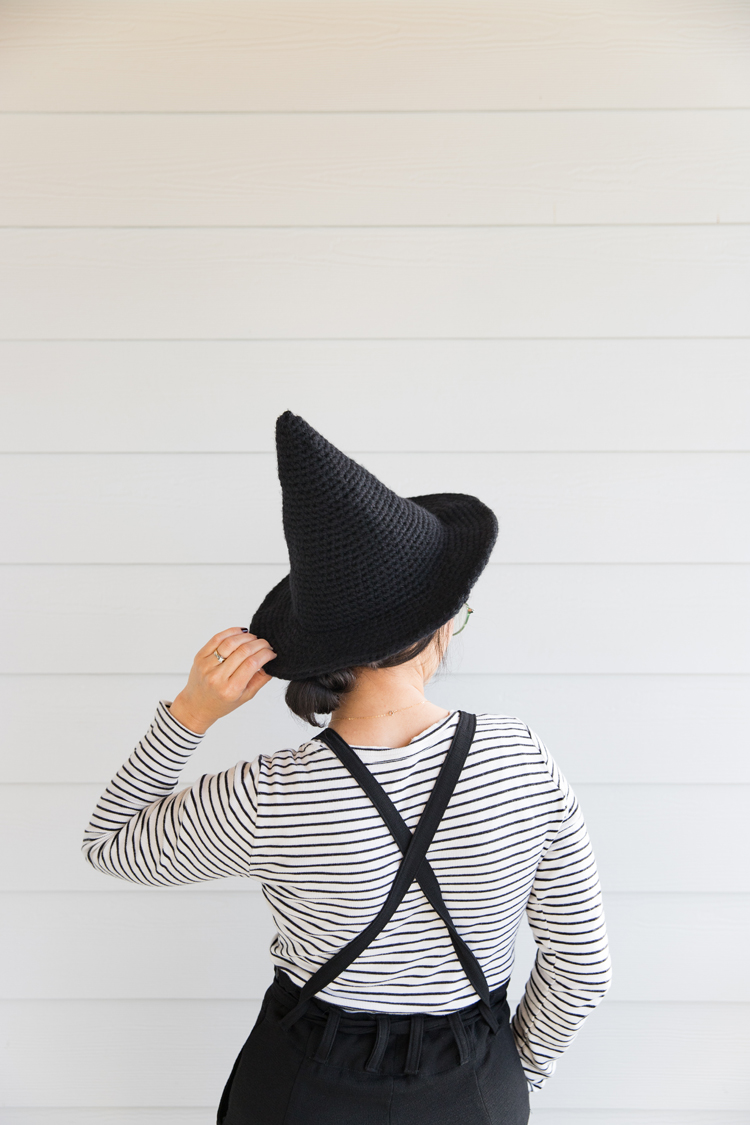
When it comes to Halloween costumes, I’m usually pretty predictable.
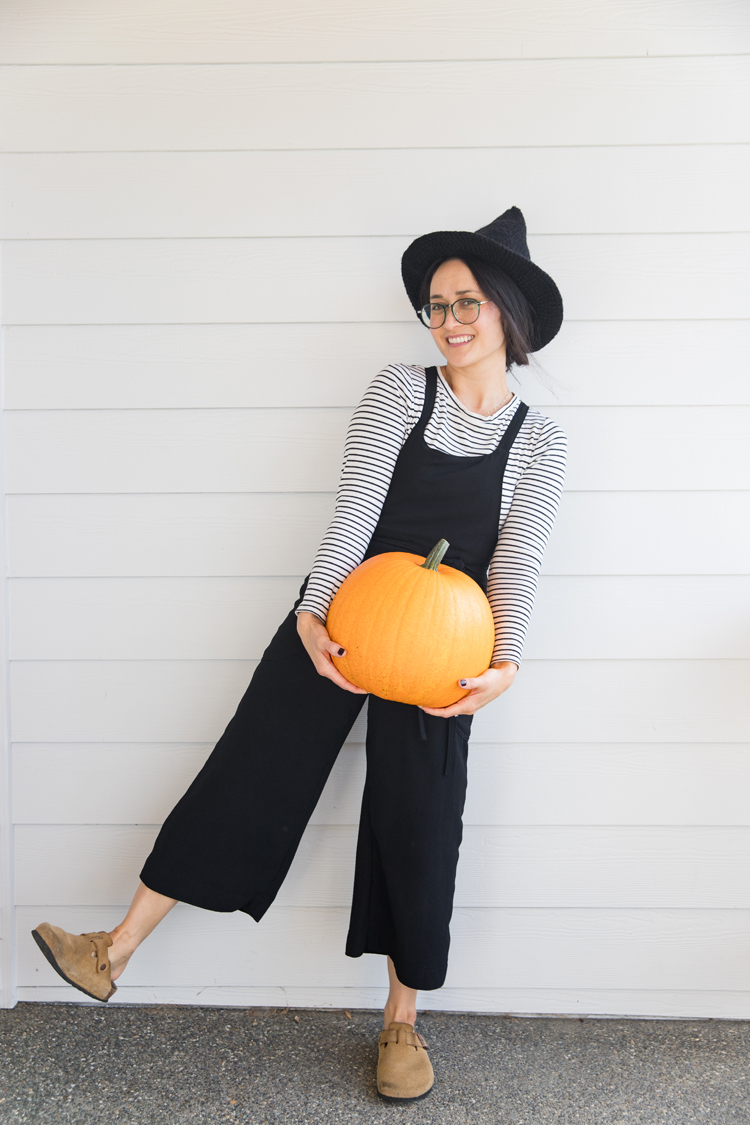
Considering I have two witch hat *sewing* tutorials (here and here) as well, it was only a matter of time before I made a crochet one. 😉
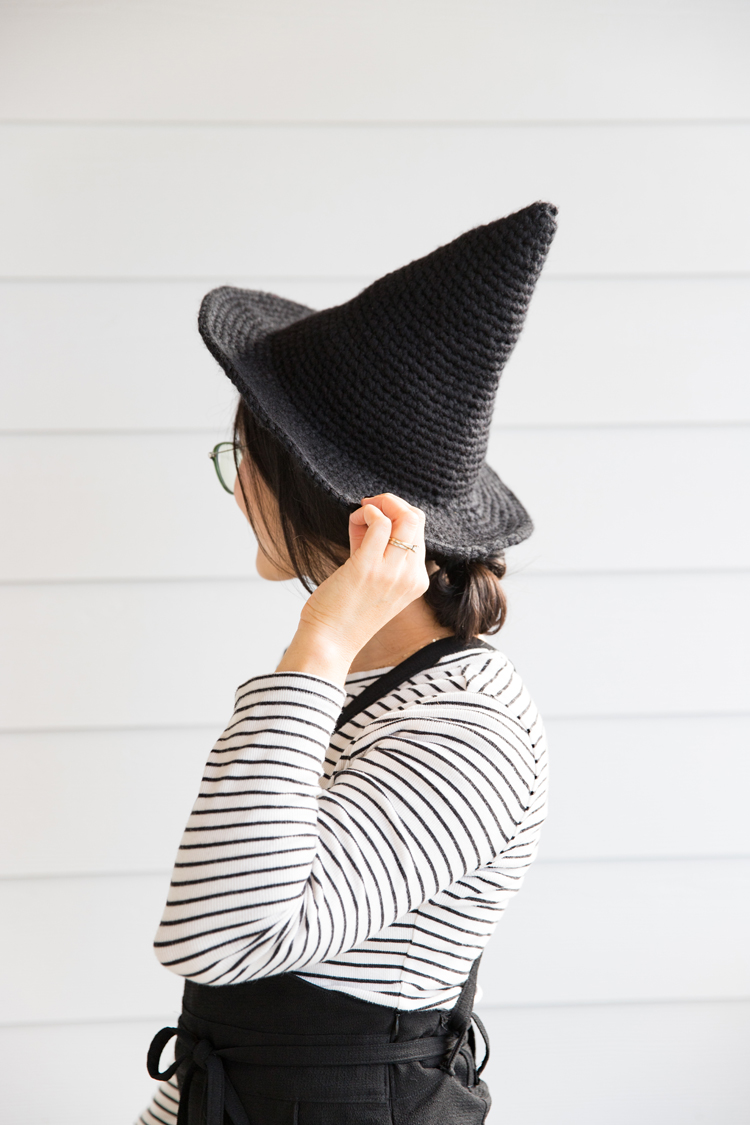
It’s beginner-ish friendly too, because it’s made with just single crochet! Hence the name.
I say beginner-ish though because it does require a few things beyond just basic stitches like: a really tight tension, it’s worked in continuous rounds with no seam, and has shifting increasing stitches that require stitch markers. As long as you pay attention to the gauge (definitely make a swatch!) and if you feel comfortable working in the round, you should be good to go.
MATERIALS
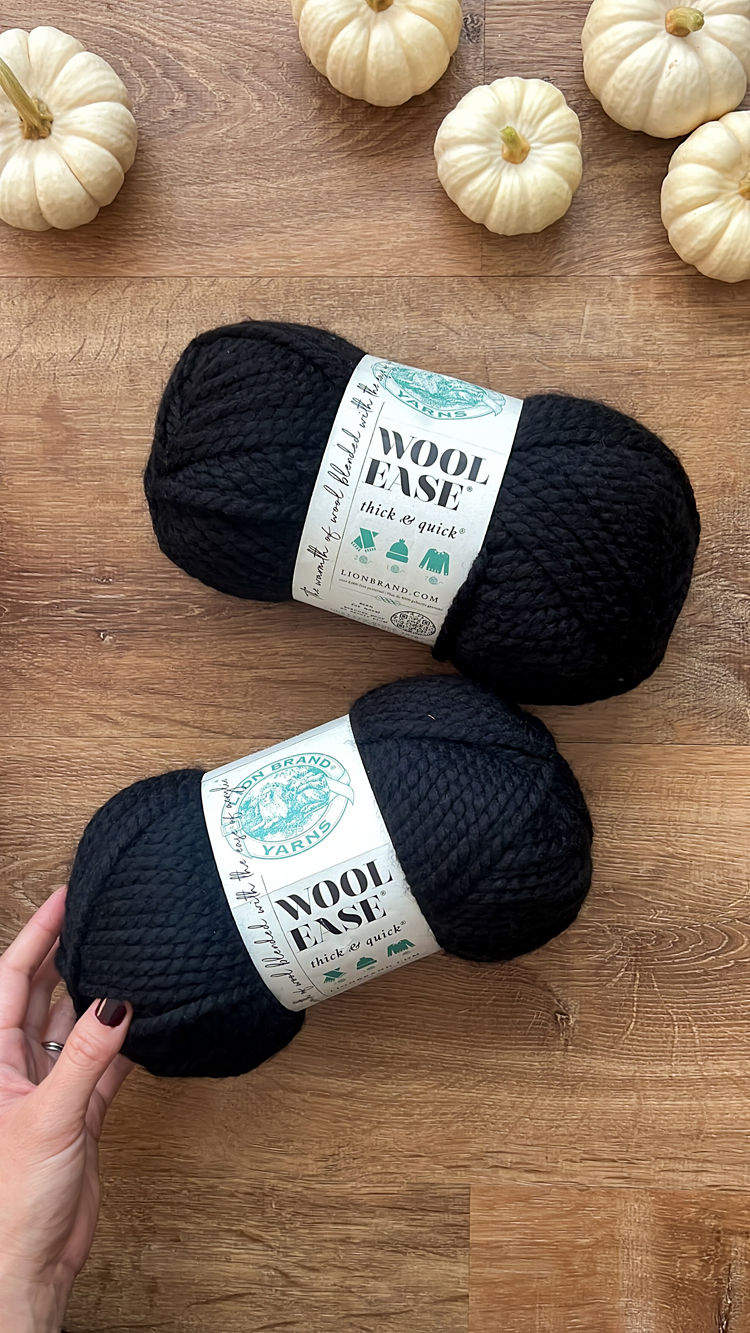
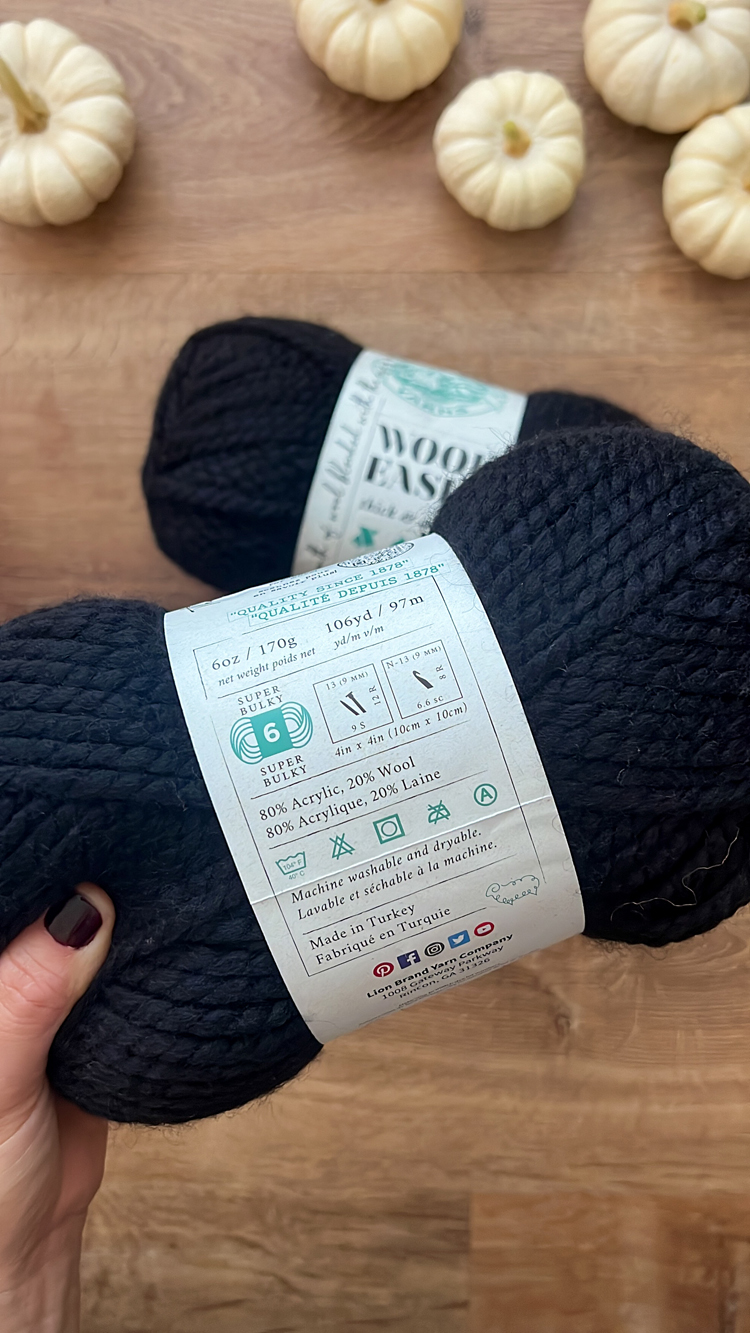
- Super Bulky (size 6), wool or wool blend yarn, about 110 – 135 yards*
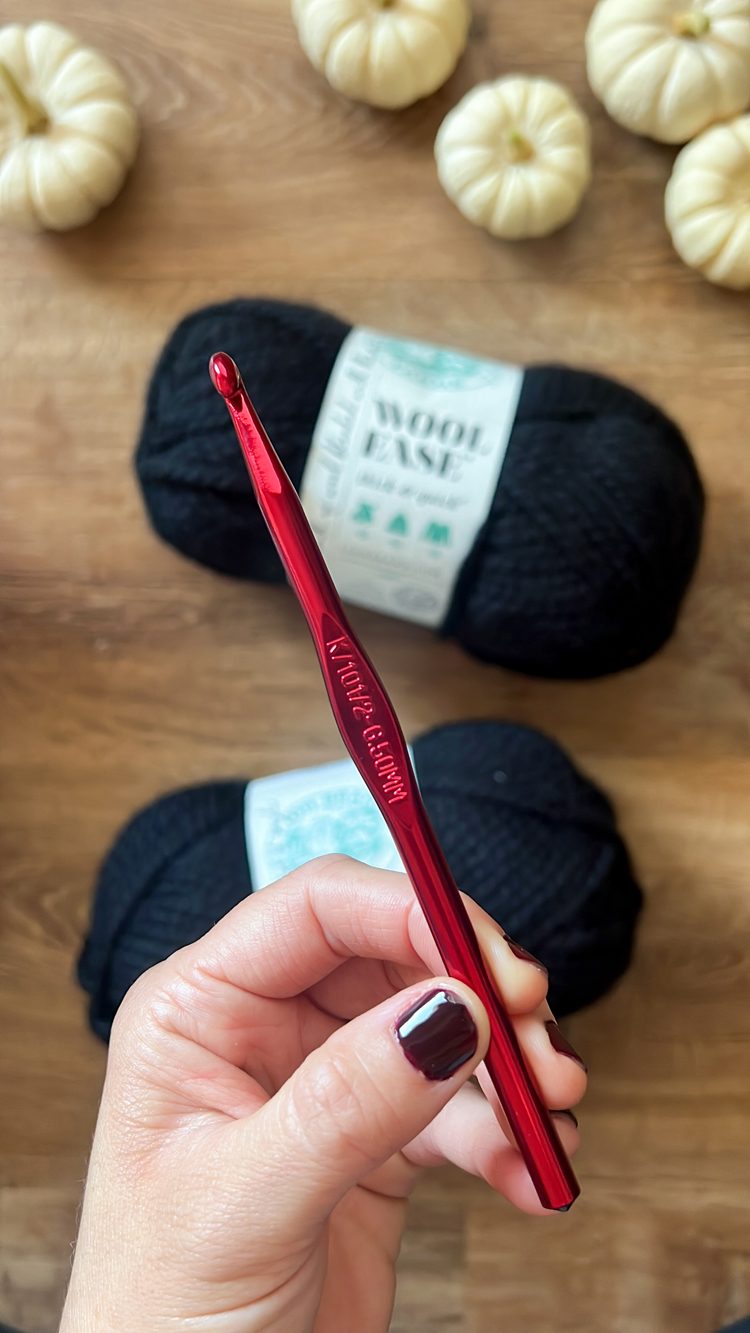
- K/10.5 or 6.5 mm hook
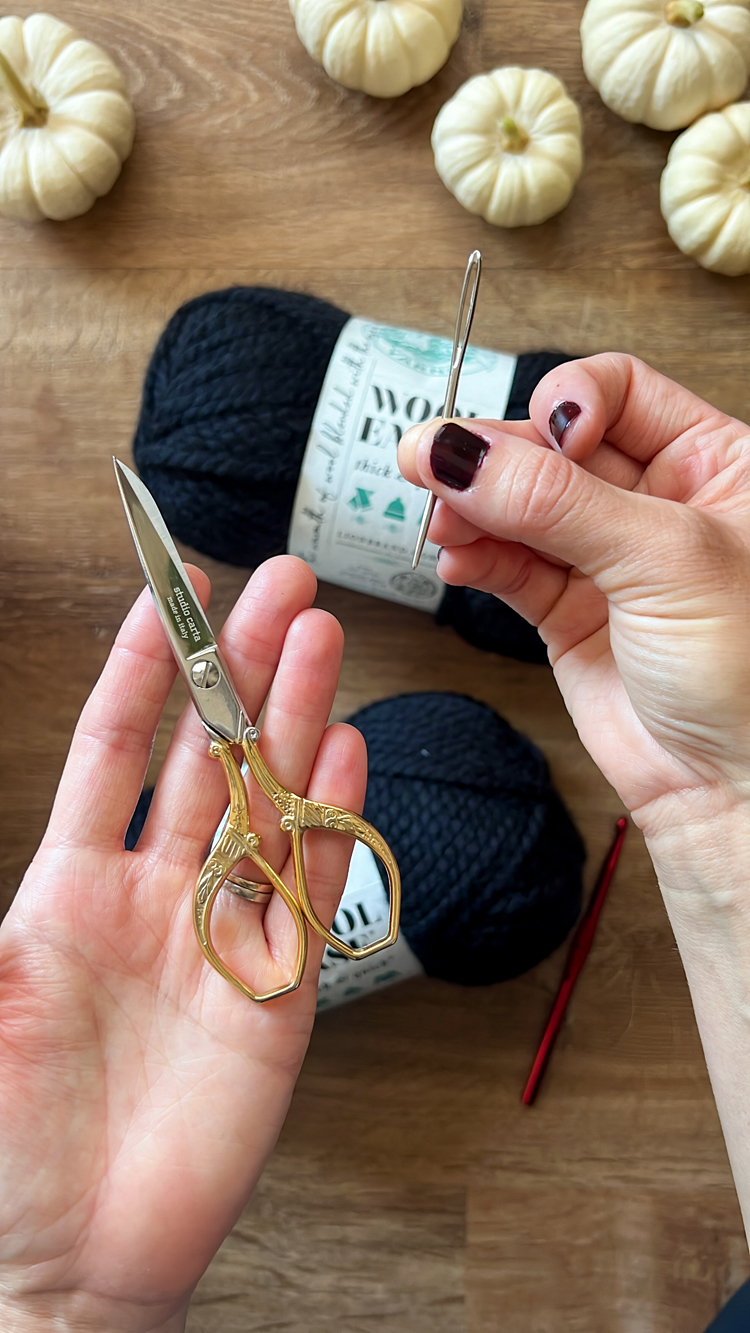
- Yarn needle, scissors
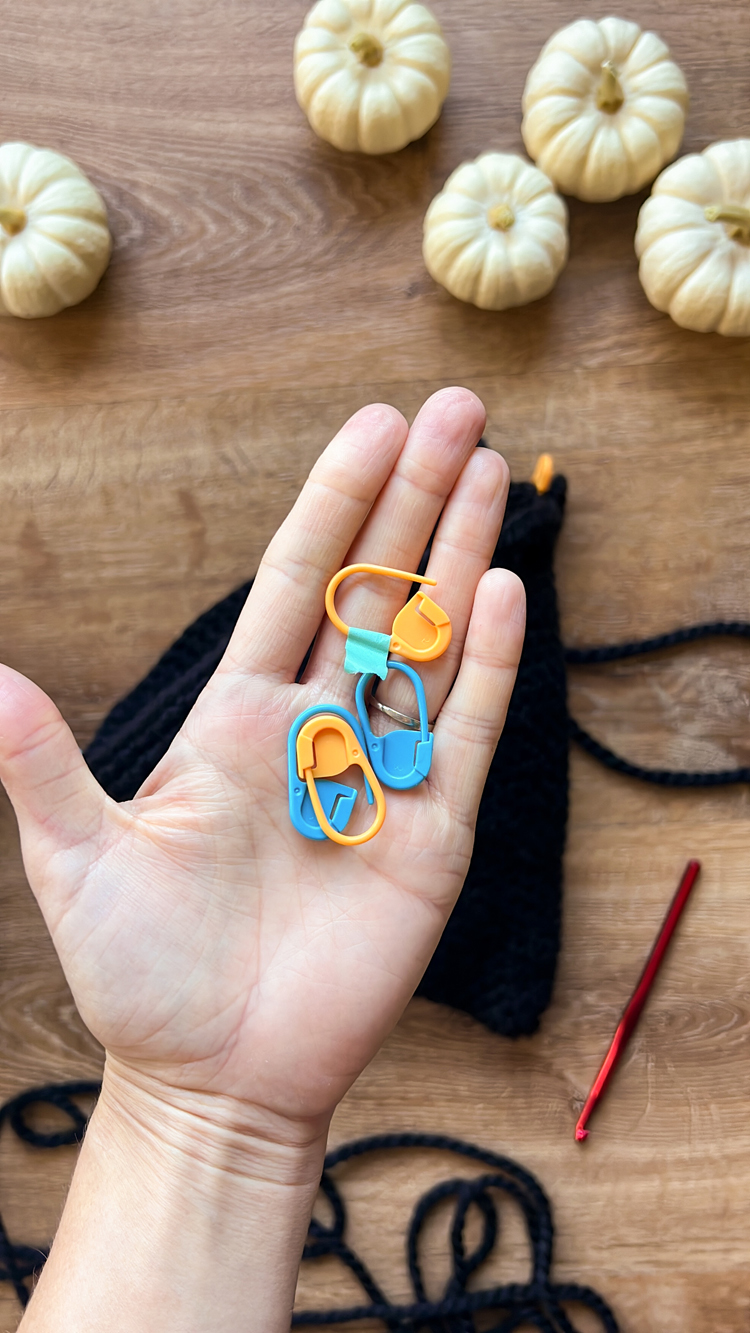
- Stitch Markers – 6 total, with at least one a different color or marked as different than the others
- Iron and ironing board
Material Notes
*I used Wool-Ease Thick and Quick in black. It is a category 6 or “super bulky” yarn, made with 80% polyester and 20% wool. The wool content is really important for how the hat will work up and will allow you to slightly felt it into shape at the end.
GAUGE
2 x 2 inch square = 6 sc x 6.5 rows
To make a swatch, I recommend chaining 10 sc, turn and sc into the second ch from the hook, then sc to the end of the chain. Ch 1, turn, and sc in each in the next row. Repeat for a total of 7-8 rows. Measure to see if your gauge matches.
Gauge Troubleshooting
The gauge will affect the final size of the hat, as well as how well it holds its shape. Getting the gauge right will ensure a more accurate fit. If you gauge doesn’t match mine, here are some troubleshooting tips:
Too loose? (This is more likely.) Try pulling the yarn tightly after each and every stitch. Don’t pull so tightly that you can’t insert your hook in the next row, but give it a good tug. If your swatch is still too big, then try going down a hook size.
Too tight? (Go you! You must have a strong grip.) Go up a hook size.
SIZING
| SIZE | HEAD CIRCUMFERENCE |
| Child | 20-21 inches |
| Youth or Adult S/M | 21.5-22.5 inches |
| Adult L | 23-24 inches |
ABBREVIATIONS
This pattern is written in US crochet terms.
- ch = chain
- sc = single crochet
- sl st – slip stitch
- flo = front loops only
- inc = increase, also means to work 2 stitches in same space
VIDEO TUTORIAL
The video should have already started playing in a pop up video on the top or side of your screen. If it hasn’t, it should play under this heading. Please remember that ads will play before the tutorial begins. If you “x” out of video, thinking it’s just a pop up ad, you have to refresh the page in order to get the tutorial video to pop back up.
Music is by Pleasant Pictures Music Club.
WRITTEN TUTORIAL
Notes before we begin:
- The pattern begins the same for all sizes. Sizing specific portions of the pattern will be identified as they branch out toward the end of the hat top and the brim.
- Rounds will be worked seamlessly and continuously.
- Remember to pull the yarn tightly after each stitch to create a firm, tight tension.
- I offer a “choose your own adventure” option, after Round 5. See below.
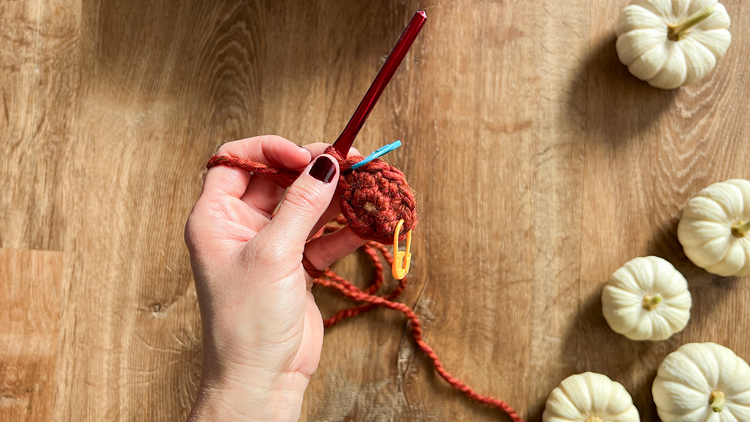
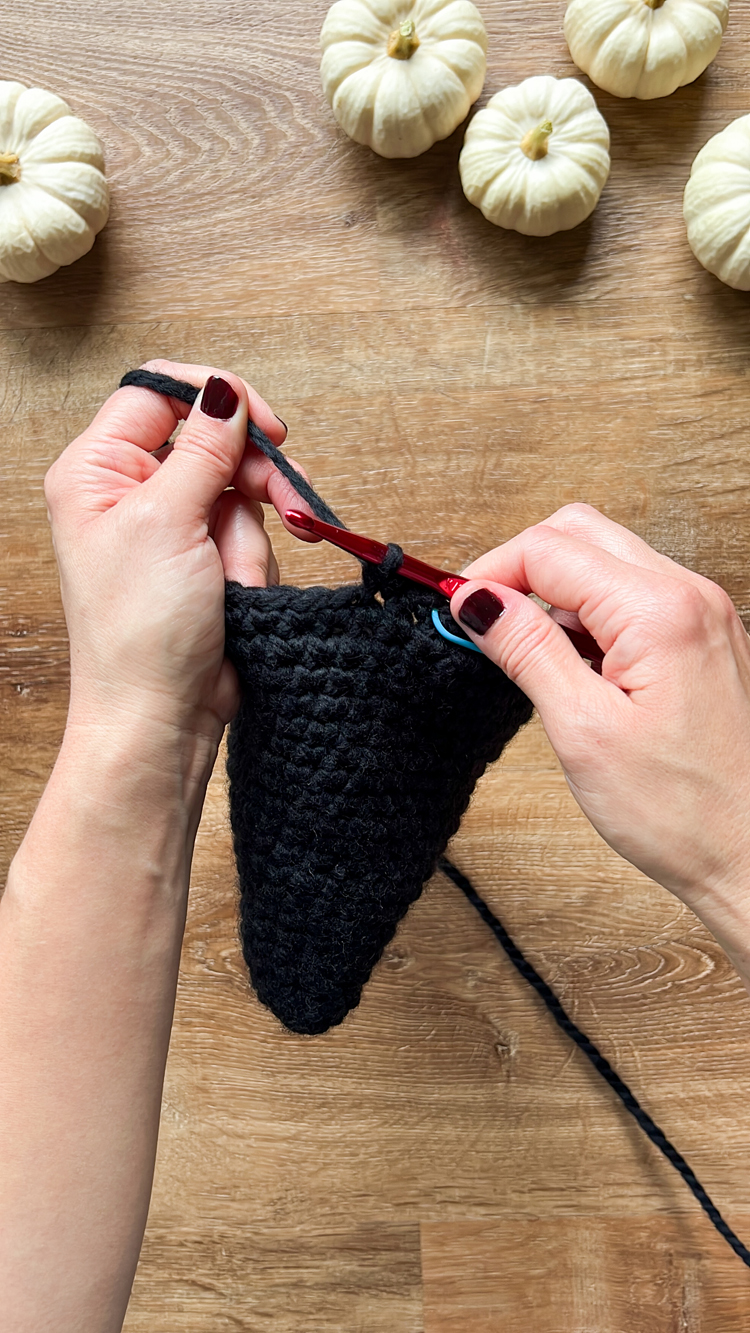
- The black yarn makes it hard to see stitches. For the beginning of this tutorial, I used orange yarn so that you can see more easily.
HAT TOP PATTERN
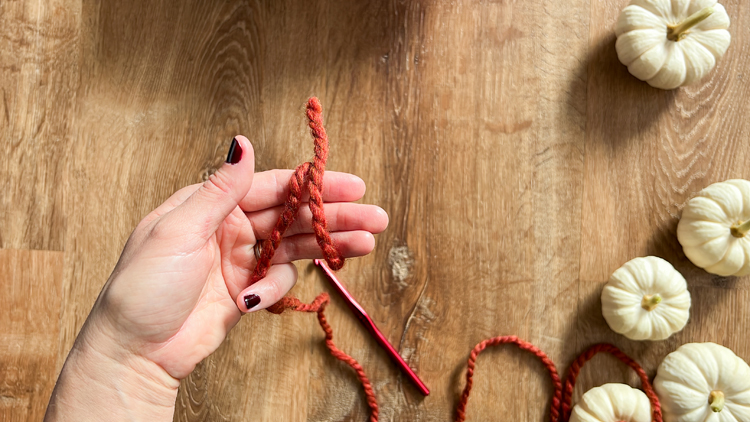
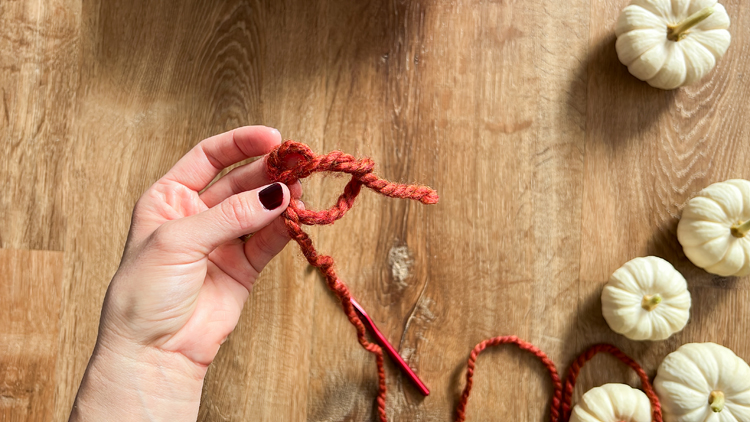
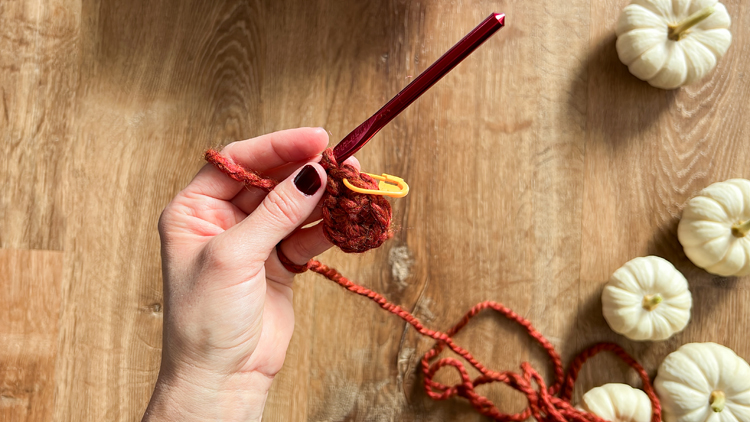
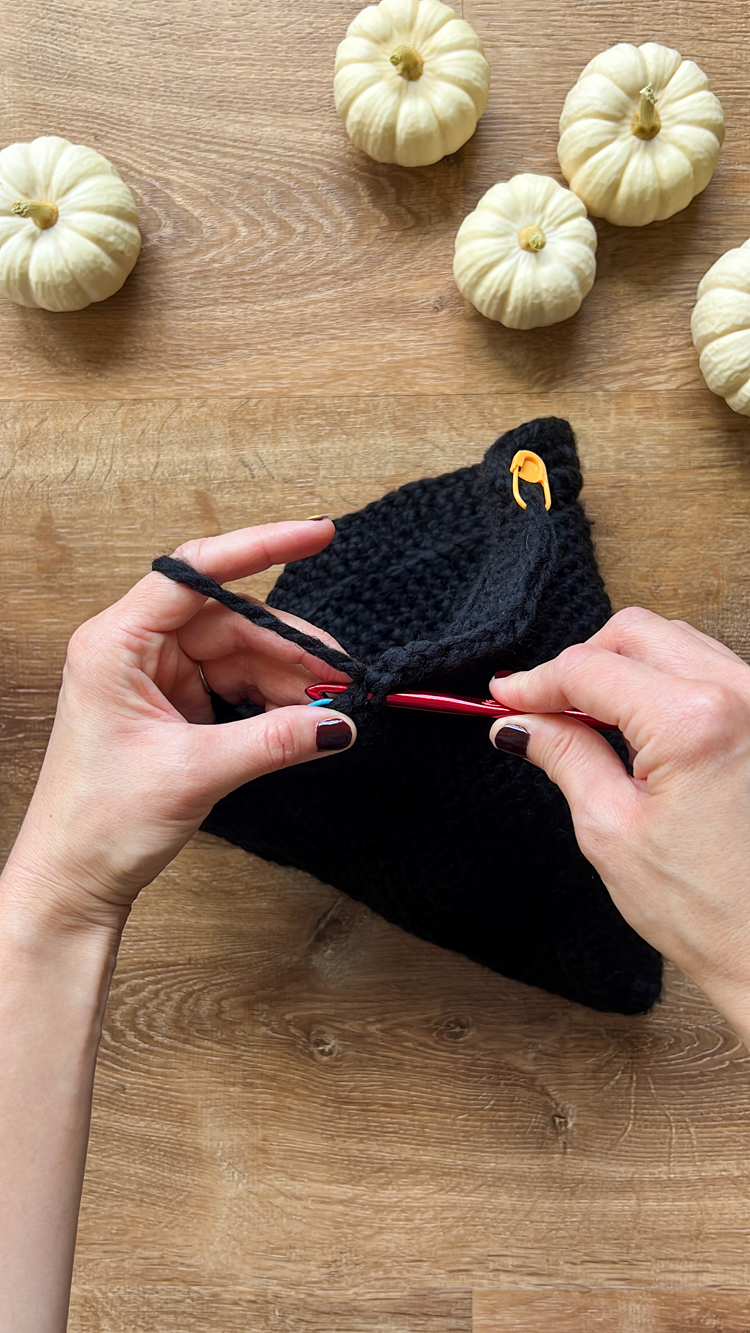
Round 1: Create a magic ring (see video for more explanation). Ch 1 (does not count in stitch count). Sc into magic ring 6 times. Pull the tail to tighten up the round into an almost ring shape. We will not be closing the circle with a slip stitch. (Total stitch count = 6)
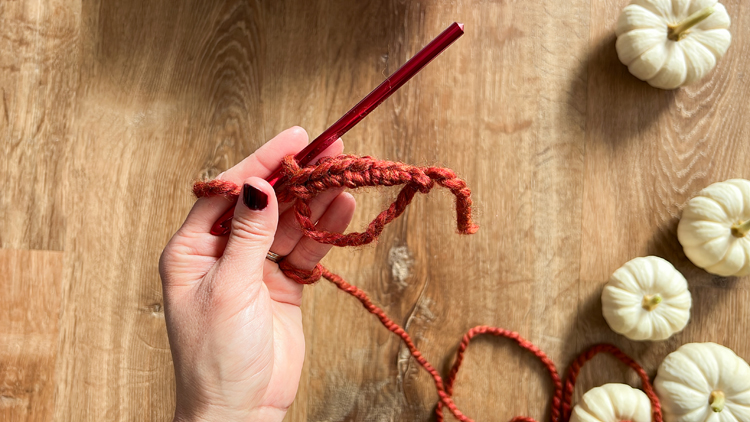
Round 2: Sc into the top two loops of 1st sc in previous round. Be careful not to work into ch 1. Work a second sc into the same space. This is called increasing (inc). Mark the last sc you just worked with a stitch marker to indicate the start of the round. Work 2 regular sc into the next two stitches, then increase again with 2 sc together into the next stitch. Mark the second stitch in the increase with the second stitch marker (should be a different color than the first one so you know which one marks the start of the round). Work 2 more regular sc into the next two stitches. You should now have one open stitch left before the first stitch marker. This will now be the end of the round. (8)
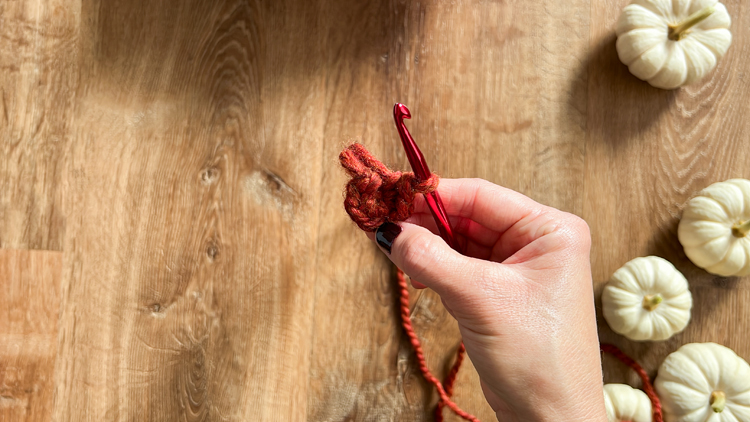
Round 3: Inc (2 sc together) in the open stitch before the first stitch marker, take out the stitch marker and put it in the second sc in the inc. Work regular sc until you get to the last stitch before the second stitch marker. Inc again, move the second stitch marker to the second stitch in the inc, then sc around to the last stitch before the first stitch marker. (10)
Round 4: Inc, move the first stitch marker over to the second sc in the inc. Work regular sc until you get to stitch before the second stitch marker. Inc, move the second stitch marker to the second sc in the inc, then work regular sc until you get to the last open stitch before the first stitch marker. (12)
Round 5: Inc, move the first stitch marker over to the second sc in the inc. Work regular sc until you get to stitch before the second stitch marker. Inc, move the second stitch marker to the second sc in the inc, then work regular sc until you get to the last open stitch before the first stitch marker. (14)
– PAUSE HERE –
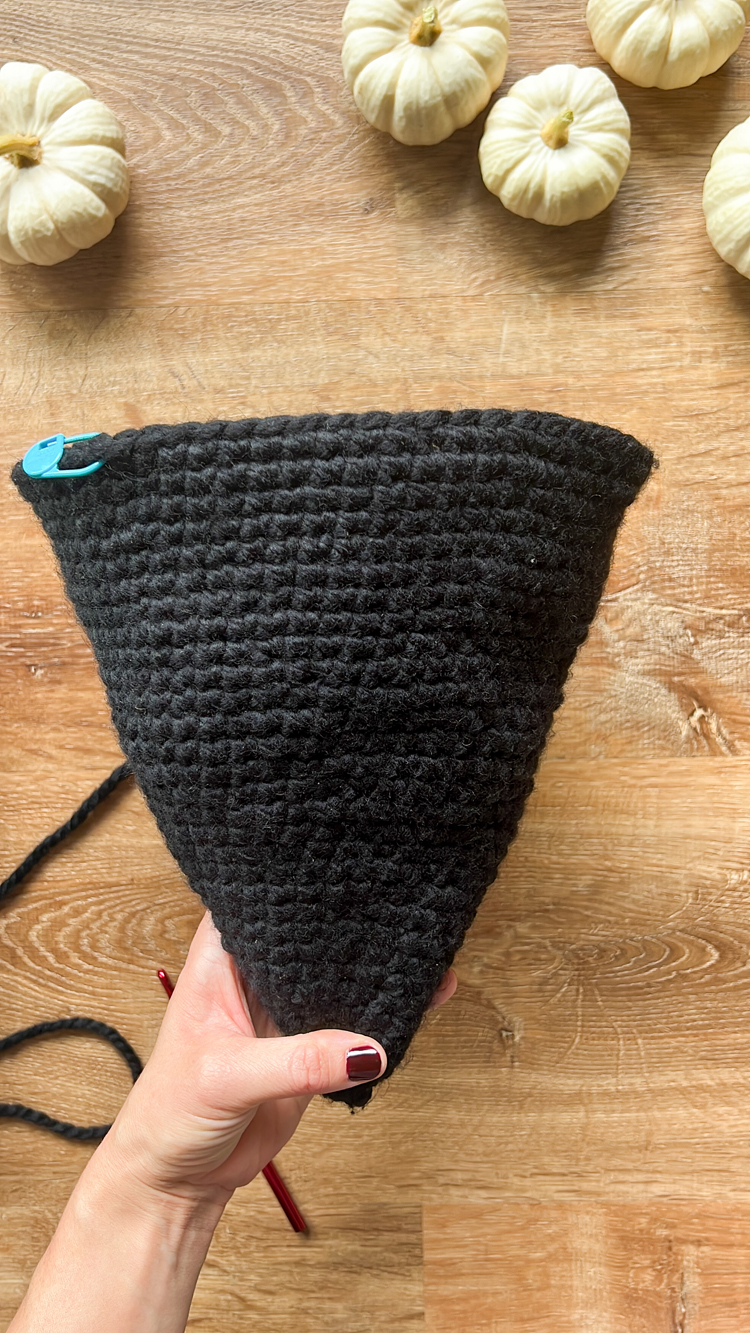
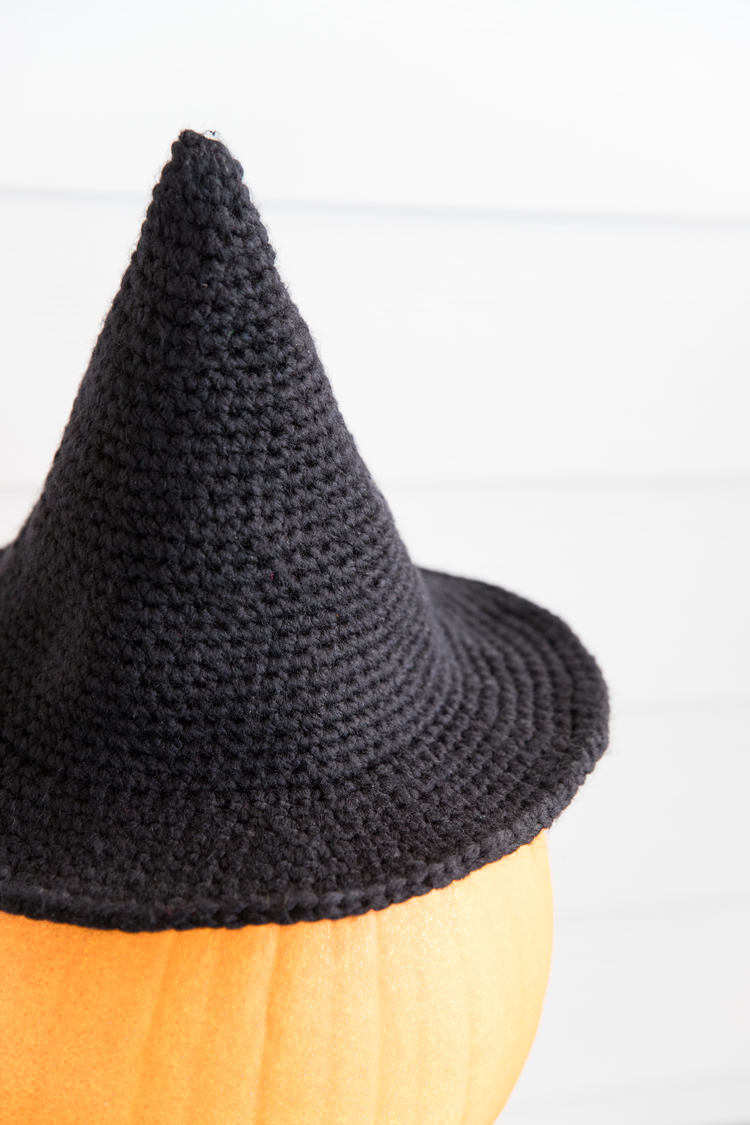
The cone shape should have started forming and the slightly discernible seam should be at a slant, causing the round count to look like 5 on the right of the stitch marker but only 4 rounds on the left.
Before moving to Round 6, work 3 sc and replace the first stitch marker into the the 3rd stitch. You should be able to count 5 rounds on either side now. Move the second stitch marker to the mid point of the round, three stitches over from where it was before.
You can continue increasing the same way as Rounds 1-5 if you want the top of your hat to become a little twisted. If you don’t, subsequent rounds will need to increase in varied spots in between the two stitch markers.
You can follow my pattern, or choose your own adventure. If you want to wing it, keep these tips in mind:
- Keep increasing stitches at least 2-3 stitches away from the increasing stitches in the previous round.
- Try to jump around to keep the increasing even.
- Whatever you do after the first stitch marker, repeat it for the second stitch marker. We want varied placement between rounds but symmetry within each round.
- Rejoin the pattern for the last round of the hat top and the brim.
- Alternatively, you can begin the hat top with varied increases from the second round. I wrote the pattern to start more predictably to establish the shape of the cone before introducing the changing increases.
Round 6: *2 sc, inc (2 sc into the same stitch), 3 sc. Remove stitch marker, sc, then restore stitch marker. Repeat from * to *. (16)
Round 7: *4 sc, inc, 2 sc. Remove stitch marker, sc, restore it.* Repeat from * to *. (18)
Round 8: *3 sc, inc, 4 sc. Remove stitch marker, sc, restore it.* Repeat from * to *. (20)
Round 9: *8 sc, inc. Remove stitch marker, sc, restore it.* Repeat from * to *. (22)
Round 10: *5 sc, inc, 4 sc. Remove stitch marker, sc, restore it.* Repeat from * to *. (24)
Round 11: *3 sc, inc, 7 sc. Remove stitch marker, sc, restore it.* Repeat from * to *. (26)
Round 12: *1 sc, inc, 10 sc. Remove stitch marker, sc, restore it.* Repeat from * to *. (28)
Round 13: *8 sc, inc, 4 sc. Remove stitch marker, sc, restore it.* Repeat from * to *. (30)
Round 14: *11 sc, inc, 2 sc. Remove stitch marker, sc, restore it.* Repeat from * to *. (32)
Round 15: *5 sc, inc, 9 sc. Remove stitch marker, sc, restore it.* Repeat from * to *. (34)
Round 16: *11 sc, inc, 4 sc. Remove stitch marker, sc, restore it.* Repeat from * to *. (36)
Round 17: *Inc, 16 sc. Remove stitch marker, sc, restore it.* Repeat from * to *. (38)
Round 18: *8 sc, inc, 9 sc. Remove stitch marker, sc, restore it.* Repeat from * to *. (40)
Round 19: *14 sc, inc, 4 sc. Remove stitch marker, sc, restore it.* Repeat from * to *. (42)
Round 20: *2 sc, inc, 17 sc. Remove stitch marker, sc, restore it.* Repeat from * to *. (44)
Round 21: *10 sc, inc, 10 sc. Remove stitch marker, sc, restore it.* Repeat from * to *. (46)
Round 22: *3 sc, inc, 18 sc. Remove stitch marker, sc, restore it.* Repeat from * to *. (48)
Round 23: *16 sc, inc, 6 sc. Remove stitch marker, sc, restore it.* Repeat from * to *. (50)
Round 24: *7 sc, inc, 16 sc. Remove stitch marker, sc, restore it.* (52)
Round 25: *22 sc, inc, 2 sc. Remove stitch marker, sc, restore it.* Repeat from * to *. (54)
Round 26: *4 sc, inc, 21 sc. Remove stitch marker, sc, restore it.* Repeat from * to *. (56)
Round 27: *10 sc, inc, 16 sc. Remove stitch marker, sc, restore it.* Repeat from * to *. (58)
CHILD SIZE ONLY: Round 28: 14 sc, inc, 13 sc. Remove stitch marker, sc, restore it. 14 sc, inc, 13 sc. Remove stitch marker, slip stitch, restore it. (60) Stop here and go to brim pattern.
ADULT SIZES: Round 28: *14 sc, inc, 13 sc. Remove stitch marker, sc, restore it.* Repeat from * to *. (60)
Round 29: *20 sc, inc, 8 sc. Remove stitch marker, sc, restore it.* Repeat from * to *. (62)
Round 30: *4 sc, inc, 25 sc. Remove stitch marker, sc, restore it.* Repeat from * to *. (64)
ADULT S/M ONLY: Round 31: 13 sc, inc, 17 sc. Remove stitch marker, sc, restore it. 13 sc, inc, 17 sc. Remove stitch marker, slip stitch, restore it. (66) Stop here and go to brim pattern.
ADULT L ONLY: Round 31: *13 sc, inc, 17 sc. Remove stitch marker, sc, restore it.* Repeat from * to *. (66)
Round 32: *Inc, 31 sc. Remove stitch marker, sc, restore it.* Repeat from * to *. (68)
Round 33: *27 sc, inc, 5 sc. Remove stitch marker, sc, restore it.* Repeat from * to *. (70)
Round 34: 11 sc, inc, 22 sc. Remove stitch marker, sc, restore it. 11 sc, inc, 22 sc. Remove stitch marker, slip stitch, restore it. (72) Stop here and go to brim pattern.
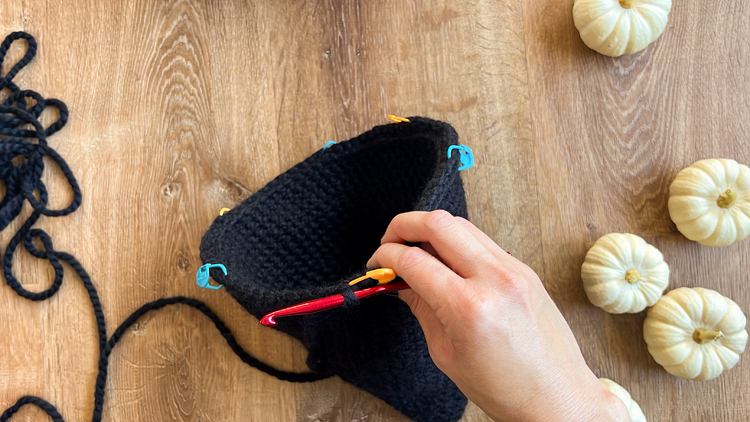
BRIM PATTERN
Notes:
- Stitches for each size will be listed as follows: Child (Adult S/M, Adult L)
- For example, if you are following the Adult S/M size, pay attention only to the green highlighted number: 8 (9, 10)
- Brim will also be worked in continuous, seamless rounds.
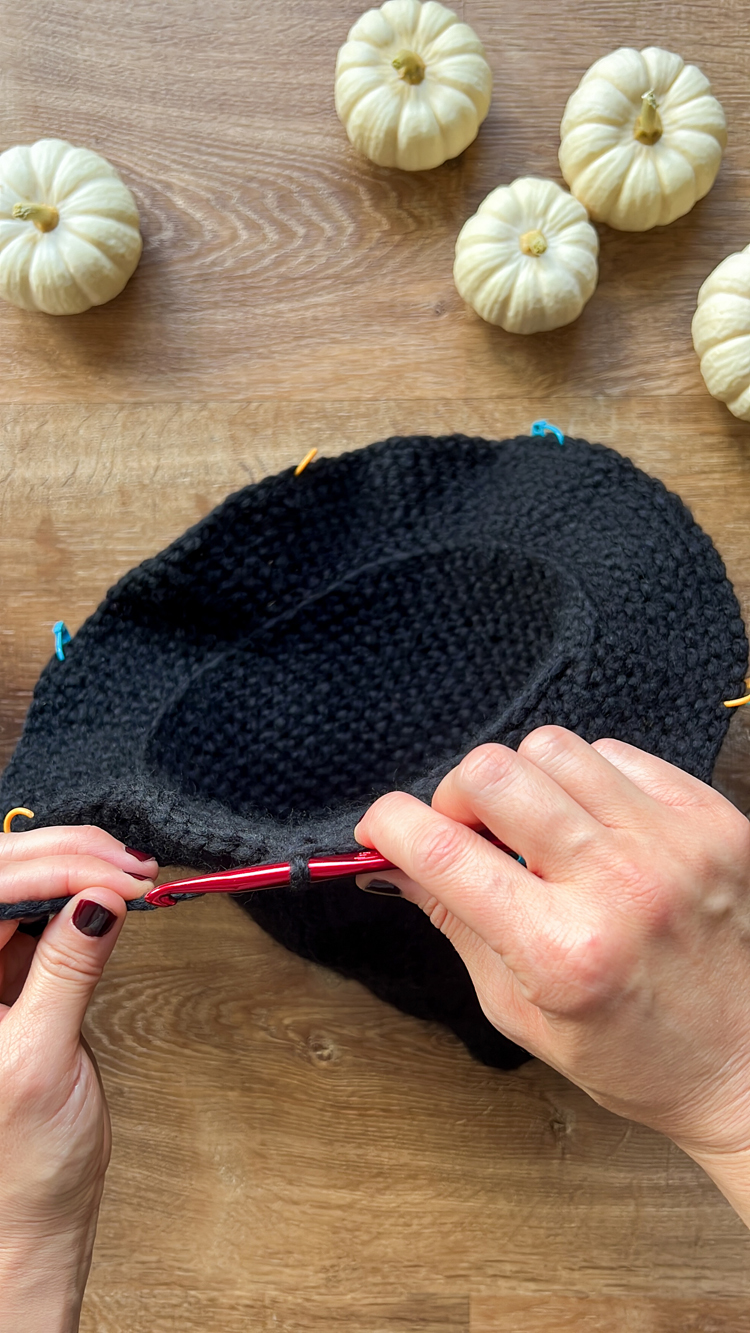
Brim Round 1: Ch 2 tightly (this counts as 1 sc). FOR ROUND 1 only, work in the front loops. Work 8 (9, 10) sc. Increase. (Please note: In the companion video, I say to work 10 sc for the size S/M but this includes counting the ch 2 as 1 sc.) Place stitch marker in second sc in inc. *Work 9 (10, 11) sc. Increase. Place stitch marker in second sc in inc.* Repeat from * to * three more times. Work 9 (10, 11). Increase in last stitch before starting stitch marker. (Total stitch count = 66, 72, 78)
Brim Round 2: *Remove starting stitch marker, sc, restore it. 3 sc, inc, 8 (9, 10) sc.* Repeat from * to * 5 more times. (72 (78, 84)
Brim Round 3: *Remove starting stitch marker, sc, restore it. 7 sc, inc, 5 (6, 7) sc.* Repeat from * to * 5 more times. (78 (84, 90)
Brim Round 4: *Remove starting stitch marker, sc, restore it. 11 sc, inc, 2 (3, 4) sc.* Repeat from * to * 5 more times. (84 (90, 96)
Brim Round 5: *Remove starting stitch marker, sc, restore it. 4 sc, inc, 10 (11, 12) sc.* Repeat from * to * 5 more times. (90 (96, 102)
Brim Round 6: *Remove starting stitch marker, sc, restore it. 10 sc, inc, 5 (6, 7) sc.* Repeat from * to * 5 more times. (96 (102, 108)
Brim Round 7: *Remove starting stitch marker, sc, restore it. 15 sc, inc, 1 (2, 3) sc.* Repeat from * to * 5 more times. (102 (108, 114)
Brim Round 8: *Remove starting stitch marker, sc, restore it. 8 sc, inc, 9 (10, 11) sc.* Repeat from * to * 5 more times. (108 (114, 120) Optional: You may consider ending the child size brim at Round 7.
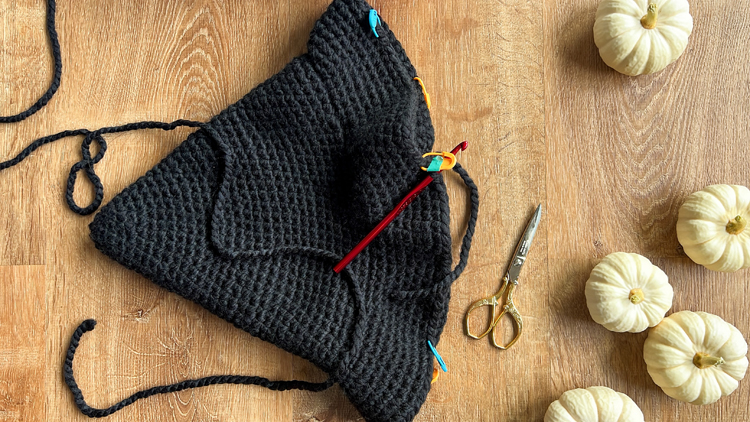
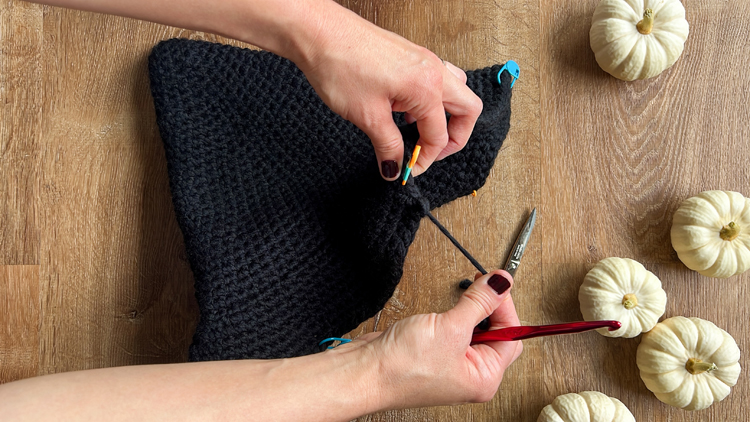
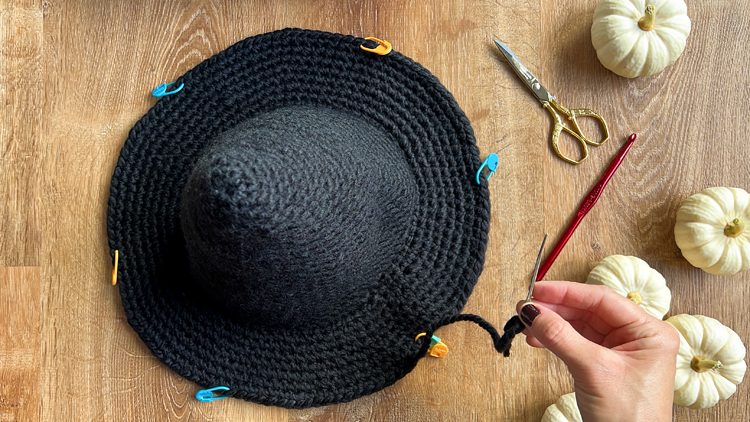
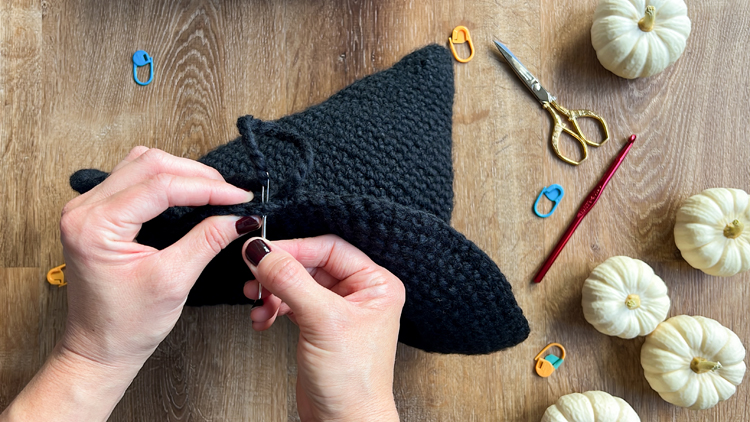
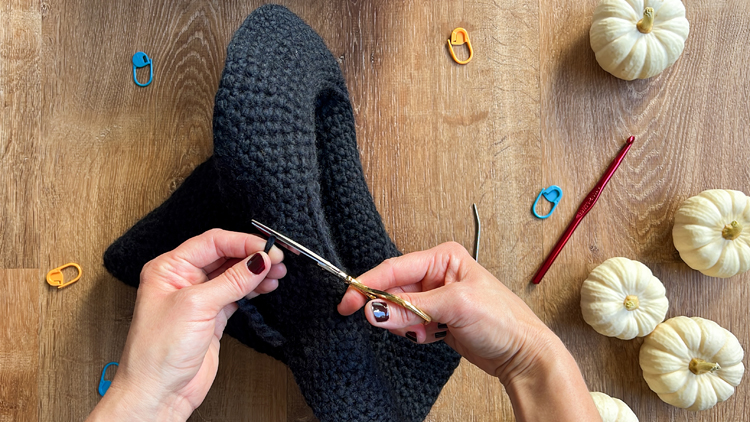
FINISHING
- Cut a 6-8 inch tail. Tie off end. As you weave it in with a yarn needle, use the tail to even out the last round of the brim.
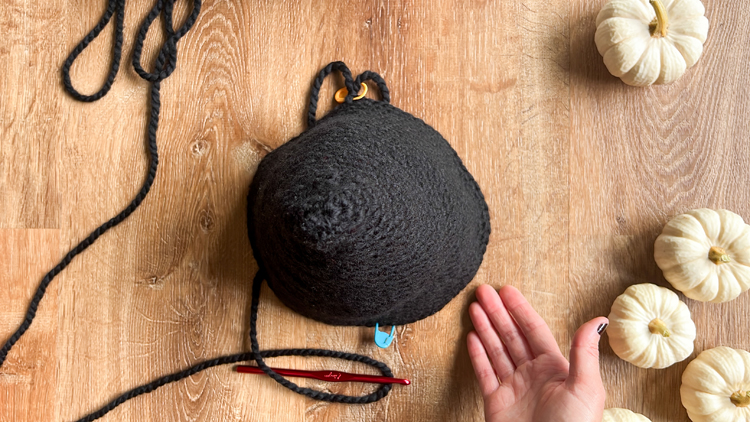
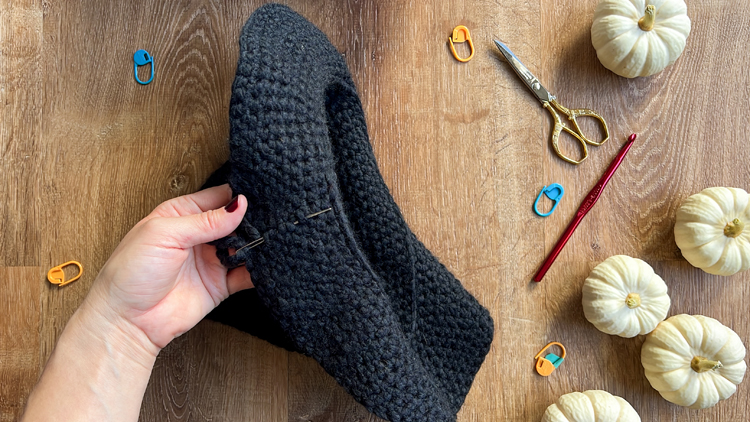
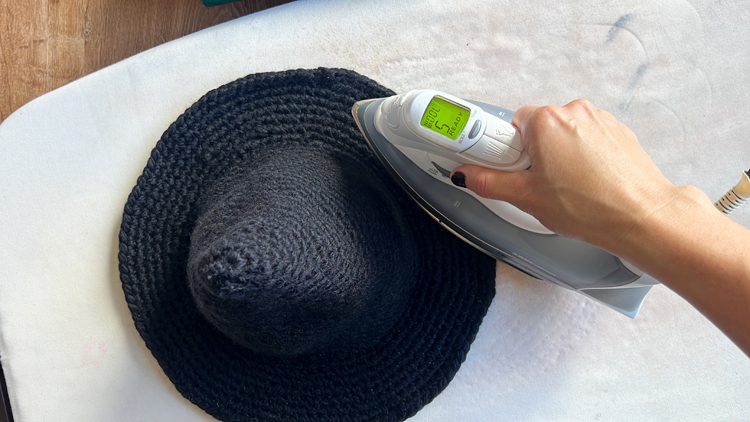
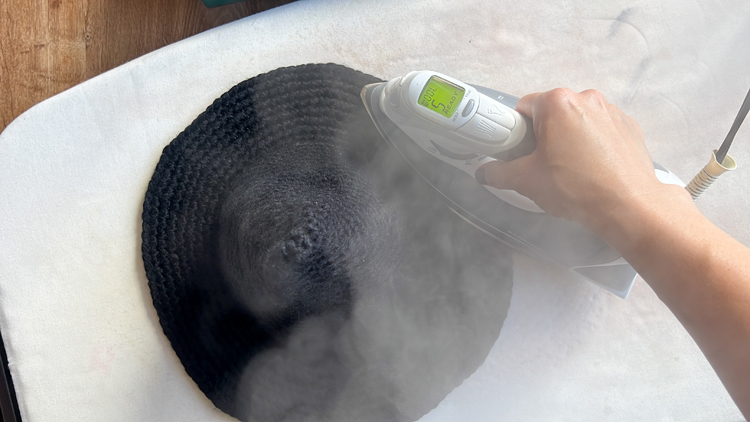
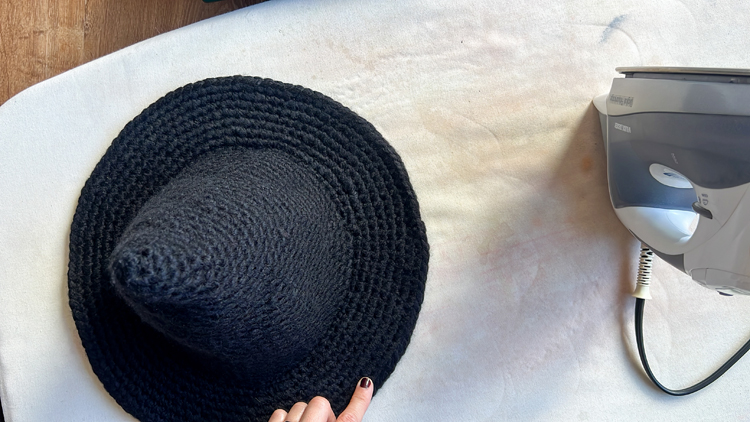
- Press with a iron on the “wool” setting. Use steam if desired to slightly felt the hat into shape.
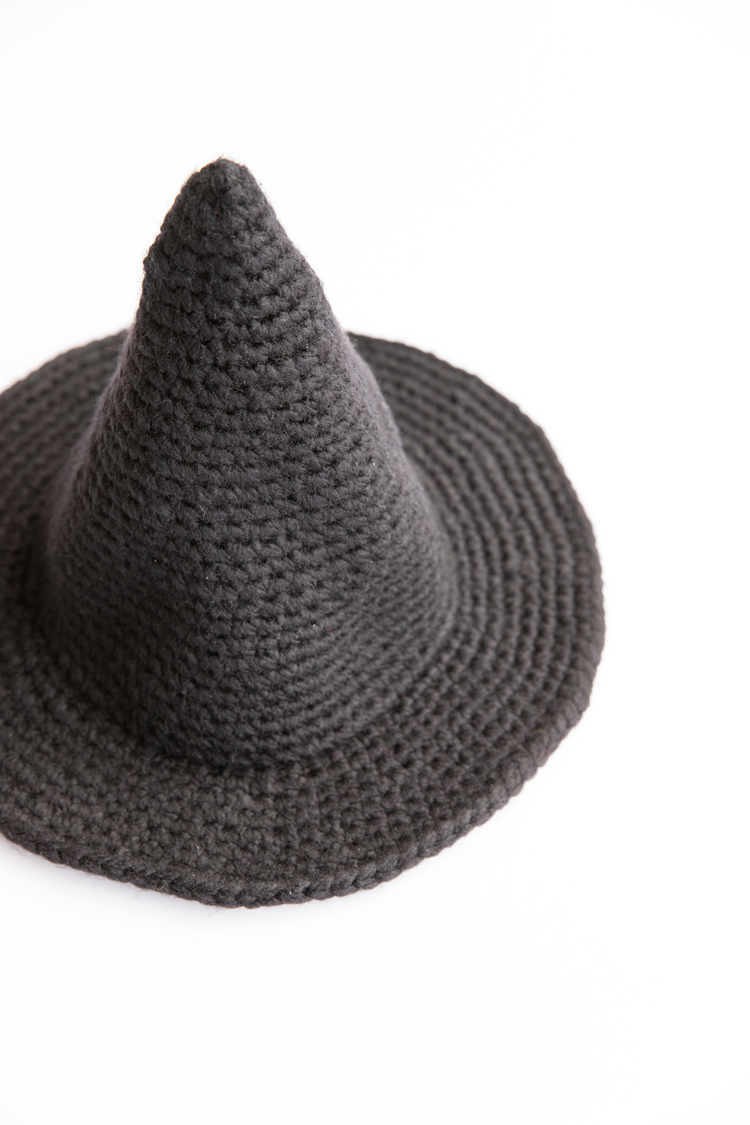
All done!
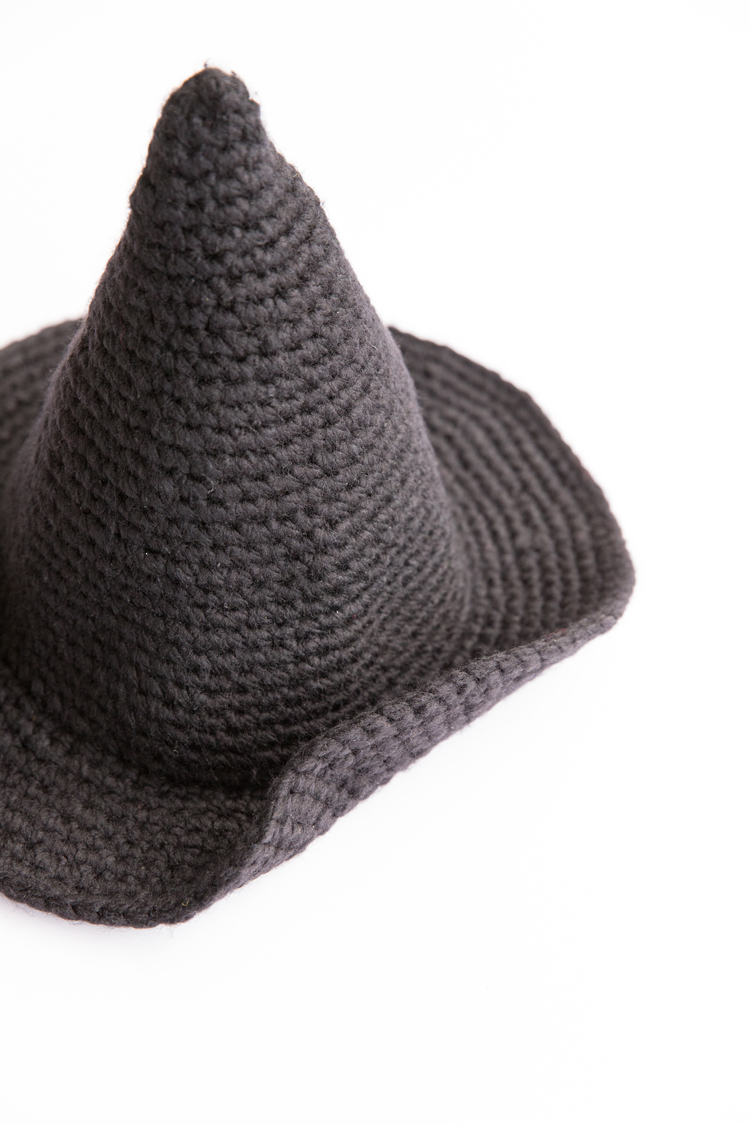
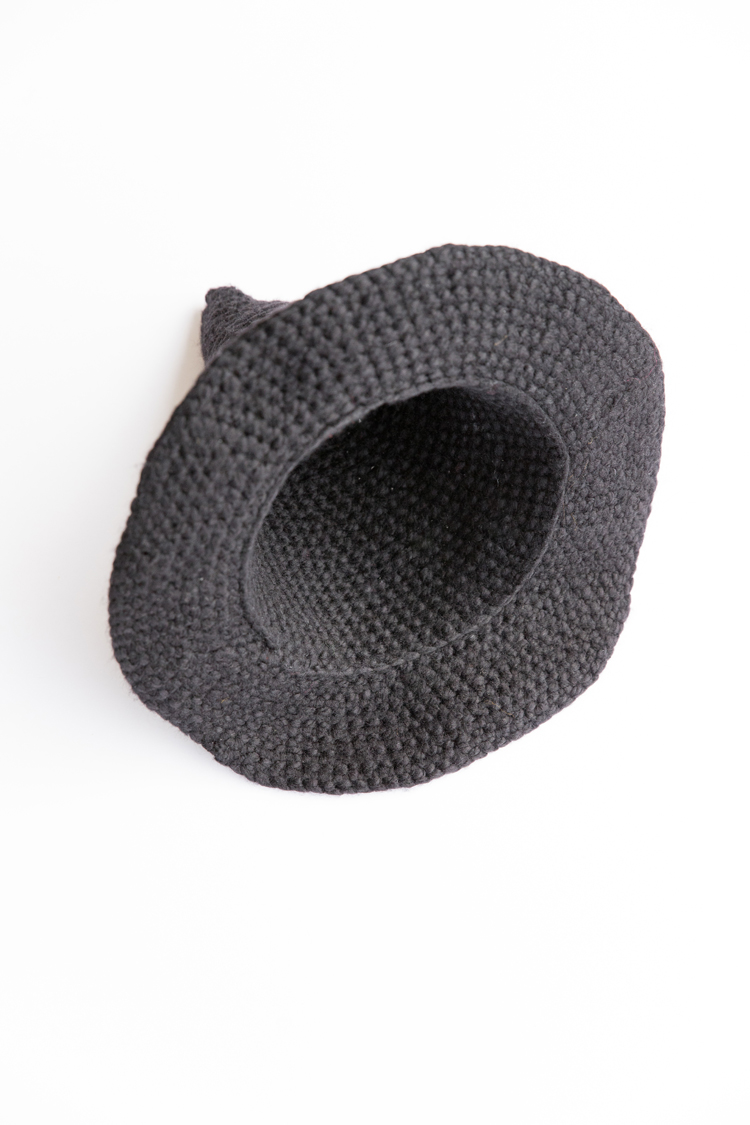
Now you have a hat that is both firm enough to hold its shape but flexible enough to be molded or folded for storage.
Oh my gosh. This crochet witches hat is too cute! I can’t wait to show my daughter. I bet she can whip it up over the weekend she is so fast!
Hey girl. Thank you for sharing this pattern. My one comment is that I was fine until the brim stitch counts. My math says if for round 2 I’m supposed to end up with 84 stitches, I should have a total of 14 (including the marked stitch to the left), meaning BEFORE replacing the stitch marker it’s 9 stitches after the increase… And with those numbers being off I spent so much time thinking I screwed up but before starting the brim my stitch count was bang on and I redid that last round so many times to be sure… Anyway, the problem could still for sure be me because I’m only a year into crochet… Haha. Love the pattern no matter what.
You are totally right. I have gone through to correct the stitch count. I’m sorry I made you second guess yourself. I really appreciate your patience and your feedback.
This pattern was brilliant! It took me 2 half days over the weekend, I will say there is a mistake in the written pattern though! When you start the brim it doesn’t say front loop only but does on the video
Thank you for letting me know. My apologies for the mistake. I will fix that now!
Such a fantastic pattern! 🎃🧙♀️ The step-by-step tutorial makes it so easy to follow, even for beginners. I love how customizable the hat is—perfect for Halloween or even a fun cosplay accessory. Thanks for sharing this free pattern!
So excited by how this turned out. Great pattern, worked up quickly and it’s such a lovely shape. Can’t wait to wear in on halloween.
Worked up really quickly too, going to make a smaller version for my kid.
So glad you enjoyed the pattern! A mini one will be SO cute!
If you’re hat turns out nice and stiff, do not iron it! Mine went floppy unfortunately when I tried to “finish it off”
Hi, I really want to make this for my daughter, can you clarify how many balls of yarn are needed