

I am re-posting this project from when I guest posted over at Domestic, But Not Martha.
_________________________________________________________________________________
A child development professor taught me years ago that children spell love: T-I-M-E. That has really stuck with me, and it’s true. So true.

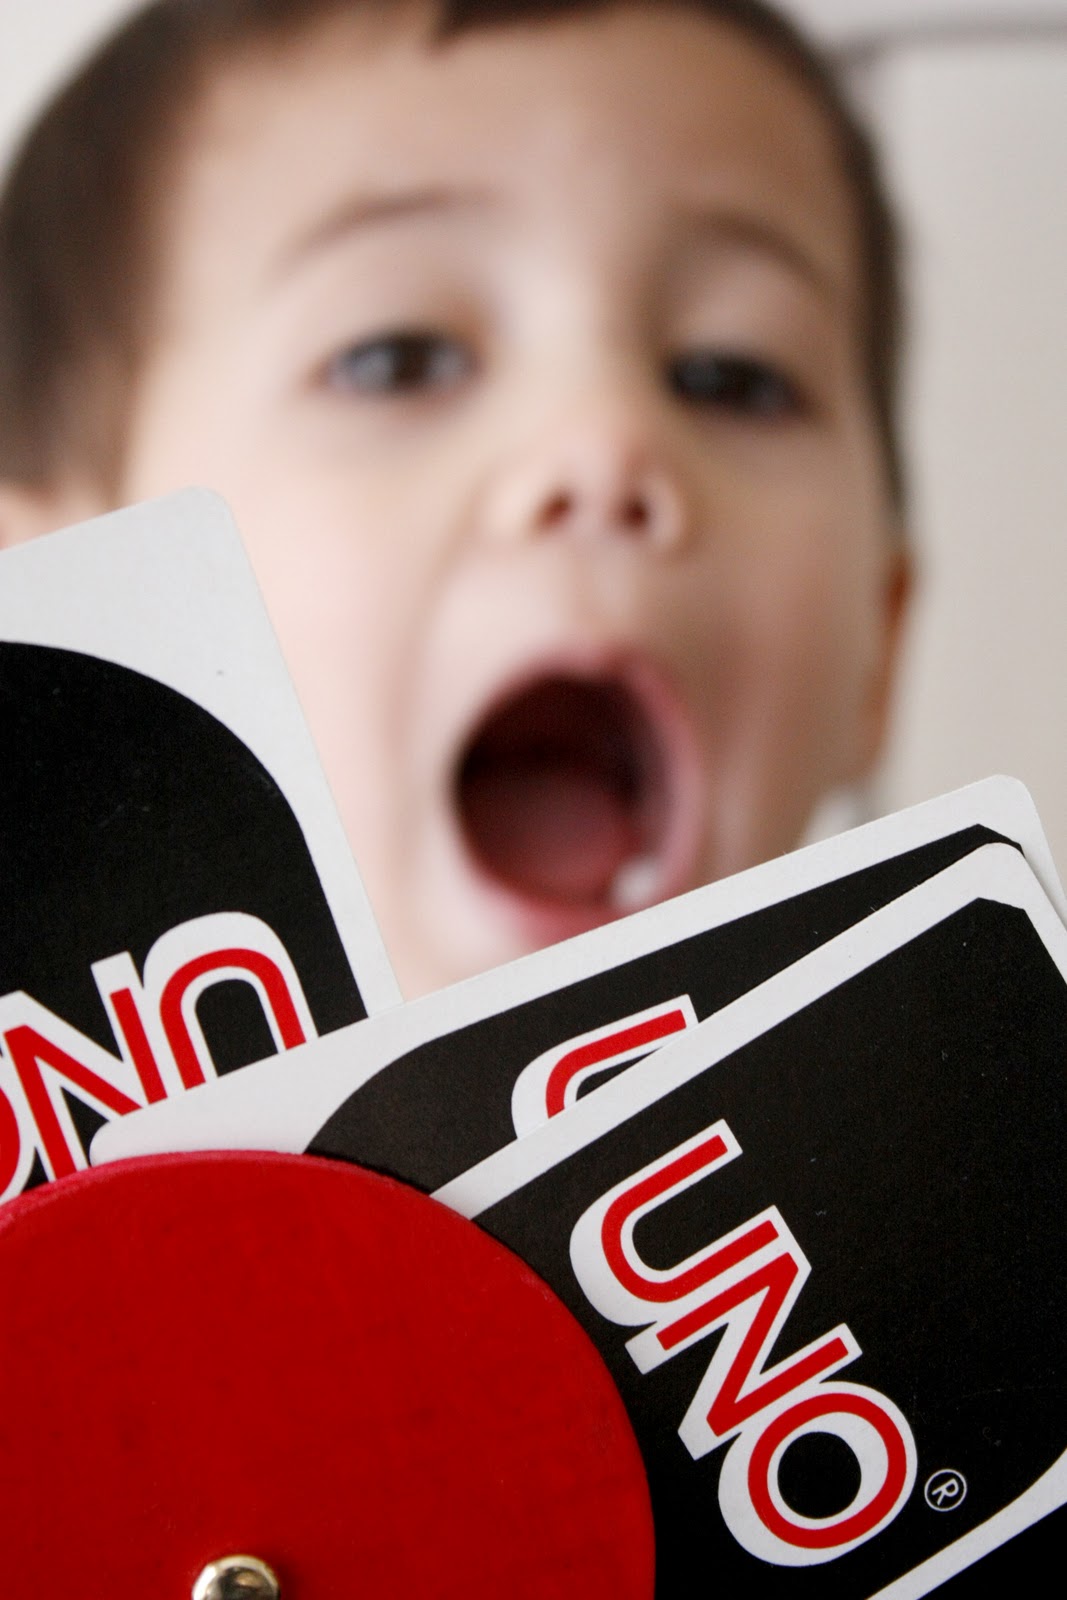
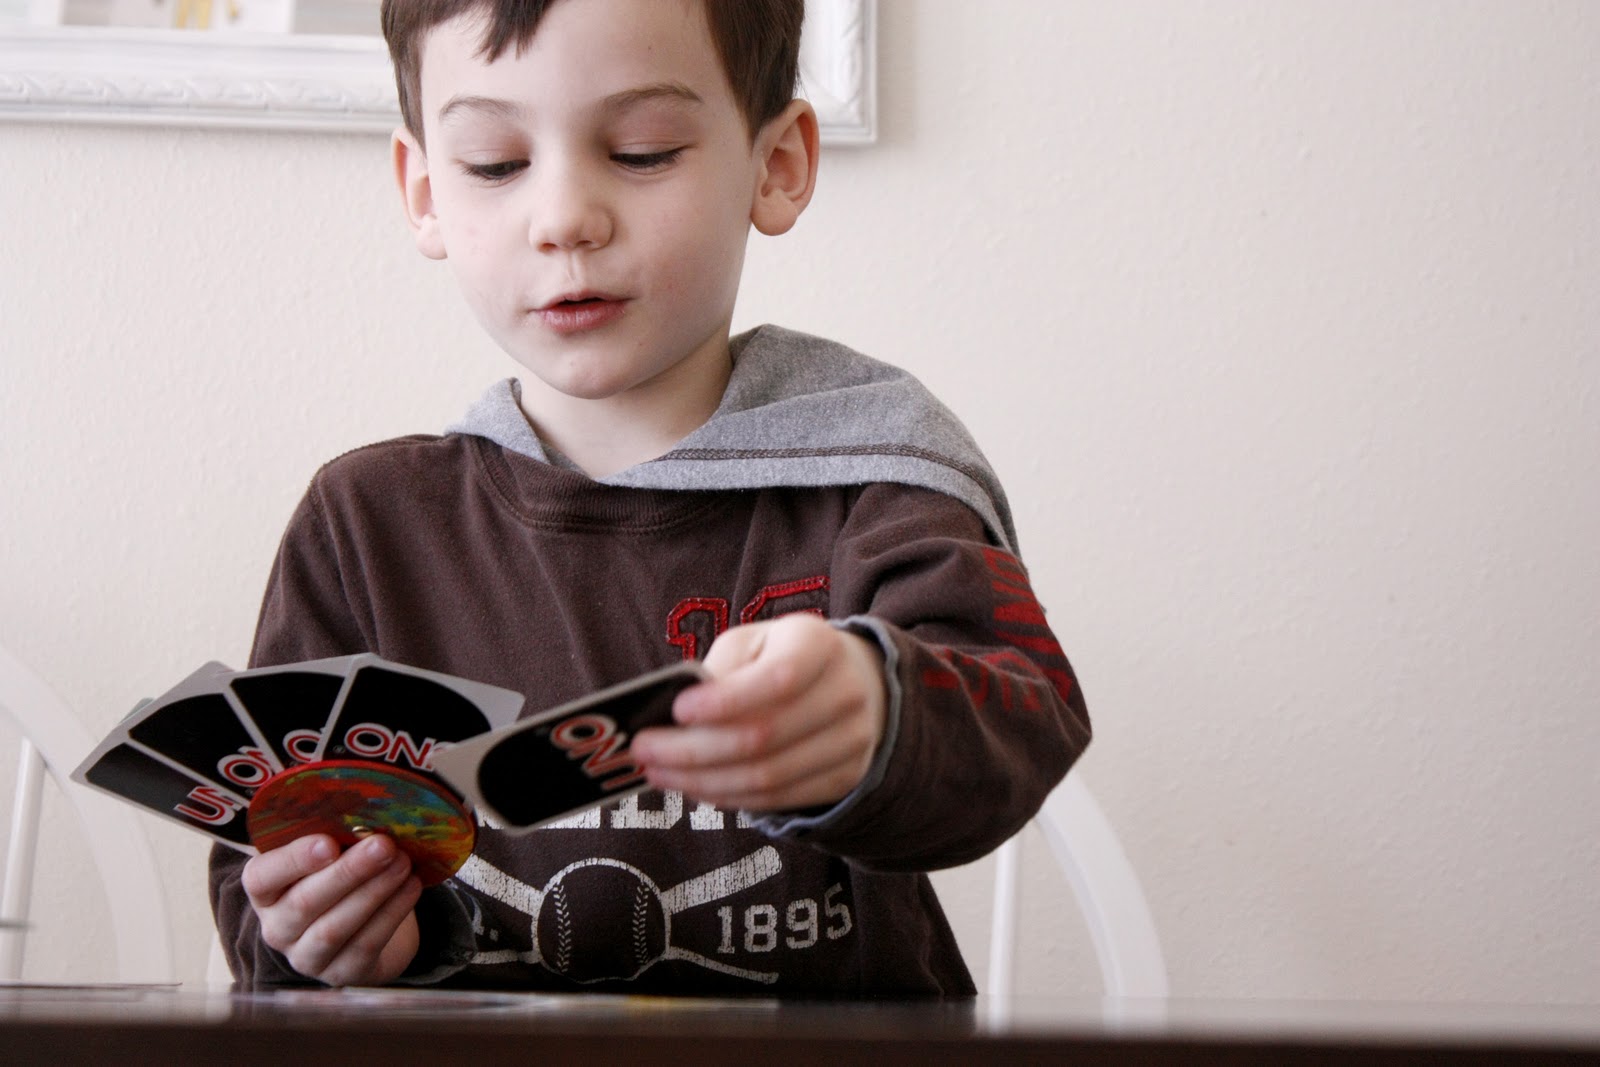
And one of my oldest son’s favorite ways to spend time together is playing games like UNO.

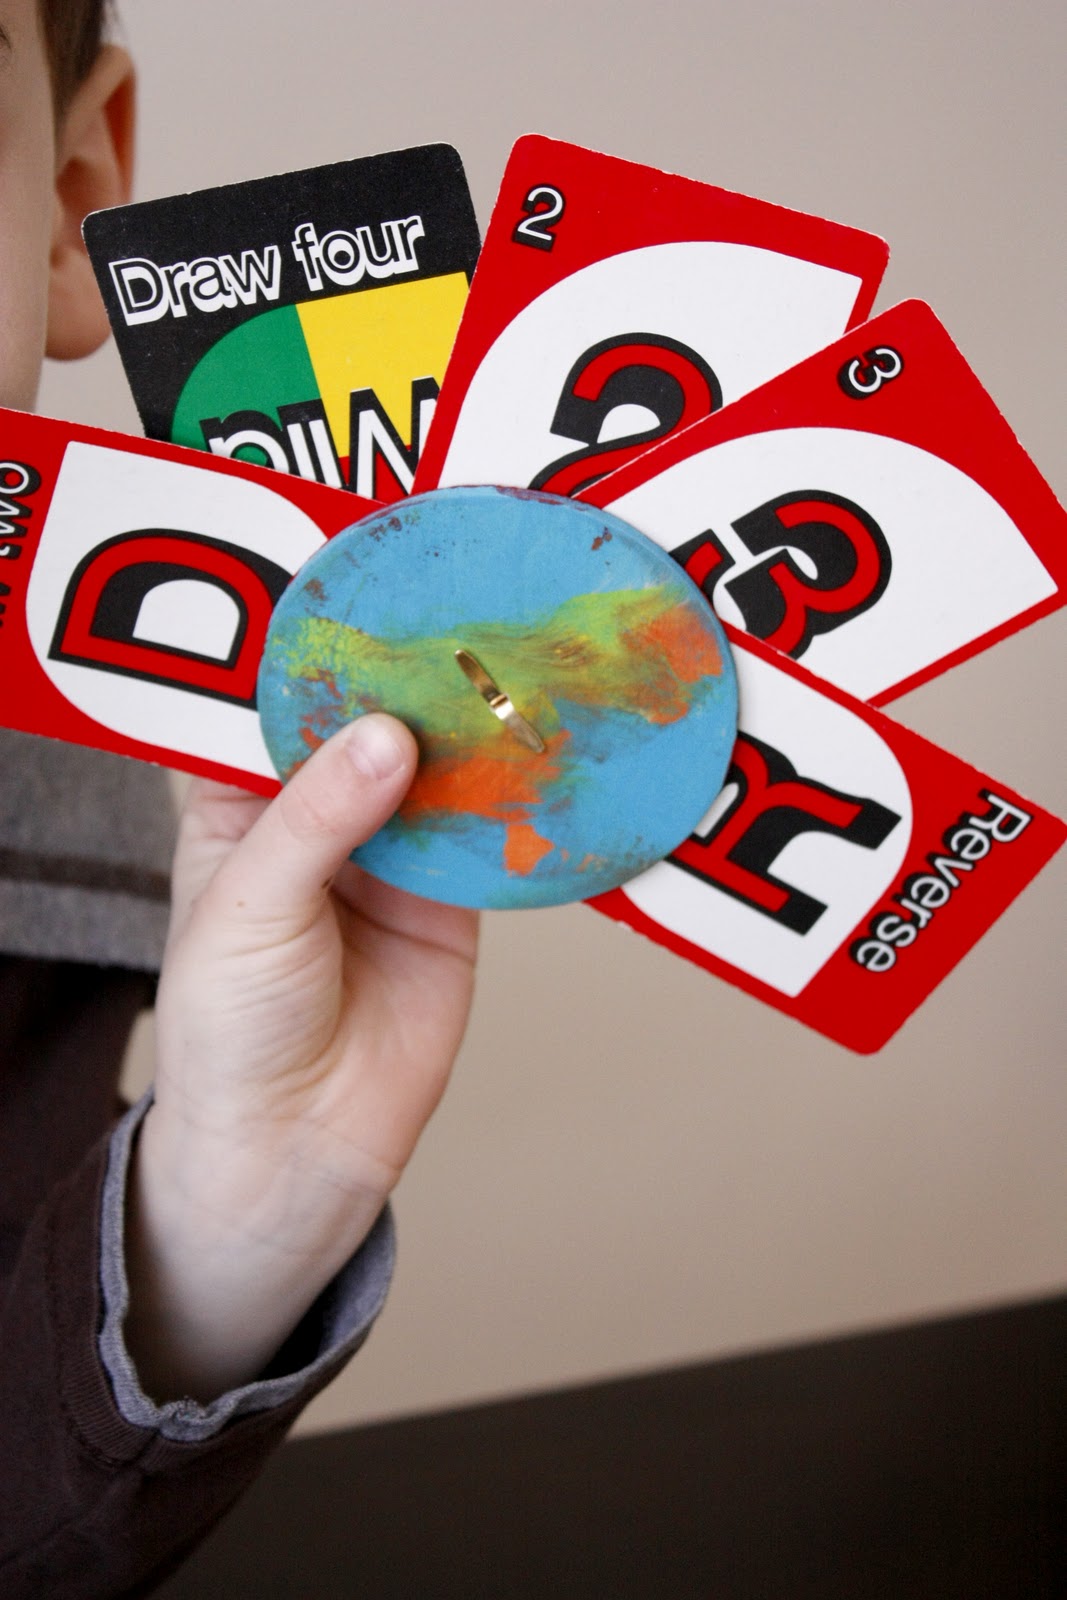
The only catch is that he has a hard time holding all those cards at once. Copying a Leap Frog card holder I have heard about, I made this card wheel to help remedy that.
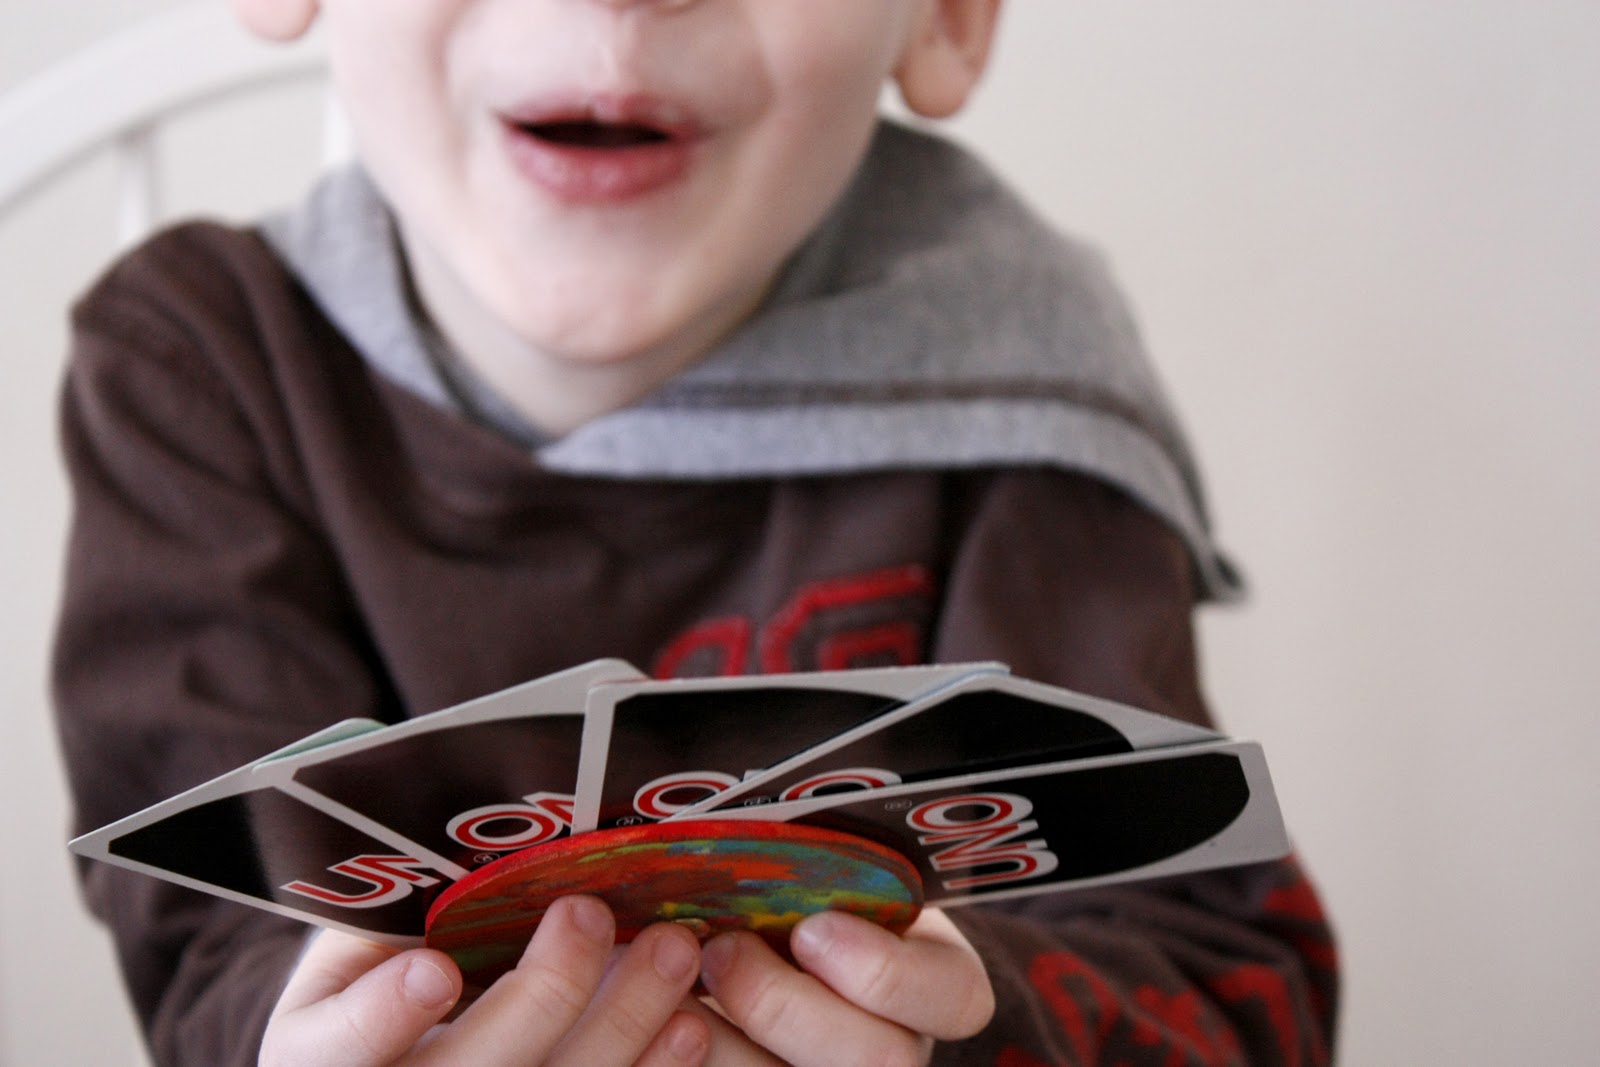
It is just the right size for little hands. And…simple enough to also make with your kids thus spending more time with them!

Want to make one too?
Here is what we did. We gathered some supplies…
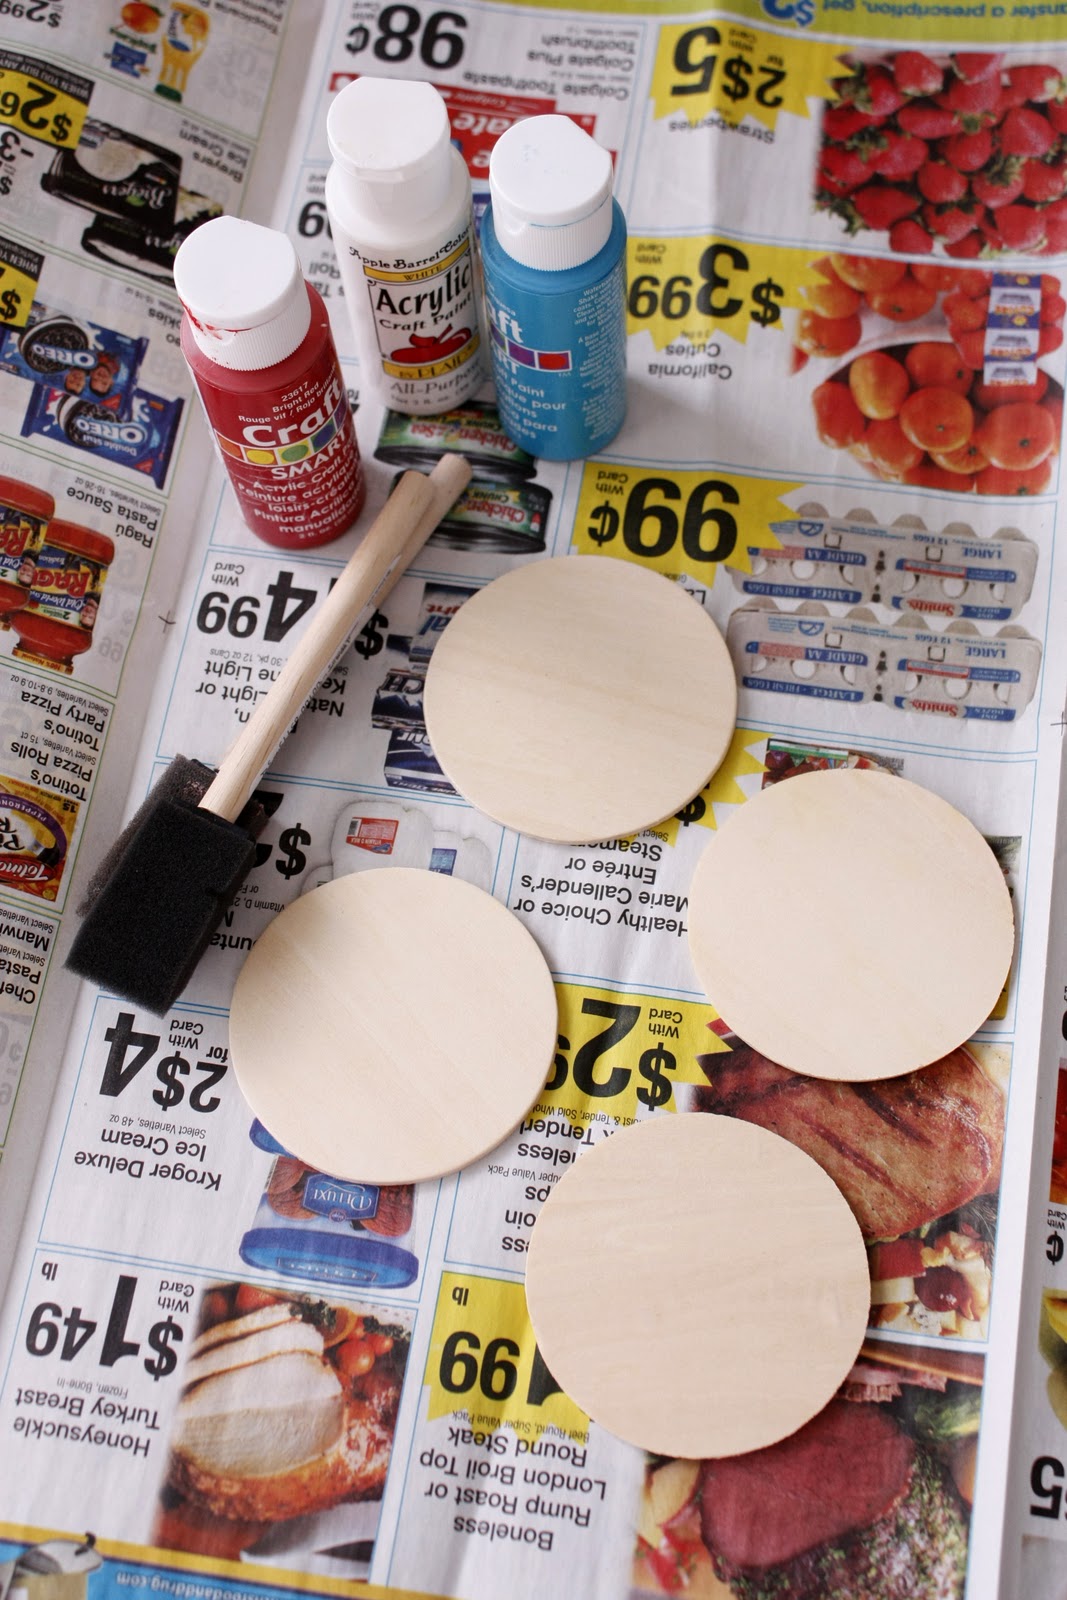
paint
brushes
two, 3″ wooden circles per card wheel
a drill
a brass brad
optional – clear coat
Then gathered up the kiddos to have a little painting party.
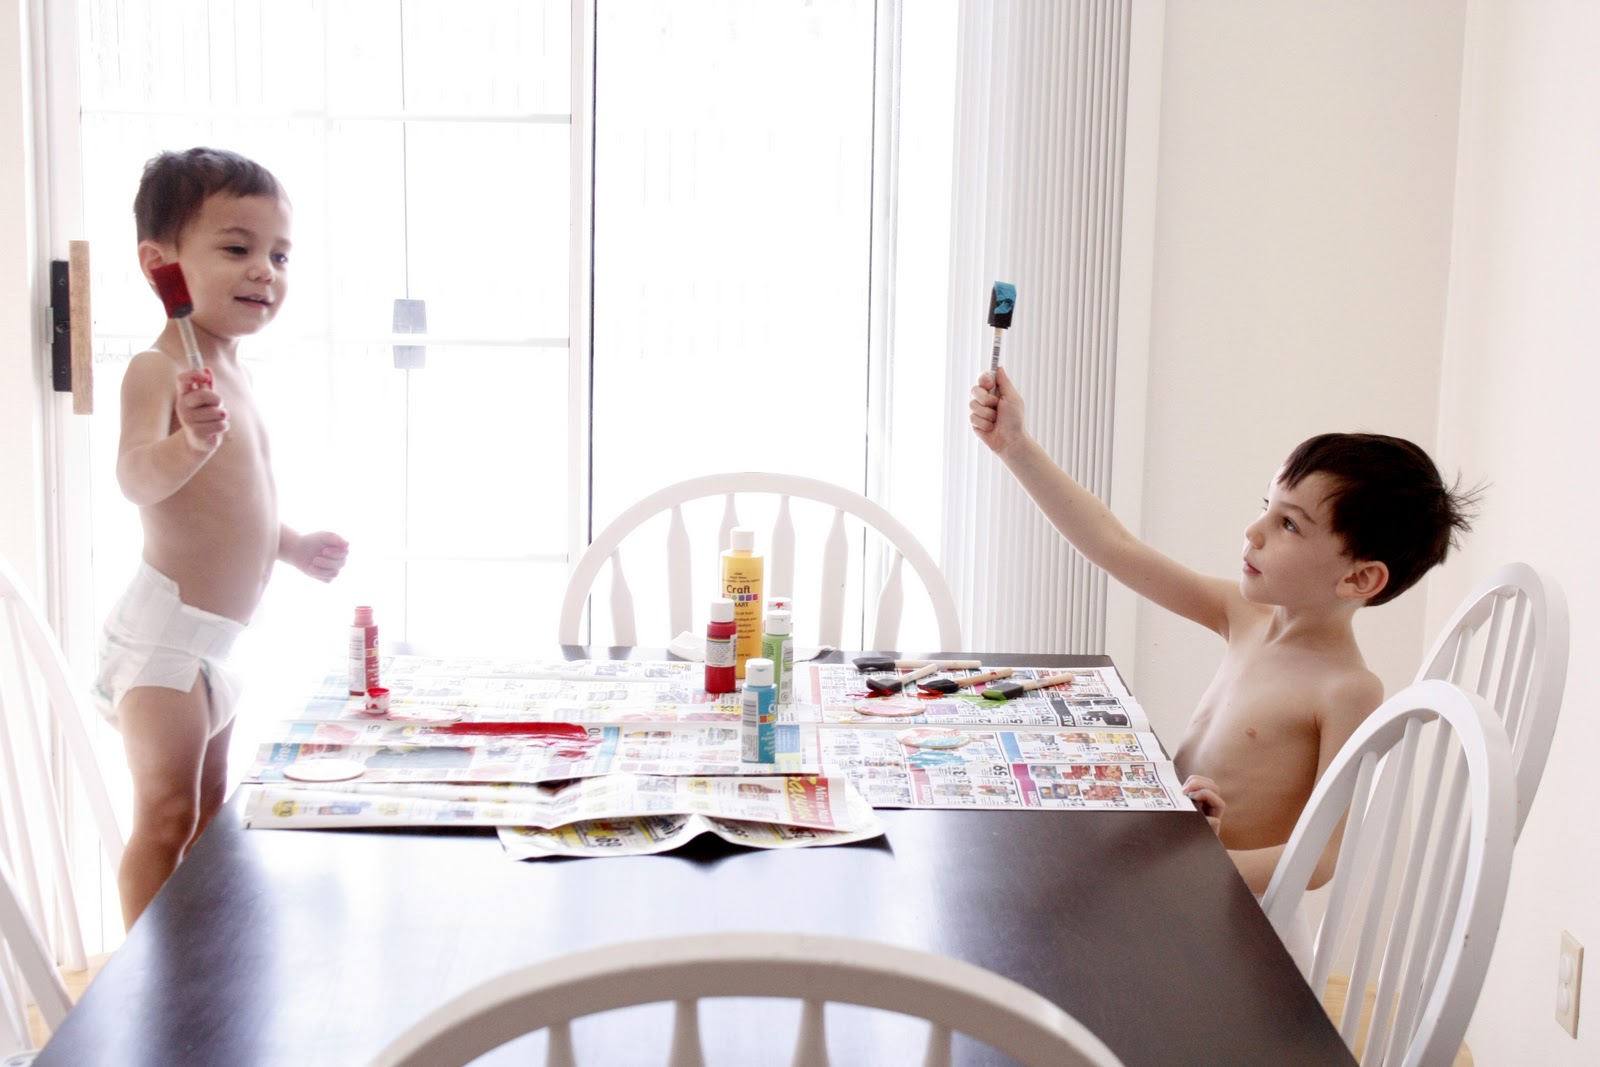
Acrylic paint permanently stains once dry, so I made my boys strip down to their skivvies. We have stained way too many clothes in the past to take the risk anymore. 🙂 If you do end up with a spill get the fabric soaking wet immediately. This buys you time as you try to contain the mess and clean up.
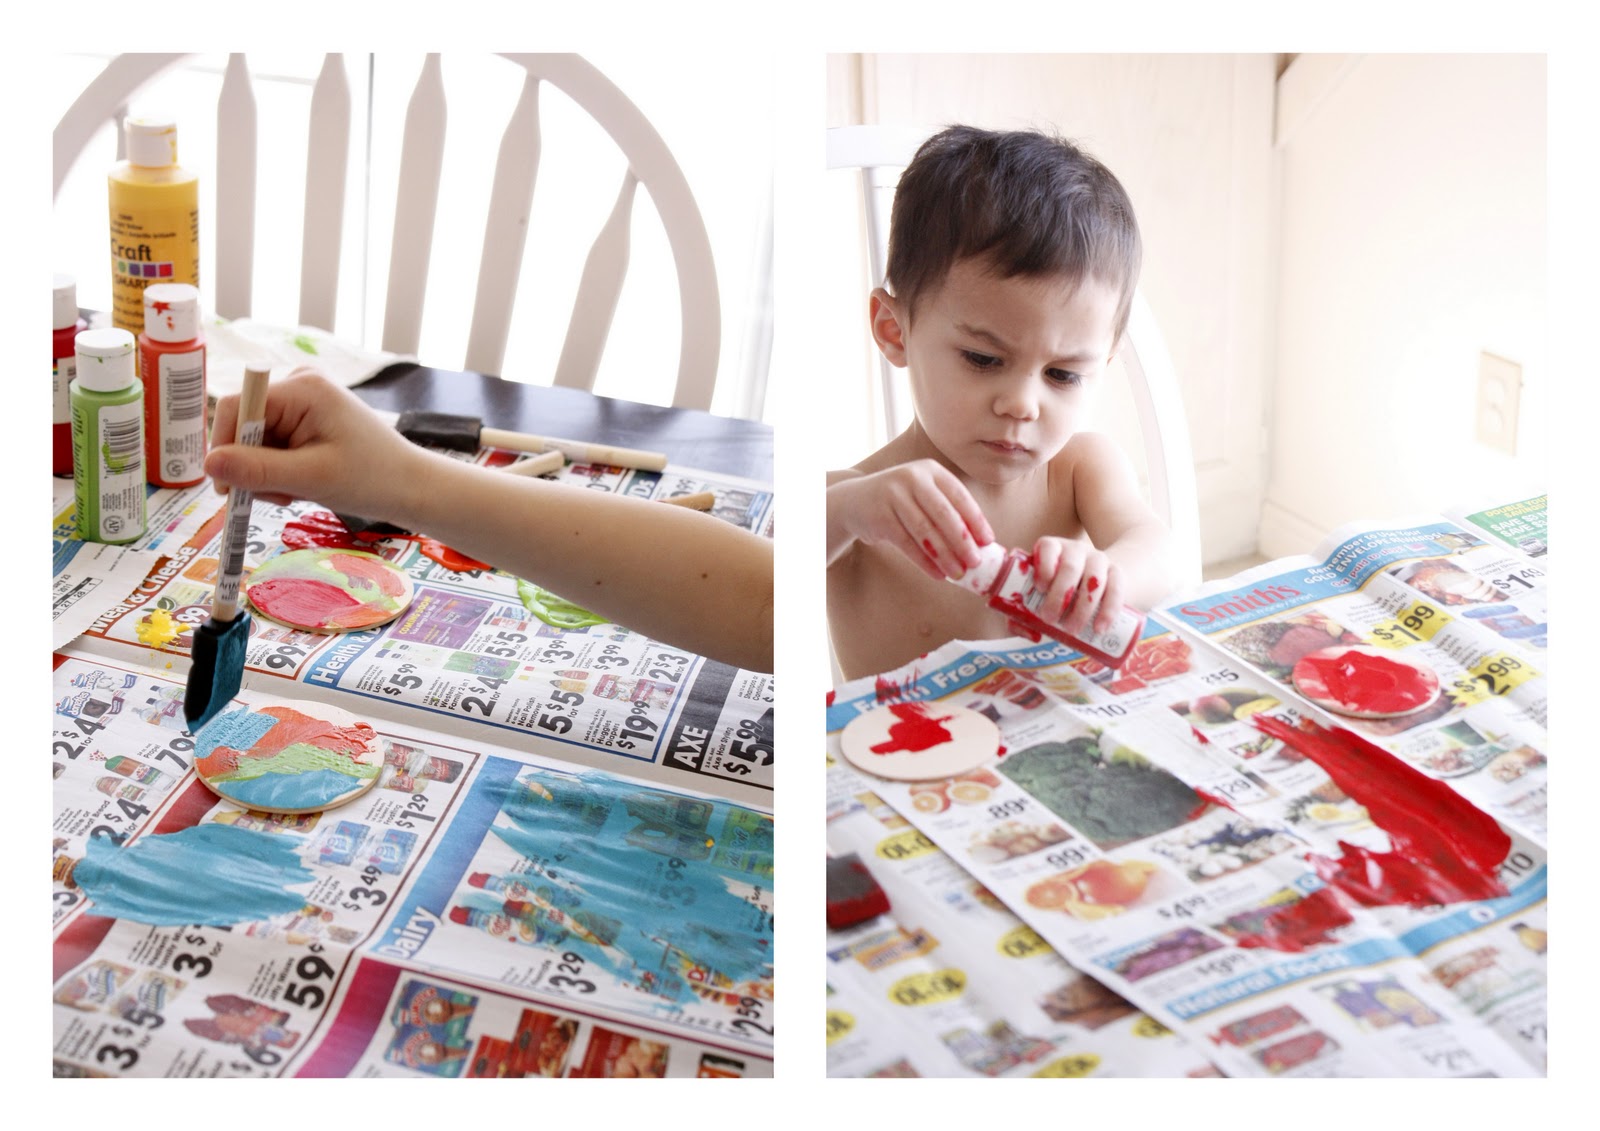
Once the paint was dry I quickly painted the other side for good measure even though it won’t really be seen. I also drew on Reid’s circles with a red sharpie. I think it gave it a cool textured look.
I then topped it off with some clear coat spray paint. Since it will likely get really loved and banged up this coat adds some sturdiness.
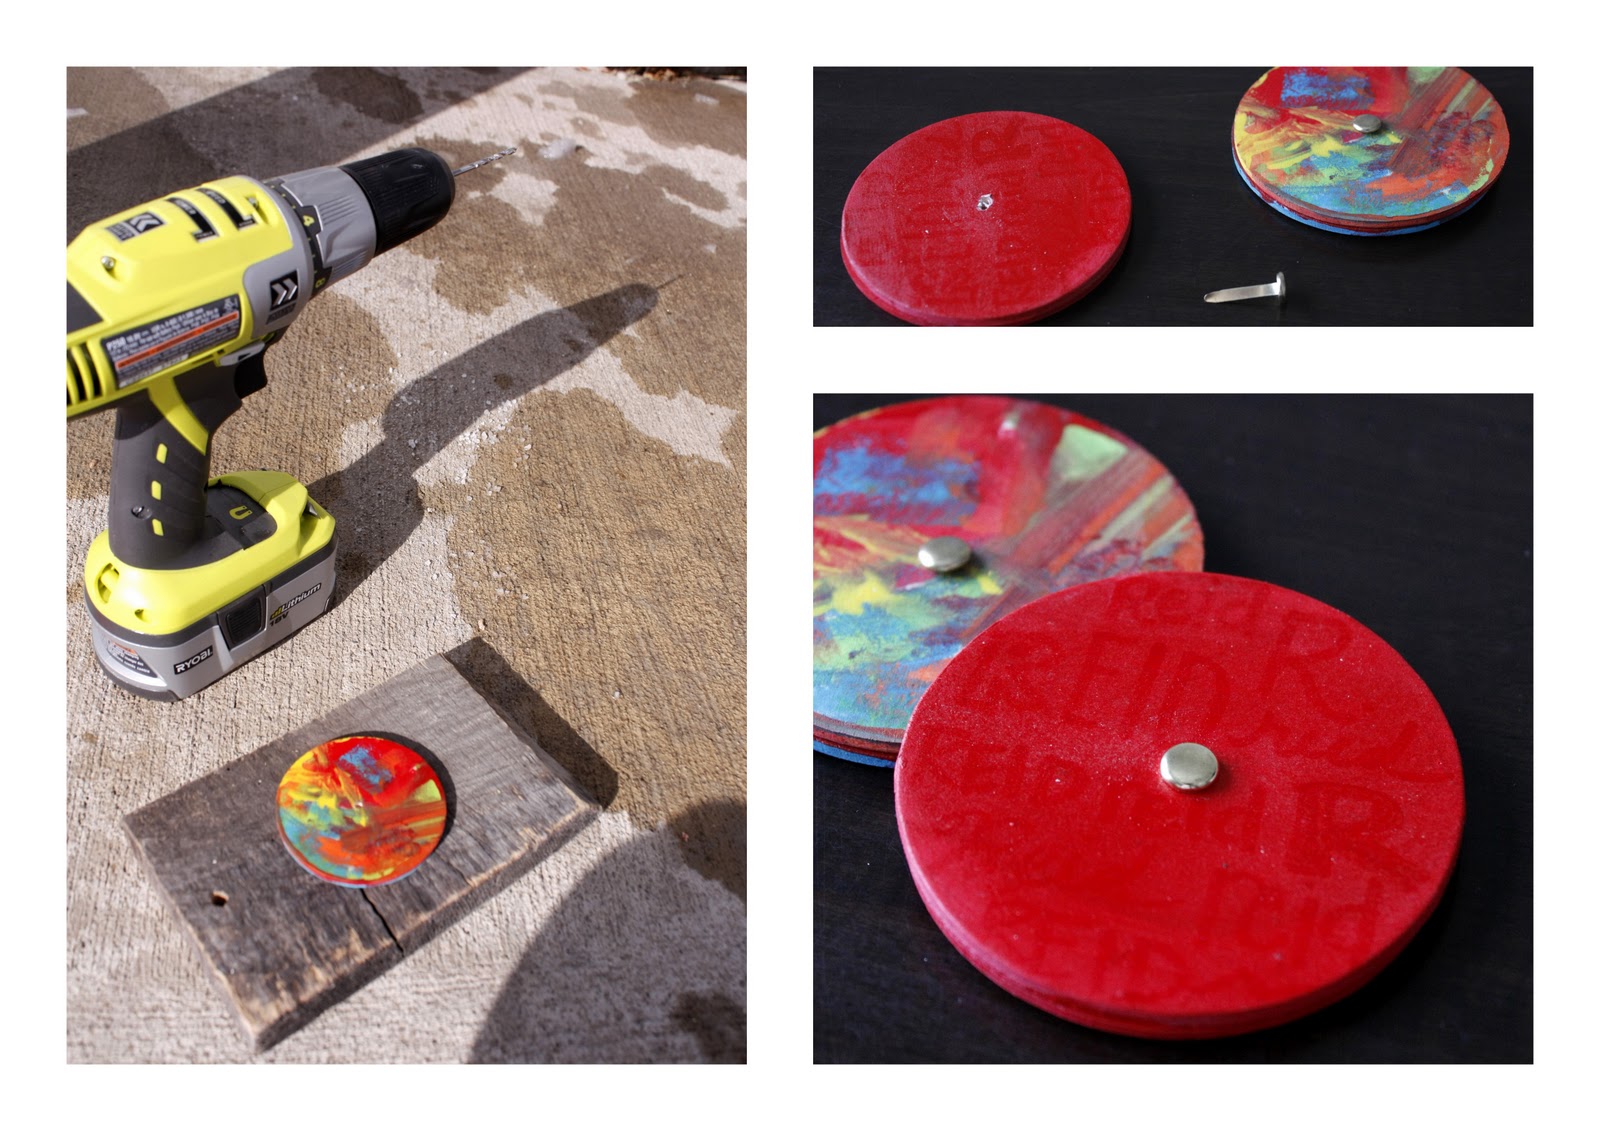
Once it was all dry so we drilled little holes in the middle of each wooden circle.
The hole doesn’t look like it will fit the brad, but if you get the wood circles you can buy from Hobby Lobby or Joann’s the wood should be soft enough that it will give with a little pressure and fit great.

Slip the brad in and open the fastener legs at the back. Don’t make it too tight or it will be difficult to slide the cards in. You want it loose enough that you can still spin the circles freely.
And enjoy!
Owen really tried to teach Reid how to play…

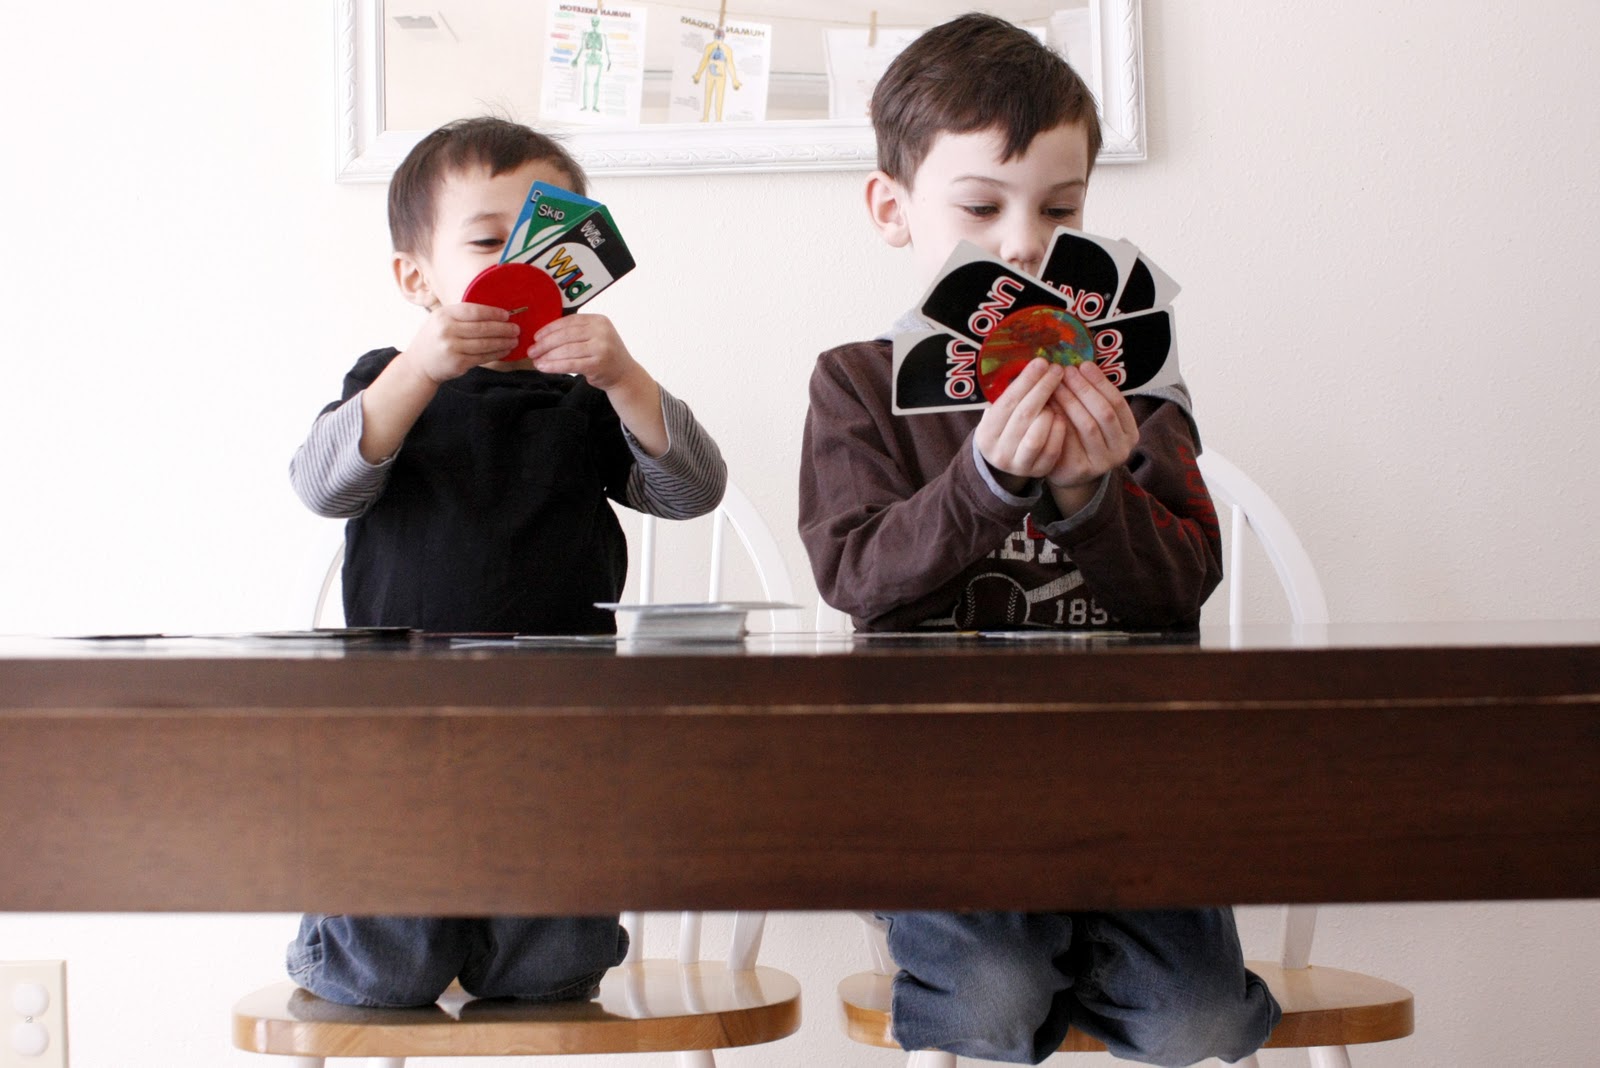
Reid was more interested in showing me how he can hang on the edge of the table.
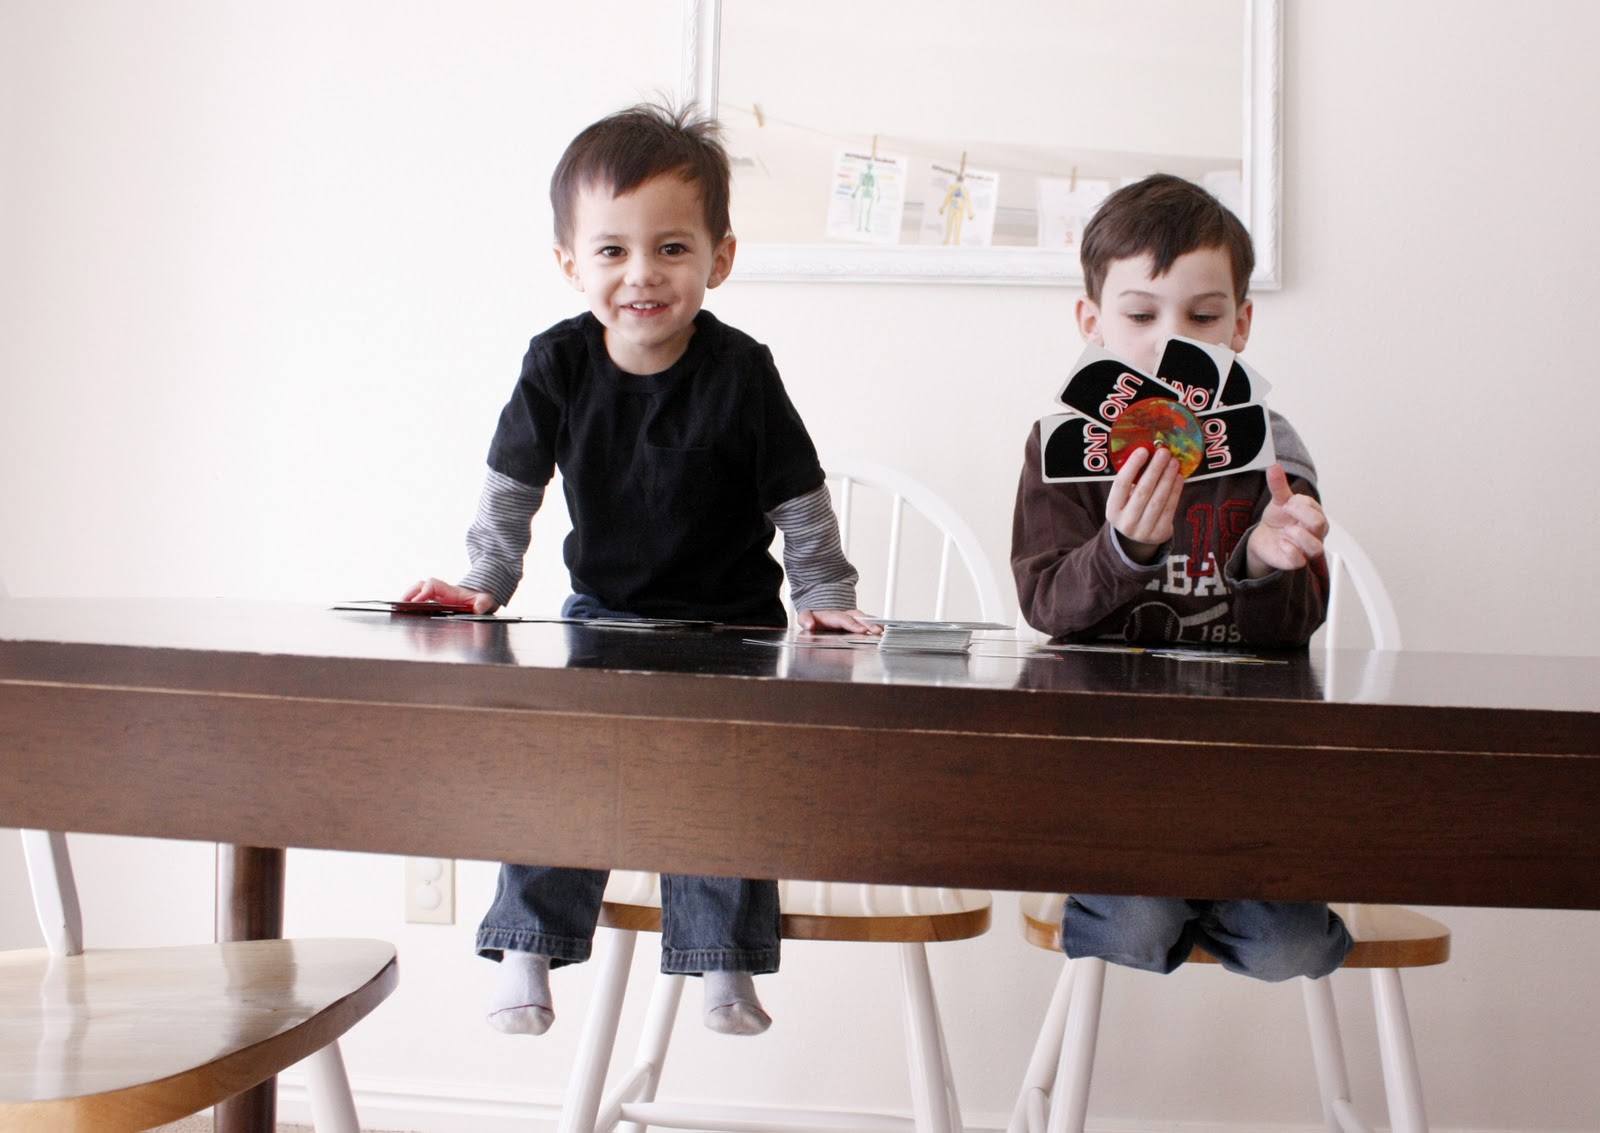
Ha ha..

He may be too young to actually play now, but he still likes to be included. And this card wheel helps him keep his cards all together.

I found your blog through the Celebrate the Boy post, and I have to tell you, I am loving your blog! I have made a few bow ties (although I'm still trying to get the size just right…too big, too small, yada yada) I've made your card wheel, (I did mine with heart shaped wood for my little girl and loves it!), and now I'm getting fabric for the scripture cover. So just wanted to
Cool! I love the picture of Reid hanging on the table. Too cute!
I remember making these growing up at my grandma's house 🙂 We used old margarine tub tops and decorated them with puff paint!
Best idea ever:). Love it! My kids would love these. Maybe for Easter? Along with your bowties, lego belts, etc.:).
This is seriously SO genius, Delia!! A perfect solution!
Thank you so much for posting this one. I have a brother with Downs Syndrom and he loves to play card games but also has a hard time holding the cards. I think he will really like this:)
Meg
ashtonandmeghanyoung.blogspot.com
This is such a cute idea. I love how you get your boys involved in the making of the too.
I am so excited to do this with my kiddos. I have been looking for a solution to this for our Uno game time. Thank you so much for the awesome instructions and photos.
That is the smartest thing I've seen all week. LOVE IT! I'll be making a bunch of these and linking as well. Thanks so much!
such a good idea! This will solve all our card problems and tiny hand
I've done this with cardboard, but the wooden circles are a much better idea! I love that!
I'd love to have you stop by my For the Kids Fridays Link Party and share! Stop by and check it out!
http://sunscholars.blogspot.com/2011/03/for-kids-friday-4.html
THis is such an awesome idea and will help my little ones a whole lot! Thanks for sharing.
Thanks for sharing this post at For the Kids Friday at Sun Scholars. This week's party is now posted. I'd love to have you share with us again this week!
http://sunscholars.blogspot.com/2011/03/for-kids-friday-5.html
LOL, Reid's cuteness distracts me! I love the table hanging and the look on his face as he fiddles with the paint! He's precious…and Owen, LOL, how sweet!
AWESOME!
Love this! We too have been playing lots of uno and need this! What size drill bit did you use?
Thank you SO much! My kids get so frustrated when they can't see all their cards! We are SOOO making a bunch of these!!
I just found this from your round up of favorites projects of the year. I'm glad you featured it again, because I totally missed it. I was in the thick of student teaching when it was originally posted. This is a fabulous idea, and I know my niece and nephew would love one of these! Thanks again for the great tutorial.
I was reading your post and saw the pics of your kids at the table painting. I always get my kiddos in their underwear to paint too!
In fact, I told them we were going to paint yesterday and they both immediately started stripping!
Love your blog! 🙂 Thanks for inspiration!
Thanks for this idea, Delia! We love Uno and this will solve all our 4-year old’s Uno woes!
Great Mind, Delia! ?? Are you left handed or an ambidextrous?
Thanks! I’m not. I wish I were though! 🙂