

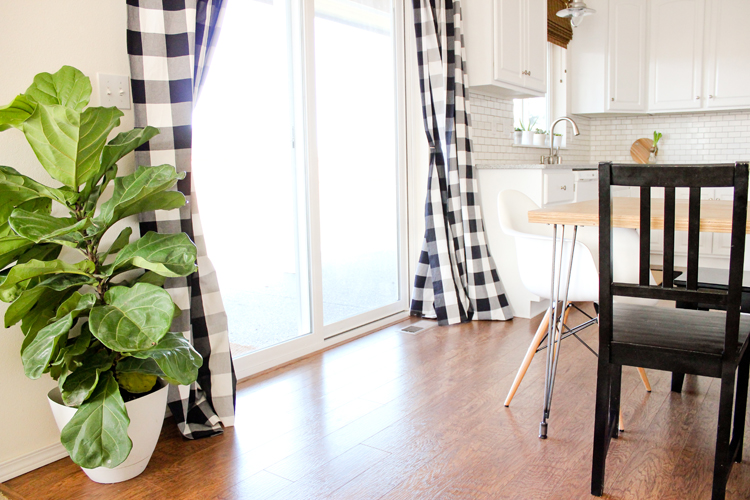
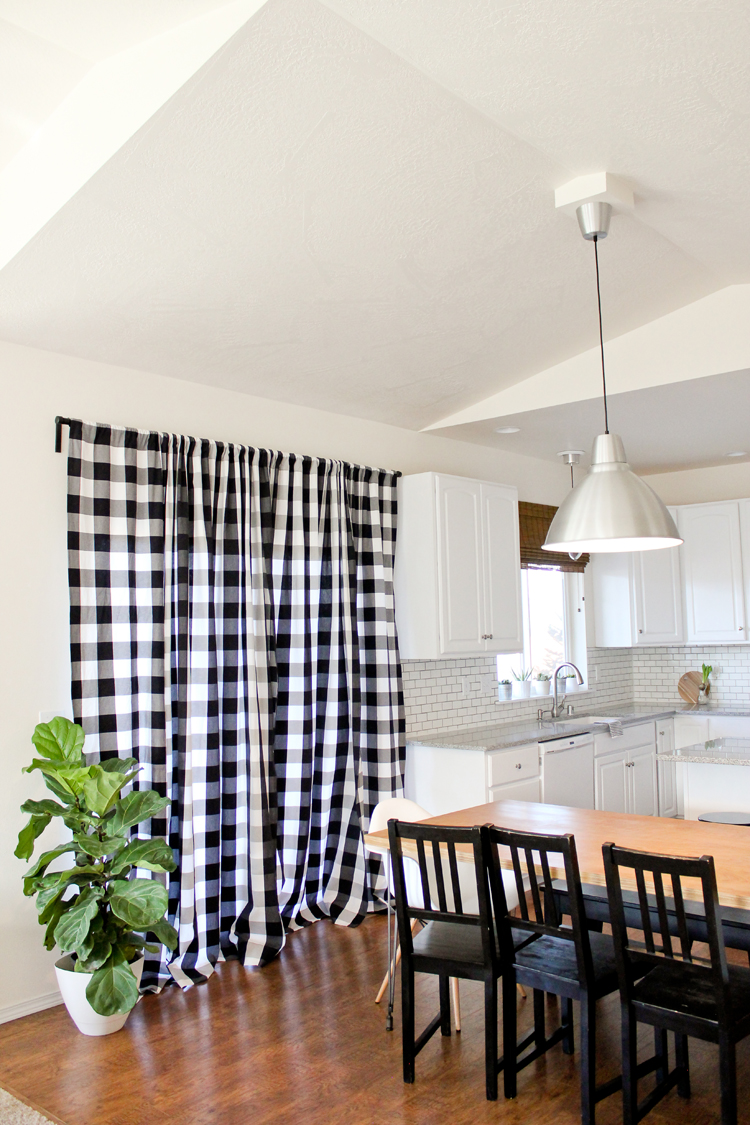
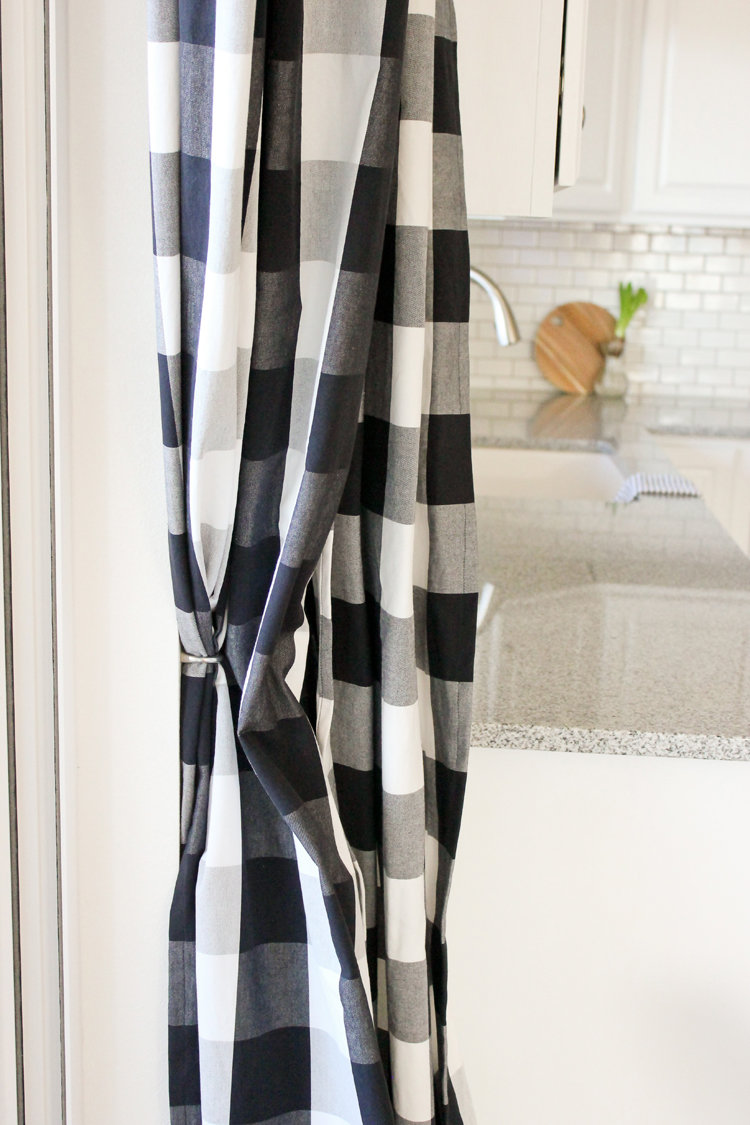
One of the most striking and EASIEST additions we made to our new kitchen are floor length drapes.
To be totally honest, I’m all for buying store bought if you can, because it’s basically a bunch of hemming. Hemming is hands down my least favorite sewing step. But, if you want a specific print or length, custom is the way to go.

That’s where sewing becomes the hero, because you can make drapes to whatever length you need and out of whatever print you like. If you can’t find the right fabric, there are so many design/print your own fabric companies these days, you could even completely design your own curtains from scratch.
You may be wondering…but is it cheaper? I’ll warn you up front…probably not. If you want floor length drapes, it’s pricey whether you’re buying pre-made or DIY-ing them yourself. The only more expensive option would be hiring a seamstress to sew custom drapes. Unless you score a smokin’ deal or use sheer fabric, expect to pay around $100 for each set of nice and full, floor length drapes, for a wide window like this.
A quick disclaimer for design nerds 😉 …If you want to get technical, these are not completely curtains and not entirely drapes. They are floor length, but don’t have curtain tabs on the top, or hooks connecting the fabric to the curtain rod and they are not lined. These are simply panels of fabric with casings at the top threaded onto a curtain rod. But…they look great (imo) and they are a cinch to sew!
MATERIALS
fabric*
matching thread
iron for pressing (a must!)
sewing machine and basic sewing supplies
FABRIC
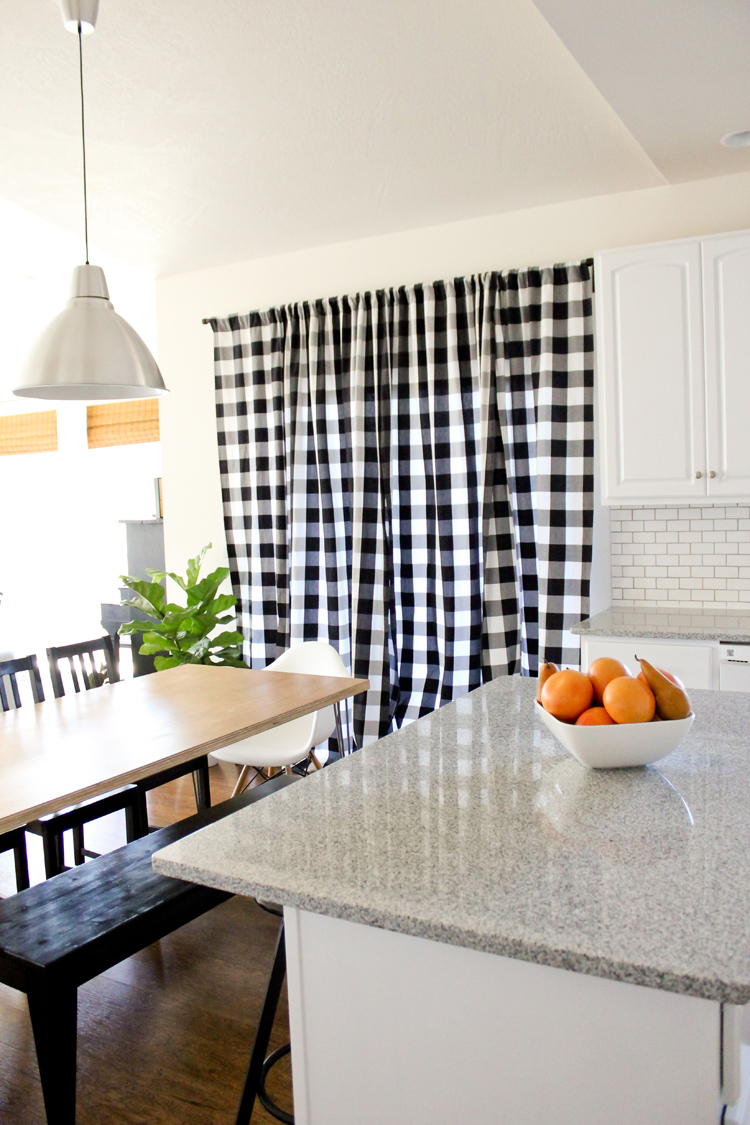
*First things first, you need to determine what kind of fabric and how much fabric you’ll need. Ideally, you want to choose fabric that’s wide and has a bit of drape. I used this bottom weight fabric from IKEA’s Berta Ruta line (now out of print- sorry!). It does a great job of blocking about 85% of the light and came at 54″ wide.
I have also used a stiffer canvas material in our master bedroom and it’s works just fine. It doesn’t open and close as nicely as these kitchen drapes which is okay because we don’t open and close them quite as often.
You may decide to use home decorator’s or “home dec” fabric. Just be sure to use a coupon, because that stuff can get pricey. The benefit to looking through these fabrics, is that there may be some fabric that comes at the right width for your window so you don’t have to add extra panels, which I explain more about in a minute.
MEASURE
Length
desired drape length + 10 inches = fabric length needed
Starting with length, measure how long your drapes need to be and then add about 10 inches. If you want your drapes to puddle up on the floor a bit, add extra length for that.
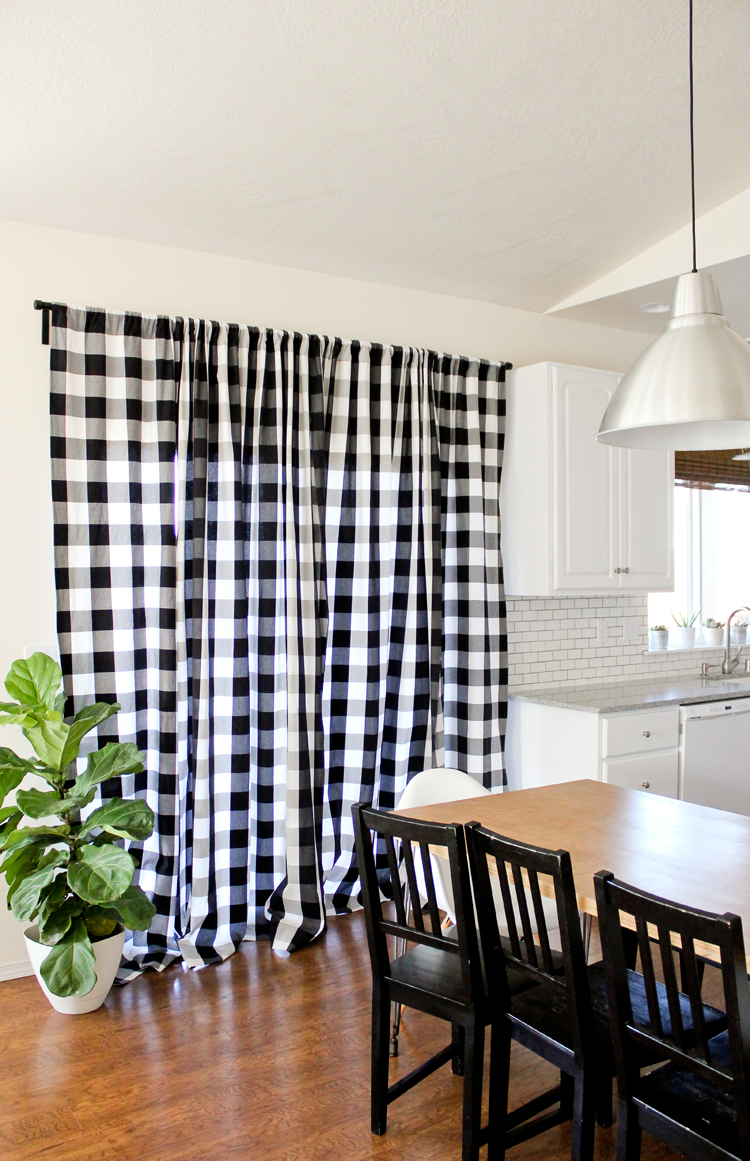
From my curtain rod to the floor is about 96 inches. Add 10 inches (for seam and hem allowance + some shrinking from washing), plus 2 more inches for some slight puddling and I found 3 yards to be the perfect amount.
Width
(window width x 1.5 or 2) /2 +2 = one drape width
To look right, you want your curtains/drapes to be 1.5 to 2 times as wide as your window. If you like to hang your curtains wider than your window, use that width measurement instead.
For example, my sliding glass door is 71 inches across, but I hung my drapes six inches wider on either side making my needed width 83 inches. I wanted my drapes to be nice and full, so I almost doubled my drape width.
Since my fabric only came 54 inches wide, I knew I would need to get more than just two, 3 yard panels of fabric.
This is what I did:
I purchased 9 yards of fabric, cut into 3 yard sections. I kept two of the sections intact and then cut the remaining 3 yard section in half length wise. Then I made 4 separate panels….instead of piecing my fabric together into two panels.
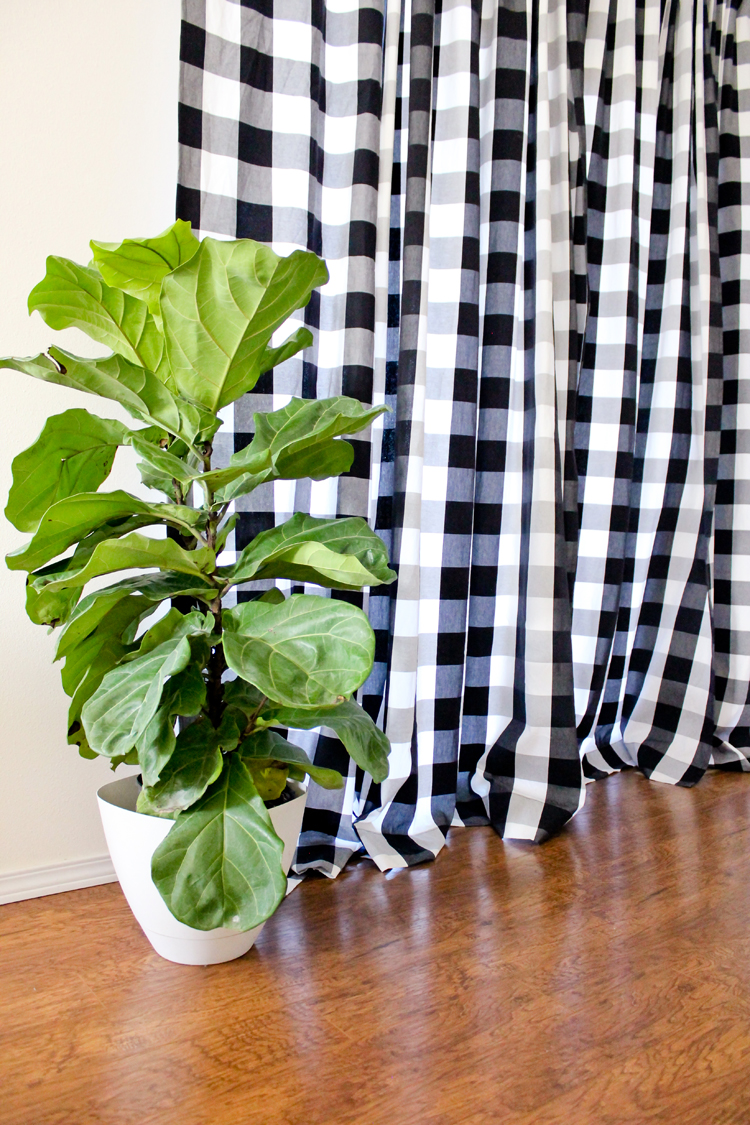
When they’re hung together, they all kind of bunch and gather in a way that you can’t tell that there are four different panels together. This also prevents a seam line from showing through when they are closed and I find that it gives me more control when I’m sliding them around. Of course, if you are lining your drapes, you won’t have to worry about a seam line showing through and you can piece your panels. If you aren’t lining them, multiple panels is the way to go.
TIP: If using a repeating pattern, make sure each panel is cut so that the patterns match from side to side. For example, I couldn’t cut my gingham fabric consecutively off the bolt. I had to cut each panel longer than needed, so I could be sure the patterns would match across the width of the drapes as well. Nothing gets your attention…in a bad way…than a huge mismatched pattern draped across your wall.
WASH and DRY
Don’t skip this step. Wash and dry your fabric before you sew! You don’t want to sew them to size, and then have them come up short after their first wash. If you don’t think you’ll have to wash them ever, I still wouldn’t take the risk. Our daughter tossed her cookies on ours last night…accidents happen! 😉
TIP: If you know you are using fabric that tends to shrink a lot, I would even consider buying extra fabric to account for this.
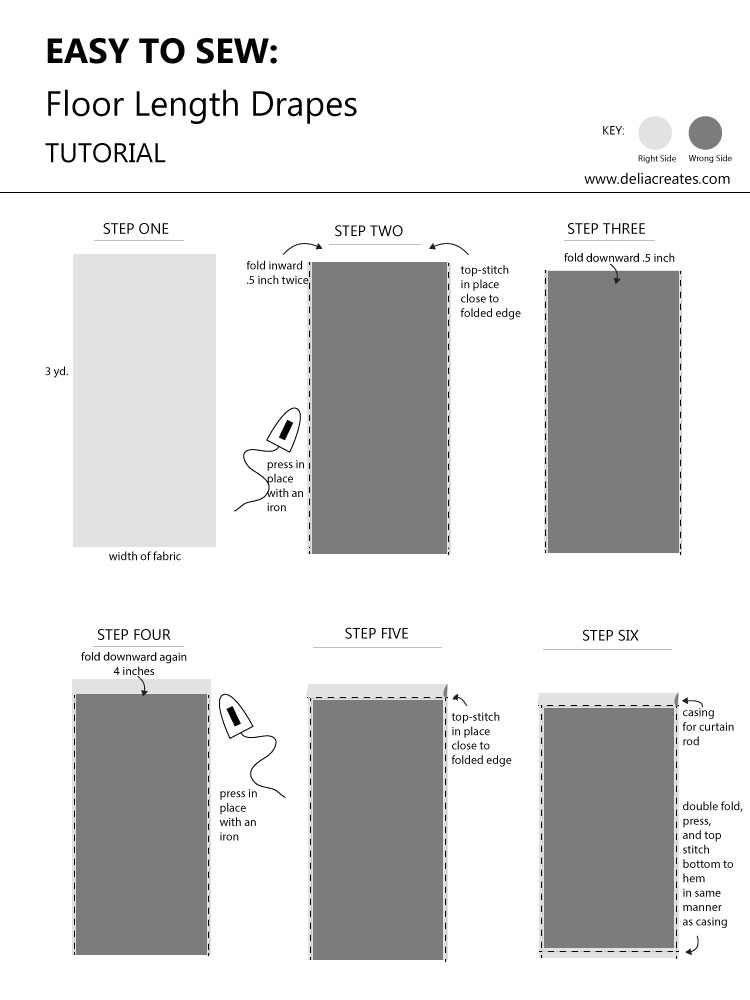
SEW
Just a few notes before you begin:
- Your iron will be your best friend for this project. I didn’t use any pins. I just pressed everything in place. There is SO much fabric, ironing it is so much easier than pinning it.
- I use a wide hem to help weigh the drapes down at the bottom. If you don’t have enough fabric for this, sew a smaller bottom hem and consider sewing in a few small weights.
- I list the needed length as 3 yards, because that I what I used. Of course, adjust this length as needed.
 Repeat for remaining panels. Thread onto your curtain rods and voila!
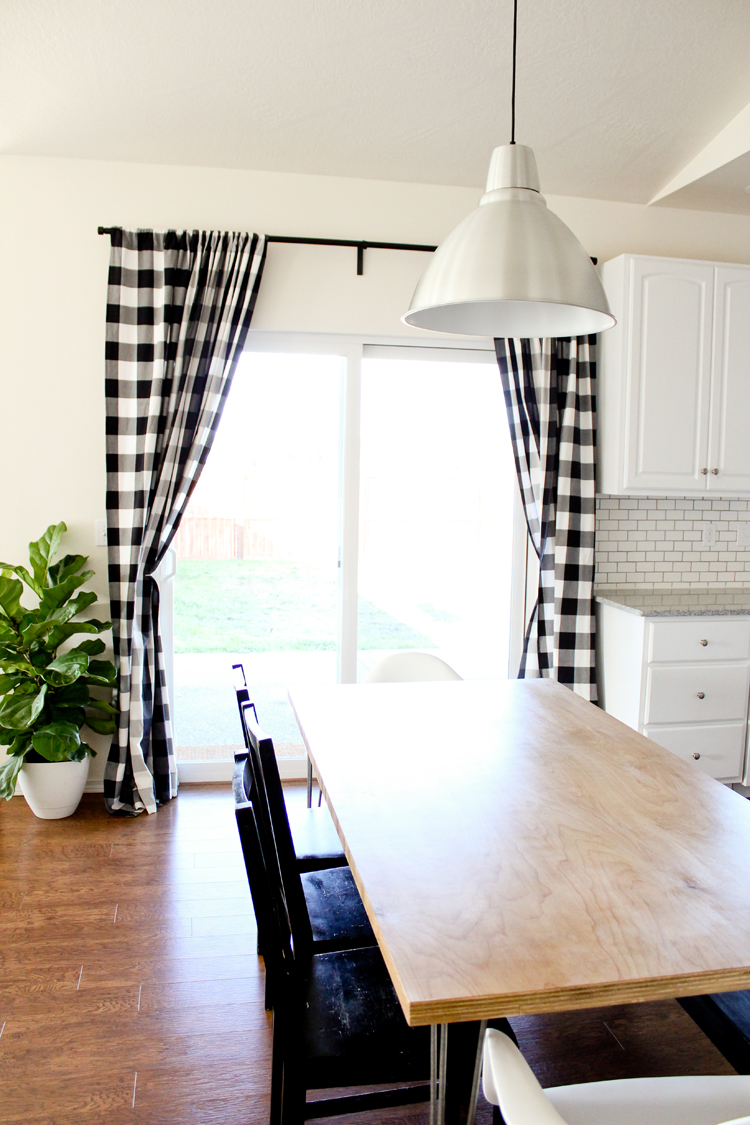
If you want a good place for curtain rods, I love my IKEA rods. They aren’t fancy, but our home isn’t fancy. 😉 They come longer than most box stores offer and are very inexpensive. You can also choose your own finials to suit your tastes.
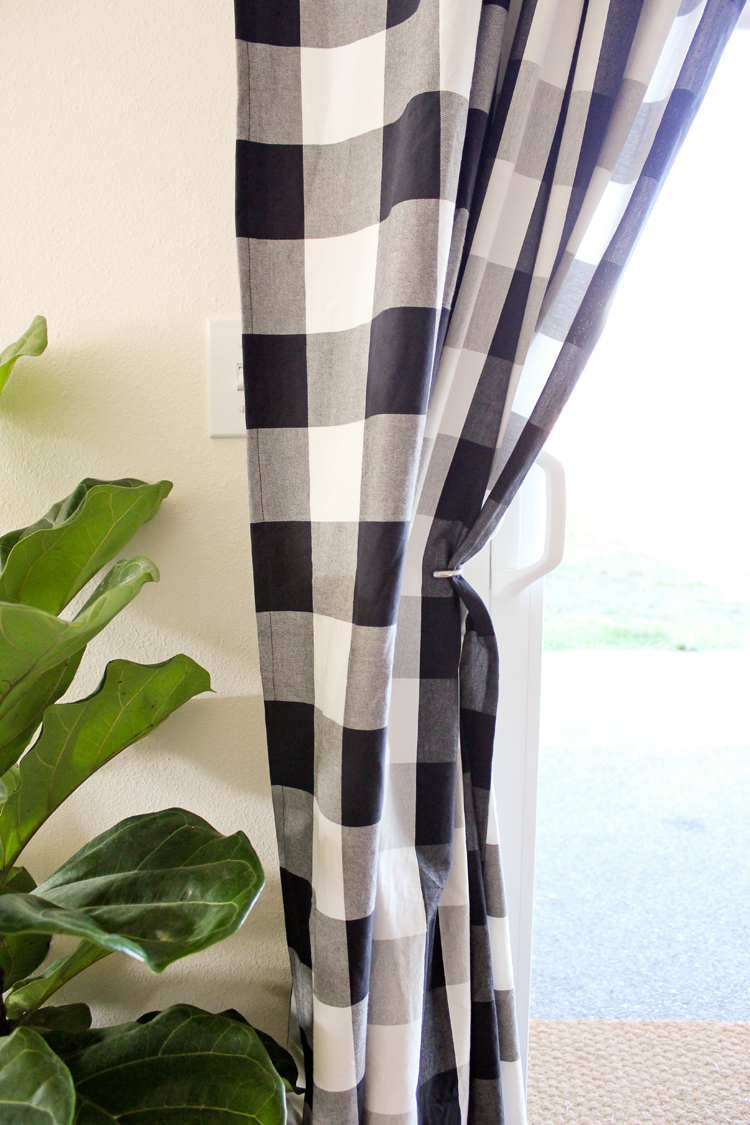
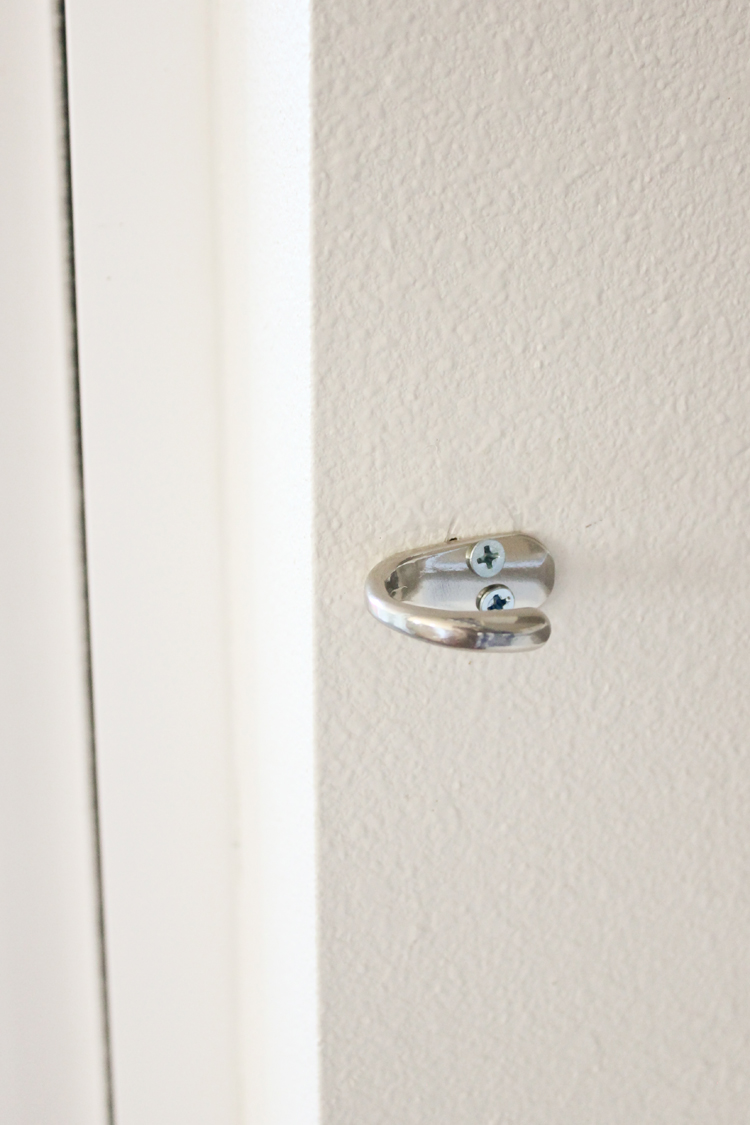
To keep the drapes pulled back during the day, I simply installed some small wall hooks, sideways.
For more details about the rest of our kitchen, check out our kitchen renovation reveal. Or for more home decor sewing projects, check out this French seam pillowcase tutorial.
Hooray! I am trying to do this soon for a few renovations and will use your help for sure! Thanks! ?
These are beautiful Delia! Your new home looks like it is really coming together now. And I love your usage of black and white modern lately, so stunning!!
Thank you Jess! I’ve always been a bit obsessed with black and white. I’m thankful it’s “in” right now. It makes shopping and browsing for ideas much easier. Funny story…I remember planning the colors for my wedding. I chose black and white and people thought it was so odd. They would jokingly ask if I was planning a wedding and a funeral. 😉 This was during the time when brown was becoming trendy though. My black and white loving heart is very happy that’s not the case anymore. (not that I didn’t own a few blue and brown baby items when baby #1 came – haha!)
I love this idea! I’ve been considering doing the same thing on my back door to add some color. My kitchen is very similar to yours, so I can really picture what it will look like from your photos. I don’t have that extra few inches between my door and the counter like your do and I have french doors nstead of sliding doors, so I’m not sure where that fabric would go when we open the door. Do you think it would look silly all pulled to the left side?
That is tricky indeed. If you are using a bold color, it might look unbalanced to pull them all to one side. It would also be hard to slide it across the entire drapery rod if you need a center support. Have you considered sheer curtains? Or do you need the privacy factor? If not, sheer curtains can add color or texture, but when pulled open, they hardly take up any space on the side. They might encroach on the door a bit, but it would be minimal. I hope that helps!
Sheers are a good idea – but with 6 dirty kids going in and out all day, I’m not sure they’ll hold up! I’d love to add some color, but I’m thinking painting the doors is going to be a better way to go for functionality.
Good point. That sounds like a lovely idea!
Now I want new drapes in my house! I love these! I’ve got a Craft Gossip post scheduled for tomorrow morning that features your tutorial: http://sewing.craftgossip.com/?p=87845 –Anne
Thank you so much Anne! <3
Probably the best inexpensive way to match drapery panels is to make them yourself…and this project surely proves it.
If you had purchased draperies the match wouldn’t have been precise…if they would have matched at all. (I don’t even want to consider the cost of custom!)
Another bonus: some years down the line when these window coverings have aged, the thought that they were so expensive will not factor into their replacement. When they no longer bring you joy you will create something else that does!
All true sentiments. Thank you!
I love the bold gingham for this! I’m not a huge fan of making curtains either… particularly not with my dinky little ironing board. That’s why my windows only have blinds even after living here for two years! 😉 I love how yours look though!
Thanks Charity! Yes. Having a small ironing board would make it really tricky! I don’t blame you a bit. 🙂 I also find that it can be so hard to decide on a pattern or a color, because it makes such a big impact. I won’t even tell how long it took me to decide on this one! Thankfully I decided before it went out of print! haaaaaa.
very cool, it looks very chic
Thank you! <3