

I’ve always had a love for Russian nesting dolls, so when I saw a raw, unfinished wooden set at Michaels, I snatched it right up.
But then I couldn’t figure out how I wanted to paint it. Should I do a fairy tale theme, a traditional theme, or something more modern? And do I trust myself to pull off what I’m envisioning? I was feeling major craft paralysis when it dawned on me…why not paint it with chalkboard paint!?

It takes all the pressure off to get the design just right, because I can erase it and try again anytime the mood strikes me. Or my daughter can…because these dolls are for her. Ahem. 😉 😉
MATERIALS
- Wooden Russian nesting dolls*
- Sand paper
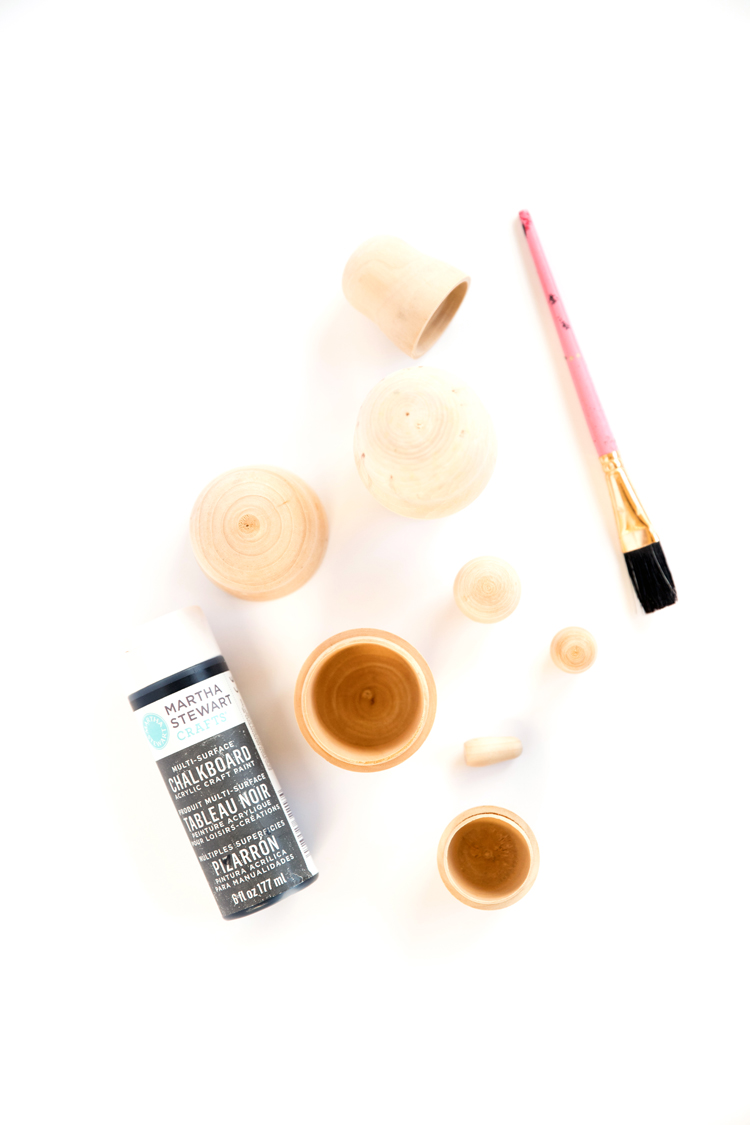
- Chalkboard paint**
- Paint brush
- Chalkboard marker or chalk***

Material Notes:
*These wooden nesting dolls are Creatology brand from Michaels. I found them with the other unfinished wood items in the children’s section, next to the blank wooden puzzles and trucks. With a coupon, they come to just a few dollars! 🙂
**I used Martha Stewart acrylic chalkboard paint in black because it gives a nice lasting, quality finish, and I like black with wood tones. You could use other colors or use chalkboard Mod Podge over any paint/finish.
***I prefer chalkboard markers because they are easier to use and you can just wipe your designs away with a damp rag.
TUTORIAL
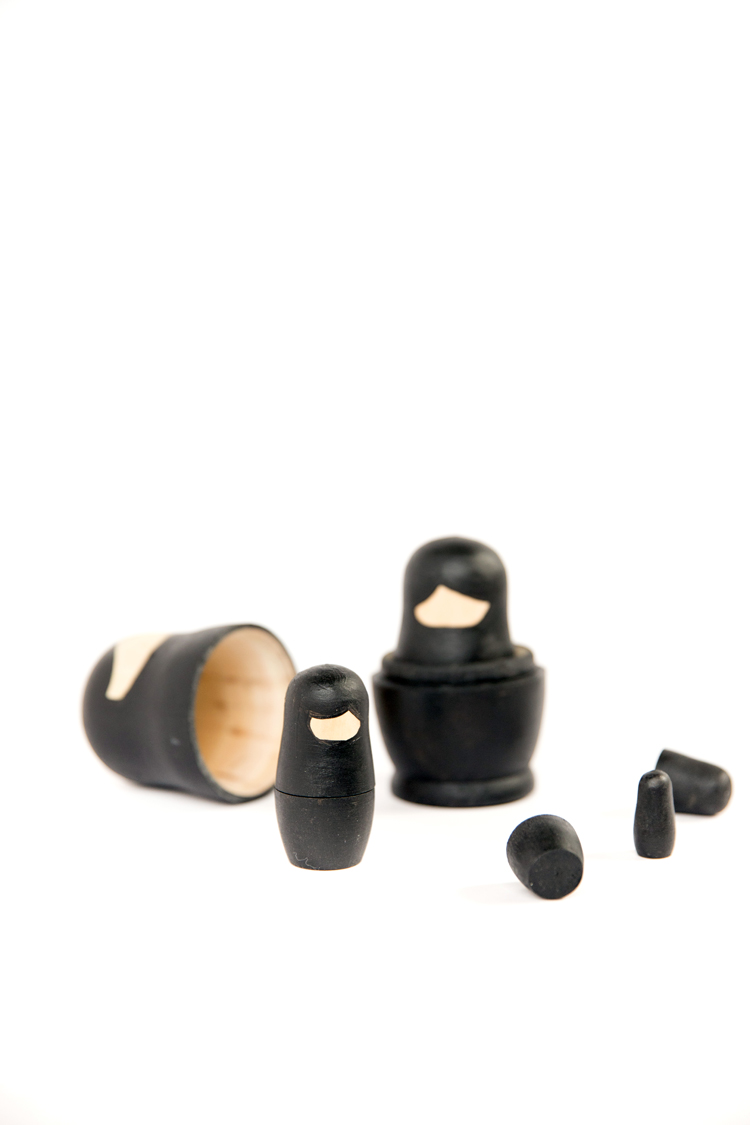
1. Sand it.
Pull apart your nesting doll set and sand it to smooth any rough edges. My pieces fit together a little too snugly, so I also sanded down the inner ring where the halves connect. I only sanded it down just enough so the pieces still need a little tug to come apart.
Wipe away any dust with a damp cloth and let your dolls dry.
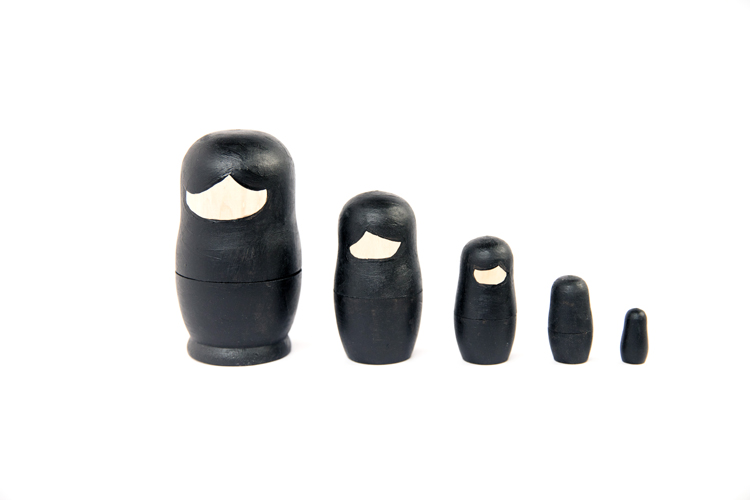
2. Paint with chalkboard paint.
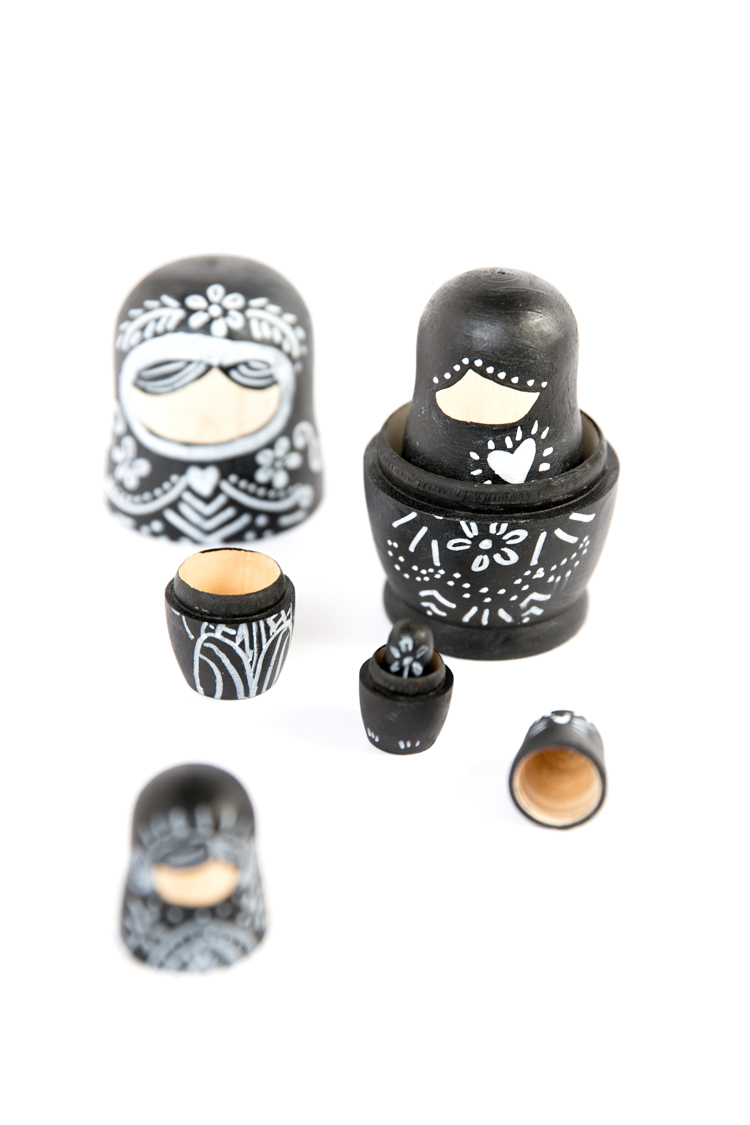
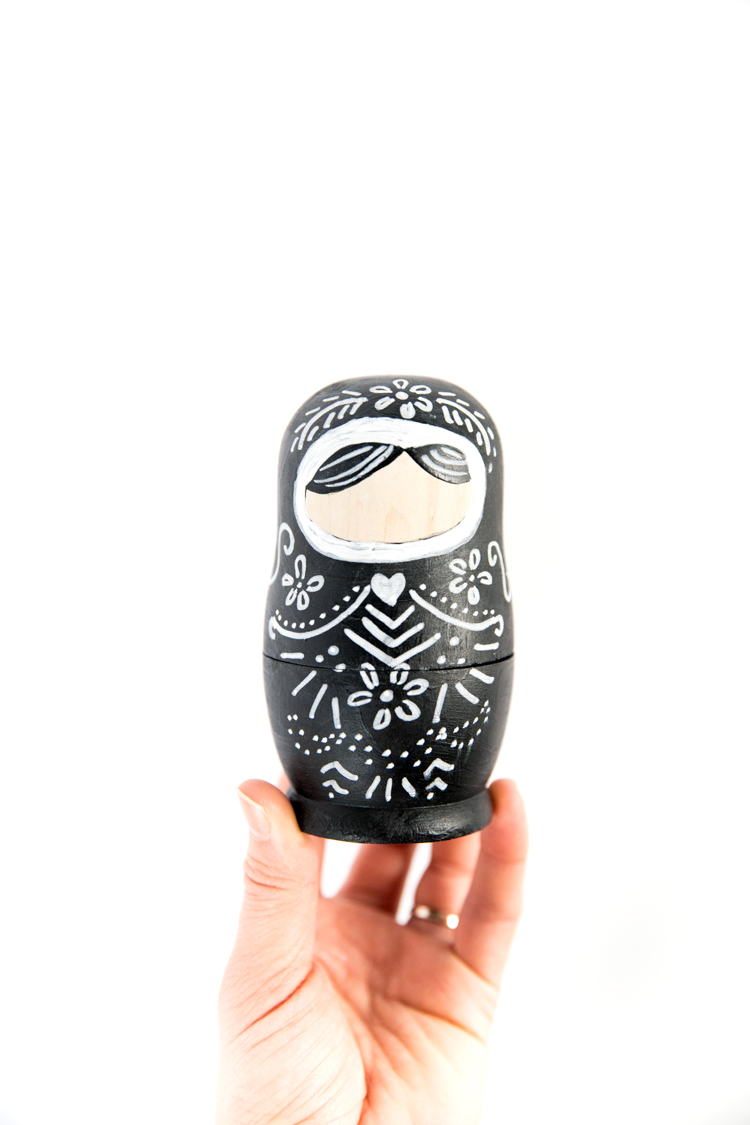
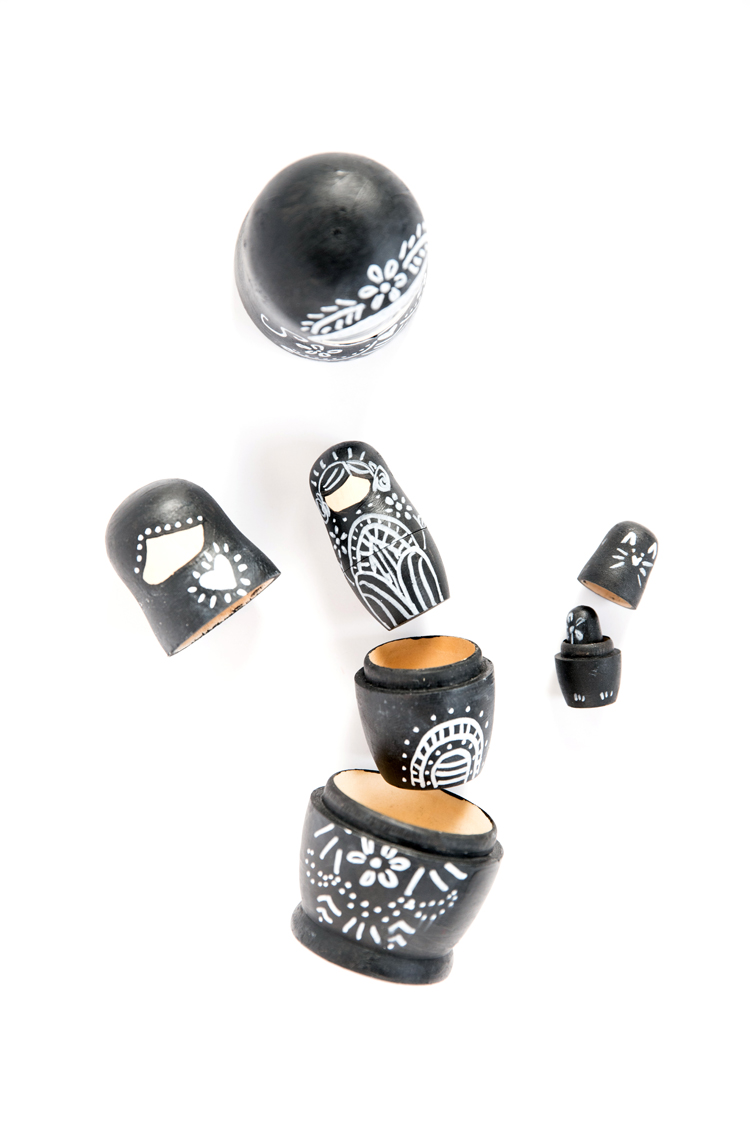
I wanted to keep it simple but still doll like, so I left the face open and painted swooping bangs at the top. For the smaller two dolls I just painted them completely. I almost added eyes, but because I used black chalkboard paint I was afraid they would end up looking more like nesting ninja dolls. Ha!
Let the paint dry according to label instructions.
3. Cure it.
If you plan on using regular chalk for drawing, scribble on a scrap piece of paper with chalk and then use a rag to wipe up the dust to rub over the chalkboard surface. This prevents your first chalk designs from “staining” the surface when you want to erase it.
If using a chalkboard marker you can skip this step.
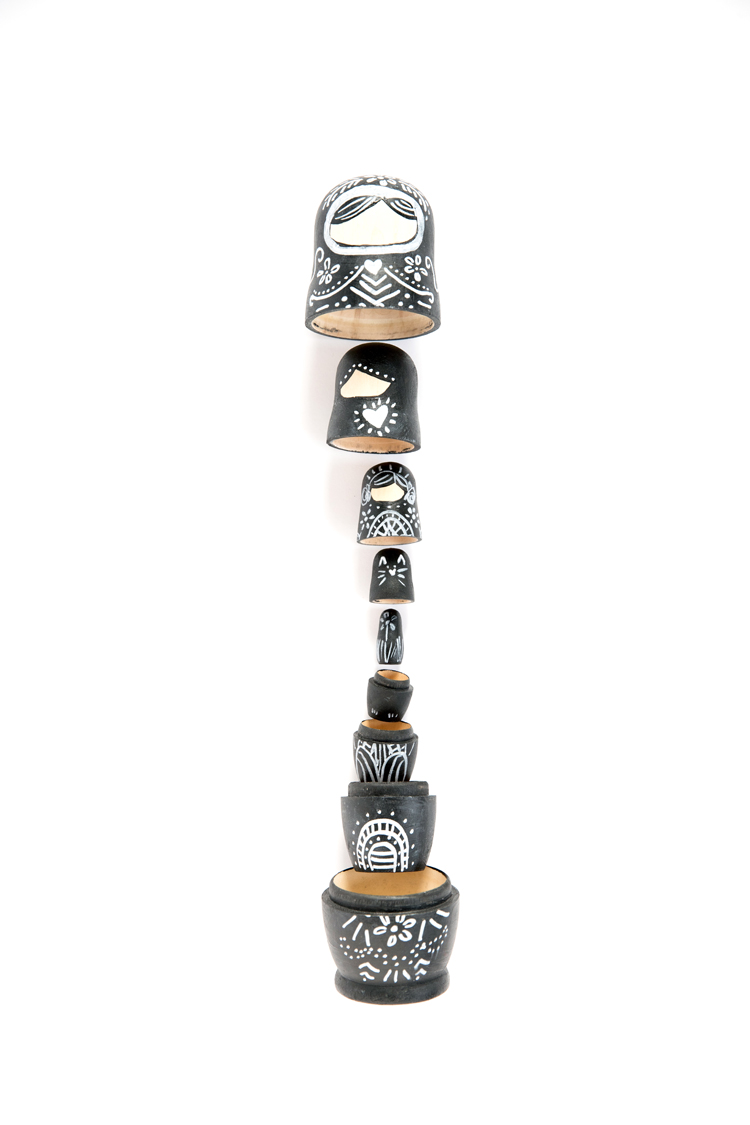
That’s it! You’re ready to doodle and nest away!
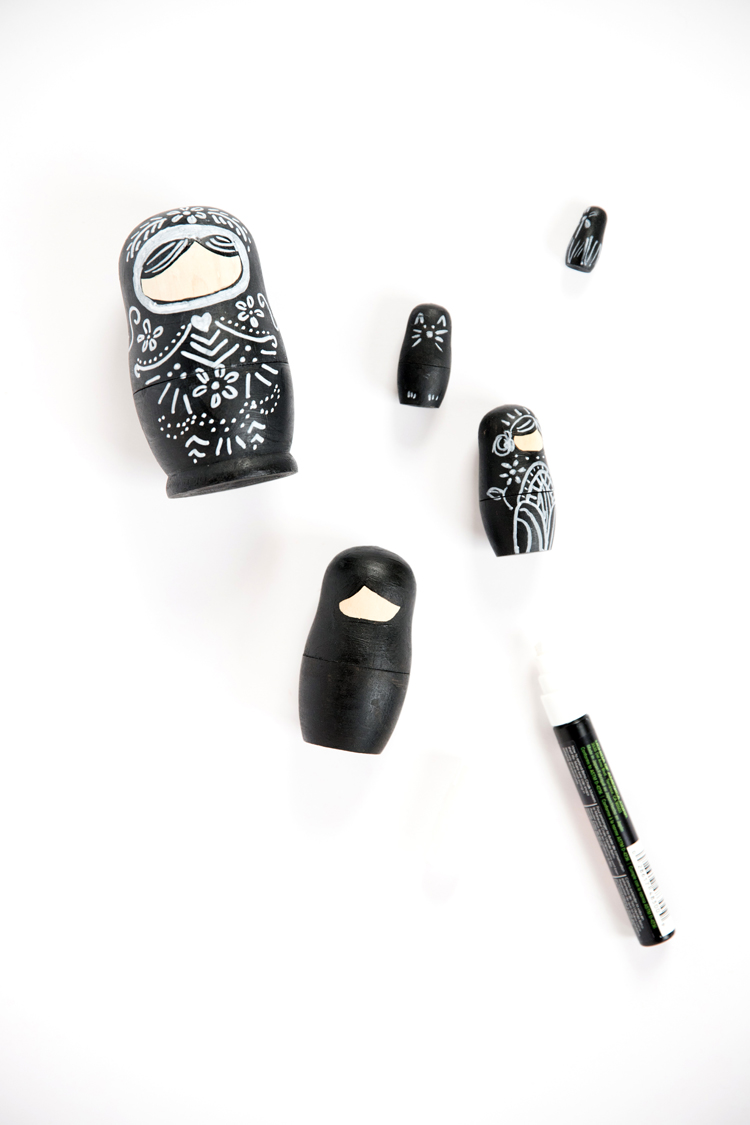
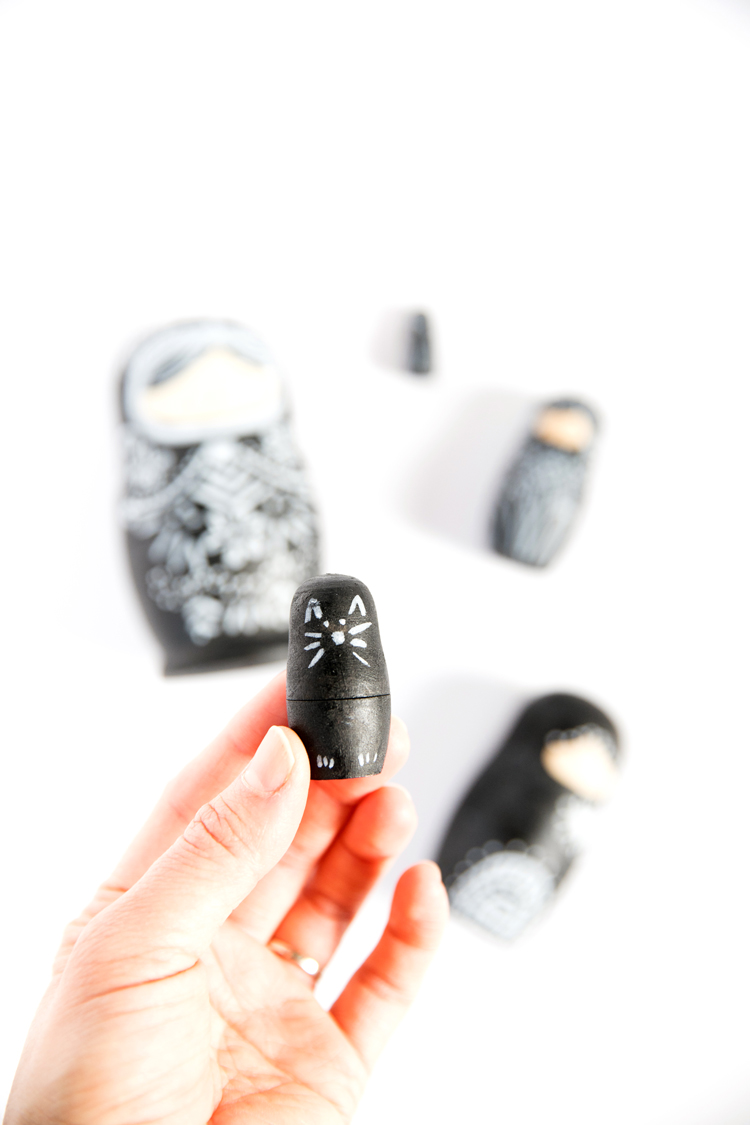
Painting the two smaller ones faceless, gave me the freedom to make them into a kitty and a flower. 🙂
Those are really cute, and clever!! Chalkboard paint is such fun!
Thanks! Isn’t it? I should branch out into other colors, but I love that classic black chalkboard finish!
Delia these are so cute!!! I’m in love! And the photos on this post are stunning as always.
Thank you Audrey! You are so kind!