

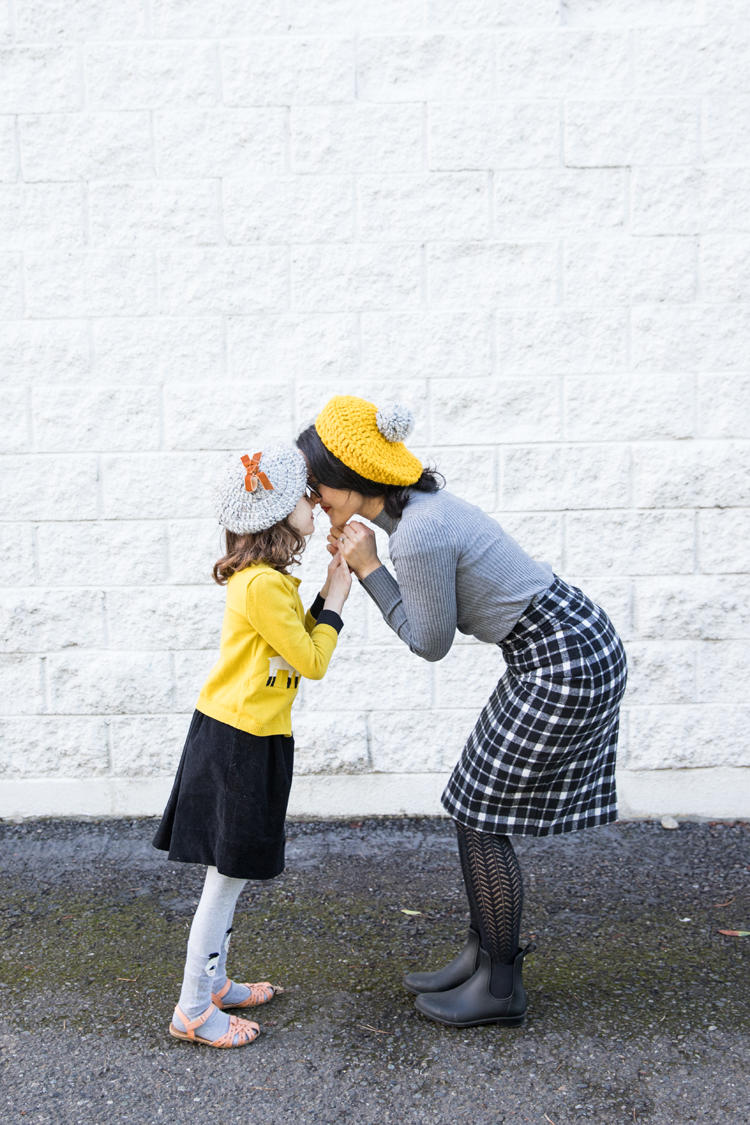
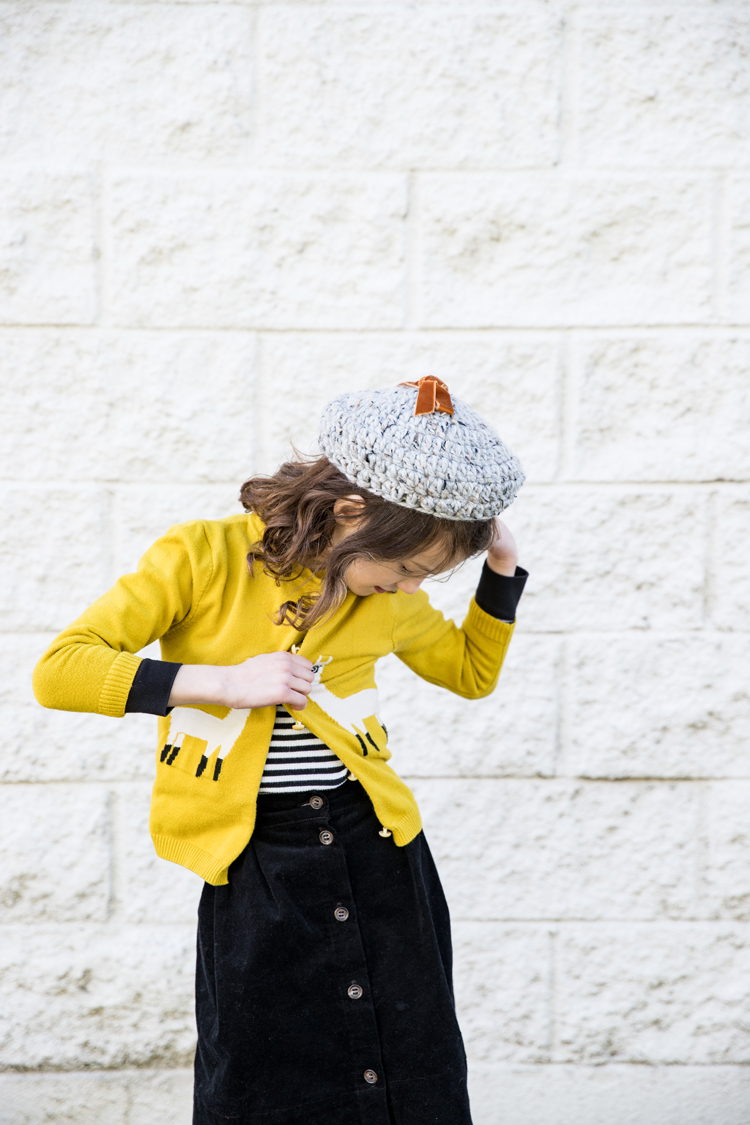
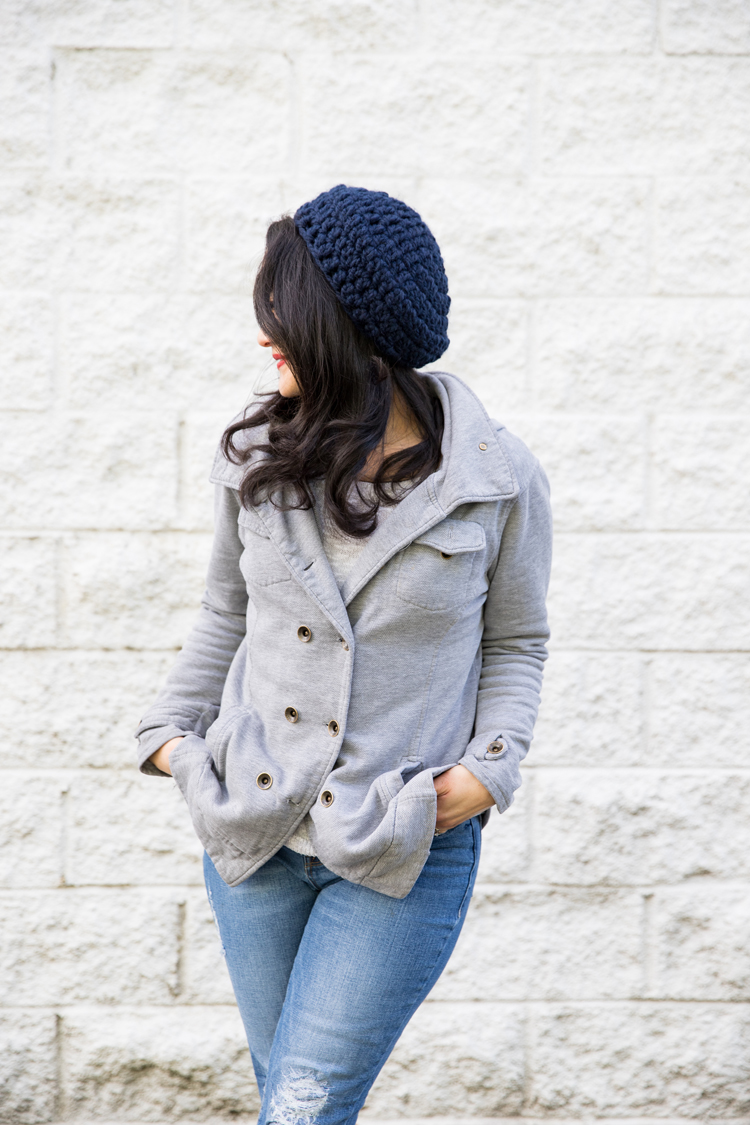
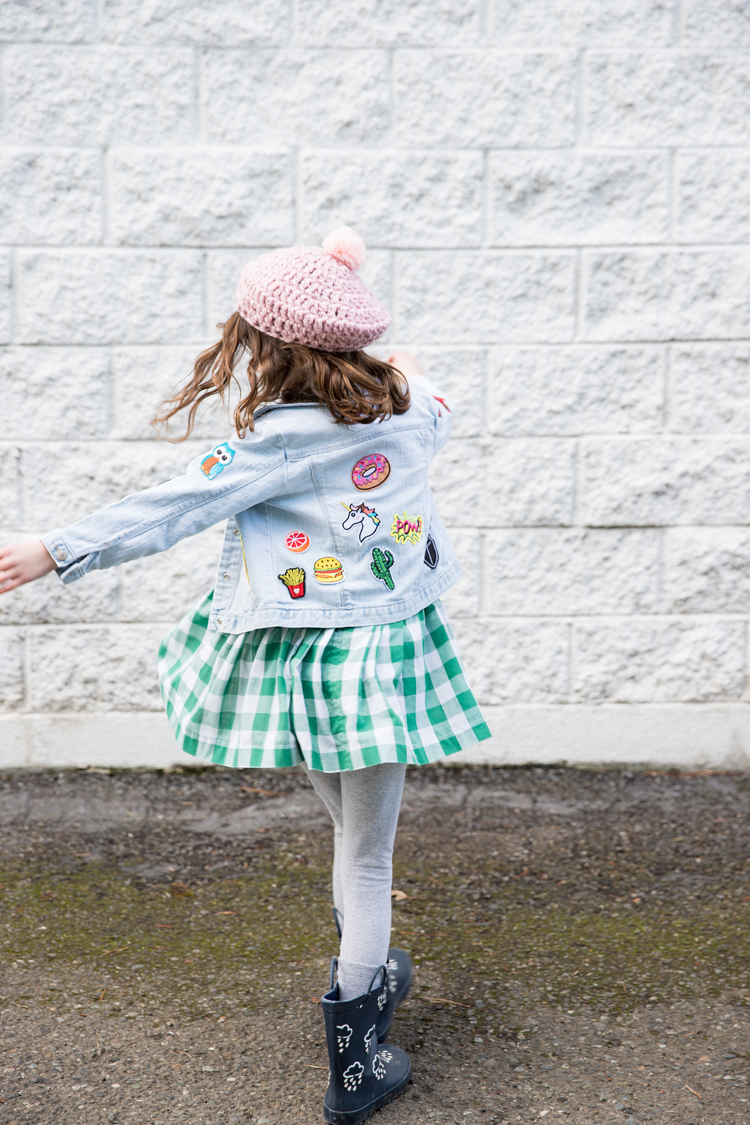
I created this beret pattern around the time that I saw the new Little Women movie. I loved all of Jo March’s hats, but especially her beret…obviously! 😉
This post is part two of three Crochet Basics posts dedicated to teaching you how to crochet in the round.
If you missed the first post, check out how to crochet in the round and make a basic beanie HERE.
This cute beret pattern is worked very similarly, but if you can believe it, it works up even faster than the beanie! The pattern is so fast and uses so little yarn, you’ll want to make a bunch like I did. Ha!

And it’s great for beginners because it’s just double crochet!
The main new skill you need to learn is how to increase, which means you work two stitches in the same space. That’s it! Easy peasy.
To get the beret shape I needed for this project, I also added another skill: decreasing. Which as you can guess, is just like increasing but worked in reverse. The decreasing stitches even look like the inverse of increasing stitches, which I show you in detail in the video tutorial…but I’m getting ahead of myself.
As I said at the beginning, I have created three projects to help teach this skill of working in the round: a beanie, this beret, and a basket.
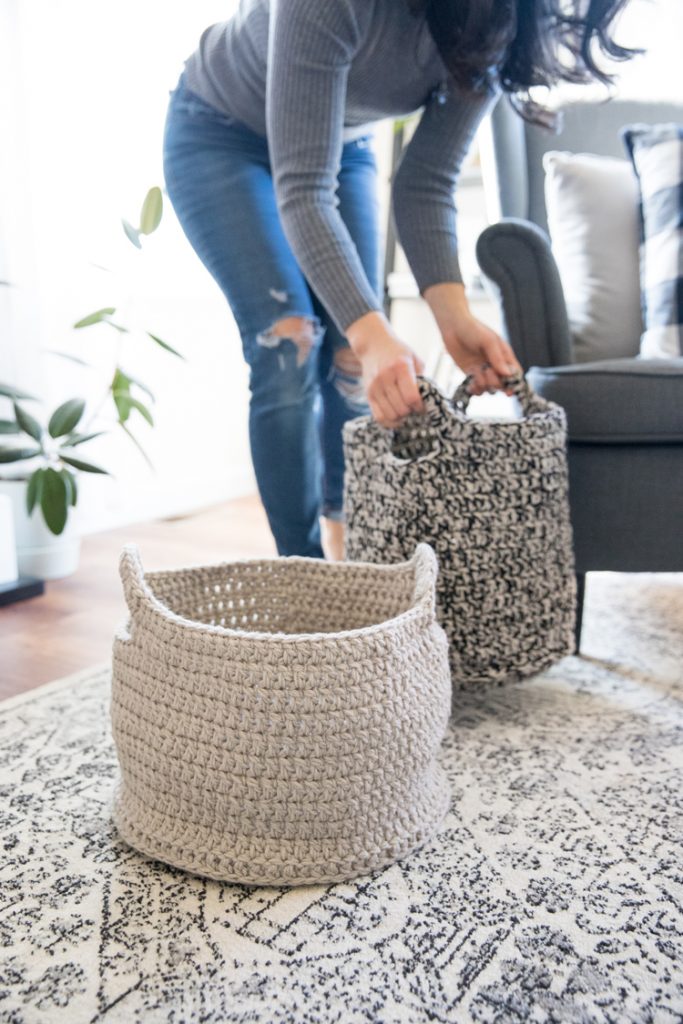
They all start the same and are worked with the same stitches, but the results are very different. Working in the round opens up so many fun crochet possibilities!
For this beret, I have included a video tutorial that shows you step by step how to work in the round, increase, and decrease; and how to make this cute beret in ANY size.

In fact, the pattern I use in the video is the same for sizes child though adult. All you have to do is change your hook size!
Sizing
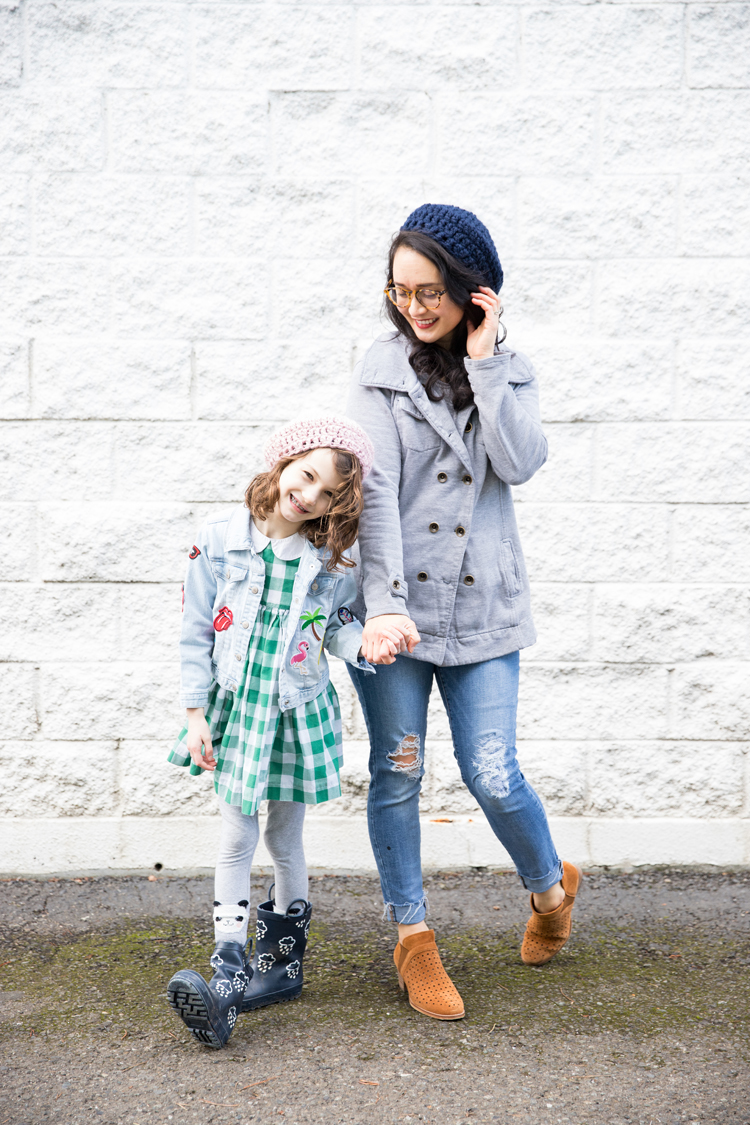
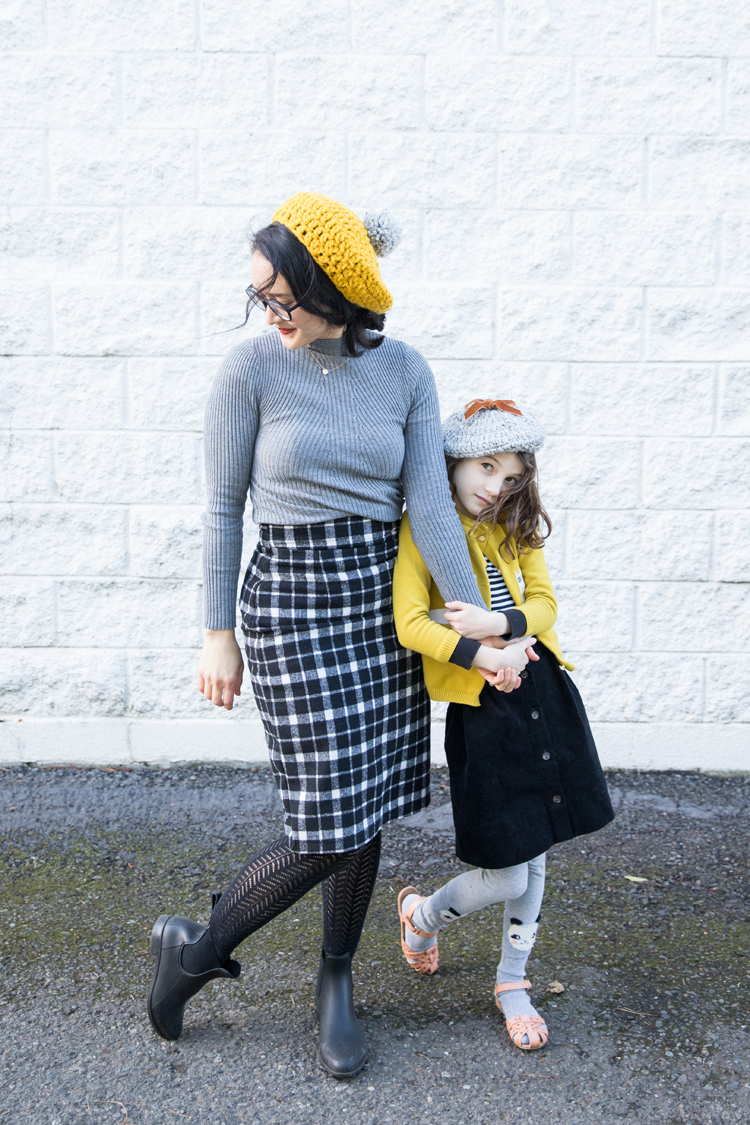
The sizing of berets is really flexible and largely depends on fit preference. For example, my daughter’s pink beret also fits me, albeit more snugly. It’s the same size of as the navy one I’m wearing in the previous picture.
For that reason, instead of differentiating sizing by age, I have listed sizing to be small, medium, and large.
Materials
- J/10 (6 mm), K/10.5 (6.5 mm), L/11 (8 mm) hook*
- Category 6 or Super Bulky Weight Yarn, about 50 yards**
Notes:
*For the video tutorial I made the medium hat and used a K/10.5 or 6.5 mm hook.
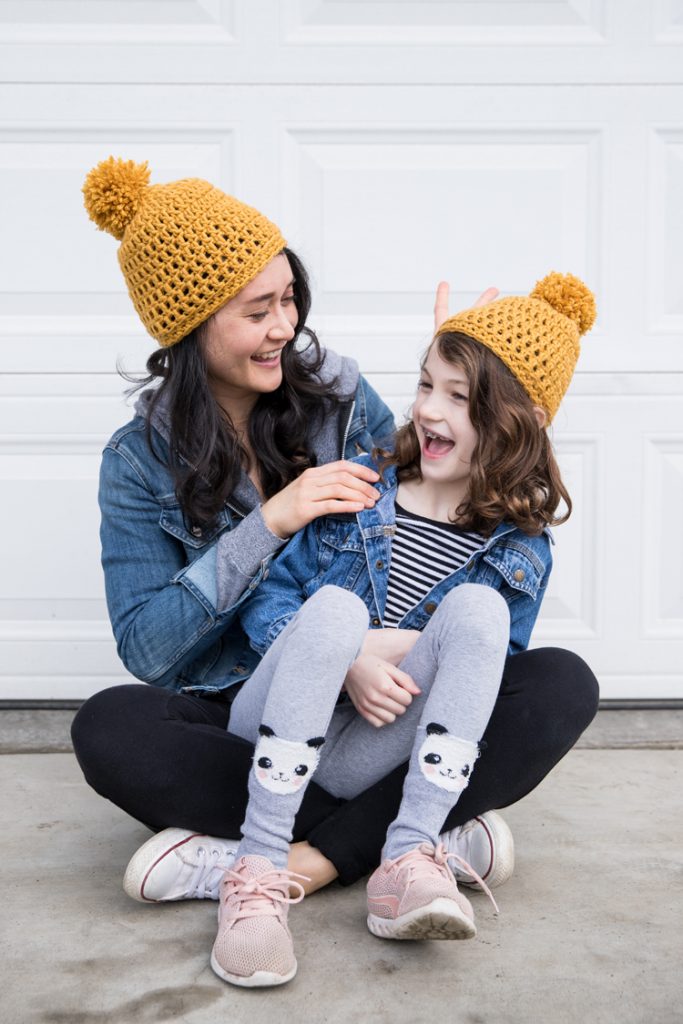
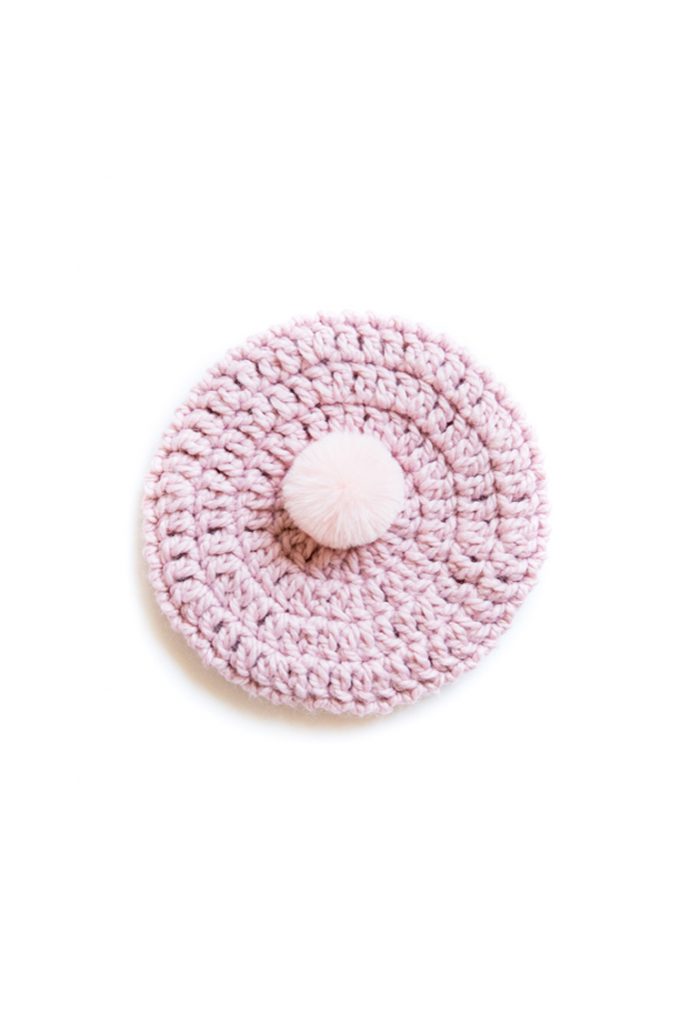
**Yardage is approximate. I used Big Twist Natural Blend Wool Yarn in Blush from Jo-Ann in the video. Also featured is Big Twist Natural Blend Wool in Aged Brass (yellow), Lion Brand Wool-Ease Thick and Quick in Grey Marble, and Lion Brand Wool-Ease Thick and Quick in Navy.
Abbreviations
- ch = chain
- dc = double crochet
- sl st = slip stitch
Gauge
- Small (J hook): 3 x 3 inch square = 7 dc x 4 rows*
- Medium (K hook): 3 x 3 inch square = 6 dc x 3.5 rows
- Large (L hook): 2 x 2 inch square = 6 dc x 3 rows
*Even though the hats are worked in rounds, if you plan on making a test swatch, it is easier to do so in rows. For more information on gauge, see THIS POST.
Video Tutorial
Music credit: Pleasant Pictures Music Club.
Written Pattern
The pattern is the exact same for all sizes. Simply use a different hook for each size.
- Small = J/10 or 6.00 mm hook (fits child through small youth)
- Medium = K/10.5 or 6.5 mm hook (fits child through small/medium adult)
- Large = L/11 or 8.00 mm hook (fits youth through large adult)
Round 1: Magic Ring, ch 2, 9 dc in ring, sl st to top of ch 2. (Total stitch count = 10, including ch 2).
Round 2: Ch 2, 2 dc in next stitch, 2 dc in next 8 stitches, 1 dc at the base of ch 2, sl st to to the top of ch 2. (20)
Round 3: Ch 2, 2 dc in next stitch, * 1 dc, 2 dc in next stitch.* Repeat from * to * 8 times. Sl st to top of ch 2. (30)
Round 4: Ch 2, 1 dc, 2 dc in next stitch, * 1 dc, 1dc, 2 dc in next stitch.* Repeat from * to * 8 times. Sl st to top of ch 2. (40)
Round 5: Ch 2, 1 dc, 1 dc, 2 dc in next stitch, * 1 dc, 1dc, 1 dc, 2 dc in next stitch.* Repeat from * to * 8 times. Sl st to top of ch 2. (50)
Round 6: Ch 2, dc in each stitch, sl st to the top of ch 2. (50)
Round 7: Ch 2, 1 dc, 1 dc, decreasing dc in the next two stitches, * 1 dc, 1dc, 1 dc, decreasing dc in the next two stitches.* Repeat from * to * 8 times. Sl st to top of ch 2. (40)
Round 8. Ch 2, 1 dc, decreasing dc in the next two stitches, * 1 dc, 1 dc, decreasing dc in the next two stitches.* Repeat from * to * 8 times. Sl st to top of ch 2. (30)
Tie off and weave in ends.
All done!

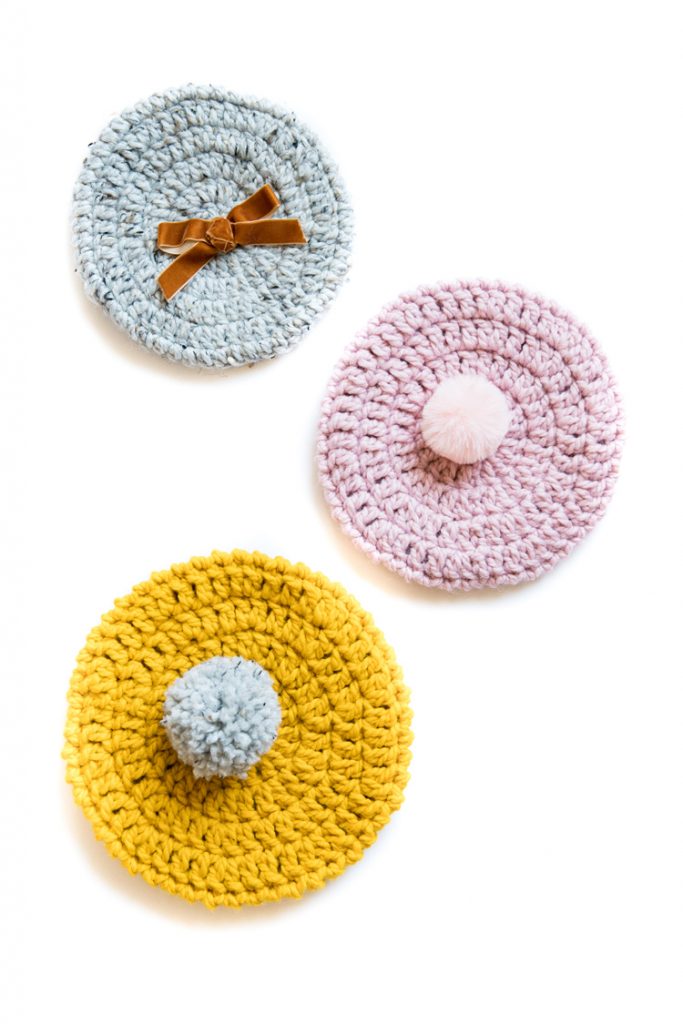
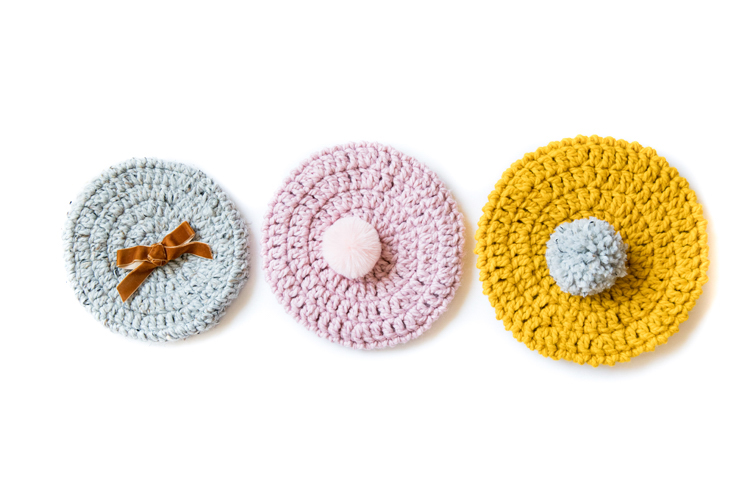
Add a removable pom if desired. I have a video tutorial for that HERE.
I found these cute mini fur poms at Joann. They came connected in pairs, but I simply cut them apart and knotted the ends so they could be single poms.
I made the grey pom for my yellow beret and then added elastic so it could be removable too. Tutorial coming soon. 😉
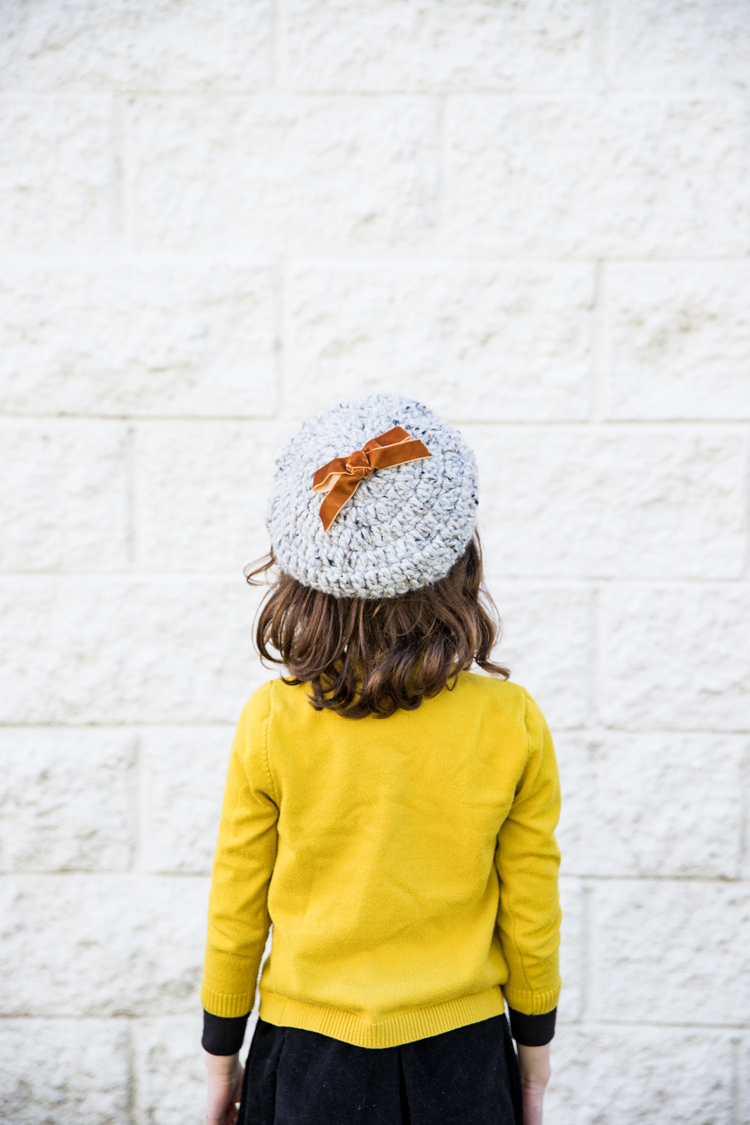
For my daughter’s grey beret, I simply clipped in one of her hair bows through the holes at the top of the beret! So simple and also removable.

Are you ready to make some baskets now? Check out the next Crochet Basics in the round project HERE.
I have a question. Do you think it would be possible to repeat row 6 a couple of more rows before starting the two decreasing rows? My hats seem to come out to small.
Sure! You can add a round if you like for sure. You would just have to adjust the decreasing rows a bit as well. You might also consider going up a hook size. Your tension may be tighter than mine?
I am not finding a link to the video showing how to work in the round for the beret
So the video is embedded in the post. It should pop to the top of your screen (or side if you’re on a desktop or lap top). It can sometimes be confused with an ad, because an ad plays before the tutorial. Does that help?
I’m supposed to be working on a different project but I’m just not feeling like it right now and then I found this adorable and easy beret pattern and I couldn’t help myself. I just finished it and it was so easy and I’m so happy with the results. Thank you so much for sharing your pattern with us. I’m still really new to crochet and being able to work up a project and have it turn out so well is such a confidence boost.
That makes me so happy to hear that this project was a confidence booster for you! That’s my goal, to help crochet feel attainable and therapeutic. I appreciate you taking the time to leave such a kind, thoughtful comment.