

I’m really loving how much attention yarn crafts have been getting lately, crochet in particular.
I’m excited to see new and modern spins on what used to seem like a lost art to the young. Which is my focus for today’s project.
Whether you’re brand new to crocheting, or just looking for a quick, satisfying project; this spin on textured typography fits the bill.
Literally, the only stitch you need to know is the first and most basic stitch of crocheting: the chain stitch.
Add in some wire, some lettering, and bam…textured typographic wall art.
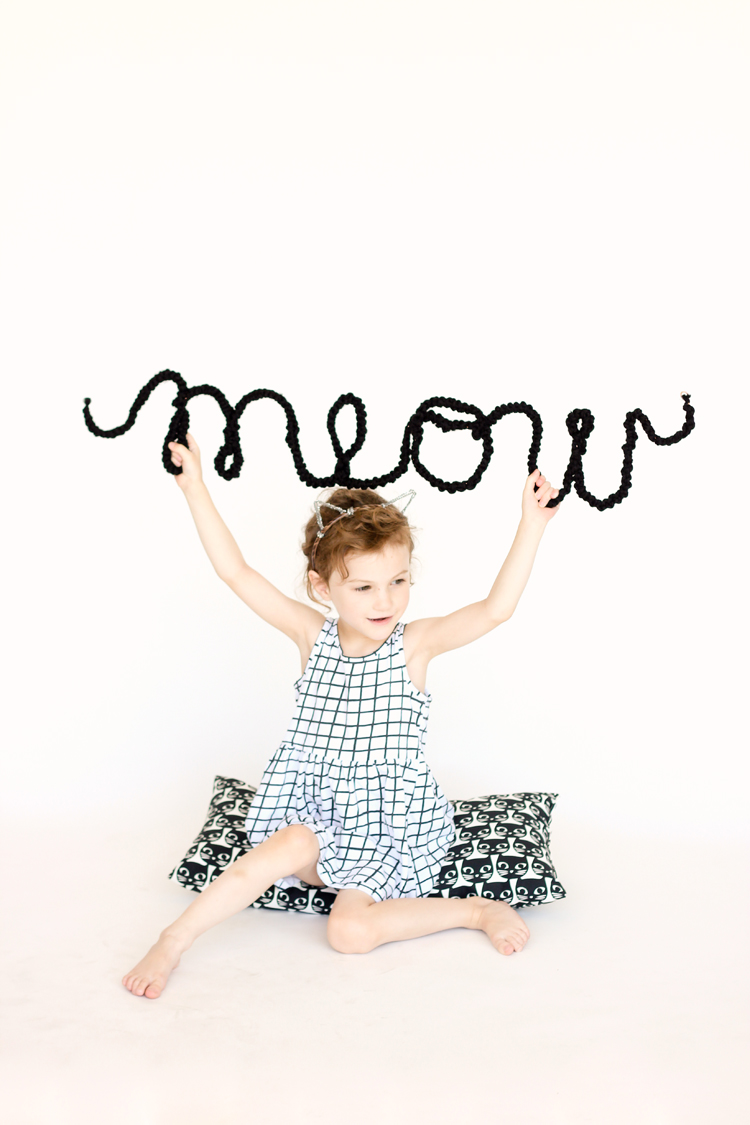
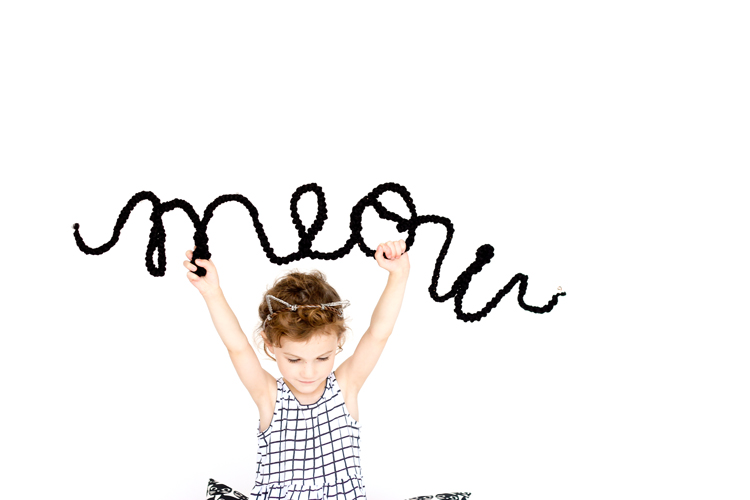
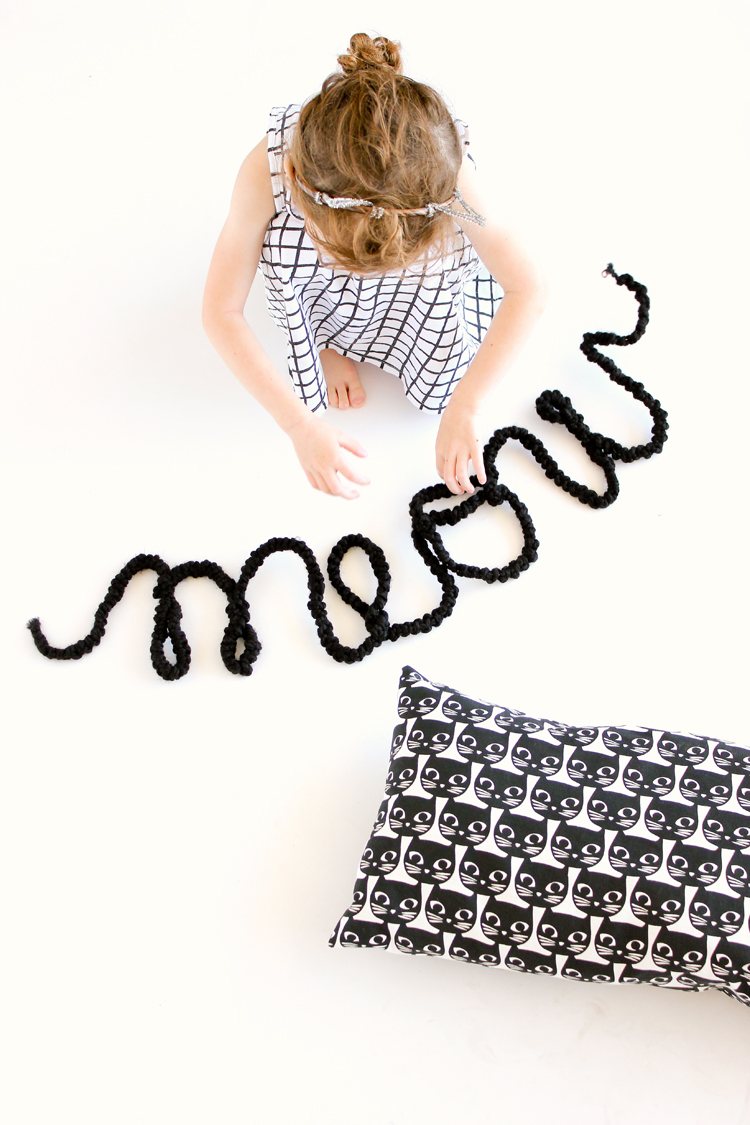
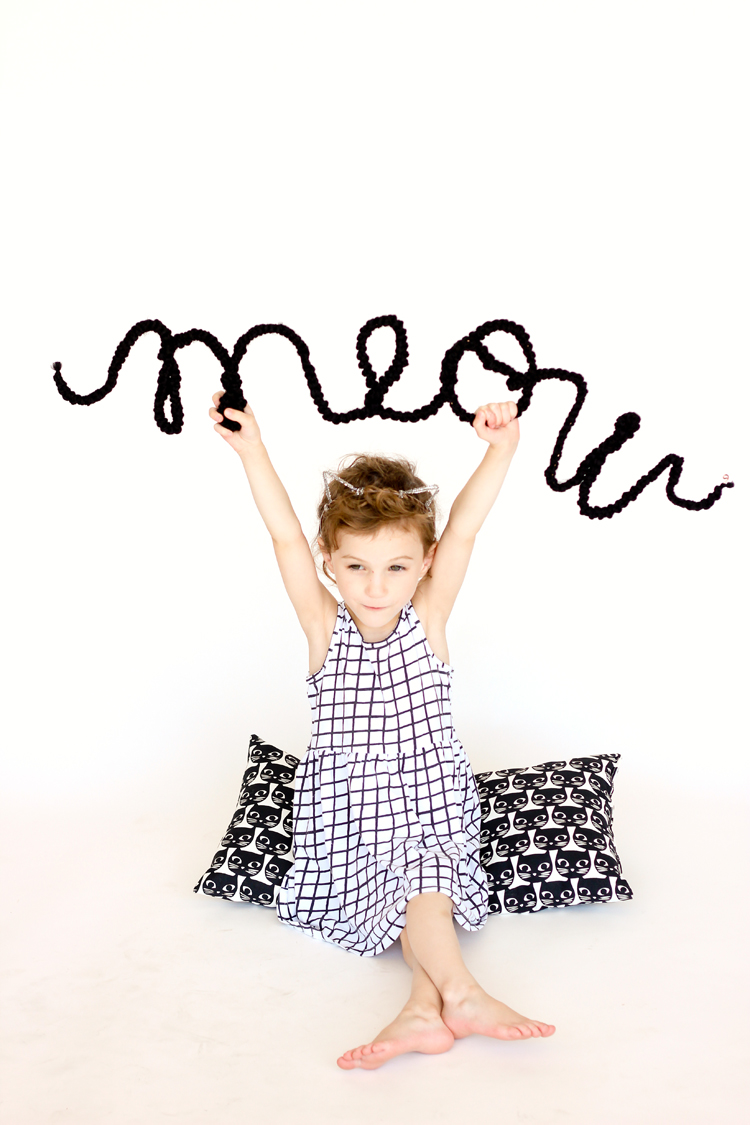
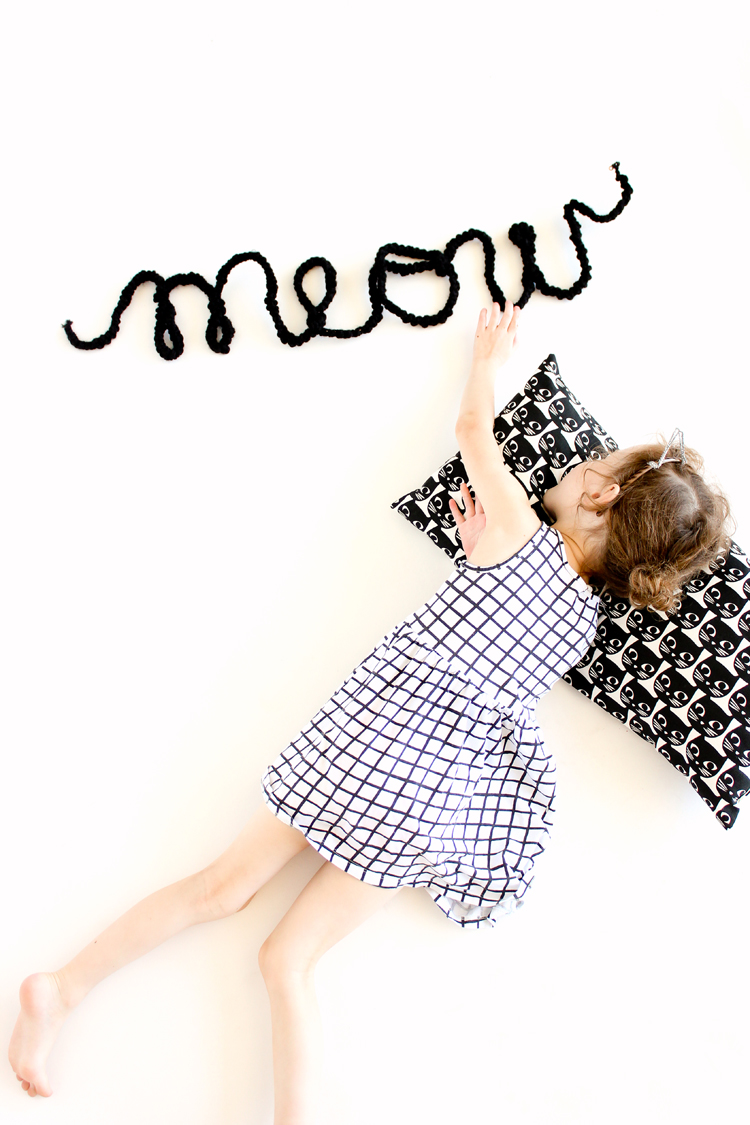
I’m currently (very slowly) decorating my daugther’s room. She loves cats if you can’t tell ;), so it felt only natural to whip up a “meow” sign. I might switch it to her name later, but her room is still in flux right now. The great thing about the crocheted wire is that it hides imperfections in the wire. So if you need to bend it back, you can do that and not worry about the wire looking overworked (to an extent, you don’t want to change it too much).
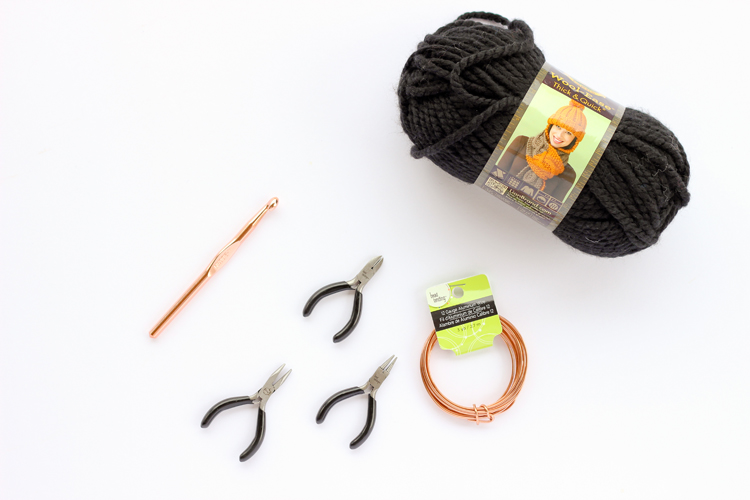
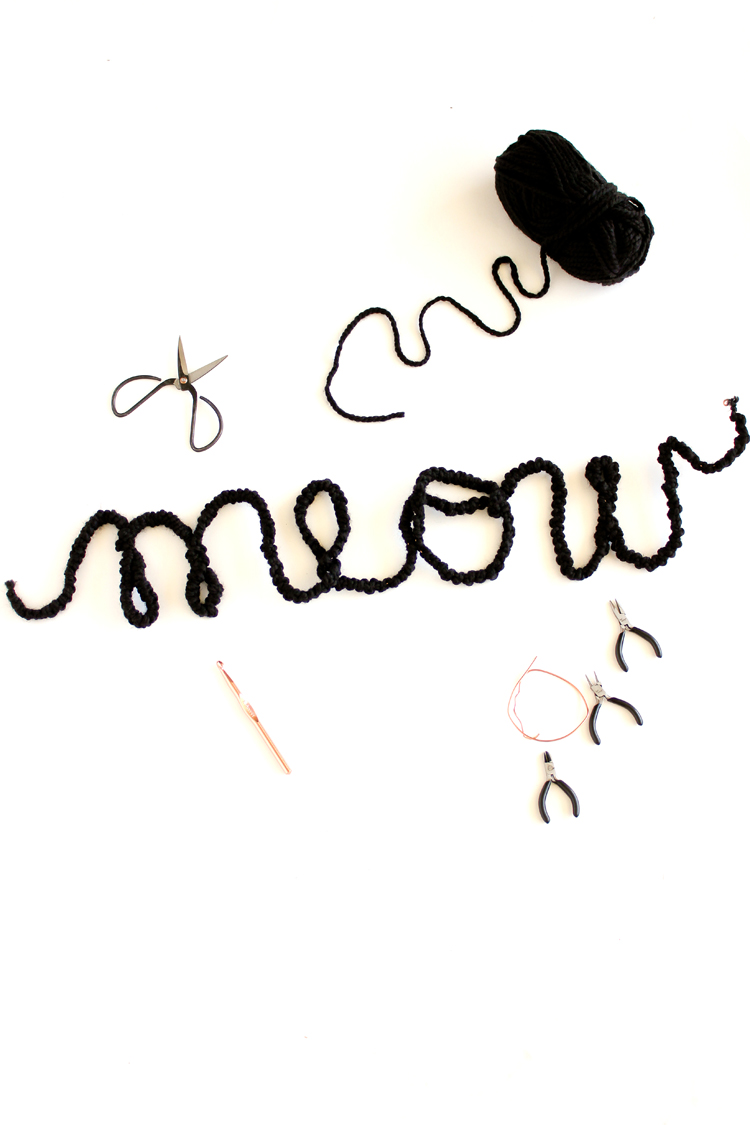
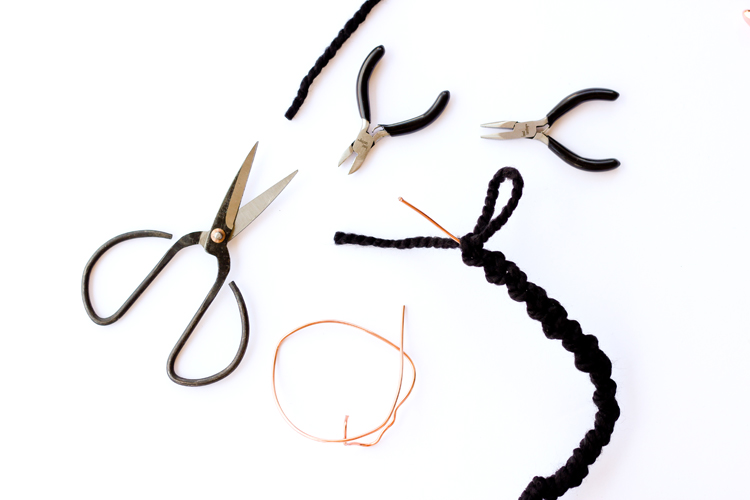
MATERIALS
yarn
hook, in corresponding size to yarn
12 gauge wire (found in floral or jewelry sections)
pliers (needle nose and wire cutter)
scissors
NOTES:
- You can choose any size yarn for this project. Just be sure to use the recommended, or close to the recommended hook size listed on the yarn label.
- You may want to match your wire to your yarn. I used a contrasting wire so that you could more easily see my method in the tutorial pics. Plus, I used a thick yarn that covers up the wire almost completely.

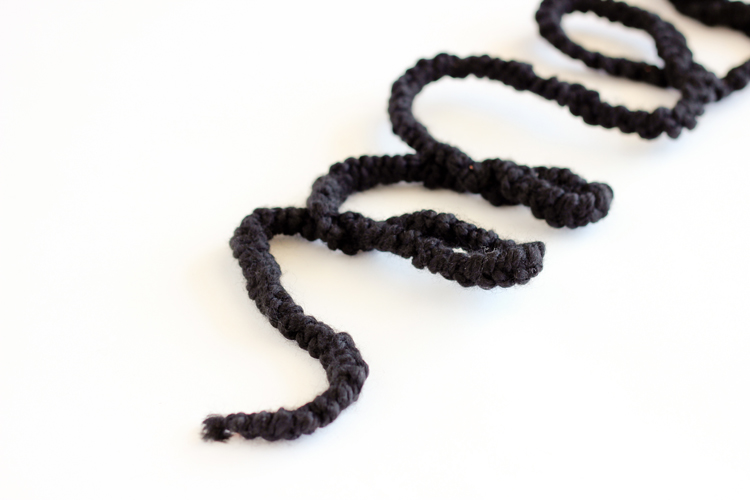
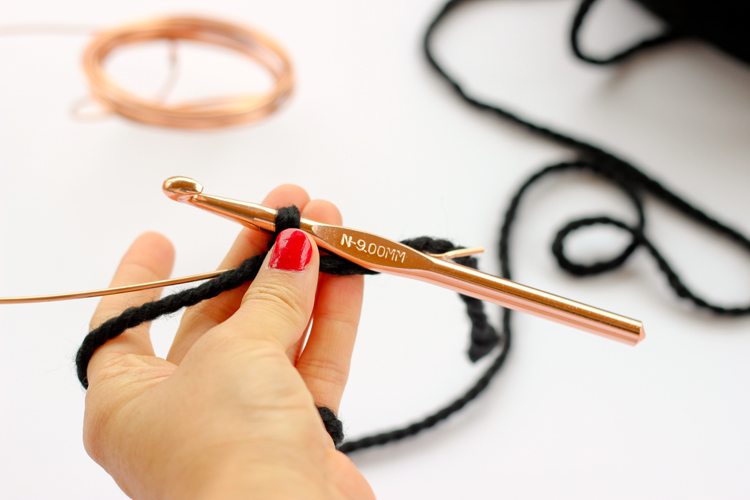
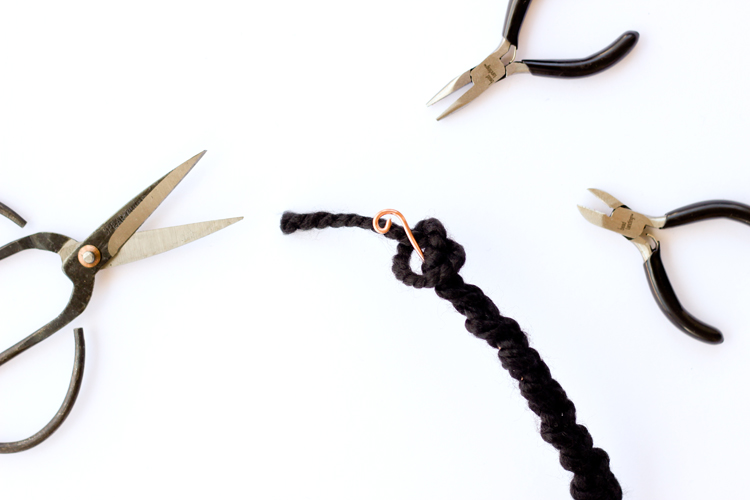
STEP ONE: Crochet around wire.
Straighten out the wire to make it easier to crochet around. Starting with the wire behind the hook, start chain stitching around the wire.
To achieve the braided texture you see in my sign and to make it easier to crochet around the wire, you will be alternating chaining from the front and back of the wire.
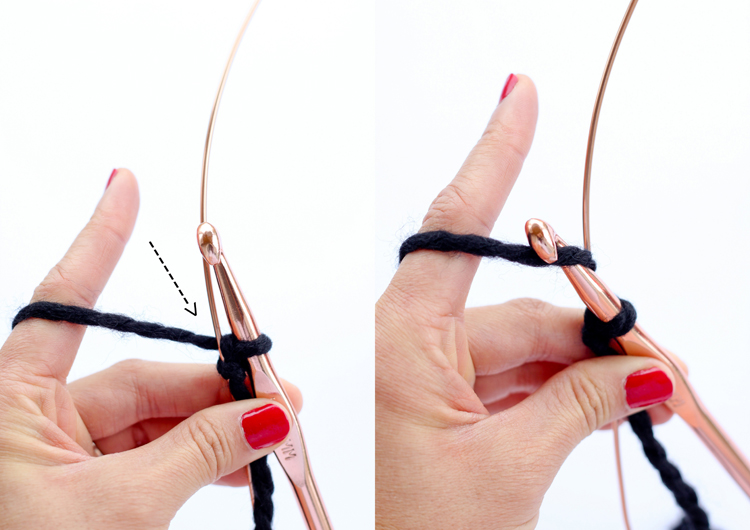
When the yarn is behind the wire, reach around from the front to pull the yarn up, toward the front, and chain.
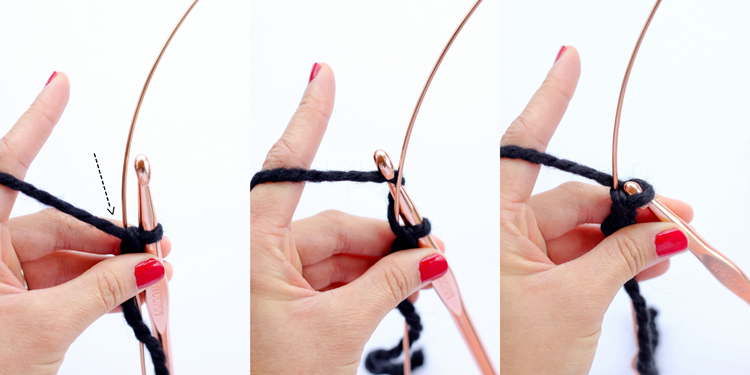
When the yarn is in front of the wire, swing your hook behind the wire, and pull the yarn back to chain.
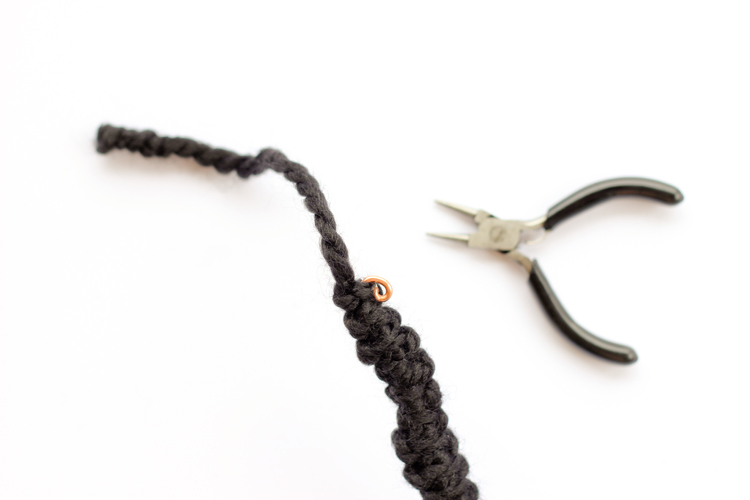
To keep the chains from slipping off the end of the wire, curl the end under with pliers.
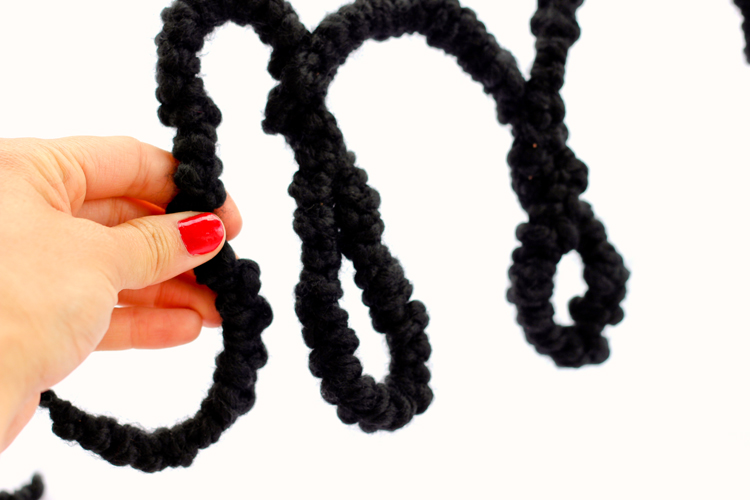
Continue to crochet around the wire in this alternating manner until you crochet a good long length of wire.

At this point, you don’t want to cut anything yet. You may need to pull out some stitches or crochet more stitches if you need more length. For now, pull the hook out, and make the loop that was on the hook, very wide. This helps prevent your chain stitches from getting pulled out.
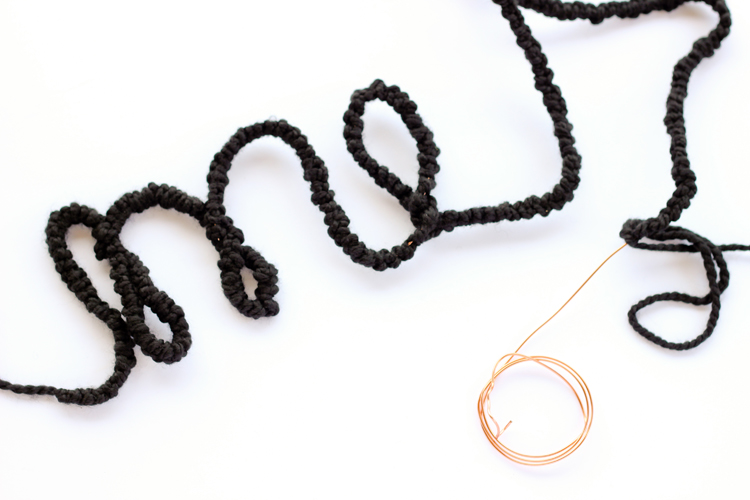
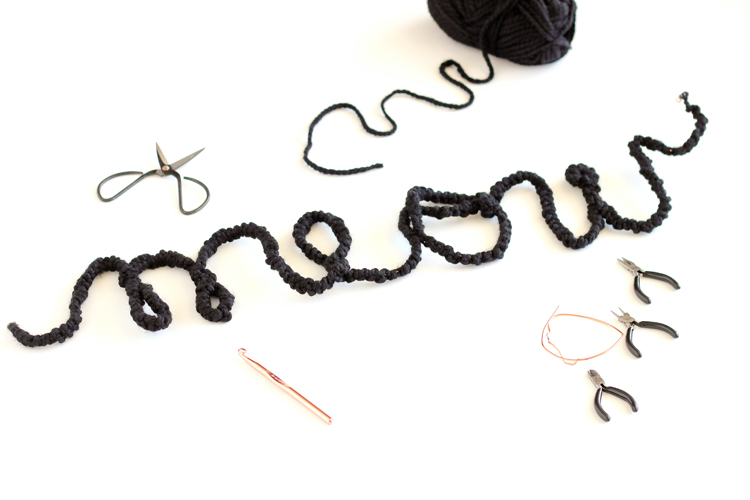
STEP TWO: Form your words.
Starting with a nice curvy tail, build your word. You may decide to write out or print out a guide before hand.
To keep loopy letters from coming apart, I like to give them a little twist to secure them and help them lay flat.
TIP: For simplicity’s sake, choose words that you can write in cursive without lifting a pen. This prevents you from having to make little segments of yarn covered wire…which you can do, if you decide to choose more complicated words. It’s just a bit tedious.
When you’re done spelling out your word, trim the wire down, and curl under the ends like you did at the beginning.
Reign in the hook loop, tie off the end, and double knot it.
Normally, in crochet, you don’t ever cut the tail close to the knot. Instead, you weave the tail in, in case you have to go back into your work to fix things. For this project however, you can tie secure square knots and cut the tails away.
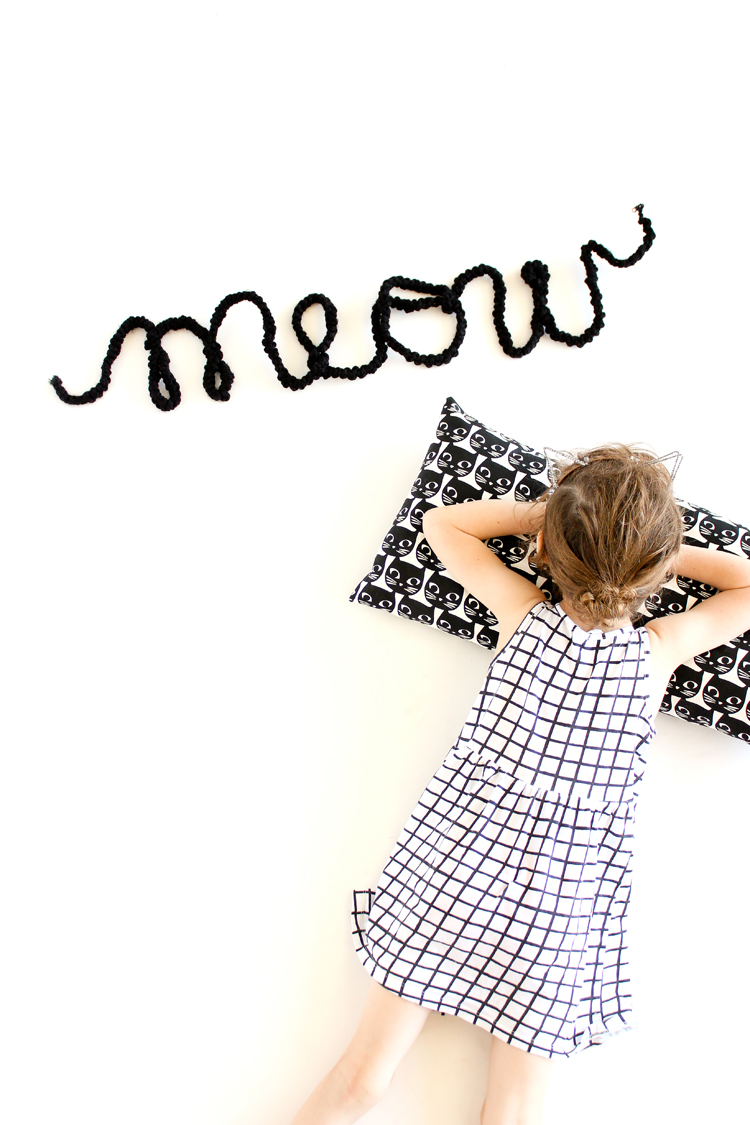
The thick wire supports the letters so that you can hang it on the wall, but you can also rest it on a bookshelf or desk, if desired.
 Disclaimer: This post is sponsored by Michaels. All opinions are genuine and my own.
From tie-dyeing to lettering to tassels, pom poms and even unicorns, Michaels has everything you need for the latest and hottest DIY trends!
Be sure to checkout all of the other Michaels Makers Favorite DIY Trends on the Michaels blog.
I like your daughter’s style. Cats are awesome! Especially black cats, like my sweet little Zoey. So I have to know, where did you get that cute cat pillow or fabric if you made it? Love it! And I also love the simple crochet project to make big words with wire and crochet stitches. I may have to make something like that for my house.
Thanks Melissa! The pillow is from IKEA. They have matching cat curtains with a larger cat face print too (which we also have 😉 ha!).
Oh, how FUN! I think covered wire like this would be fun for making simple shapes too.
What cute project Delia! I love it! I’m super crazy for anything cats right now, myself. This would be sooooo cute as a prop in a photo shoot! I’ll have to try it out. Will be sure to share pictures when I do them.