

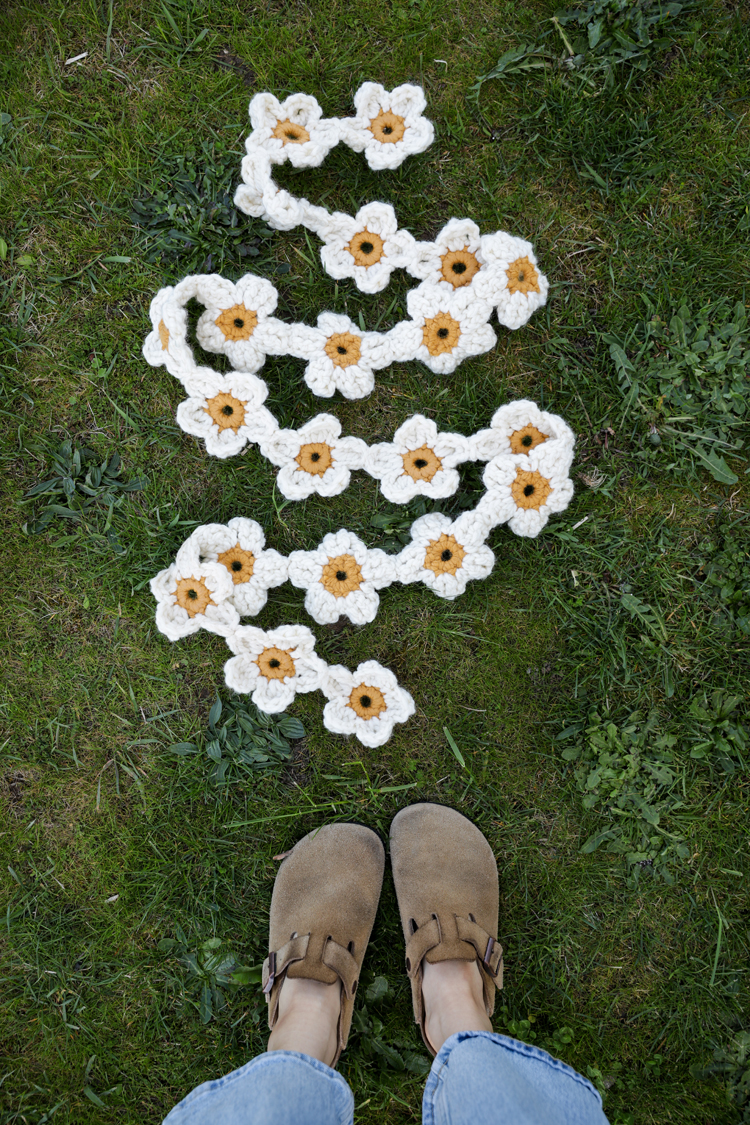
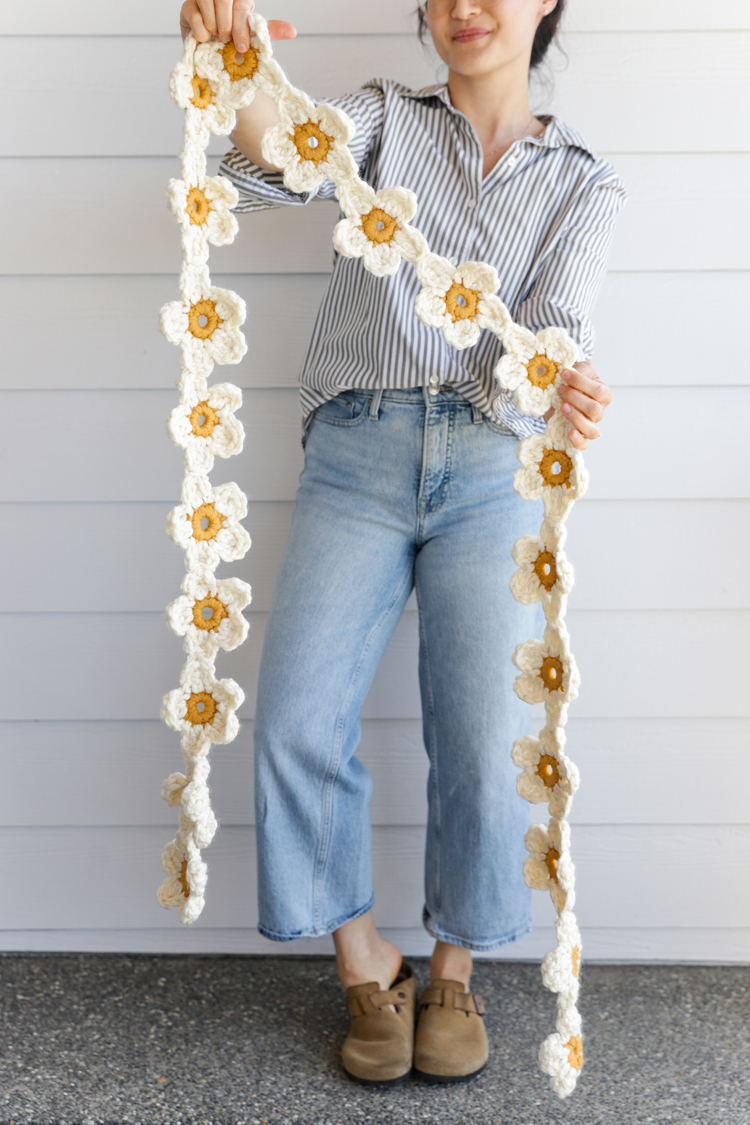
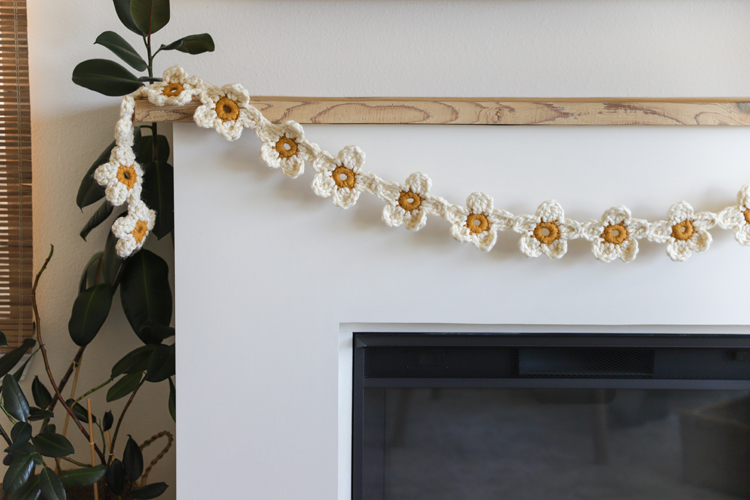
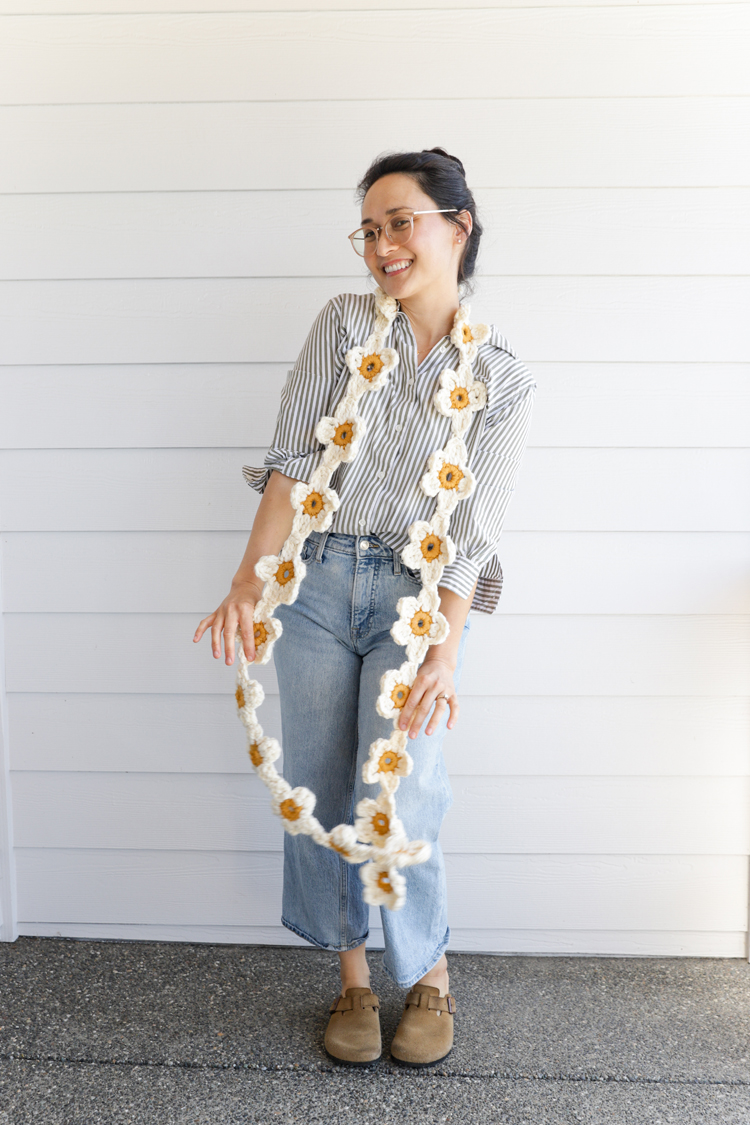
Nothing says spring/summer to me more than lying in the grass weaving daisy chains. So let’s make a crochet version that lasts forever!
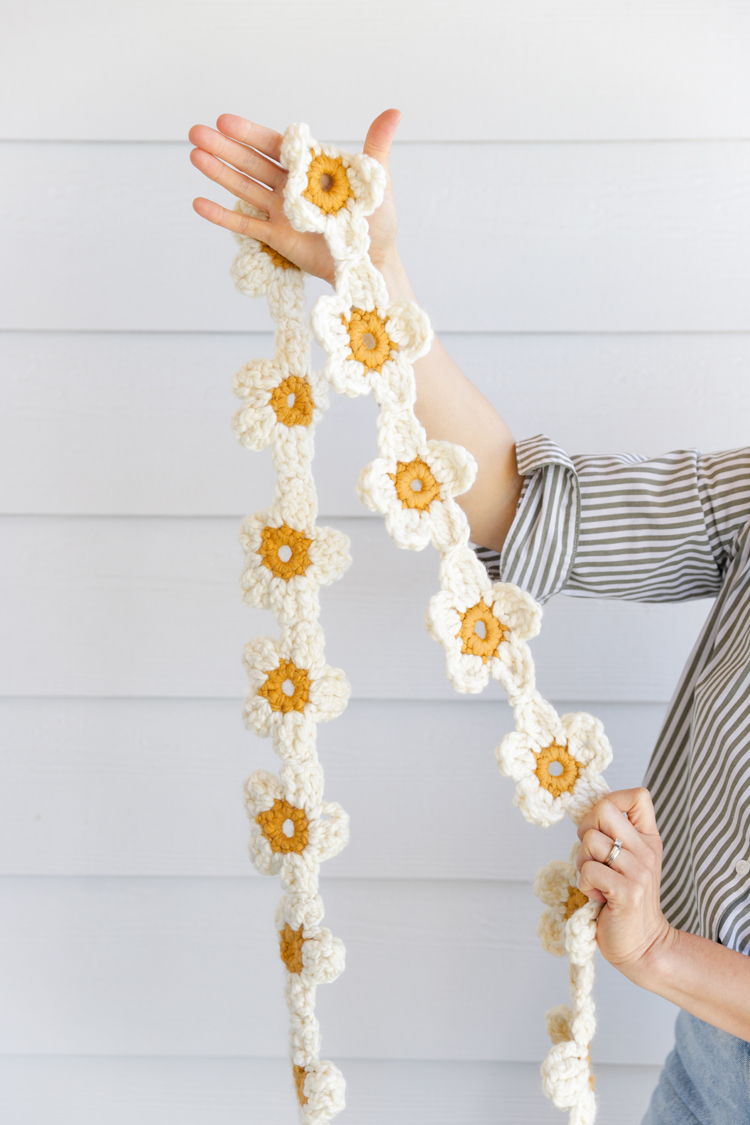
By using super bulky yarn, I made the flowers really big and bold, which I think is perfect for this garland.
In the tutorial and video (below) I show you step by step how to make an easy, five petal flower. Then we sew the flowers together into a garland. It’s very simple and a great project to take on the go.
If you’re new to crochet, I slow the video down a little bit to show each stitch and each step. If need a more thorough explanation though, I recommend checking out my Crochet Basics Series which gives more detail on how to work most basic stitches and how to work in the round.
Let’s get started!
MATERIALS
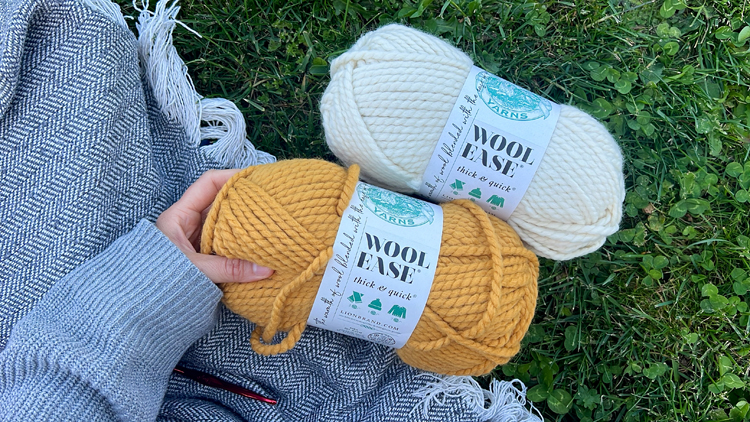
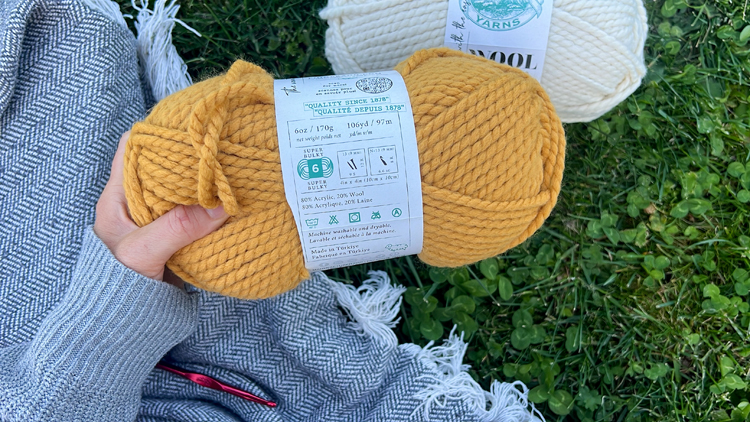
- Super Bulky or category 6 yarn in 2 colors*
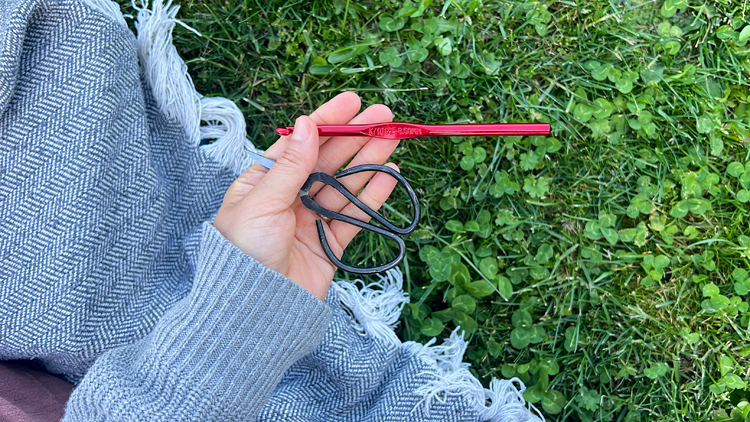
- 6.5 mm hook
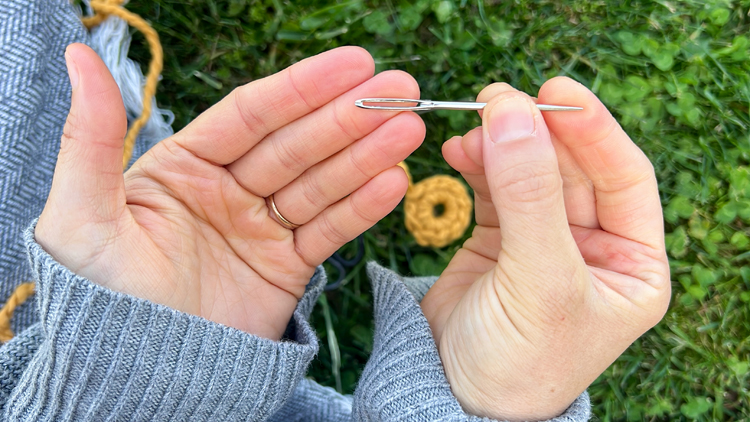
- Yarn needle (a sewing needle with a large eye) and scissors
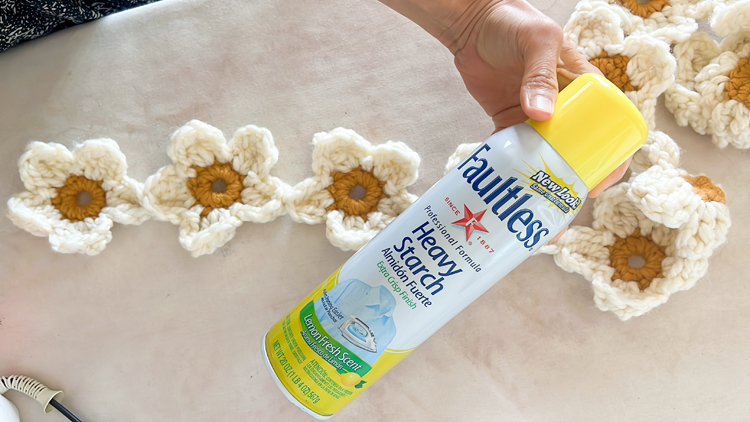
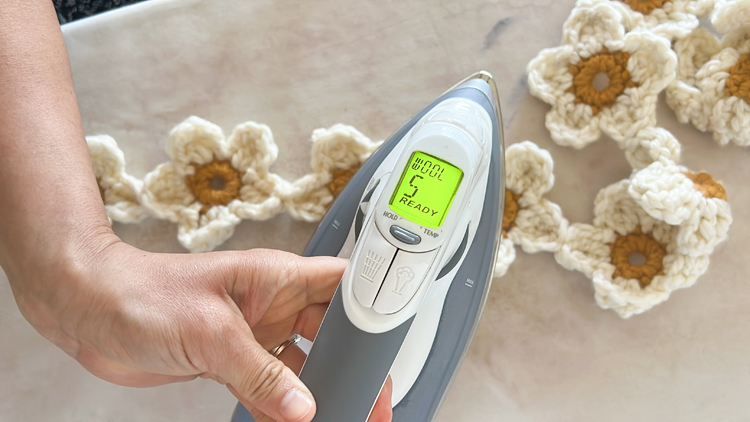
- Optional: iron and spray starch or water spray bottle
Material Notes
*I used Lion Brand Wool Ease Thick and Quick in Mustard (yellow) and Fisherman (white). To make a 7 foot garland or 20 flowers, I used about 2.5 oz of the yellow for the centers and 4.5 oz of the white for the petals. Each was less than a skein of yarn.
SKILL LEVEL
Adventurous Beginner. We work in the round and use basic stitches like: chain, single crochet, slip stitch, and triple crochet.
GAUGE
Not applicable. Each flower should be about 4 inches wide but sizing is flexible.
ABBREVIATIONS
This pattern uses U.S. Crochet Terms.
- ch = chain
- sl st = slip stitch
- sc = single crochet
- tc = triple crochet
VIDEO TUTORIAL
If it hasn’t already popped to the top or side of your screen the video will play here, and will play after the initial ads. If you “x” out of the video pop-up, you will need to refresh the page to get it back.
TUTORIAL & PATTERN
This pattern makes one flower. Repeat as many times as desired to get the garland length you want.
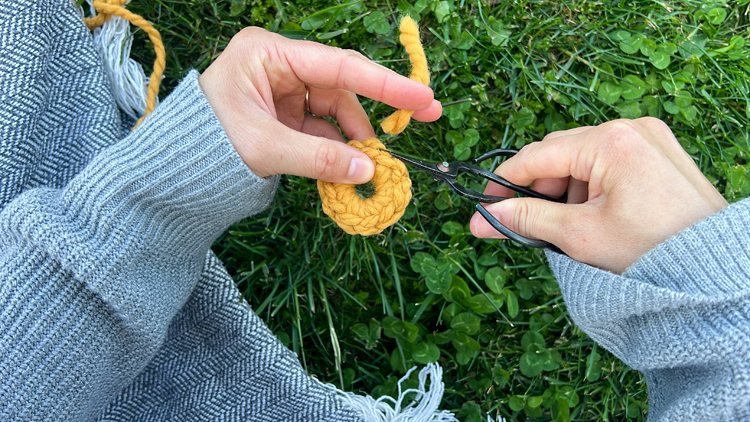
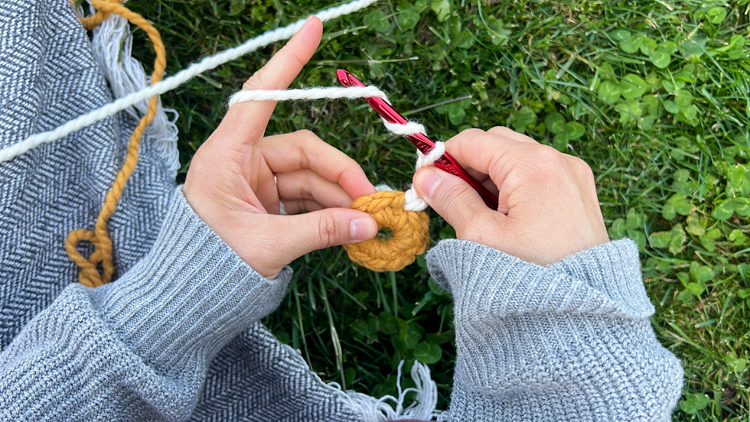
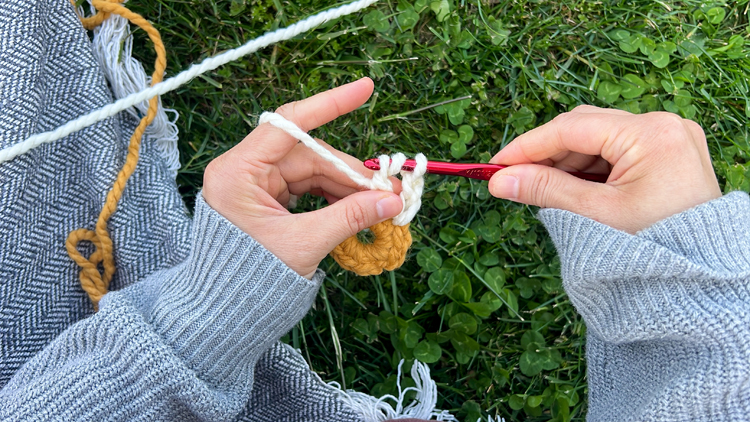
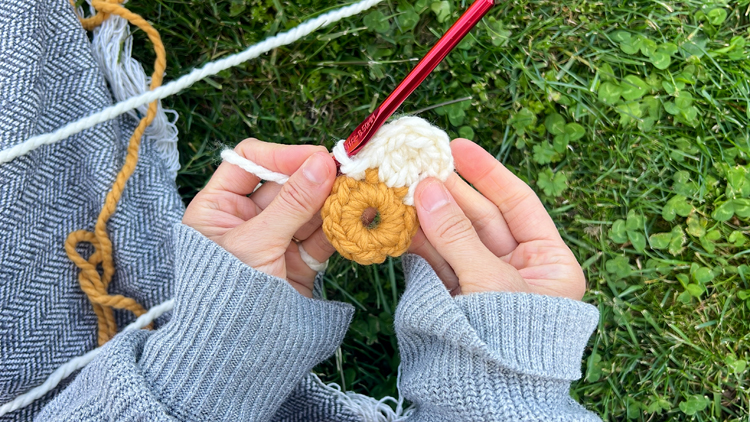
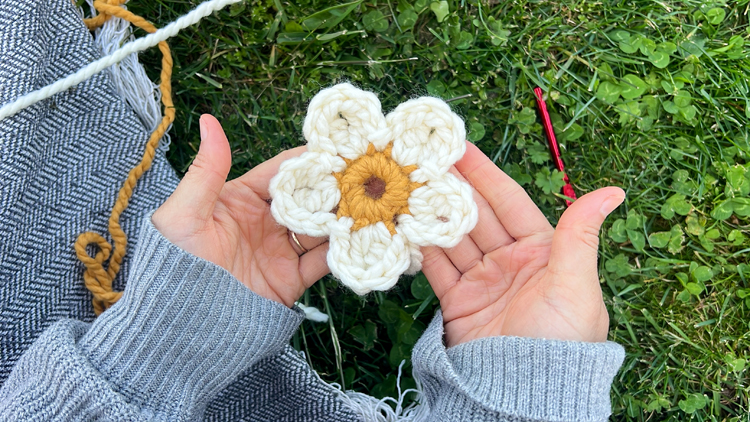
FLOWER CENTER
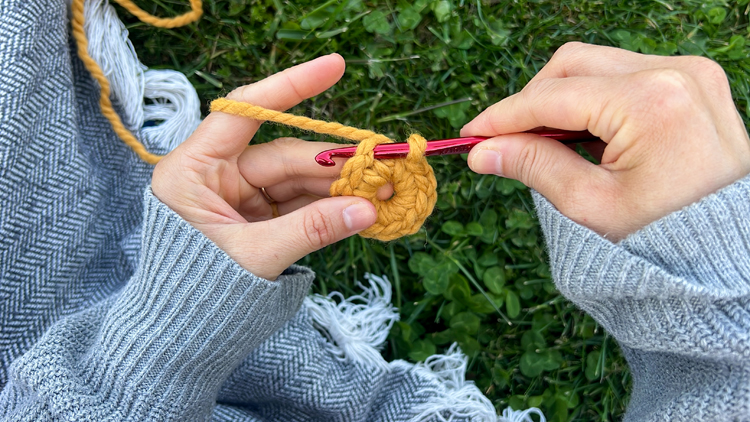
Using the yellow yarn or whichever color your choose for your flower center:
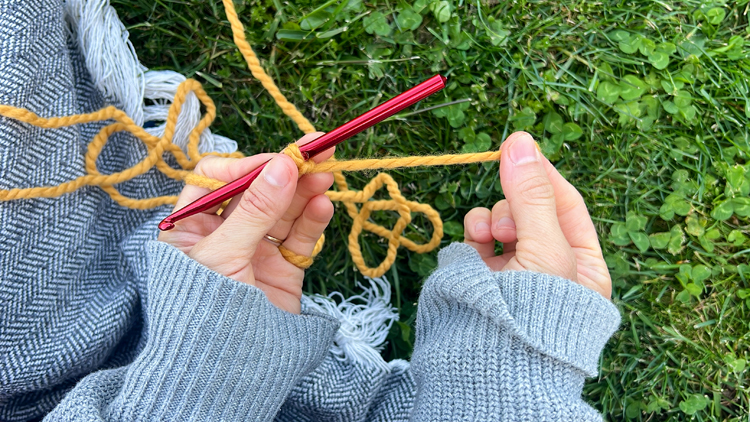
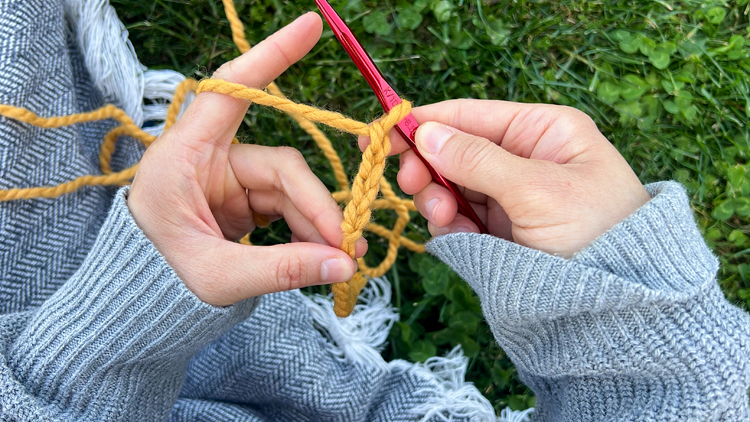
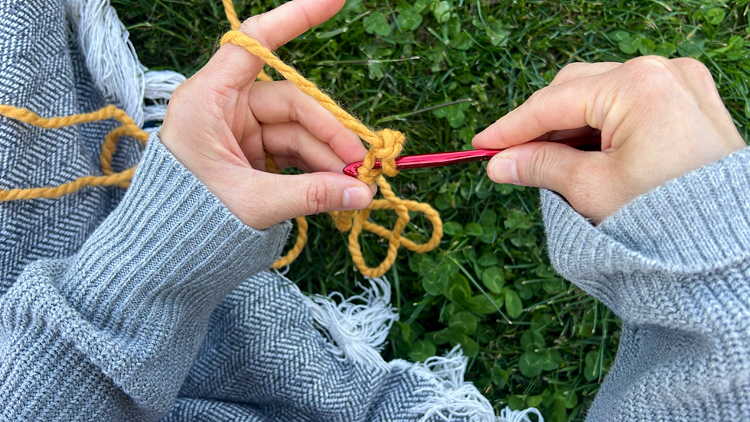
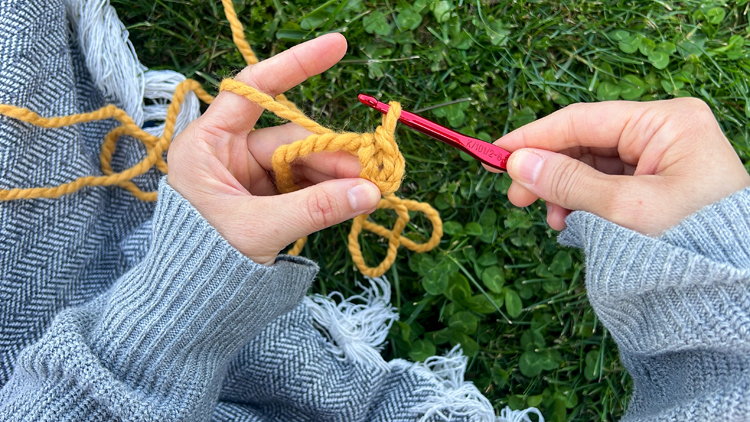

Ch 4. Sl st into the first ch to make a circle of chains. Ch 1 (doesn’t count as a stitch), sc into the center of the circle of chains. Work a total of 10 sc.

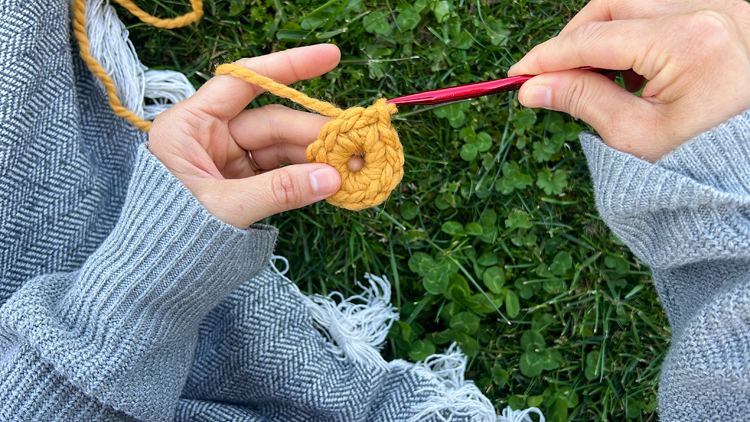
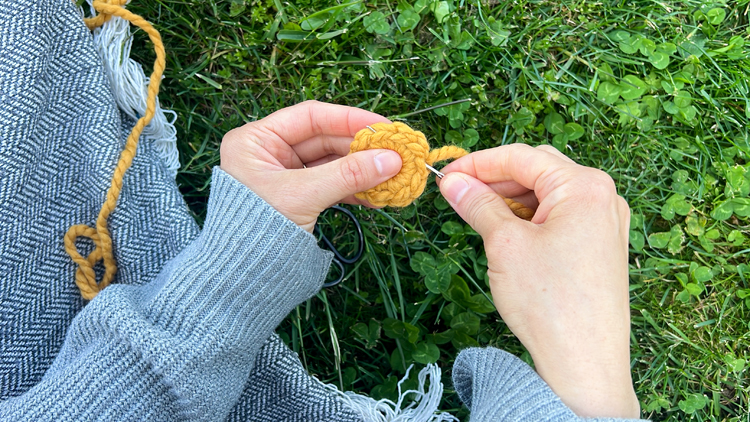
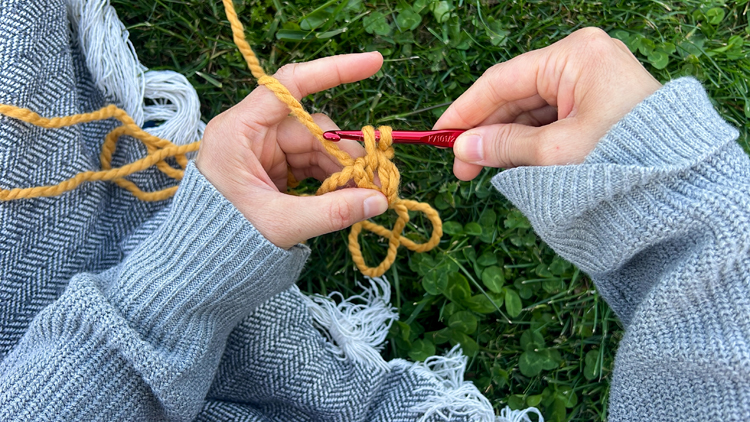
Sl st the last sc to the first sc (skip over the ch 1). Cut a tail about 4 inches long, sl st one more time for extra security tie off the end. Thread the tail onto a yarn needle and weave it into the sides of the sc stitches for a couple of inches. Trim off the excess.
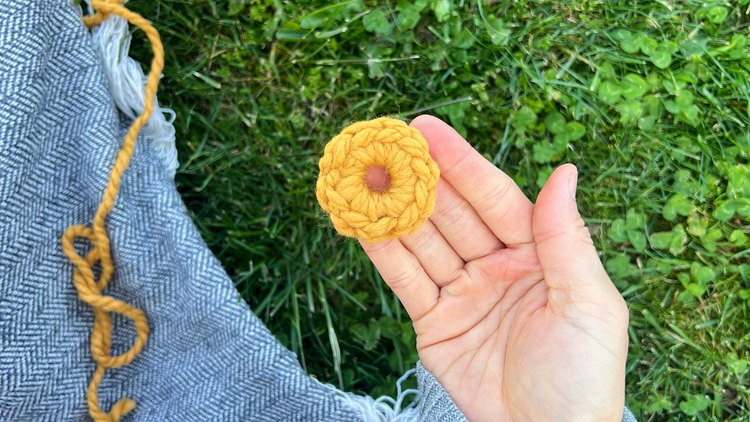
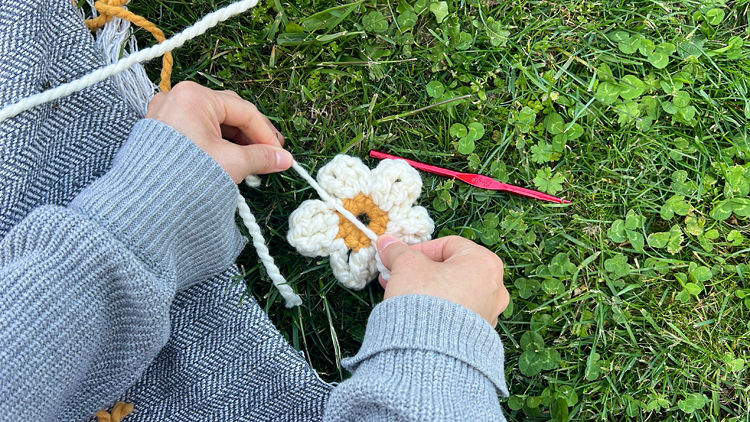
FLOWER PETALS
Using the white yarn or petal color:
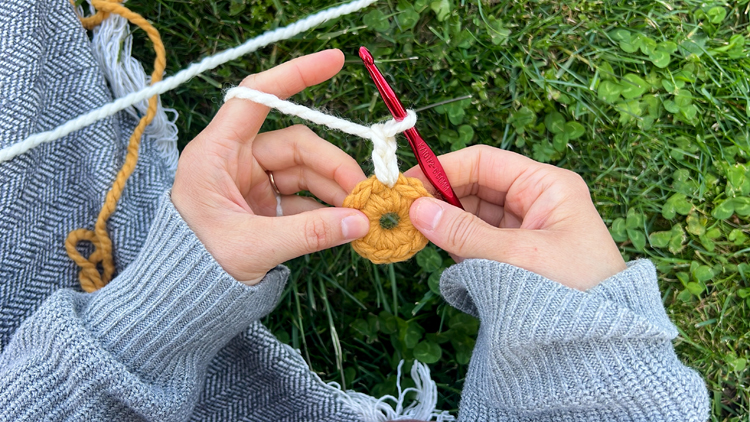
Insert your bare hook through the top two loops of one of the sc stitches in the flower center. Lay the petal color yarn over the hook, leaving about a 5 inch tail. Yarn over and pull through the sc to start your first petal.
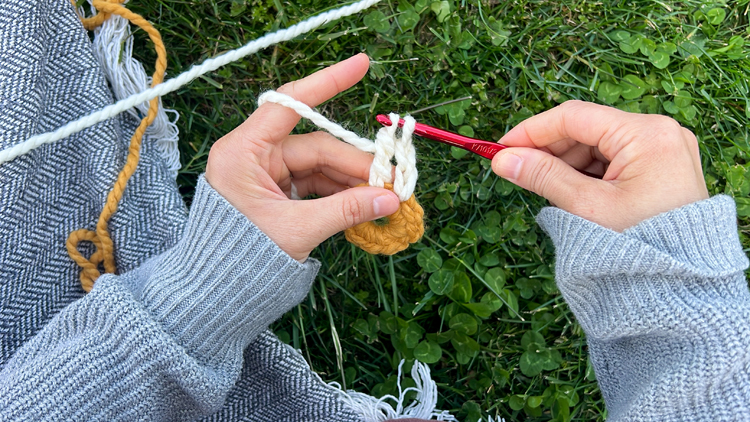
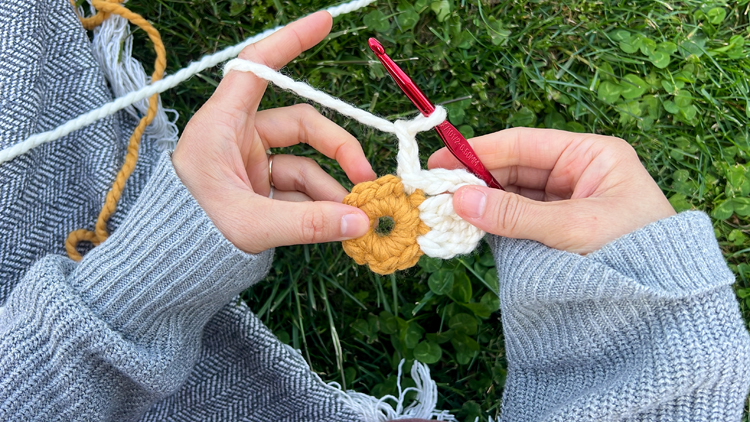
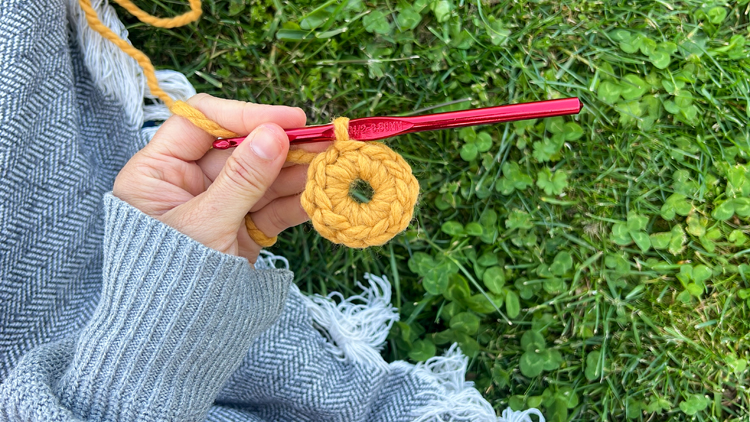
Ch 2. Tc two times in the next stitch. Ch 2, sl st into the next stitch to complete the first petal.
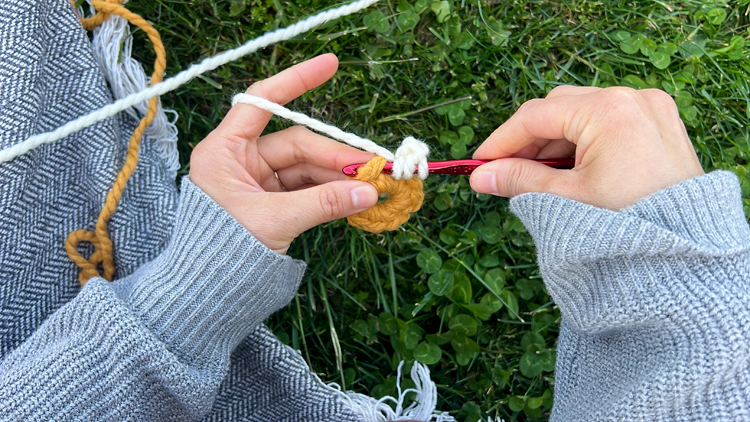
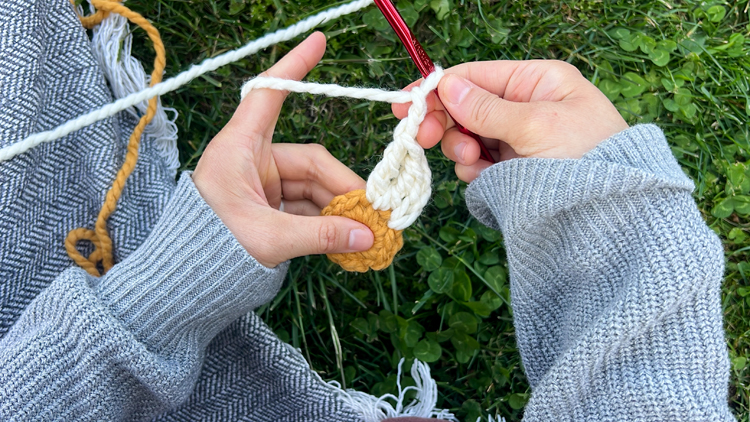
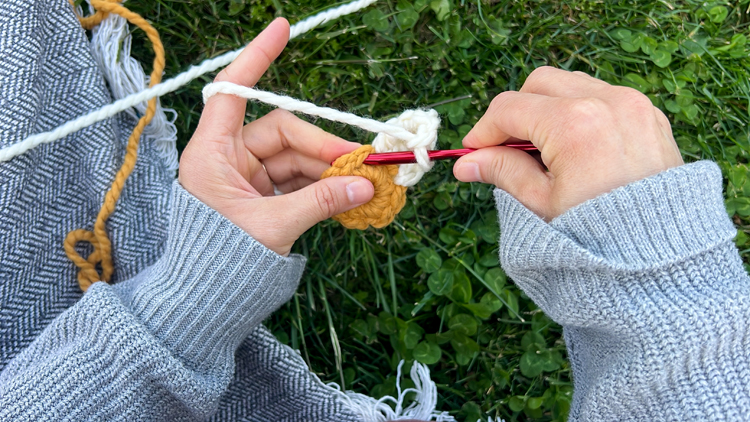
Start the next petal in the same spot that you ended the first petal. *Ch 2. Work 2 tc into the next. Ch 2 and sl st into the next.*
Repeat from * to * for all five petals. When you get the point in the flower center where you joined the sc and tied off, skip over that join. There will be a little gap that becomes hardly noticeable as you finish the flower.
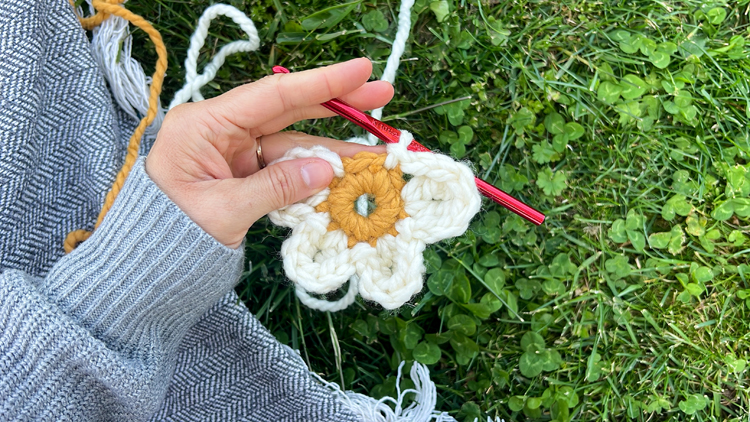
TIP: You’ll know you have counted correctly if you end up with only one unworked stitch for your 5th petal. This is because you will work 2 chains in the place you ended the 4th petal, work 2 tc into the last unworked sc, and then sl st your ch 2 in the same stitch in which you started the first petal.
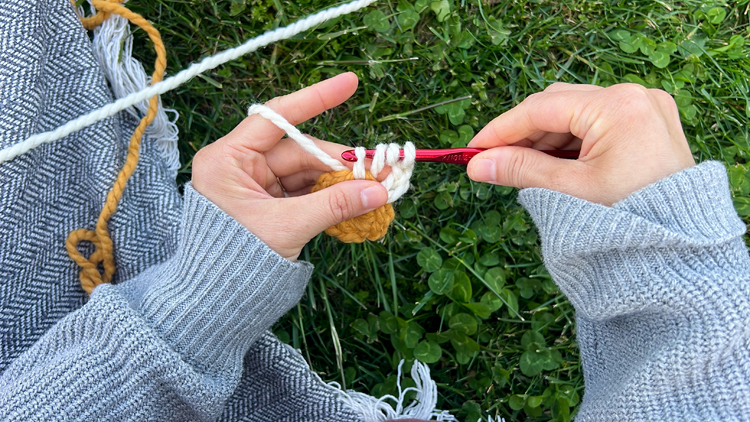
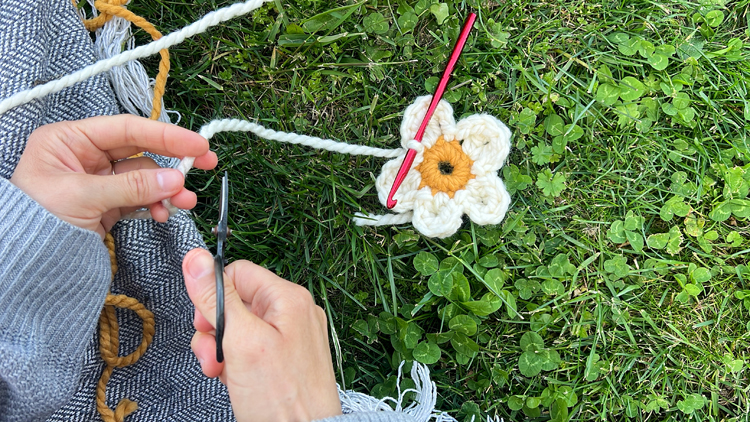
Tie off the end, leaving a 7-8 inch tail. We are going to use these long tails to sew the flowers together into a chain. Don’t add another sl st for security. Instead, because the starting and ending tails are in the same spot. Tie them together with a square knot.
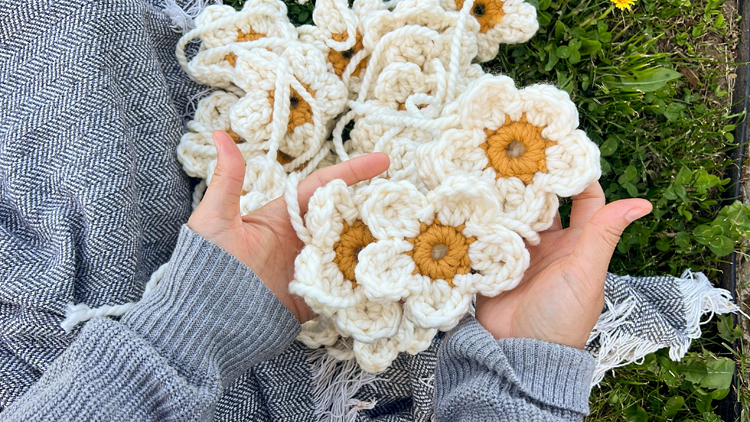
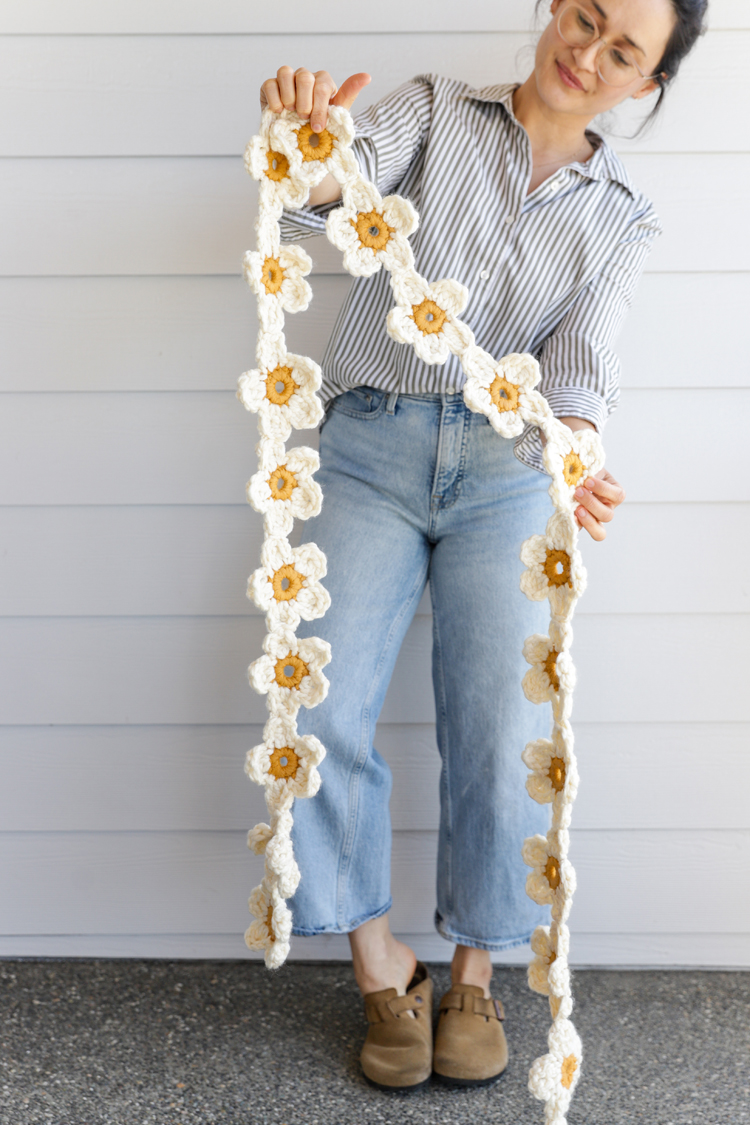
Repeat for as many flowers as you want. The flowers are about 4 inches wide. If you multiply 4 x 21 flowers, that gives you a seven foot long garland, which is what I did.
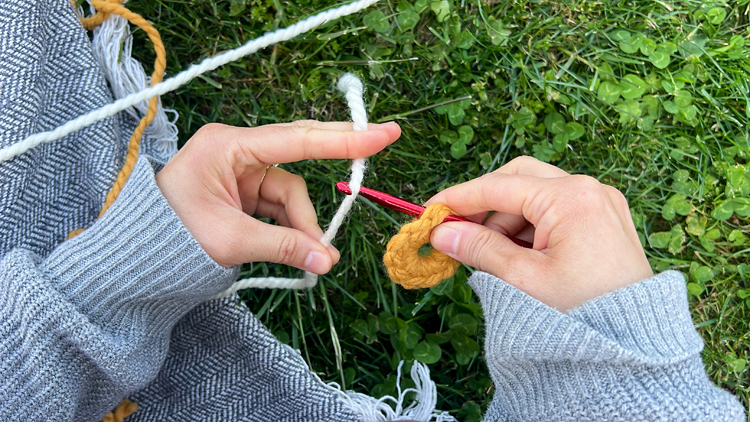
JOIN FLOWERS
To join the flowers together into a chain, thread the longest tail into a yarn needle. Weave the tail, which is toward the center of the flower, through the stitches to the tip of one of the petals. We are going to be joining the flowers, petal tip to petal tip.
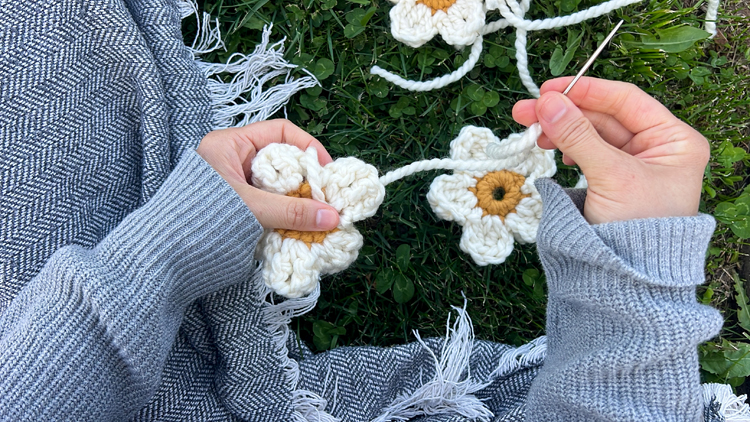
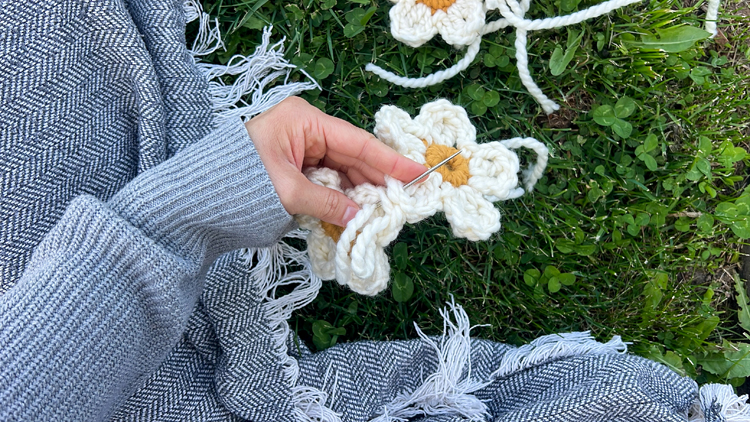
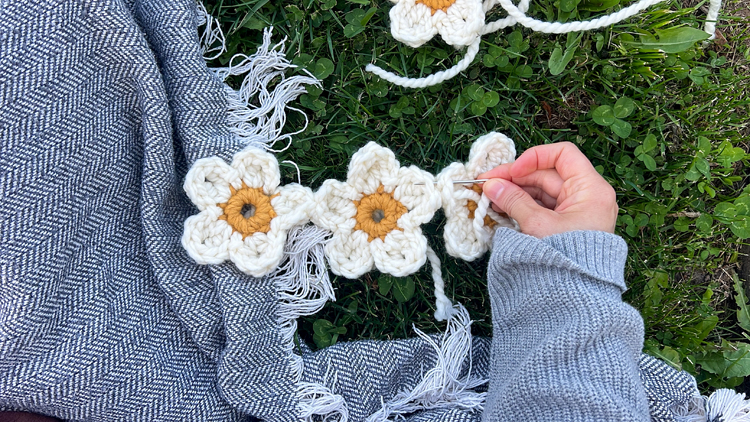
TIP: For the garland to hang correctly (and not twist or topple over), the bottom needs to be heavier than the top. So one petal will be at the top, two at the bottom, with flowers connecting by the side petals only.
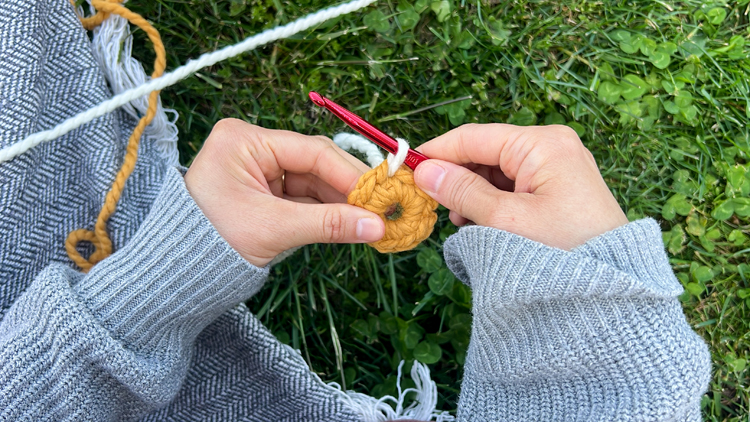
Sew the tail through the tip of a petal from another flower. Sew back and forth between the petals several times until it is nice and secure (I probably went back and forth 6 or 7 times). Then weave in the rest of the tail into one of the flowers and cut off the excess.
Weave in the remaining tail, using it to clean up any gaps if desired.
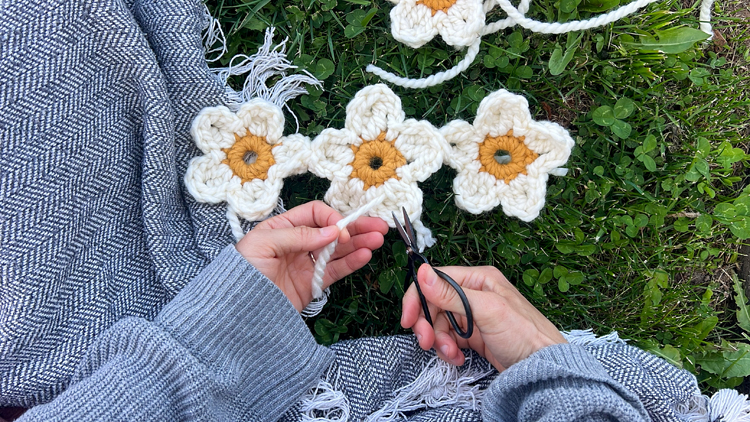
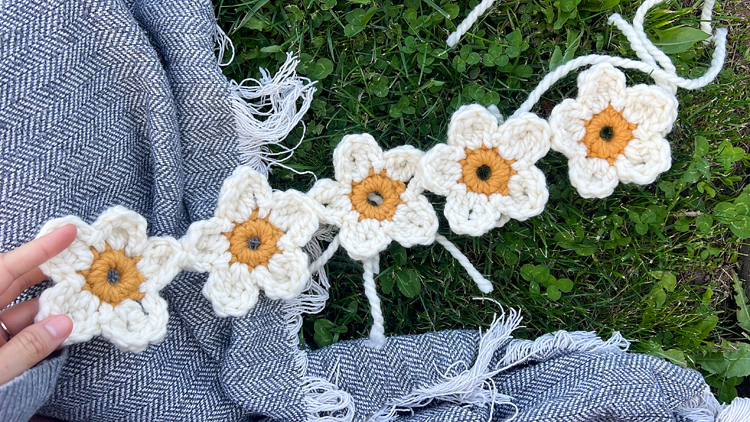
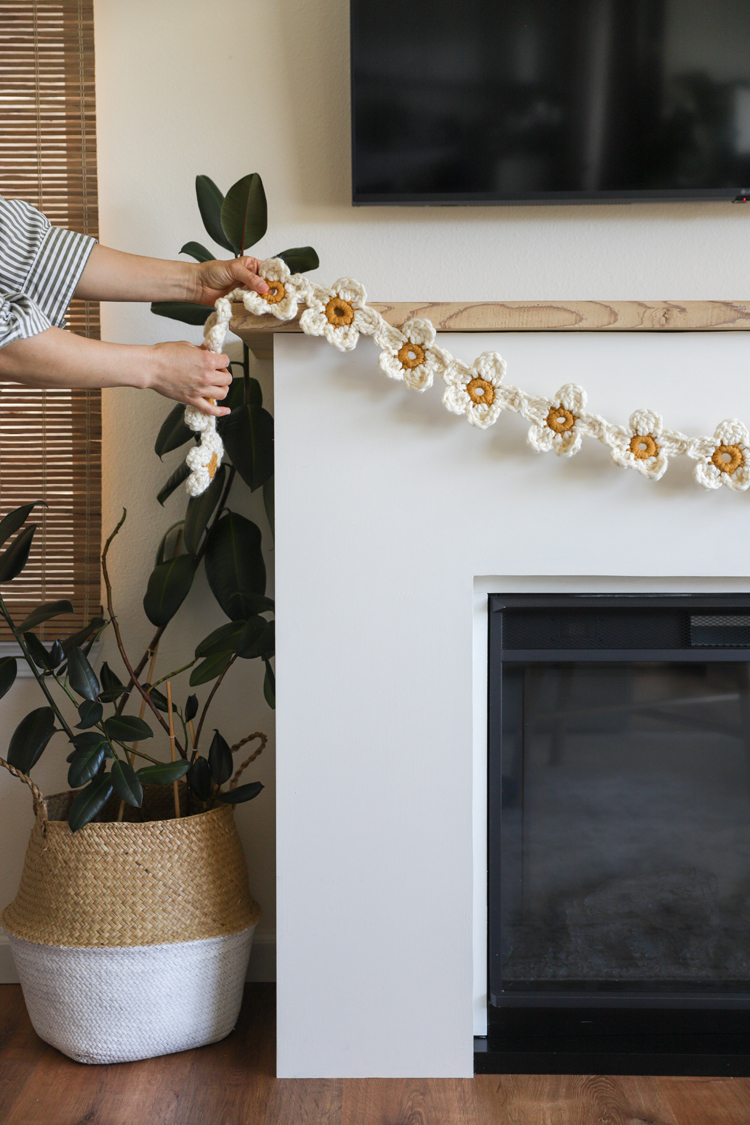
Repeat for all the flowers until you have a daisy chain garland!
Optional: You can press the flower garland flat with an iron and spray starch or water. Use iron settings appropriate for the yarn fiber content. Use a pressing cloth if you’re worried about melting synthetic yarns.
All done!
Is it just me, or would this be cute as a graduation lei too? Maybe make it in school colors? Eh?
I hope you liked crocheting some flowers, because I have some more projects coming soon that also use this flower pattern. I’ll add links here when I get the patterns posted.
Leave a Reply