

I have a fun quick tutorial for you today.
It started out as an experiment. I saw $1 cuffed beanies at Walmart and wondered if I could add a brim to them to make them look a little bit like these Colombia brand ones.

It wasn’t perfect but turned out pretty cute.

It really does take just a few minutes. Here goes.

Take your $1 beanie. I bought it from the boys section at Walmart.
Cut out a brim from a plastic yogurt container. It is a slim brim. Mine was about 1 1/2 inches at it’s thickest in the middle.

Cuff the hat how you want it and pin around one side to keep it in place.

Leave the other side open and slip the bill in.

Now pin this side closed as well. You won’t sew where the pins are but you want to pin it all the way around so the cuff won’t shift when you sew the bill in place.

Pushing the bill so it protrudes straight out and using this stitch…

Stitch across the top of the bill or right above it. I aimed to sew right above the bill and let it catch the bill when I got to the sides.

This first time was okay but I wanted to fix the sides. Unpicking this kind of knit is not easy. So it frayed a little but that’s okay. Drawing a chalk line before you sew will help you avoid the same mistake I made.

And that’s it! All done. Easy right? And so so inexpensive.


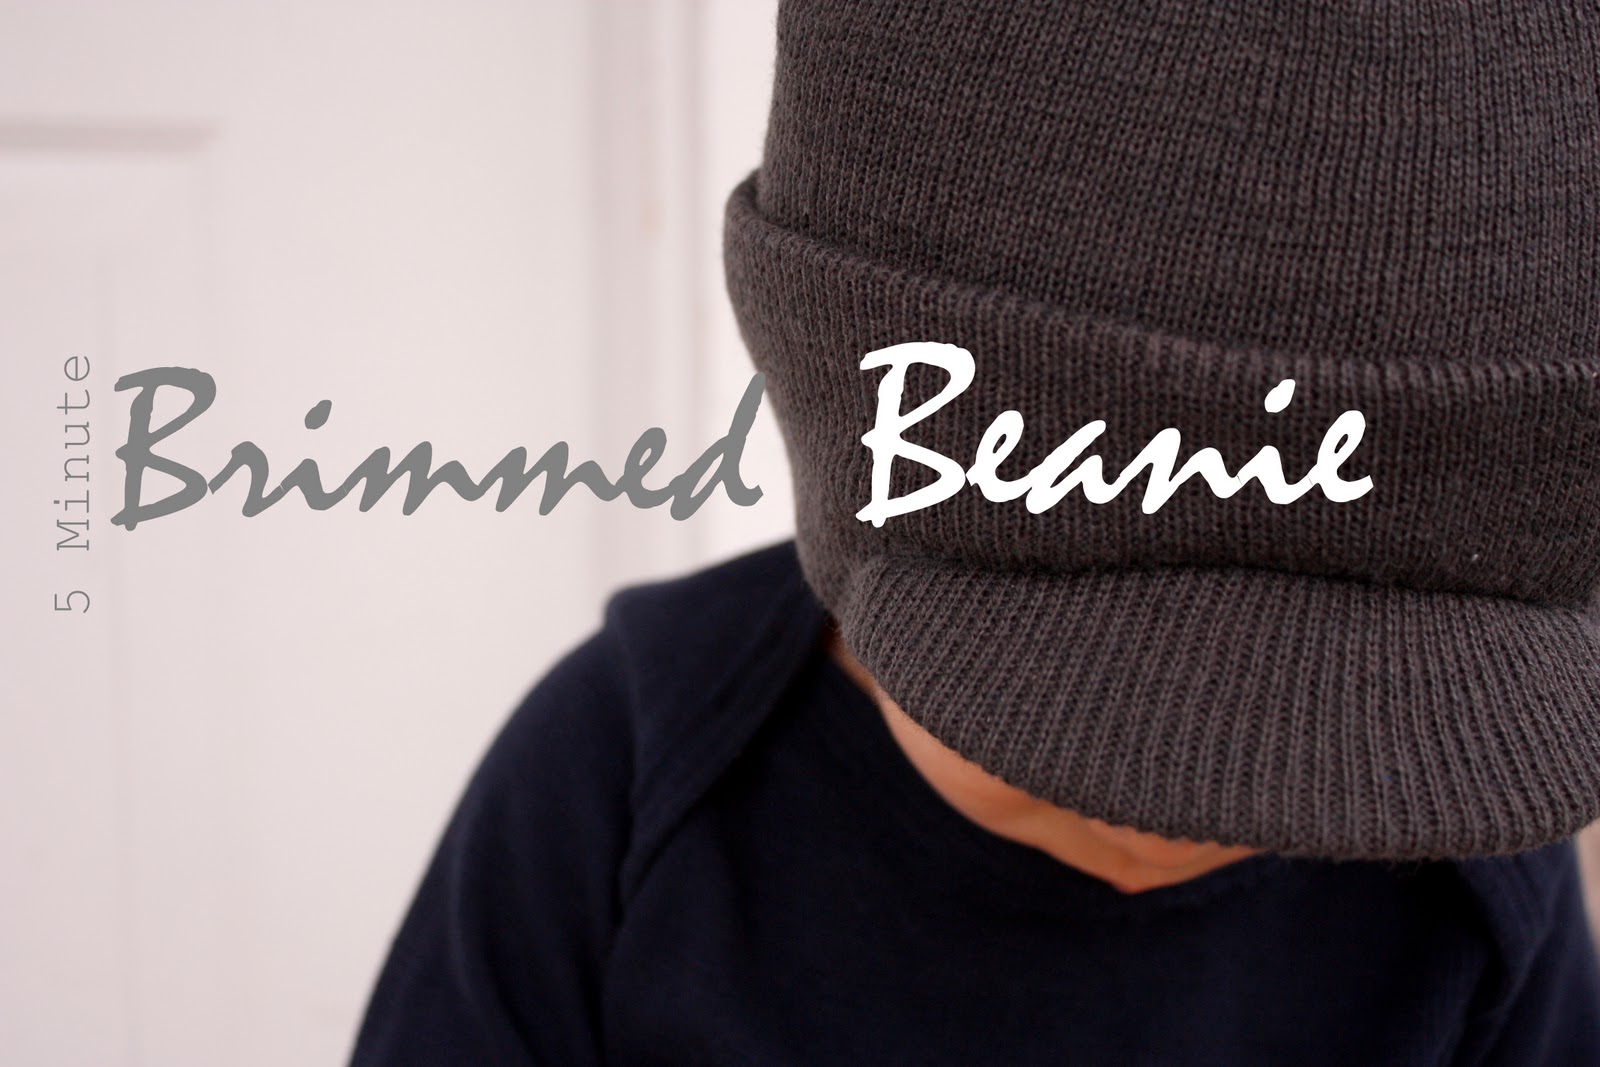
See how the cuff goes all the way around just like the original?

My oldest wanted to try it on too. I wasn’t sure if it would fit him because of the mostly fixed cuff but it did okay. I had to pull the cuff down a bit but it still worked. Now that I have looked at the original again I think I could pull the cuff down a little more to make a bigger one for him.

Walmart also sells adult beanies just like these for $2! I would make one for my husband but he is a fish biologist/grad student so he does field work in below freezing temps right now and would need a better, a.k.a. more expensive, beanie.

Otherwise these beanies are great for around town and running errands with mom. 🙂
Wow, awesome!! What a fabulous idea!!
I love it! how ingenious of you!
You truly are a genius!
Wow! It's SO cute and I love how quick it is! You are so smart!
LOVE it!
You are so smart! Recycling whilst making such a wonderful cap. Way to go.
You are the queen of hat tutorials! I love this one!!!!!!
awesomeness.
Now that is a wonderful little trick! I love quick and easy things you can do to make something the way you really want it 🙂
so cool! And seriously, your boys are so stinking cute. They both have their own look. Love it.
You are a genius!!!
i like it! these would be great for my boys.
This is so awesome!! I linked to your tutorial over at Craft Gossip Sewing:
http://sewing.craftgossip.com/tutorial-brimmed-beanie-hat-2/2010/12/10/
–Anne
What an awesome job you did!! Love it. Thanks to Anne for posting about it at CG so I could find it. 🙂 Gonna link up over at Dollar Store Crafts.
Okay, got you all scheduled for Sunday: http://dollarstorecrafts.com/?p=9080 <–future link will work when it goes live
This is so cute! I might try it too- maybe even for a grown-up.
Thanks for this easy and fast tutorial!
i bet you could line it with a bit of fleece to make it warmer!
I saw your project over at Dollar Store crafts.
Awesome idea! My teen son wanted a brimmed beanie but the only one I found was over $20 (and he has a tendency to lose hats). I a definitely going to try this sometime. Thanks for sharing this with us.
I do want to put this on my "STUFF ON MY CREATIVE TO DO LIST" blog and wanted to see if it would be ok to use the picture at the top. Please let me know.
Thanks!
awesomeness! i would have never thought you could make this from a regular ol' beanie! *sigh* another thing to add to my to do list!! 🙂
Oh they turned out so cute! -as always- youre amazing. seriously.
That's too cute! Love it!
Thanks for sharing. I made two for my daughters today and added a simple pinwheel flower to dress it up a bit. They turned out so cute!
Oh wow, I am so, SO excited about this! My husband LOVES those brimmed beanies and they're so hard to find. This is way easier than knitting him new ones! Thanks so much, I'll be linking.
How does it do in the washing machine and dryer? I would love to make one for myself and one for the BF, but his would have to be washed all the time! I worry about shrinking of material as well as the plastic getting mis-shapen in the dryer??
EXCELLENT
A yogurt container. Genius! My son won’t wear hats unless they have a brim, and I just spent $12 for one at ShopKo, the cheapest I could find. I started making him one out of a felted sweater, but couldn’t figure out what to put in the brim. You’ve solved both of my problems!
What an excellent idea! And so affordable! Thanks.
Awesome! So smart! Thanks for sharing!