

I remember when I first started sewing. Zippers freaked. me. out.
If a pattern had a zipper, I wouldn’t even give it a second glance. Nope. I was much more comfortable in button territory.

Now, that I have gotten comfortable with zippers, I know better (they are really NOT scary at all!), but I still totally get how zippers can play psychological games with a new sew-er.
Even if zippers don’t make you want to run away from your sewing machine, sometimes you don’t have the right zipper on hand, and you just need a simple button solution.

Either way…This tutorial has got you covered!

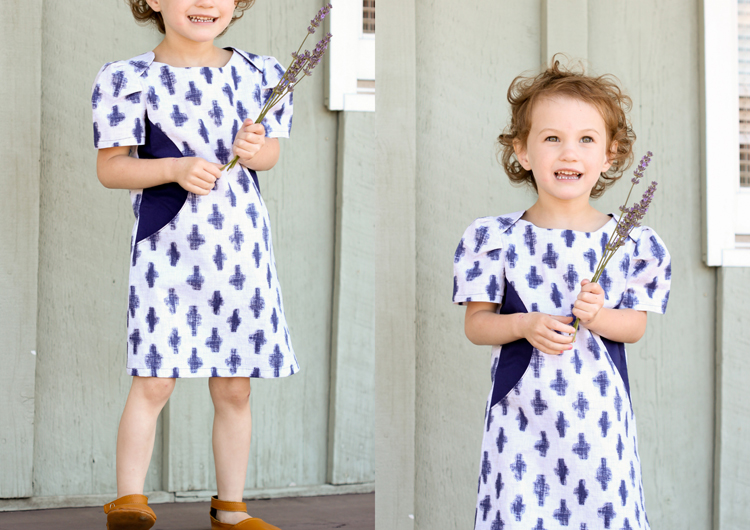
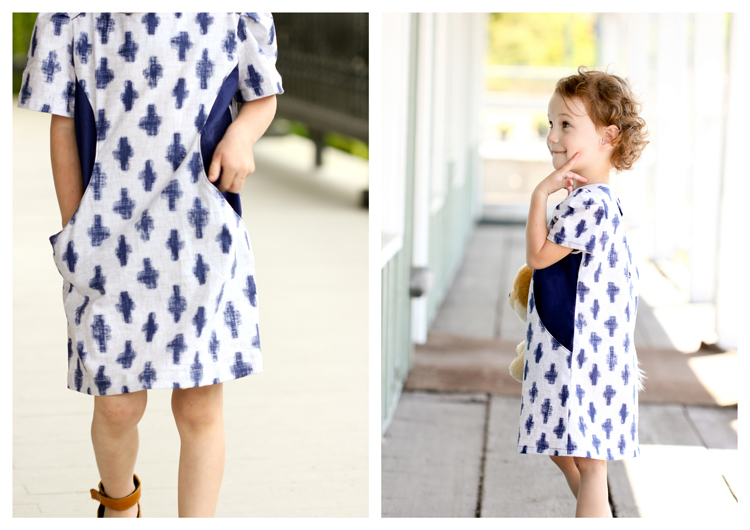
The dress I am using for this pattern hack tutorial is the Sunki dress pattern by Figgy’s patterns. Oh my word, I LOVE this dress pattern! The pocket construction took me a minute to wrap my head around, but once I did…genius! When combined with this stunning Indigo Yukie fabric from Michael Miller, it’s just magic.
I mean doesn’t this fabric, just want to make you sew all the things?!
When I was asked to hack the pattern, or tweak it for The Great Pattern Hack series, I had a mental block. I did NOT want to change this dress in any way. So, I decided to change it in the simplest way and do a quick and easy zipper to button closure pattern hack.
NOTE: I am using this dress pattern for the tutorial, but you can apply this method to most dress or top sewing patterns that have a similar construction in the back.
ZIPPER TO BUTTON TUTORIAL
MATERIALS: (in addition to what your pattern already requires)
– button
– 2 to 3 inch piece of narrow elastic
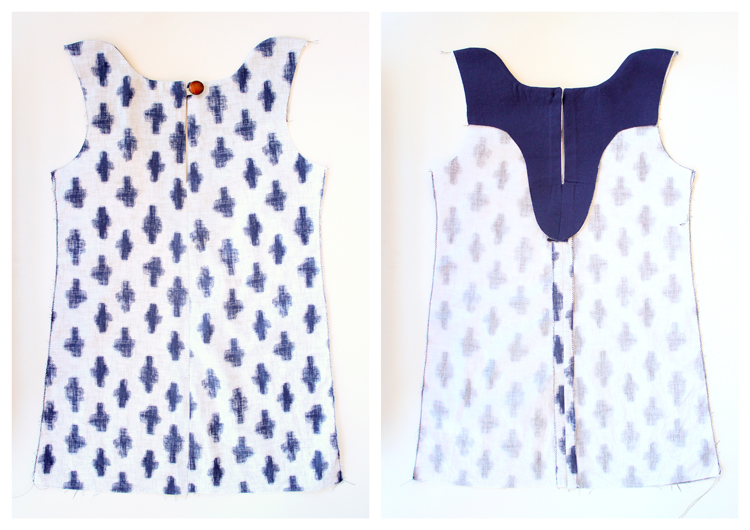
STEP ONE: Alter facing pattern.
I took the back facing piece and modified it as pictured. I extended the back seam side down about 5-6 inches (for a total length of about 7-8 inches)
Then I cut mirror pieces of each the lining fabric and fusible interfacing.
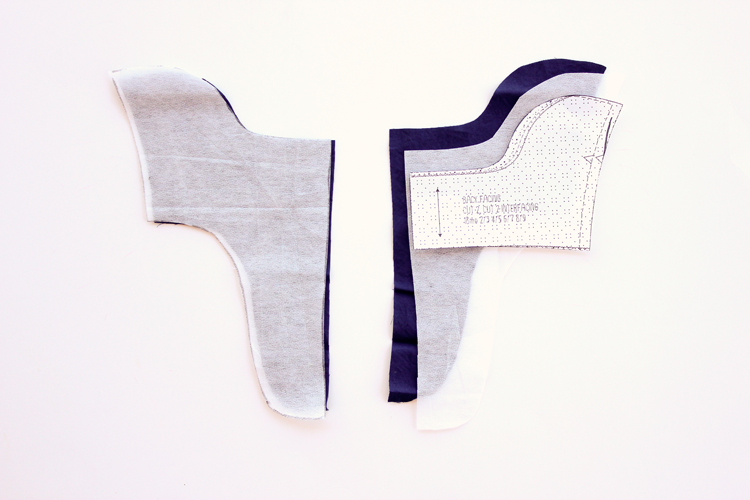
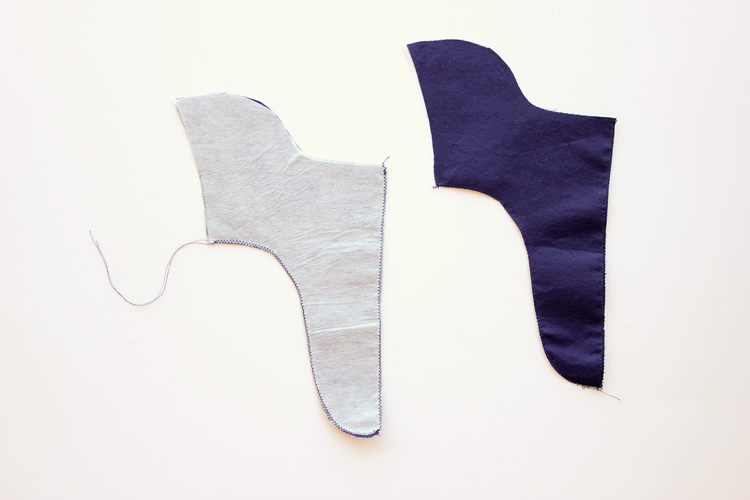
STEP TWO: Fuse interfacing and finish raw edges.
Fuse the interfacing to the fabric according to instructions that come with interfacing. Finish the raw edges with a serger or close zig zag stitch, as pictured.
Not pictured: Finish the back seam edge of the main back pieces as well.
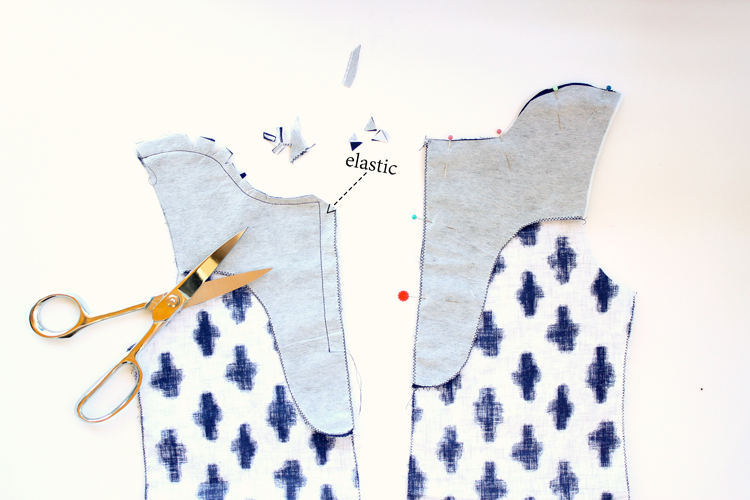
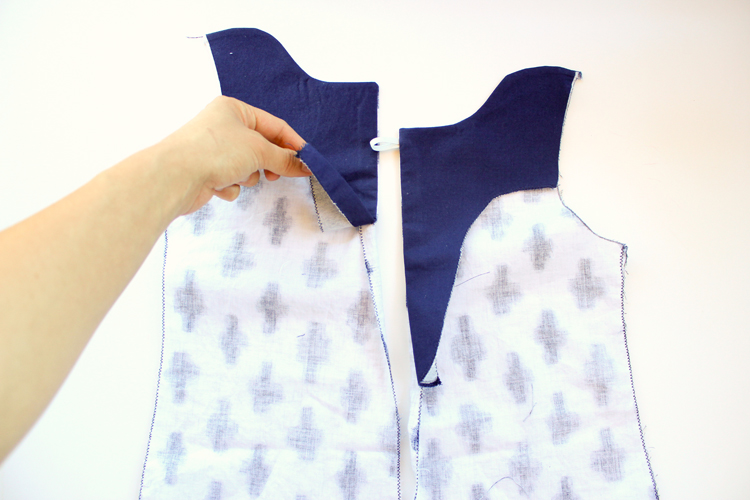
STEP THREE: Sew facings to main back pieces and attach elastic.
Sew the facing pieces, right sides facing, to the main back pieces. Sew about 4-5 inches down the straight back seam portion and stop.
*****Be sure to sew your elastic into the top corner of the one of the back pieces. Fold your elastic in half and insert it with loop side in, and raw ends out in line with the raw edges of the fabric.*****
Note: This pattern has an envelope construction at the shoulders, so the facing or lining is sewn on in this manner. If you are using a pattern with a more traditional shoulder construction, sew the lining or facing to the front lining/facing piece first, and follow the pattern instructions for the pattern you are hacking. When you sew the lining and main bodice pieces together, then you can sew around the neckline and down the back seam in a similar manner.
STEP FOUR: Finish back pieces.
Trim corners, clip curves, and trim down the curved seam allowance to about 1/4″ before turning right side out.
Use a dull pencil or chop stick to get the corners to lie flat and press everything in place with an iron.
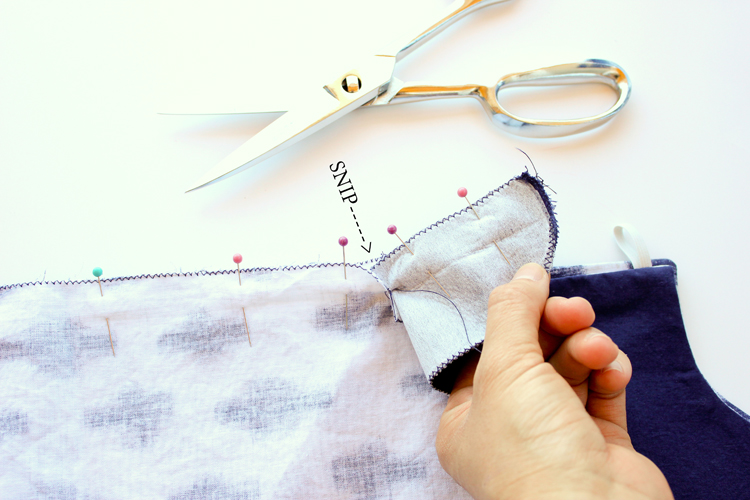
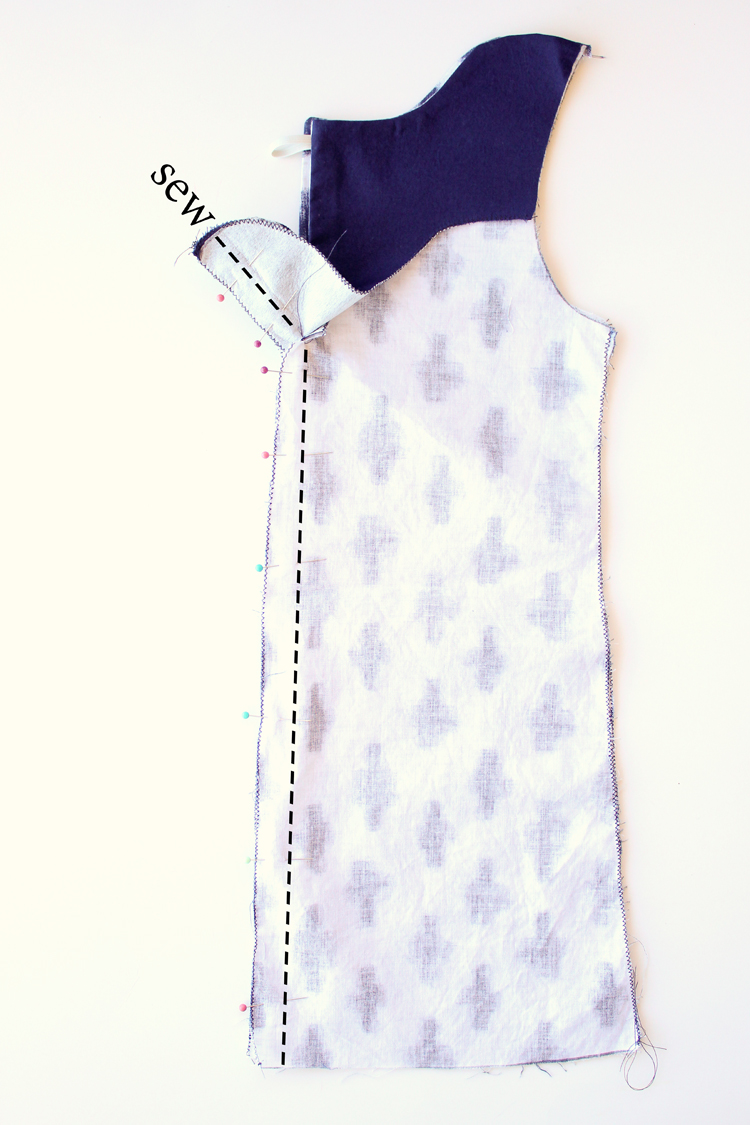
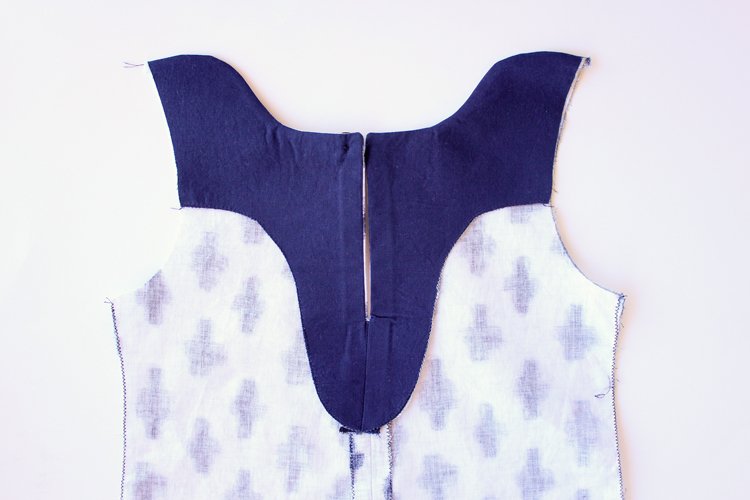
STEP FIVE: Sew back pieces together.
Lay the back pieces together, right sides facing. Bring the un-sewn section of the facing pieces together as well. Pin and sew all the way down to the hem.
Optional: You can snip at the part where the facing and main fabric meet/tug on each other. Be careful not to snip through stitches, or beyond the seam allowance that you are about to sew.
STEP SIX: Sew on your button.
Hand sew the button in place.
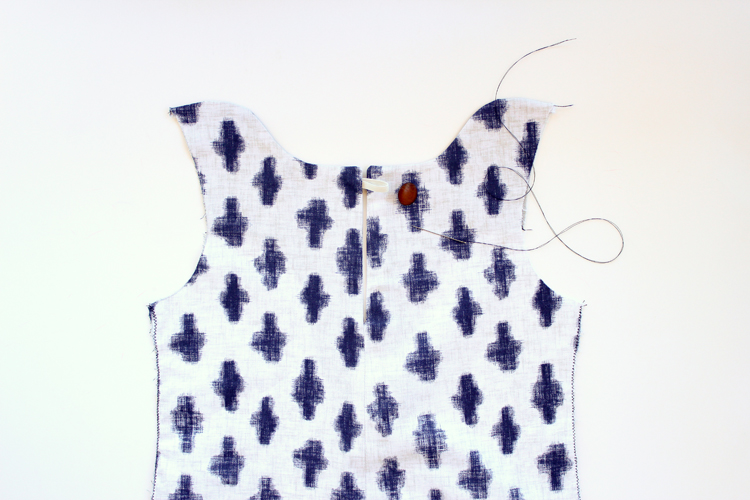 This is what it should look like when you’re done.
 Now, proceed with the rest of the pattern.

 Isn’t this pattern so thoughtfully, and beautifully designed? The sleeves, the shoulders, the pockets…it just all works.
 Other than my button hack, the only other changes I made were to extend the length and narrow the hem. This tall and skinny girl, has a penchant for growing up more than out, so I always feel like I am fighting to make dresses long enough to keep up with her growth spurts. I cut the 2/3 size, and then extended the length about an inch. I was worried that it still wasn’t long enough, so I sewed a narrower hem than the pattern recommends. Just as I suspected, it was just what she needed to get the right length. Phew!
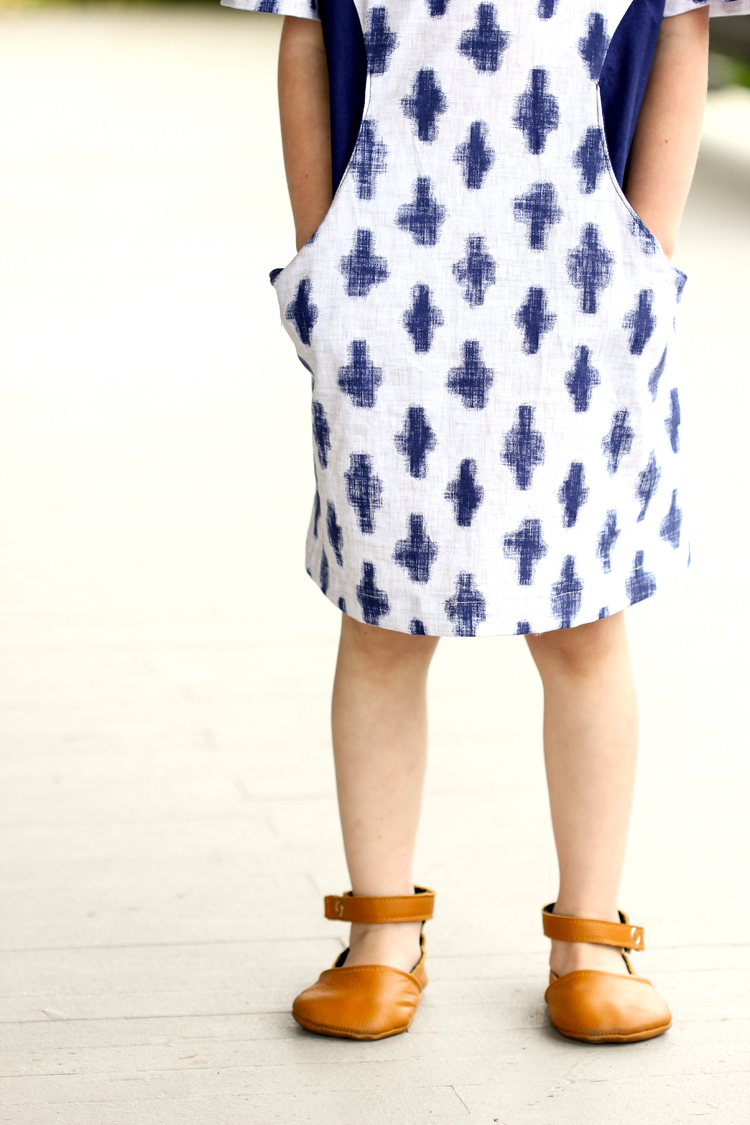 Now let’s see how long it takes for this dress to turn into a tunic! ha!

 Fabric: Indigo Yukie, and coordinating solid from Michael Miller Fabrics || Shoes: another hack of my own Natty Janes Baby Shoe Pattern.
**This post is part of a fun series called ‘the Great Pattern Hack’. The Great Pattern Hack is a two-week celebration of bloggers, fabric, pattern designers and creativity running from June 29th to July 17th. Co-hosted by Michael Miller fabrics and A Happy Stitch, each day of the blog hop, a blogger will ‘hack’ a pattern, using awesome patterns and brand, spanking-new Michael Miller fabrics. Each blogger is using an existing pattern but making it their very own.**
 Disclaimer: The fabric and pattern were provided to me for this post, but I personally selected them beforehand. All my opinions are genuinely and enthusiastically my own. I heart this pattern so hard, and I honestly love this fabric! 🙂 🙂 🙂
Delia! This is amazing! Such a small tweak but a tough one. Your instructions are so clear and accessible. I can’t wait to try this myself. Sometimes the button closure is just more elegant!
Thank you Melissa! <3
Genius as always! And those naty jane shoes! Gah! Darling!
Aw thanks Kelly. <3
I just can’t with these pictures- too much cuteness! Love those curls. I don’t think I’ve noticed the lapped shoulders on that pattern before. =)
Thank you Charity! 🙂 🙂
hello, just came across this. love this tutorial! question though, do you believe this can be done with a cowl neckline that is self facing? going to attempt rn, but am worried I am going to come across some unforeseen issues.
That is a good question. If it is self-facing…I don’t know. It depends on how you sew it. Can you fold it, insert the elastic and sew just around the slit?
The neckline seems wide and the overlapping shoulders would let it open even wider. Does this even need a back opening?
It depends on the pattern. This one included a zipper because it needed it, so the button closure was a replacement for that. Kids have big heads in proportion to the rest of their body.