

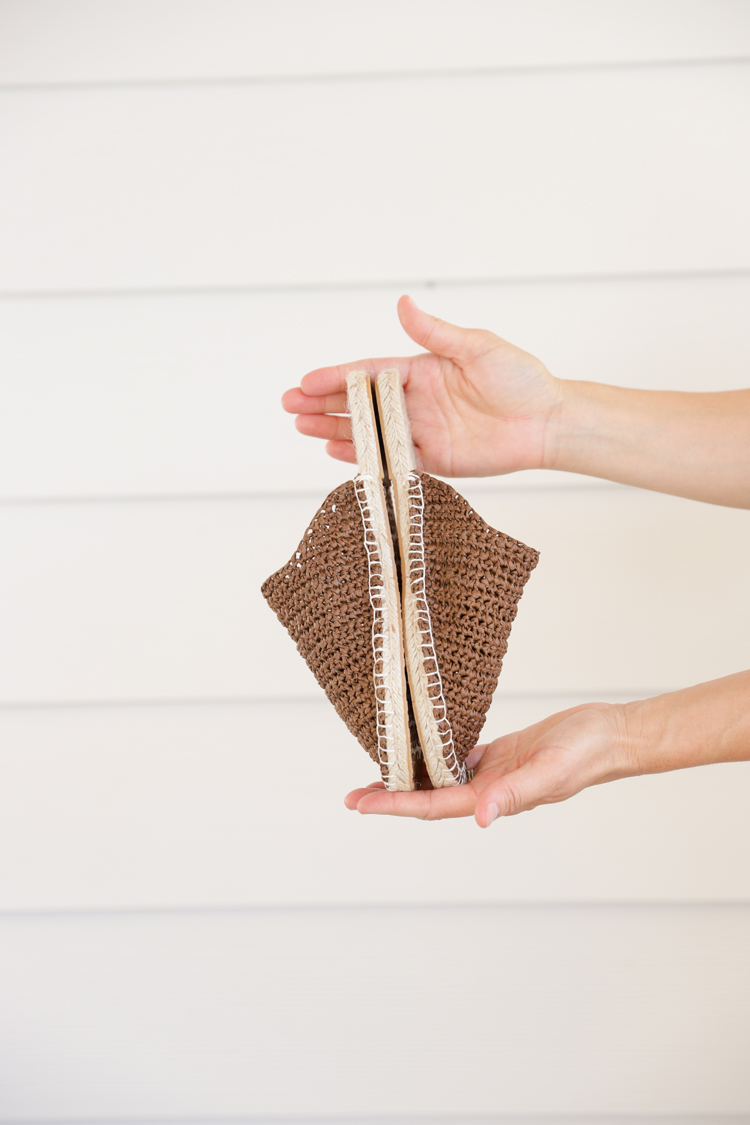
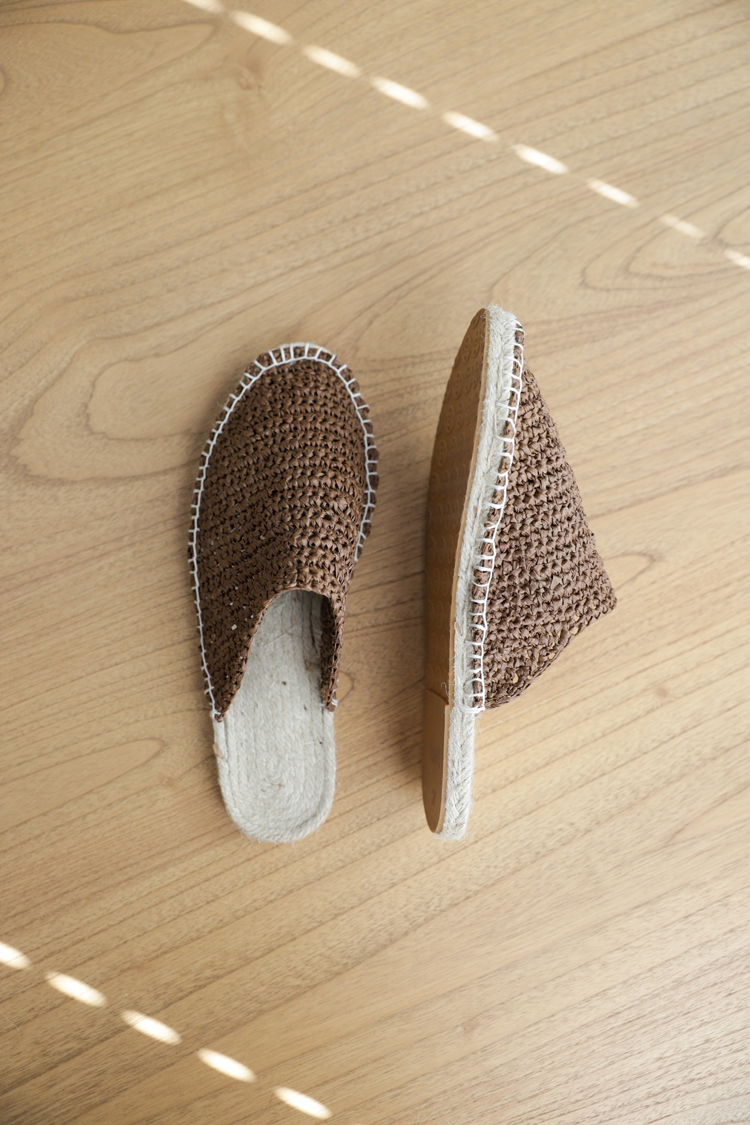
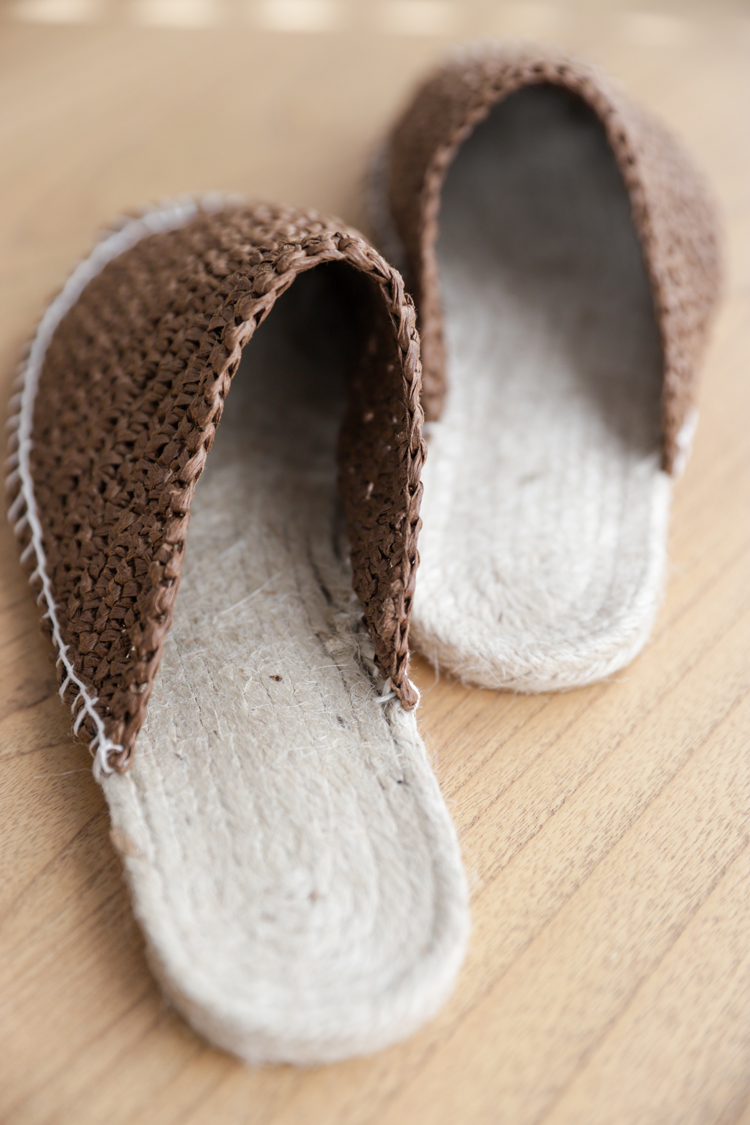
If you’ve ever wanted to make your own shoes, espadrilles are the way to go. You just create the shoe upper and sew it to these $20 soles.
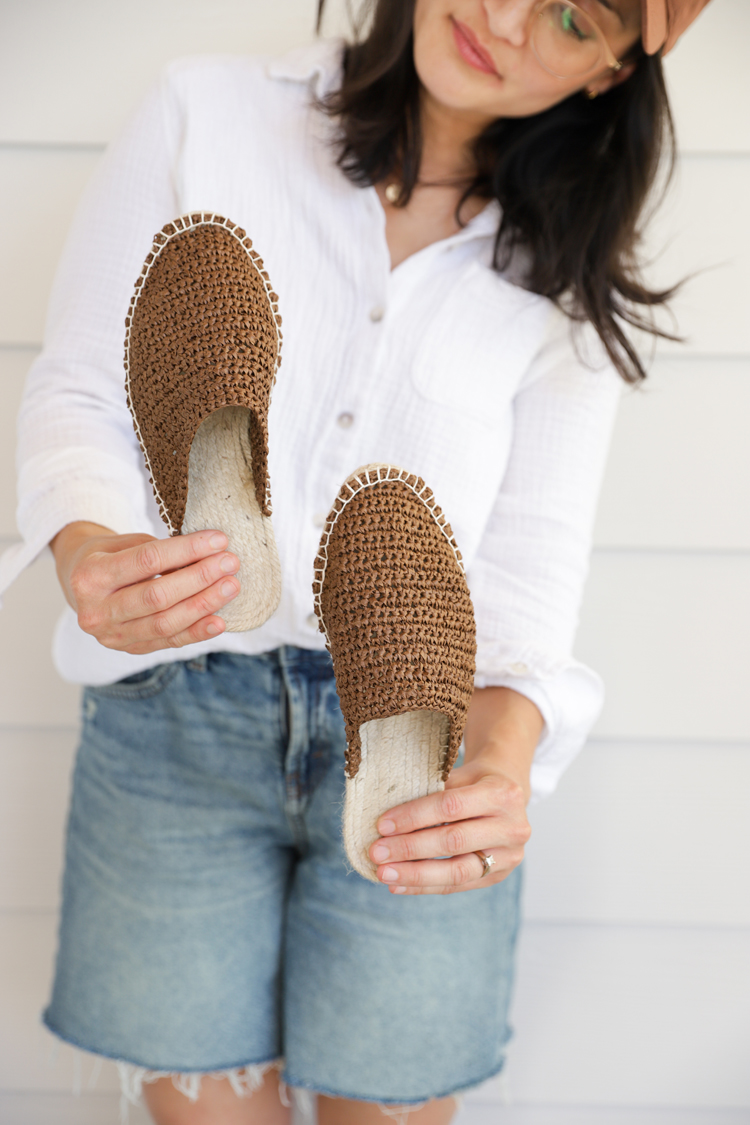
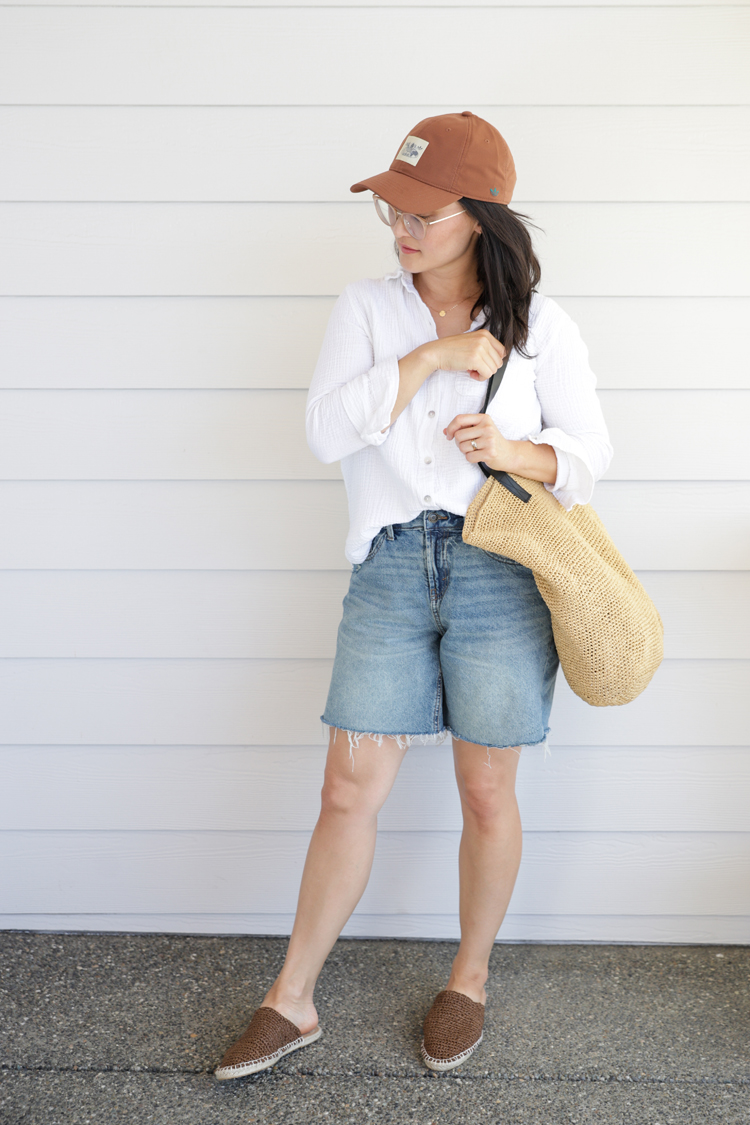
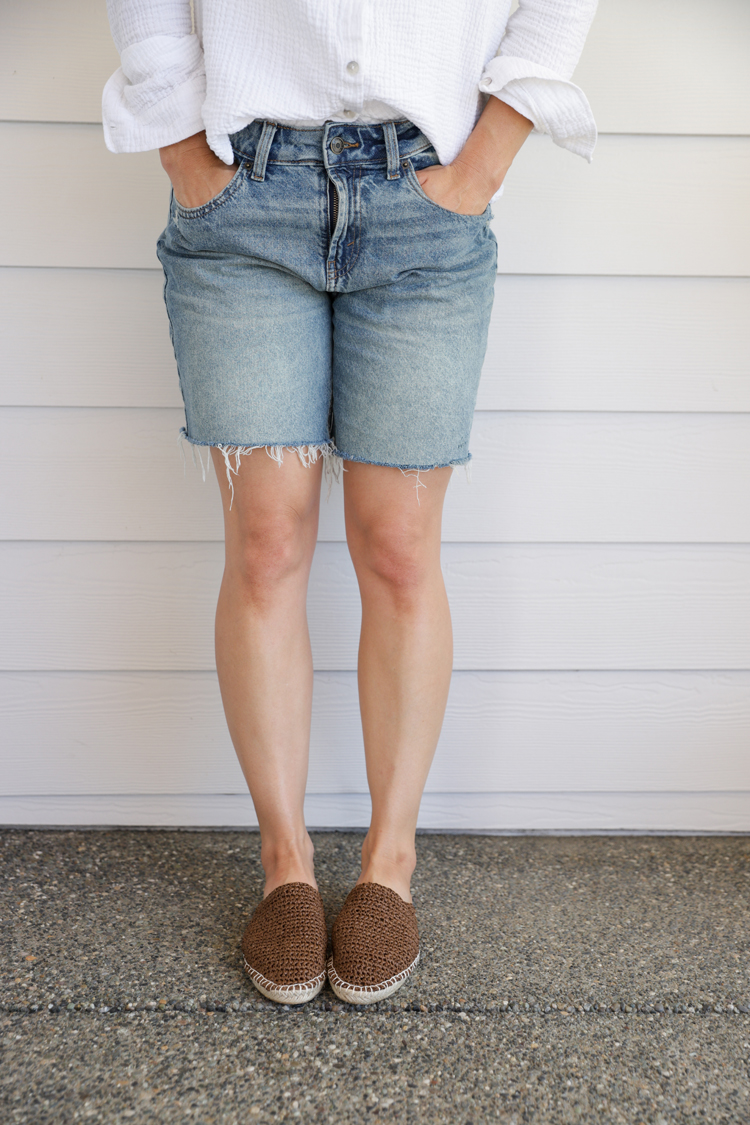
I’ve created a very simple, beginner friendly mule pattern that is both quick and satisfying to make. All you need to know is how to chain and single crochet!
It comes in US Women’s sizes 6-10, but I also offer instructions for how to size up or down from that range.
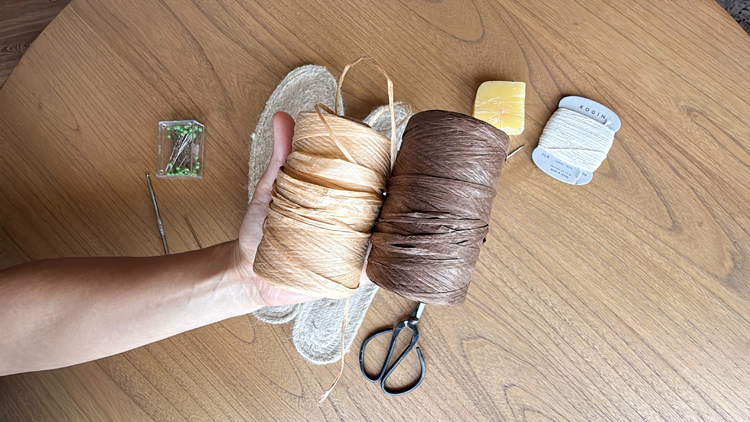
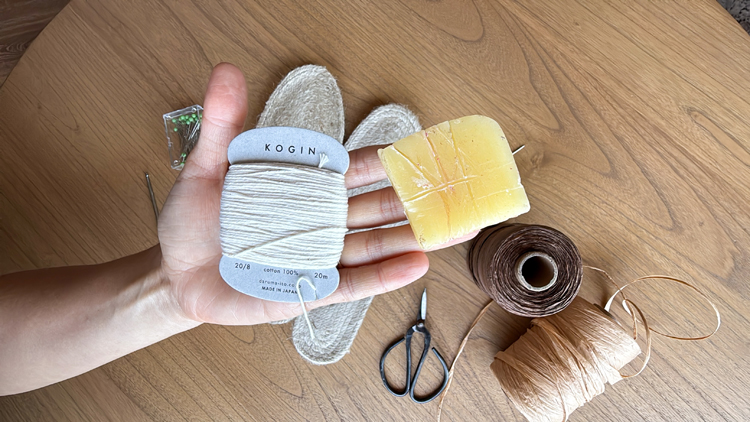
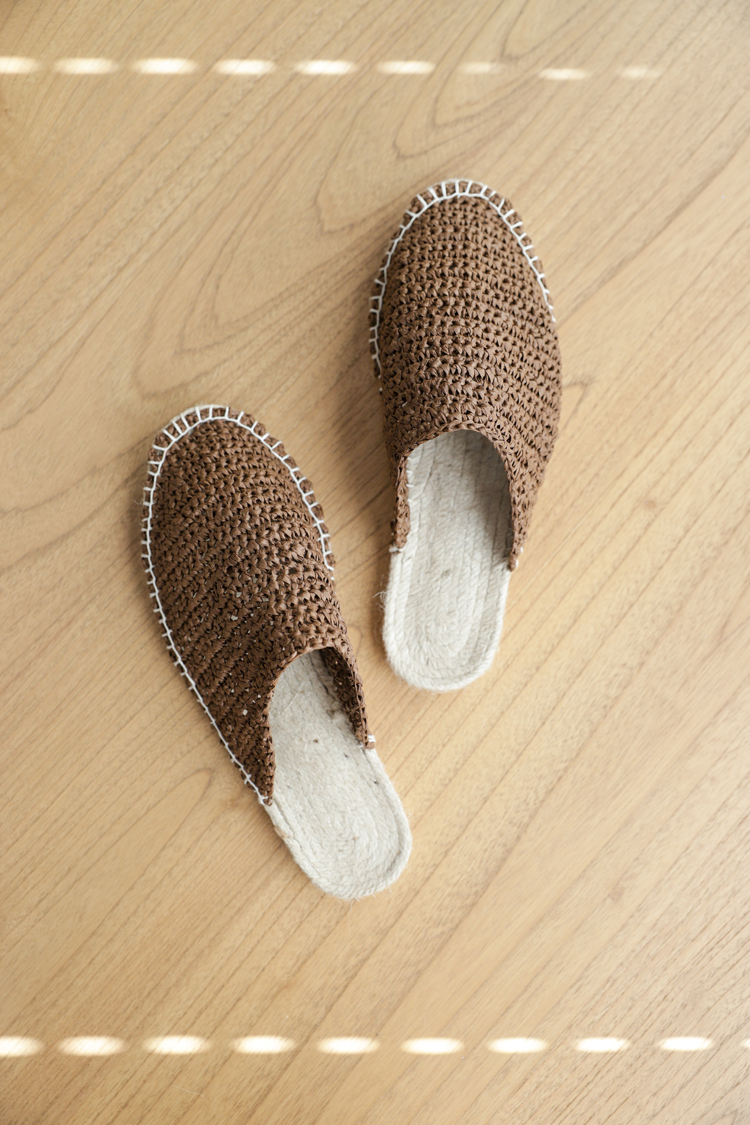
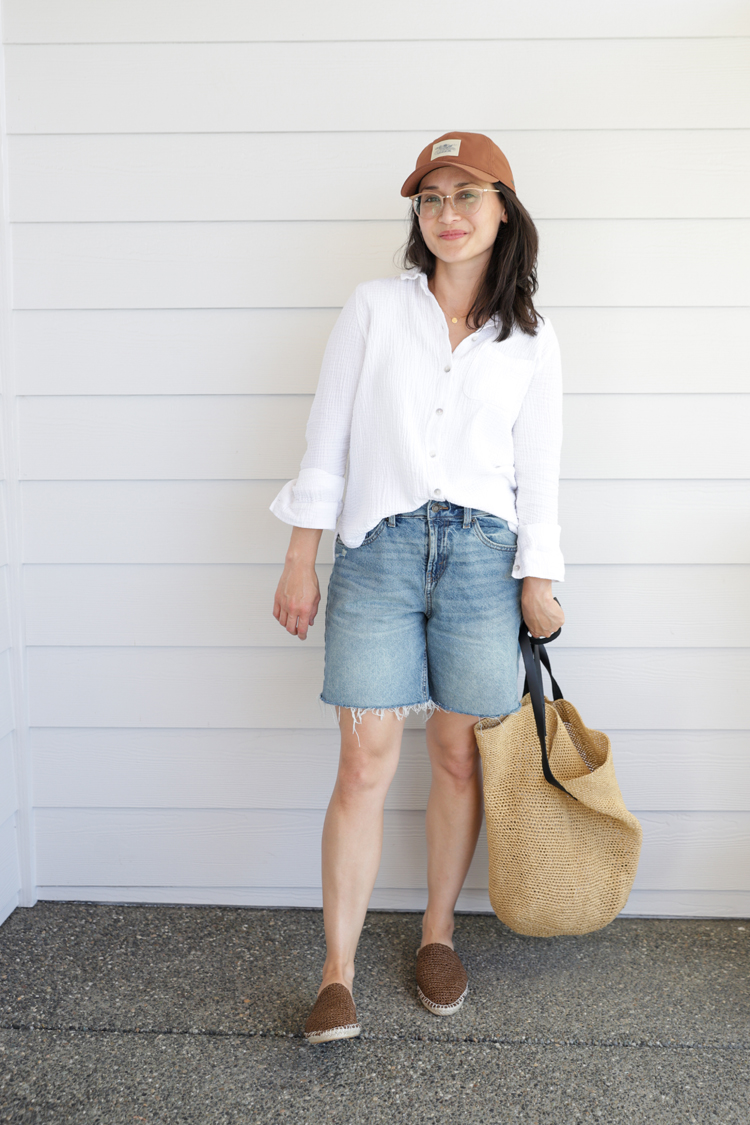
I used raffia yarn* to elevate the look and wearability. It comes in SO many colors, which kind of surprised me. Purple, green, red, blue, black, white….lots colors to choose from. But of course, my neutral loving heart chose this beautiful chocolate brown. 😉
I played around with lots of different kinds of stitches and designs, but in the end what I liked most was the uniform look of just single crochet. That’s not to say that you have to though. This basic design is easy to customize: swap in a row of mesh stitches, incorporate puff stitches, or work in the back loops for a raised, ribbed look.
Let’s get started!
*This is an Amazon affiliate link that gives me a small commission but does not affect your price.
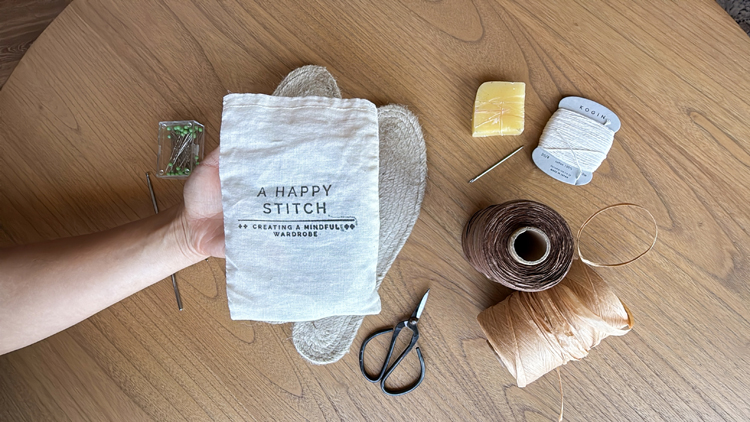
MATERIALS
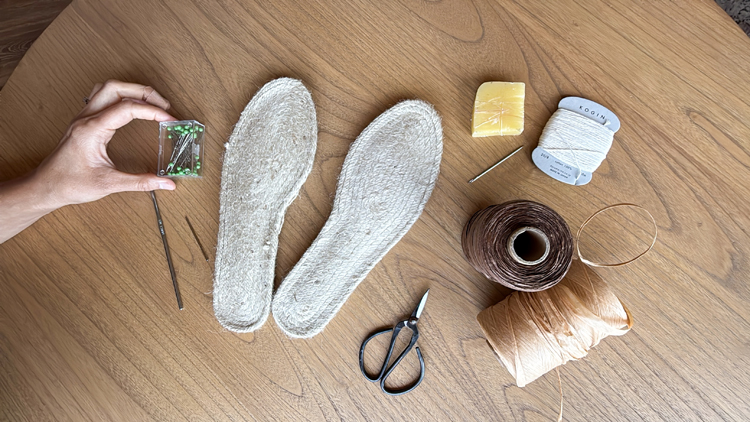
- Raffia yarn – about 100 yards
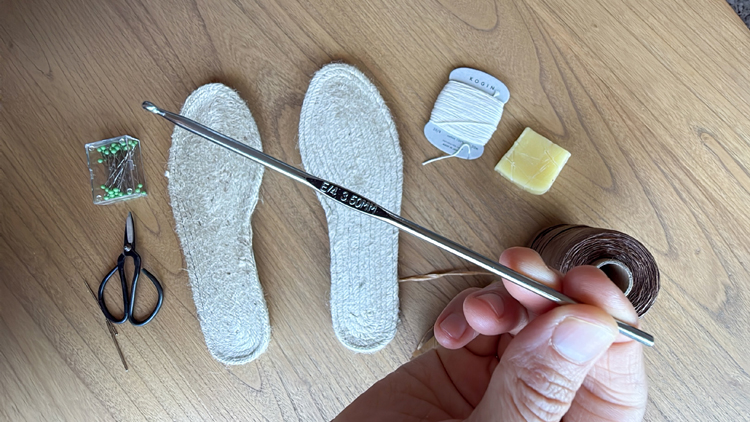
- 3.5 mm crochet hook
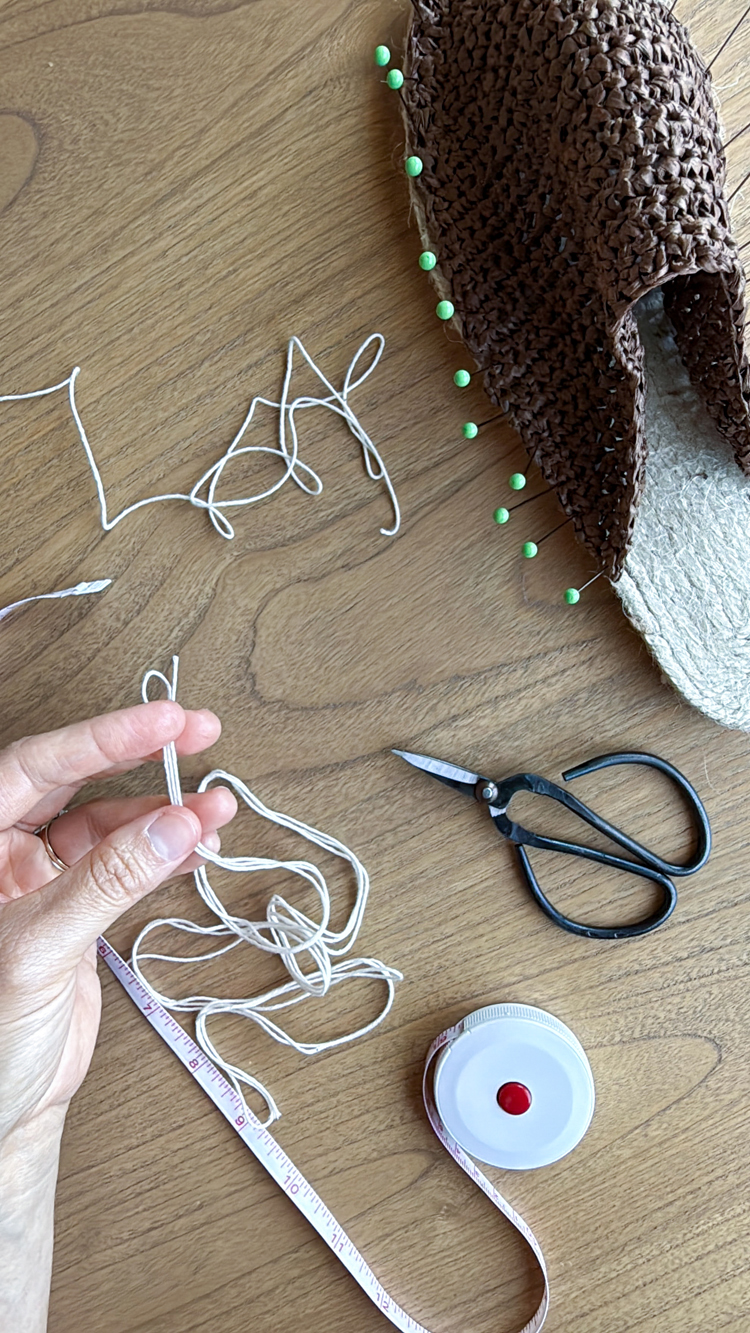
- Scissors
- Cotton Espadrille Thread – About 180 feet
- Yarn needle – blunt tip
- Tapestry needle or curved needle – sharp tip
- Sewing pins
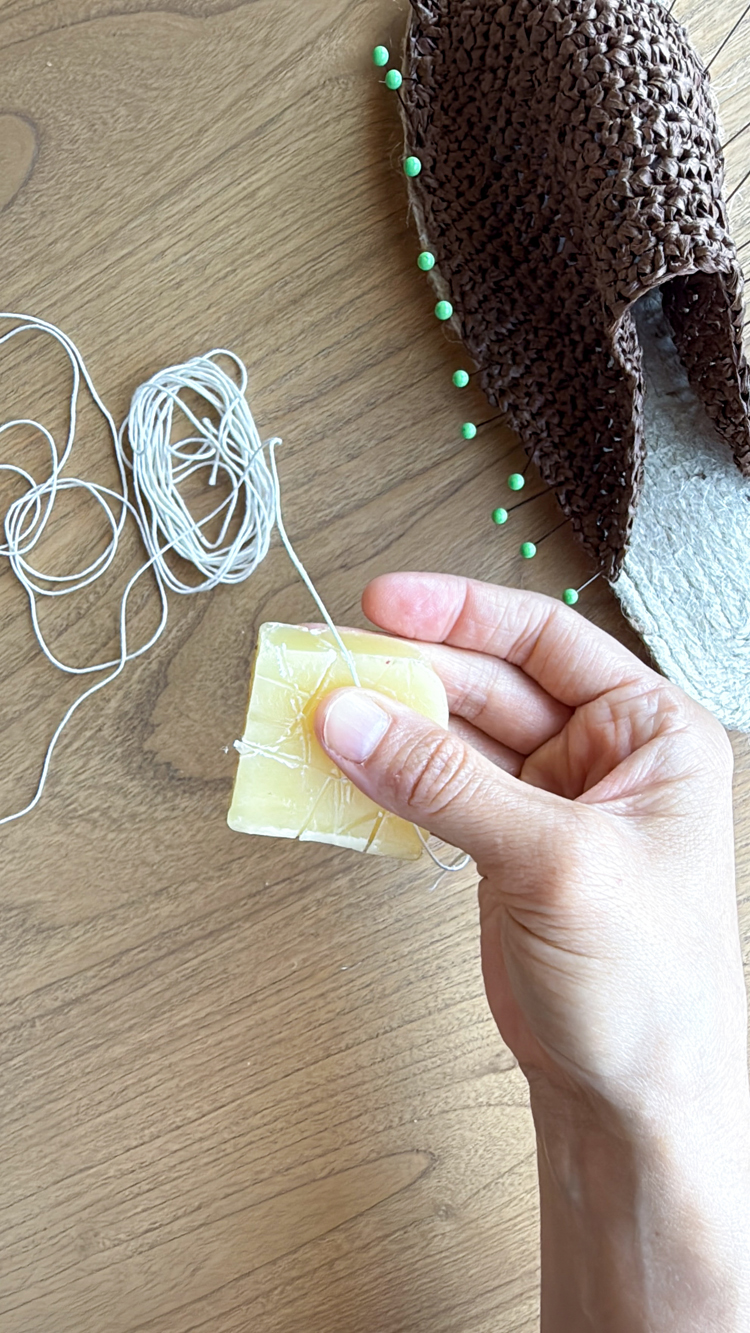
- Small block of beeswax
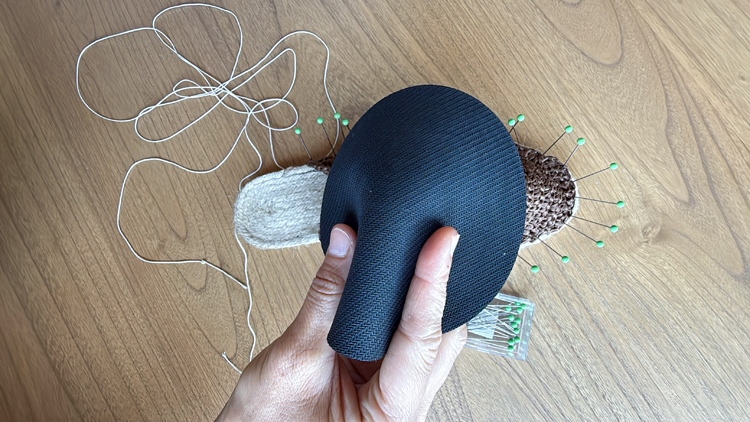
- Jar opener or deflated balloon – to help with grip when sewing through shoe soles
- Espadrille shoe soles
Material Notes
- I used THIS raffia yarn from Amazon in brown. It comes in lots of colors: red, blue, sage, yellow, bright green, purple, black, etc. and of course the traditional “straw” color if you’re going for a neutral tone. It comes in 316 yard rolls, and I used approximately 100 yards.
- I got my espadrille soles from A Happy Stitch who actually sells the soles separately for $20, or in a kit with a lot of the other materials (tapestry needle, sewing pins, beeswax, espadrille thread, thimble). If you are just going to crochet your shoe upper, I think it’s pretty easy to find the other materials. I recommend getting the $20 soles.
- Disclaimer: I received my espadrille soles for free but this is not exactly a sponsored post. Here’s the story: I bought some other espadrille soles off Etsy. The quality was great but they were so heavy. It made walking in them kind of a challenge. So, I reached out to my friend who used to own A Happy Stitch (they have new owners now, but the same products). I worked with her years ago and made these sewn leather espadrilles. She said Dritz discontinued their soles, which are the ones I used before and really liked. When looking for a replacement she had the same issue with only finding heavy ones until she found a supplier in Europe who made a lighter sole. She sent me some to try and I’d say it’s really close to the discontinued Dritz soles. RIP Dritz espadrille soles. Those were really great.
- The soles from A Happy Stitch come in European sizing and run a little large. I wear a size 7 in US Women’s and I got a size 37 which is the equivalent to a 6.5 US Women’s. You can also make some slight fit adjustments when sewing on the shoe upper. See that section for sizing adjustment instructions.
- Some espadrille thread comes pre-waxed so you may be able to skip the beeswax.
SKILL LEVEL
Adventurous Beginner
I say beginner because this pattern only uses chains and single crochet. I say adventurous because raffia is a harder material to use than typical yarns. There is also some increasing and decreasing which makes this suitable for a beginner who has completed a few projects first.
If you are brand new to crochet and need more instruction, check out my Crochet Basics Series. Lessons one and two cover chaining and single crochet.
SIZING
This pattern is for Women’s European shoe sizes: 36 – 42. This translates to Women’s US sizes 6 to 10 (approximately). This is the shoe size range offered from A Happy Stitch, so that is the size range I am following because that is what I had to reference.
You can always subtract or add rows to the straight rows section of the shoe upper to adjust the length. You can also add stitches at the beginning to make it wider. I include sizing adjustment notes within the written pattern because it is best understood in context.
GAUGE
3 inches by 3 inches = 14.5 sc x 16 rows
Getting the gauge is very important for accurate sizing. Work up a small test swatch:
- Row 1: Chain 16, turn, sc into the second ch from the hook. Sc in each chain. (15)
- Rows 2 – 17: Turn, chain 1. Sc in each in the row (15).
If your gauge is tighter than mine, size up a hook size. If it’s looser, go down a hook size.
ABBREVIATIONS
This pattern uses U.S. Crochet Terms
- ch = chain
- sc = single crochet
VIDEO TUTORIAL
If it hasn’t already popped to the top or side of your screen the video will play here, and it will play after the initial ads. If you “x” out of the video pop-up, you will need to refresh the page to get the video tutorial back.
Music is by Pleasant Pictures Music Club.
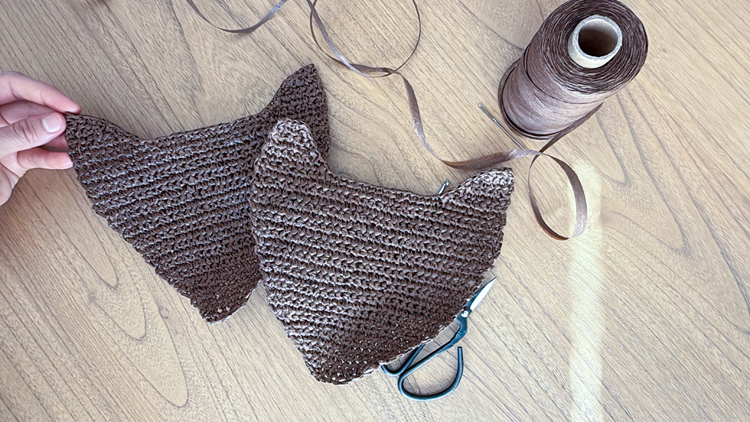
CROCHET SLIDE PATTERN
MAKE 2.
Sizes are listed as follows: 36 (37, 38, 39, 40, 41, 42). Follow the number indicated in the same position as your size. So if you are a size 39, you would use the starred number: 1(2, 3, 4*, 5, 6, 7). Sometimes it helps to copy and paste the pattern into a word document so you can print it and highlight the number for your size.
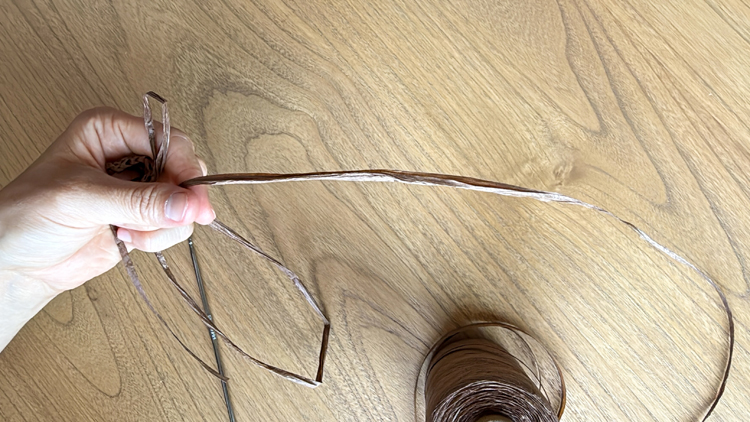
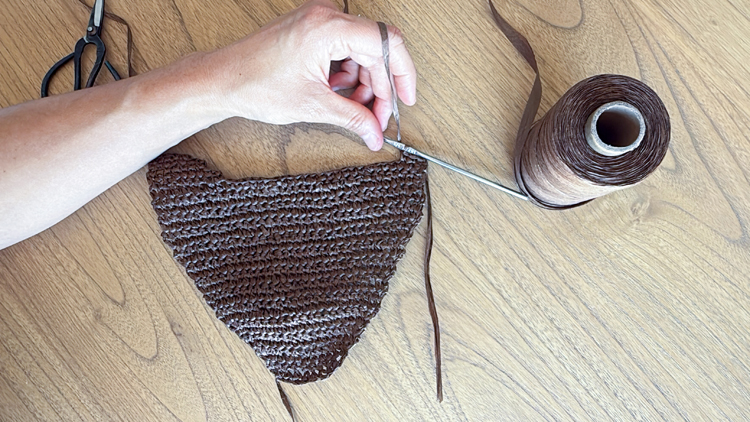
TIP: Sometimes the raffia comes pressed flat, which can be hard to crochet. I like to scrunch it up and twist it with my fingers before beginning.
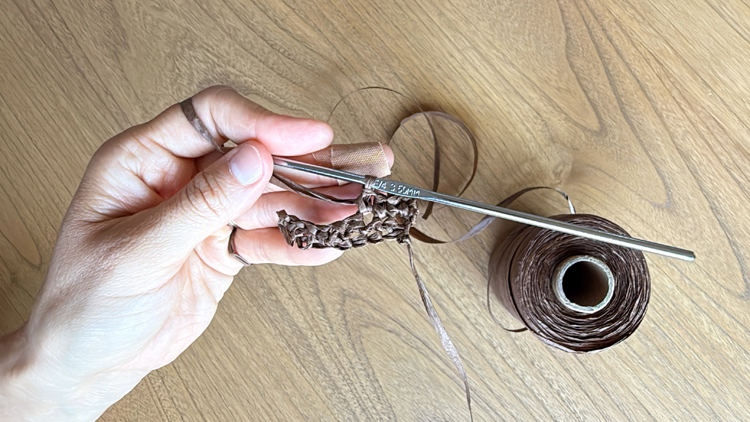
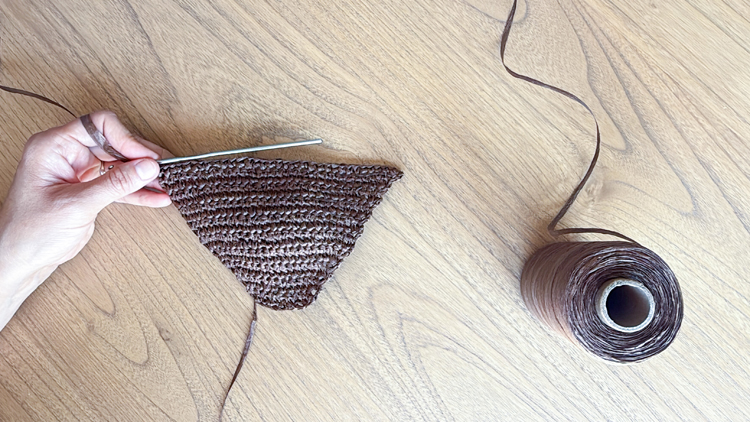
Row 1: Ch 8 (9, 10, 11, 12, 13, 14). Sc in the 2nd ch from the hook. Sc in each ch. Total stitch count (not including skipped ch) = 7 (8, 9, 10, 11, 12, 13).
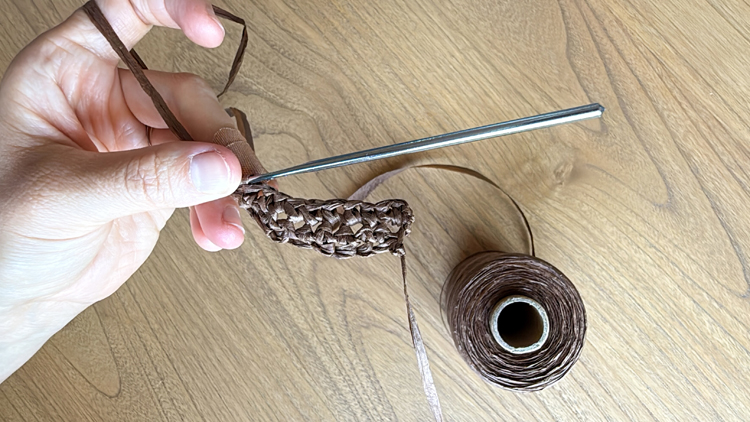
Row 2: Turn, ch 1, work 2 sc into the first stitch. Work 1 sc in each. Work 2 sc into the last stitch. Total Stitch Count = 9 (10, 11, 12, 13, 14, 15)
Rows 3 – 9: Repeat Row 2. Each row’s total stitch count will increase by 2.
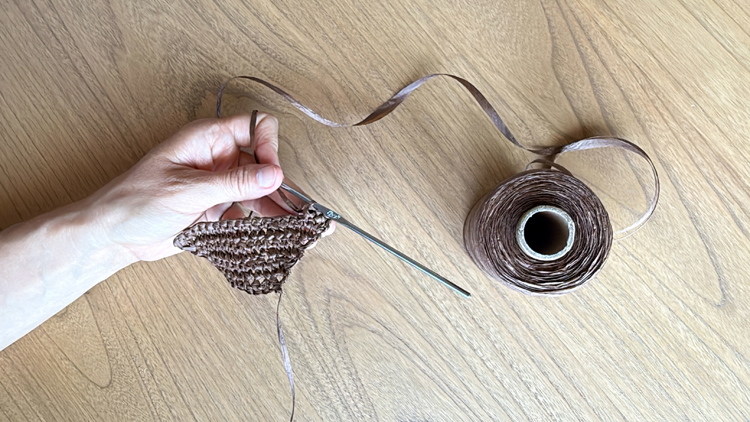
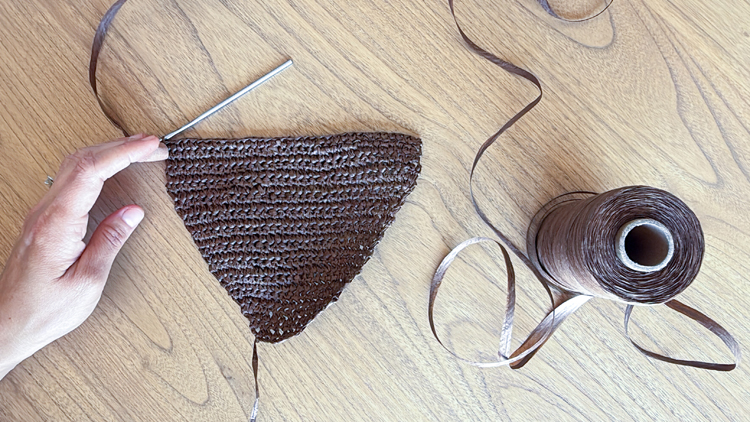
Row 10: Turn, ch 1. Work 1 sc into each stitch. 22 (24, 25, 26, 27, 28, 29)
Row 11: Turn, ch 1. Work 2 sc into the first stitch. Work 1 sc in each. Work 2 sc into the last stitch. 24 (26, 27, 28, 29, 30, 31)
Rows 12, 14, 16, 18: Repeat Row 10. The total stitch count will stay the same as the row before it.
Rows 13, 15, 17, 19: Repeat Row 11. The total stitch count will increase by 2 more than the row before it.
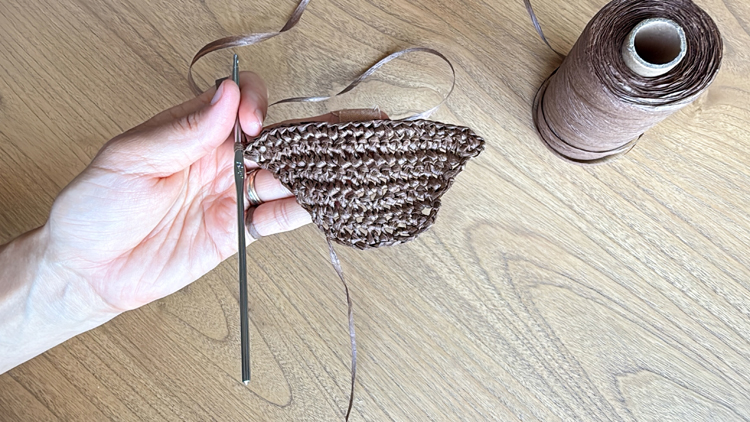
Row 20: Turn, ch 1. Work 1 sc into each stitch. 32 (34, 35, 36, 37, 38, 39)
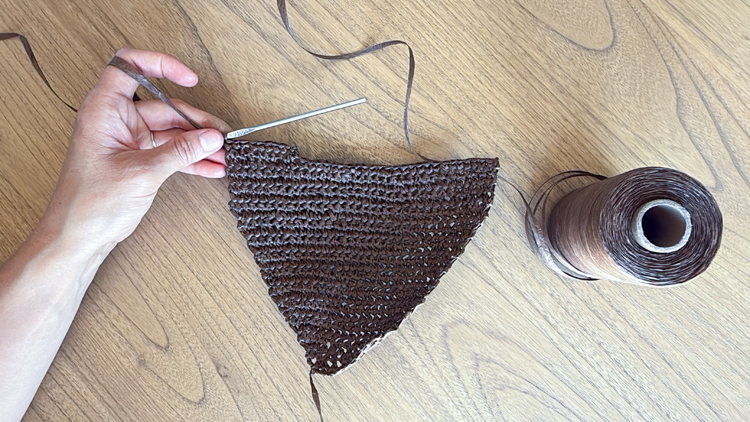
Row 21- 24: Repeat Row 20. *STOP HERE FOR SIZE 36*
Row 25: Repeat Row 20. *STOP HERE FOR SIZE 37*
Row 26: Repeat Row 20. *STOP HERE FOR SIZE 38*
Row 27: Repeat Row 20. *STOP HERE FOR SIZE 38*
Row 28: Repeat Row 20. *STOP HERE FOR SIZE 39*
Row 29: Repeat Row 20. *STOP HERE FOR SIZE 40*
Row 30: Repeat Row 20. *STOP HERE FOR SIZE 41*
Row 31: Repeat Row 20. *STOP HERE FOR SIZE 42*
SIZING ADJUSTMENT OPTIONS:
Larger: Add rows after Row 31 to add length. Add 1 ch to the starting chain as well for each increase in size. You may also want to make the side flaps 1-2 sc wider from the beginning.
Smaller: Remove 1 row per size to make the sole shorter. I do not recommend removing more rows past row 21. Child size shoes will likely need a differently shaped upper. Remove 1 ch from the starting chain for each decrease in size. Side flaps may also need to be modified to accommodate the narrower upper.
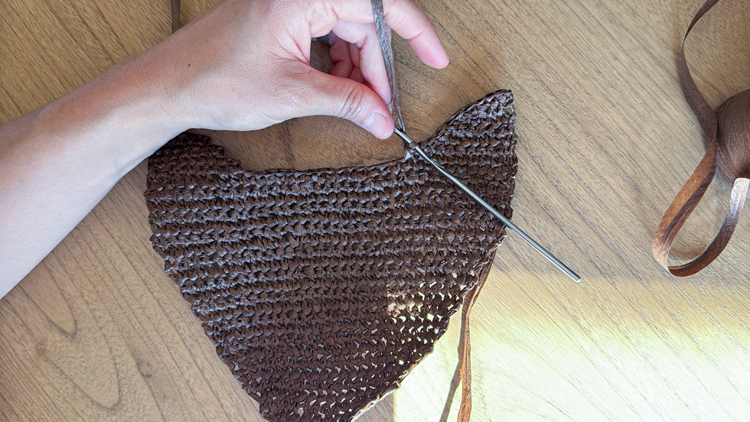
SIDE FLAP SECTION
Side Flap Rows will be abbreviated to SF Row. This pattern is the same for all sizes. There are two side flaps per shoe upper.
For the first side flap, turn. Then:
- SF Row 1: Ch 1, sc 9 times. (9)
- SF Row 2: Turn, ch 1. Skip 1 and sc into the next 8 stitches. (8)
- SF Row 3: Turn, ch 1, sc 7 times. (7)
- SF Row 4: Turn, ch 1. Skip 1 and sc into the next 6 stitches. (6)
- SF Row 5: Turn, ch 1, sc 5 times. (5)
- SF Row 6: Turn, ch 1. Skip 1 and sc into the next 4 stitches. (4)
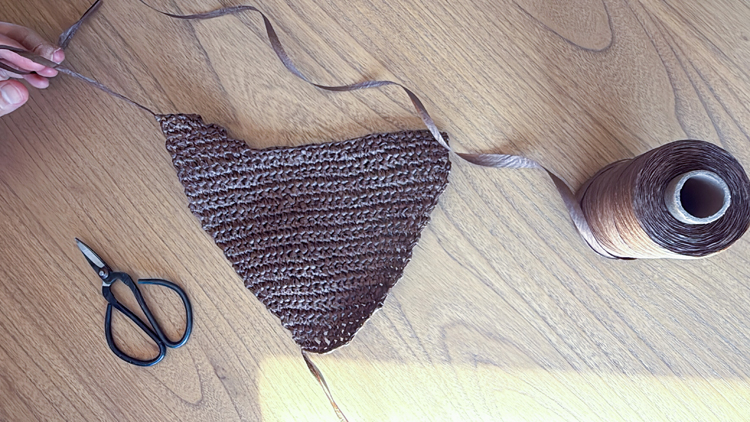
For the first side flap, tie off your end and leave a 5 inch tail.

For the second side flap: insert your hook into the outside, top corner of the unworked side. Lay new raffia over your hook, leaving a 5 inch beginning tail, and pull up a loop.
Proceed with the side flap pattern you followed on the first side. Don’t tie off your end. We will be working a row of sc called the “finishing row” over the side flaps to smooth them out.
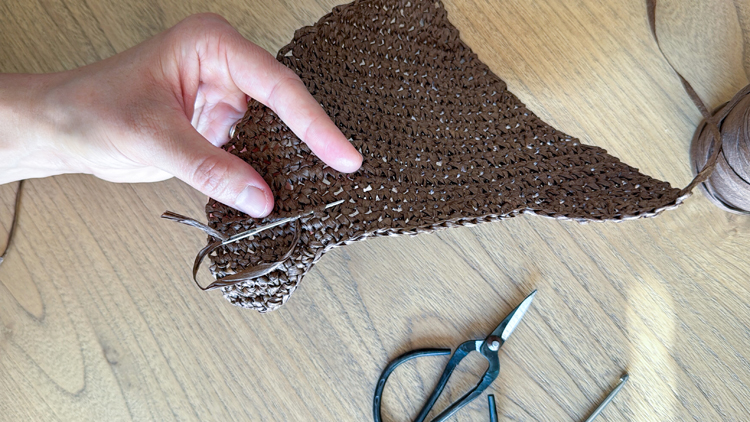
Finishing Row: Turn, ch 1. Work 3 sc, skip the 4th sc, then follow the diagram below to work sc in the sides and tops of the decreasing side flap rows.
Do not work a sc into the side of the last side flap row and work right into the straight portion between the side flaps. Work 1 sc into the straight portion, then mirror on the second side of what you did on the first side. Refer to the diagram.
Then finish the row with 3 sc. Tie off your end, leaving a 5 inch tail.
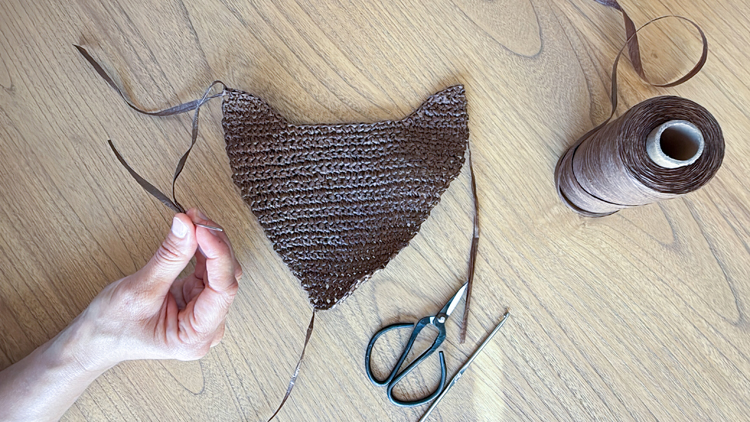
Weave in all the tails with the blunt tip yarn needle. Trim off the excess raffia.
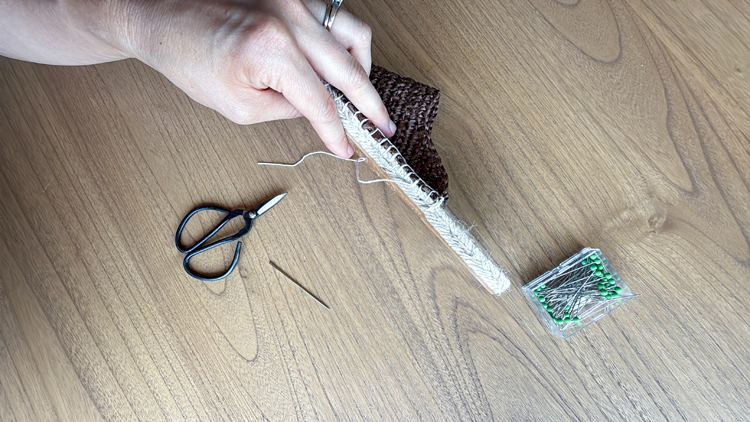
ESPADRILLE ASSEMBLY TUTORIAL
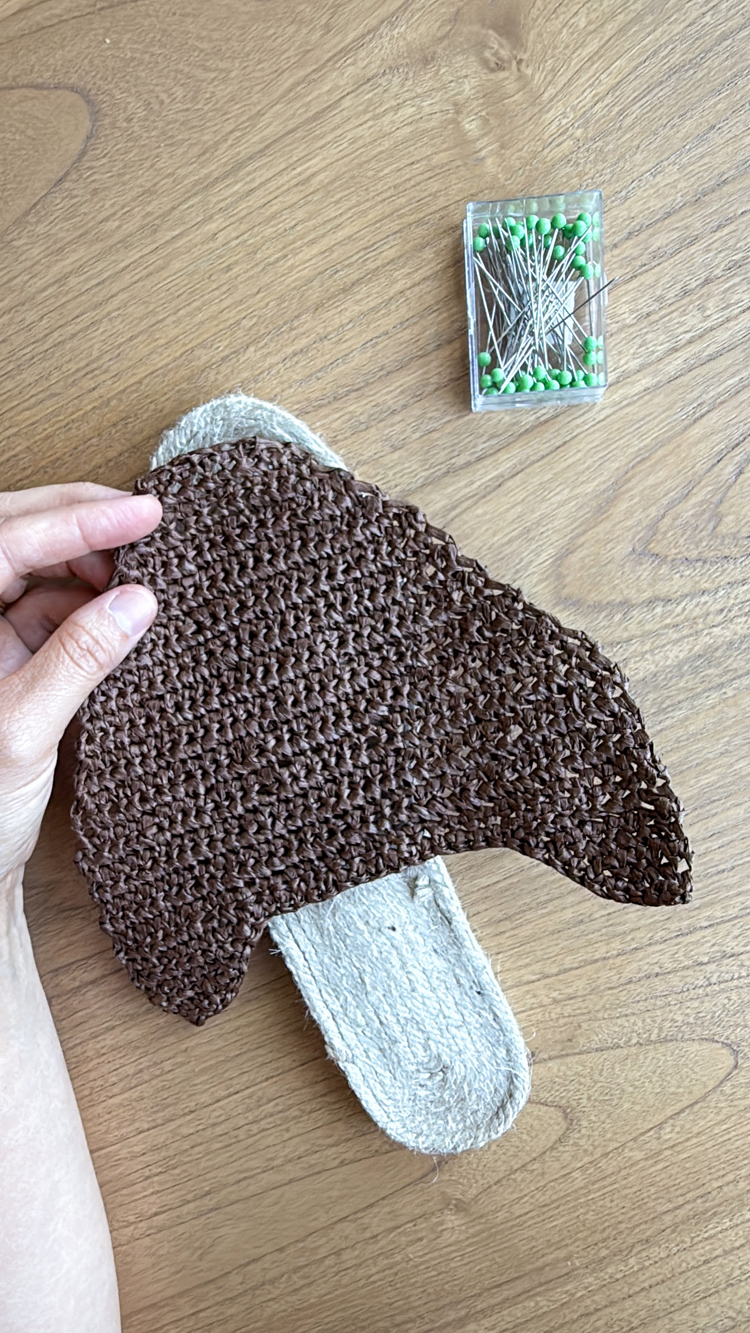
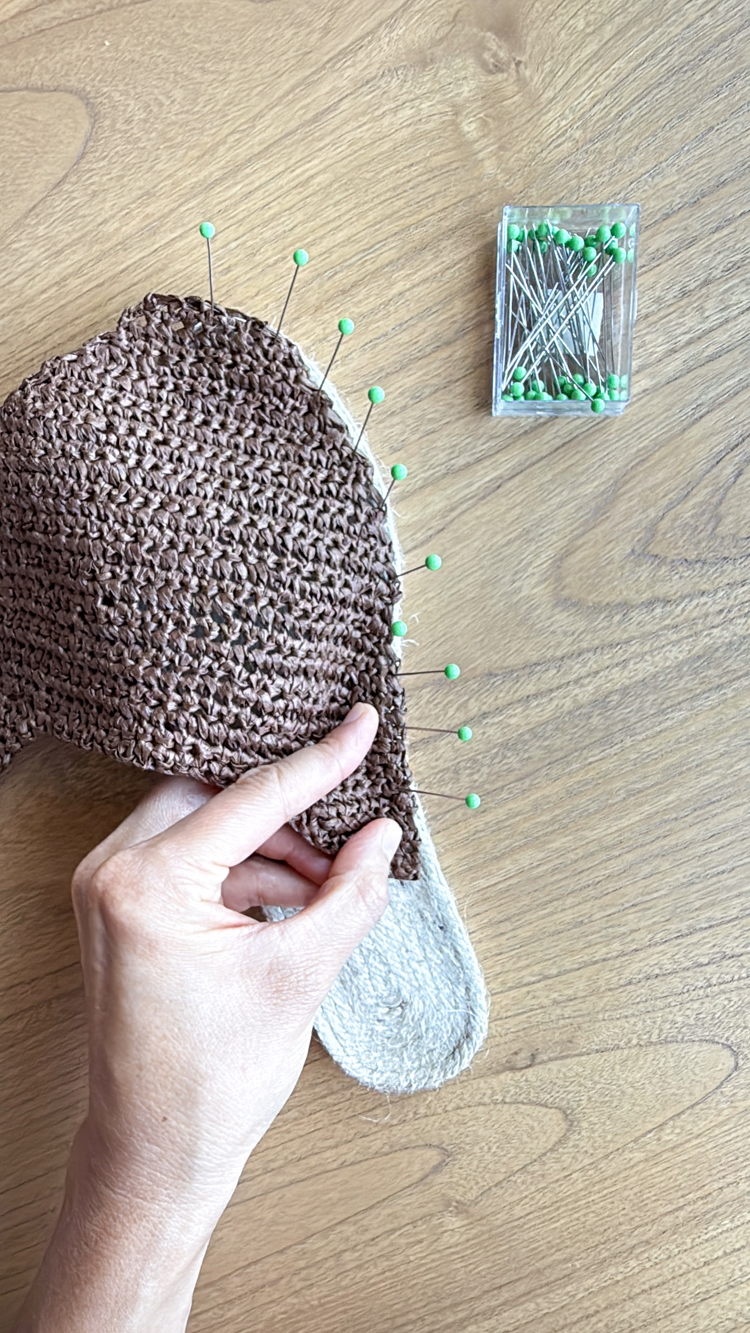
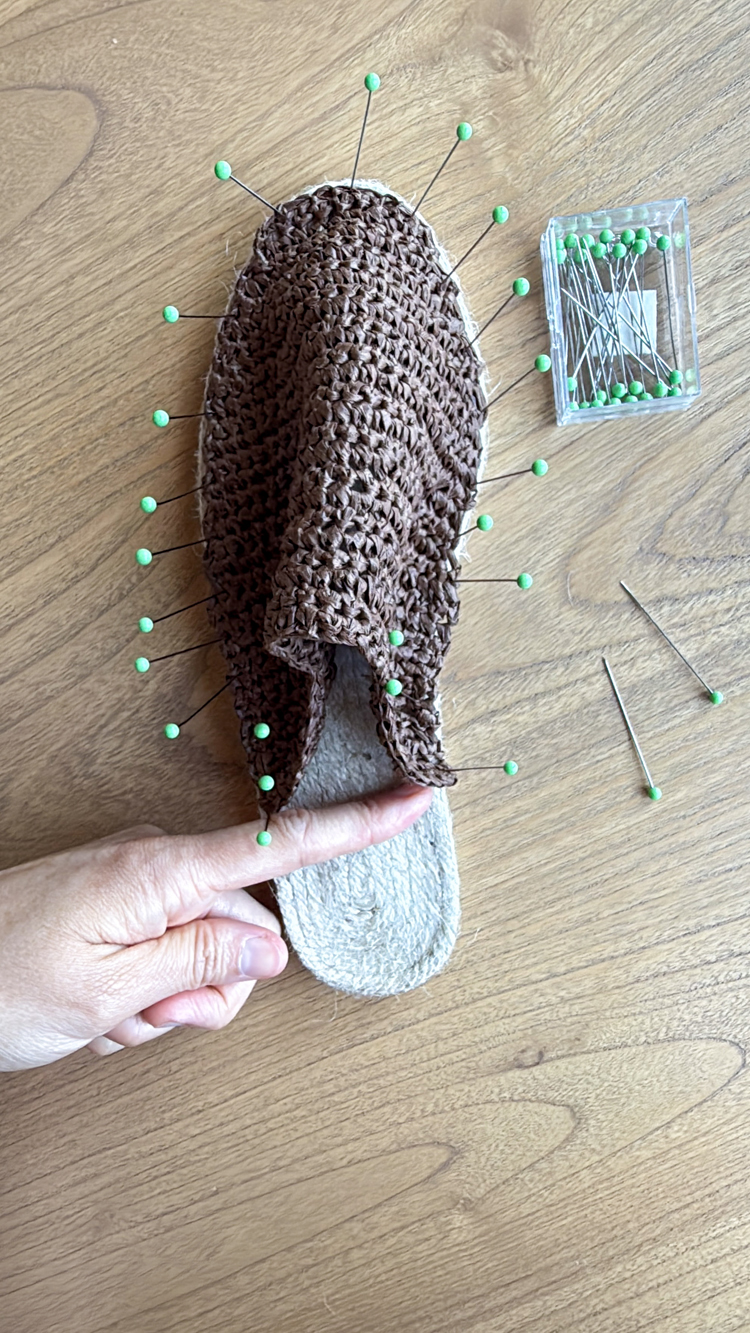
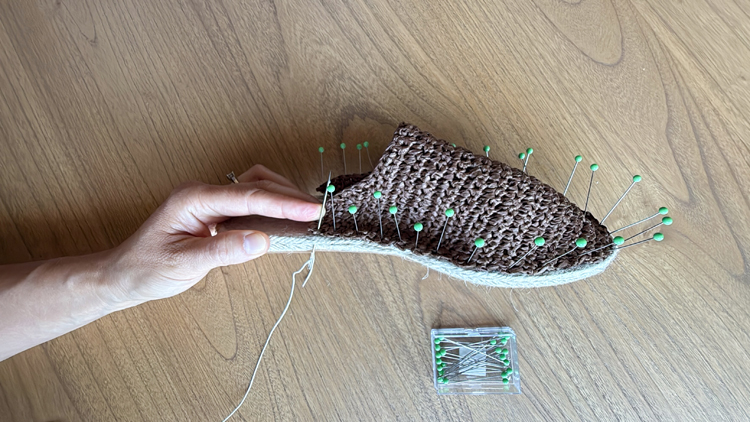
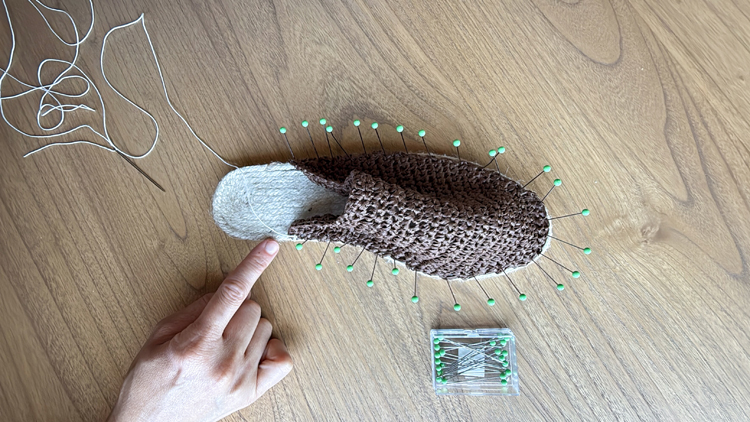
- Pin the shoe upper to the espadrille sole starting at the toe and then pinning down the sides. Make adjustments as needed. The sides should line up across the sole.
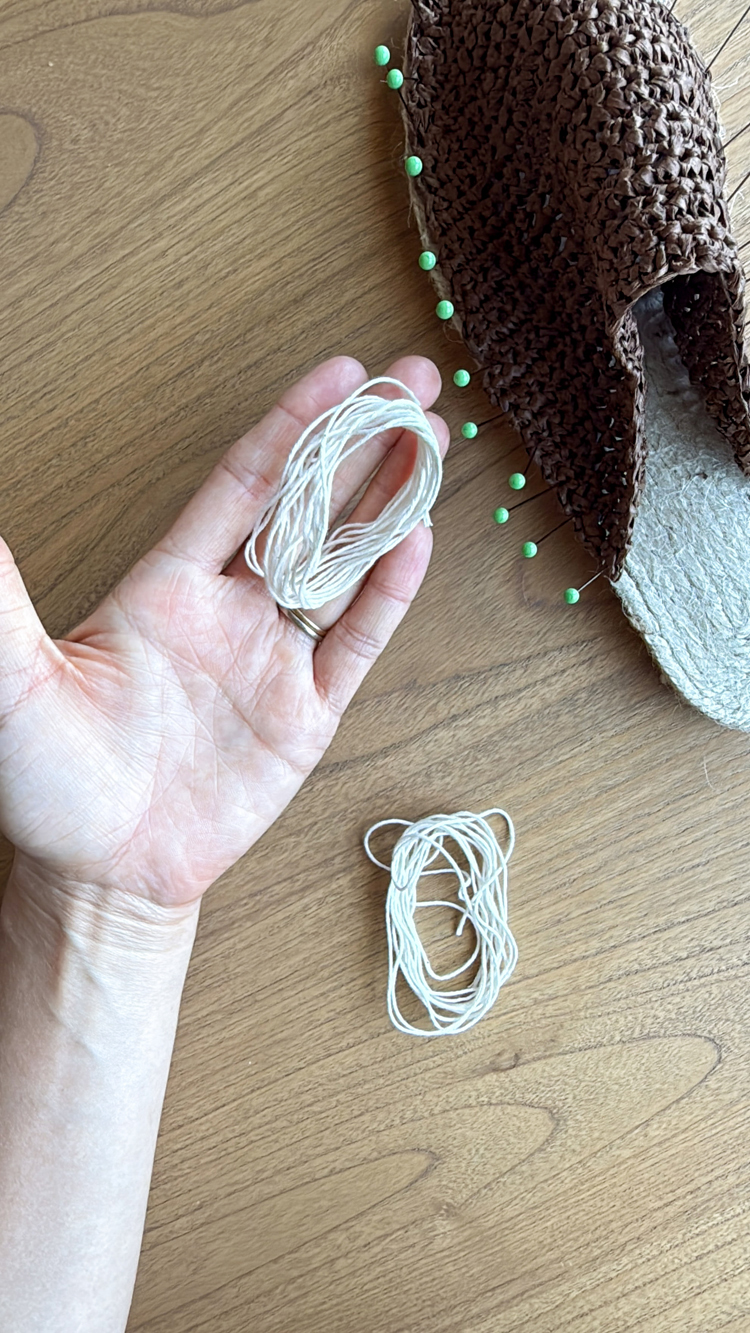
- Prepare your cotton espadrille thread. Cut two pieces just over 90 inches long. (Tip: Cut more if you plan to make your stitches really close together.)
- Wax the thread by running it over beeswax several times. The thread should be well coated.
- Tie a big knot at one end of your thread. Then thread the other side onto the sharp tipped tapestry needle.
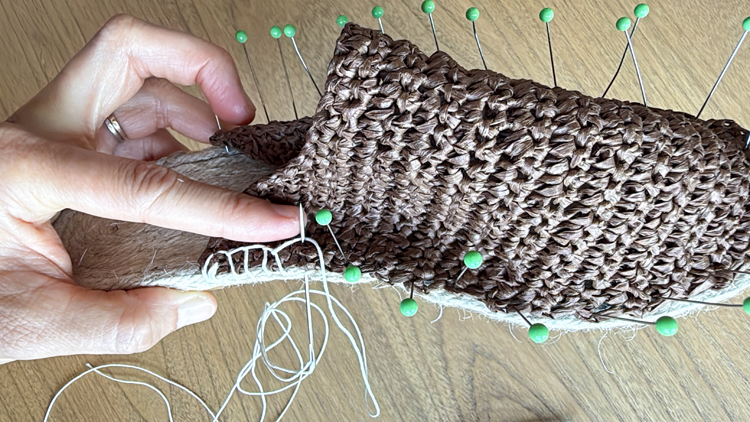
- Starting at the right side of the shoe sole, sew into the side of the sole, up through the top of the sole, and through the shoe upper about 3/8 of an inch away from the edge of the upper. Whip stitch into this spot, or near this spot, several times to reinforce the shoe opening.
- From the side of the sole, insert your needle about 3/8 to 1/2 inch away from the previous stitch and complete a blanket stitch. The video shows two ways to do this. Option 1: You can pull the needle through and sew it through the loop. Option 2: Or you can pop the needle through part way, loop the thread over the needle and then pull it all the way through.
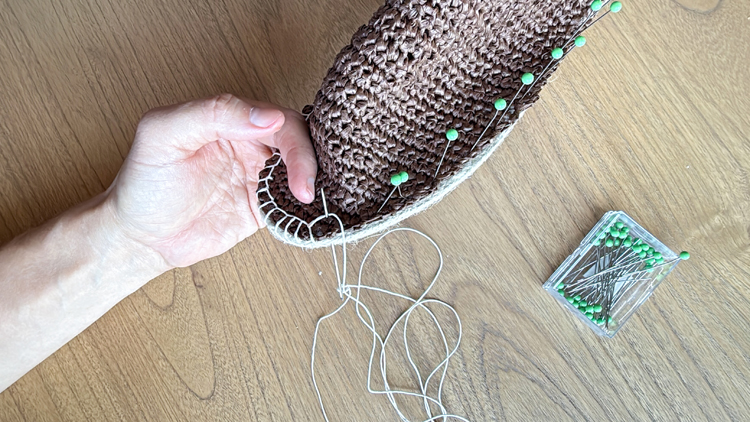
- Work blanket stitches around the perimeter of the shoe upper and sole until you get to the other side.
- Add more reinforcing stitches to the end, sew through the stitches to knot the end, then sew into the sole, between the upper and sole and out through the side of the blanket stitches. Remove the needle and cut off the excess thread. Please see the video for clarification.
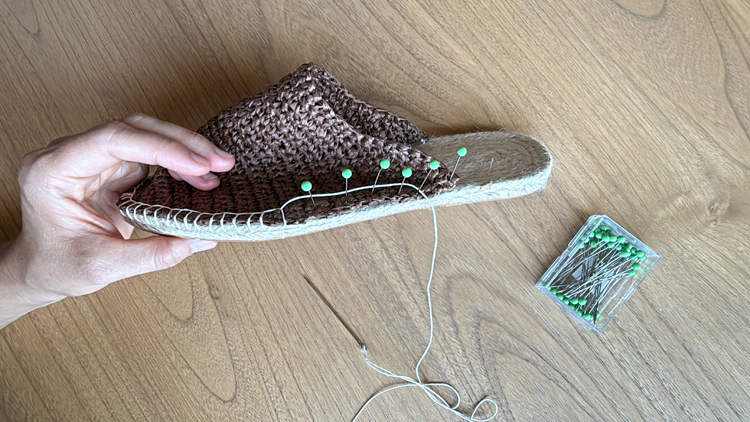
Repeat for the other shoe.
All done!
If you enjoying sewing, I also made leather espadrilles HERE.
Leave a Reply