

We are squarely out of the baby phase, but I still can’t resist making baby gifts from time to time.

One, who can resist all things tiny!? Amiright?
Two, it’s so satisfying to make something that takes so little time and so little yarn! …or fabric, etc.

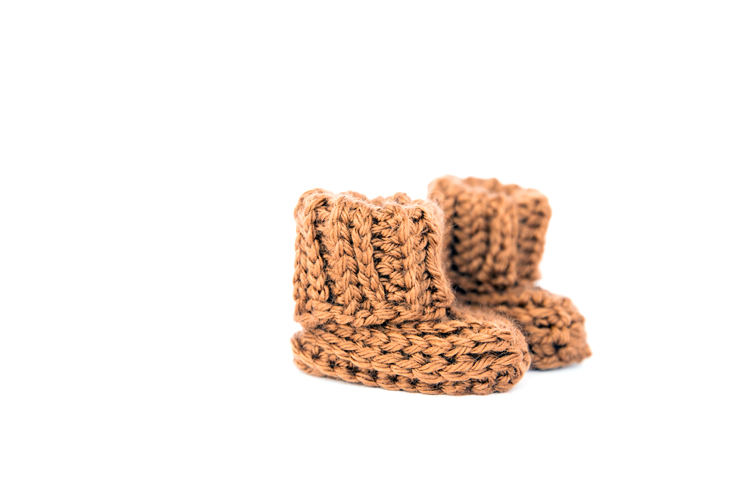
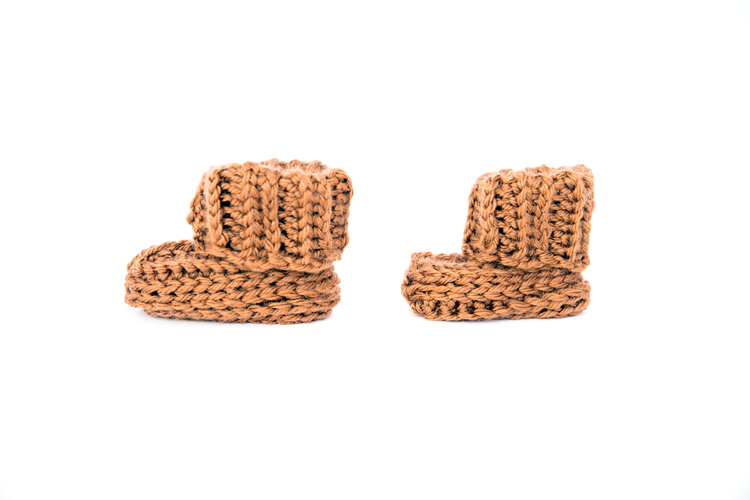
Just like these baby booties. They are a quick and simple project!
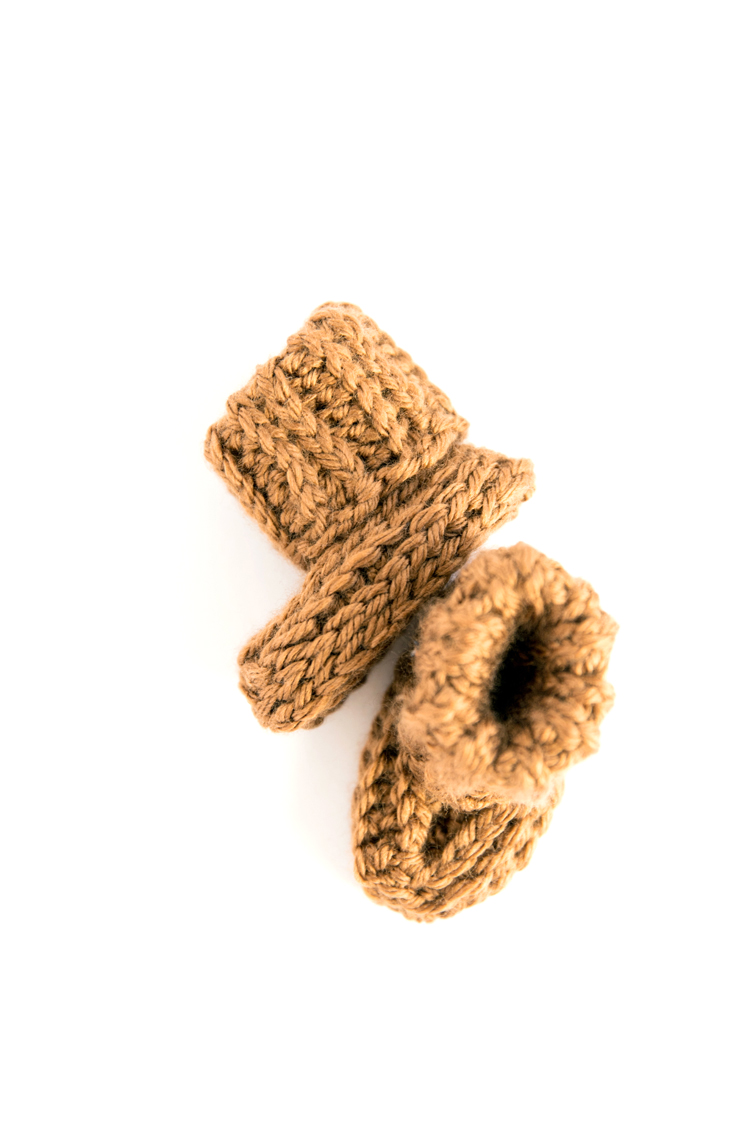
They make a great project for beginners too because all they require is making four little rectangles and then sewing them together into a pair of booties. Easy!
Before we dive in I’m going to go over:
- What you need.
- Sizing.
- Some terms you should know.
- I’ll share a picture tutorial of what it looks like to crochet a rectangle.
- Patterns that tell you how to make each rectangle for each size.
- Then we’ll finish things off with a tutorial on how to whip those booties into shape! 😉
Let’s do it!
Materials
Worsted Weight (size 4, medium) Yarn*
H/8 or 5.00 MM hook
Yarn Needle
Scissors
*You don’t need much. You can definitely get several pairs of booties from one skein. I recommend using a softer yarn. Lion Brand’s Heartland yarn is great, as well as Red Heart’s Soft collection if you want to look for colors outside the baby section.
Sizing
I offer two sizes in this pattern. Remember that it is better to go by foot measurement than by age.
Preemie – sole size up to 3 inches.
Newborn (0-2 months) – sole size up to 3.5 inches.
NOTE: Most newborn babies tend to have thinner ankles than older babies, which this pattern is designed to accommodate. But, all babies are also very different! At the end of the pattern, I share some tips on how to alter or enlarge the pattern so you can tailor the booties to fit your baby.
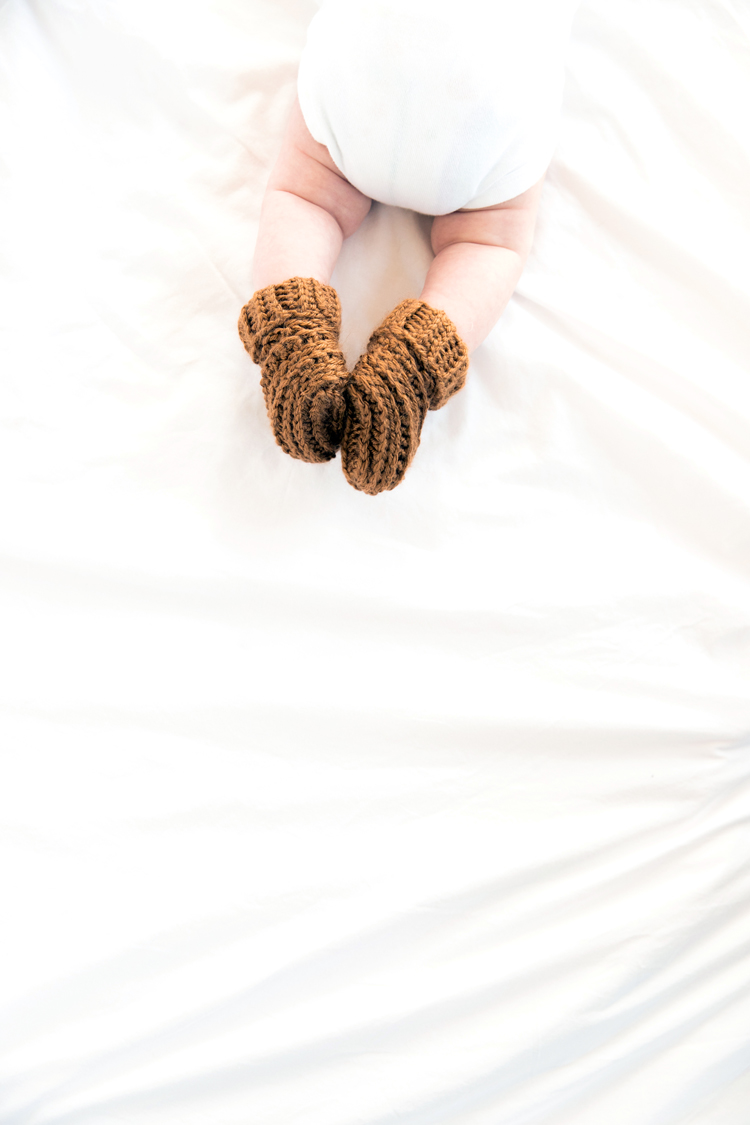
It’s also worth nothing that because this pattern is sewn at the ankle, instead of being worked in the round (like some more difficult patterns) there is only about 1 inch of give at the neck of the boot.
Con: This means that it is less forgiving size wise. The baby has to fit or be smaller than the measurements listed in the pattern or it will be really difficult to get onto their feet.
Pro: It may take a little wiggling to get it on, it should, fingers crossed, also stay on. Yay! I cannot tell you how many booties and socks we lost when my kids were babies!
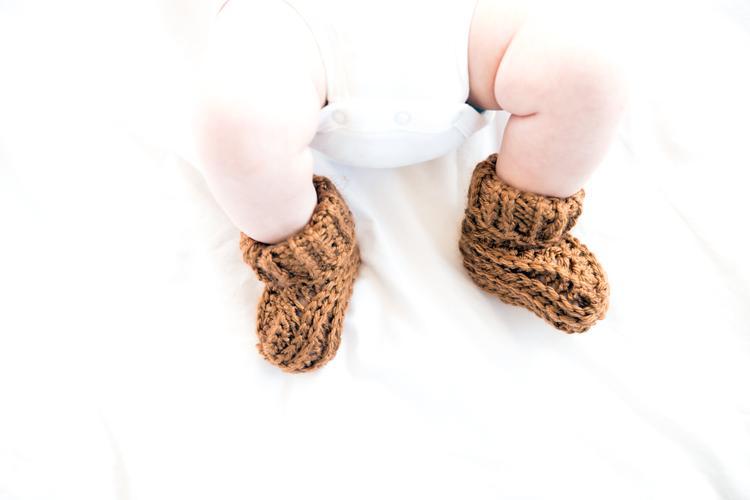
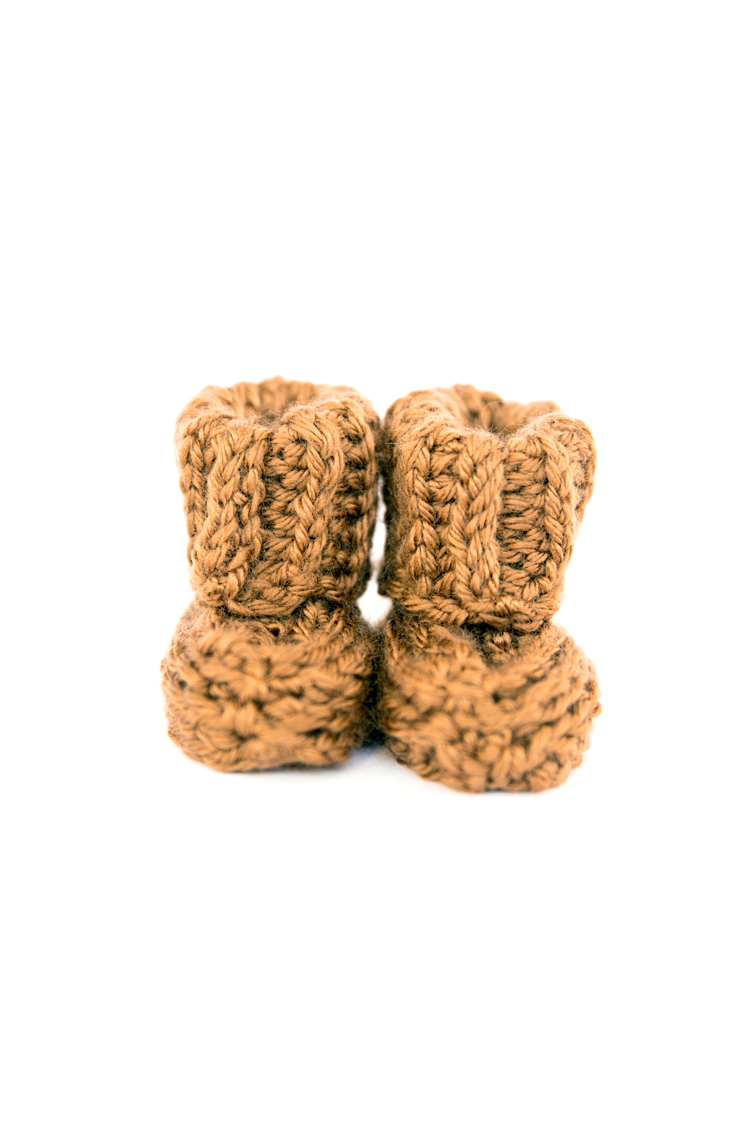
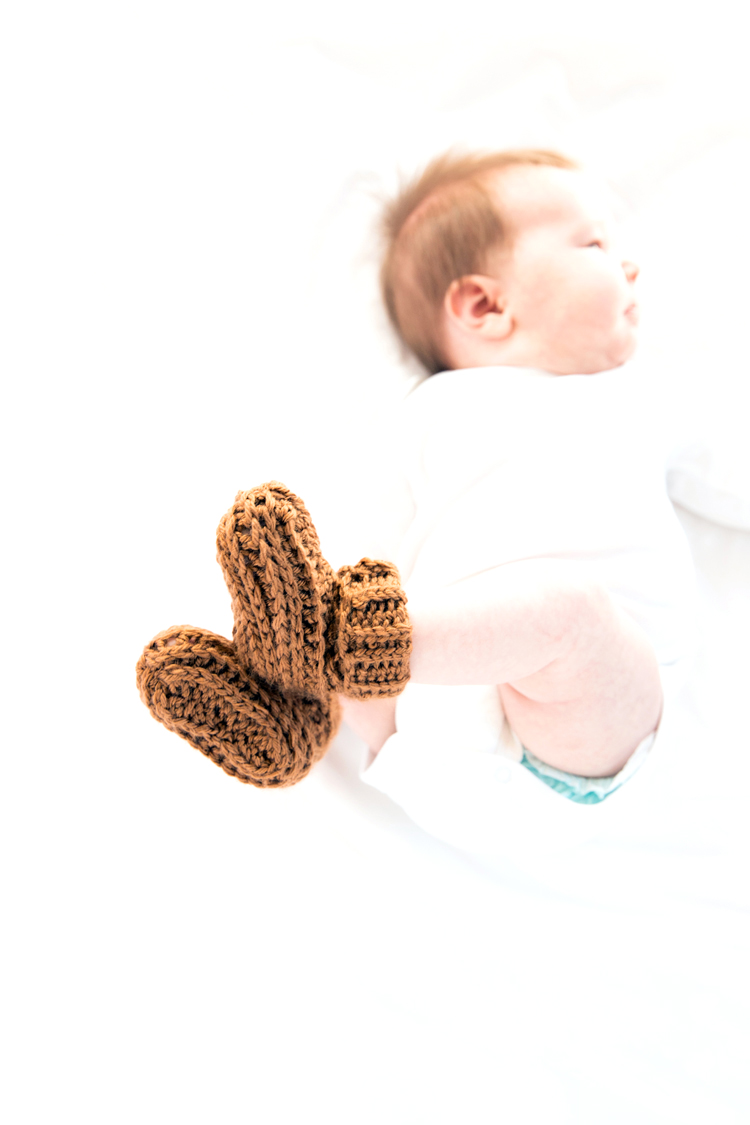
P.S. My cute little model actually had feet about .3 inches too large (I forgot how fast babies grow!), but we made it work. You can see though how snug these little booties are on her.
Gauge
Instead of a gauge, I give an approximate size for each rectangle in the pattern.
Abbreviations + Terms
ch = chain
hdc = half double crochet
camel stitch = half double crochet worked in the third loop (bottom loop under the top two loops)
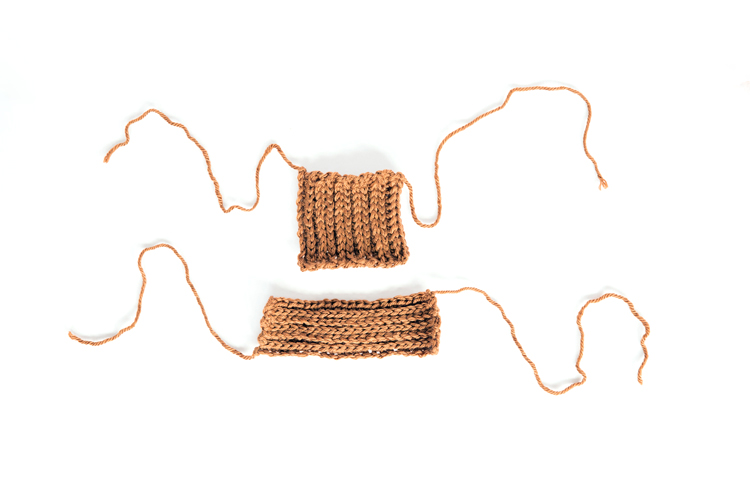
TUTORIAL
This explains how to create the ribbed texture and gives an overview of what it looks like to work each rectangle.
*If you want to skip the ribbed part of this pattern altogether, you can also make it even easier and just work hdc stitches.*
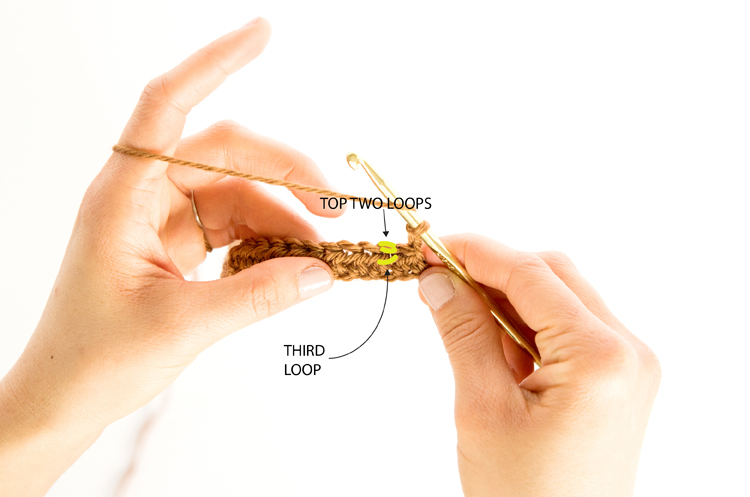
The pattern gets its ribbed texture from what is sometimes called a camel stitch. It is just a regular old hdc but it’s worked in the third loop. Instead of inserting your hook into the top two loops as you do with most crochet stitches, you insert it in the third loop below the top two loops (see picture above) and complete the hdc stitch. This will turn the top two loops to the side, giving your work a ribbed look.
If you want both sides to be ribbed, you insert your hook from the front for every row. This alternate which direction the loops or ribbed texture will turn. If you want the ribbed look on one side only, giving your work a wrong side and a right side and which is how this pattern is written, you will alternate inserting your hook in the third stitch from the front, then from the back, and then the front, etc.
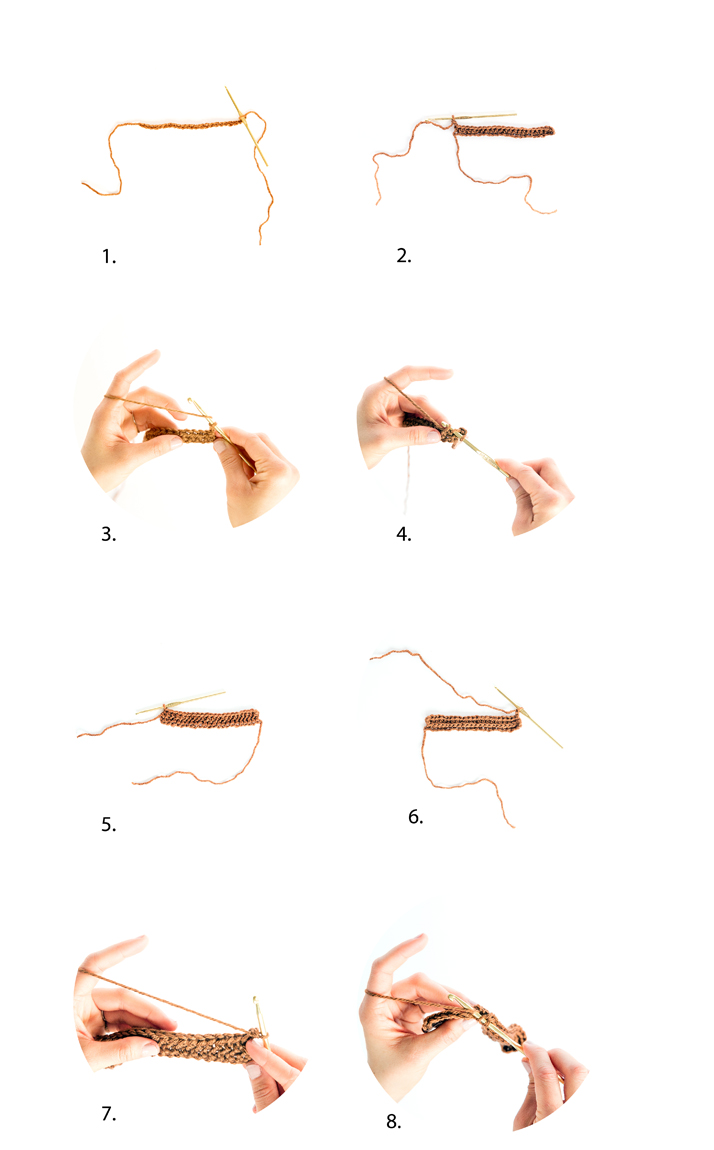
- Chain according to the pattern.
- Turn and work a row of hdc stitches, according to the pattern.
- Turn, chain 2. Now work camel stitches all the way across. Insert your hook in the third loops on the front side (side facing you).
- Close up of camel stitch in progress: yarn over, insert hook in the third loop. Yarn over and pull through all three loops in your hook.
- When you complete the row of camel stitches, it will not looked ribbed. This is the back/wrong side of your rectangle now.
- Turn your rectangle over to the “right” side. Now you can see the ribbed texture! Yay!
- + 8. Chain 2. Now work your camel stitches in the third loop from the back or the side facing away from you. Yarn over, and then put your needle behind the rectangle, and hook that third look from the back to the front. Complete the hdc stitch. This forces the top two loops to face fold over toward you, keeping the ribbed texture on one side. Continue alternating working camel stitches from the front and the back as listed in the pattern.
PATTERN
PREEMIE
Preemie Sole Rectangle (make two)
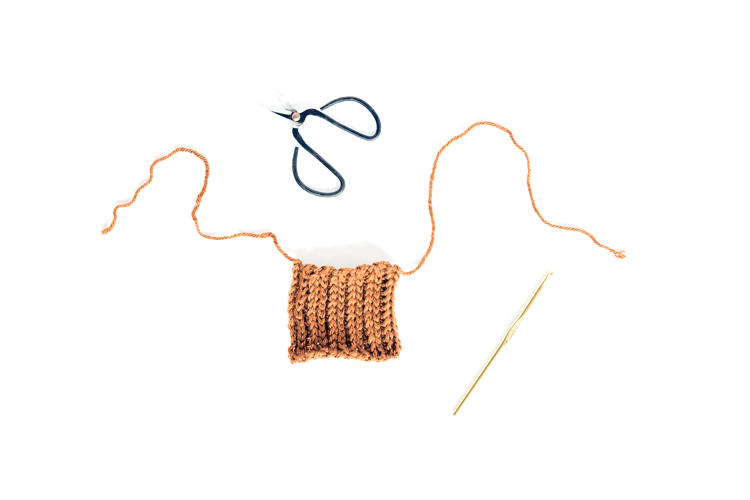
Foundation: When making your slip knot, start with a 12 in.+ long tail. It will be used to sew the bootie together. Chain 25.
Row 1: Turn, skip the first two chains and work a hdc in the third chain from the hook. Work 21 more hdc in the remaining chains for a total of 23 hdc stitches, including the two chains you skipped at the beginning (which together count as one hdc stitch).
Row 2: Turn, and chain two. Work a camel stitch by working a hdc stitch in the third loop from the FRONT. This loop is found under neath the top two loops. Work 21 more camel stitches. (Total 23 camel stitches, including ch. 2).
Row 3: Turn, and chain two. Work a camel stitch by working a hdc stitch in the third loop from the BACK. Insert your hook through the third look from behind your work. This will help the ribbed texture show on one side, so that there will be a wrong side and a right side. Work 21 more camel stitches. (Total 23 camel stitches, including ch. 2).
Row 4: Repeat Row 2.
Row 5: Repeat Row 3.
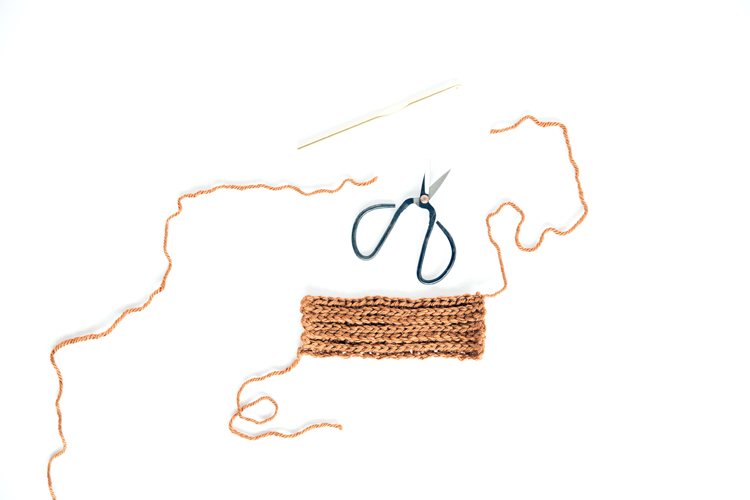
Row 6: Repeat Row 2. Tie off the last stitch by cutting a 12 in.+ tail and pulling it through the loop, knotting the last stitch.
***Final rectangle size: You should end up with a rectangle about 7 inches x 2.5 inches (scant).
Preemie Cuff Rectangle (make two)
Foundation: Start with a 12 in.+ long tail. Chain 15.
Row 1: Turn, skip the first two chains and work a hdc in the third chain from the hook. Work 11 more hdc in the remaining chains for a total of 13 hdc stitches, including the two chains you skipped at the beginning (which together count as one hdc stitch).
Row 2: Turn, and chain two. Work a camel stitch by working a hdc stitch in the third loop from the FRONT. This loop is found under neath the top two loops. Work 11 more camel stitches. (Total 13 camel stitches, including ch. 2).
Row 3: Turn, and chain two. Work a camel stitch by working a hdc stitch in the third loop from the BACK. This will help the ribbed texture show on one side, so that there will be a wrong side and a right side. Work 11 more camel stitches. (Total 13 camel stitches, including ch. 2).
Rows 4, 6, 8, 10: Repeat Row 2.
Rows 5, 7, 9, 11: Repeat Row 3. In Row 11, tie off the last stitch by cutting a 12 in.+ tail and pulling it through the loop, knotting the last stitch.
***Final rectangle size: 3 inches x 5.25 inches.
NEWBORN
NB Sole Rectangle (make two)
Foundation: When making your slip knot, start with a 12 in.+ long tail. It will be used to sew the bootie together. Chain 29.
Row 1: Turn, skip the first two chains and work a hdc in the third chain from the hook. Work 25 more hdc in the remaining chains for a total of 27 hdc stitches, including the two chains you skipped at the beginning (which together count as one hdc stitch).
Row 2: Turn, and chain two. Work a camel stitch by working a hdc stitch in the third loop from the FRONT. This loop is found under neath the top two loops. Work 25 more camel stitches. (Total 27 camel stitches, including ch. 2).
Row 3: Turn, and chain two. Work a camel stitch by working a hdc stitch in the third loop from the BACK. Insert your hook through the third look from behind your work. This will help the ribbed texture show on one side, so that there will be a wrong side and a right side. Work 25 more camel stitches. (Total 27 camel stitches, including ch. 2).
Row 4: Repeat Row 2.
Row 5: Repeat Row 3.
Row 6: Repeat Row 2. Tie off the last stitch by cutting a 12 in.+ tail and pulling it through the loop, knotting the last stitch.
Row 7: Repeat Row 3. Tie off the last stitch by cutting a 12 in.+ tail and pulling it through the loop, knotting the last stitch.
***Final rectangle size: You should end up with a rectangle about 8 inches x 2.75 inches.
NB Cuff Rectangle (make two)
Foundation: Start with a 12 in.+ long tail. Chain 18.
Row 1: Turn, skip the first two chains and work a hdc in the third chain from the hook. Work 14 more hdc in the remaining chains for a total of 16 hdc stitches, including the two chains you skipped at the beginning (which together count as one hdc stitch).
Row 2: Turn, and chain two. Work a camel stitch by working a hdc stitch in the third loop. This loop is found under neath the top two loops. Work 14 more camel stitches. (Total 16 camel stitches, including ch. 2).
Row 3: Turn, and chain two. Work a camel stitch by working a hdc stitch in the third loop from the BACK. This will help the ribbed texture show on one side, so that there will be a wrong side and a right side. Work 14 more camel stitches. (Total 16 camel stitches, including ch. 2).
Rows 4, 6, 8, 10, 12: Repeat Row 2.
Rows 5, 7, 9, 11, 13: Repeat Row 3. In Row 13, tie off the last stitch by cutting a 12 in.+ tail and pulling it through the loop, knotting the last stitch.
***Final rectangle size: 6 inches x 4 inches.
SEWING THE BOOTIES – TUTORIAL CONTINUED
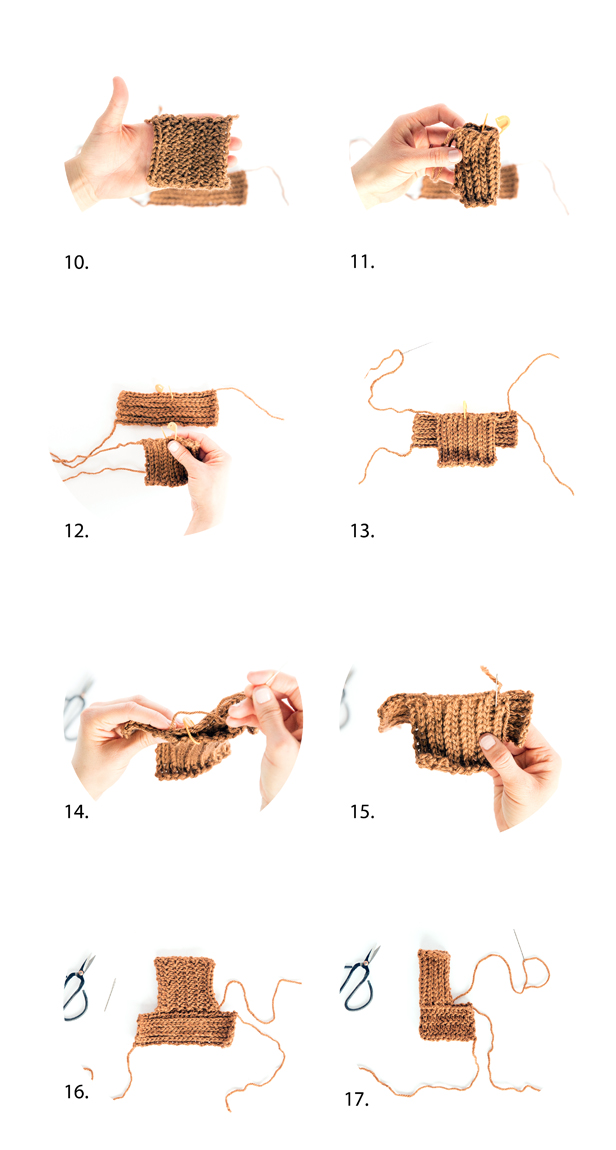
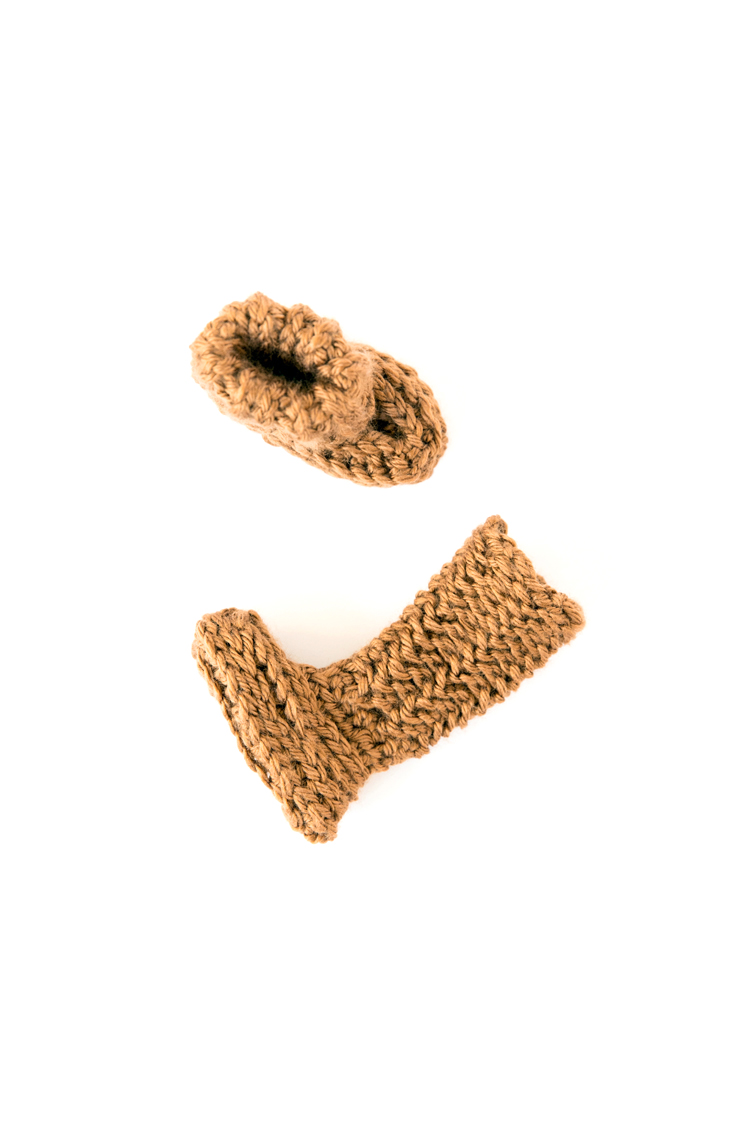
10. After crocheting two sole rectangles and two cuff rectangles. Fold each rectangle piece in half, width wise, to find the center.
11. Mark the center point with a stitch marker, an earring, a paper clip…whatever you have on hand.
12. Line up a cuff piece with a sole piece pieces at the marked mid-lines. Make sure both the cuff rectangle and the sole rectangle are both ribbed sides facing up.
13. Pin or hook the two rectangles together at the mid-point.
14. Sew the pieces together using one of the long tails from the cuff rectangle. You can whip stitch or back stitch here. Keep your stitches secure, but not overly tight.
15. Knot your last stitch and weave in the excess length of the tail after sewing.
16. Flip up the cuff piece. The wrong side of the cuff should be showing, along with the right or ribbed side of the sole piece.
17. Fold the bootie in half, according to the picture. Using the other cuff tail piece, sew up the cuff of the bootie closed. You must use a back stitch for this step to keep the integrity of the rib texture. The two ends get squished together and look like one rib in the texture.
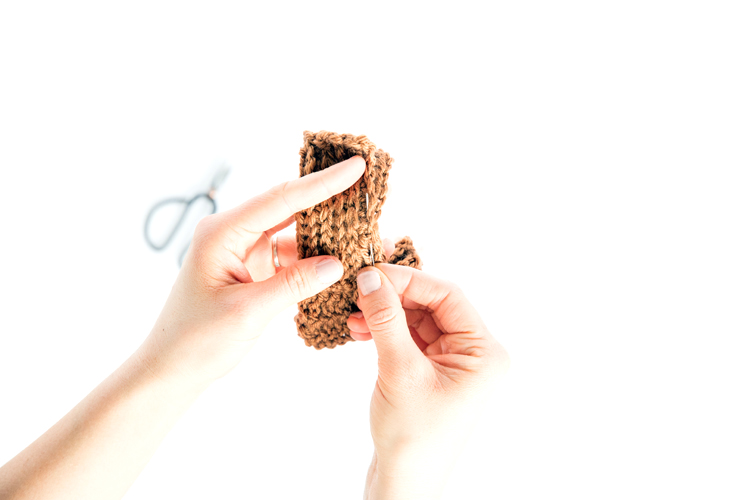
18. Take the remaining tails and sew up around the rest of the bootie. Knot the last stitch and weave in any excess tail pieces.
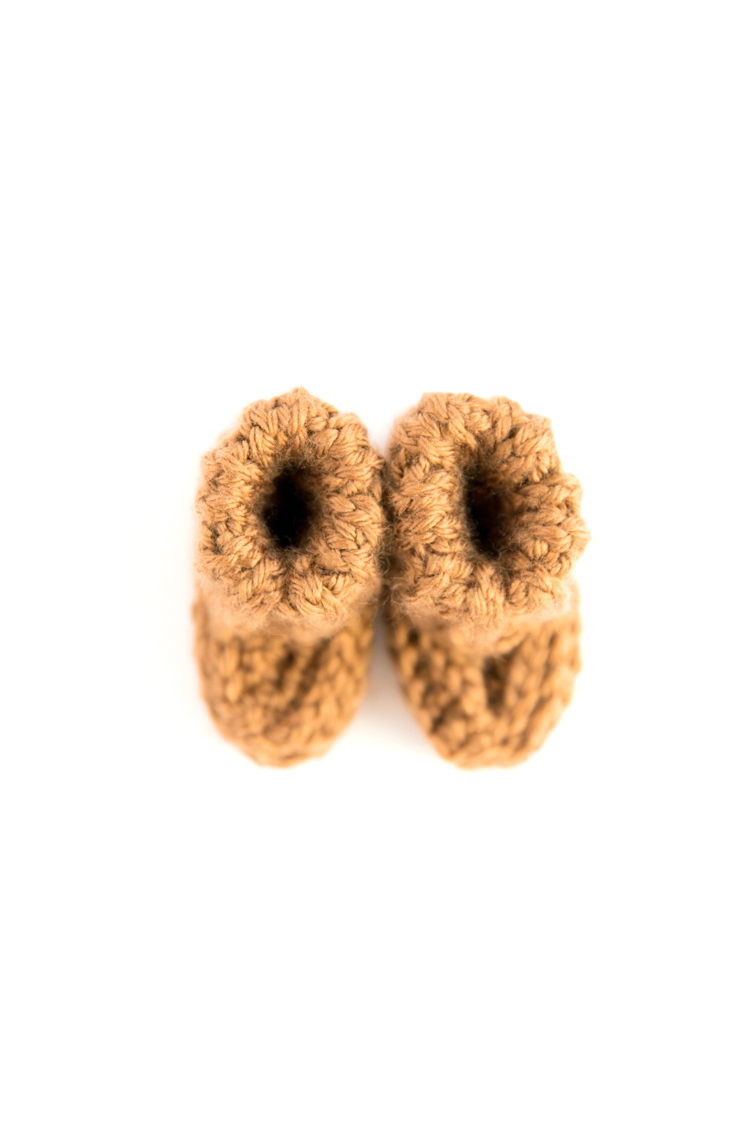
19. Turn your bootie right side out…
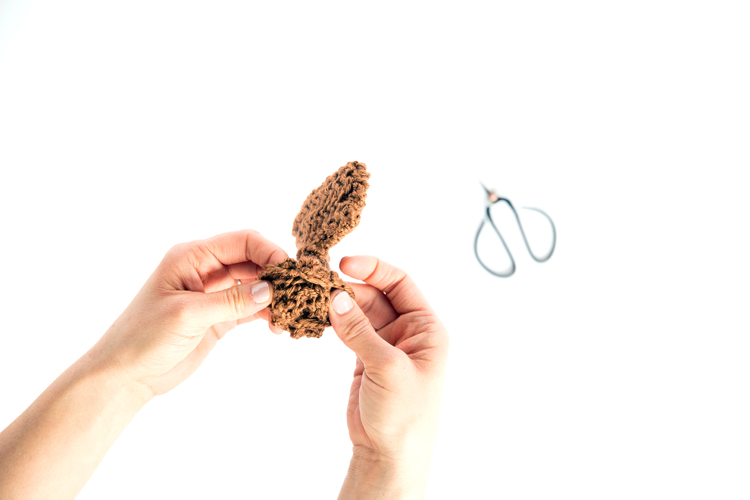
Then flip the cuff down.
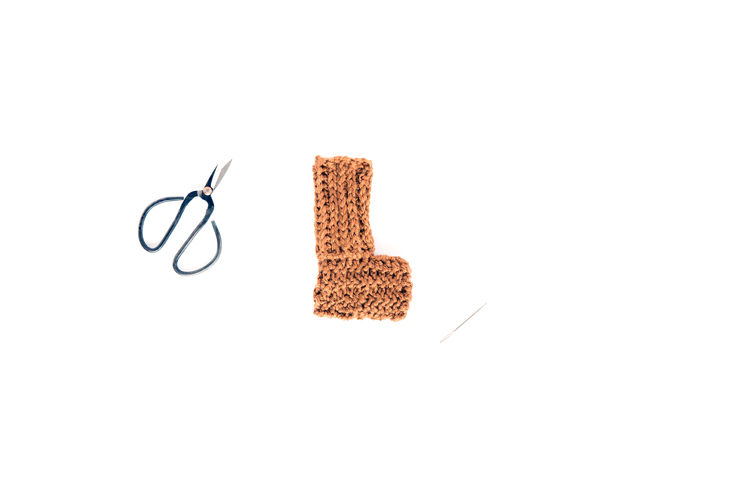
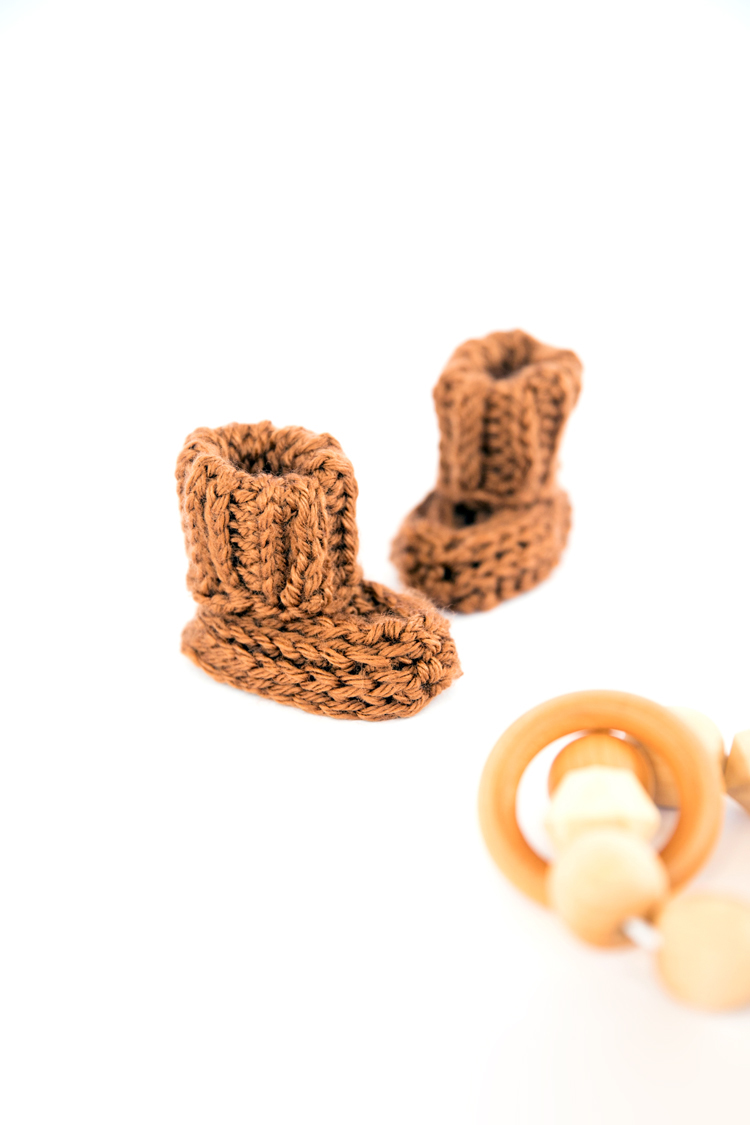
Repeat for the second boot, and you have two cute little booties…not made for walking. 😉 Ha!
See how using a back stitch on the cuff, helps maintain the ribbed texture?
Altering the Pattern:
Wider cuffs/ankles: Add 1-3 rows to the cuff rectangles.
Wider sole/feet: Add 1-2 rows to the sole rectangles.
Sizing up:
To enlarge the booties, add 5-6 stitches and 2-3 more rows to the sole rectangle pattern, per .5 inch size you want to go up. Add 4-5 chains and 3-4 more rows to the cuff pattern rectangle.
The increase in stitches and rows is more than the difference between the preemie and newborn sizes because baby feet and ankles tend to fill out a lot after the newborn stage. I have given you estimates of the changes you’ll need to make.
Always make a “muslin” or test bootie to try out your changes. Or just expect to possibly need to tweak and re-do your first altered bootie to get it right.
Wow! The works are really amazing I like it. The baby booties are really nice. I learn to know from this tutorial how to make baby booties. I will try it my self. Thanks a lot for sharing a nice tutorial.
These are so cute! I once hooked up a crochet pattern for baby booties, and although I finally figured out the directions (crochet newbie!) I couldn’t get two the same size! This looks like it would make things a little bit easier!
Good point! If the sizing is slightly off, you can use your sewing skills to adjust it. 😉 Thanks Charity!
These crochet baby booties are totally beautiful, I love them!