

Much to my husband’s chagrin, wide leg pants are IN! …and I’m a fan. (poor husband haha)

I tried shopping for a pair of ready to wear wide leg pants and had a tough time finding ones that were flattering on me. Then in Forever 21 of all places…let’s just say that the sizing and fit of their clothes do not often make my 34 year old self feel Forever 21 ;)(wrinkles to prove it below)… I was surprised to find a pair I really like!

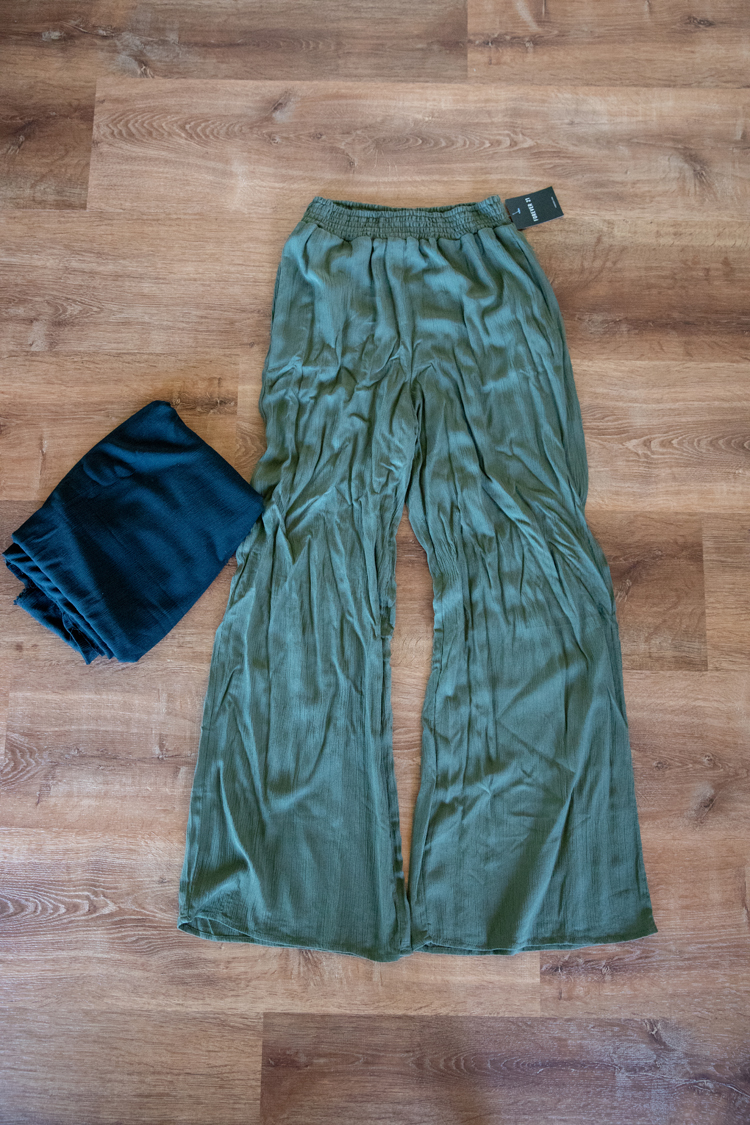
The draw back is that they only came in yellow and green…And I wanted black.
So, I got the green ones and immediately started scheming out how to recreate them in the color I wanted. They are pretty much pajamas pants with pockets, so I knew it would be easy to do.
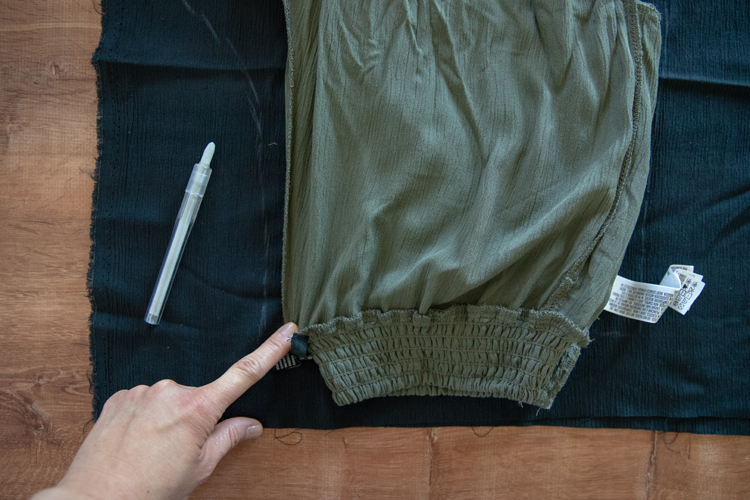
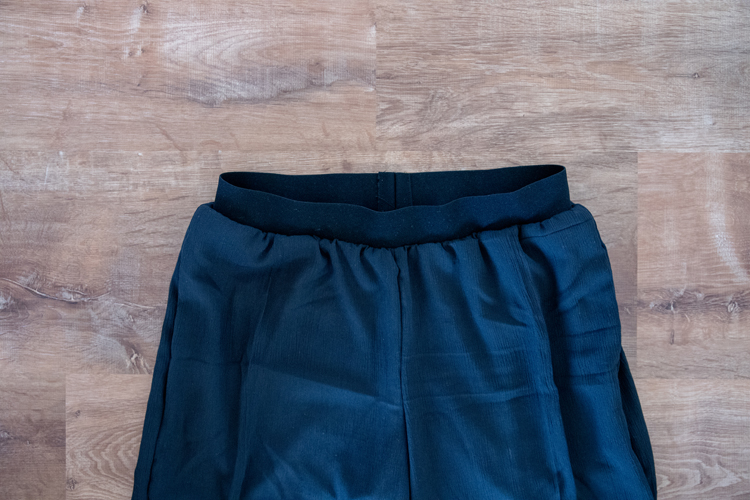
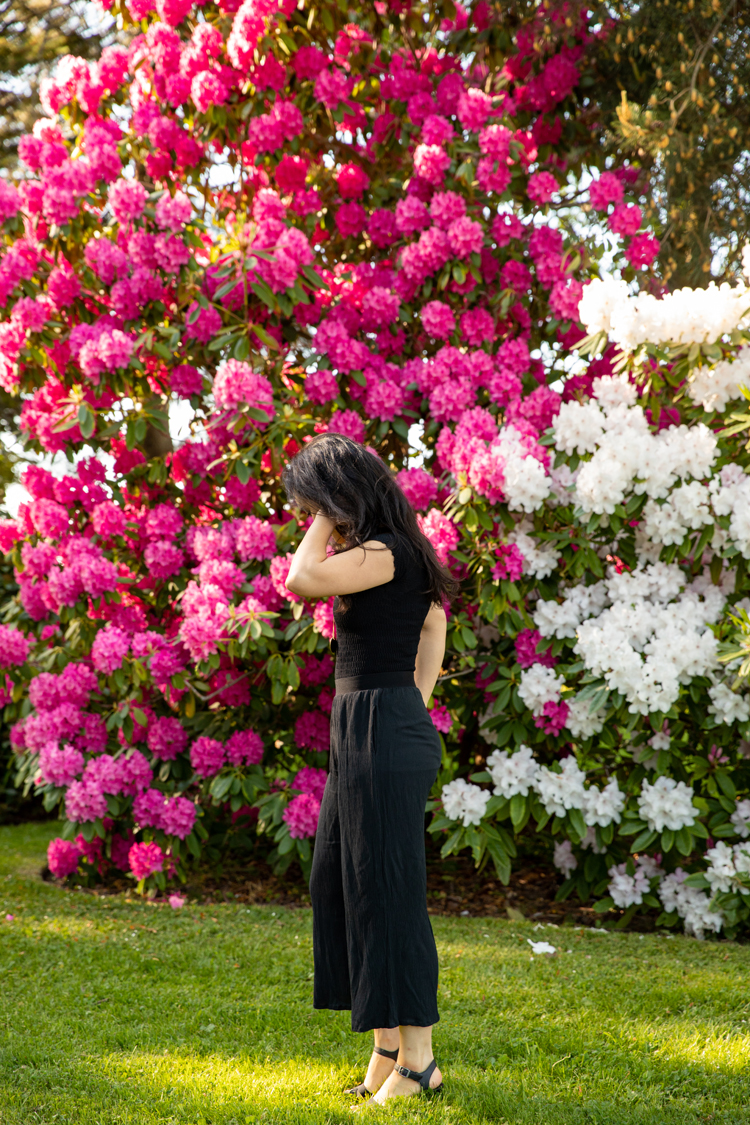
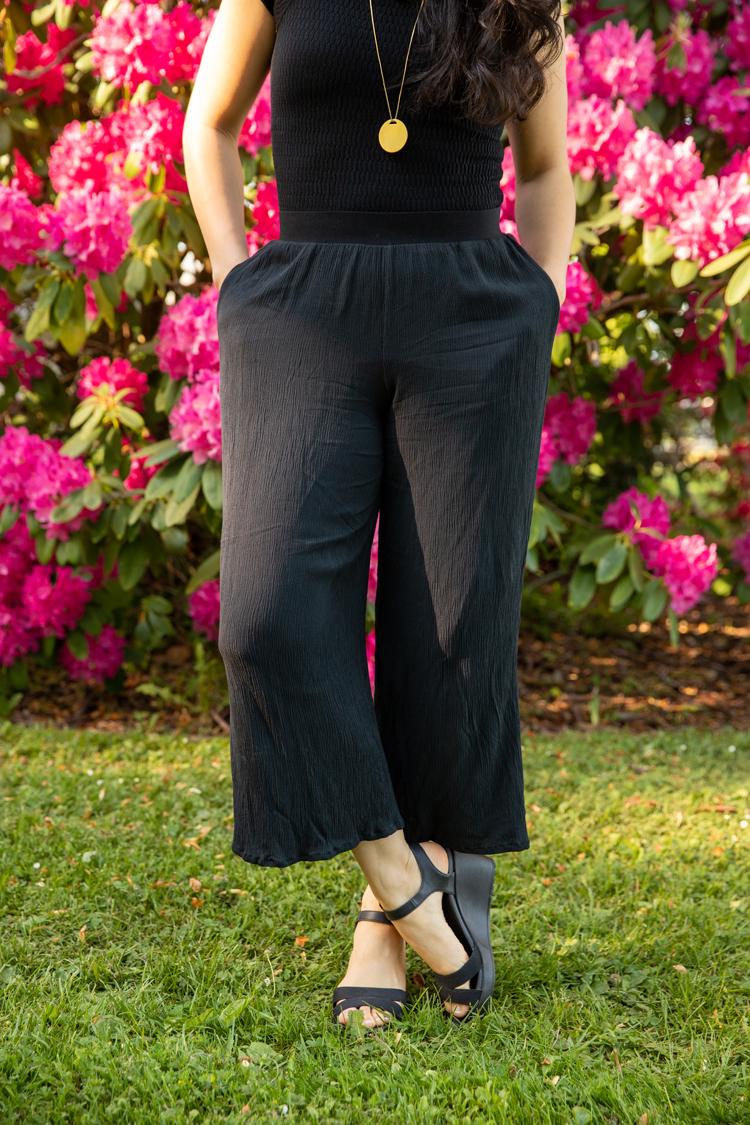
I hit up Jo-Ann for fabric and found an almost identical crinkly poly/rayon blend in black. I wanted a little more cinch at the waist, so I also got some soft 2 inch elastic to replace the shirred waistline of the original pants. I also cropped them because I wanted to try a capri length for summer.
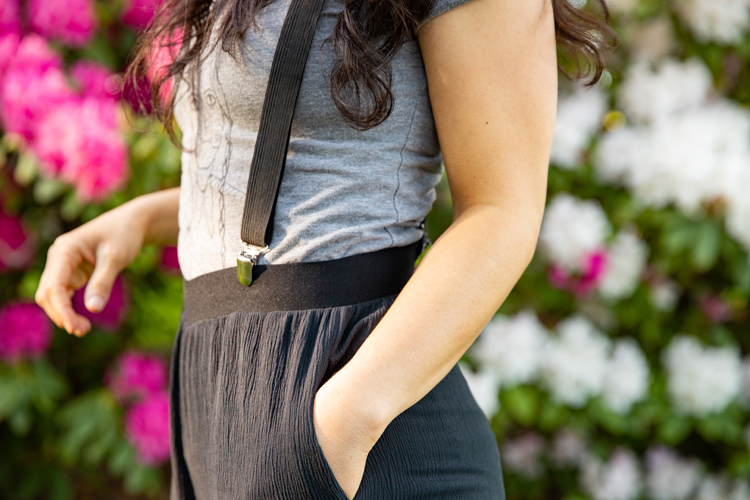
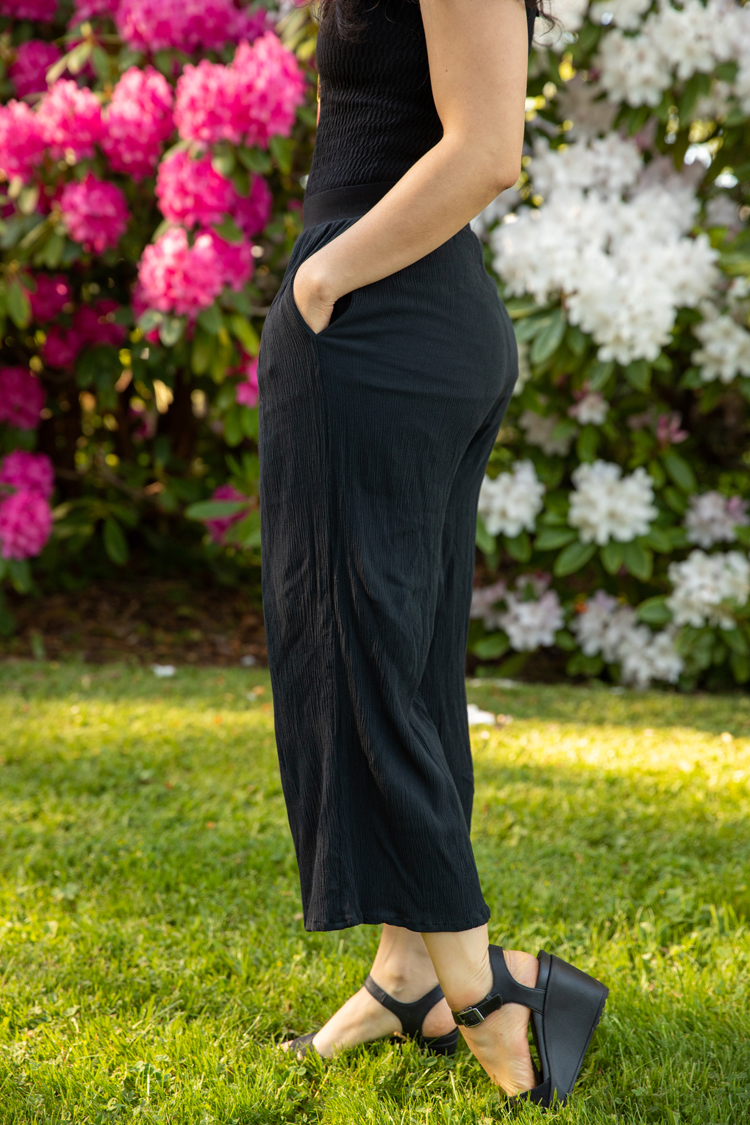
I did, however, keep the pockets the same. They are not constructed in the same way as most inseam bag pocket tutorials that I’ve seen. It’s just a rectangle of fabric folded into an inseam pocket. Wild right?
I’m chuckling at what I think is “wild.” I guess you should see me on a Friday night folding laundry. haha
Anyway…I’ll walk you through how I recreated the pants and share a tutorial for how I constructed the pockets. Let’s do it!
Materials
- lightweight poly/rayon fabric – I got 2 yards
- matching thread
- 2 inch wide elastic
Seam Allowance
The seam allowance is 1/2″ for all seams, unless otherwise noted.
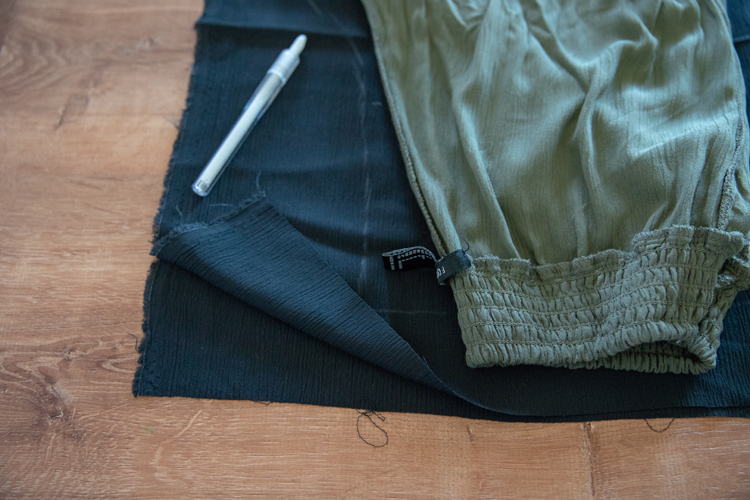
Cutting Out the Pants
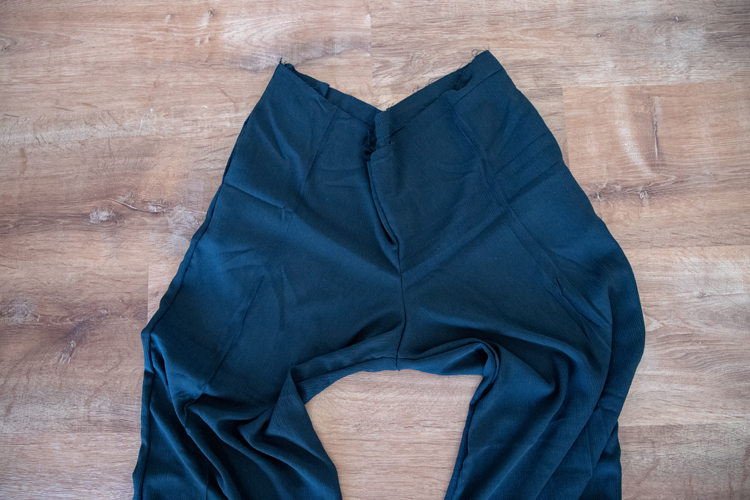
I simply turned the pants inside out and traced them like a pattern. I folded my fabric in half so that I would only have to trace and cut each pant leg and pocket piece once.
IMPORTANT NOTE: DO NOT PRE-WASH your fabric. This fabric contracts when washed and then relaxes with wear. You will not get accurate sizing if you pre-wash it.
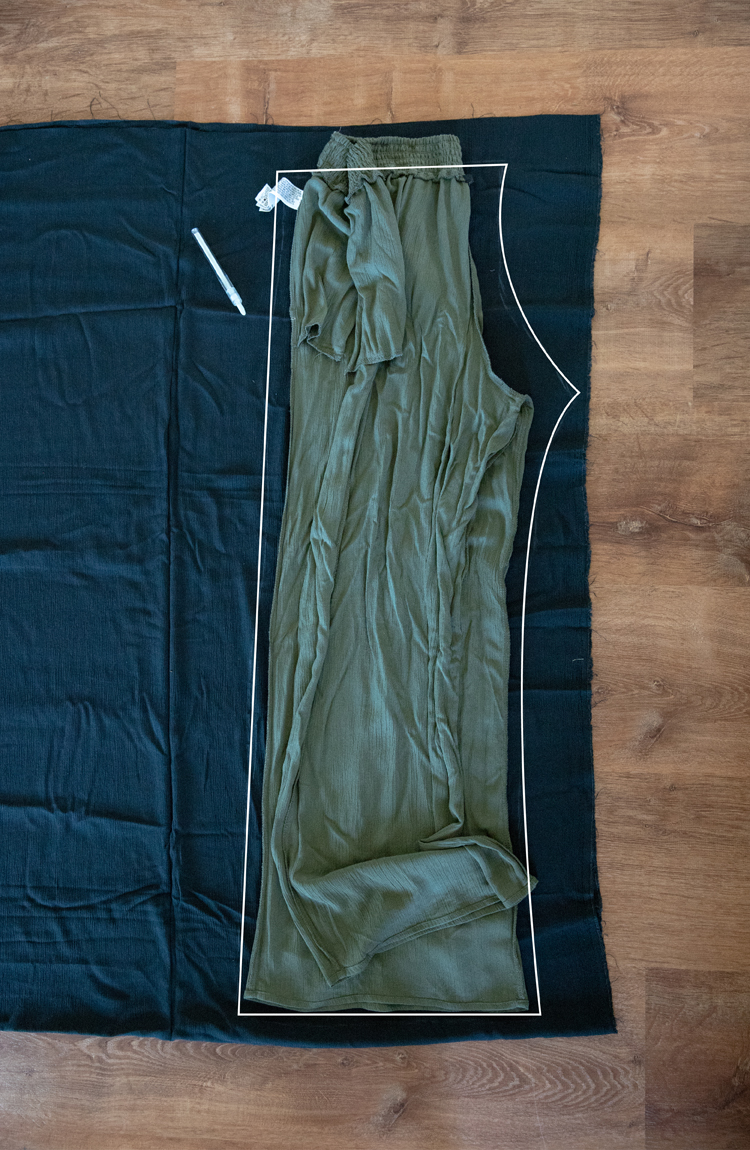
Be mindful that the front of the pants and the back of the pants have a slightly different shape.
Be sure to pull everything flat to the seams so you get the shape as accurate as possible. And don’t forget to add 1/2″ for the seam allowance.
If you are using different pants to create your pattern, keep in mind that you will want them to be very wide. For reference, I wear a size 2/4 and each of these pant leg pieces are over 13 inches wide before being sewn.
Note: One cut I didn’t include in the picture above was this slight forward dip in the front pant legs.

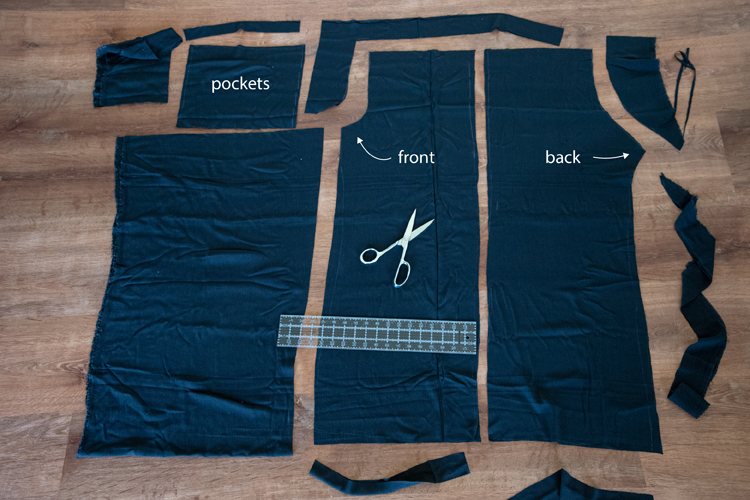
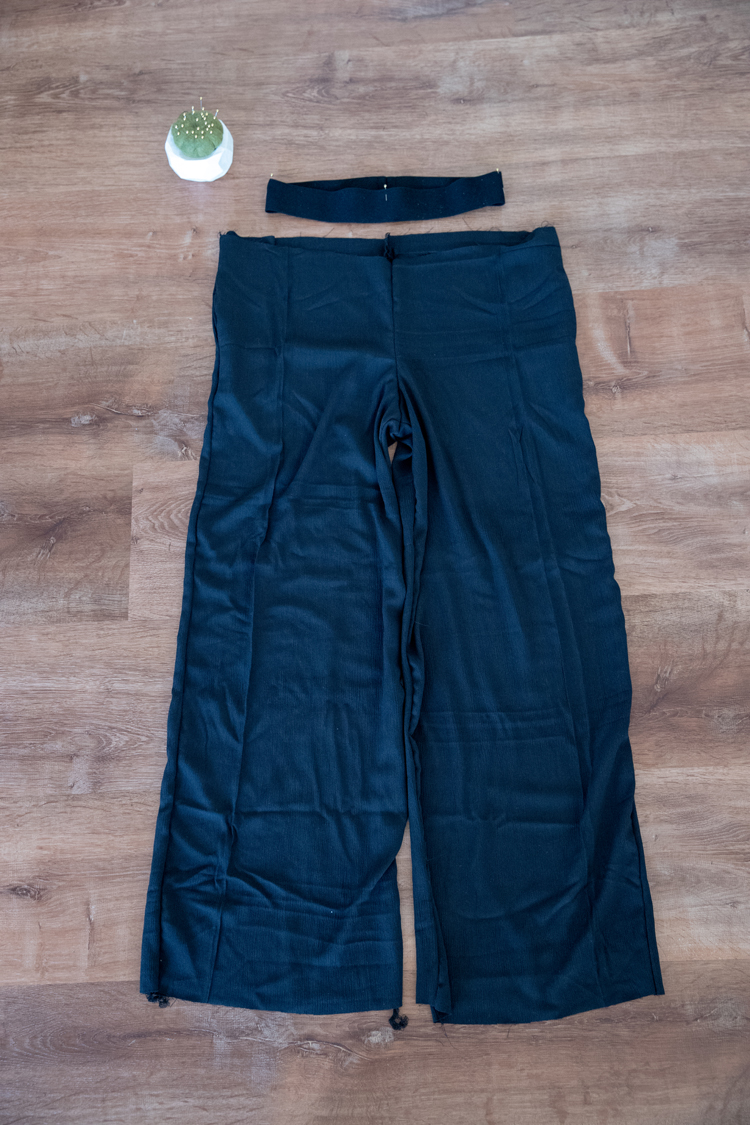
You’ll need 2 front pieces, 2 back pieces, and 2 pocket pieces.
My pockets were about 12 x 10 inches.
Rectangular Inseam Pocket Tutorial
Before sewing the pant legs together, you need to sew the pockets in place.
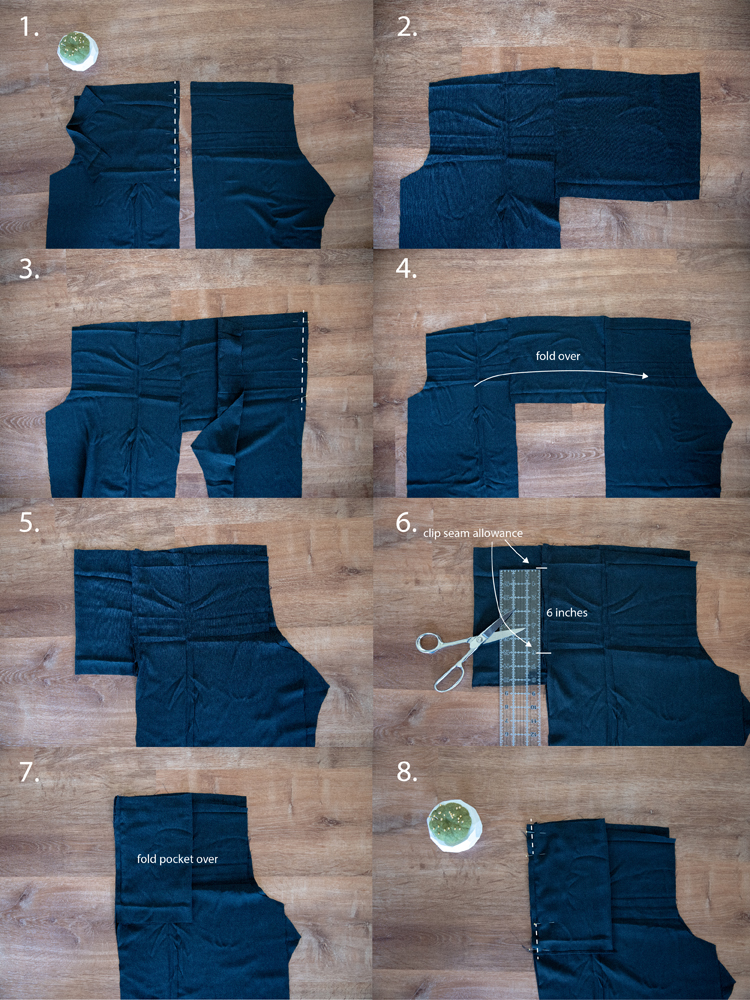
- Line up the pocket, in my case it’s one of the 10 inch sides, right sides together with the FRONT pant leg. It should align with the top of the pants and the side that is not curved. Pin and sew along this straight edge.
- Open up the pocket so that right sides of the pant piece and the pocket are facing up.
- Lay the coordinating BACK pant leg up with the other un-sewn edge of the pocket, right sides facing. Sew in place.
- Fold the back pant leg over so that all the pieces are right sides facing up. Then pick up the FRONT pant leg and fold it over to the BACK pant leg so that the pocket folds in half.
- FRONT and BACK pant leg should be lined up, right sides facing. The pocket should be folded in half on itself with right sides touching.
- Clip the seam allowances where you want your pocket opening. It should be at least 6 inches wide and it should start about 2 inches below the top of the pant leg.
- Fold the pocket over onto the pant legs.
- Sew above and below the clipped seam allowances with a 5/8 inch seam allowance.
Repeat for the other pocket and pants pieces.
Sew Pants Together
To fully enclose the pockets, you need to sew the pants together.
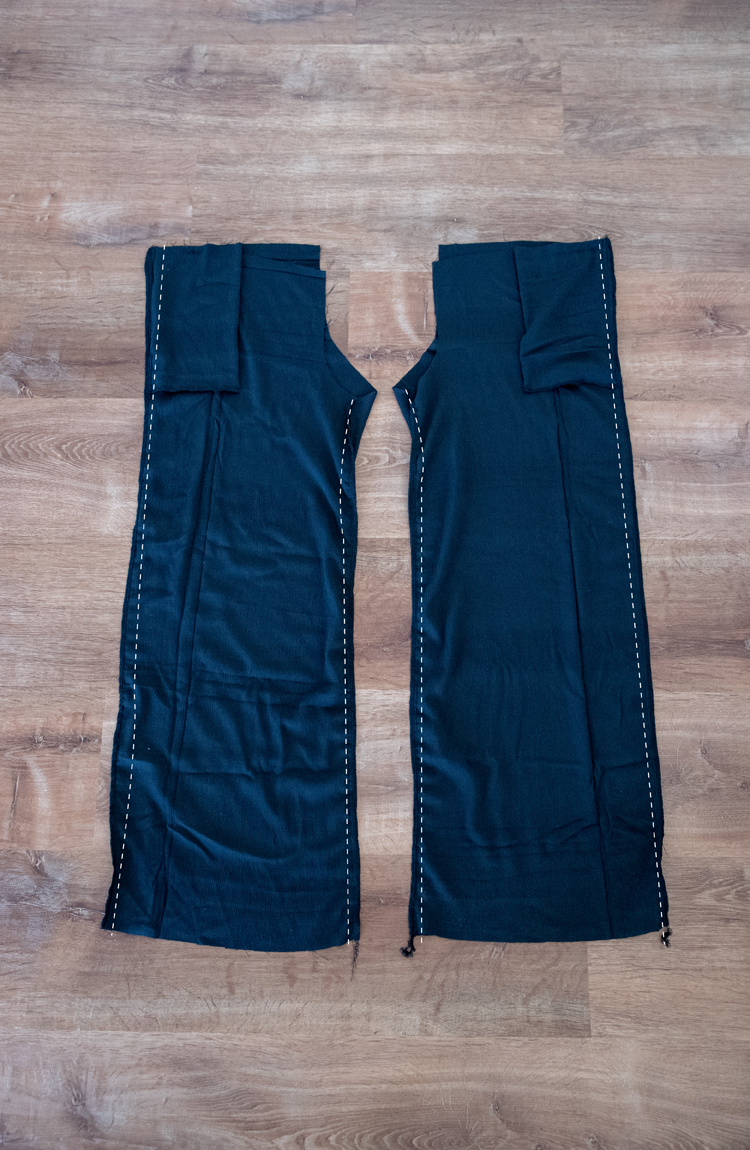
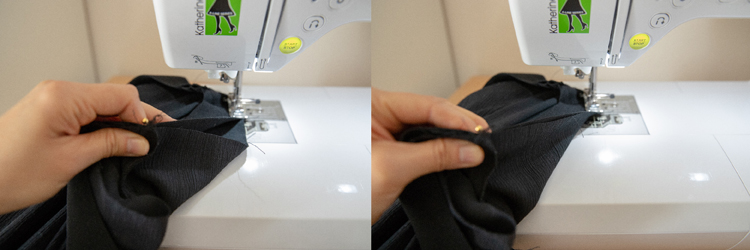
Sew the outside and inside seams of each pant leg with a 1/2 inch seam allowance, taking care not to sew beyond the pocket opening you created (which is why I had you sew them with a 5/8 inch seam allowance). Finish the raw edges with a serger or a wide, dense zig zag stitch.
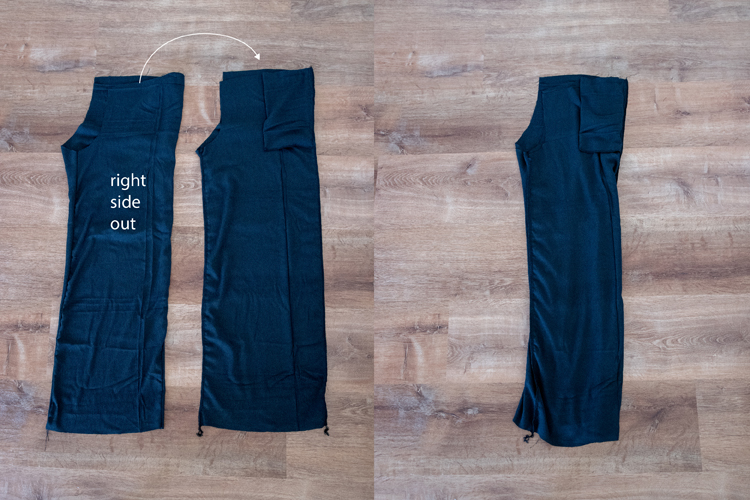
Turn one pant leg right side out and insert it into the other pant leg that is inside out. Just like pajama pants. 🙂
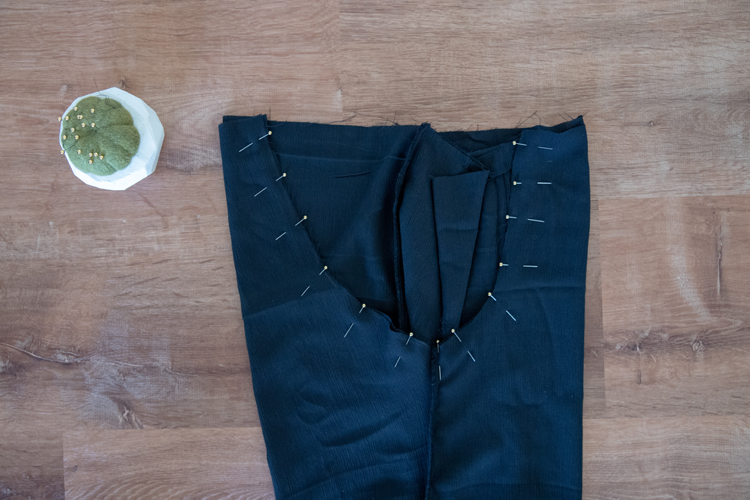
Match up the curved edges and sew in place. Finish the raw edges.
Turn it all right side out.
Attach Waistband

Cut your elastic to your exact waist measurement. Sew your elastic together with a 3/4 inch seam allowance. Open the seam and sew the sides down close to the raw edges.
Attach the waistband, by marking the quarter points of the pants and the elastic. The quarter points for the pants are simply all the seam points.
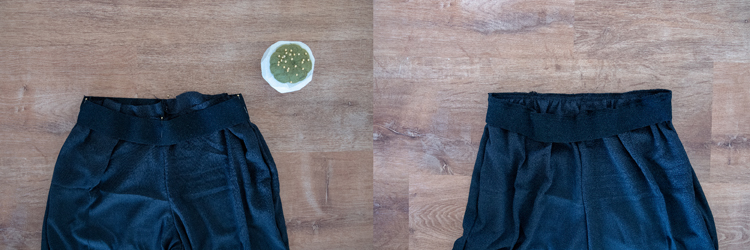
Match quarter points of the elastic up with the pant’s quarter points and pin in place right sides facing. Sew with a zig zag stitch at about 3/8″ seam allowance, stretching the elastic to fit the pants as you sew.
Try on the pants and hem to desired length.
I rolled the bottom edges up about 1/4 inch, twice and sewed along the folded edge.
Done! The fabric is naturally supposed to be wrinkly, so it’s no iron and easy to care for. Simply machine wash and hang it to dry.
As I mentioned earlier, I have found that the fabric contracts after it’s washed. Hence the warning to not wash it before sewing it. After wearing it for about a half hour it should relax to the size it’s meant to be and not cling to your legs.
P.S.This happens with both my ready to wear pair and my handmade pair.
I tried pairing them with a black shirt so that it would look like a romper. A bathroom friendly romper. 😉
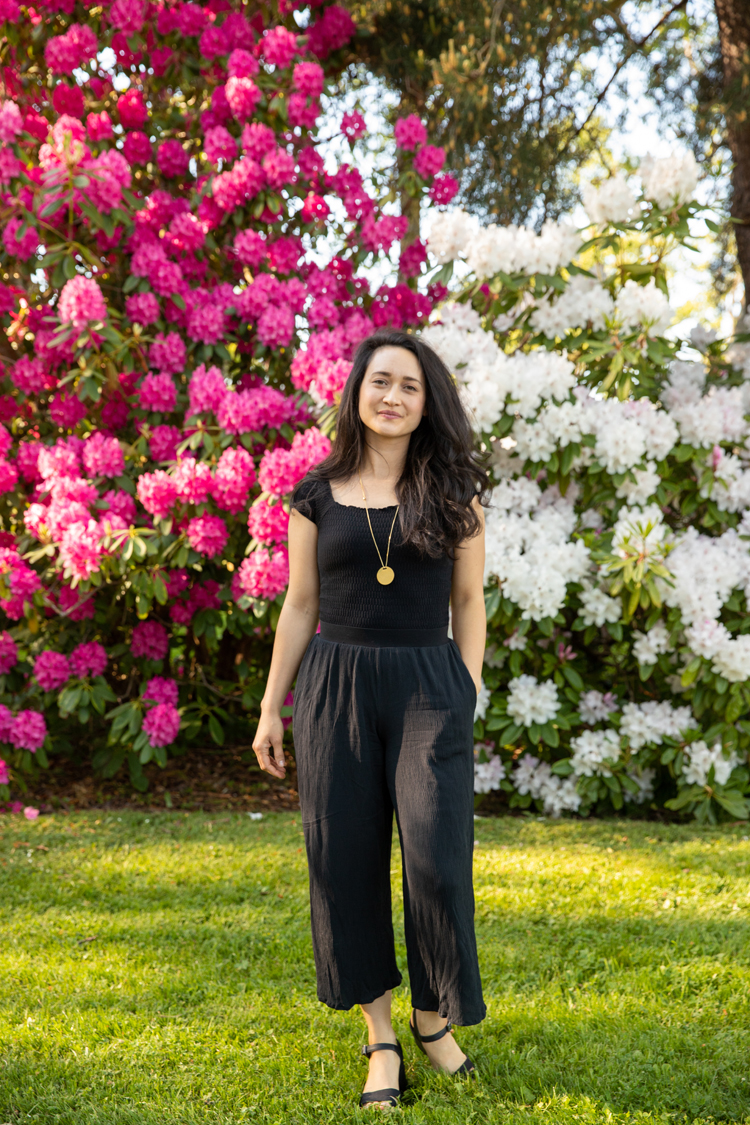
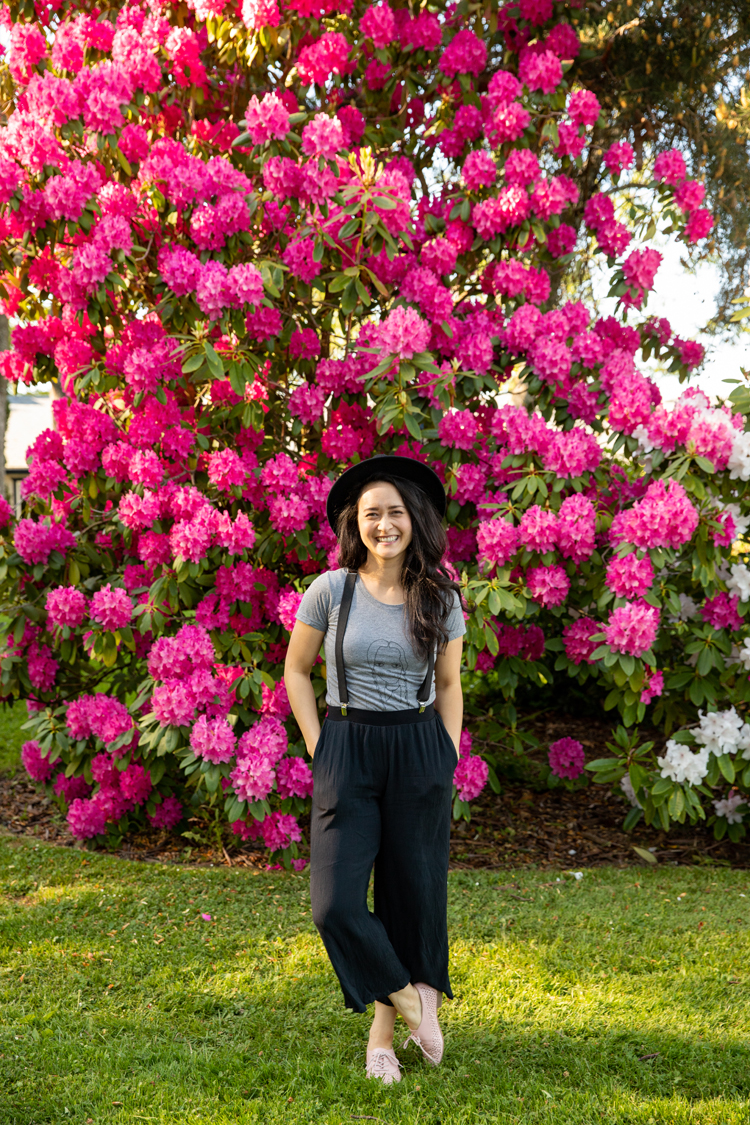
But the way I prefer to wear them the most is with a tucked in tee or a tee tied in a knot at my waist. I threw in some me-made suspenders this time as well (tutorial forthcoming). My husband thinks I look like an old man.

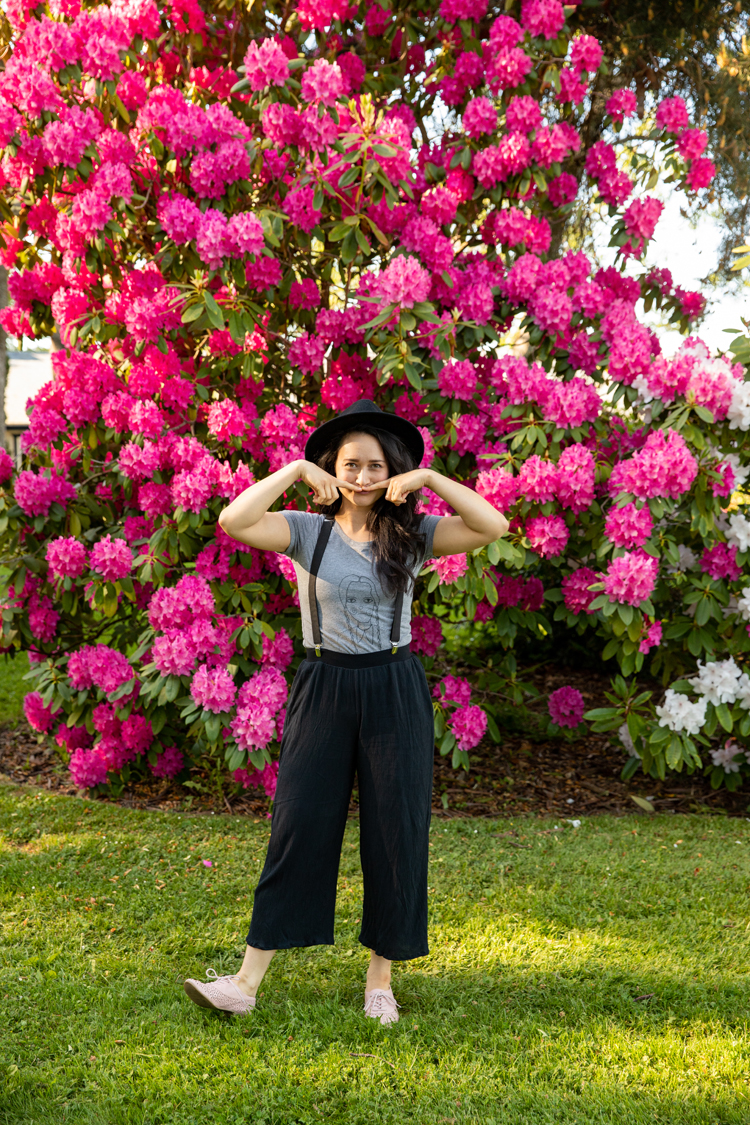
I don’t know what he’s talking about. 😉 haha.

My shirt is from my friend Taylor’s shop on Society6. I love the style of her art. You can find her @itsthespacebetween on instagram and Itsthespacebetween is the name of her shop. I got her Wednesday Adams tee that she only offers as a long sleeve tee now.
I like that it doesn’t look like just any RTW graphic tee. How’s my Wednesday Adam’s face?


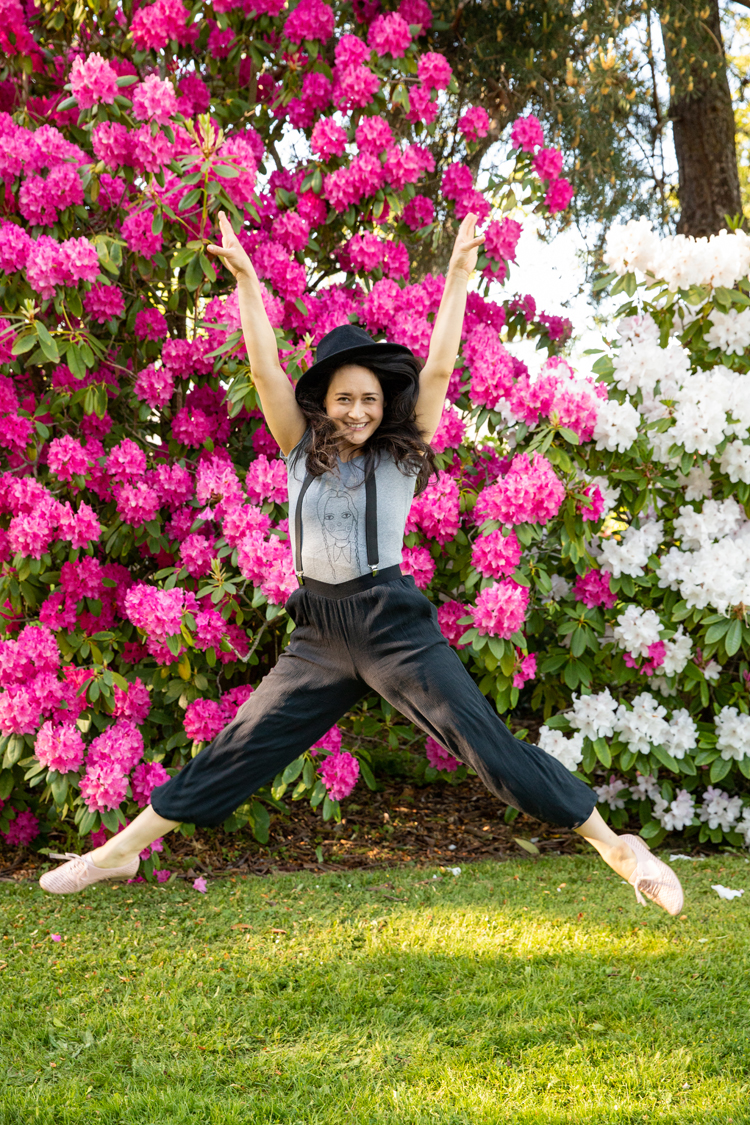
You made it to the end…hooray! And really, how could I end this post without a jumping shot in these super comfy pants?
Thank you for sharing your method of inserting a pocket. I tried this – it was simple – I love it!! ^^
Delia these pants are amazing on you! And they look so comfy. I love how you style the whole outfit – perfection!
These are super cute- thank you for taking the time to share!
Hello!
I’ve been wanting to start sewing my own clothes for a while now. This will be my second project, thank you for the pictures and bright dotted lines to illustrate! I think it looks manageable for a beginner like me!