

Making handmade gifts is both my most favorite part and often the most stressful part of the holidays.
Thankfully, projects like these wood burned rolling pins add a nice bespoke, handmade touch to gifts in just minutes, so you have time for other holiday merriment!
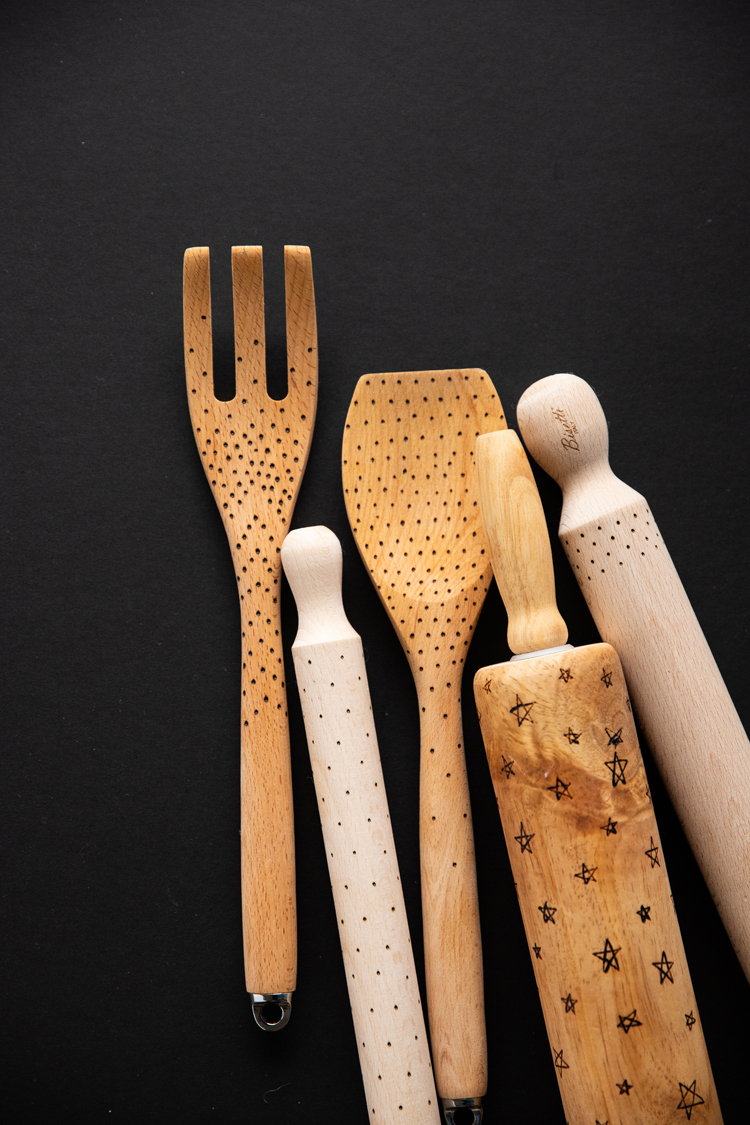
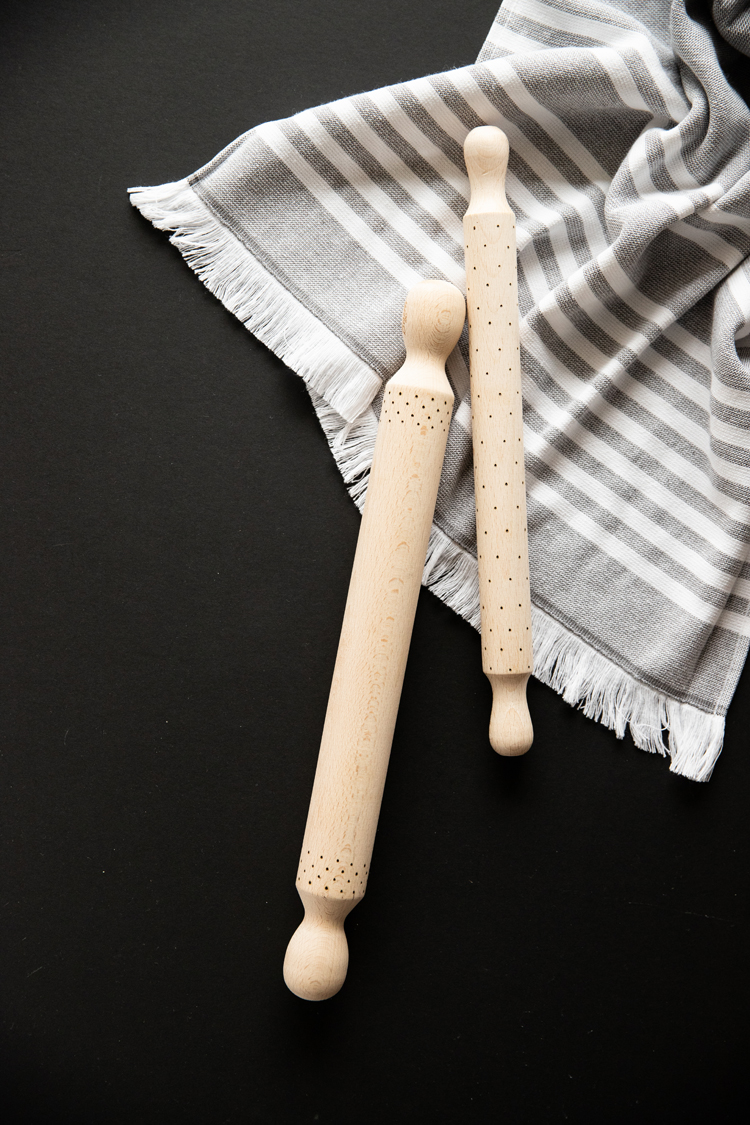
The key to this being a quick project is in the design. I have found that not only are simple dots elegant, yet effective, but they are also very fast and very forgiving.
If you are brand new to wood burning, you can do this project!
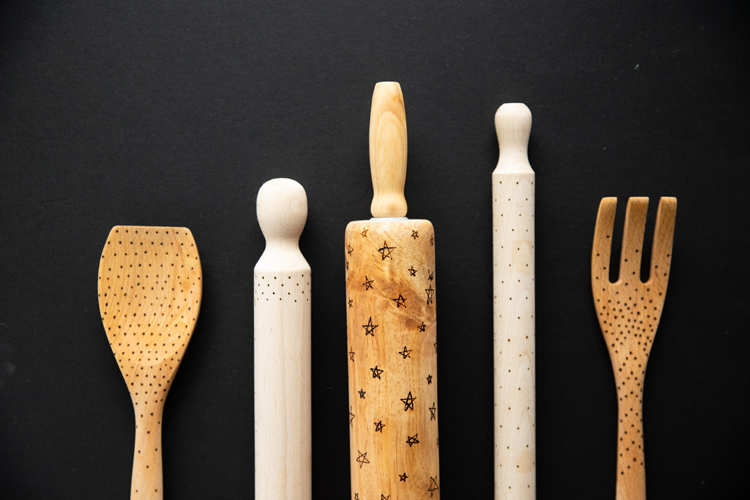
Note: The golden color of the wood on the fork, spoon, and baker’s rolling pin (stars) is mostly from use. They started out a little darker than the pastry rolling pins, but not much. After making some for gifts a few years ago, I decided I wanted some too! I have found that the oils from doughs and food season the wood a little and bring out the grain pattern. I only hand wash my wood utensils to keep them from drying out and to let the helpful oils remain. You can also pre-season your utensils by rubbing food-grade mineral oil into them with a clean cotton cloth.
Materials
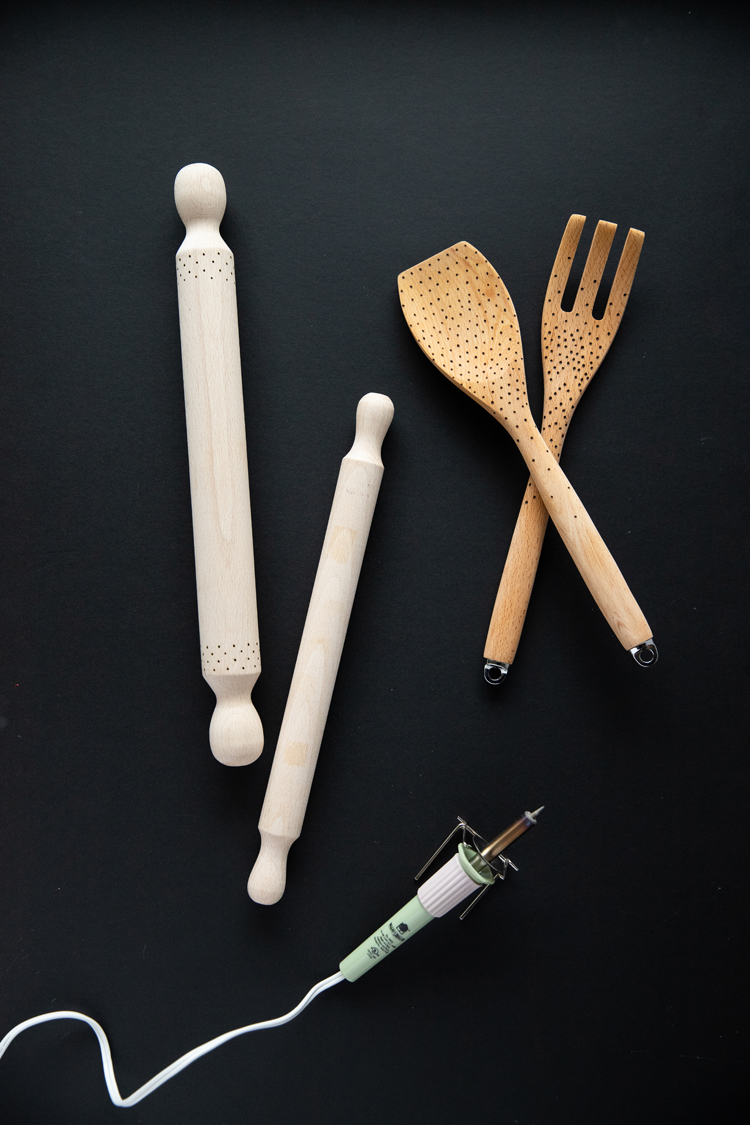
- Wood Burn Tool
- Wood Rolling Pin
- Optional: Pencil
Material Notes:
– I purchased my wood burn tool kit from Michael’s for about $15-20 years ago. I bet you could get a better deal with a coupon. I have the Walnut Hollow brand that comes with the wood burn tool and several kinds of tip attachments. I mostly use just the pointed tip though.
– You can find wood rolling pins almost anywhere, but my favorite place to look is Home Goods, Marshalls, TJ Maxx, or Ross. The selection in those types of stores is unpredictable, but they usually carry high end brand rolling pins for just a few bucks. You can get French rolling pins, pastry rolling pins (like the ones I use in this tutorial), and other harder to find rolling pins that make unique and more charming gifts. I have also found nice sized traditional baker’s rolling pins for about $5 at Walmart.
– Use a pencil to draw on your design beforehand if you like. I find that this just creates another step and I usually stray from my design anyway.
Note: Wood burning works best on unfinished wood and woods that are not bamboo. While it does burn, it is harder to get consistently dark marks on bamboo. You may have to hold down your wood burn tool for much longer to get the look you are going for.
Tutorial
Step 1: Plan your design.
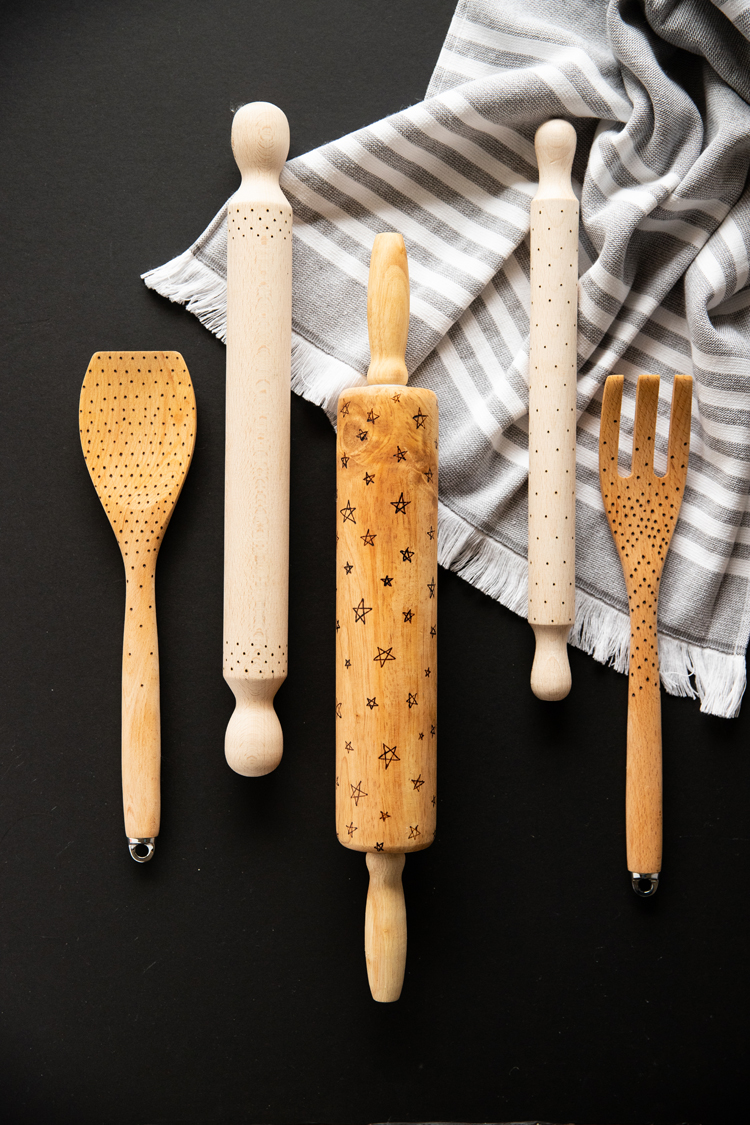
Decide if you want to cover the whole rolling pin or just the handles. The burn marks will leave small indentions in whatever dough it rolls, so keep this in mind if you think your recipient will have a preference.
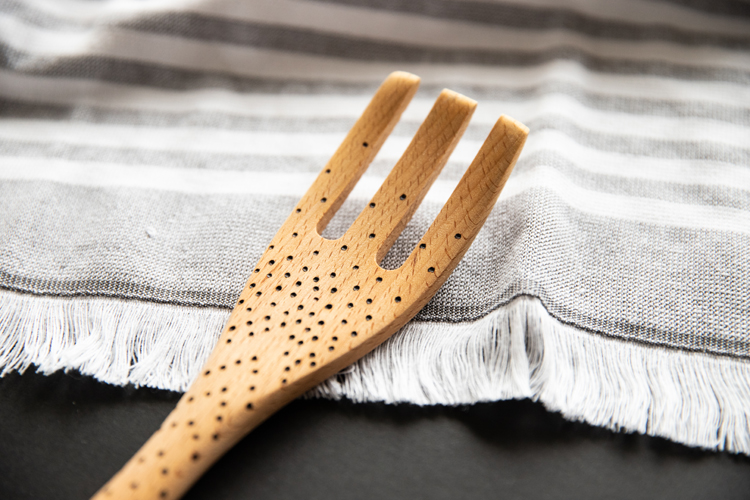
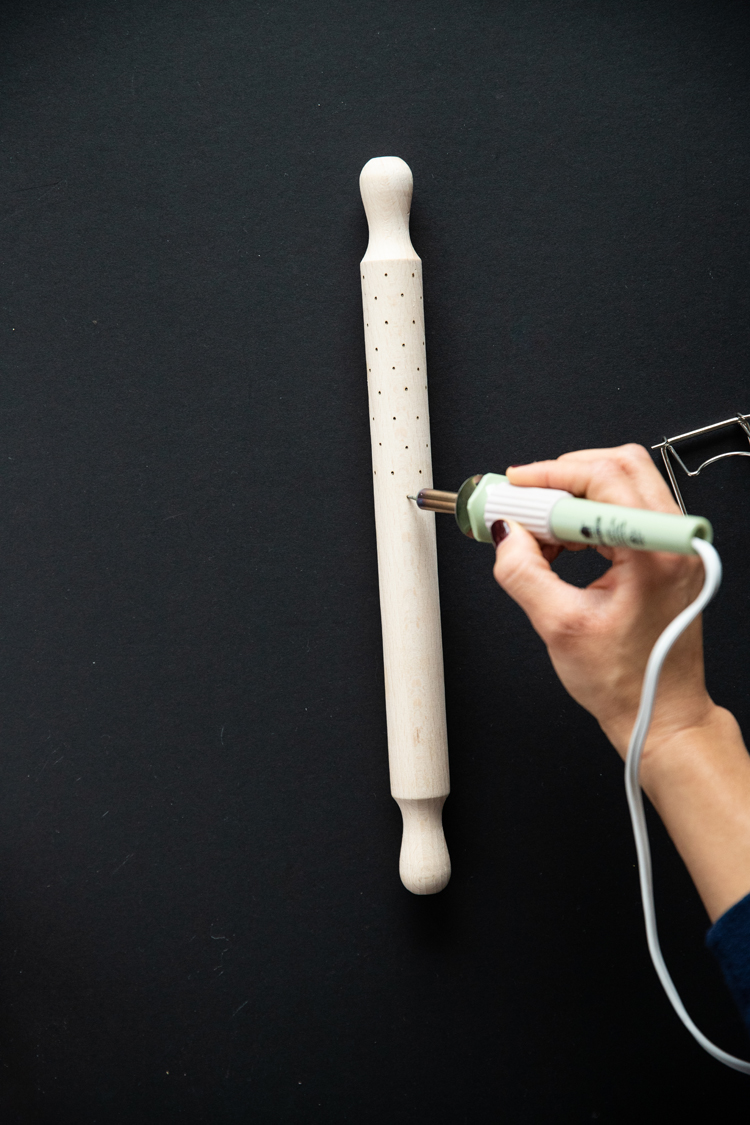
I find that staggering rows of dots provides the cleanest look and is the most forgiving if you place an uneven dot or two.
Mark your design out lightly with pencil if you desire.
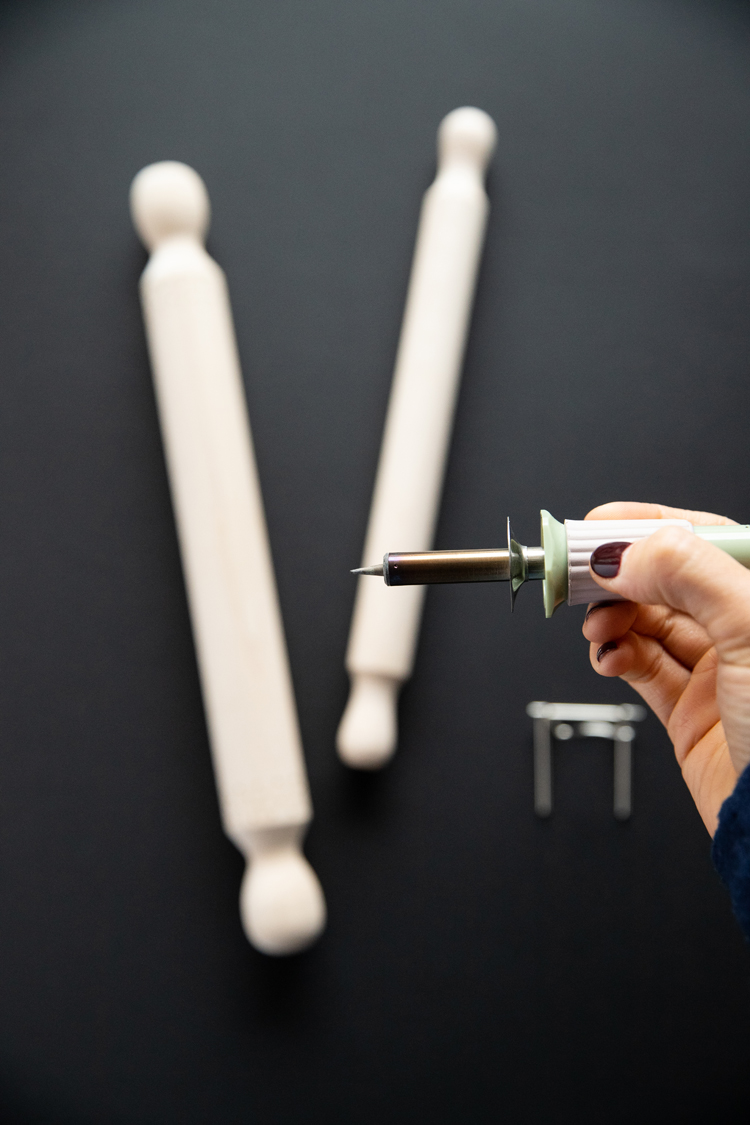
Step 2: Burn your design.
Using the pointed tip, burn your dotted design. I have found that it works best to hold the tool in place for about 1-2 seconds to get a nice prominent mark.
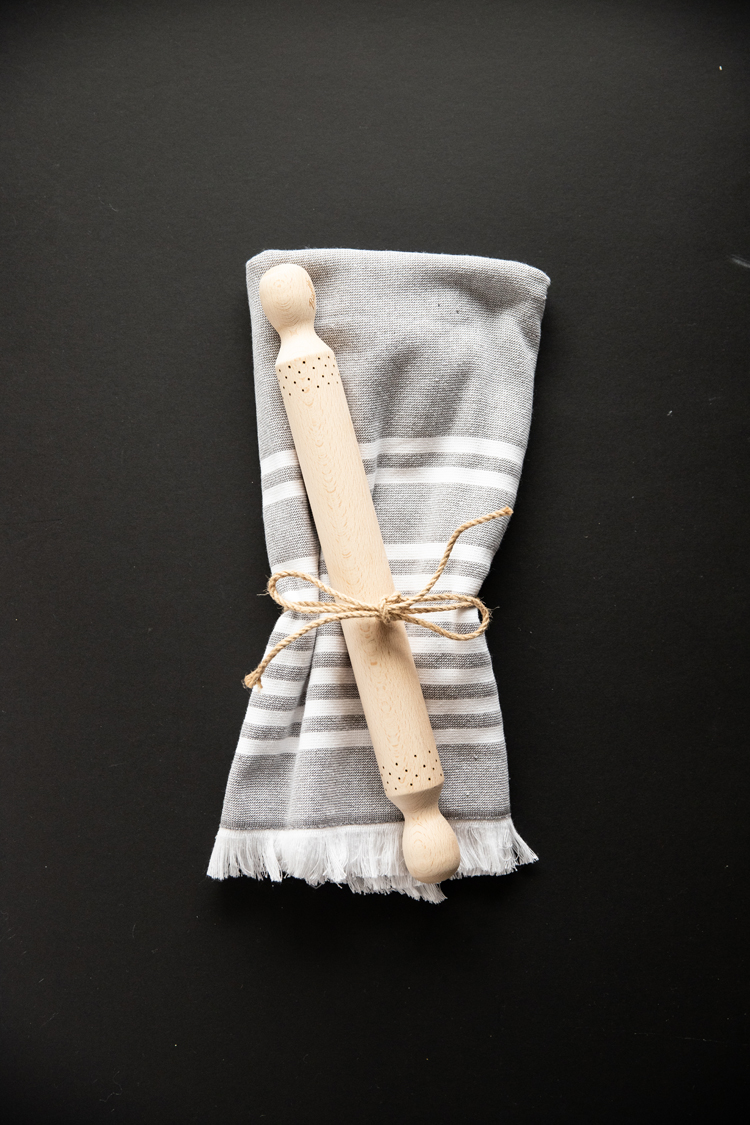
That’s it! Erase any pencil marks if you made them. Then tie it up your rolling pin with a cute towel and a gift card for a quick, easy gift with a sweet handmade touch.
Of course, this works well on any wooden surface. Add designs to wooden spoons, cutting boards, or venture outside the kitchen to frames, hangers, or crochet hooks and knitting needles. I’ve linked to tutorials that I have shared using some of those materials.
Years ago, I also had my kids draw designs on wooden spoons, which I burned into the wood. This made very memorable, and practical gifts for grandparents. Even my toddler was able to create cute little scribbled designs that we still cherish today.
How do you get the smell out of the laser embossed rolling pins.
I haven’t laser embossed mine, just wood burned them, so I don’t think I can properly answer your question. For the wood burned smell, I have found that just soap and water and some time will help it dissipate.