

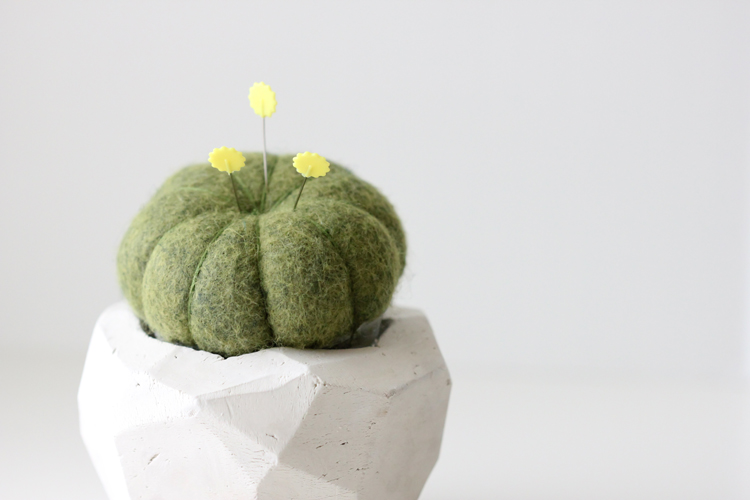
If you caught my geometric cactus pin cushion tutorial from yesterday, this is the follow-up how to post for the clay pot portion of that project.
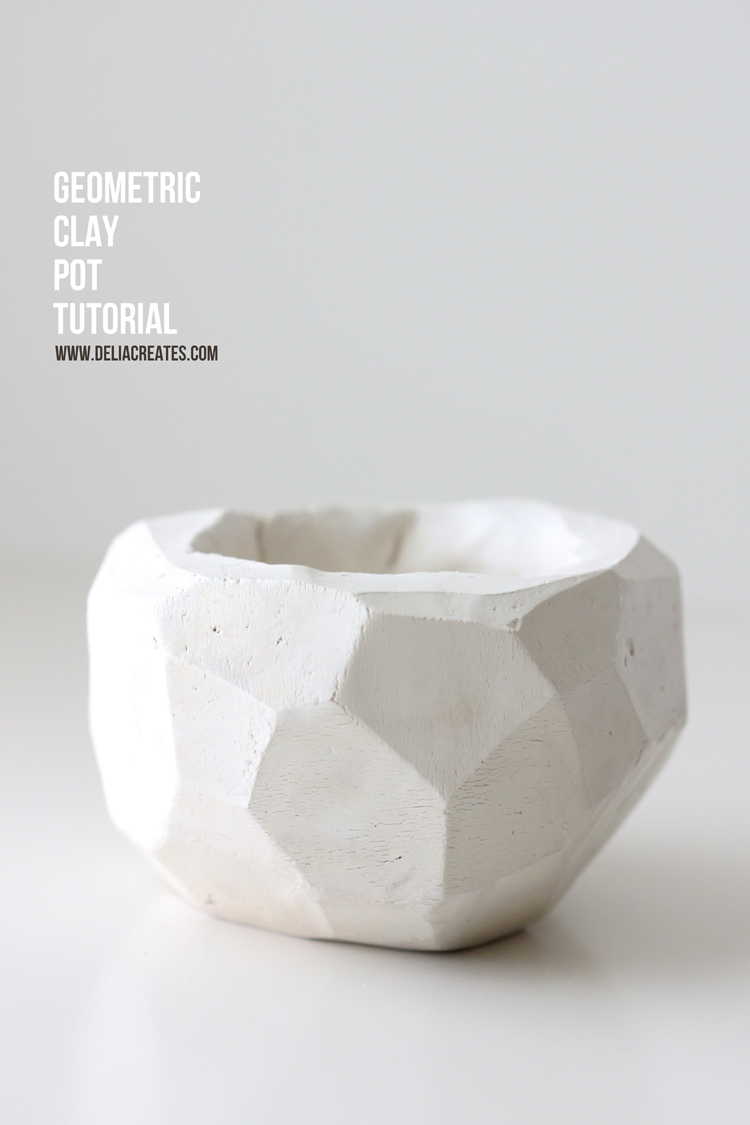
It’s a very simple and easy clay pot DIY. It’s similar to a lot of polymer clay pot projects I’ve seen around Pinterest but this tutorial uses air dry clay, which requires a few different steps.
Materials:
Air Dry Clay – I use Crayola brand – yep, the kind for kids! Sharp knife Cutting board
It doesn’t require much. Nice right?
Okay, let’s do it…
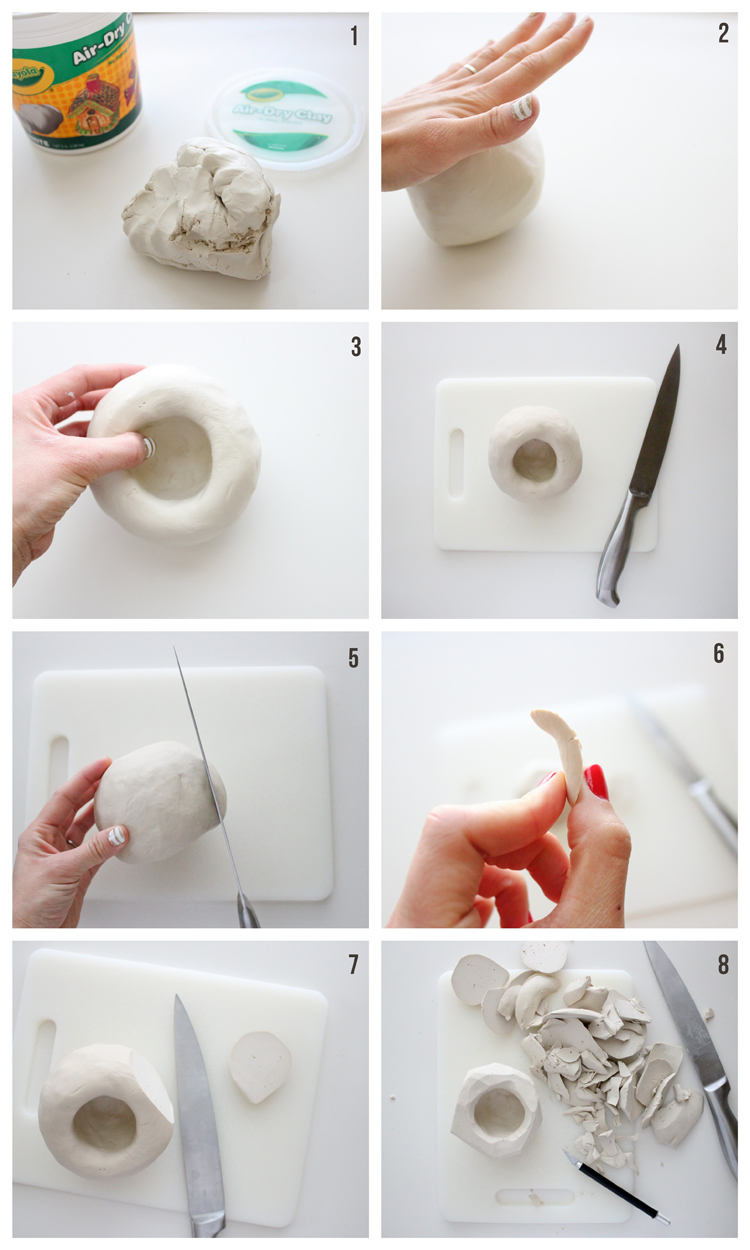
1. Pull out a large chunk of clay. You need to grab a piece a larger than you want your finished pot to be, because you will be cutting some clay away as it dries.
2. Roll out your clay as much as you can into a ball shape. The more you roll the clay the more air bubbles you will push out. It is difficult to get all of them out. The finished consistency of this clay will have some small pores similar to concrete.
3. Dig your thumbs into the center of the ball of clay and form a bowl shape with very thick sides and a nice thick base.
4. Let it dry for about 24 hours or until the clay is firm but still soft enough to cut into without it crumbling or resisting too much.
5. Cut straight slices into the sides and bottom of the pot to create geometric facets.
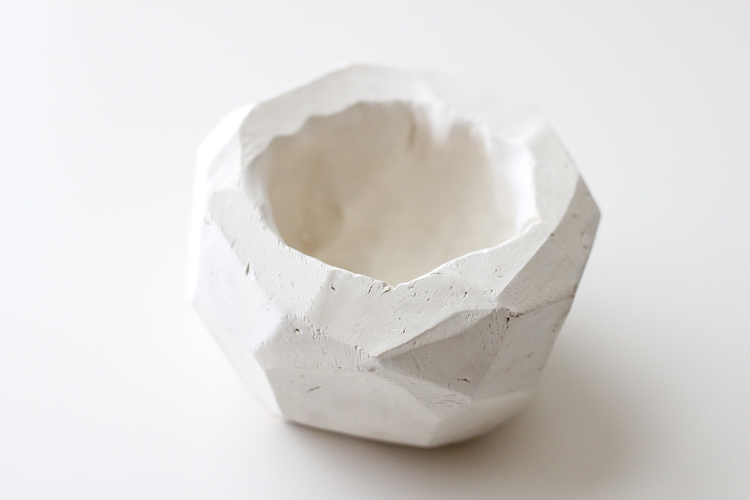
6. This shows you how the clay should look and feel when you cut it away. If the clay is too soft, and pulls with the motion of your knife too much, then set it aside and let it dry a few more hours or until it is ready. Making sure the clay is the right consistency is important to getting clean cuts.
7. Continue to cut slices away until you get it to look how you want it. You may decide to cut smaller slices out of the rim of the bowl with a sharp exact-o knife as I did.
8. When you’re done you should have a nice pile of clay scraps.
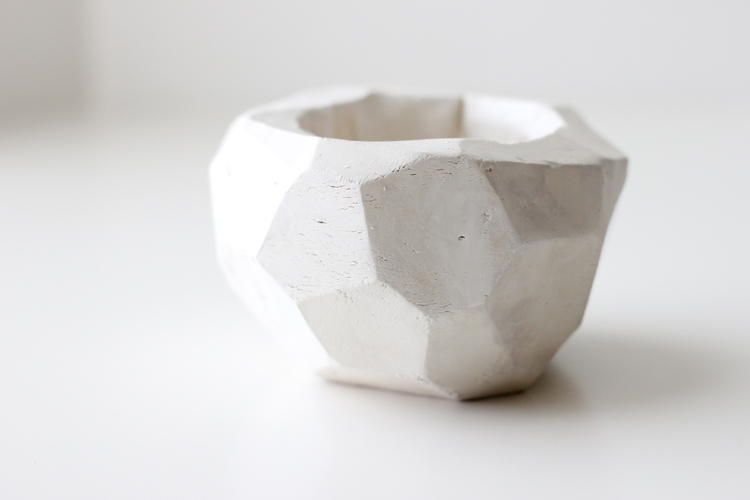
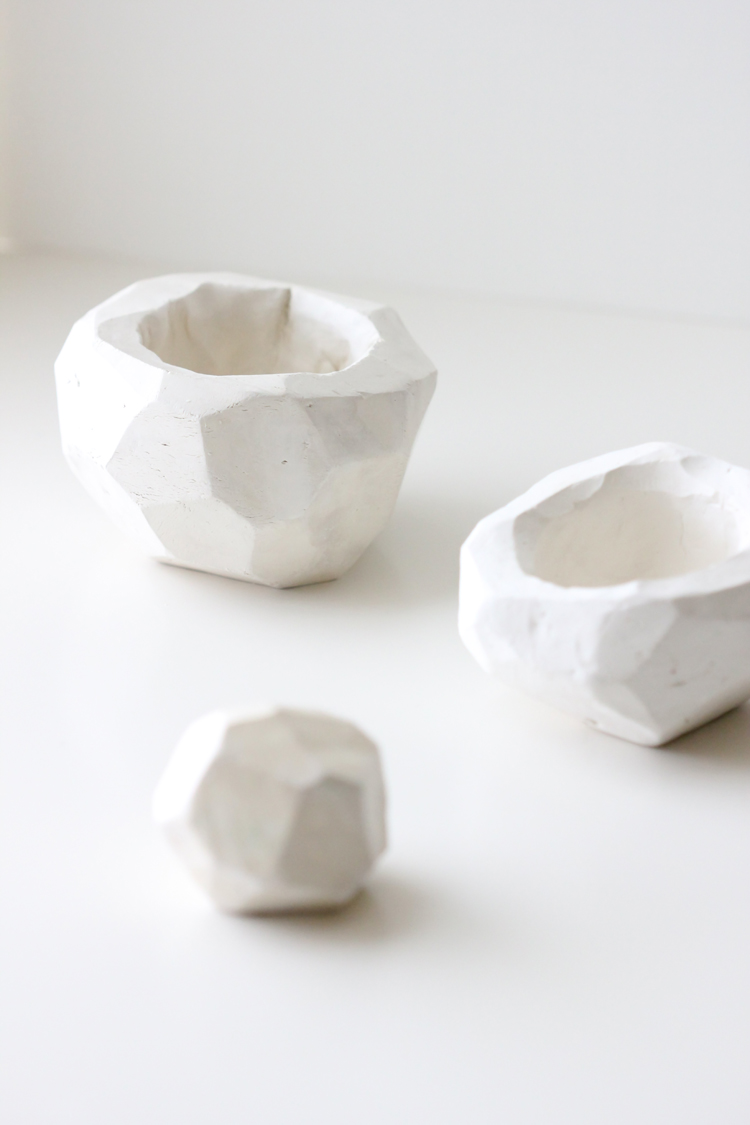
Let the pot dry for another several days. It can take anywhere from 3-7 days for the pot to fully dry, depending on how big and thick it is. It is usually dry enough for crafting after a couple of days, but will look gray until it is fully dry. When it’s completely dry it will look more white than gray and it will feel nice and solid.
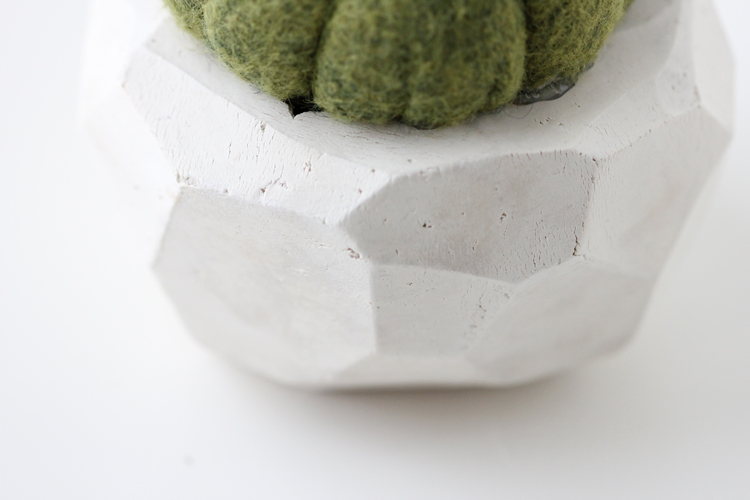
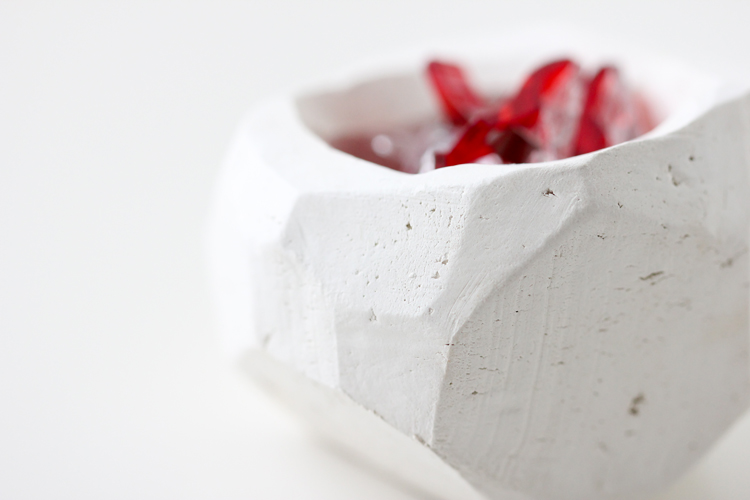
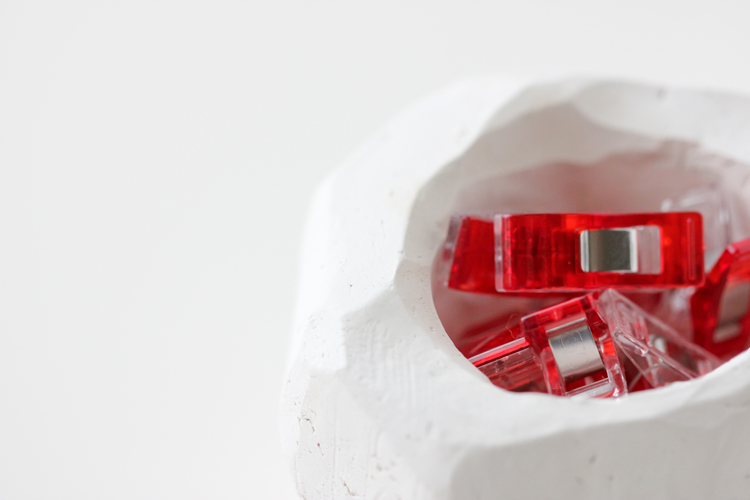
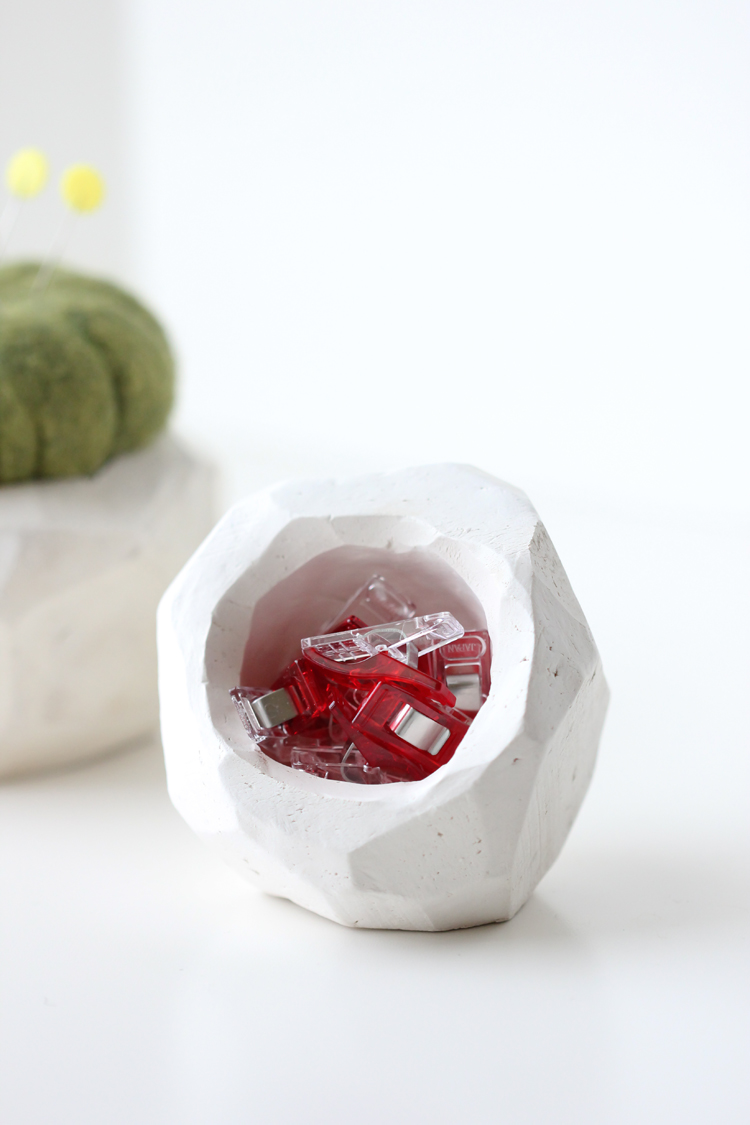
Add a pincushion, maybe some candy, or add some clover (quilting) clips.
*I don’t advise using this as a pot for a real plant. It may hold up okay, but because this is air dry clay, it can re-hydrate somewhat into a clay if it is soaked in water. You may be able to get away with a succulent because those require such a small amount of water.
I purposely made one facet of this bowl particularly large and flat so I could change the orientation of the bowl if I want to. It’s a fun feature. 🙂

I told you this project was easy, right? It’s a really fun and forgiving project too. The cutting away part is my favorite. I like sculpting it and helping it find it’s best shape.
It’s also a great project to fit into a busy schedule, since by nature of the material you have to work in small chunks of time while you let it dry and do it’s own thing.
HERE is a link to the cactus pin cushion tutorial again. Or fill with other fun stuff to your hearts delight!
 Happy crafting!
awesome thank you! now we are all set to make the pot and the pincushion!! I will try that someday.
Thanks Sophie! Aside from the drying time, it is pretty quick!
I love this!! I think this would look so cute as a little pot for a succulent 🙂 If I were to make one for a succulent, do you think it would be a good idea to carve a drainage hole in the bottom, or leave it as is?
I think drainage holes are always better to have, but they aren’t really necessary with succulents. You just water less frequently and make sure the soil is nice and dry before watering again. I haven’t tried real succulents in a pot like this. Some types of clay can absorb all the water from the soil and not leave much for the plants. I had an Ikea clay pot do that to a couple of plants and it killed them. I doubt this kind of clay would do the same, but it’s something to keep in mind and watch for. I hope that helps!
Thank you! I don’t know much about keeping houseplants and succulent, so yes, your advice does help 🙂 I’m totally going to try making one of these and see what happens!
You could make a small hole in the bottom using a straw while it’s still wet, and finish the pot with a glaze which should prevent it from absorbing any moisture from the soil. I love this!
Great idea!
i love this, delia! the cactus too! gotta get some of that clay the next time i’m at target.
I too have done this project but NOT exactly… Youre a genius for using that clay! I have used it before & never thought of how simple it would be to cut bfor almost perfectly dried. Genius! Plus, the extras that you use them for, again: pure genius! Thank you so much for sharing! You truly maximized on the uses of this finished product. 😀
SO in love with this pot and the process seems so easy! I can’t wait to give it a try!
The process looks so manageable and the end result is amazingly cute! Now for my question. That looks like the 5lb tub of clay… (?) How much of the tub did you use to make one pot? Again, thanks for the tutorial!!
Thanks Amanda!
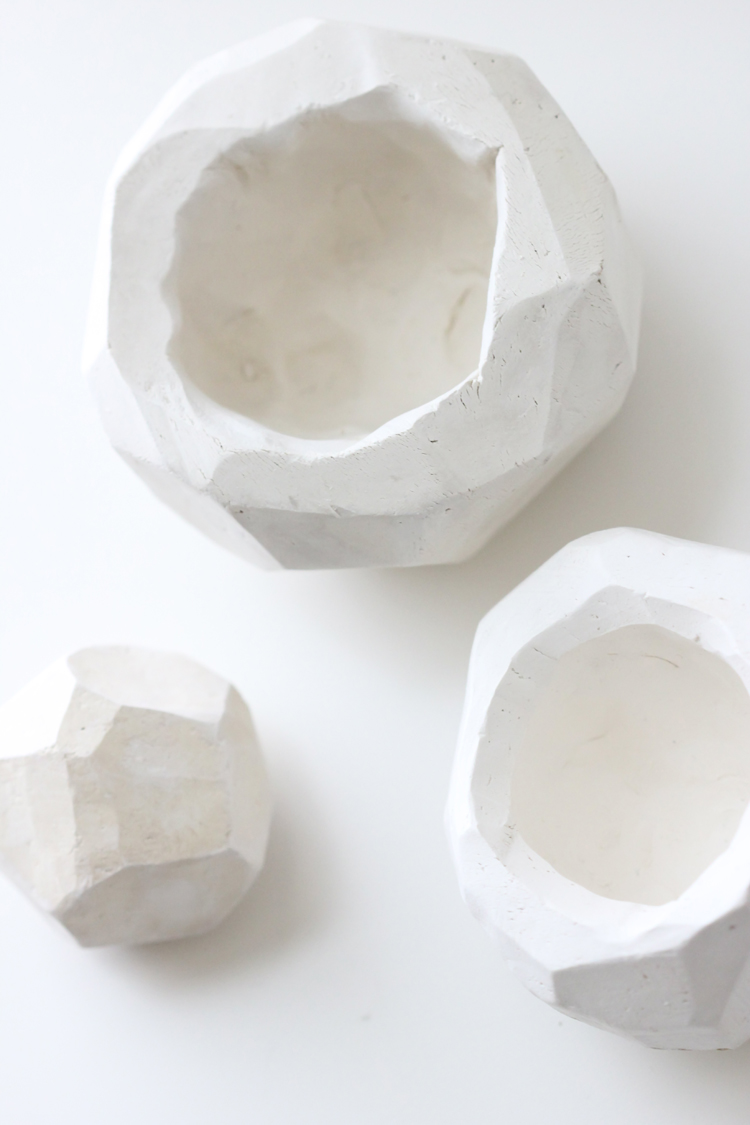
Good question. I would say that the pot I share in this tutorial used maybe 1/4-1/3 of a 5 lb. tub. The finished pot is about 3 inches wide by 4 inches tall. It takes a lot of clay because you are cutting parts of it away.
This looks great! Good idea to have the opening facing any way because all the sides are flat, i wouldn’t have thought of doing that!
Thanks Lisa!
Way cute! I need to make this!
hello! just came across and i love this tutorial! but i have a question.. can you use the small chunks you cut? i mean, you leave the ball until it kinda half-dried before you cut it. then you cut it. in that condition, the chunks can be dried without you realize it. i don’t think i have the heart to throw away all those chunks :/ so can they be used again or not?
i hope it’s not confusing, english is not my first language hehehe. thanks a lot!
I totally understand you…no need to apologize. 🙂 There are some chunks that are big enough to salvage and use as jewelry pendants (I have a tutorial for that here: http://www.deliacreates.com/geometric-clay-necklace-pendant-tutorial/). I supposed you could keep the other pieces for other uses as well. I just threw most of my scraps out though.
Where can I get that air dry clay?
You can get it at Wal-Mart, Target, Michael’s etc. Almost anywhere that sells Crayola brand products. Hope that helps!
I tried this and it turned out great! I didn’t roll mine out enough and I had too many bubbles so what I did was wet my fingers a little bit and then gently smooth them out. I’m going to try putting a succulent in it and see what happens! Thank you for the idea!
Ooh! Let me know what happens with the succulent. Glad you liked the tutorial Mae! Thank you!
Could you use Polymer Clay and just bake it? Do you think that would work?
You totally could!