

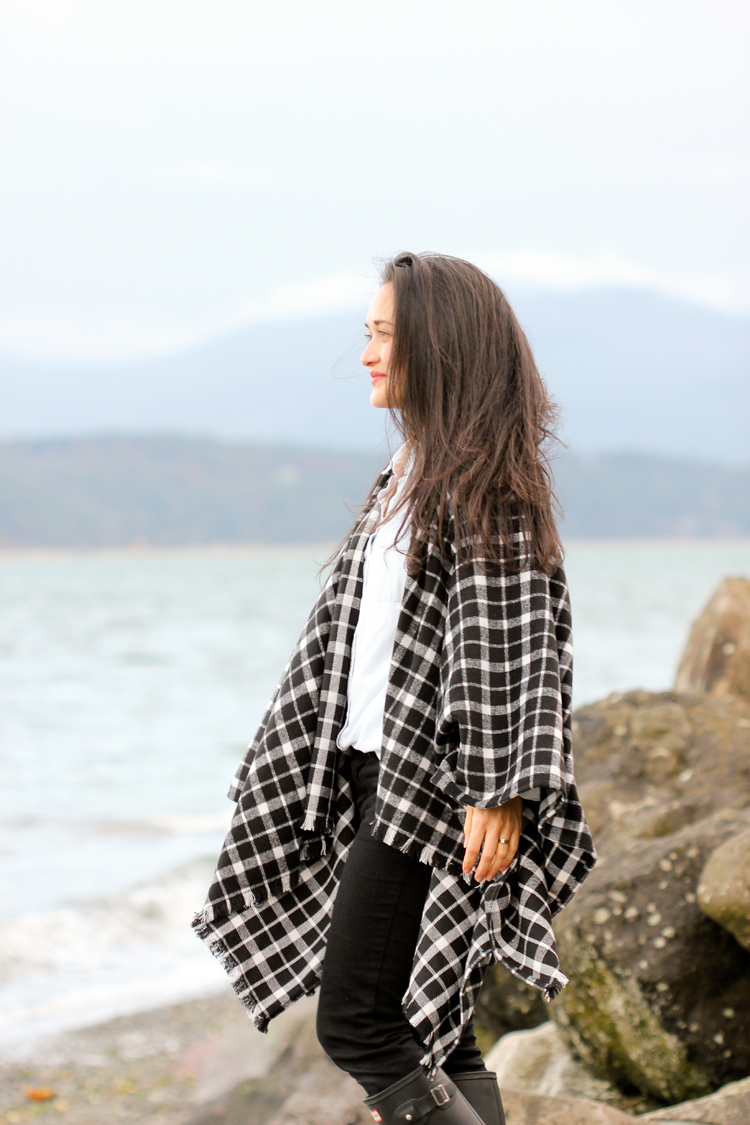
You guys…I think I’m really getting into the wearing a blanket trend.
Blanket scarves, warm ponchos…and my favorite: cape scarves. Give them to meeeee!
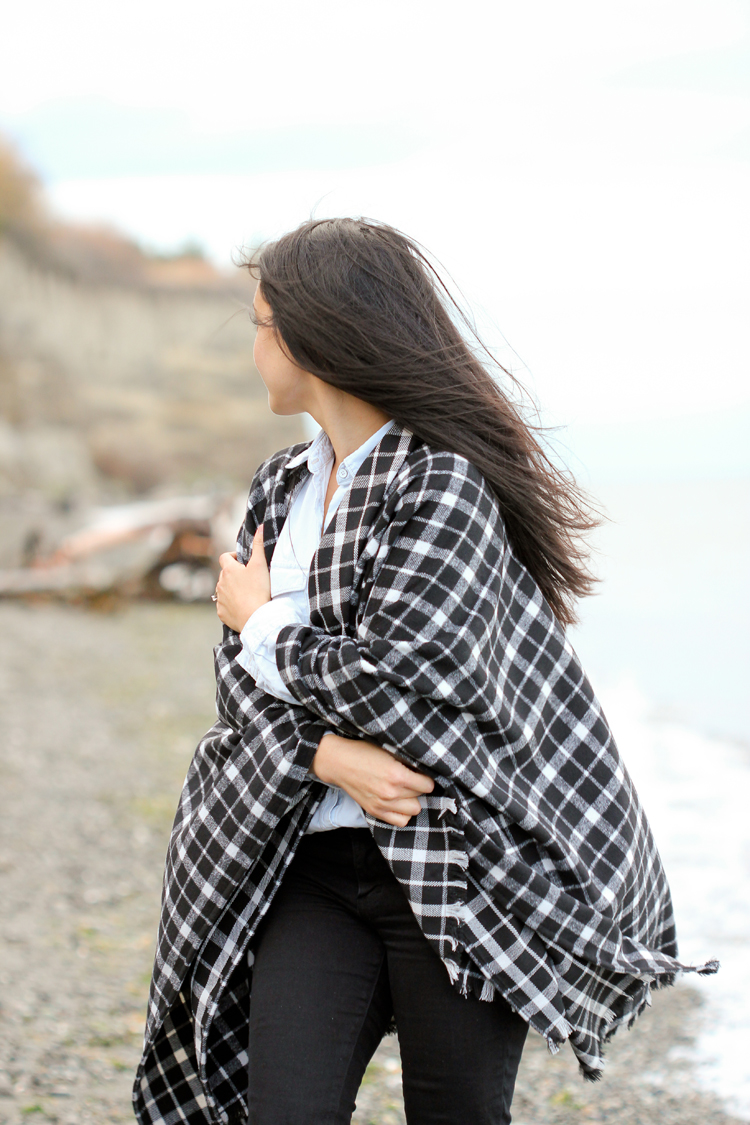
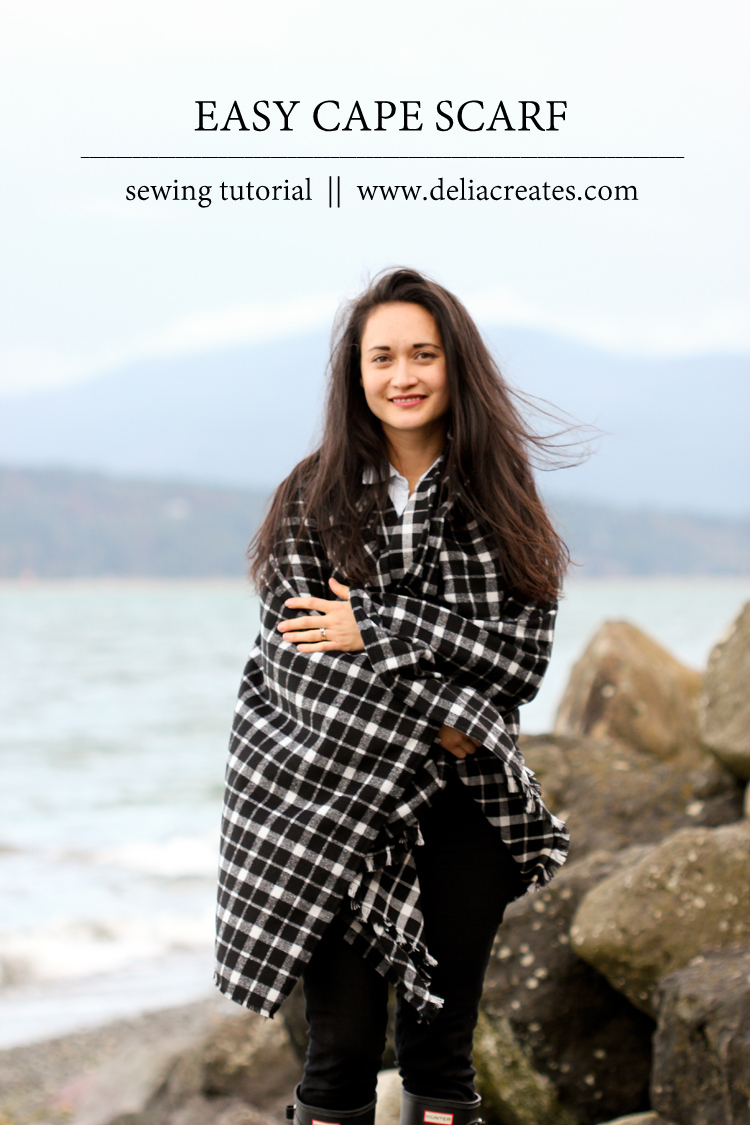
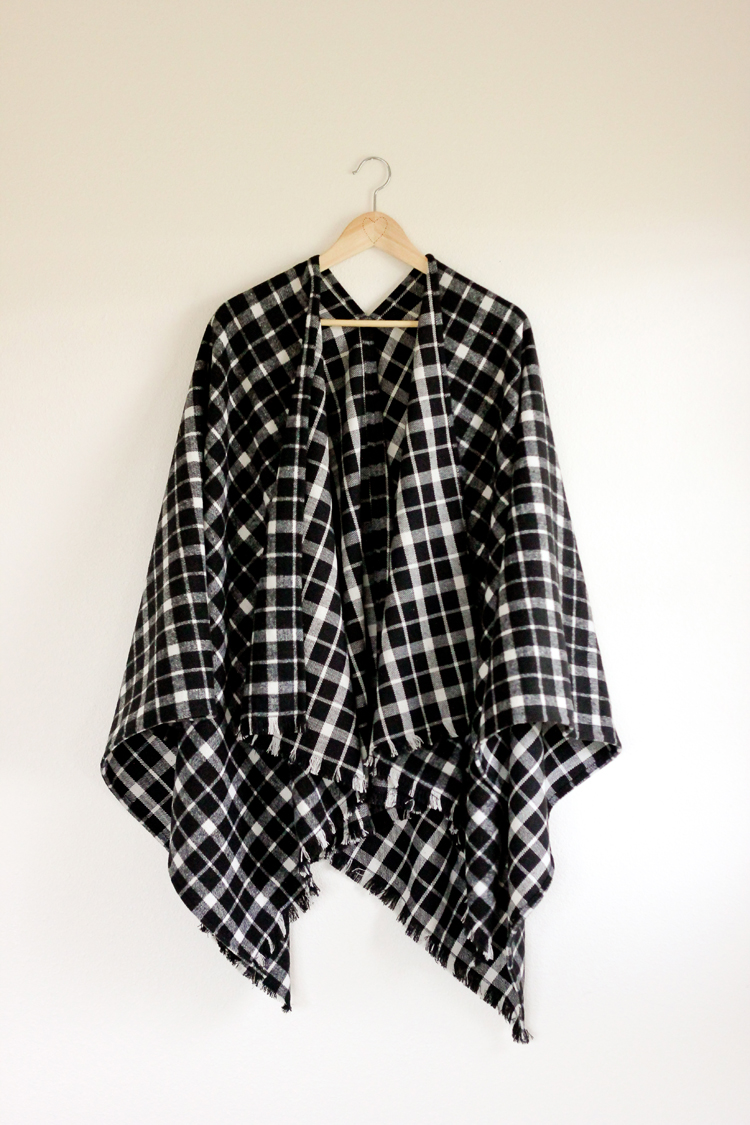
But today, let’s talk about cape scarves and how to make them…yes?
FABRIC SELECTION
The key to a great cape scarf is ALL in the fabric. The sewing part is easy breezy…it’s basically a blanket after all…which makes fabric selection paramount.
A nice thick flannel is good, maybe a thicker knit would work…or if you really want to make it cozy and luxurious splurge on wool.
Wool is crazy warm and it instantly makes your cape look more high end. But…wool cape scarves can run $70-$150 in a department store. The good news is that if you make your own, and shop your fabric just right, you can save a TON of money. I made this one for just $14 (maybe $20 if you tack on shipping)!

Now, you can’t choose just any wool. Most wool fabrics are really thick, much too thick to make a drapey cape from. Look for “light-weight” or “medium-weight” wool fabrics when shopping.
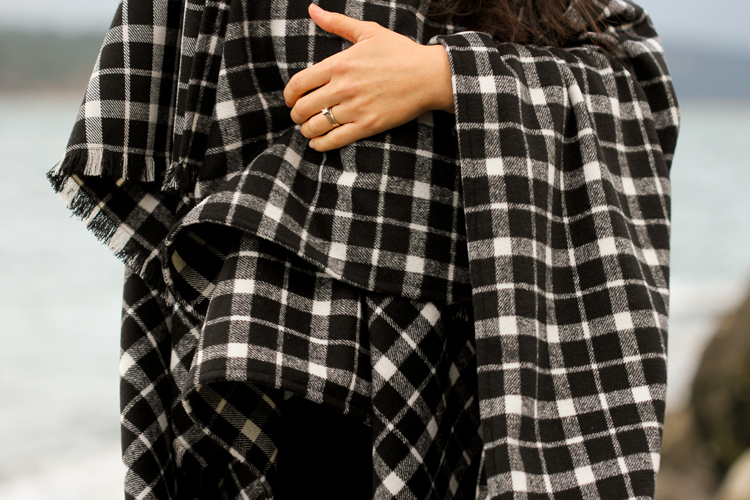
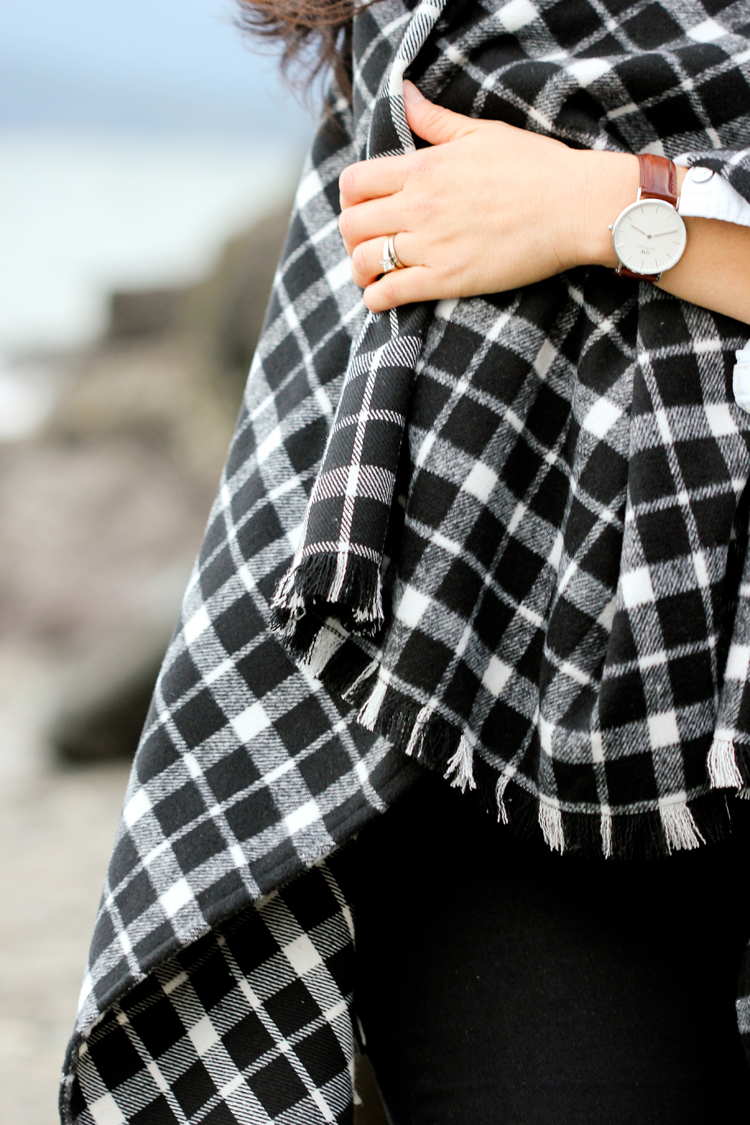
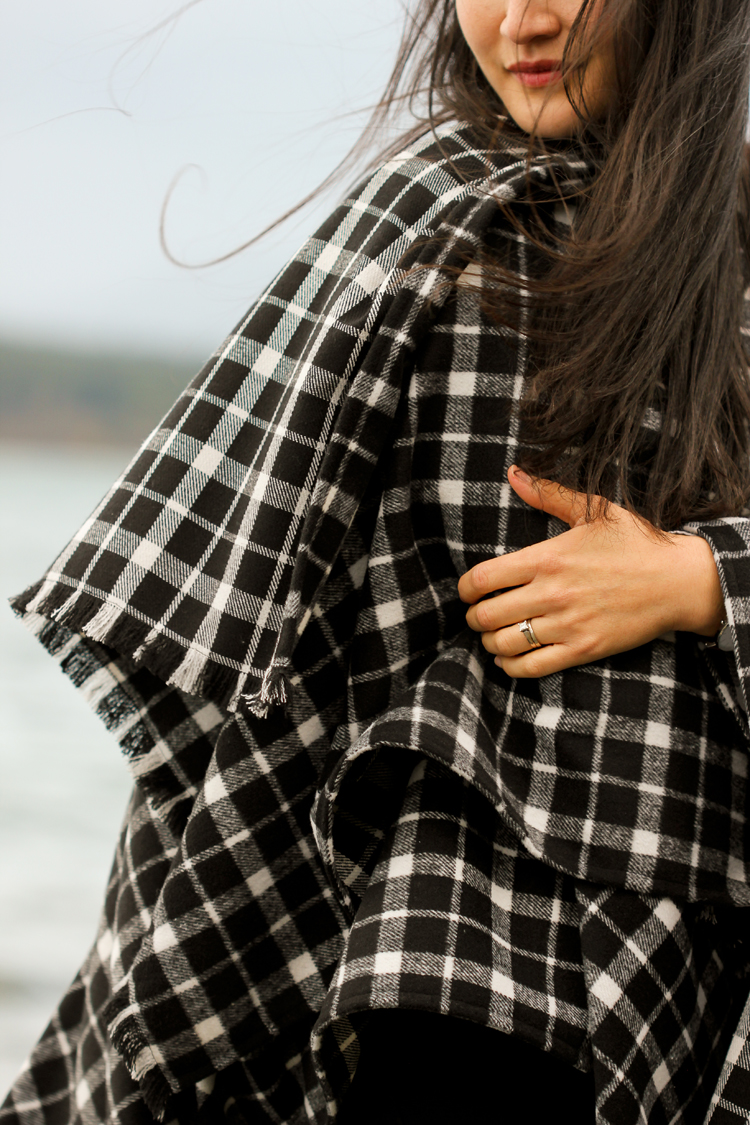
I found this amazing checked wool fabric (affiliate link) from Fabric.com that has wool on one side and polyester on the other. If wool makes you feel itchy, this fabric is the perfect blend of comfort and warmth. It does say that it’s medium to heavy weight but it has the perfect weight and drape for a cape.
Warning…it does say dry clean only. This is a garment you can easily hand wash with some wool-lite though!
It also comes in red and blue checked, a beautiful grid-like print in navy, burgundy, green, gray, and brown, and other similar plaid prints (affiliate links).
Usually wool is expensive, but all those fabrics, with the exception of the plaid prints, are $7.98 a yard. That’s not even a sale! It’s kind of amazing!
TUTORIAL
Okay, let’s get to how to make it.
MATERIALS
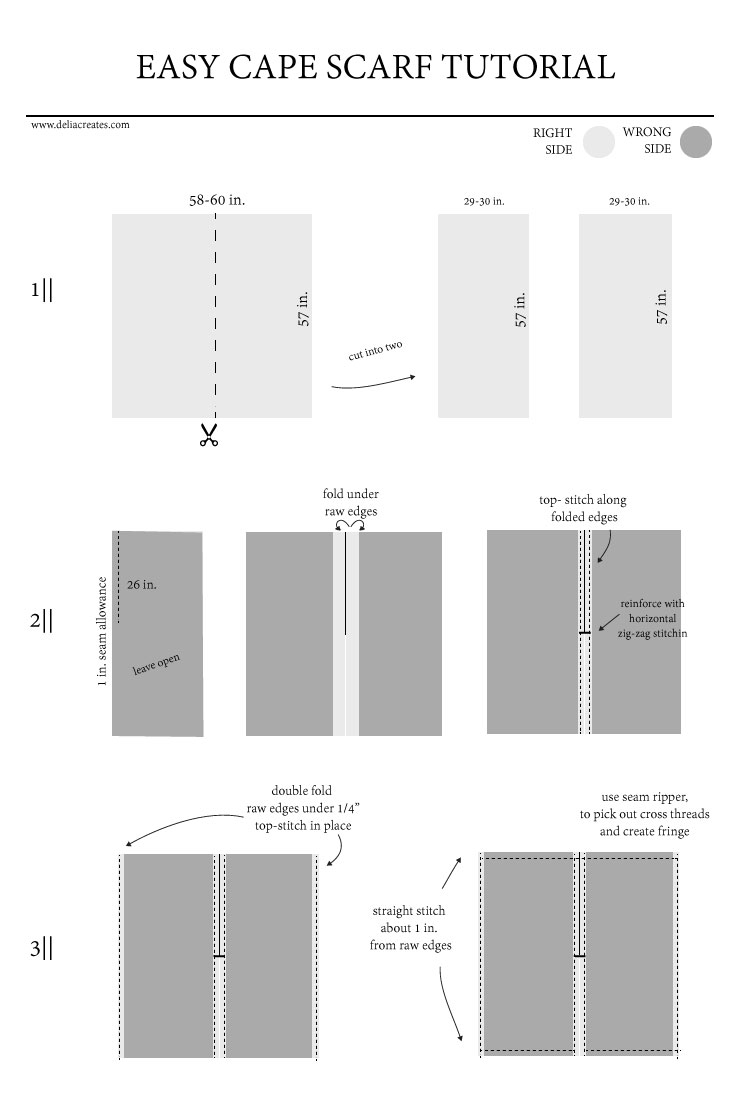
- 1 5/8 yard of 58-60″ wide fabric*
- matching thread
- rotary cutter or scissors
- basic sewing supplies (machine, pins, etc.)
- seam ripper
*NOTES:
-If you want to use a fabric that is not wide enough, simply double the fabric requirement and cut it down to size making sure any fabric patterns match up.
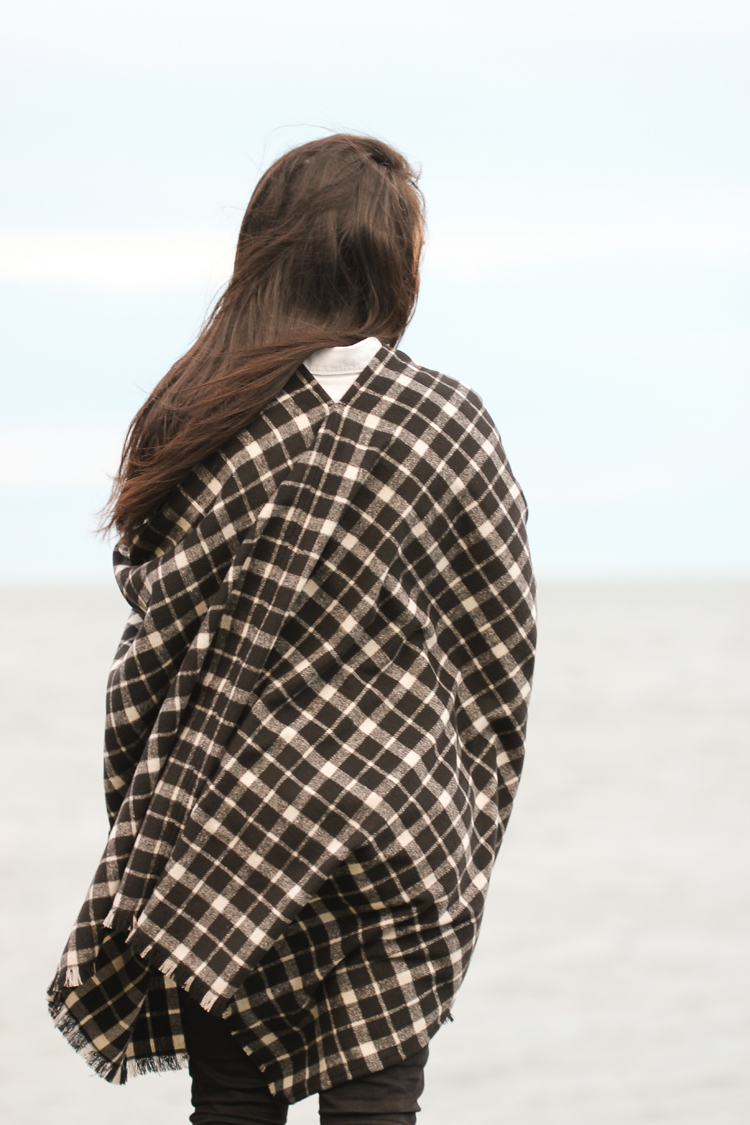
-This cape is designed for an average height woman (I am 5’4″ and it’s a tiny bit long on me). If you would like to make the cape taller, 1 3/4 yard of fabric should be plenty. Drape the fabric over your shoulder to get a feel for where it would hit your legs.
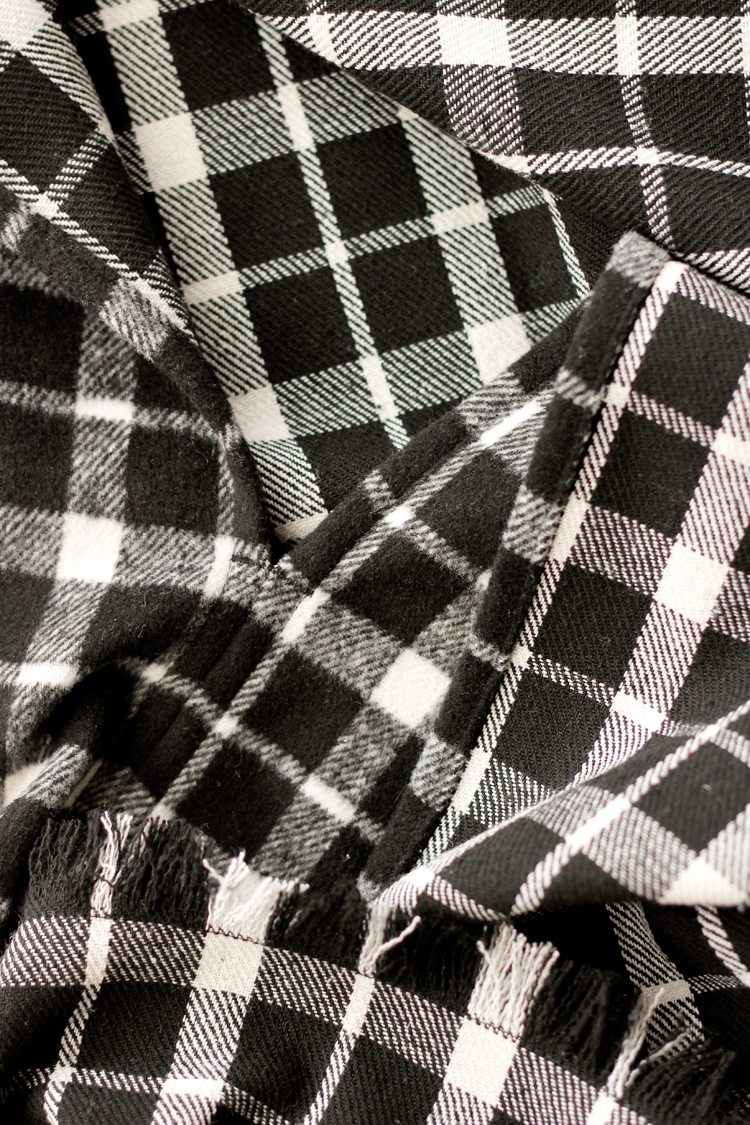
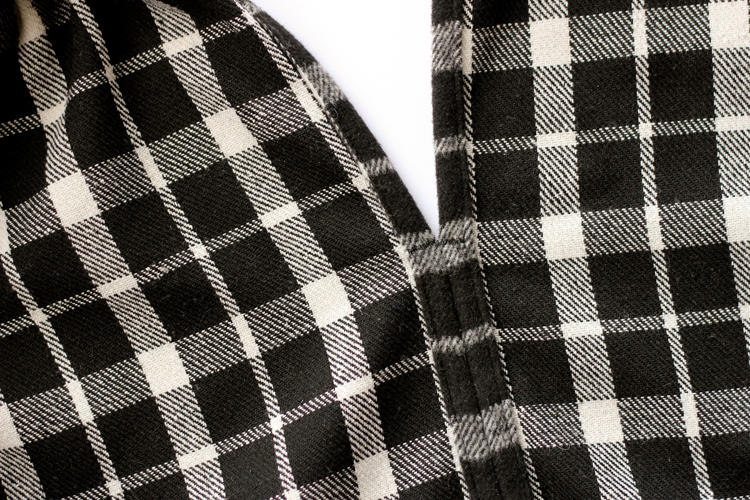
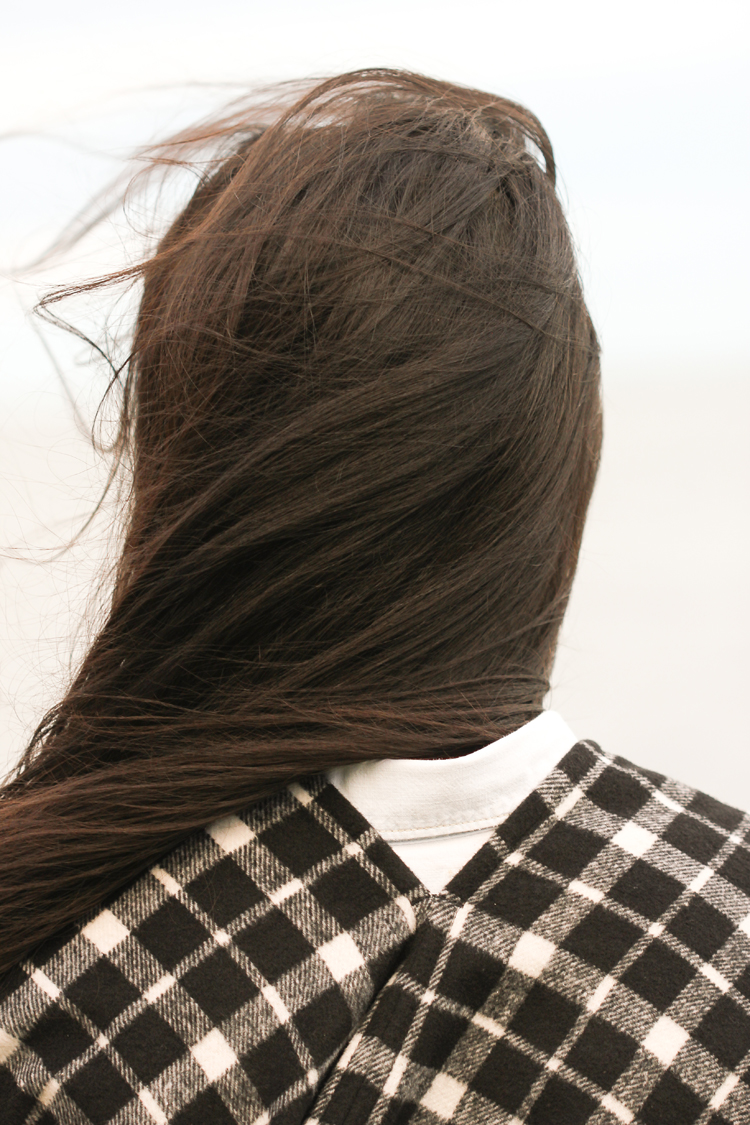
Here’s a close up of the dense zig-zag reinforcement stitching I sewed at the part where the cape splits open.
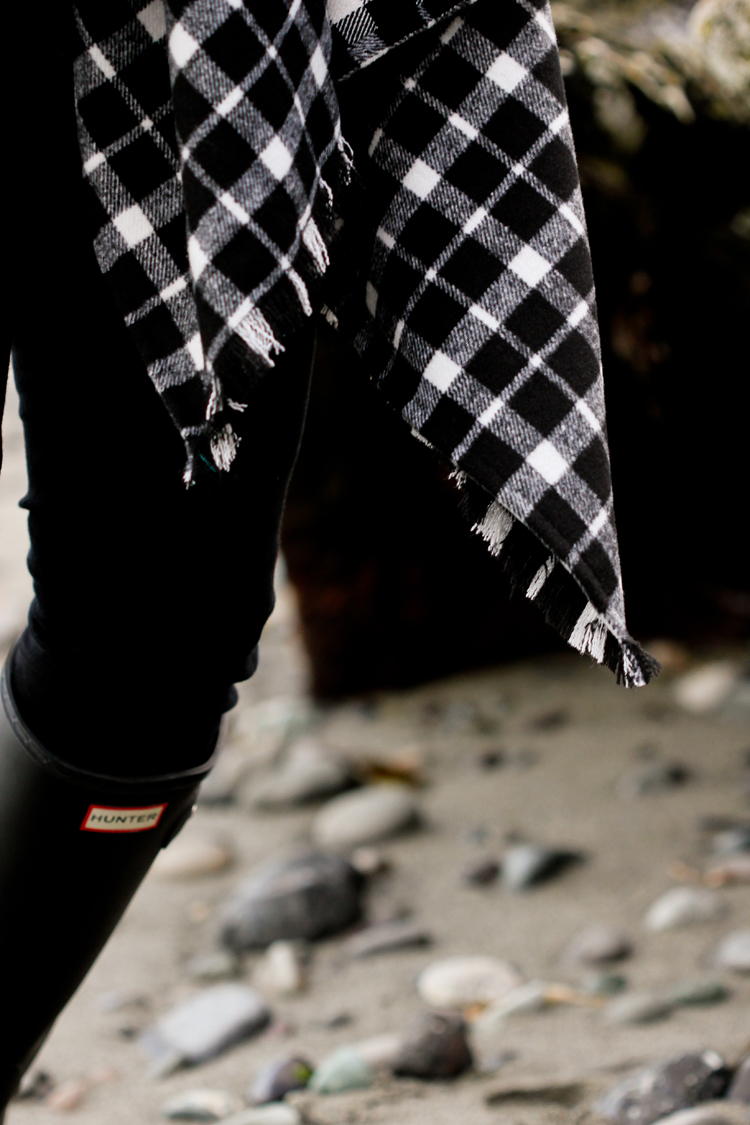
And here’s how I pulled out the fringe.
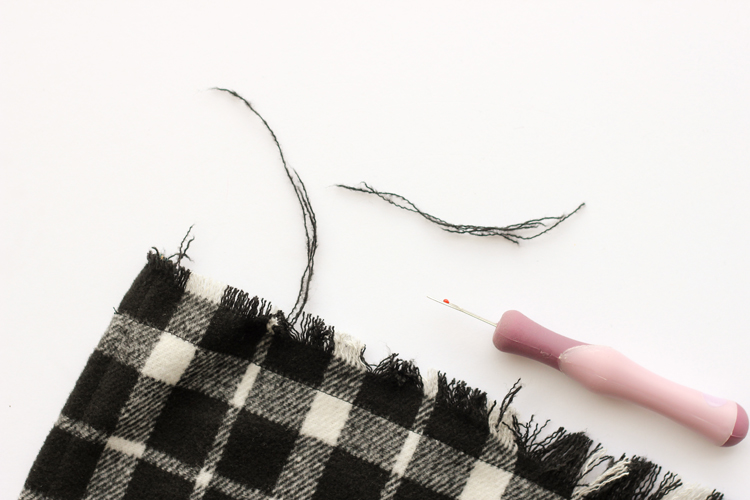
This part is actually the most time consuming part of the project. Sometimes the cross threads slide right out, and sometimes they are so tightly weaved in, that they need to be lifted out at every thread with the seam ripper. It’s a great activity to do while watching a movie or to tote along to meetings, etc. I’d say it took me over an hour to make a good inch of fringe for the whole scarf.
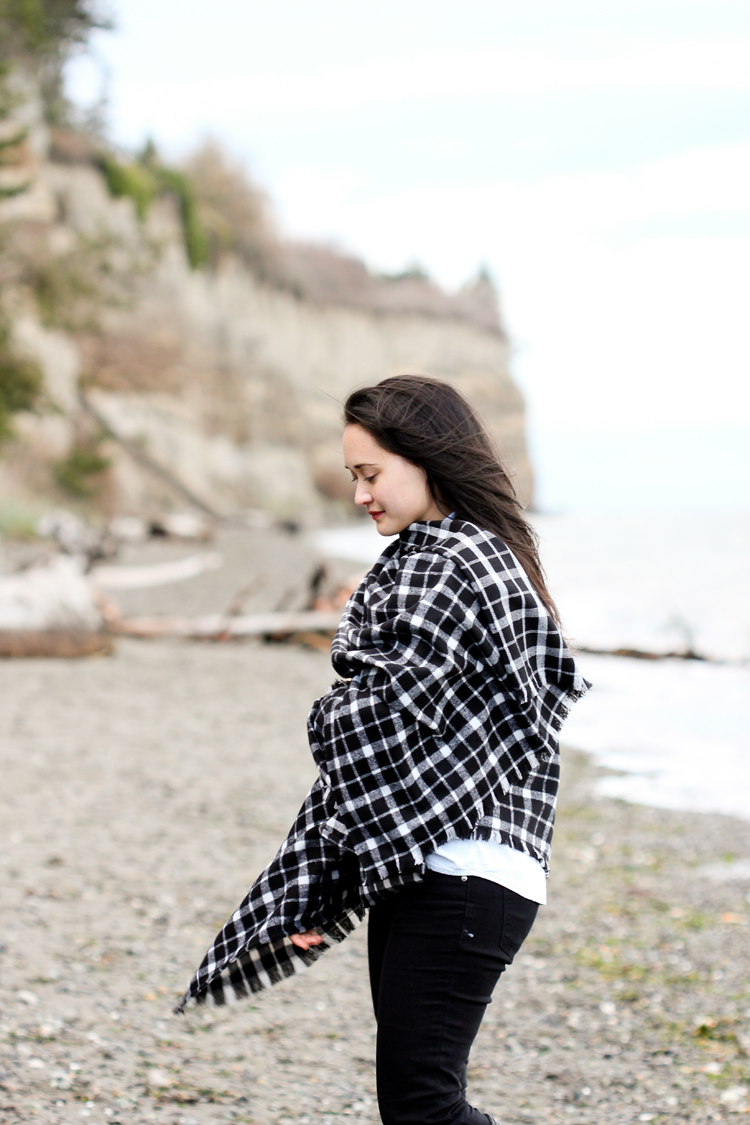
The rest of the project is super fast though. These make great gifts!
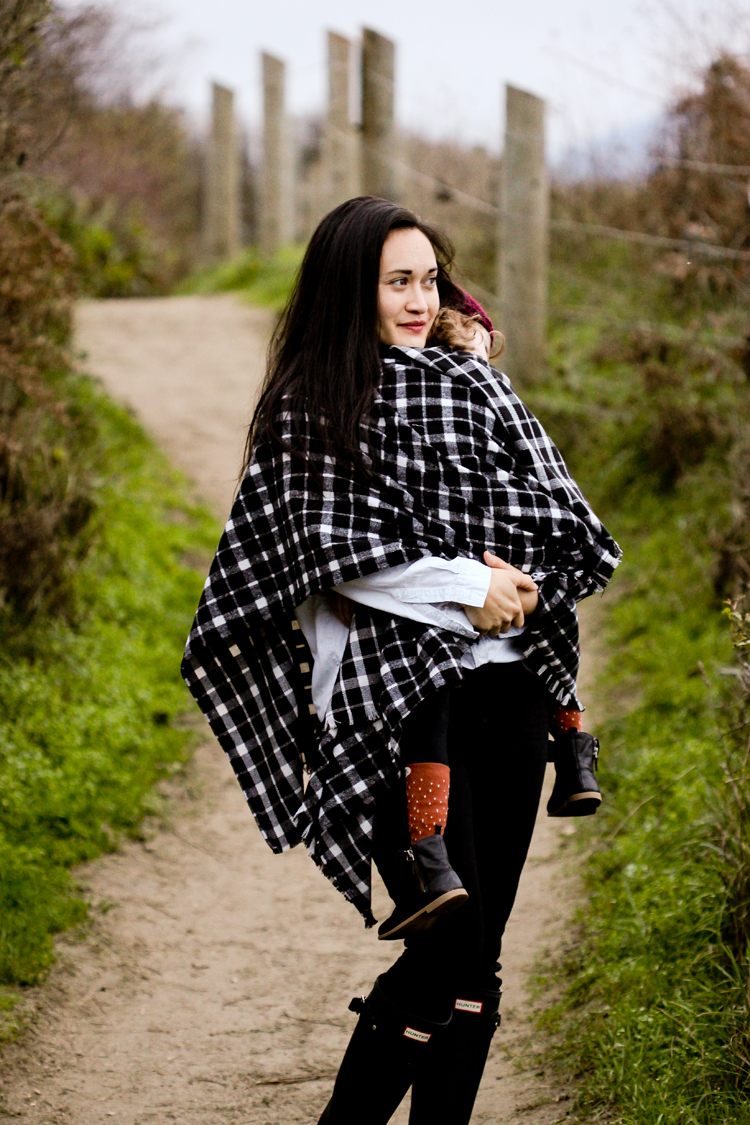
Another bonus for cape scarves? You can snuggle kids under them. The best. <3
Note: This post contains affiliate links to fabric listings. This means I get a percentage of any sales made if you click a link and make a purchase. This does not affect the pricing of the product or your buying experience.
I love this! I’m going to make one for my daughter for Christmas. Thank you!
Thanks Candy! <3 🙂
Oh, how cozy! And the black and white plaid is so classic!
Thanks Charity! It’s definitely my go to print/color scheme!
Thank you so much for sharing this!! We just had about 30″ of snow fall the past few days and this makes me want to sew a dozen up right now. Beautifully done. 🙂 Cindy
Thank you Cindy! Thirty inches of snow is no joke! Sending warm thoughts your way!
omg cape scarves!! yessss thanks for sharing how to make them! 🙂
Instead of cutting the fabric in half and sewing it back together again, couldn’t you just cut the fabric opening for the neck and use bias binding to finish the raw edge? Cute wrap and luscious looking fabric.
Hi Karen,
Thanks! Great question. Of course. It comes down to preference really. I like how clean and easy this method is. Turning a bias binding around a tight U shape is not as easy for a beginner sewer and I wanted this to be easy for novices. 🙂
Delia
In the drawings, which edges are selvedge?
Ooh! Good question Sharon. I’m sorry I forgot to label that. The selvage is on the side that is listed as 58-60 inches long.
That’s what I thought. What confused me was that 1 5/8 yd. equals 58 1/2 inches. Your drawing has the length labeled 57″. I’m guessing this is because you removed the selvages, right?
So, actually I put 1 5/8 yard because that’s the closest common cut of fabric, but you want to cut it down to 57″. This allows you room to straighten the cuts and make sure everything is on grain. You could have the store cut it to the exact inch, but I find that I rarely get someone who cuts it straight. It’s nice to have wiggle room to get it right.
Great tutorial! I completed mine today since we were snowed in. Kept me sane. Your instructions are wonderful.
Aw thanks Kate! Yay for sewing therapy to get you through. I hope the snow clears up for you soon! <3
I am having trouble finding 58-60 inch fabric…any ideas?
Good question! Fabric.com is a great place to find fabric that wide. For this tutorial, you could probably get away with 55-56 inch fabric. If you’re short, you might even be fine with 54 inches. I hope that helps open up some options. Good luck!
Can’t wait to try this out. I have two gift quilts to do, so L have to wait. I’m addicted to fabric.com and tell everyone about it and now I’ll tell allmy friends a out you.
Thank you Sharon! Your support means so much. <3
Dear Delia – I’m starting this project and don’t understand what is going on with the back seam/split at the neck. I see that you are cutting one big piece of fabric (57×58-60″) into two pieces that are then 29-30×57″. Then I get lost at step 2: How are you joining them? If you could send me a little more detailed instruction for step 2, that would be great!
I’m planning on doubling the fabric which is a very soft acrylic flannel (I know – but don’t cringe, because acrylic has come a LONG way!), and I think I’ll be able to handle the doubled fabric following your instructions.
Thanks so much for your help. I also am making this for a daughter, and she is going to love it.
Sincerely, Beth
Beth,
Good question. In step two, you will take the two rectangles you have just cut and put them together with right sides facing. You will sew 26 inches of the seam and then stop. Then open it up and double fold the seam allowance under so that the raw edge is encased. Top stitch the seam allowance in place. The first picture after the diagram helps show how this looks on the garment. It also shows how you want to reinforce the split with some stitching. Does that help? Let me know if you have any more questions.
Delia
I am glad I am not the only one that was not clear on joining the pieces. Thank you for the question and thank you, Della for the claification!
Nancy Peters
How do I finish the bottom if it’s not wool so it can’t have a fringe?
Also above you said to see the 2 rectangles together for 26 inches. I thought you meant leave 26 inches open at the top…
I am so sorry for just now seeing your comment. If you are not using wool you will have to finish the edge in some way. I recommend a rolled hem. As for the seaming portion, you sew 26 inches of the rectangles together and then leave the rest of it open. I hope that helps. Again, so sorry for the late reply.
Great tutorial! Unfortunately the fabric is no longer available–still sourcing. Hope to make one or three this fall!
Oh darn it! I’m sorry that the fabric listing has expired. I hope you can find a good alternative!
It looks so eaily to make. I do not have a machine, can this be hand sewn?
I think so. It would take longer but be very doable by hand.