


Yesterday, I shared how I transformed our walls with just a little bit of vinyl. Today, I am using the rest of it to dress up some lampshades.
![]()
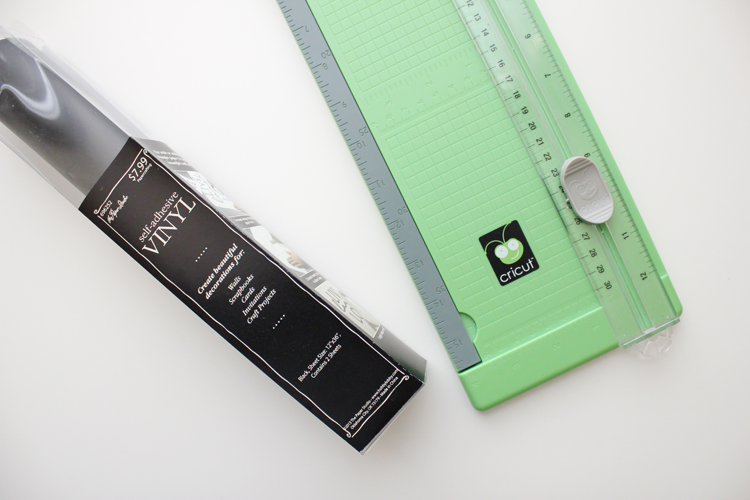
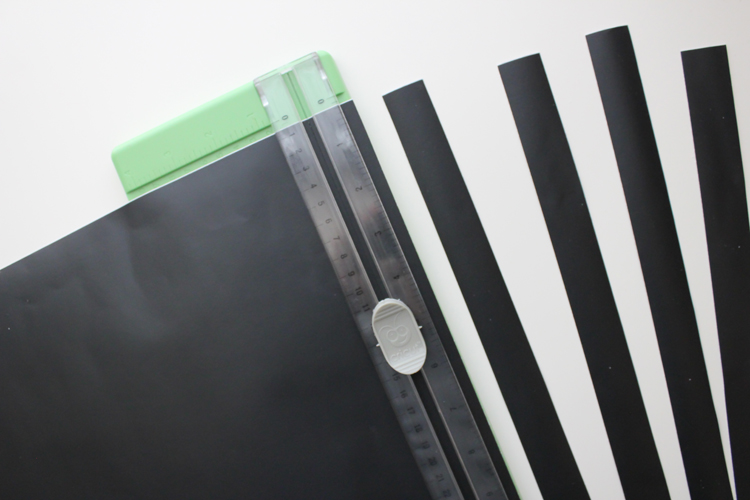
I bought a package of two rolls of black vinyl from Hobby Lobby. I used my coupon so I got it for just under $5. Then I simply cut my vinyl into 1/2 inch strips with my paper cutter. The strips in the picture below are cut to one inch for another project , but the idea is the same.
Then I carefully wrapped them around my lampshades. I had to use about 1 and 1/3 strips to get all the way around and I measured as well as I could to get the stripes fairly even.
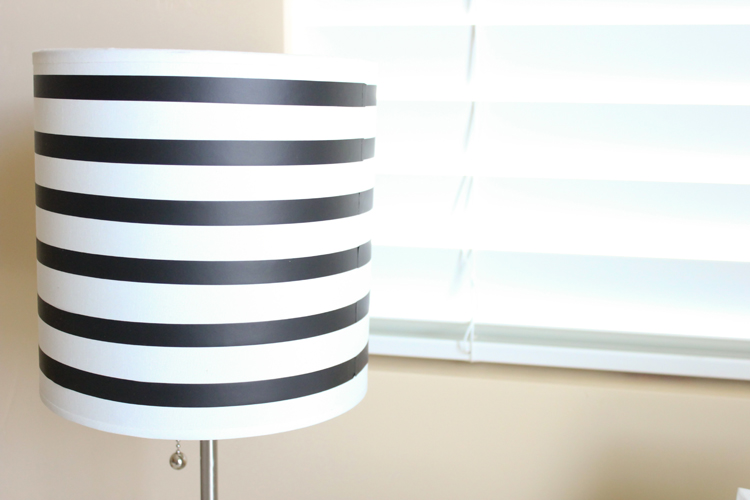
I got these lamps for $10 a piece at Walmart, maybe two years ago? They are fairly small. For reference, the lampshade diameter is 8 inches. I used less than half a sheet of vinyl to cover both lampshades.
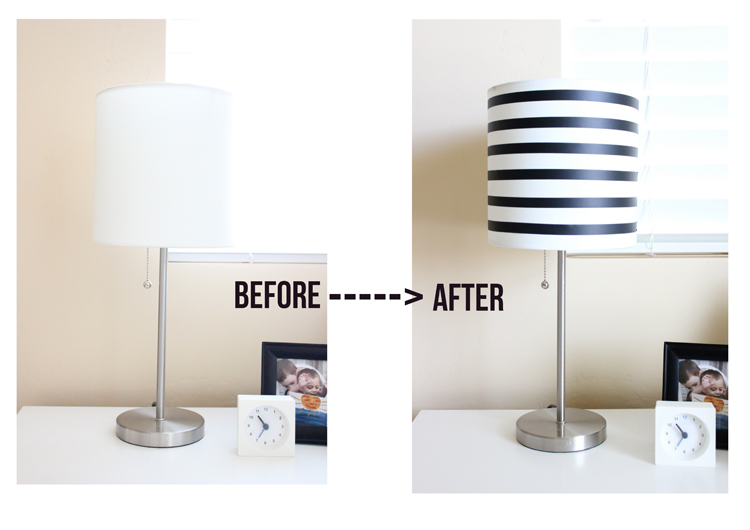
They were quite plain and now…tada! Much more exciting. 🙂
 If you’re wondering if the vinyl holds up with the heat of the light bulb so close, I wondered the same thing, but it’s been holding up great. I have had these stripes on there maybe three weeks and haven’t seen any peeling or anything concerning.
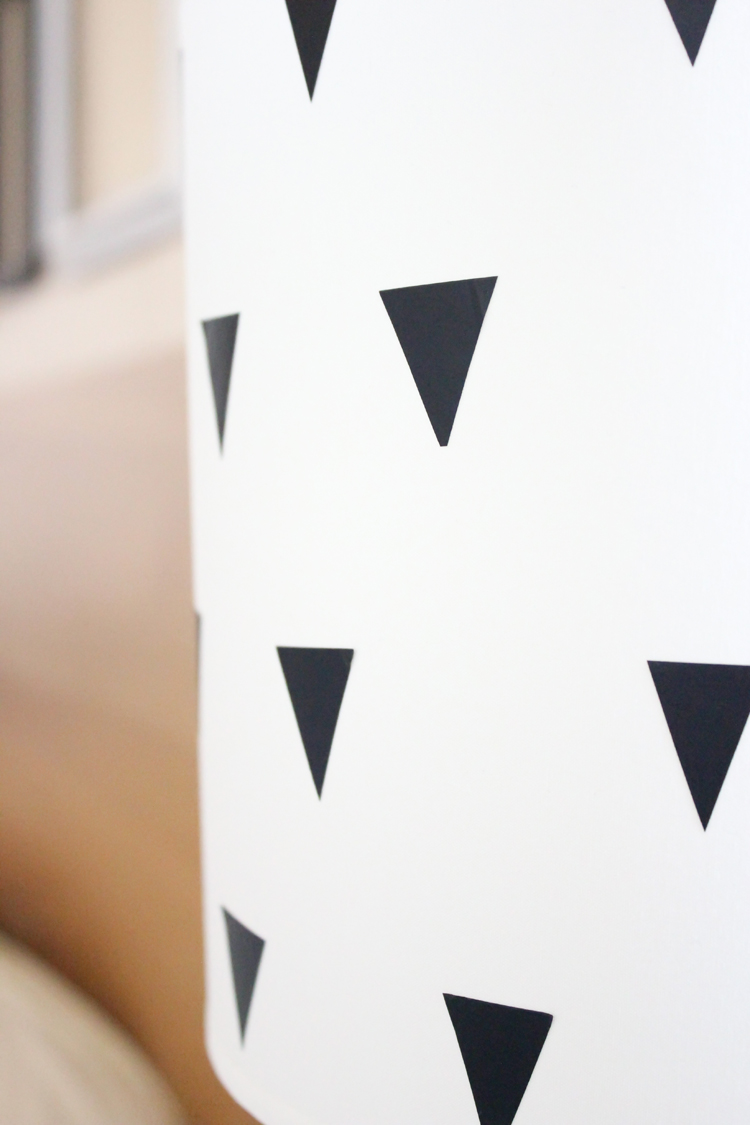
You can see a little seam, where the vinyl overlaps. Simply give it a good smooth rub and you’re golden. You can see one strip that started to come up in this picture. I took these shots right after I put them on. Since I smoothed it down after this shot, I haven’t had any trouble with it.
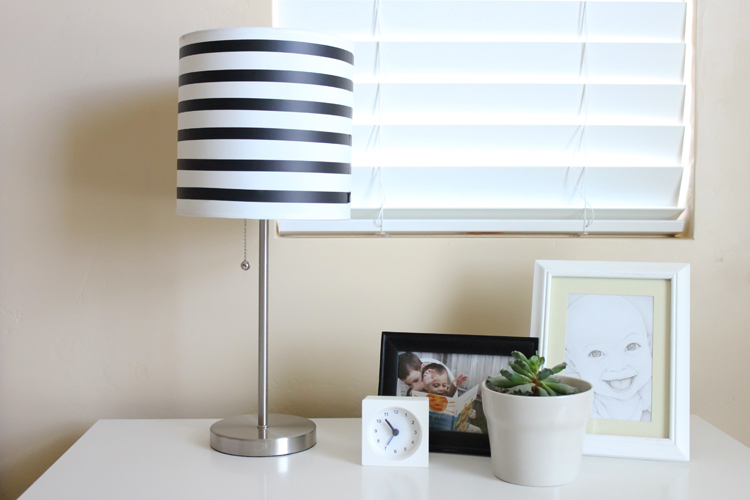
(by the way, the framed pencil drawing you see on the right is by the lovely, talented Crystalyn Bryan!)
I love that I can take it off and change it up, whenever I want to as well. It’s probably becoming apparent that I have issues with making permanent design decisions. 😉
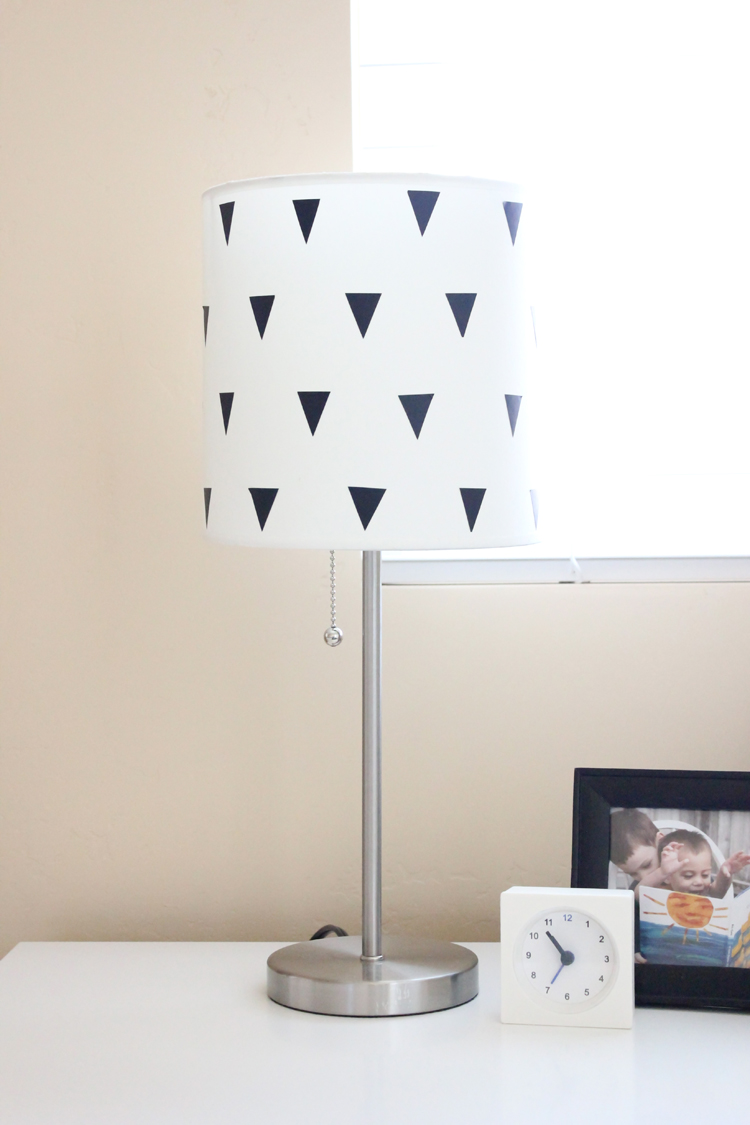
I actually started out with triangles…believe it or not.
It didn’t fit the vibe of our room or my husband’s taste 😉 so I switched to the stripes.
It’s such a small change but really makes a difference!
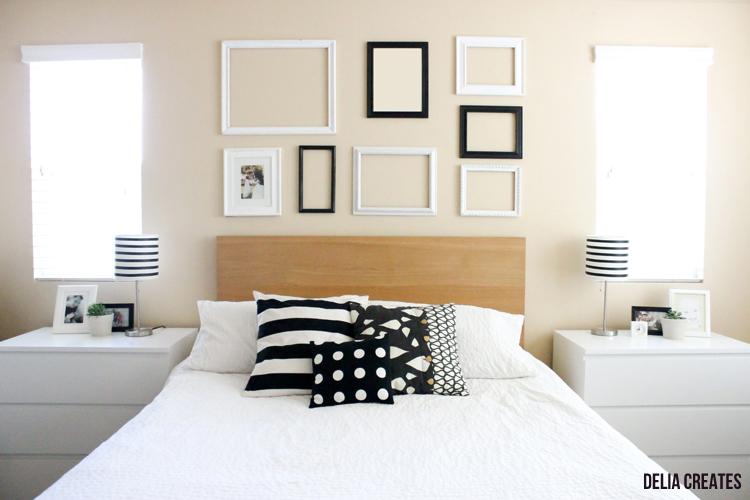
My next to do item is to fill a couple of those frames! I don’t know if you can tell, but I photoshopped out one of the pictures in a frame. It’s the most random picture, I hope to replace it with an updated family picture…which I hope happens in time for Christmas cards. But I’m not going to hold my breath. 😉
That is quite a transformations, all with a little black tape.
Thanks Betty Lou!
Ahhhh….the triangles aren’t for everyone, but I do love them! I’d love them more in fabric form little leggings, I think…!
Yes. I am thinking it would be cuter on clothes too! 😉
Again, very clever. I love how a simple color or shape switch would totally change the outcome too. =)
Love it! What a great way to transform a lampshade! My bedroom REALLY needs a makeover.