

Welcome MADE readers! I am excited to be partying with Rae and Dana for…

What is cuter on a little boy than a bow tie? I can’t think of much. They make rough and tumble little boys looks like sweet little gentlemen.
Which is why I have called this bow tie tutorial:
And yep. It’s the kind you tie yourself.
But don’t worry. I include step by step instructions on how to tie a bow tie. It’s not too bad once you get the hang of it.
And it looks so genuine and fresh.


Let’s get started.
Gather your materials:
paper, pencil, scissors {for paper – you don’t want to dull your fabric scissors} for pattern making
about 1/8 of a yard of fabric or 1 fat quarter
fabric scissors
sewing machine
thread
safety pin
chopstick or pencil
measuring tape
swim suit hooks {opt.}
2-3 inches of 3/4 inch wide elastic {opt.}
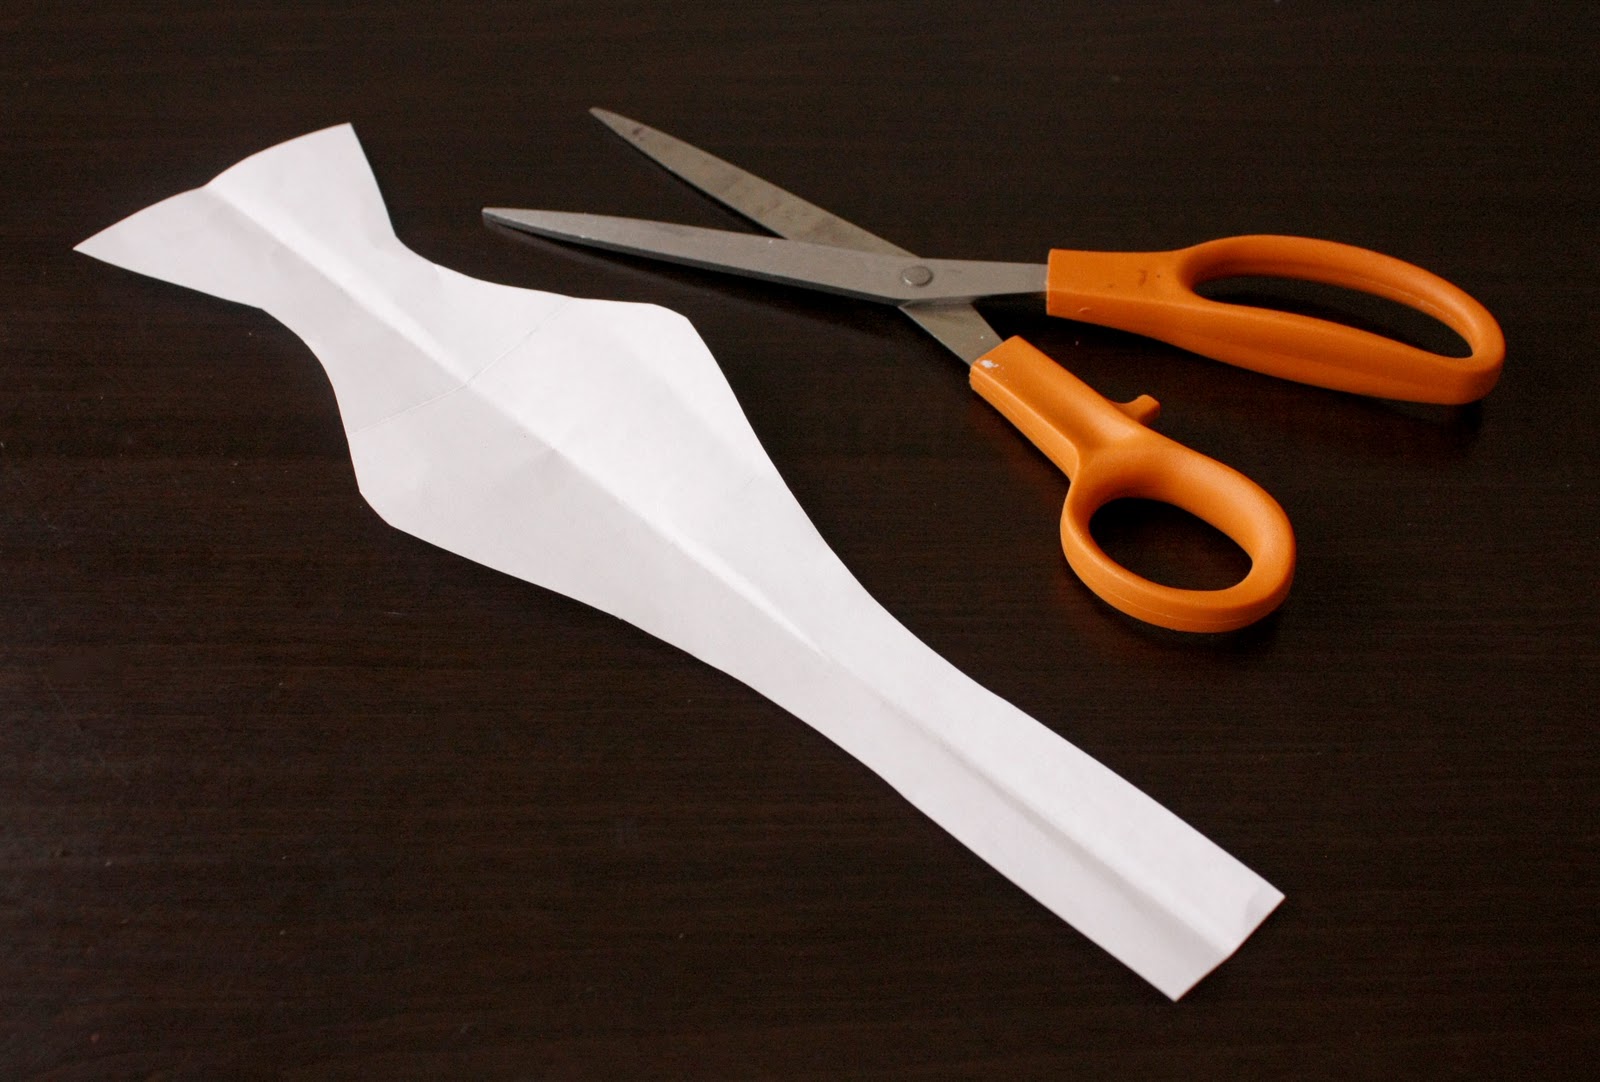
Step One: Make a pattern
– Draw a bow tie just slightly larger than you want it to look when it’s finished. Then cut it out.


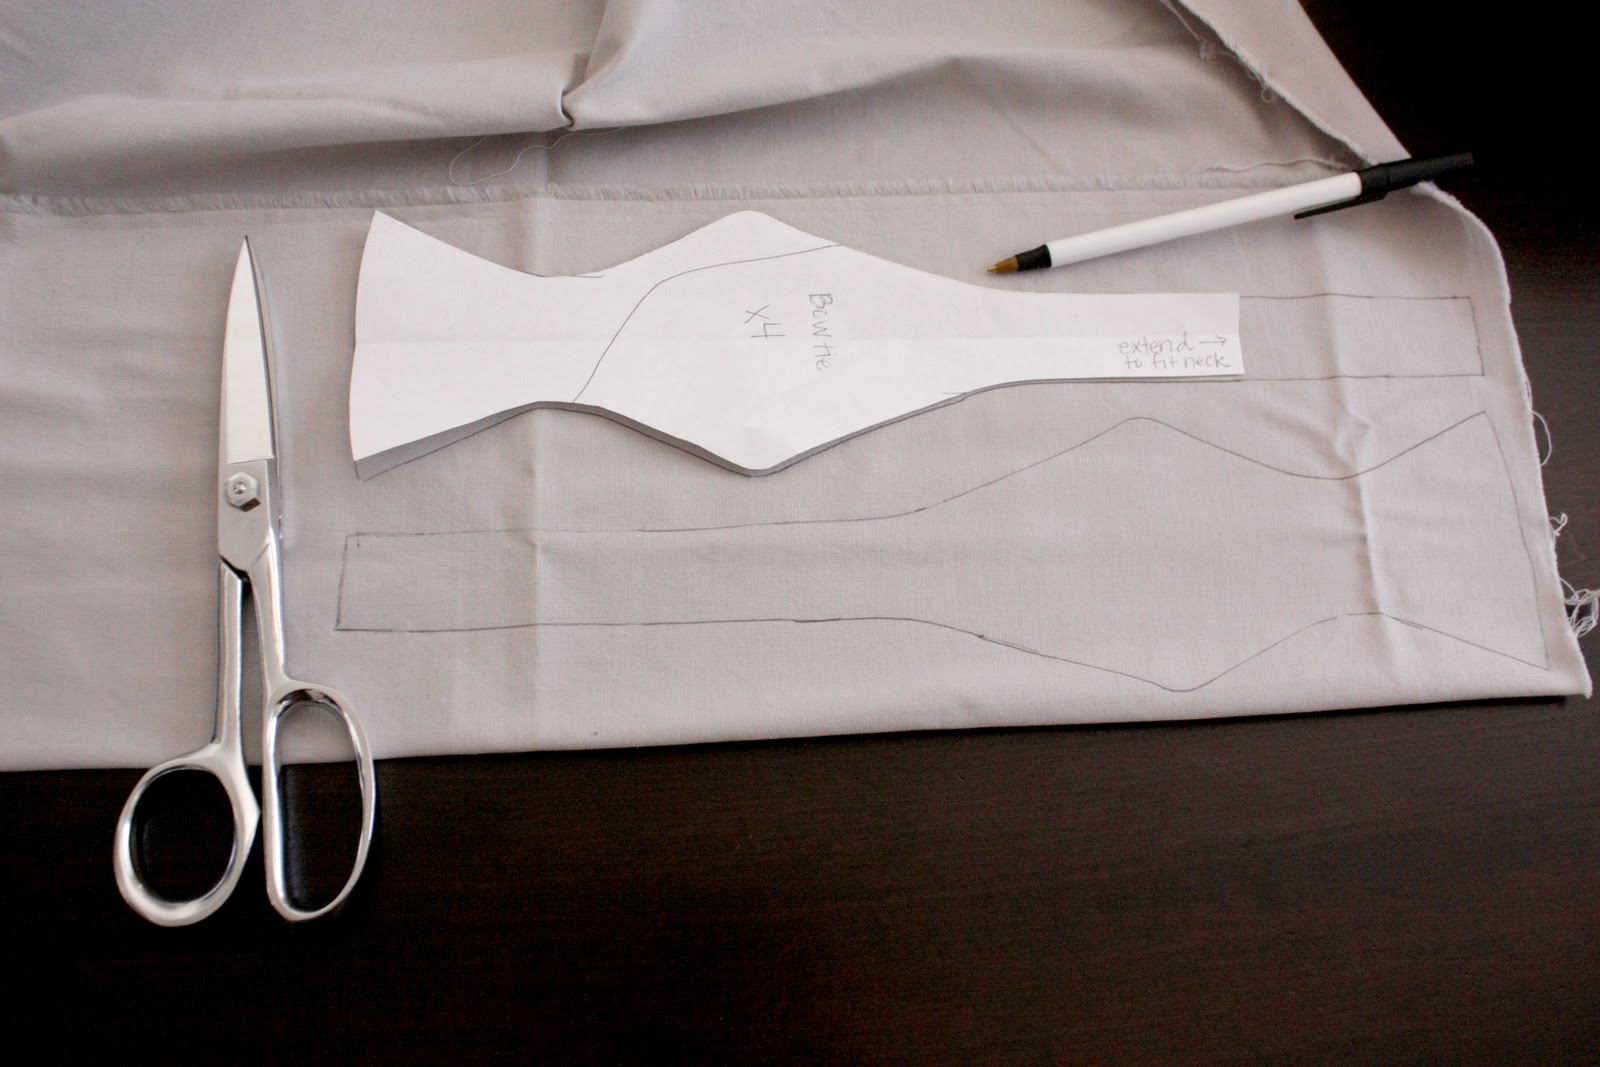
To get the right length measure your intended wearer’s neck with a collared shirt on.

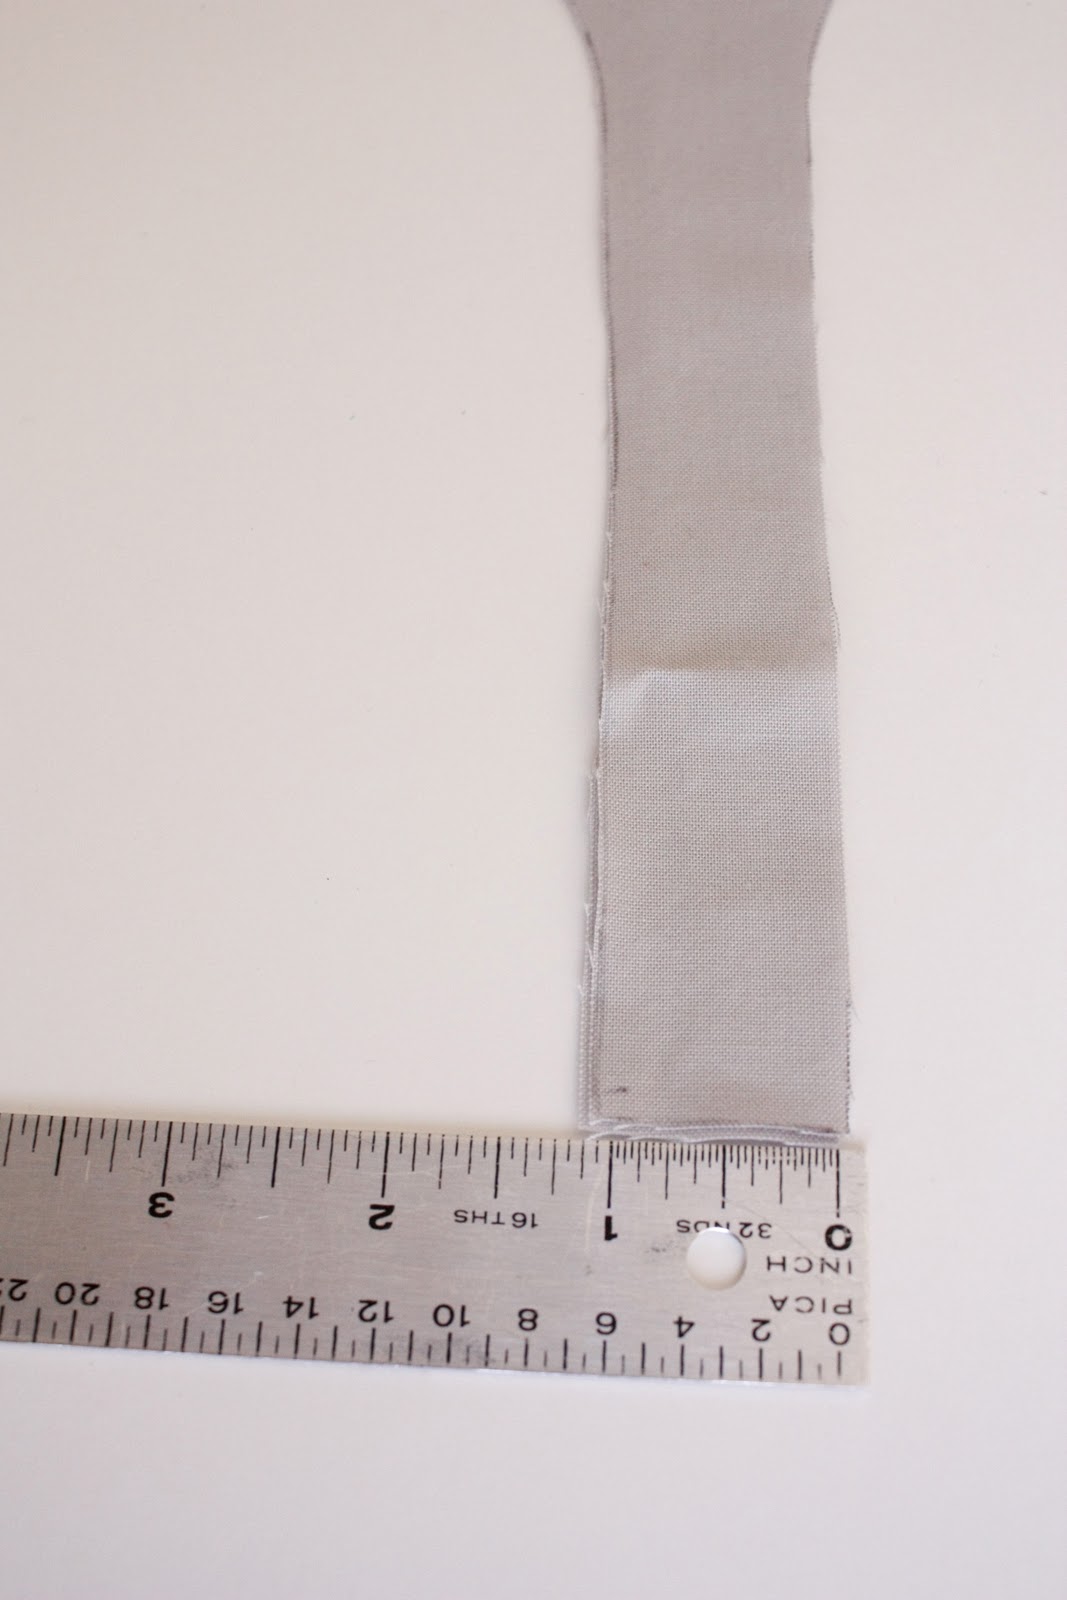
Add 2-3 inches to this and divide by two to determine how long you need the straight area of each piece to be. Be sure make the straight piece approximately 1- 1 1/4 inch in width.
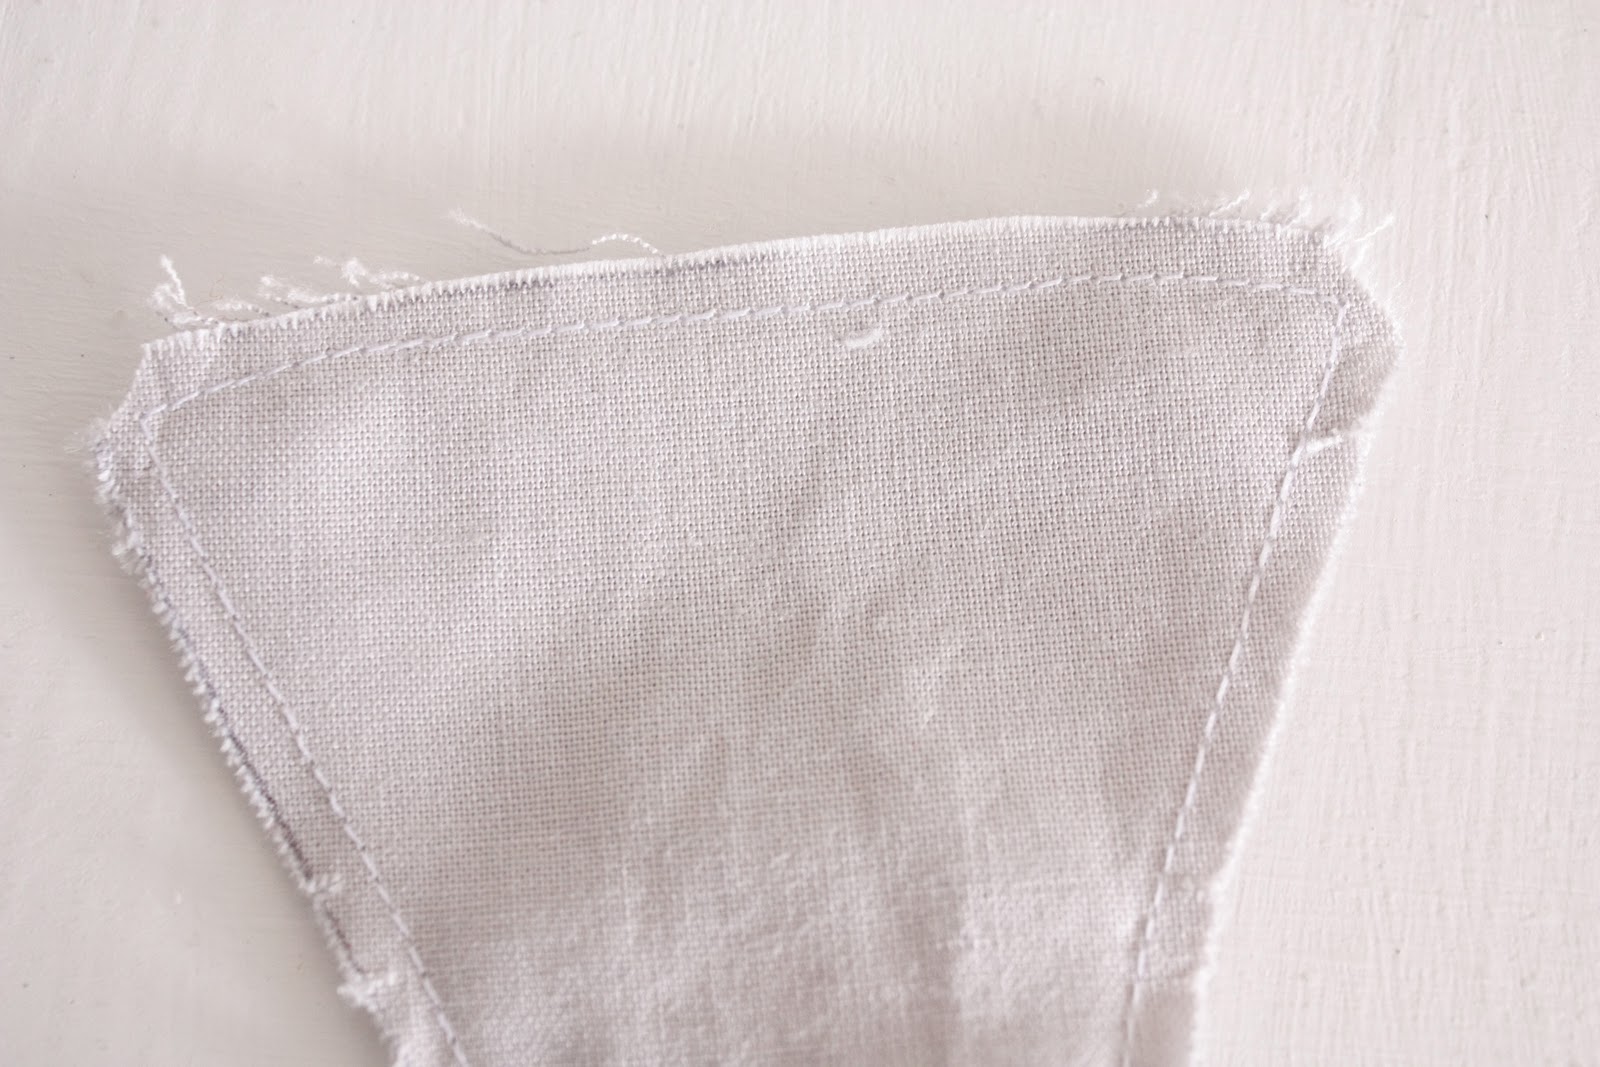
Step Two: Assemble Bow Tie
– With RIGHT sides facing each other, sew each side of the bow tie.

– Snip little cuts into the edges that are rounded, being careful not to cut through sewn lines. This helps to keep the fabric from puckering when you turn it right side out.

– Oh I almost forgot {as you will see unsnipped corners in further steps :)}. Trim the corners. This reduces bulk at the corners when you turn it right side out.
– Now turn right side out.

Now this can take some time if you just use a chop stick or pencil. A little trick I came up with should help move things on a bit faster.

Simply drop a closed safety pin into the bow tie.
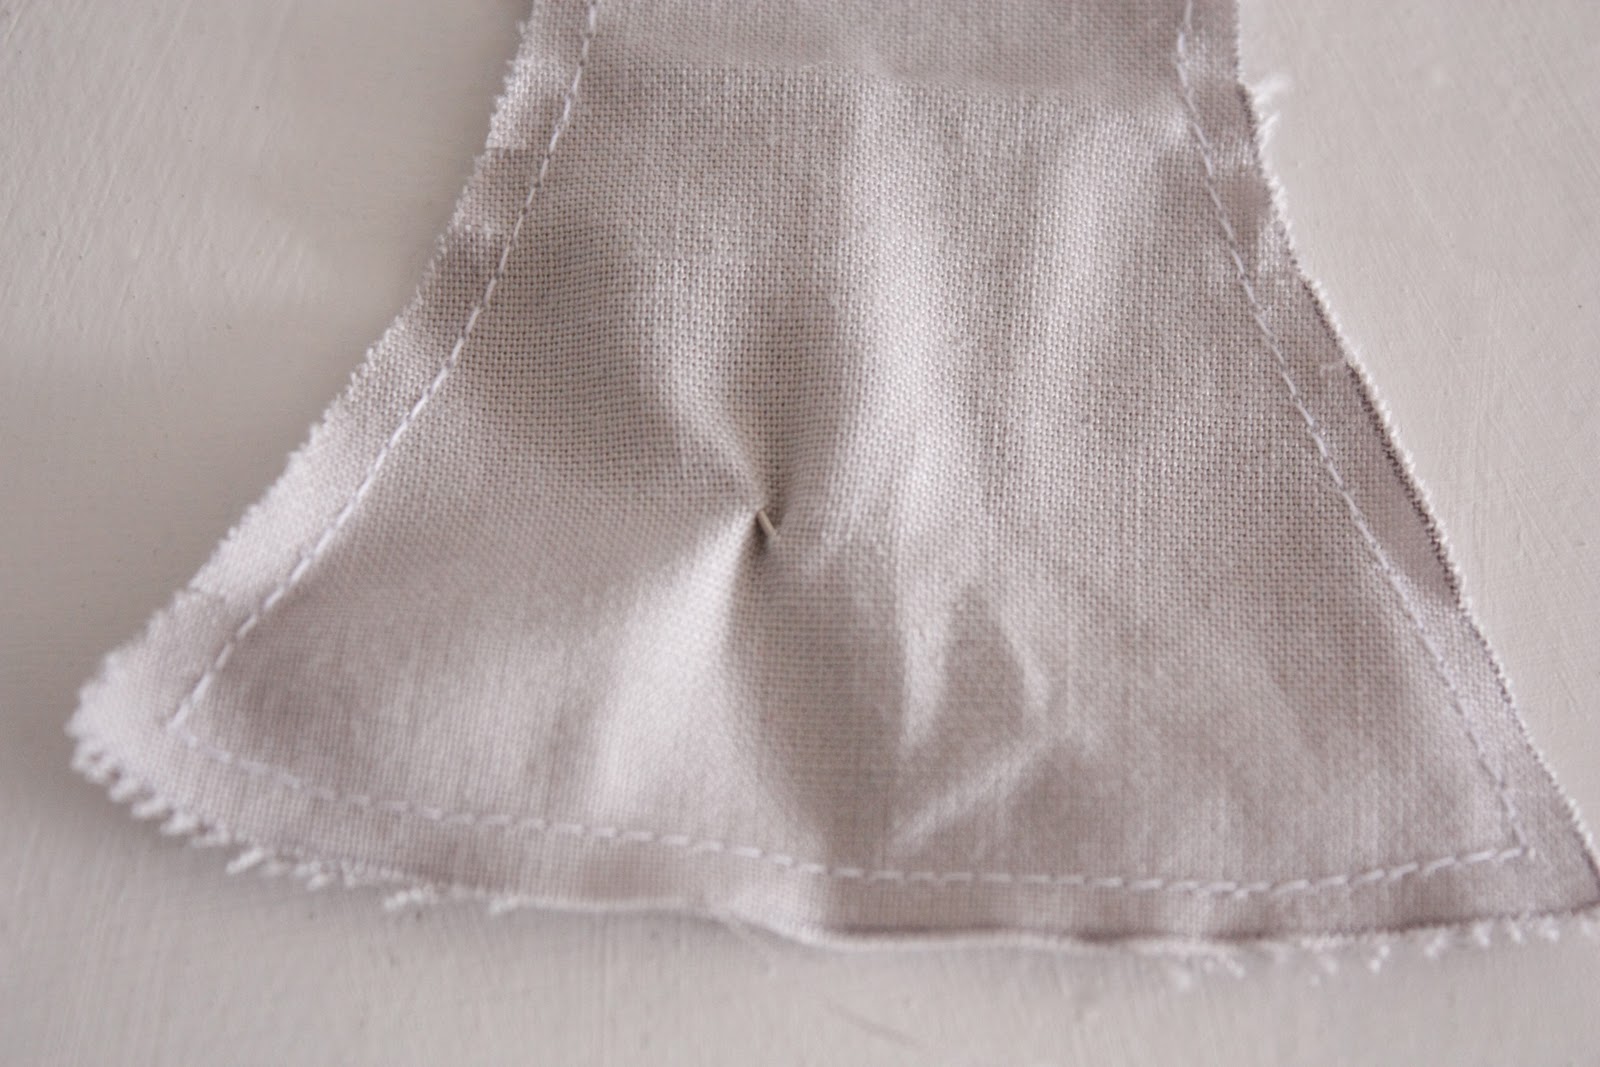
While in the middle of the bow tie pieces open it and pin it to one side. Be sure to use a weaker safety pin. The ones that are too springy make this step too difficult.

Now wiggle it through.
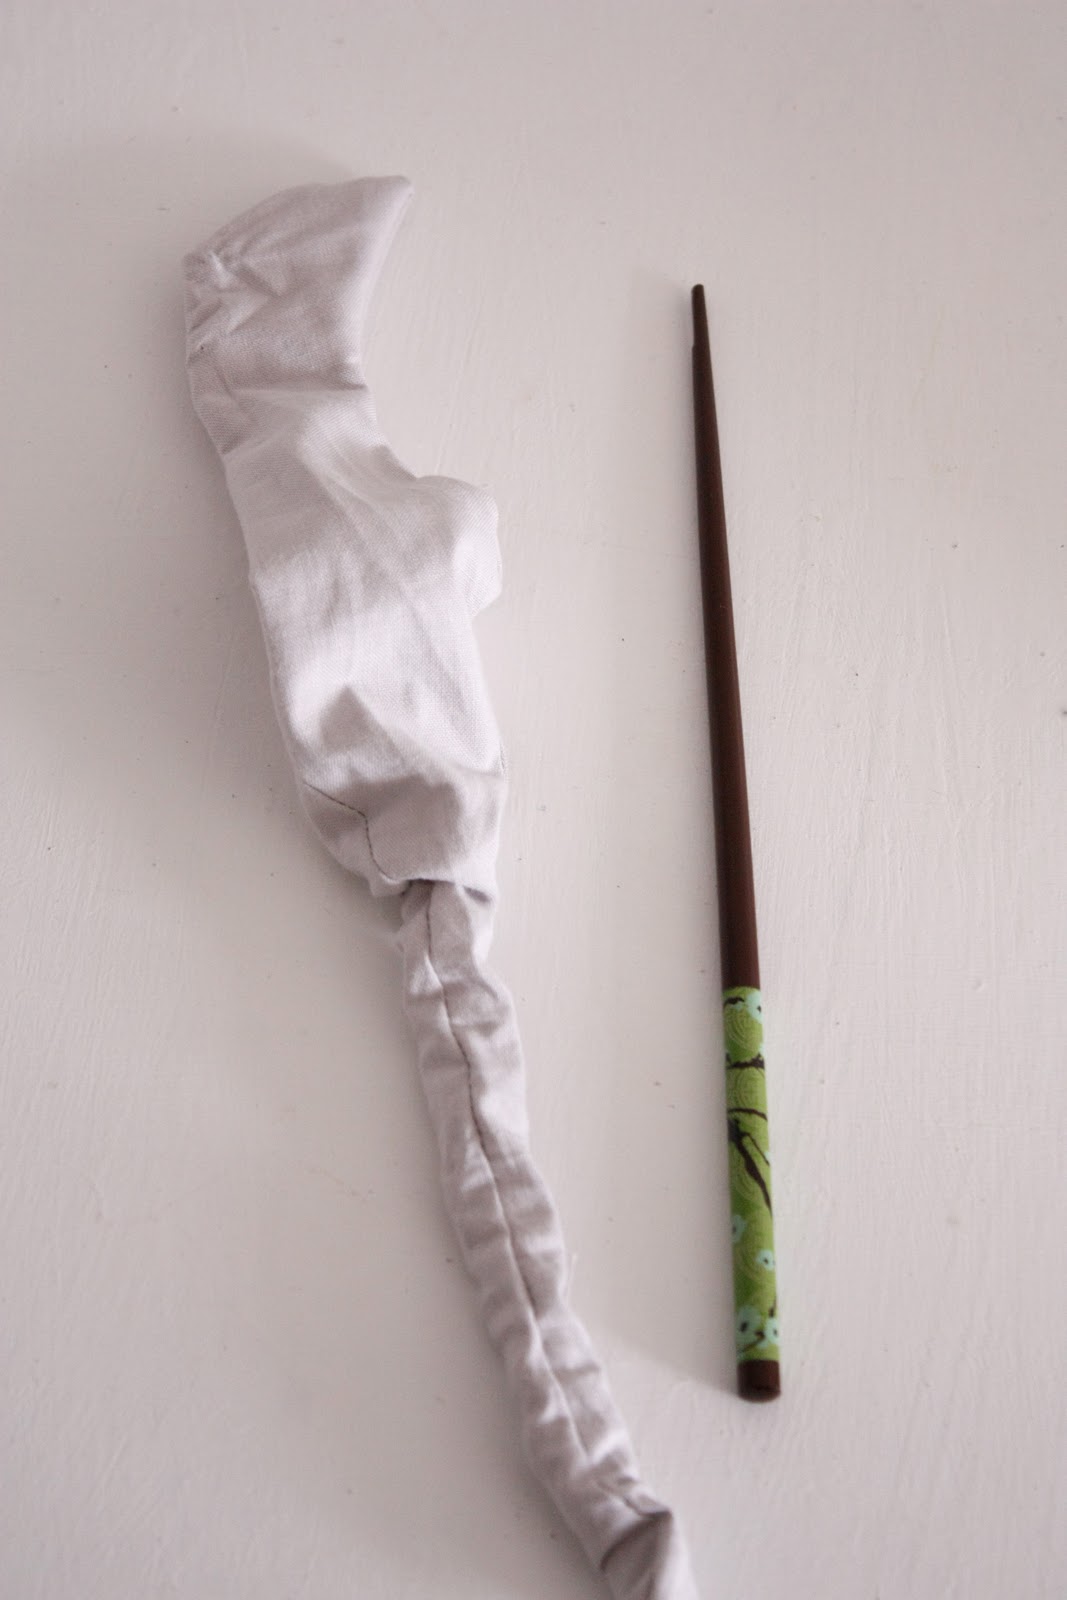
Ta da. Use a chopstick or pencil to help you finish the job.

– Press with an iron.
Step Three: Join the bow tie pieces
– You can do this in three ways:

ONE: Easy to remove version

Using swim suit hooks…
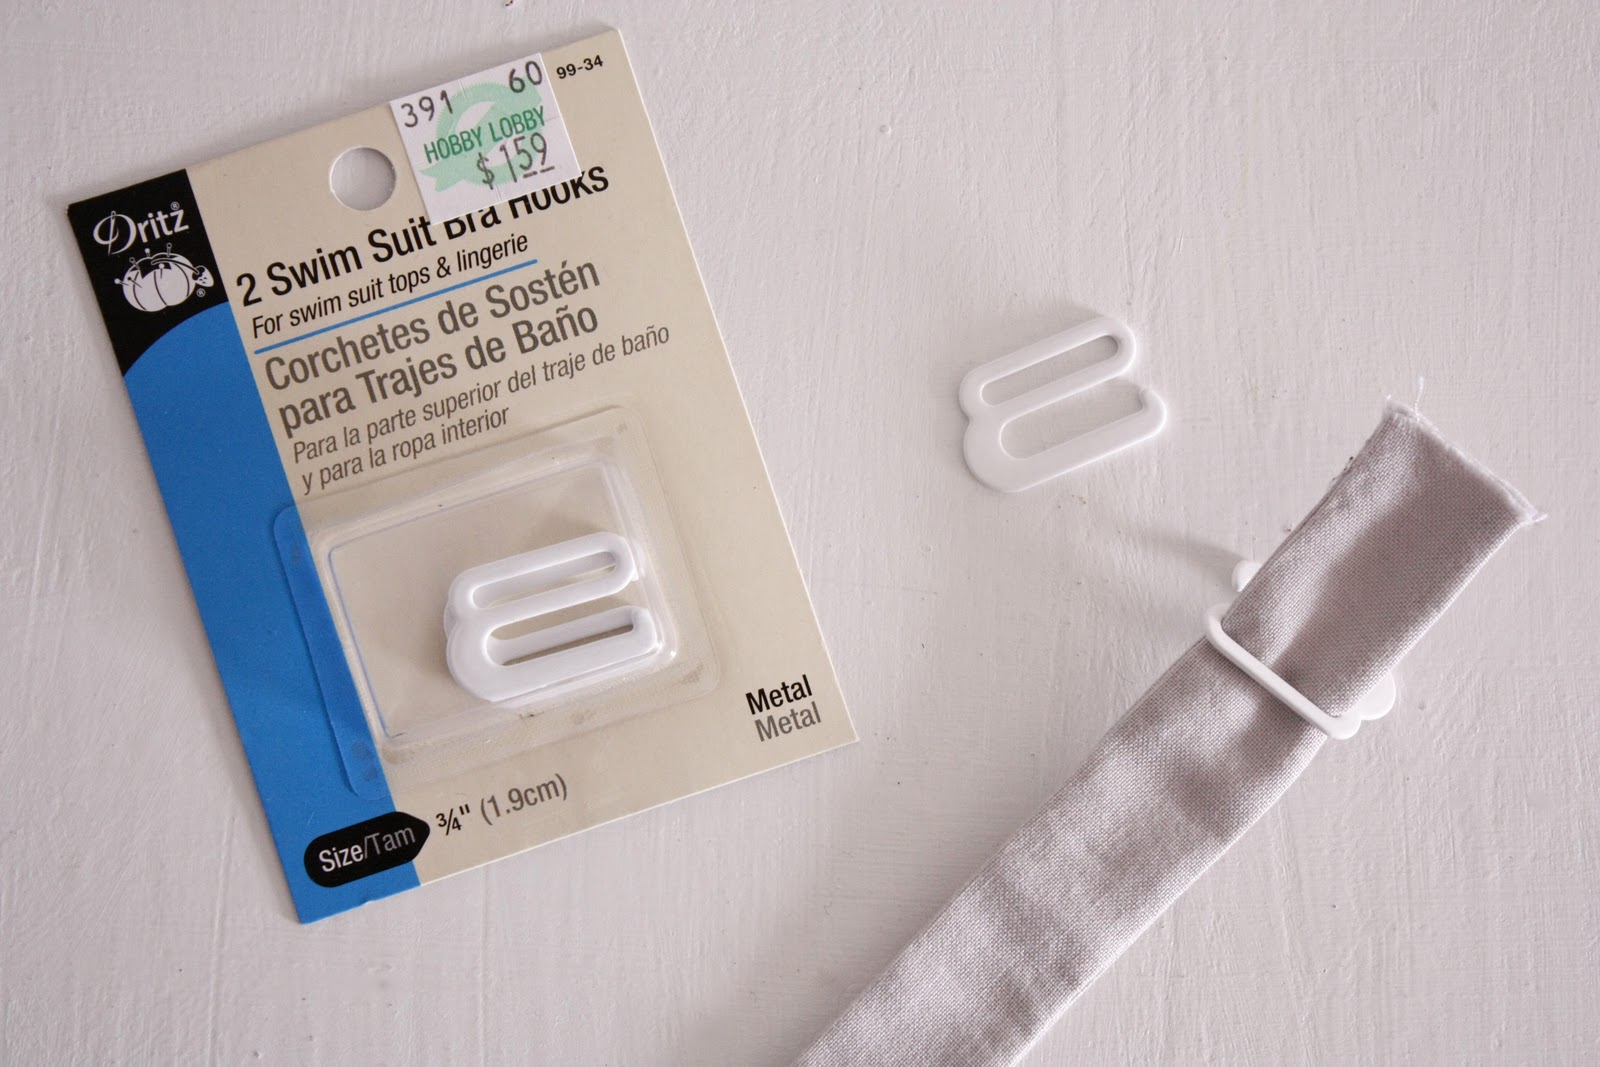
Notice I didn’t using the gray pieces for this. You really have to make sure you give yourself a little extra length for this option.
TWO: One piece with some elastic for comfort and stretch.
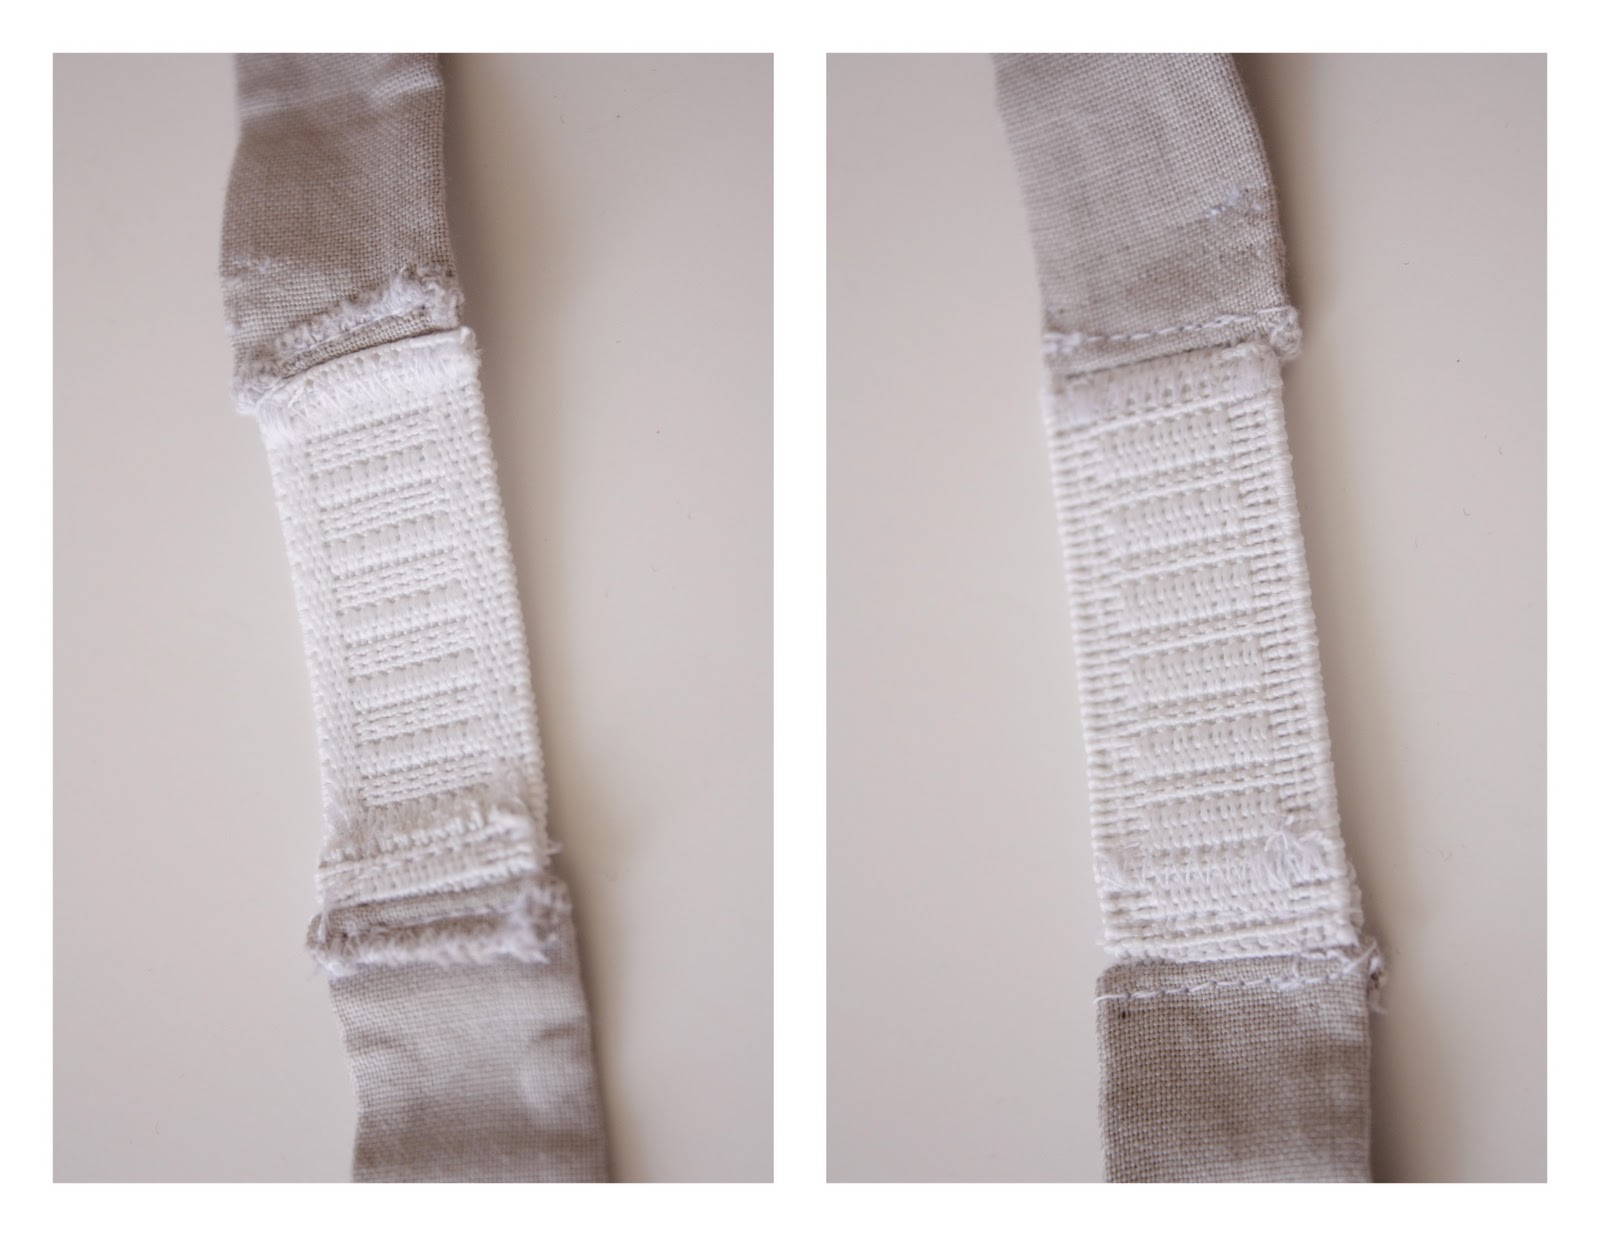
Sew with right sides facing. Open it up and sew down the ends.
I like this version because it gives a bit when you wear it.
THREE: Standard…just sewn together.

You can fold raw edges under or zig-zag away the frays. Either way works.
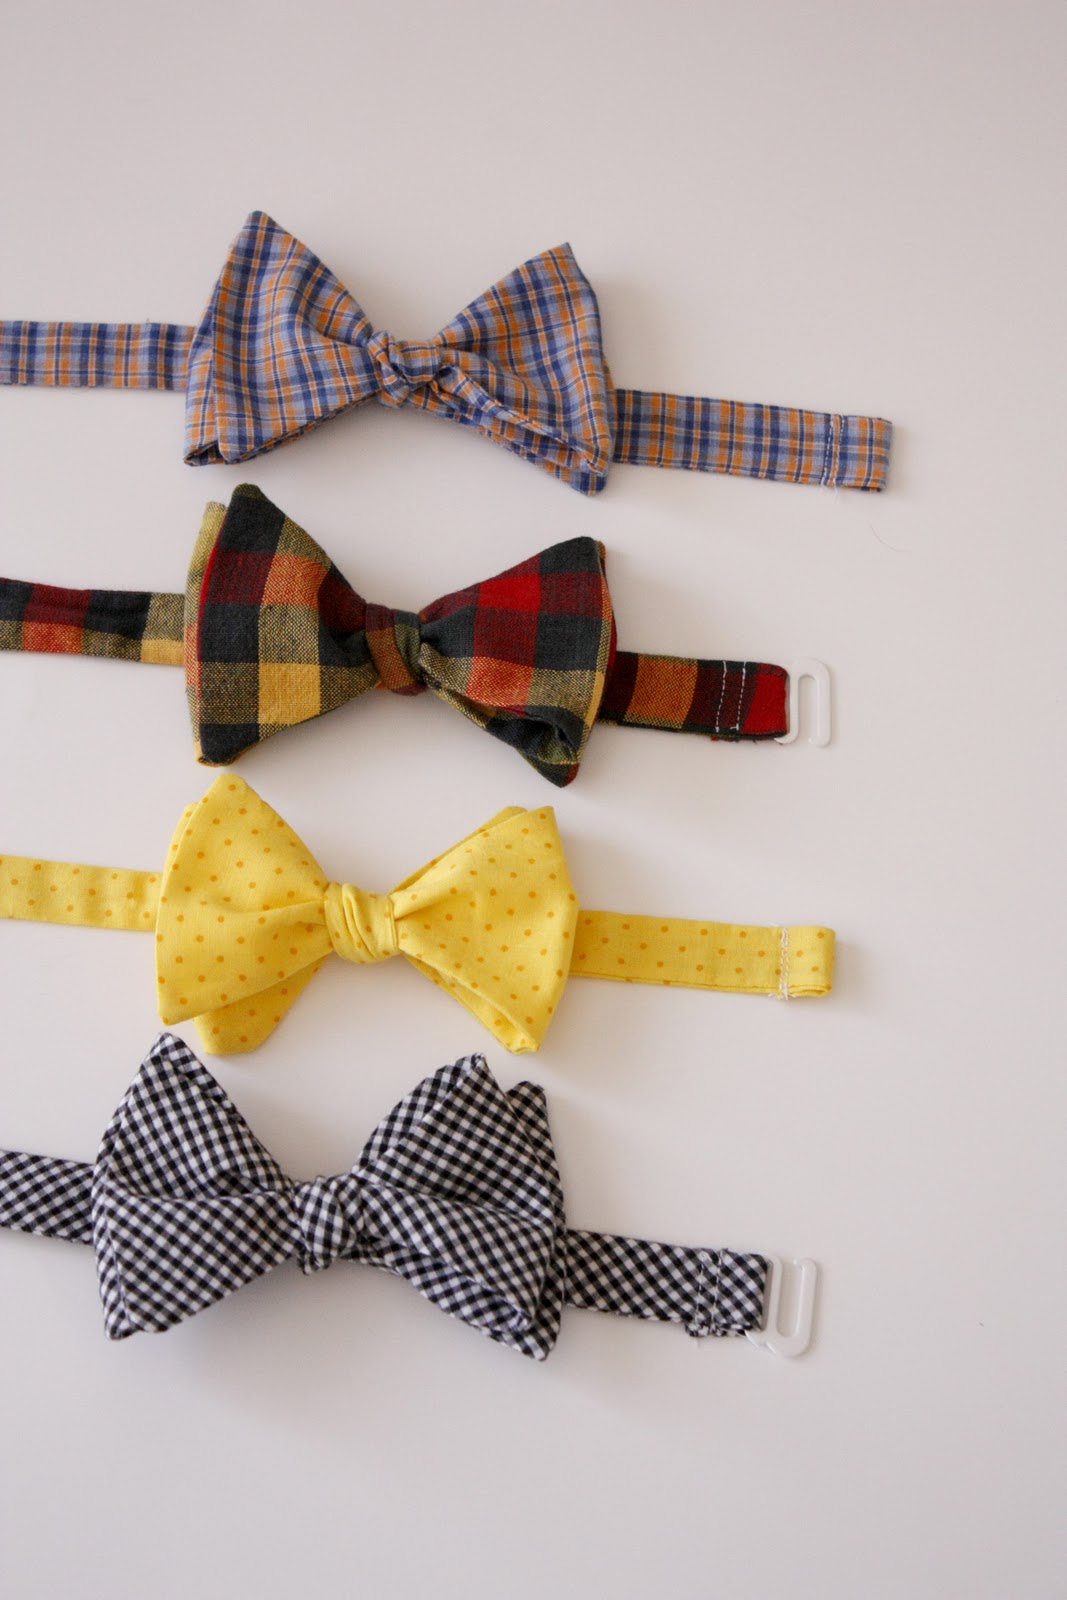
And the bow tie is made!
It was so easy I made a few in some grays, blacks and whites…

Then in some more colorful fabrics from my stash…
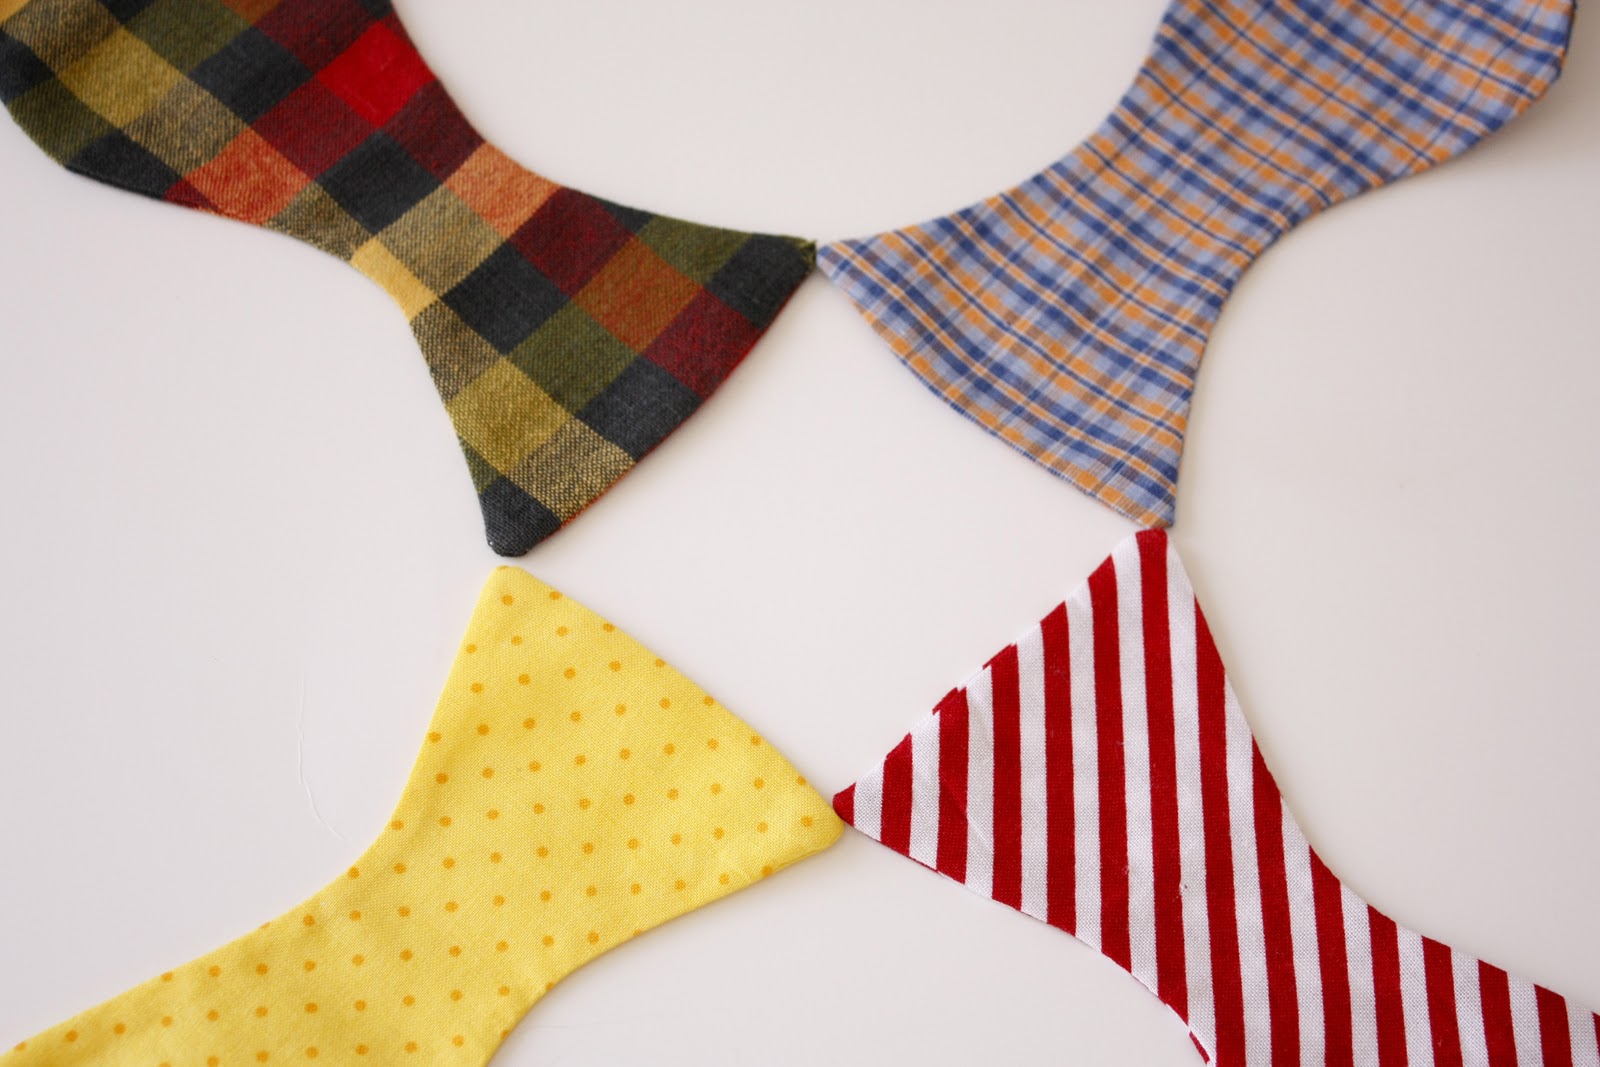
The orange plaid is from an old men’s shirt. Gotta love free!
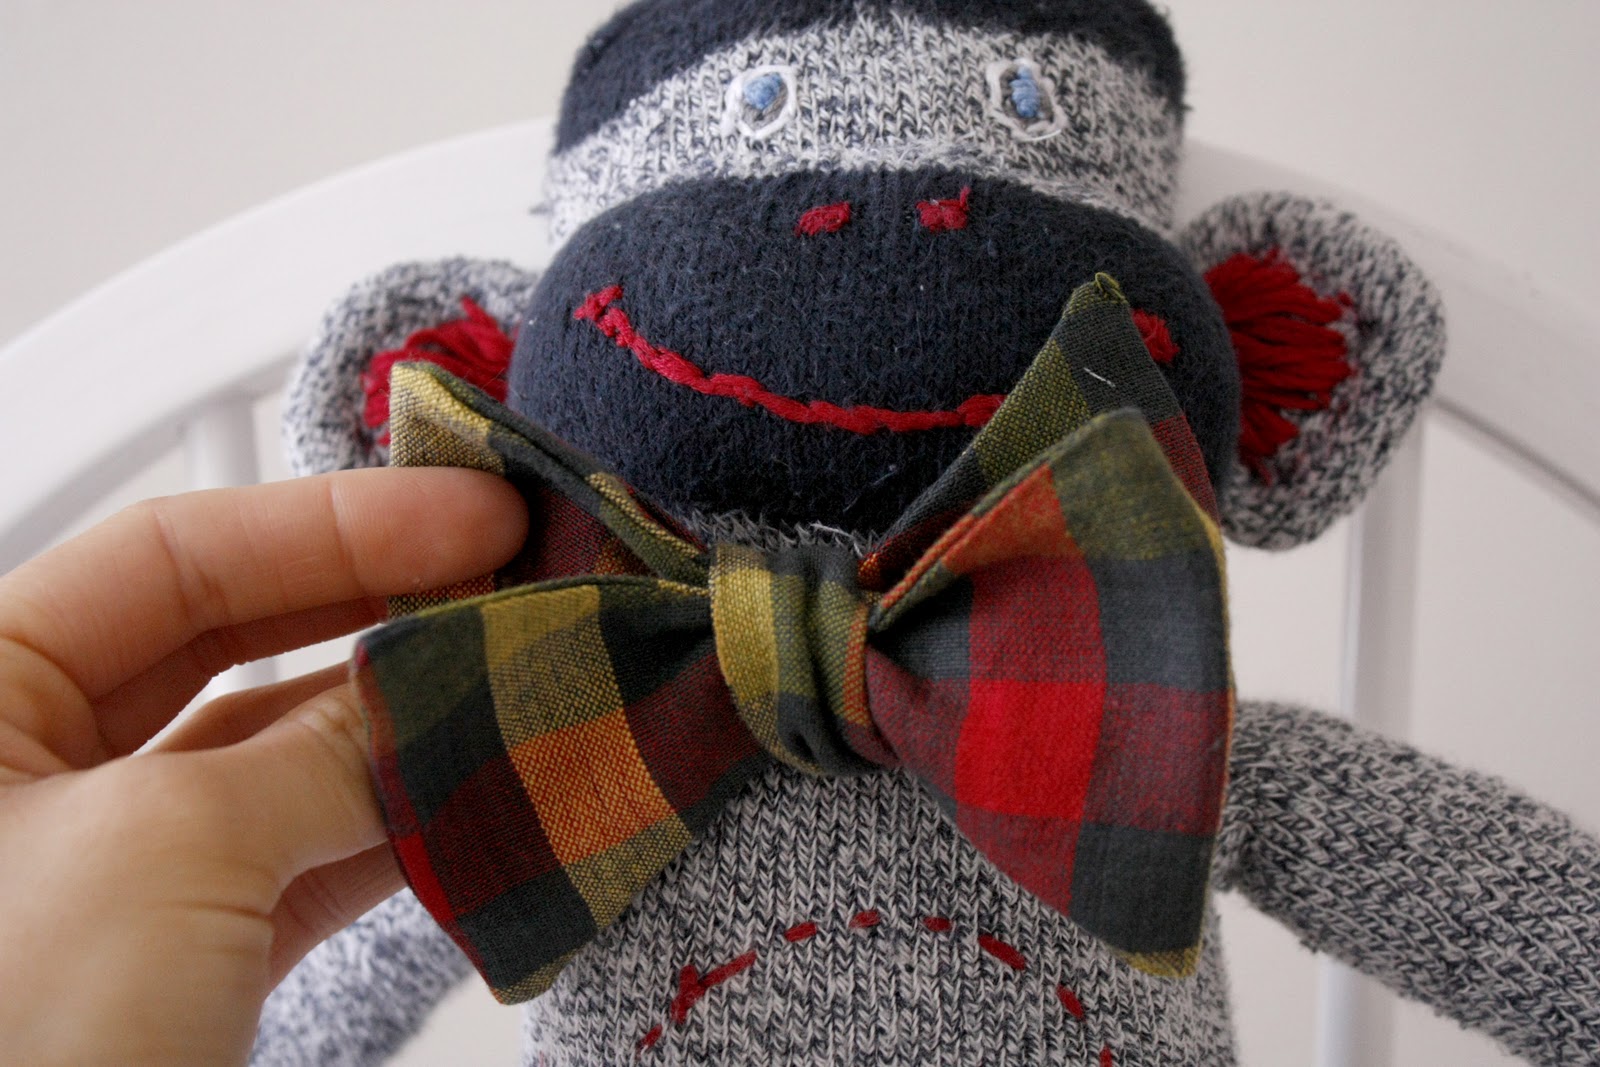
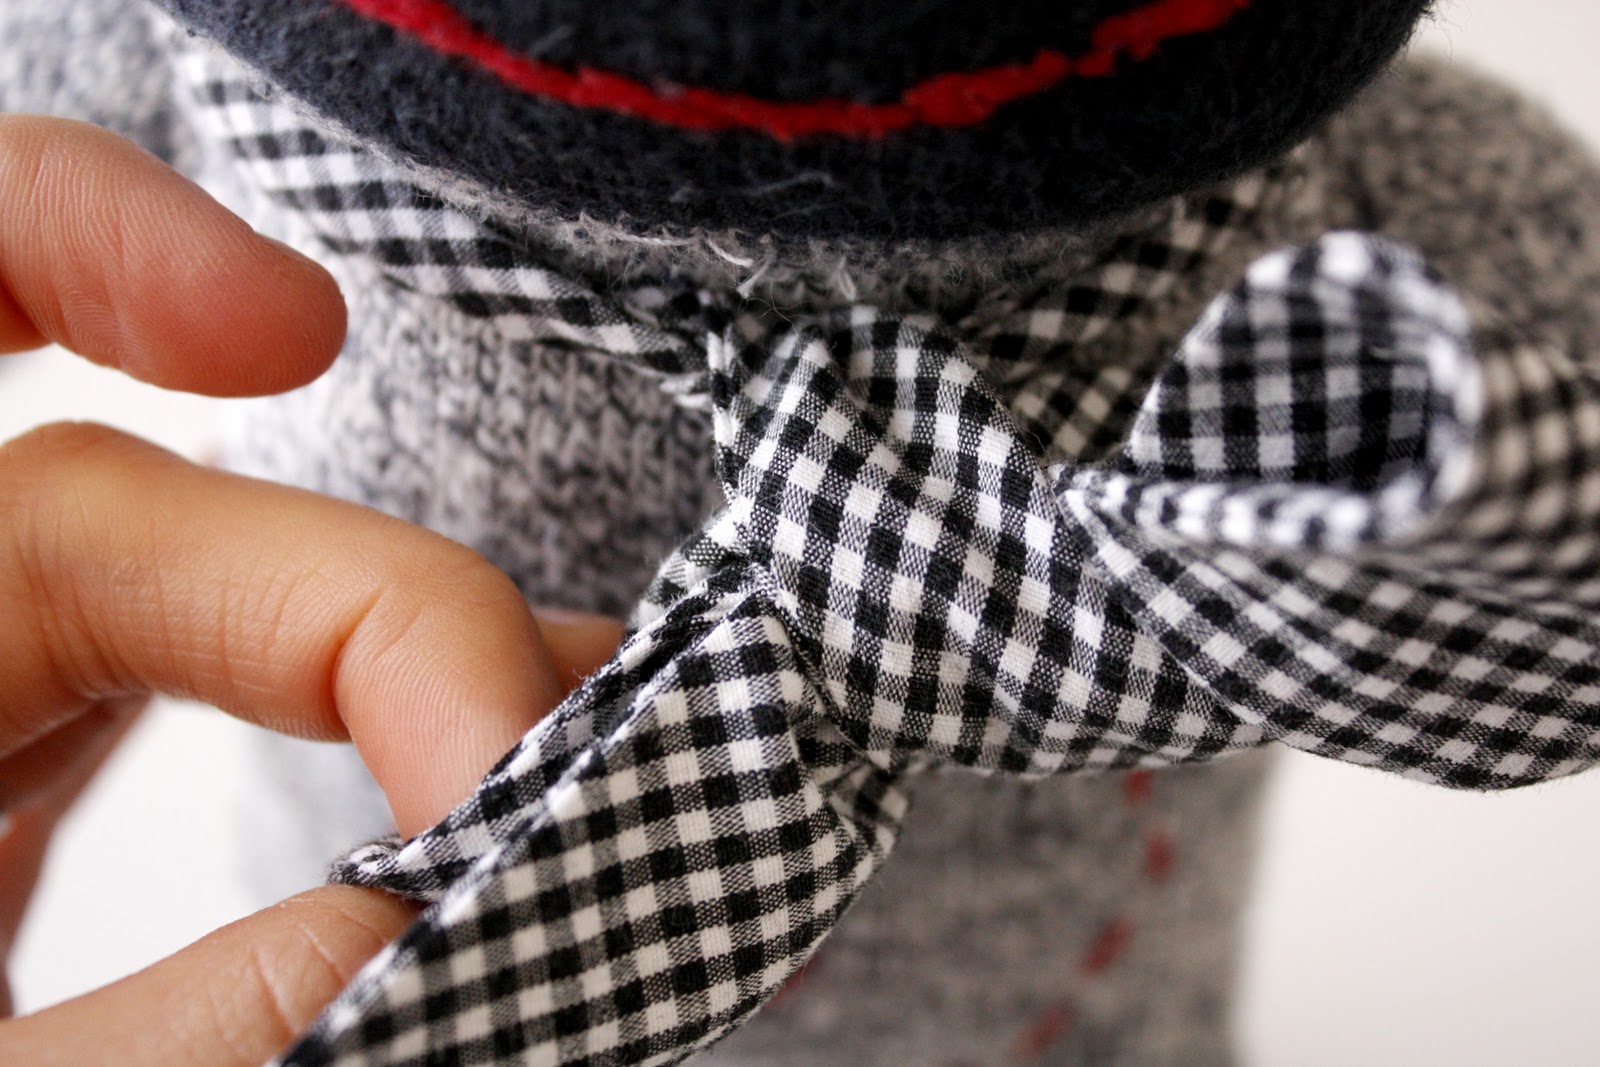
Step Four: Tie it on
I am going to show you the steps with our good ole sock monkey. His neck is a titch small so I made sure to tie it with some room left. This is a great way to practice so your child doesn’t get fidgety.

1. Place it around the neck with one end about 1.5-2 inches farther down than the other.
2. Cross the long end over the top of the short one.
3. Bring it up and through the top. You are basically tying in on.
4. Now take the short end and flip it up.
5. Turn it horizontal and lay the longer end over the top.
6. Flip the longer end up.

7. Now take your folded long end and with the folded end first tuck in behind.
8. You see the loop back there? That’s where it goes.
9. Pull it through.
10. You are almost done.
Just straighten the bow out. If you want to tighten it. Pull both folded ends and then non-folded ends.
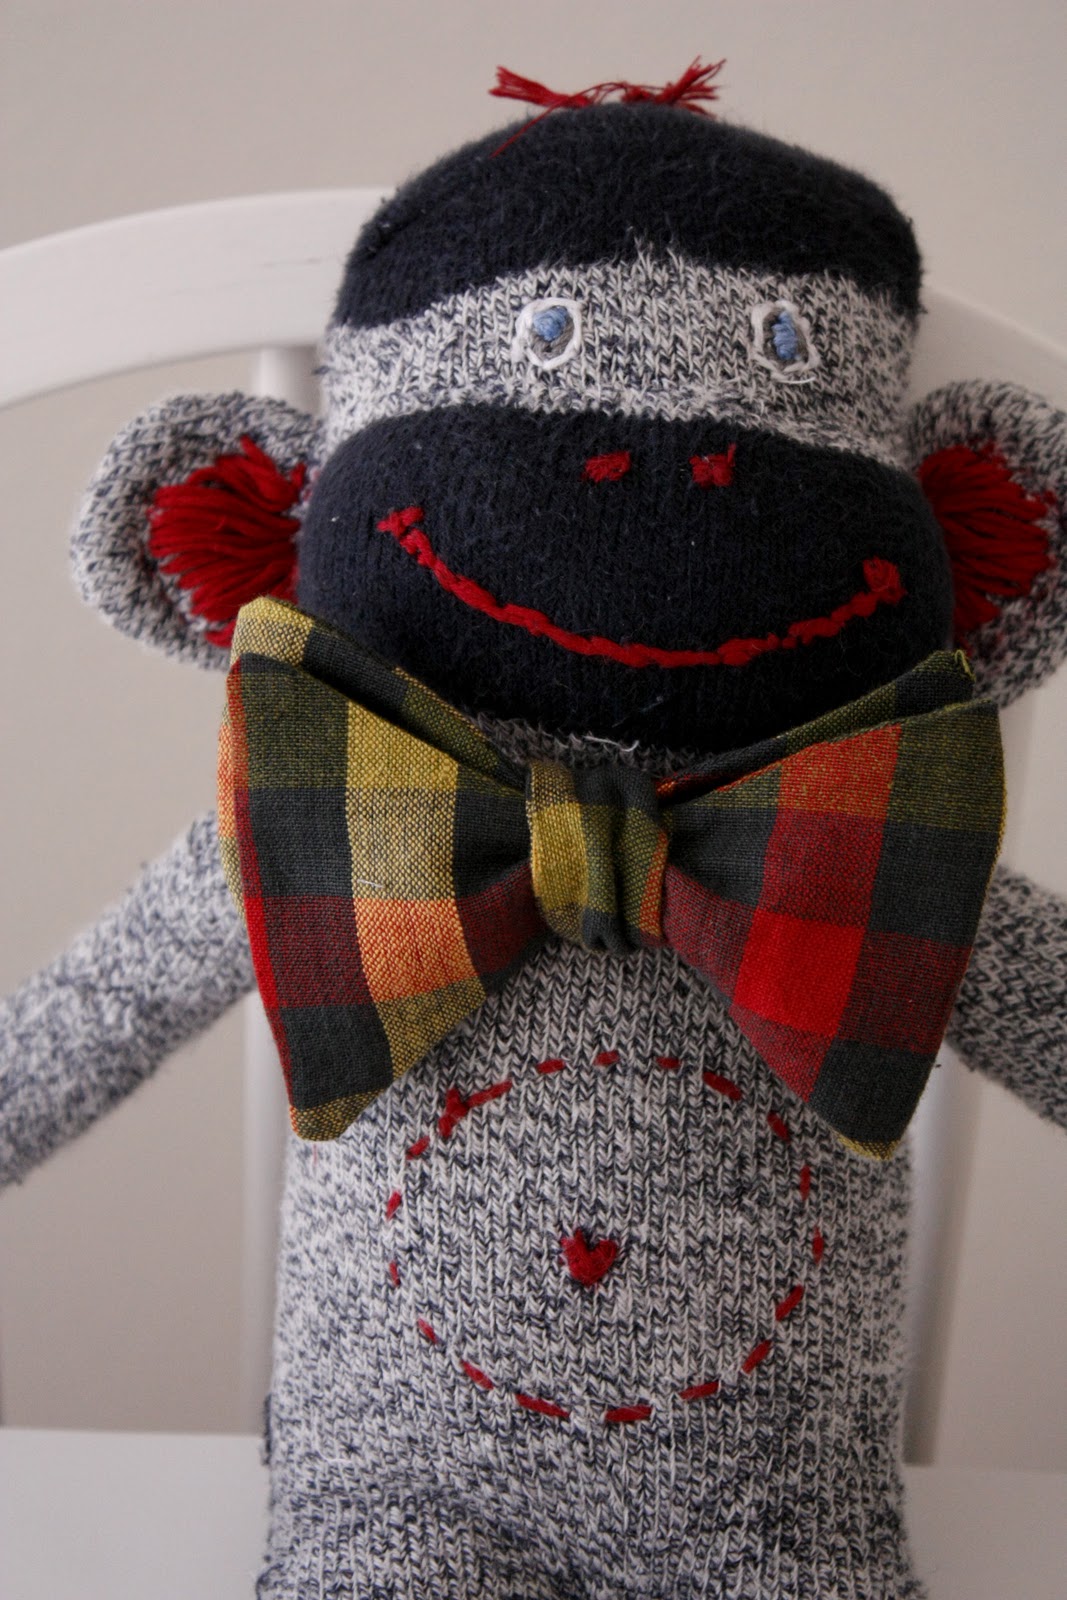
Nice and neat.
If you couldn’t see that loop in the pictures before. Here is a different perspective.

The back clasp gets a little off center but it just gets covered up by the shirt collar. So don’t worry about that.
I went ahead and tied all of my removable bow ties on Mr. Monkey.
That way I could slip them on the boys *snap* just like that.

I took the boys out for a treat, and so they could show off their new bow ties. (I think another word for this is bribery 🙂 ).

Owen was a stud in yellow and blue.

Reid sportin’ the black and white.
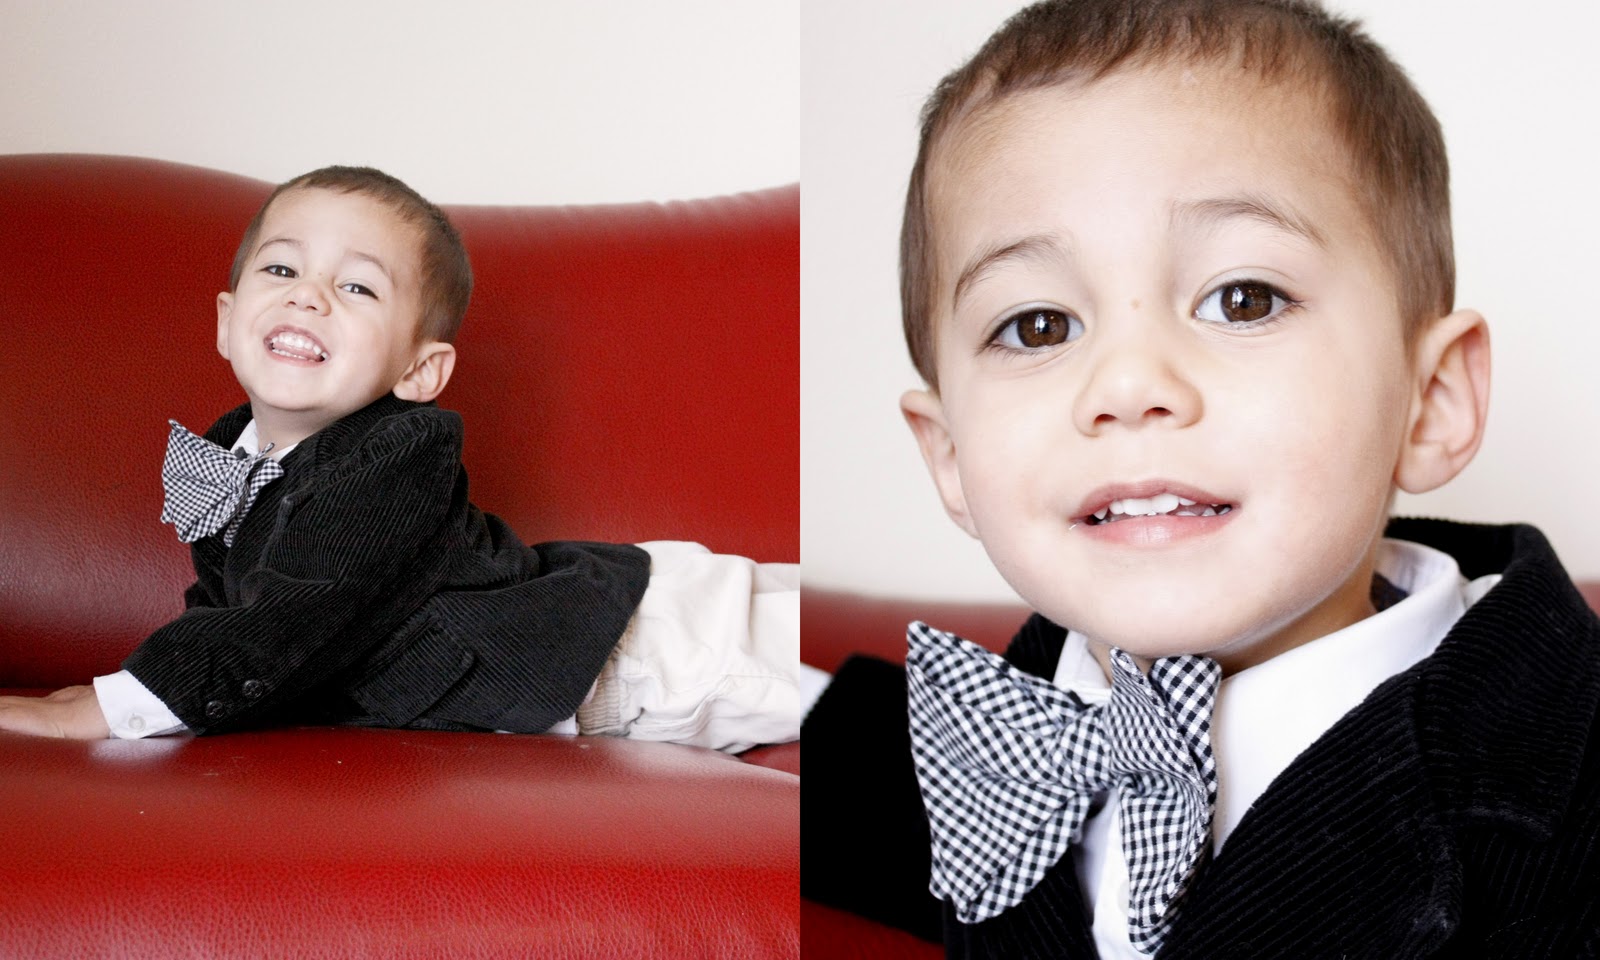
We tried out white on white.

Then the multicolored gingham..
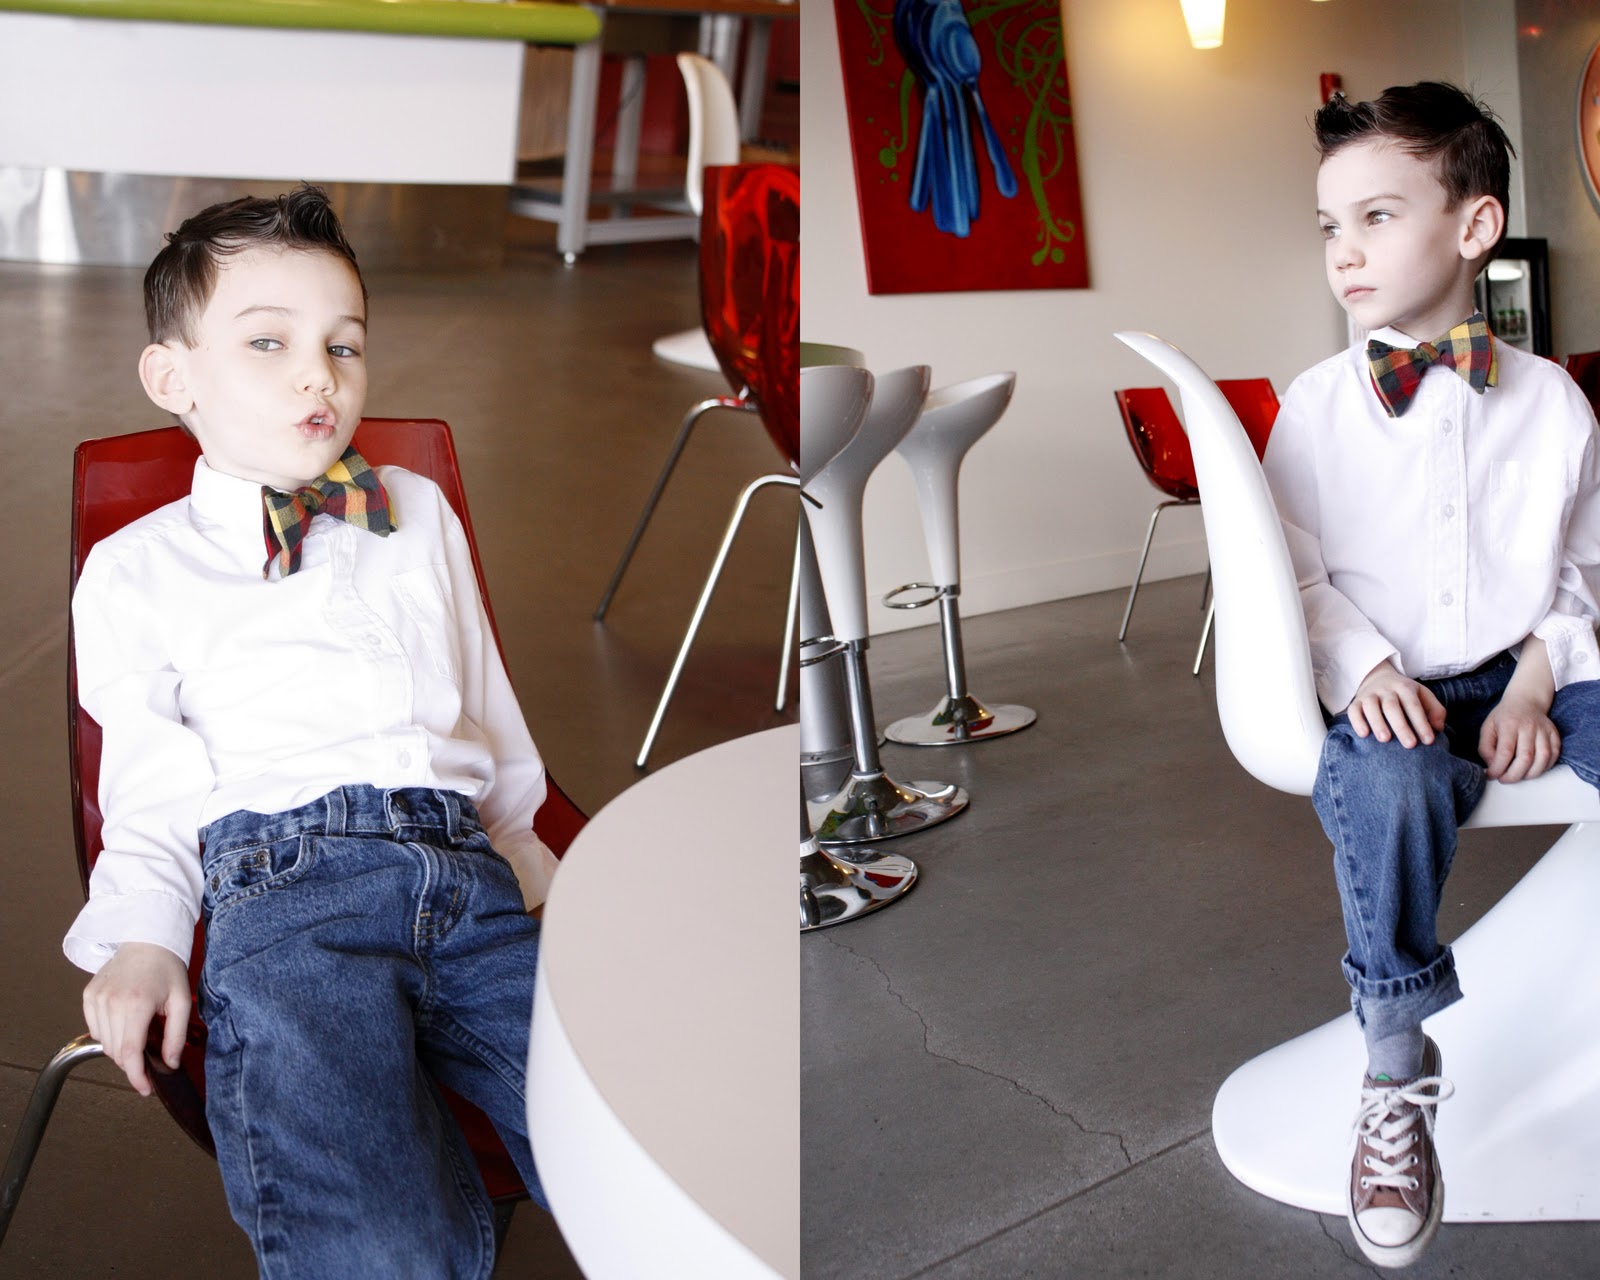
Reid got to put on the orange and blue plaid.

So handsome.
For the record…I didn’t even attempt to tie any of the non-removable bow ties on this kid. Just not happening. 🙂


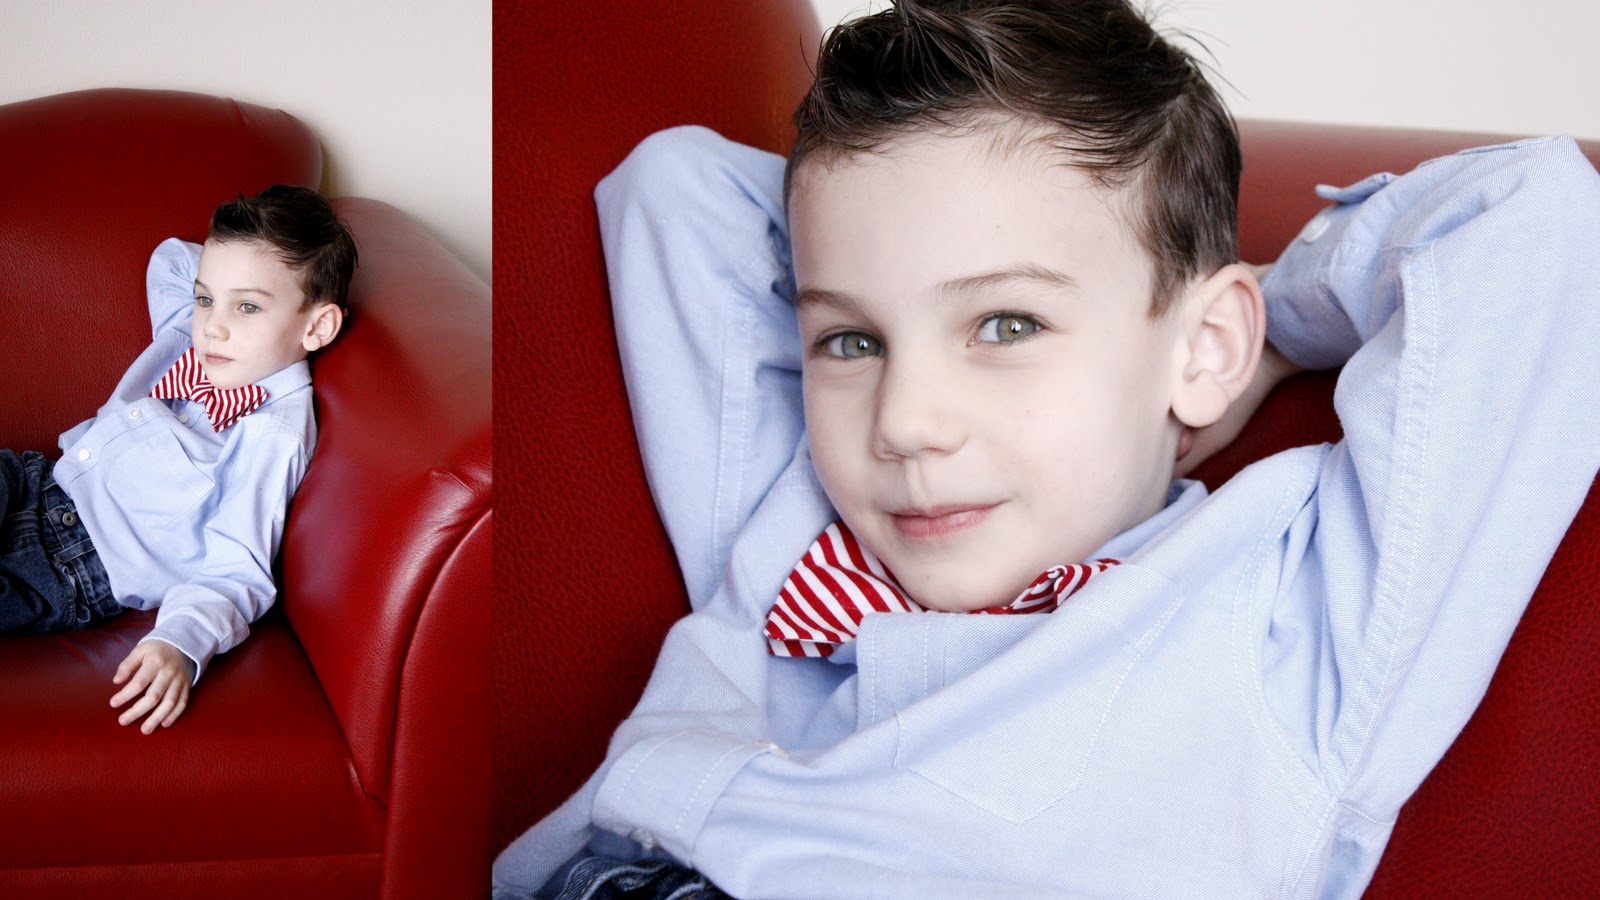
And my favorite combination. The patriotic red, white, and blue.
So many possibilities.

And it takes so little time to whip them up!

So go ahead and make one for your sweet little guy. All it takes is just a bit of fabric and 1/2 hour or less!


Have a sweet day!
These photos are wonderful! I'm loving the bow ties. 🙂
-Ponytails
last night, i (no joke) spent about an hour going through the whole Celebrate the Boy month of posts to look for a 'real' bow tie tutorial! so so so excited to make these for my Leland who turns 4 today and baby Oliver who we meet the first week of June. thank you!!
Love it all delia. So easy to make your own pattern and the photos are great! Your boys are the perfect models. Thank you so much for sharing with us!!
This a great tutorial. Thanks for teaching us how to make our won pattern!
I have absolutely no need for a bow tie but you make them look so darn cute that I want to. Maybe you'll see me sporting one. 🙂 I always love your pics.
You make it looks so easy. Thanks for the instructions, that is really helpful
That is such a cute idea! We ran across one of those yogart shops in CA where my mother lives, we went back everyday till we left…. oh my… 🙂 Thanks for sharing!
This is officially on my list of to-do projects–thanks for sharing, I can't wait to try it!
That is ADORABLE!!!! I wish I still had a little mister to make those for!! Great job! I am going to have to file this at thecraftersfilebox.com in case I ever get ambitious for a nephew! 🙂
just beautiful delia!!! the bow ties are fabulous and the pics are just amazing. 🙂 beautiful!
Wonderful tutorial, Delia! Cute, cute bow ties and the pictures might be my most favorite photo shoot I have ever seen in blog-land:). They are SO cute and your boys are adorable. LOVE LOVE LOVE everything about this post!
Thanks Delia. I'll have to make one for my son and then send some pics to you. The hardest part would be what colors to pick, lol. I would be like you and have to make many detachable ones though to be taken off quickly as well.
LOVE the photo shoot. If/when I get a decent camera can you teach me how to use it? And then somehow transfer some of your talent over, too?
The ties are awesome! I love ties that actually tie. That way you can wash and iron them. My middle son is especially fond of bow ties, so he's totally getting one of these. I think I'll even let him pick out the fabric.
This is just the things I need to whip up for my little guy's b-day in *gulp* two days. He LOVES ties!
Great tutorial and awesome pics!
So cute! My little guy would love this!
I definitely need to make one or twelve of these for my mister.
Love a good bow-tie. Love the photo shoot.
The way you figured out your pattern was WAY easier than how I figured mine out. Using your way from now on.
Thanks for sharing.
Just Another Day in Paradise
Loved the tutorial and the bow ties! The boys are soo cute 😀
so. darn. cute.
i have been SEARCHING for an easy way to make these. I just posted YESTERDAY about some ribbon bow ties i made for my 3 boys……i added this link to my post of patterns i've found. THANK YOU!!
These are ADORABLE. I am totally making one for Burke for Easter! And maybe little matching ones for Burke and my nephew for our beach vaca this summer. And then I could make dresses for the girls in the same fabric.
Trouble, this tutorial could be trouble for me. 🙂
GREAT JOB!
Thank you so much for putting this together. I have seen so many tutorials for little bow ties but none for REAL bow ties. I love it. And your boys are adorable.
Found you by searching for bow ties… could your models BE any cuter?!! I have to make several ties for a wedding and this tutorial is PERFECT! Thanks so much!
Lovely ties! And the ice creqm yummy!!!! Can't wait to do this project for my baby!!! And i used the pic of the icecream on my blog, it's going to be linked on the image!
I love these! Your boys are so handsome!
Thank you so much for sharing this. I really want to make my boys some boy ties for Easter to match their sisters' dresses. This is perfect. Thank you for explaining it so nicely. I love your photos too and your boys are adorable!
So cute! I can't wait until I have time to make something like this too!
those are awesome!
i have been wanting to make a bow tie for my son but have been to intimidated to try and you made it look so simple i'm gonna give it a try!
(and its just in time for passover:))
Those photos of your boys are outstanding!
Awww they look like such little gentlemen in their bowties! Very cute! Love the pictures, love their bowties 🙂
Hahaha… um. That was me. For some reason I have issues getting signed into my blogger account if my husband had just used his university email account.
love it!
When or if I have a boy and have to remember this one. Joe loves his bow ties and a little me would be in order. Also where is the fun place you took those fun photos at? Love your cute boys and their bow ties.
Cutest. Things. Ever. Can't wait to try some for my little men for Easter! Thanks so much for sharing- I confess I normally would have not made it through a long tutorial like this, but you made every step fun! 🙂
Thank you! I've bookmarked this to try out sometime. I have a 3 year old son and we just had a new baby boy – so I'm looking forward to making them matching spiffy bow ties some day. 🙂
These are such adorable boy ties (and a gorgeous post–I love the how to tie section!). If only I had a little boy on which to tie one!
Thank you so much for doing this. My husband absolutely loves bow ties and has always wanted me to make him some. Your post gave me the confidence to make some for him and for my 6 mo. old. I'm having a great time making them bow ties! Thank you so much!
thank you for this awesome tutorial. i made one for my 3 year old boy today.
http://tablecalender.blogspot.com/2011/03/cream-bow-tie.html
thank you!
This is fantastic! I've never made anything for my wee boy yet, but you make this look so easy that I'd love to give it a go! Daniel would probably pull it right off just as soon as I put it on him though – he's only 10 months and anything that's put round his neck (i.e. bibs) last about 30 seconds before they're thrown on the floor! 🙂
Good morning! I am including a link to these adorable bow ties as part of a boys dress up for Easter post I'm doing. You can check it out here: http://bisforboycreations.blogspot.com/2011/04/fabulous-finds-for-boys-all-dressed-up.html
Uau! Que post sensacional. E as fotos estão muito legais. Parabéns pelo trabalho!
Thanks so much for this tutorial. I made a few bow ties years ago following a commercial pattern and they were not great. Your directions explaining how to make a pattern are awesome. I made some last week and used button hole elastic as a closure, and posted on my blog, The Polka-Dot Umbrella. I think button hole elastic is the best of all worlds –
Thanks for this tutorial! I showed it to my husband so he could see what i wanted to make for our little Jude for Easter, and he was so impressed (that they actually tie) he asked me to make him a few too. My guys are gonna look SO dashing on the boulevard this Sunday. ;o) Many thanks!
I think I'm going to make one to force my boyfriend into….thier so cute!!! Thank you for the lovely tuturial 😉
thanks so much for the tutorial! great pictures, and i love that you included some 'not so perfect' moments as well 🙂
Your time is something new to me, I’ve seen some tips on how to make a bow ties and your tutorials is quiet different anyway maybe I’m gonna try this one.
Thanks for the tutorial!! Another great one! I used it to make some Fancy bow ties for my daughter’s fancy nancy birthday party!
http://buzzmills.typepad.com/blog/2012/02/bow-tied-up.html
Thanks for your helpful tutorial (loved all the great pictures). Just perfect for my little guy's ring bearer bow tie!
http://redthreadlove.blogspot.com/2012/03/ring-bearer.html
Delia thanks so much for your enormous help, my kids needed bowties for Spirit Week at School and here in Mexico it's very difficult to find them for adults, let alone for kids, so your tutorial saved the day, and I can't machine sew but I did them, not perfect like yours but they will do, I will be posting pictures at the end of the week of all the costumes, hats, hair, etc I did for
what type of fabric do you recommend using?
Owen looks like a young Paul Rudd.
I had to comment on here, because this is how I found your blog. I LOVE this tutorial!! So stinkin' easy and EVERY time our little boys wear their bow ties to church, they get complimented left and right. Little heart throbs. I would have tons made by now (only have 2) but can't seem to find the "right" material. Thanks for this tutorial! Your boys are so cute!
Hello Delia! Thank you so much for sharing this info. I found your blog through Pinterest! I decided to make some of my own bow ties for my 22 month old son. Glad i found you. Blogged about you and attached link to your page, thought id let you know. Once again thanks for the info.
http://estherburgoin.blogspot.com/2012/10/bow-tie.html
I ABSOLUTELY LOVE THIS. I mean it kinda looks a little hard to be honest, but thats just for me because im a beginner at sewing. But a Beautiful tutorial. Glad I ran across your blog, Love the pictures. Your boys are so handsome!!
Thank You SO MUCH for this tutorial! It has become my favorite bow tie tutorial BY FAR! My little guy is obsessed with Doctor Who, so he has to have a bow tie. I’ve made at least a dozen of these. I use Velcro so he can put them on himself.
Great tutorial. Been searching a while for a REAL bowtie tutorial. One suggestion. You have four pieces that you cut out. If you cut your pattern on the fold of your piece of material it will save you a step. Just a thought. Great photo shoot and tying tutorial. You have inspired me.
I was hoping you might post a template of the bow tie as I can’t draw!
Thanks, Ariel
MH embroidery thread polyester is renowned as sturdy quickly colours, consistency, sheen and brilliance of shades. Its exceptional strength provides significant sewing productiveness during the most demanding purposes. An outstanding option for hand or equipment embroidery, or every other stitching venture.
For the life of me I cannot figure out how to tie this bow tie. I’ve gone through the tutorial many times, and I can’t seem to get beyond step 7. I know it must be easier than I’m making it, so maybe you can help me out. 🙂 I can’t figure out how to get the knot in the middle. Appreciate any feedback you have!
Oh goodness. Sorry Jesseca! It is really tricky to get the hang of. A video might help you then? Have you tried googling a how to tie a bow tie video on youtube? Hopefully that helps?