

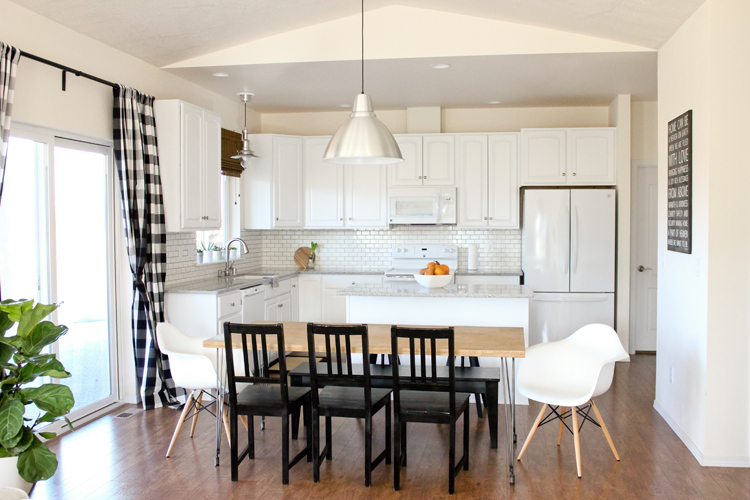
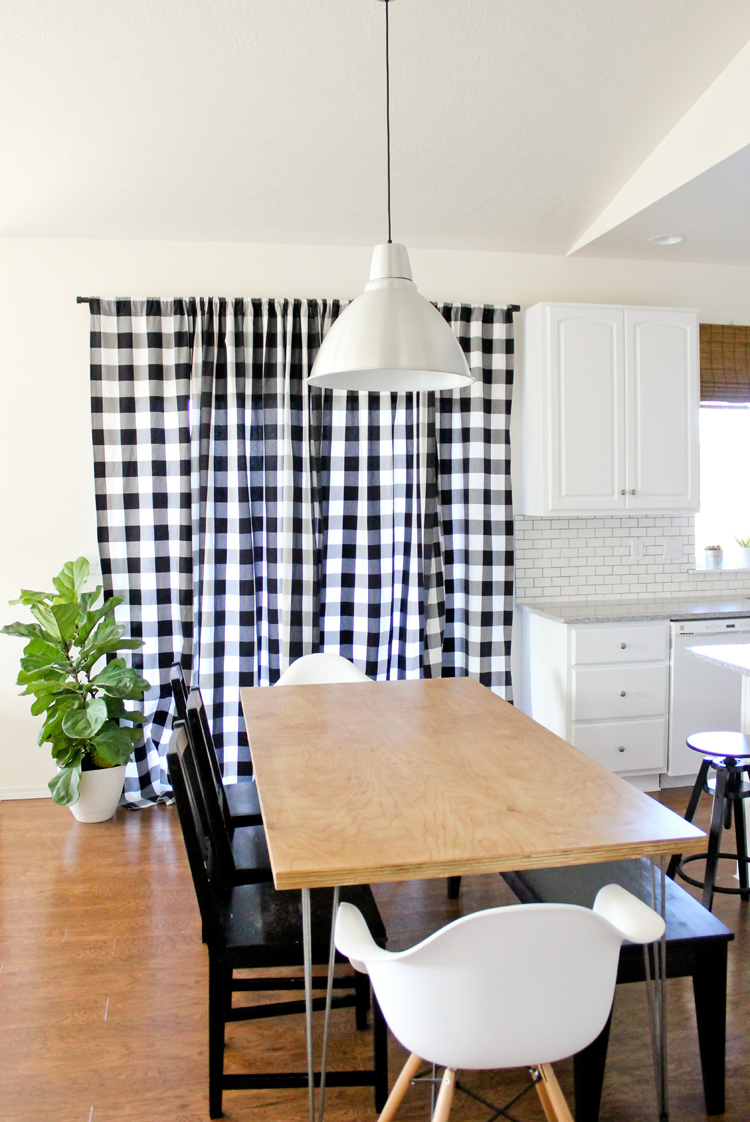
To finish up our kitchen reno, I really wanted to replace our old dining table. Although black is apart of our color scheme, having a big, bulky black table seemed too imposing.
Here was our table before…
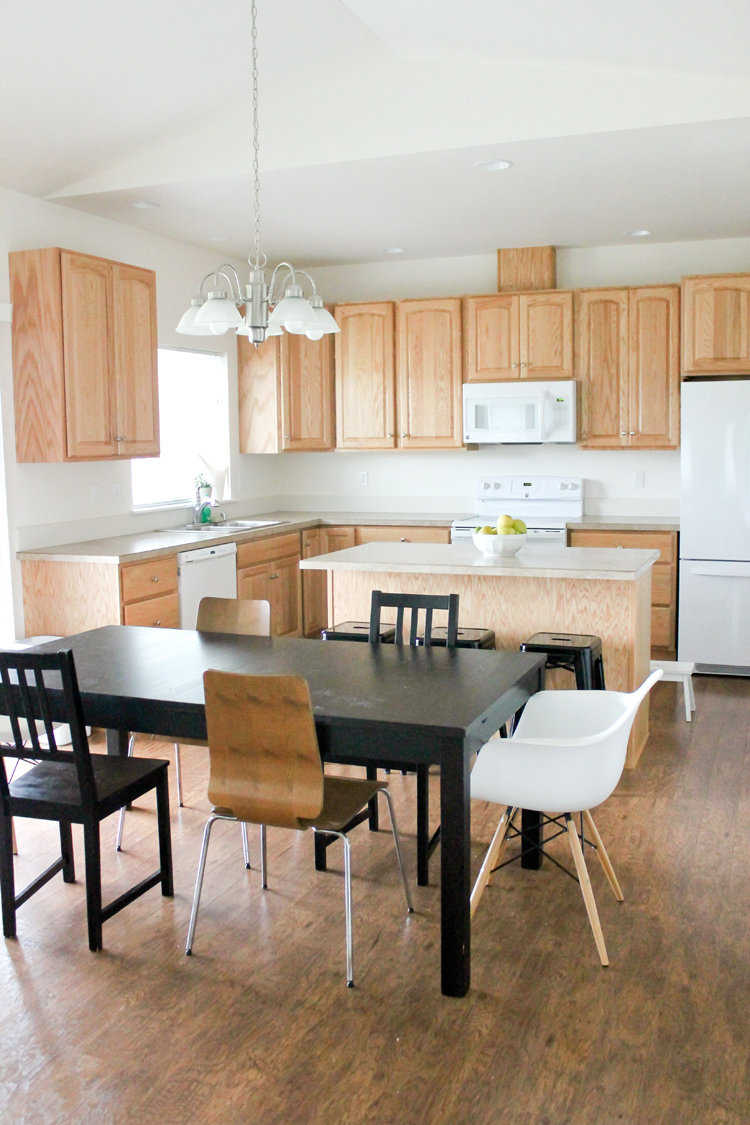
I swear I cleaned it before this picture too. Ha! Messes showed up so easily on the dark surface!
I wanted something simple, kid friendly, modern, and inexpensive which basically felt like searching for a unicorn!
Then cue, this post from Vintage Revivals which introduced me to the idea of plywood tables… which then led me to find this post from HomeMade Modern.
I was sold.
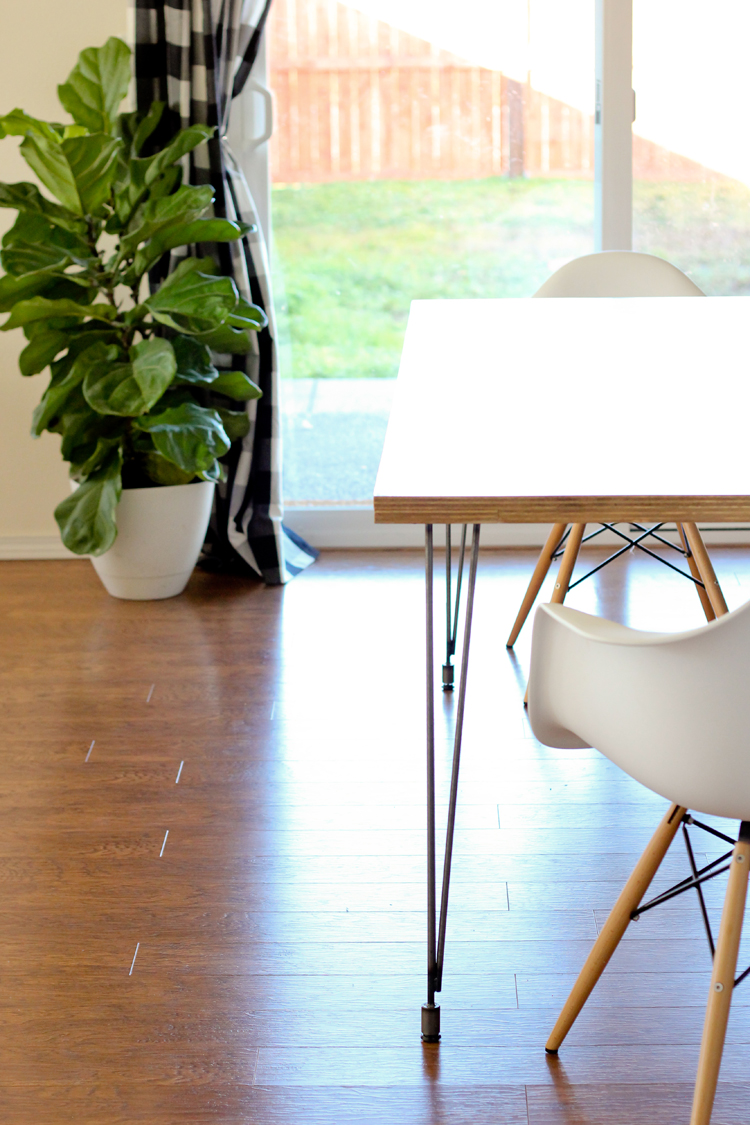
LEGS
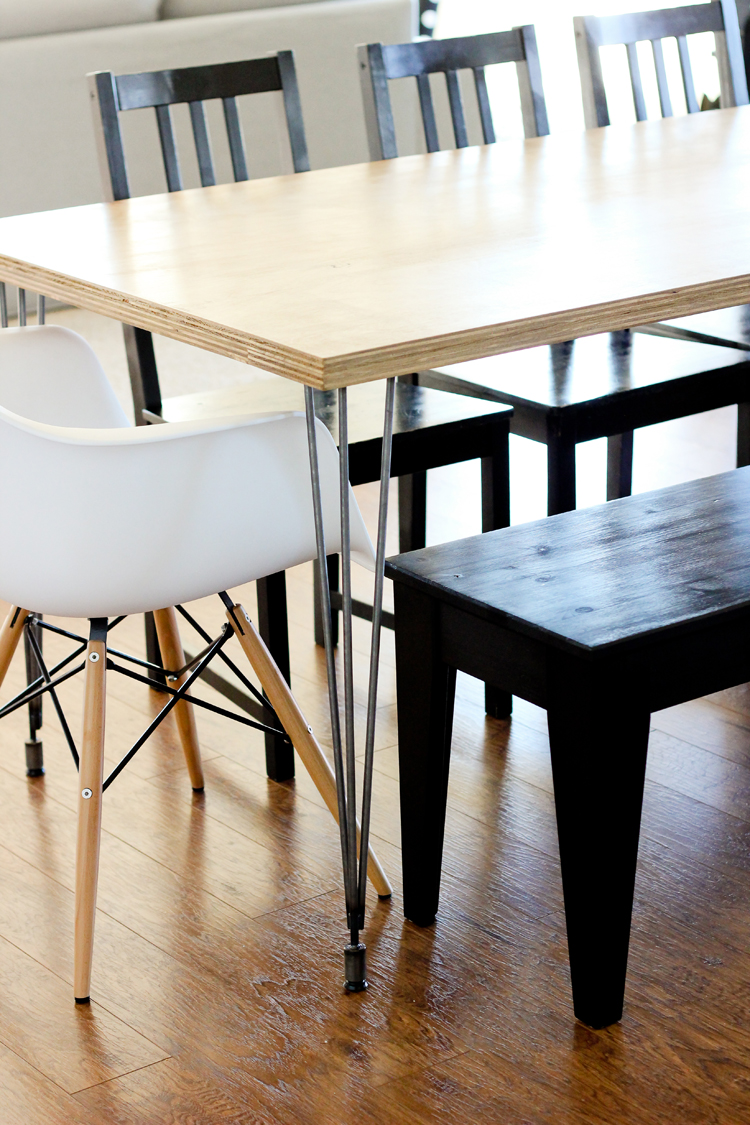
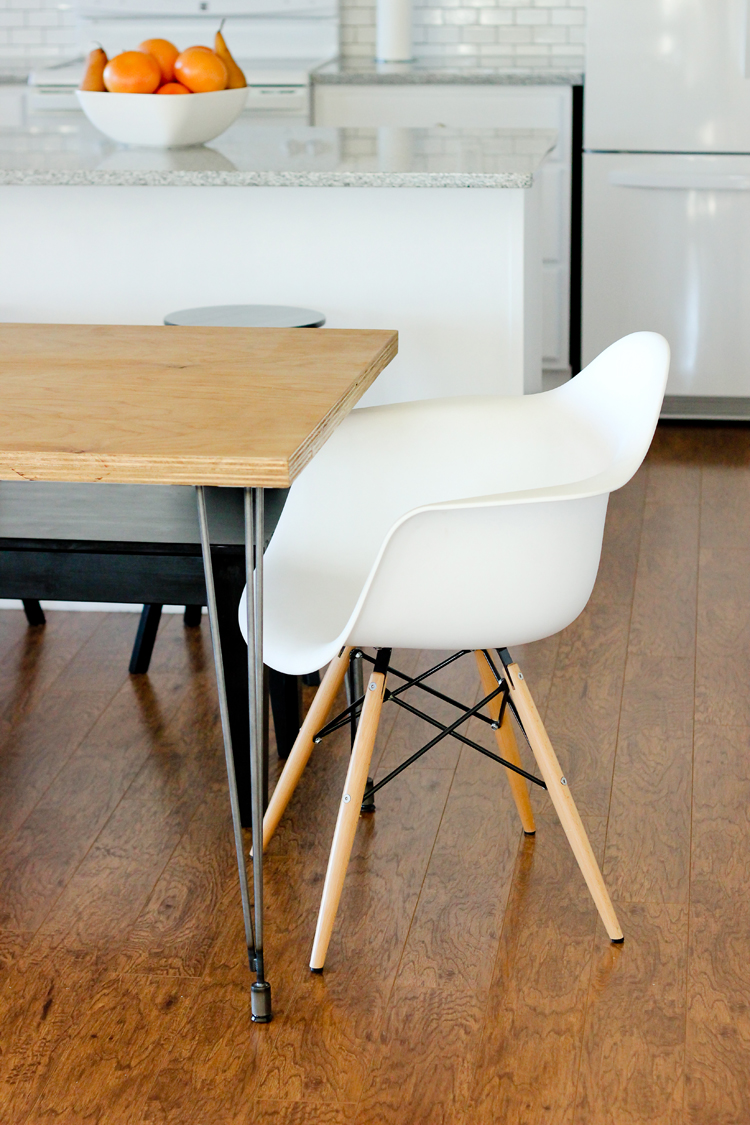
I ordered these steel legs from HairPinLegs.com (28″ leg height). With shipping it came to around $140-150. So…I know that’s kind of a lot for just legs. I decided to splurge a little on them, because I knew this table was going to see a lot of wear and I wanted to be sure the legs would be sturdy. I also liked that the feet are self leveling.
To save a little money, I got the legs with a raw finish, so they came unfinished with a messy, greasy residue all over them. I scrubbed them clean with some denatured alcohol and a paper towel, until the grease was gone. Then I turned them on their top plates and gave them a good coating of clear enamel finish spray paint made for use on metal.
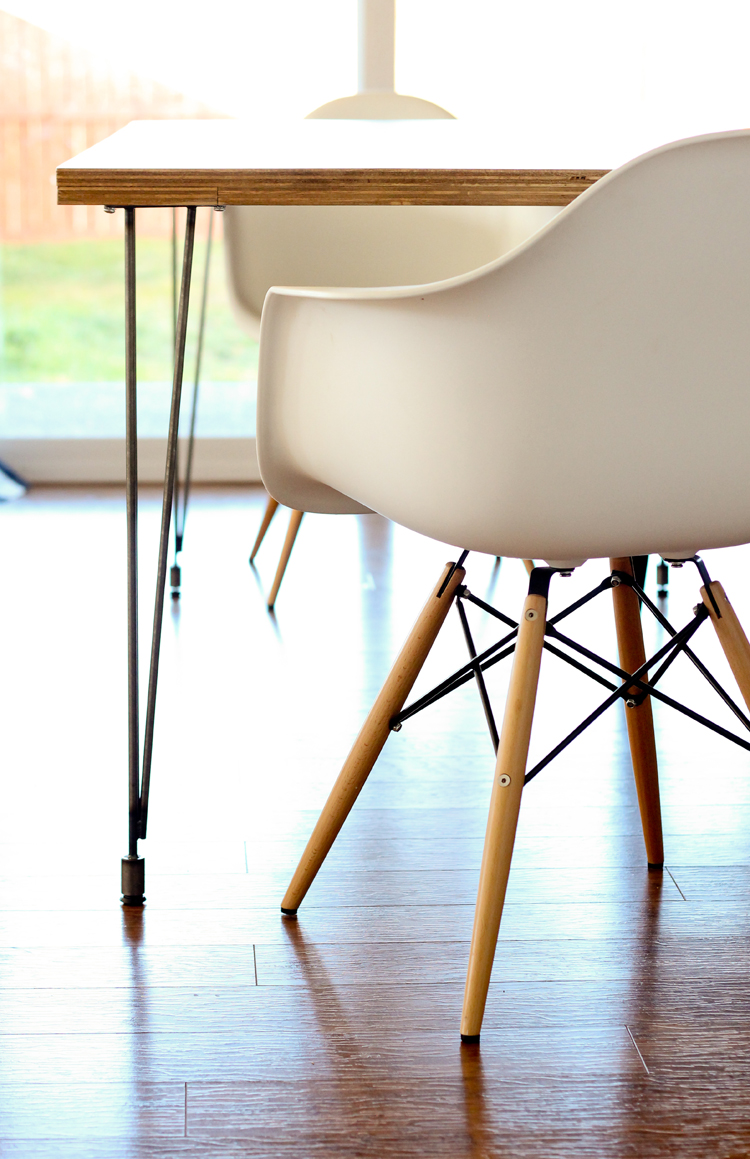
TABLE TOP
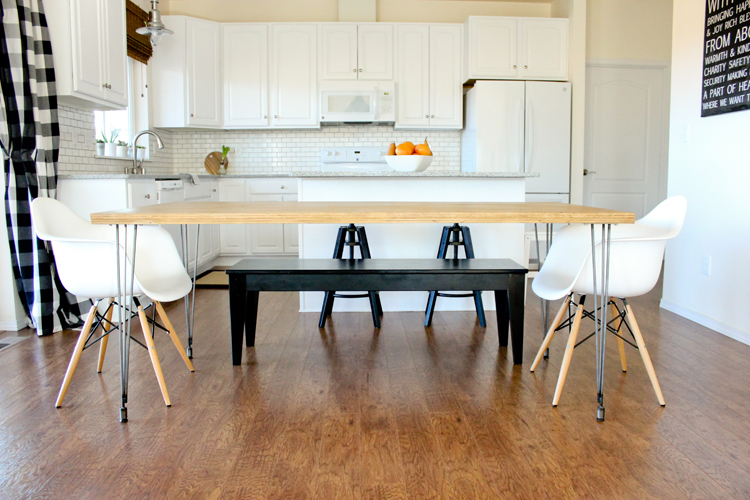
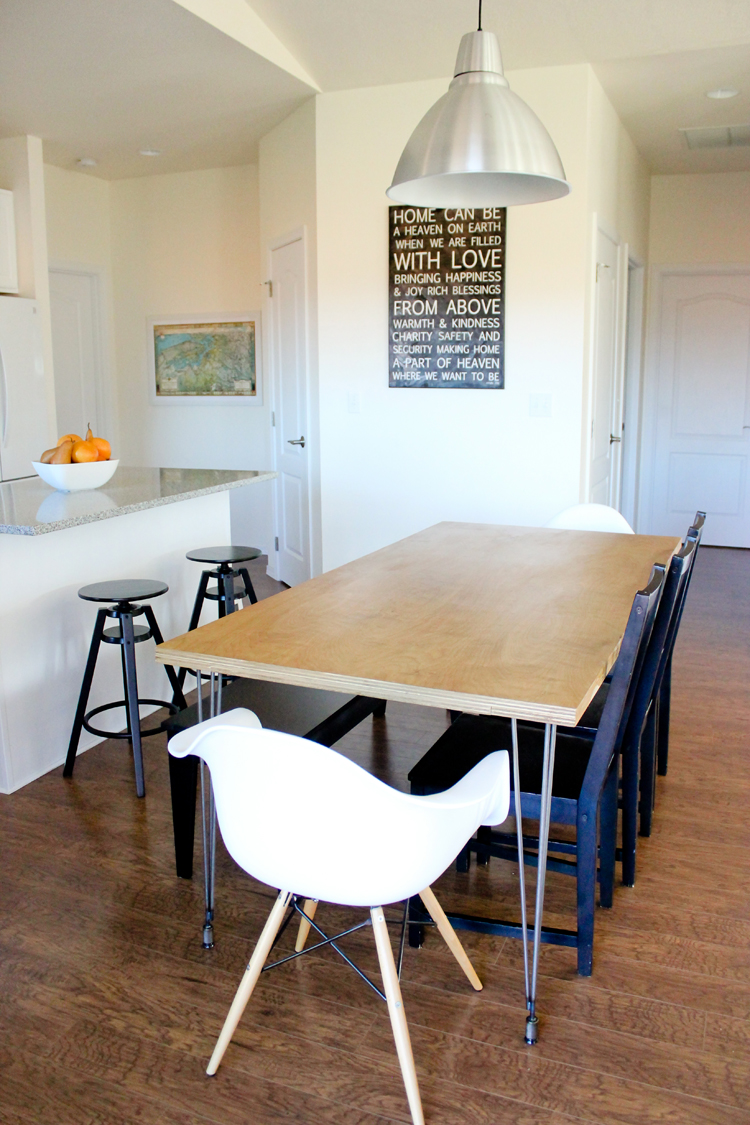
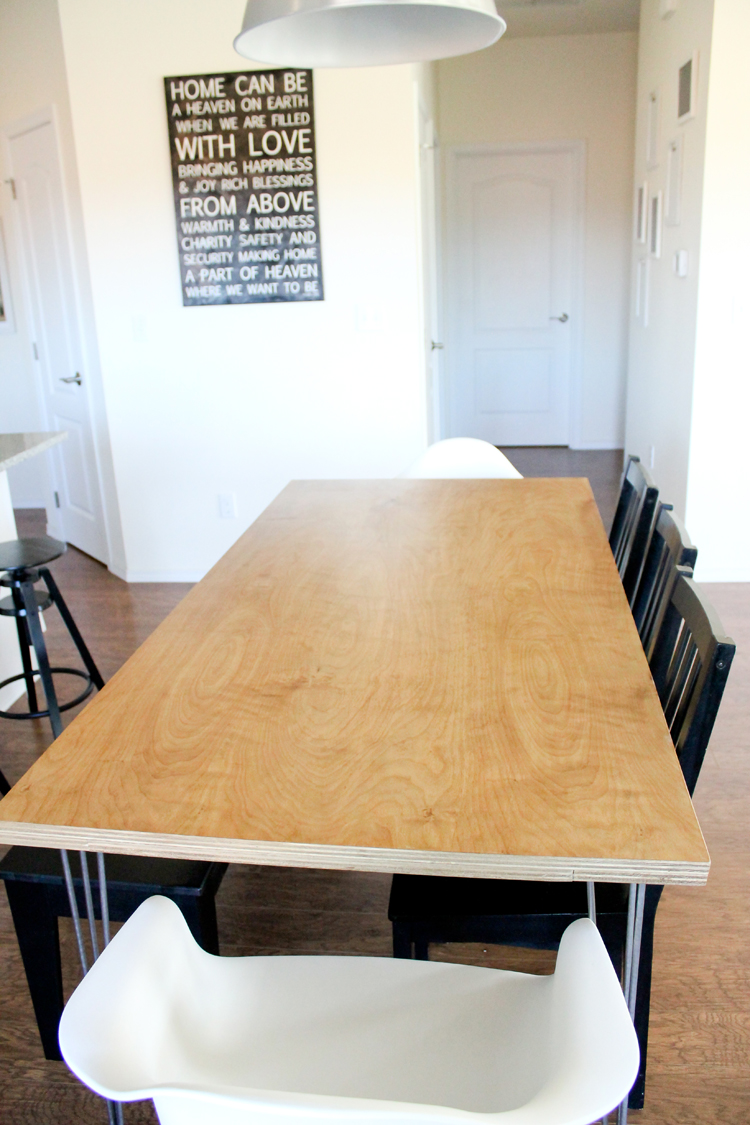
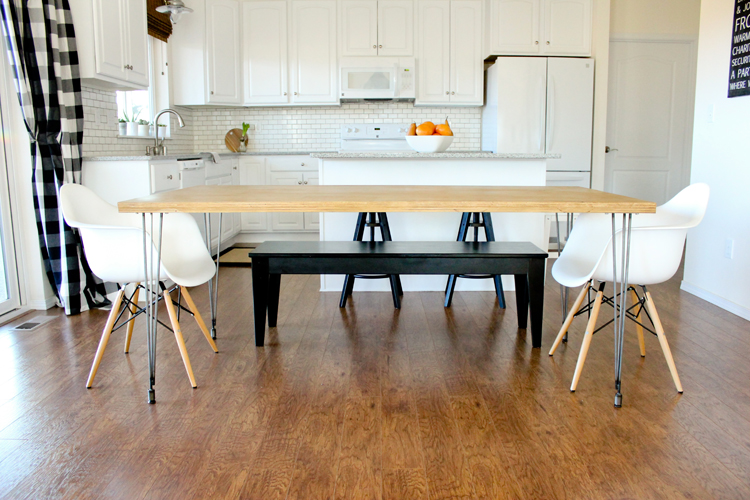
I headed over to Home Depot and bought a 3/4″ inch thick sheet of plywood that measured 4 ft. x 8 ft. I followed THIS tutorial from HomeMade Modern almost exactly. The only changes I made were that I made my table a little shorter and wider, to better accommodate our dining space. The final dimensions of my table are 3 ft. x 6 ft.
If you do the same, just be sure to account for blade width when adjusting the cut measurements. You will lose that width with every cut you make.
I stained the table top with one light coat of Minwax honey oak wood stain, which is ironic since I just painted all my oak cabinets white. ha! The room was feeling too white though, and the honey oak table top adds just the right amount of warmth to the room.
To finish off the top, I almost used more of the Minwax polycrylic I used on my cabinets, but when Mandi recommended Varathane Triple Thick, I gave it a shot. I wanted to be sure the finish would hold up to daily scrub downs, spills, crayon, standing water…basically life with kids, and this seemed to offer the extra protection our table needed. And it has!
I decided not to sand/buff the clear coat to get a shiny finish and just left it matte. I like that the matte finish doesn’t detract attention from the kitchen, and that it hides nicks and imperfections pretty well.
HARDWARE
To attach the legs, I used 1 1/4″ machine screws and locking washers to keep them in place. I don’t have any pictures, but I made a couple more hairpin tables with more detailed instructions, so I’ll link to them here when I get them blogged.
This table design doesn’t hide the hardware, but I like that it adds to the industrial look of the legs.
COST
- Legs – $150
- Plywood – $50
- Clear Finishes (legs and table top)- $20
- Hardware – $5
Total cost – $225
So, it ended up not cheap, but also only a fraction of the cost of the other ready-made tables we were eyeing. Plus, if the table top ever gets destroyed for some reason, or if I get tired of the wood finish, I know that I can always remove the legs and make a new table!
UPDATE
It’s been about 4-5 months since I made the table and it’s held up to my kids like a boss! I have scrubbed, like really scrubbed, crayon off it more times than I can count, and there are no signs of any of the finish coming off the table so far. The bench has been a different story, but I’ll get to that in a minute.
I love that the table top is a solid surface. Our old table had a crack down the middle for extra table leaves. We were always spilling stuff down the crack and it was such a pain to clean. Having a solid, flat surface has made the new table well worth it.
I also love the industrial look, raw plywood edge, the steel legs… everything! I love the table so much I made my sewing table in a very similar manner. I actually just recently refinished the legs and will be sharing more about it soon!
SEATING
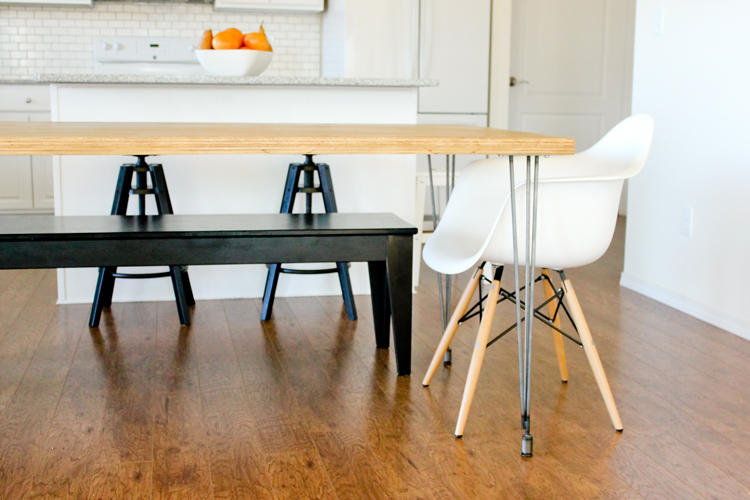
Bench – Nornas IKEA bench, painted black with spray paint and covered in Triple Thick. The legs have held up fine, but the clear finish on the bench top has peeled a little bit. I’m not sure if it’s because it’s smoother or if it’s because it’s painted, or if pants hardware has scratched it thus provoking it to peel…but it’s due for another clear coat probably by this summer.
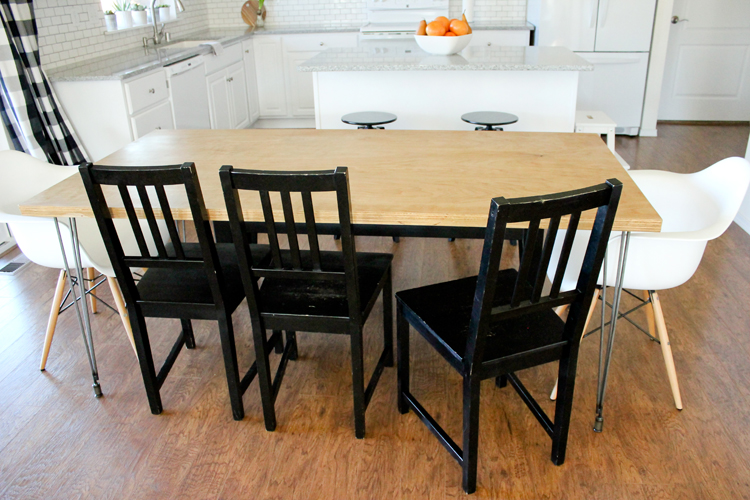
Black chairs – Stefan IKEA chairs that I actually got at a yard sale for $5 a piece and then painted from black/brown to true black. I didn’t clear coat any of them, so after a few years and a couple moves, they are a little distressed. I think it adds charm though.
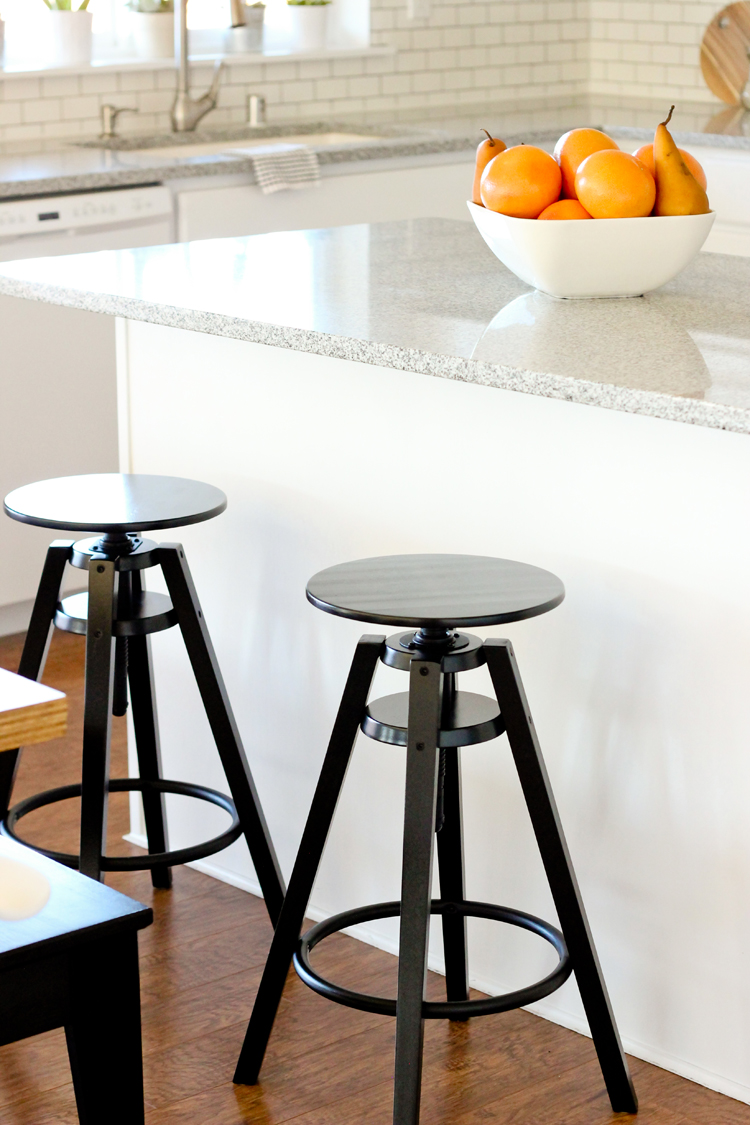
Stools – Dalfred IKEA stools. They are actually part of the kitchen island, but they influenced our decision to put a bench on one side of the table, so I’m including it here. The space between the island and the table is a bit of a tight squeeze. We didn’t want to sacrifice seating on either side, so a bench and some low profile stools provided the perfect solution.
White chairs – We’ve had these chairs from Amazon for three years and we’ve loved them. We have to re-tighten the screws every few months, because they seem to loosen with use. We also keep them white with a bleach soak now and then. For statement chairs, they are a great price ($125 for 2 chairs)…Affiliate link——>Baxton Studio Fiorenza White Plastic Armchair with Wood Eiffel Legs, Set of 2
That wraps up our kitchen makeover! If you want to learn more about our kitchen update, this post is a great place to start.
Oh my goodness, your kitchen is gorgeous. Love the new table with the mixture of the bench and the chairs. Very open and airy with a slight architectural feel. Well done you!! Cheers, Michele
Thank you Michele! <3 <3
I’ve loved following along. Thanks for sharing something outside your comfort zone!
Thank you so much Annet!
The table looks great. Did you use two layers of plywood because you liked the look of the thickness, or did you need it to be that thick in order to be stable? I am planning to build a table with 3/4 inch plywood, but now I am wondering if that will be sturdy enough. Thanks!
Thanks Wendy! Very good question. It was kind of both, but mostly for strength. The second, under layer of plywood is cut down to create three I-beam structures. This helps keep the table sturdy. I think you can forgo it, if your table is small enough. I have a 3 ft. round coffee table made from a one inch thick round of pine wood that I simply screwed hair pin legs into…no supports or anything…and it has been plenty sturdy. I hope that helps!
I know this post was a while ago, but I’m curious 🙂 Do you think just stacking two sheets of plywood would work the same? How is it the table holding up for you?
Hi Brittany!
Great question. I am not sure how stacking two pieces of plywood would work. I have never tried that. I know in principals of engineering though, that I-beam construction is very strong. I imagine that plays an important role in strength of the table top. I personally would stick to including it in the second layer.
As of this comment, our table is still holding up great. Last year, I sanded down the clear coat to get rid of some stains from the kids and then recoated it with Varathane. Other than that, it hasn’t needed any other kind of care. We are pretty rough on it, as it’s the hub for all our meals, homework, craft projects, etc. I’ve also stood/sat on the center of the table many many times and haven’t been worried about it.
If you have any more questions, I’d be happy to answer what I can.
Delia