

So…remember a few (like five) months ago when I said I would try to get a tutorial ready for this shift dress I made for Natalie?
 Well…today’s the day!
 This is a pattern hack tutorial, which means that an existing pattern, in this case the 5&10 Designs dress pattern, is the basis for my dress. Out of respect for the pattern, I will only show you what I changed from the original pattern.
I know this is going to sound pitch-y because I am one of the designers but I honestly believe that the 5&10 Dress pattern e-book is a great buy. You get a basic dress block pattern, with ten detailed tutorials on how to make a wardrobe full of dresses. There is even a free sleeve pattern and tutorial download you can get from the Five and Ten site HERE. It is a great supplement to the e-book that allows you to explore even more dress options.
 This tutorial will be sort of a bonus tutorial, although maybe not quite as detailed as what the book provides. This is a free tutorial after all. 🙂 Cool? Alright… let’s get to it.
CUT FABRIC
First things first… what kind of fabric should you use?
A mid weight woven fabric is ideal (like quilter’s cotton or a linen blend, I used nano iro double gauze – source at the end of the post). You could shake things up and use bottom-weight fabric like jeans or corduroy, or a heavy weight knit. It would be pretty in a light weight material as well, but you might want to add a full length lining if you go that route.
Now, you’re ready to cut. This is how you need to cut out your pieces.
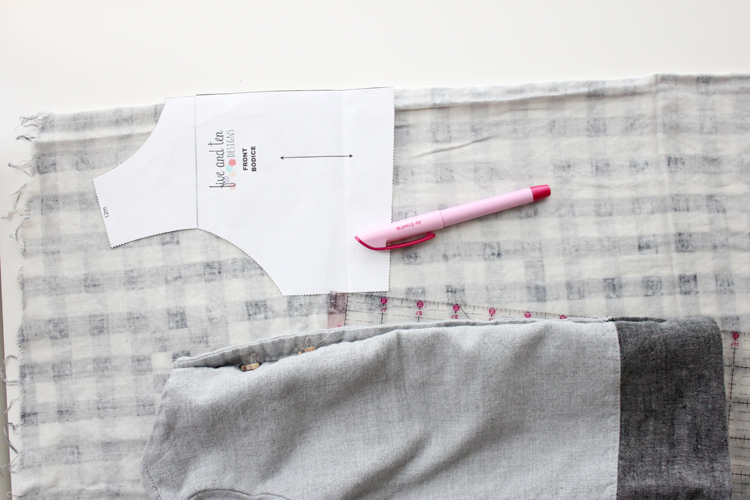 Trace the front bodice piece on the fold. When you get to the side of the bodice, under the armscye (arm hole), get a ruler and angle it out just slightly right from the armpit. How much is up to you. I only wanted a slight flare. Just remember that a small angle from the arm pit gets much wider as you approach the hem.
The length you cut the dress is also up to you. I used the shift dress I made last year as a guide. Natalie has been growing and the original dress was made a bit short, so I added some more length this time. If you’re not sure how long you want to go, it is always better to go longer. You can always cut it shorter later if needed.
 When you get to the hem, square out the bottom of it, to make hemming easier and more straightforward.
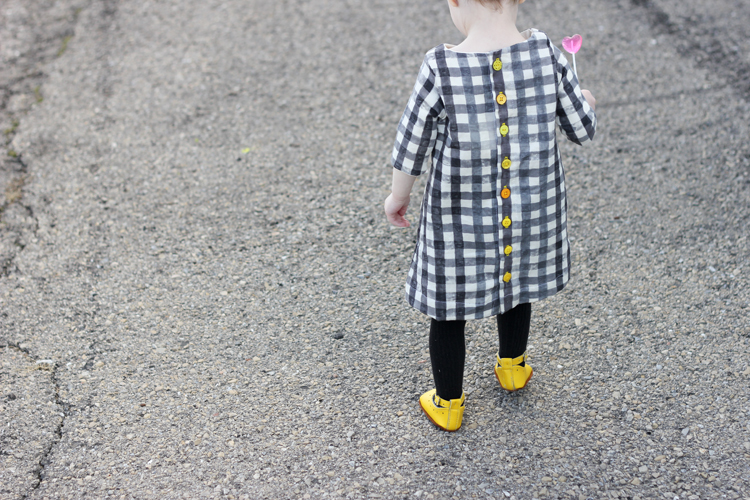
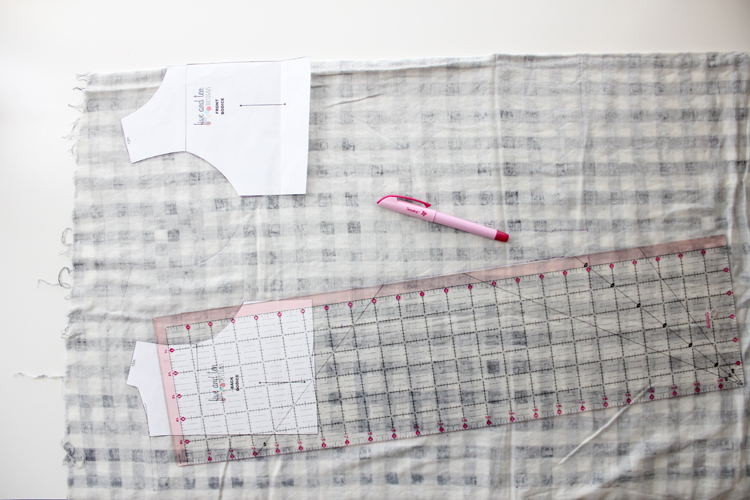 Repeat with the back bodice piece. Do not cut it on the fold, and add 2.5 inches straight out from the neckline. This will get folded over into a button placket later. I also added some curve and length to the hem, but this is totally optional.
Cut out your sleeve pieces as provided in the pattern. I used the 3/4 sleeve.
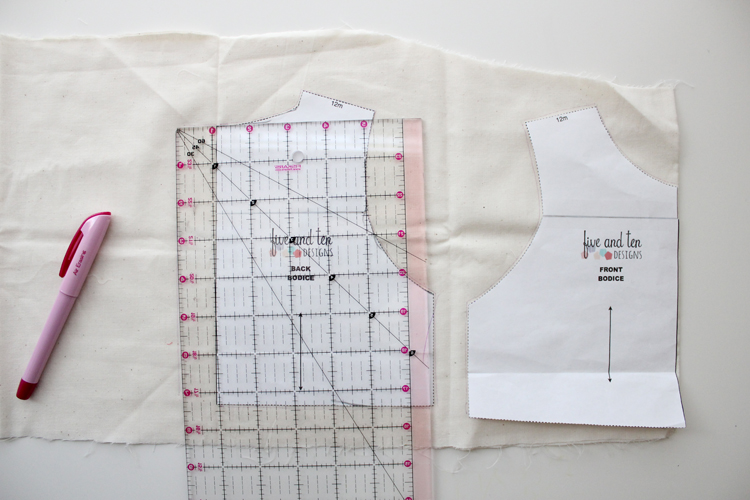 Now trace and cut your lining pieces. I used muslin fabric for the lining. This part is pretty straightforward. You just trace and cut them as is, except for the slight flare you need to add to the side under the armscye of each piece (see below, top left picture) AND be sure to add 1 inch straight out from the neckline for the back pieces only.
 Pattern pieces check:
Outer fabric – two long back pieces, one long front piece, and two sleeve pieces.
Lining – two back pieces, one front piece, two sleeve pieces.
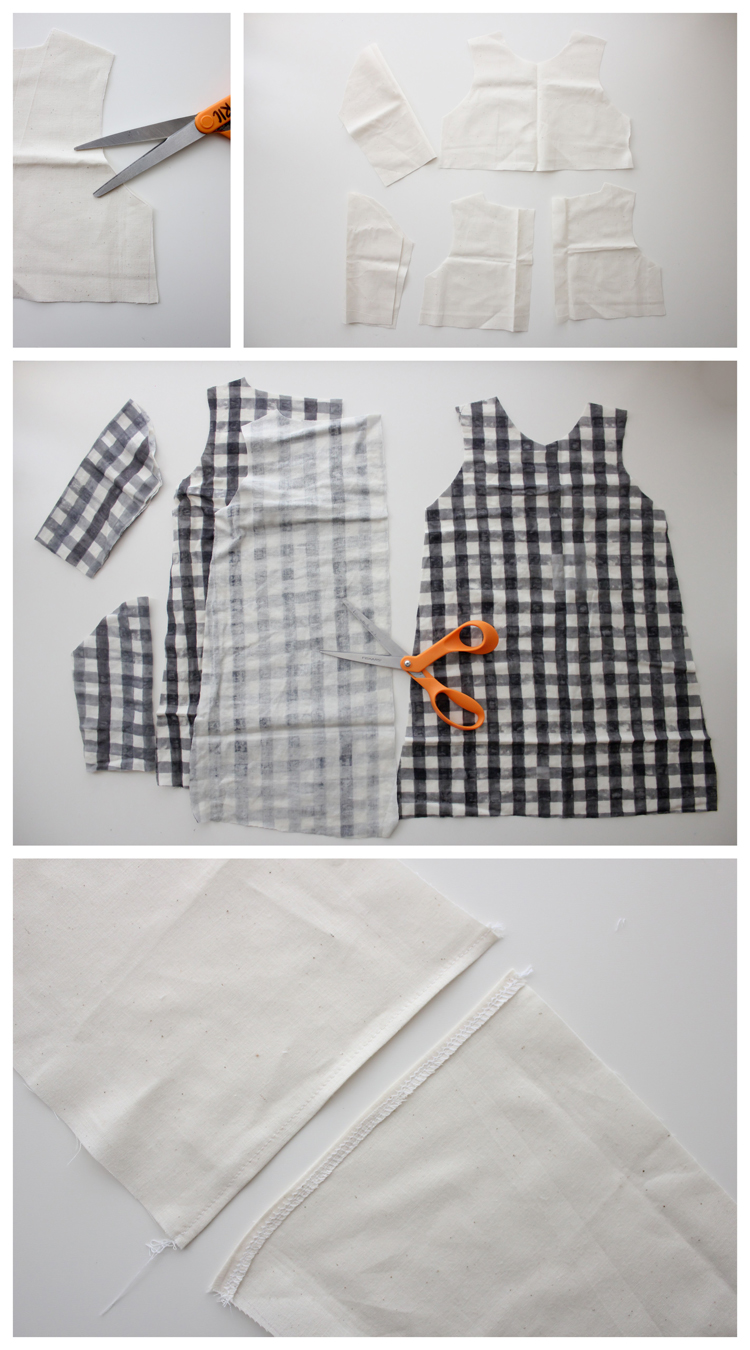
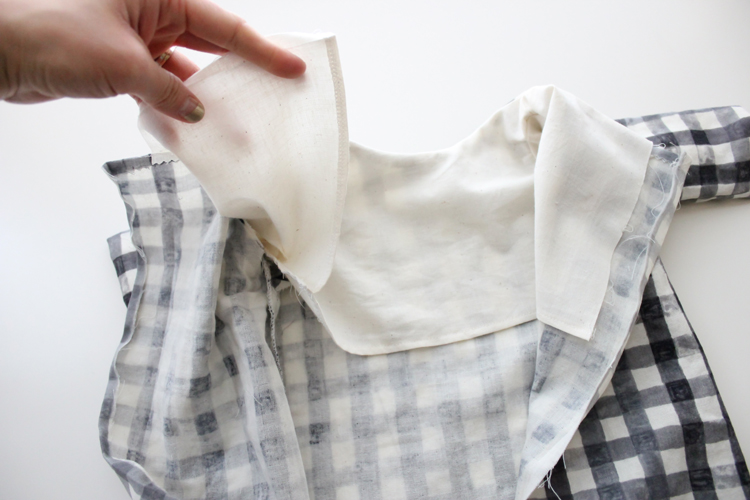
Before we move onto the next steps, prep your lining pieces by serging or zig zagging the edges of the bottom edges of the front and back bodice pieces. Fold them over to the wrong side and top stitch them into place.
ASSEMBLE DRESS
 The instructions for assembling the dress are provided in the first or basic dress tutorial in the dress e-book. You assemble everything as if the outer dress pieces are just long bodice pieces. The sleeve download has an excellent way of adding lined sleeves so that you don’t really have to set the sleeves in the traditional way (which I love!) and it creates a completely clean look on the inside, so there are no visible raw seams. You can download the sleeve pattern HERE for FREE to see what I mean.
 The only change I suggest you make, is to finish the seams after you sew them (with a serger or zig zag edge stitch, or with pinking shears) because the dress is open between the lining and outer dress pieces and you don’t want to have a thread shedding mess under there. At least do the side seams, if you choose not to finish all the seams.
SEW THE HEM
Now is a good time to try the half sewn dress on your model, if you are unsure of the length. 🙂
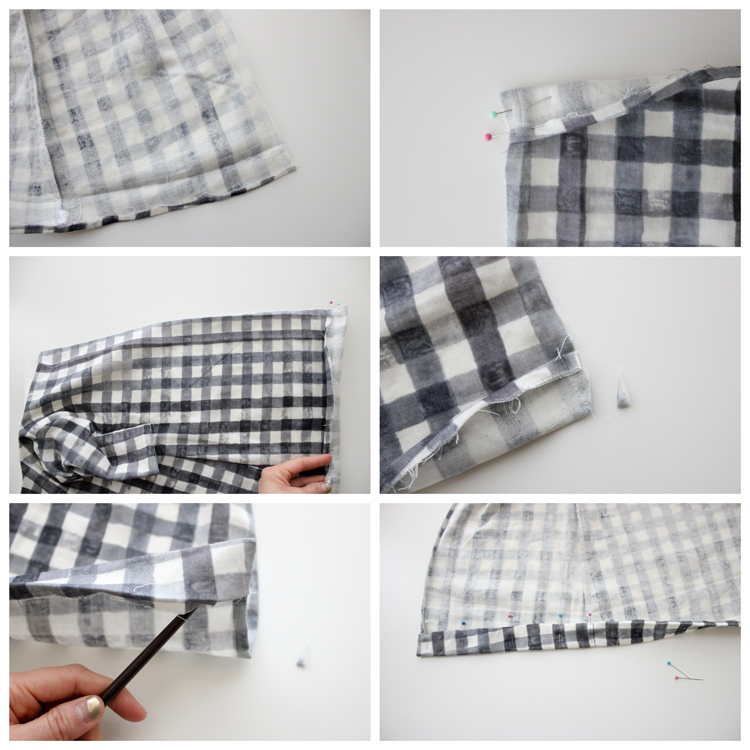 Iron the hem under 1/4 of an inch and then again about 1.5 inches.
Fold the hem over at the second, wider crease line, with the right sides of the fabric facing itself and pin it in place at both open corners. Sew up the side of the hem with 1/4 inch seam allowance. Trim the seam allowance at an angle at the corners. Turn both sides right side out (a chopstick or dull pencil comes in handy for this). See the pictures above if you need visual clarification.
Pin the rest of the hem in place, with the raw edge neatly folded under. Top stitch in place.
CREATE A BUTTON PLACKET
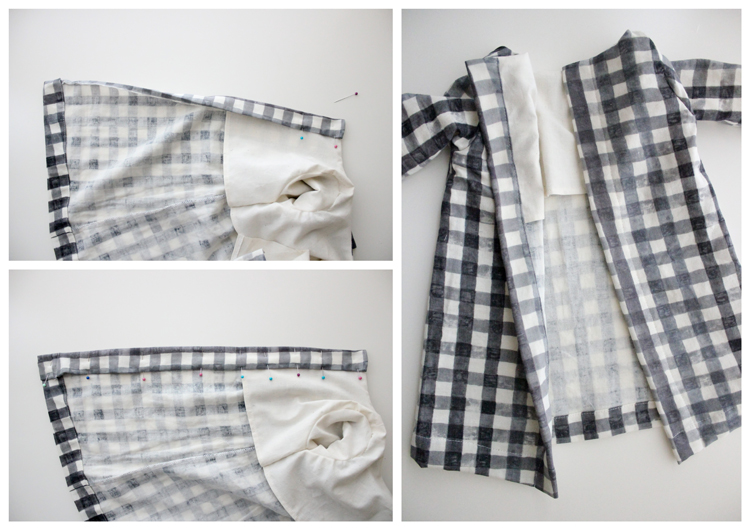 Iron the raw edge over 1/4 inch (it should already be folding in a bit from when you sewed the hem), and then again 1.5 inches.
Pin the button placket in place, making sure to enclose the raw edge and to overlap the placket over the raw edge of the lining. Repeat for the other side. Top stitch both sides in place.
BUTTONS AND POCKETS
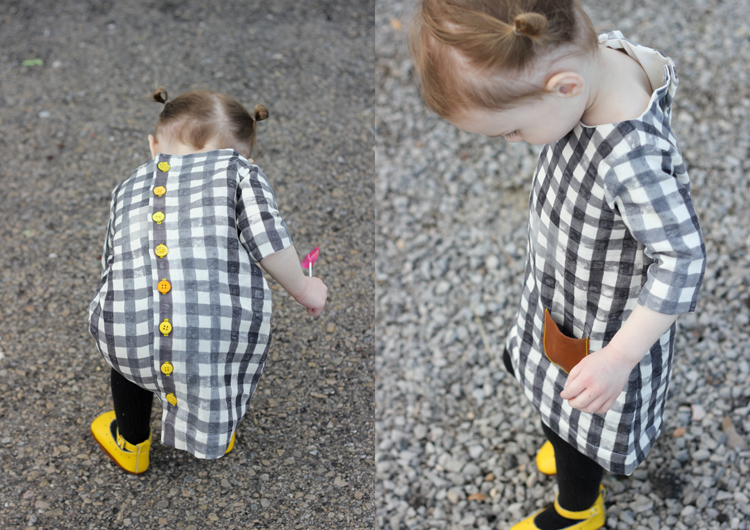
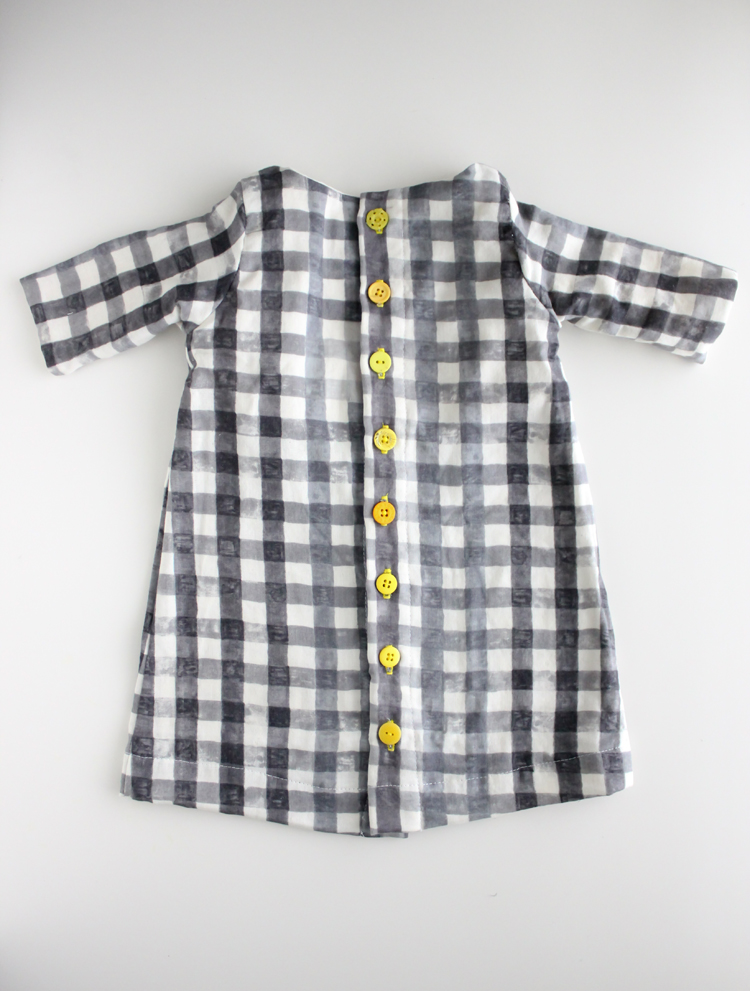
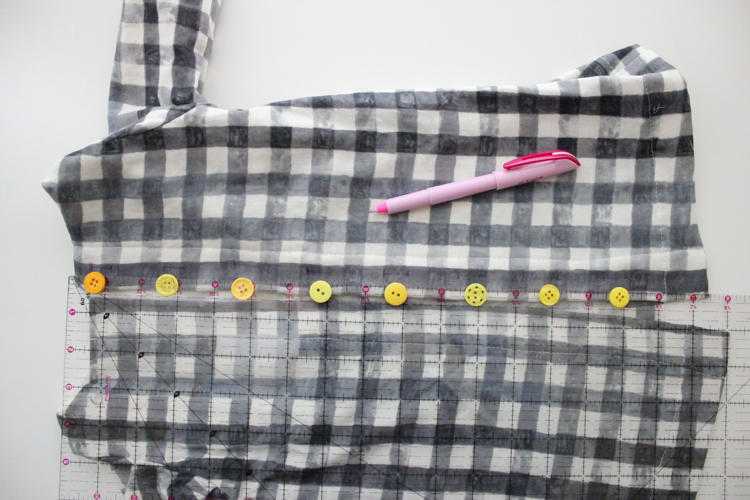 Evenly space your 5/8 inch buttons along the back placket. This takes some time and some math, but do not rush it. You don’t want uneven buttons. The spacing and how many buttons to use will vary depending on the size you sew and your preference. Lay them out to get a feel for what you want. There is really no right or wrong way to do this . YOU are the designer! That said…:) Don’t make them too far spaced. You don’t want gaping holes back there.
You can add the button holes to either side, but the proper side for a girl’s dress is the right side.
The 5 & 10 Designs e-book talks about buttons and button holes in a little more detail as well. (See the first, basic dress tutorial)
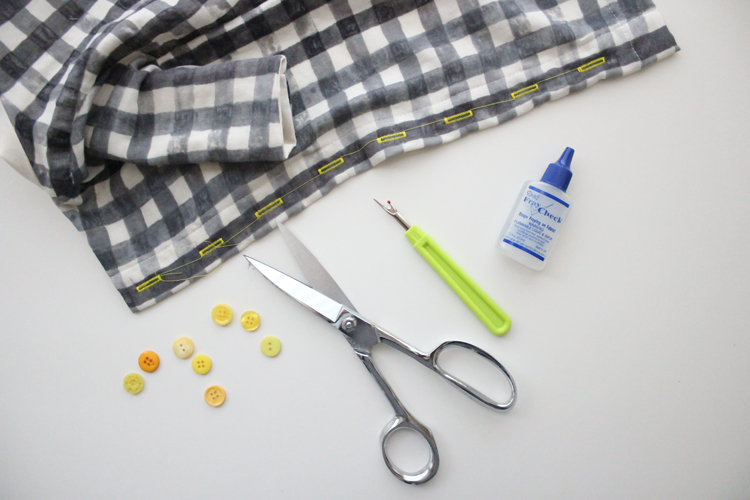 Once you have sewn your button holes (I have an easy tutorial here for automatic button holes on Brother sewing machines), open them up. Trim away excess threads and add some fabric glue or fray check to the inside of the button hole.
Lay the placket with the button holes on top of the other side and mark where you need to sew your buttons.
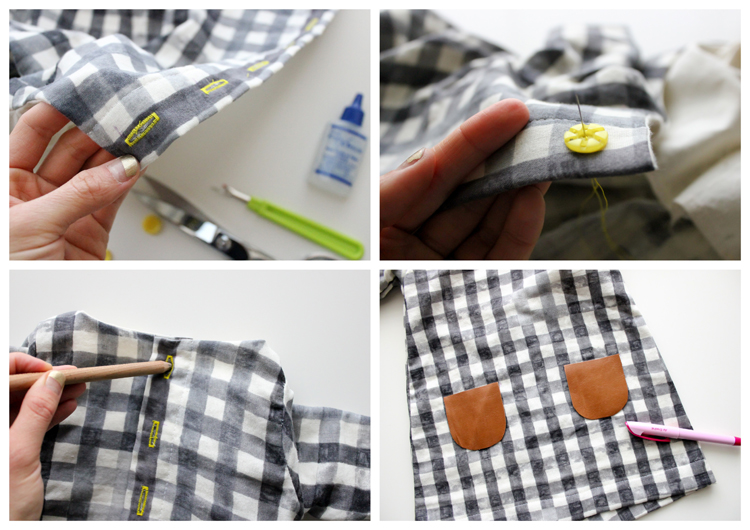 Hand sew your buttons in place. Now you’re ready for pockets! (which are optional, of course)
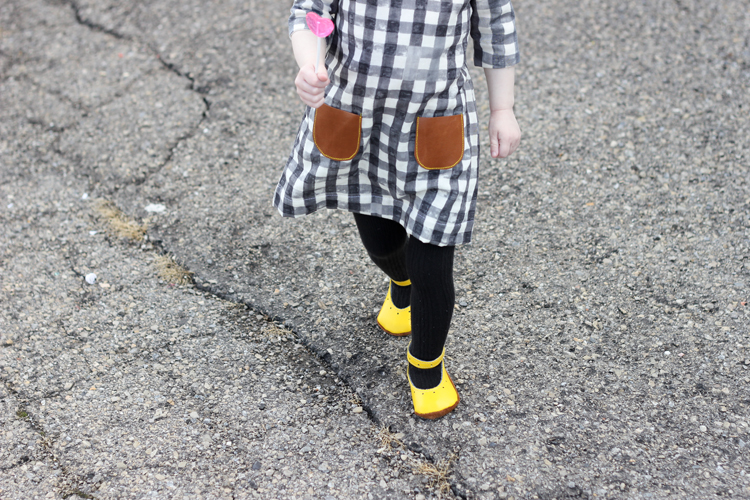
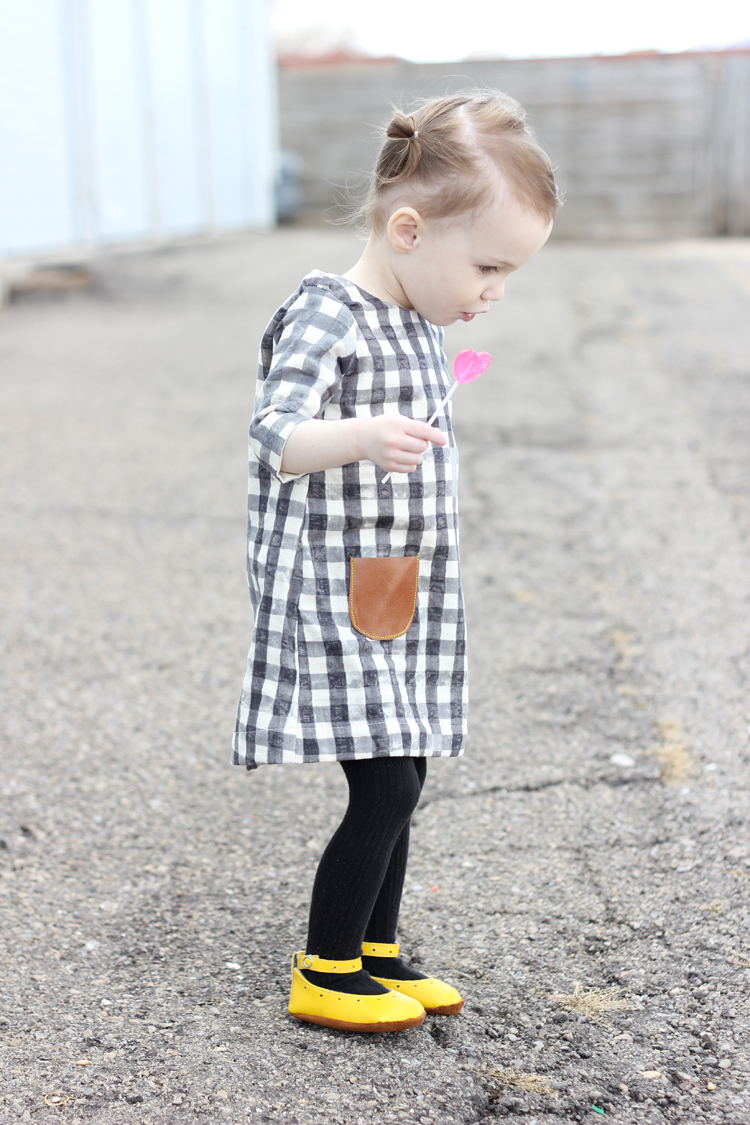
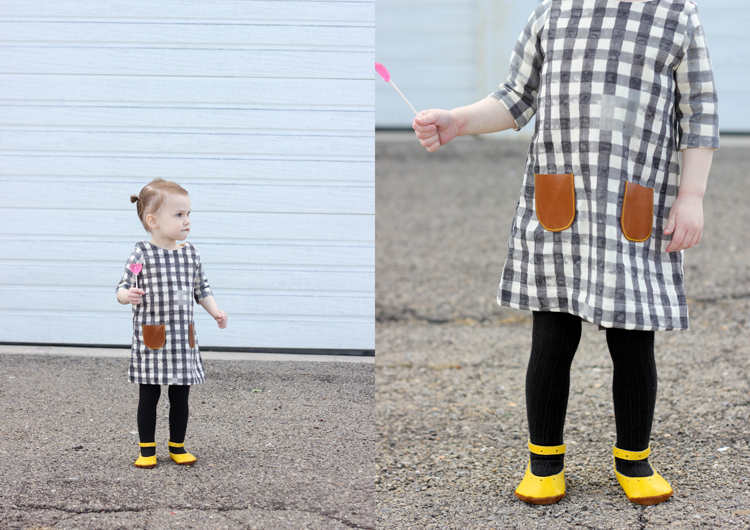
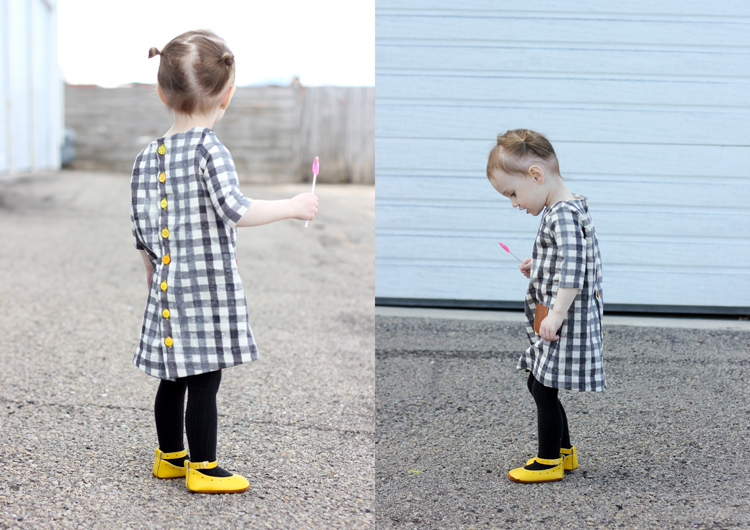
 I used leather because I like the look of it and it simplifies things a bit. There is no need to sew a hem or lining, etc.
I do recommend using a leather needle however and a triple stitch. Make sure to sew back and forth at the corners many times so they are nice and secure. You may want to add bar tacks (tight zig zag stitching at the corners) if you think they will be more functional rather than just decorative.
If you are worried about how leather washes, it really depends on the leather. It can darken, wrinkle and become worn over time. Sometimes it bends and folds weird when it is new leather and has only been washed a couple times. Just work it with your hands. The more worn it gets, the better it will wear and lay flat. When adding just little leather details, I personally wash and dry as I normally would. For a full leather or mostly leather garment, that is not recommended. Avoid ironing it, especially if you use pleather instead of genuine leather.
If you would rather use fabric, See Kate Sew, shared a great pocket tutorial on my site a couple years ago HERE.
And that’s all there is to it!
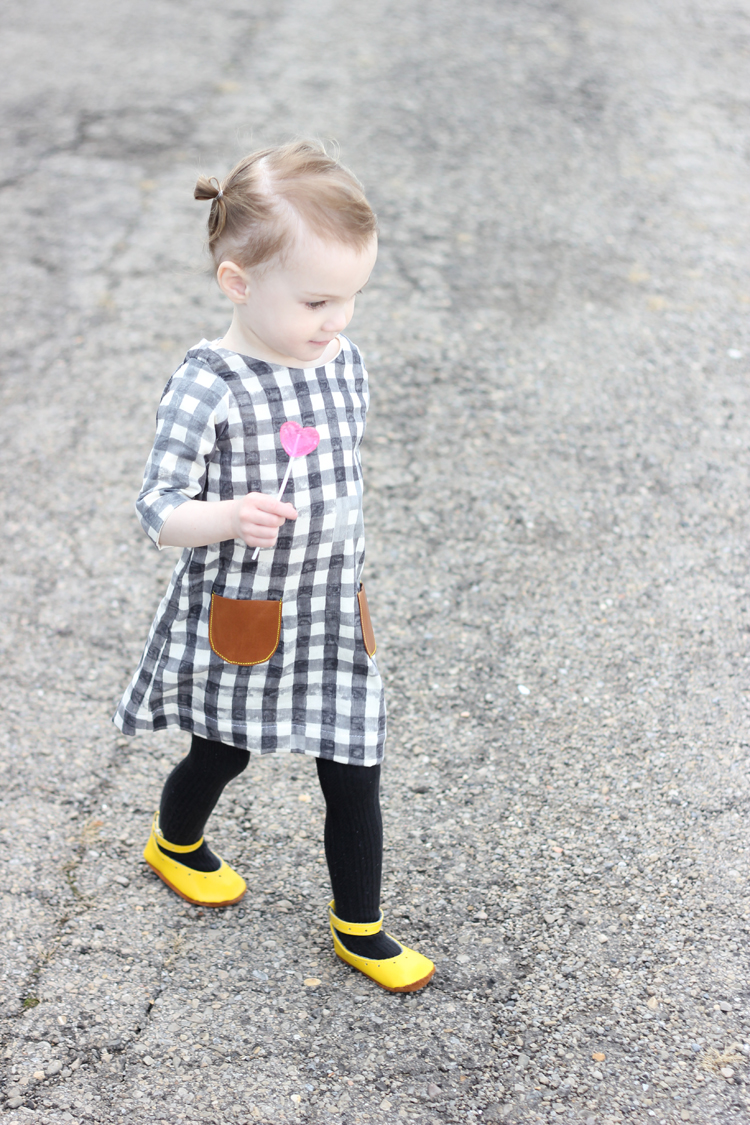
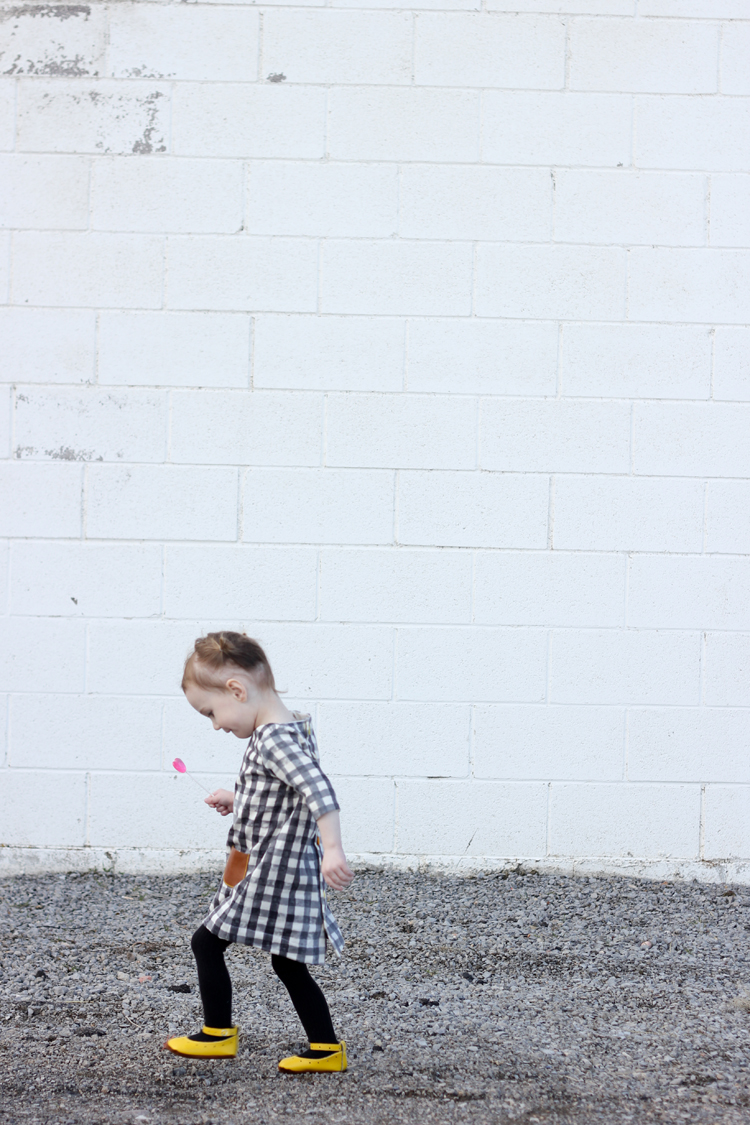
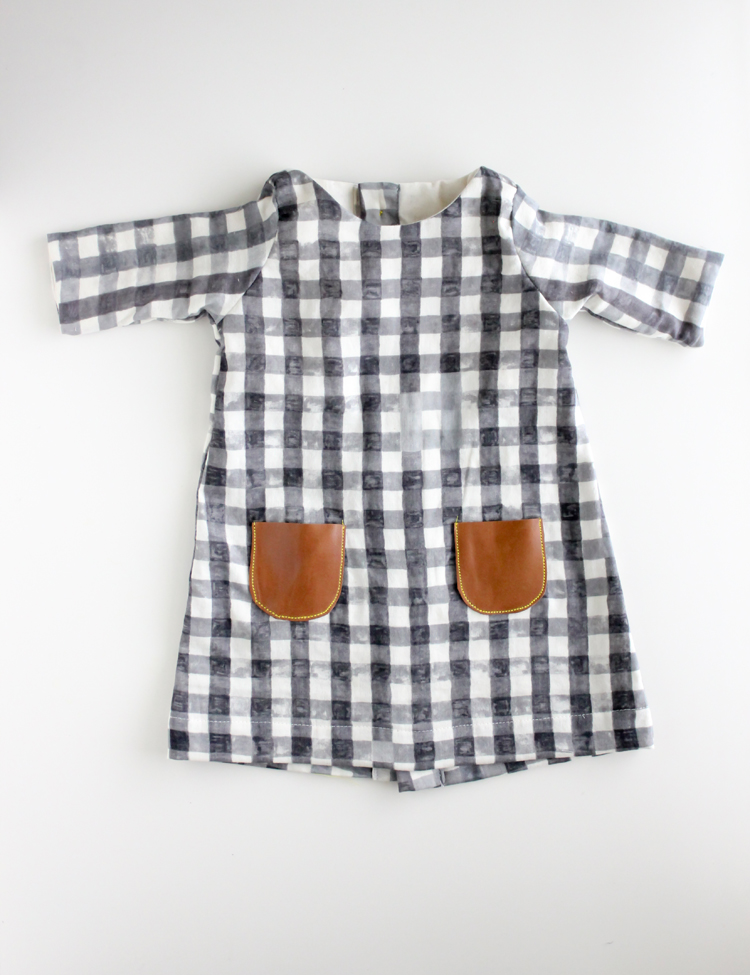 I know it seems like a lot of steps, but I like this kind of dress it because there is no gathering or attaching a skirt. Plus…I think shift dresses on little girls is one of the cutest things ever! 🙂
 Material sources:
Nani Iro Double Gauze from Miss Matatabi Fabrics (so crazy soft and wonderful I love it so much…p.s.the discolored spots are part of the design).
Yellow buttons from Ribbon Retreat (I got the Lemon Tart pack).
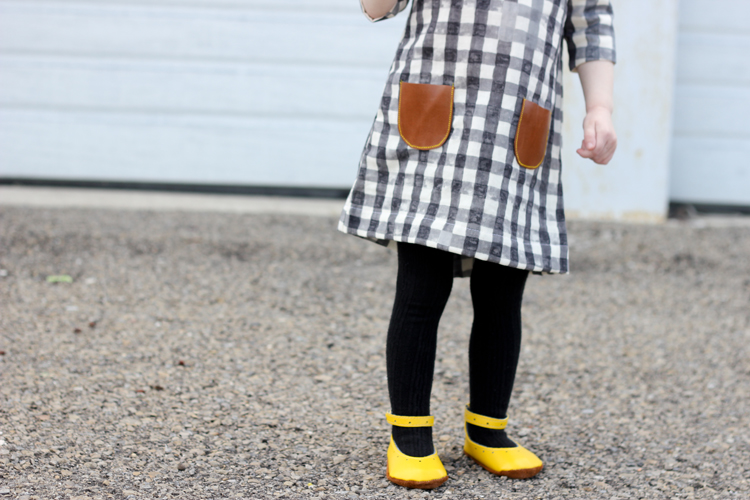
Shoes are made from my Natty Janes Baby Shoe Pattern.
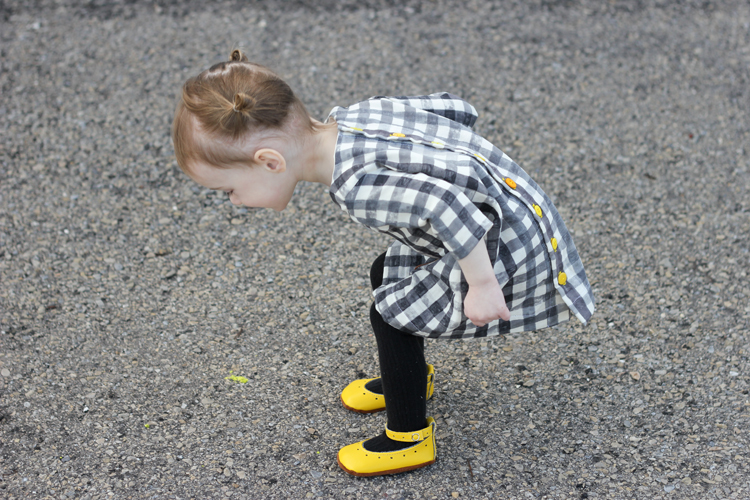
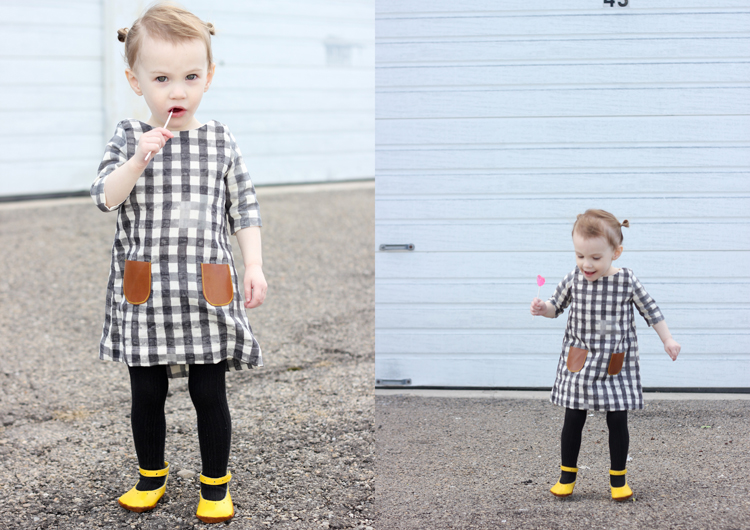 Natalie’s new trick is jumping. Can you see that 1 inch of air she is getting? ha. 🙂 Two year olds are so fun.
 She just celebrated her second birthday yesterday actually… I have lots to share from her birthday. We just had a small family party but I still tried to make it festive. The theme was gold and stars.
 Because she’s my little diamond in the sky. 🙂
 Well, that’s a wrap. Let me know if you have any questions in the comments and I’ll answer you there.
Have a good one!
My little girl needs another dress like I need a whole in the head, but this is just so cute I can’t resist. Thank you for the instructions.
haha! I can relate. Nat had plenty of dresses, but then she started growing tall fast, and now she needs a bunch more and quickly!
Love it … Great tutorial , can’t wait to get my hands on some cute fabric and make it for my nice … So cute .. Thank you for sharing.
Thank you Sasha!
love that you’re using the nani iro that i am squirreling away for myself on your child! that is love 🙂 such a cute make!
Oh, I am protective of this dress and it’s going to be a keeper once she is done with it for sure! 🙂 I probably could have used it for a blouse for myself…I’m and so with you on that, but once I pictured it as this dress there was no going back. Do you ever do that?
i admire your artistic commitment! i think that i would have chickened out for sure. i almost feel like i make kids clothes out of cheaper stuff because i’m already protective of the ‘handmade-ness’ of it. my poor daughter wouldn’t be allowed to sneeze in that nani iro beauty lol
Better late than never! I always say 🙂 Love the dress!
ha. thanks Jessica!
Shift dresses are the most comfortable on little girls, my two daughters adores them.
It’s a beautiful dress! And the shoes…. I love it
Thank you so much! 🙂
Hi! I just found your blog and ADORE your clothes. Do you sell them at all? Or would you be willing to sell them or make some for sale? I absolutely do not sew, at all! 🙁 So sad! But would love some of these for my tiny! Just wondering if there is any way to buy them… 🙂
Hi Bonnie. Thank you! I don’t make garments for sale. I wish I had more time, but blogging is where all my extra time is focused right now. Do you have a friend who sews and would be willing to help you or teach you?
Hey there! I’d really love to make a shift dress for my daughter and I want to buy your ebook. Is it still available? From some poking around on the web it looks like it got closed down?
Hi Gabby! Unfortunately, because it was a collaboration between more than one designer, it was discontinued and is no longer available. I wish I had a better answer for you.