

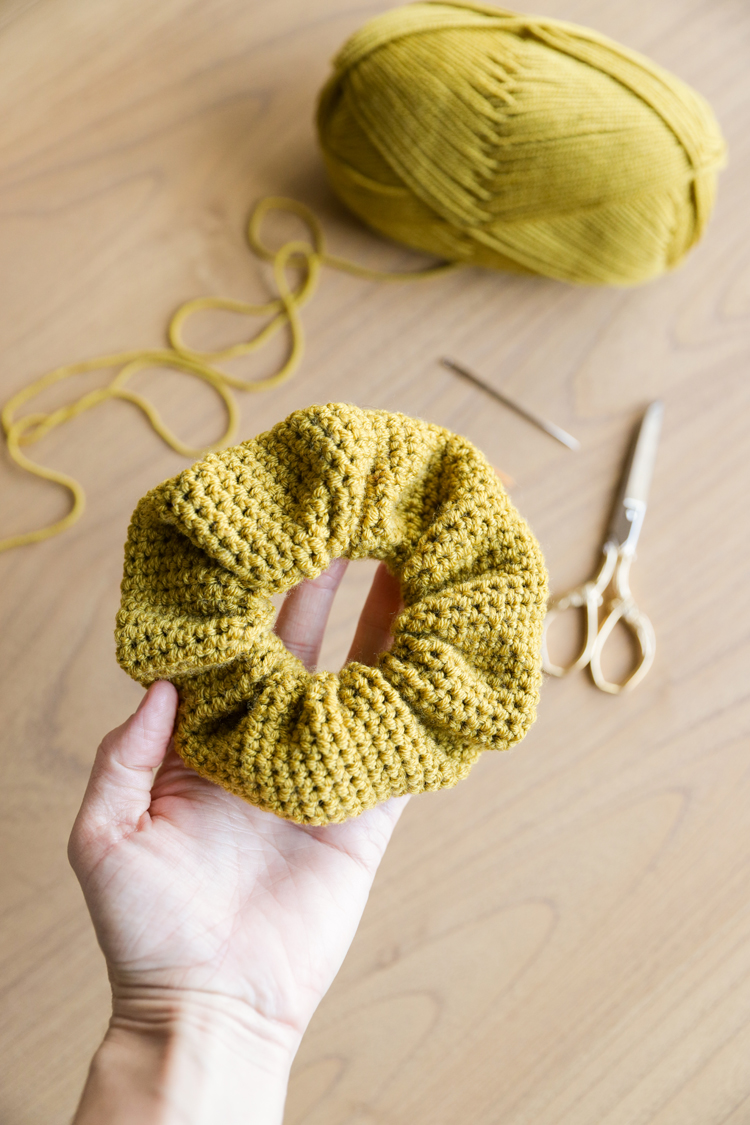
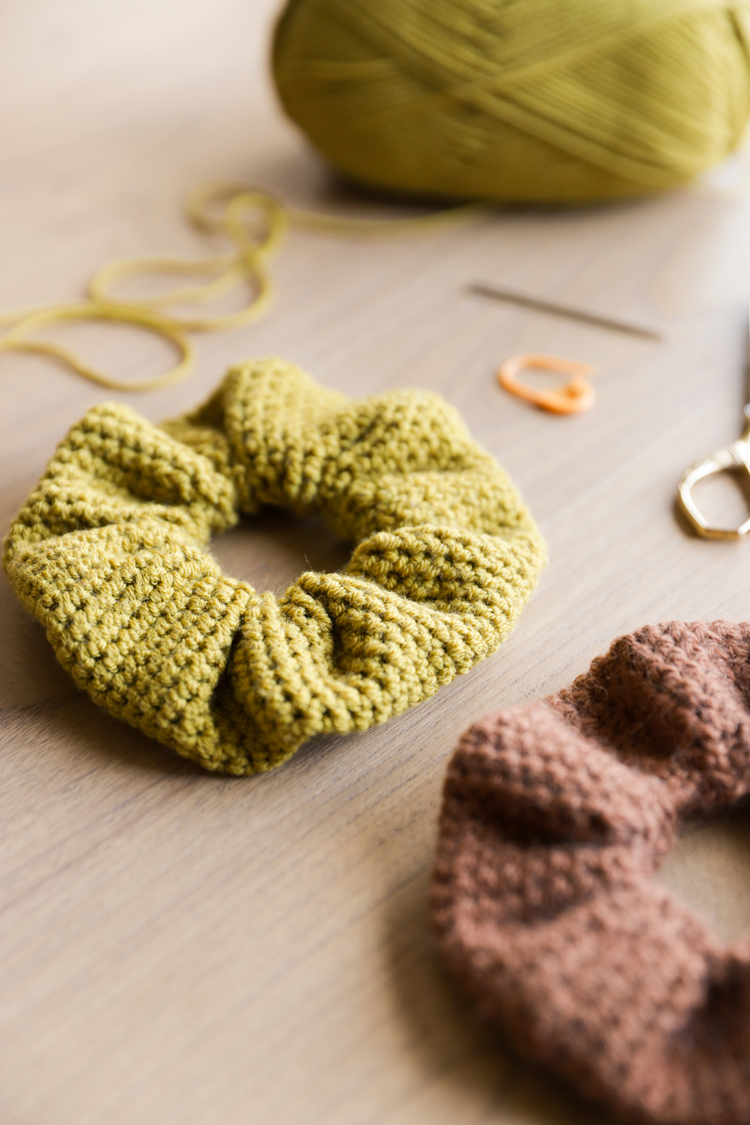
If all you know how to crochet is single crochet, you can make this scrunchie!
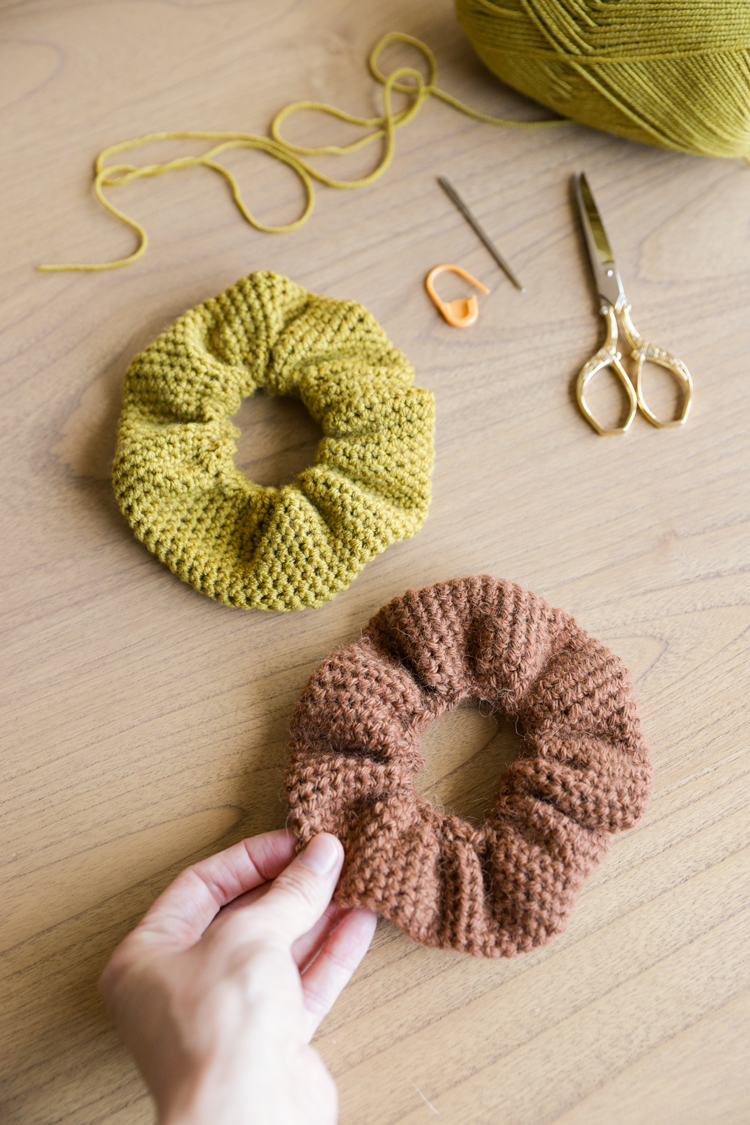
This is another beginner friendly focused project for my Crochet Basics Series, where I teach you a basic crochet stitch and then show you what you can make with what you just learned.
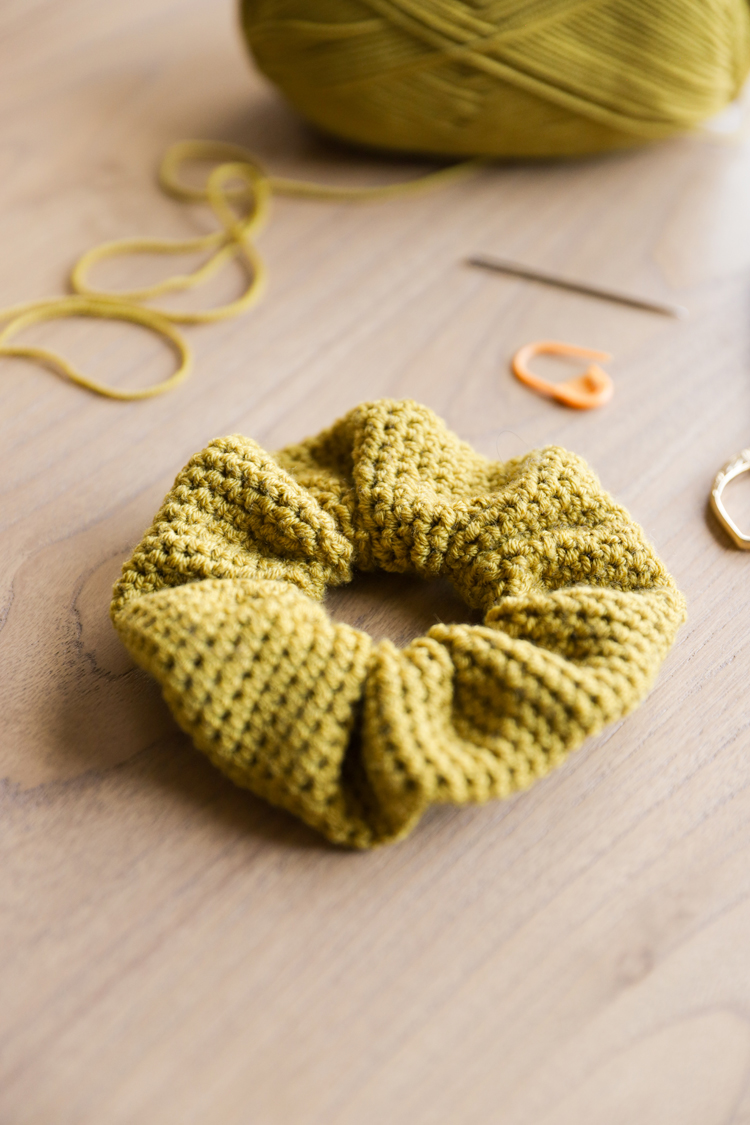
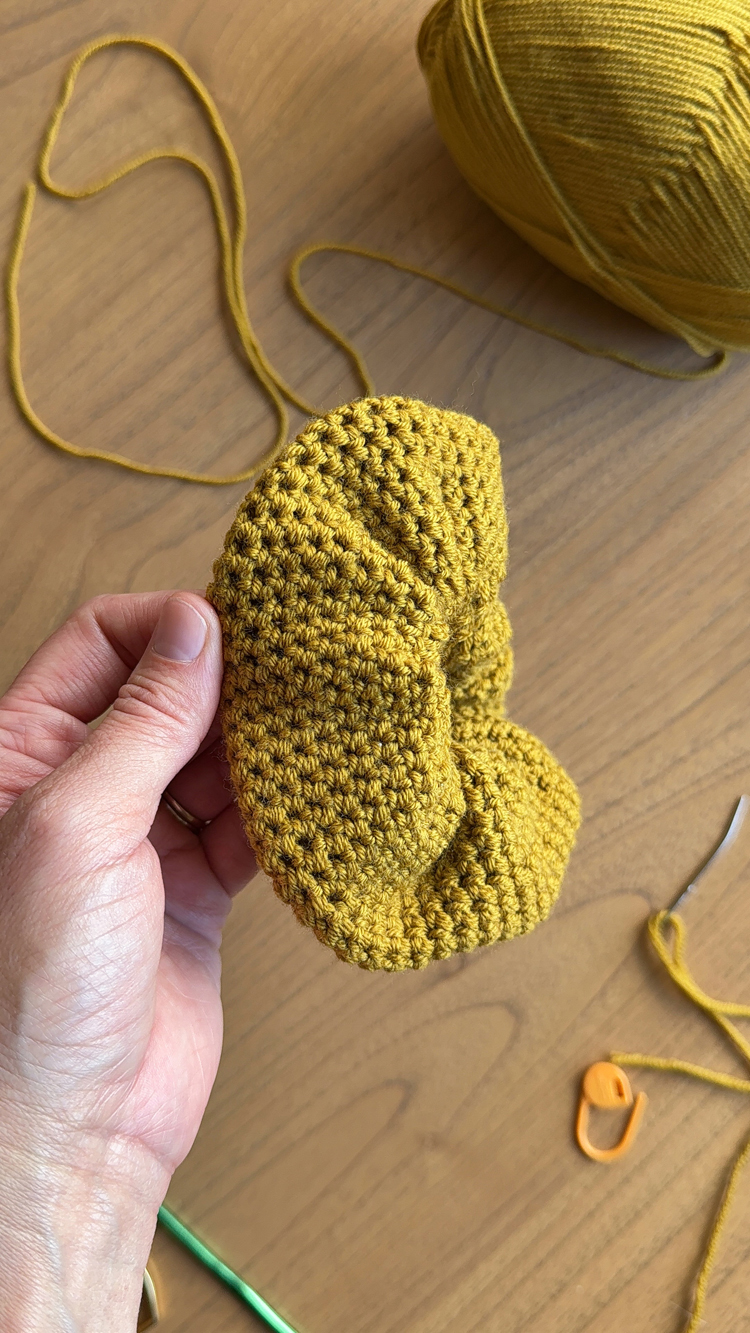
The unique thing about this project though, from my other single crochet projects like this ball, and this bow, is that it is worked in looped rows. That means, instead of turning at the end of each row, you’ll slip stitch your rows together and keep working the same direction.
That’s what gives it this really pretty texture!
Let’s begin.
MATERIALS
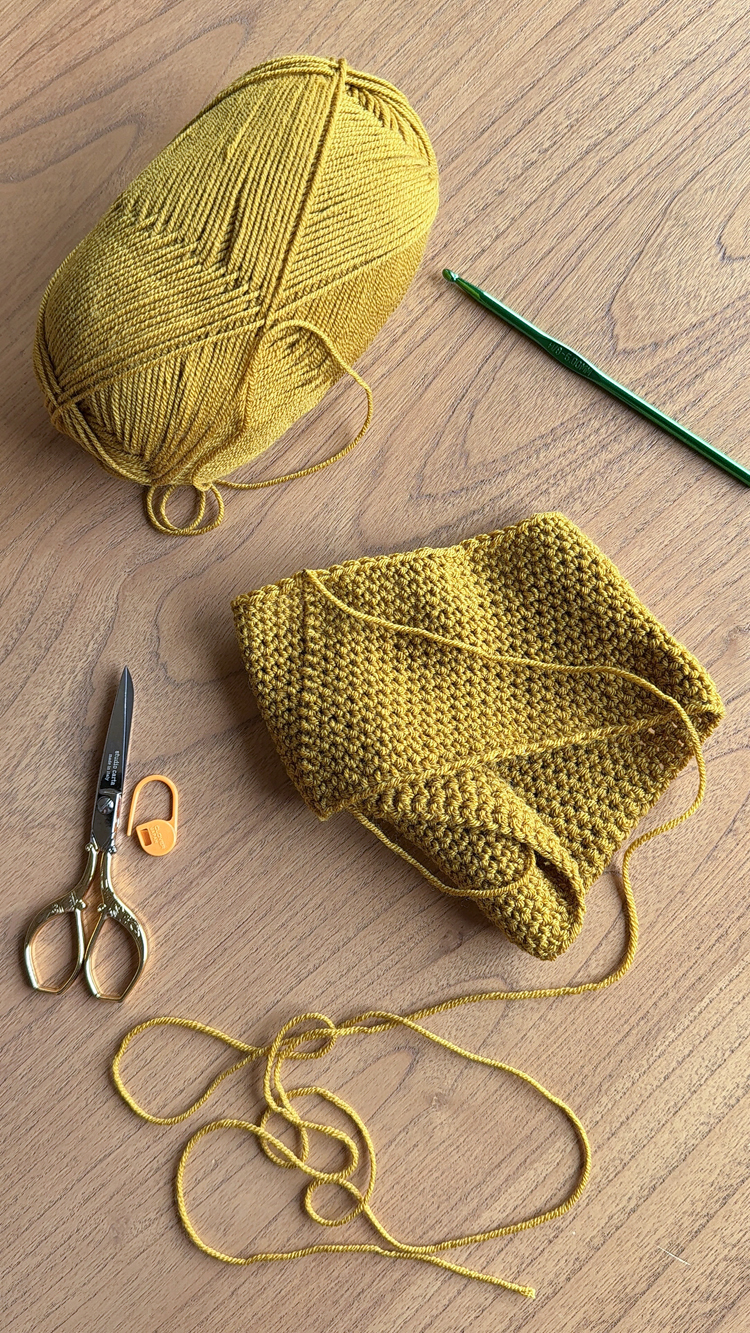
- Wool or acrylic yarn, size 3, 25 g or about 75 yards*
- 5.00 mm hook
- yarn needle
- scissors
- hair elastic**
Material Notes:
*I used Superwash Merino Wool yarn from Lion Brand in the color “mustard seed.”
**I like the ouchless Goody brand hair elastics without a metal clasp.
GAUGE
2 x 2 inches = 9 sc x almost 9 rows
This project is so small, instead of working a gauge swatch I would just keep in mind that your finished rectangle should be close-ish to 4 inches wide and about 18 inches around (remember it’s a looped row). This project is pretty forgiving if you’re not precise though, which is why I give general measurements.
ABBREVIATIONS
- ch = chain
- sc = single crochet
- sl st = slip stitch
VIDEO TUTORIAL
Click play on the vertical video below for the tutorial. It will play after some initial ads.
If you need a slower, more detailed video on how to single crochet, go to this post.
WRITTEN PATTERN & TUTORIAL
NOTE: Because the rows are technically rows, slip stitched into a loop, I will be calling them rows and not rounds.
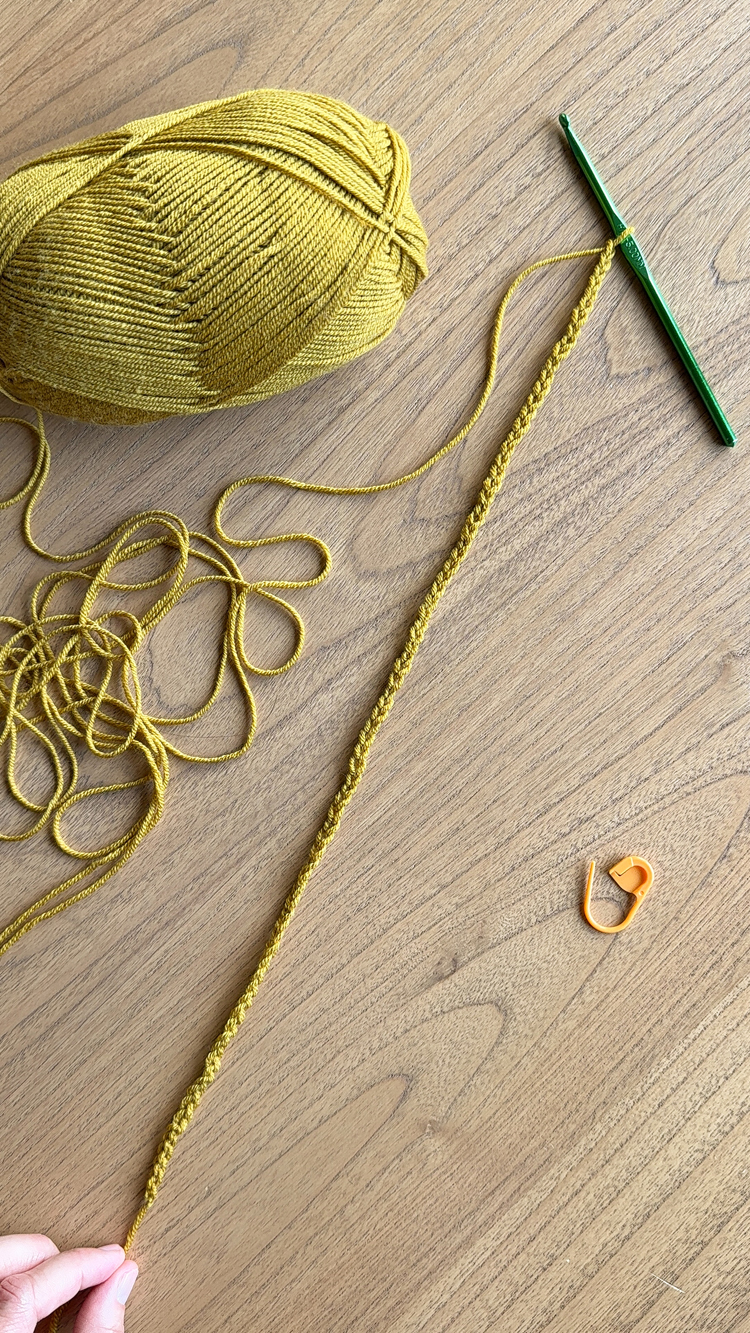
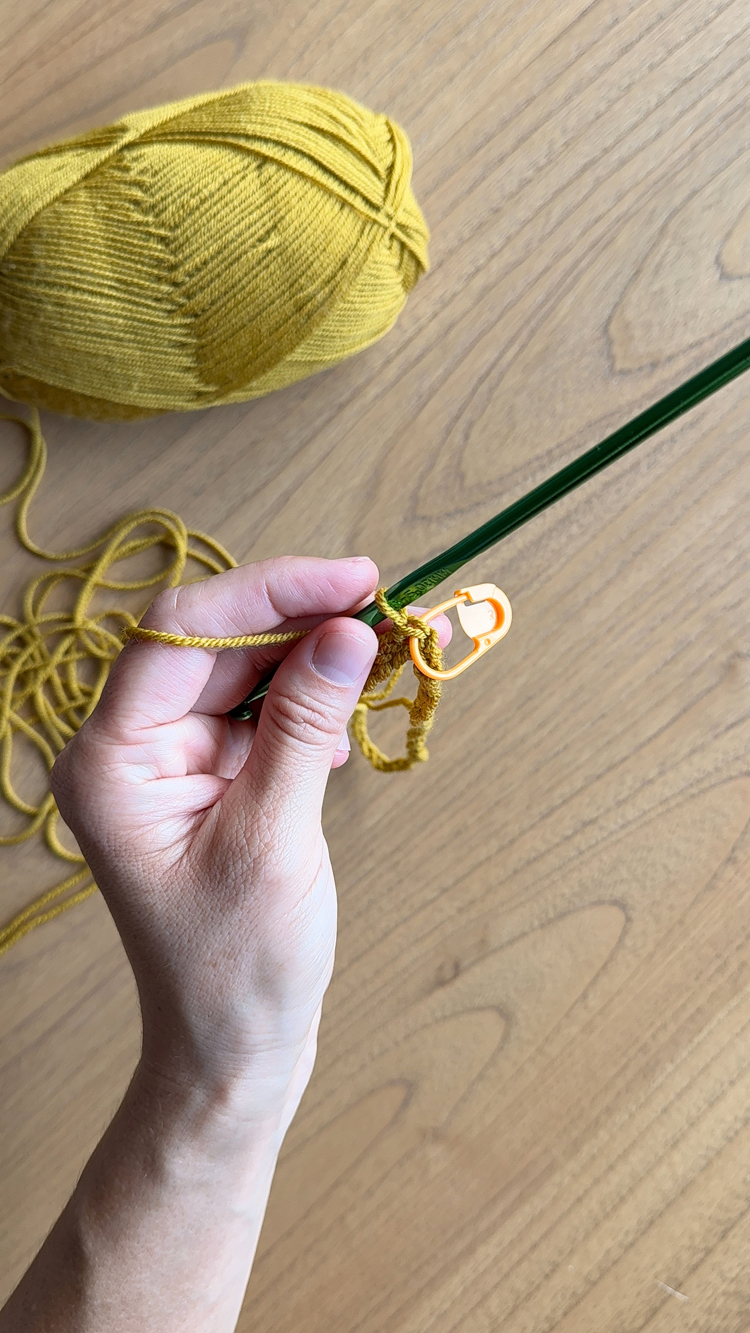
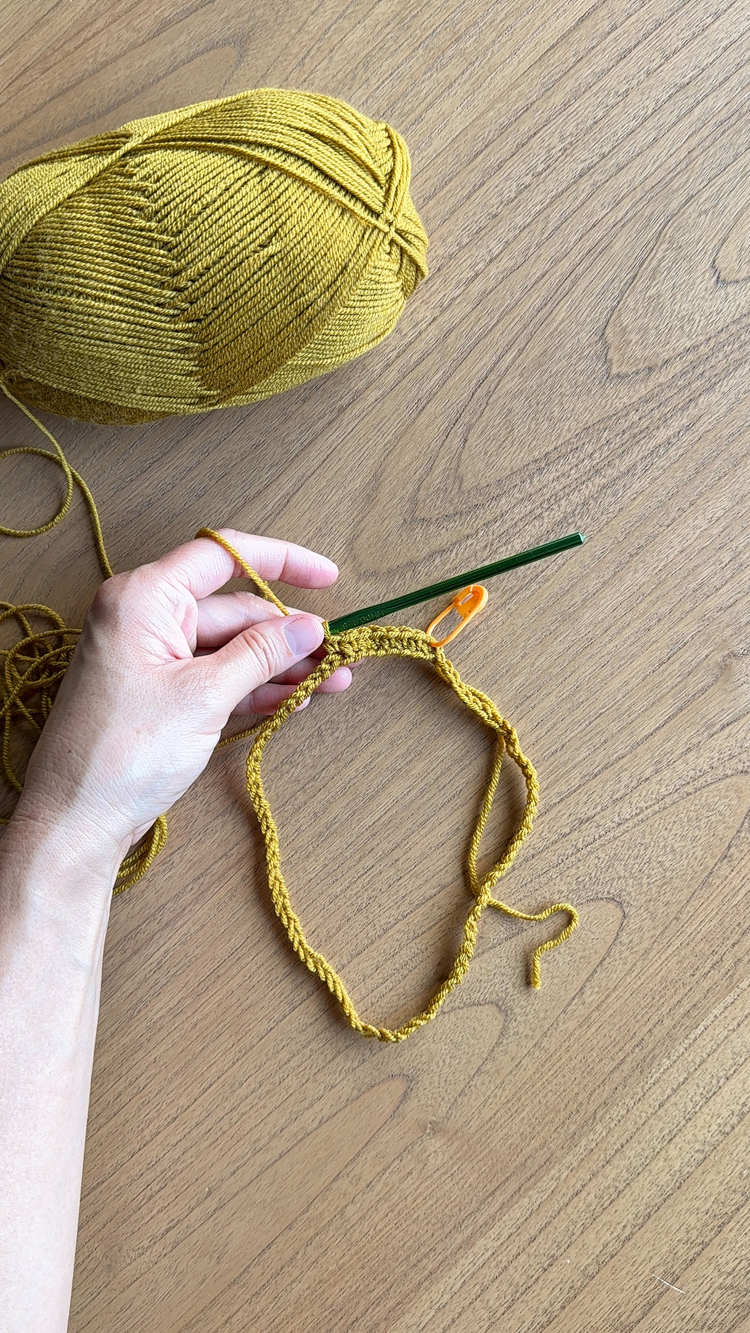
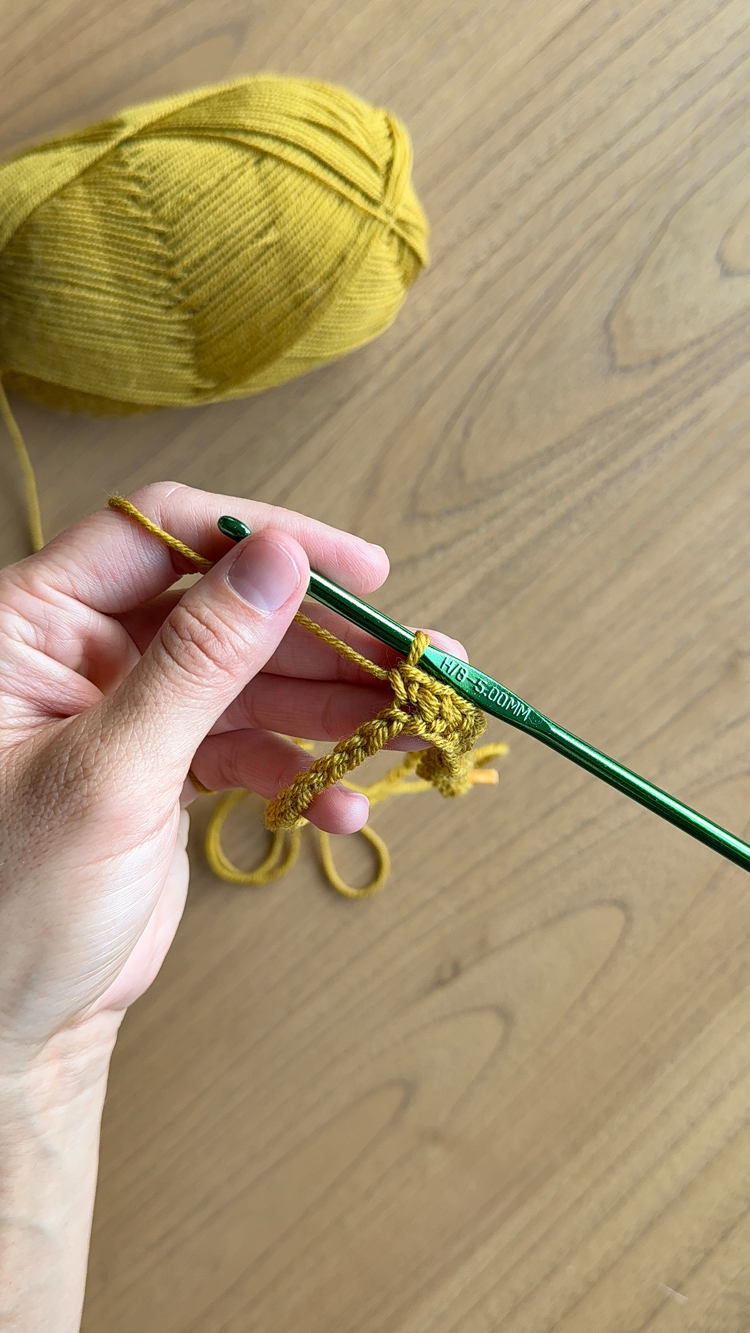
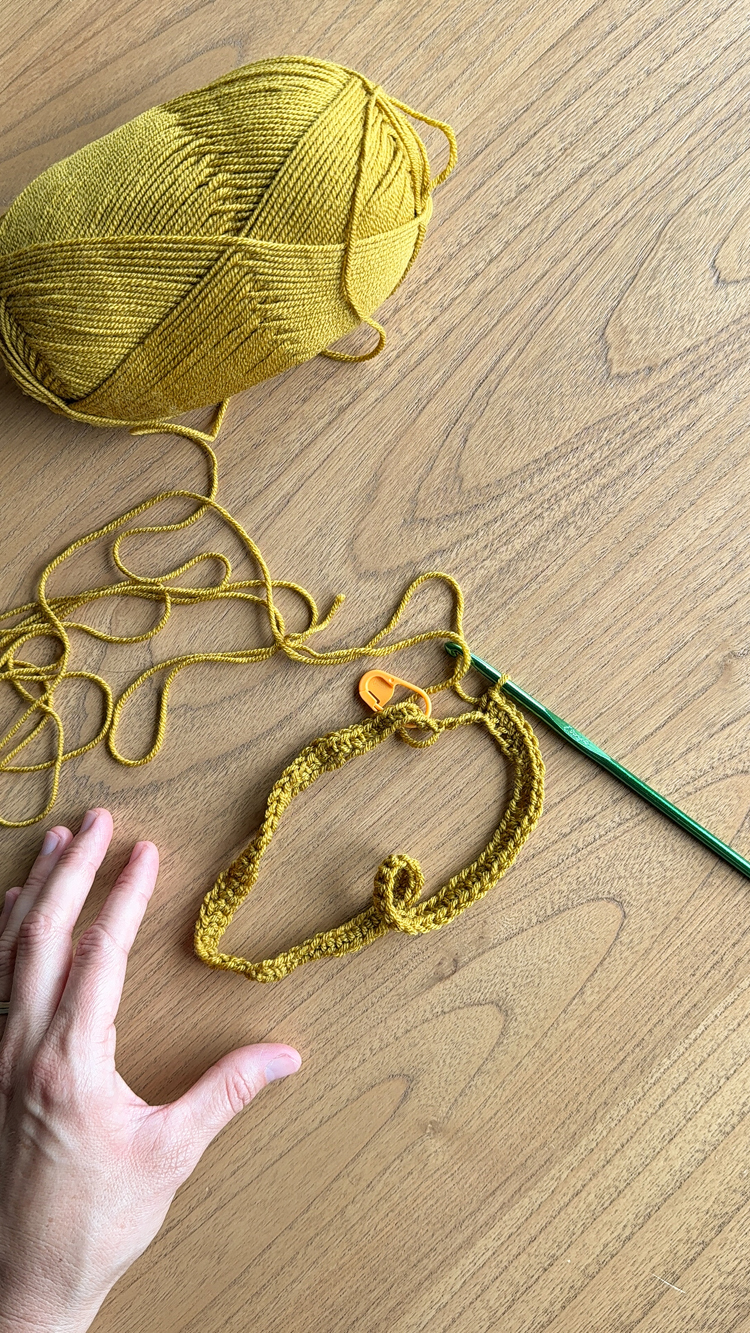
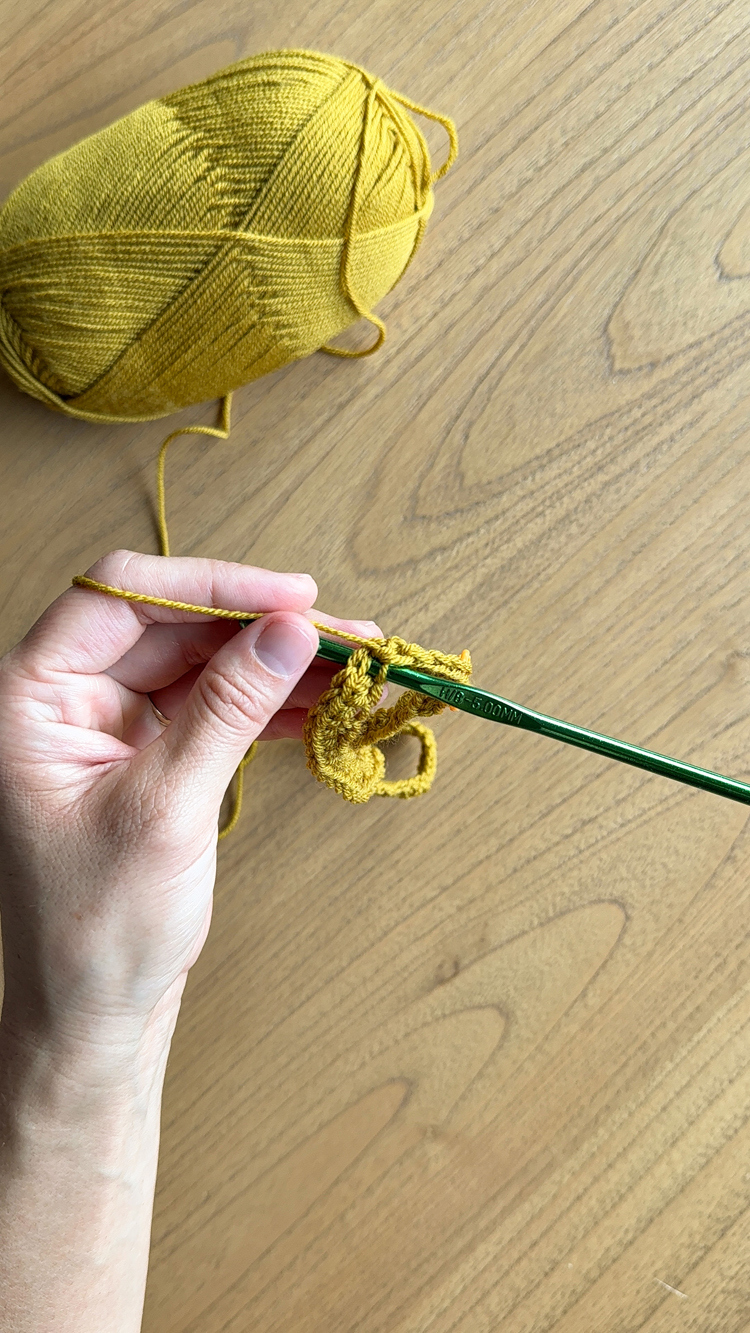
Row 1: Ch 80. Join last ch to first ch to create a looped row. Ch 1 (doesn’t count as a stitch) and sc into the base of ch 1. Place a stitch marker into the sc to mark your first stitch. Sc into each stitch in the row. Remove the stitch marker and sl st into the top two loops of the first sc from the beginning of the row. (80)
Row 2: Ch 1 and sc into base of ch 1. Place a stitch marker into the sc to mark your first stitch. Sc in each stitch. Remove the stitch marker and sl st into top two loops of 1st sc in the row. (80)
Rows 3-17: Repeat Row 2.
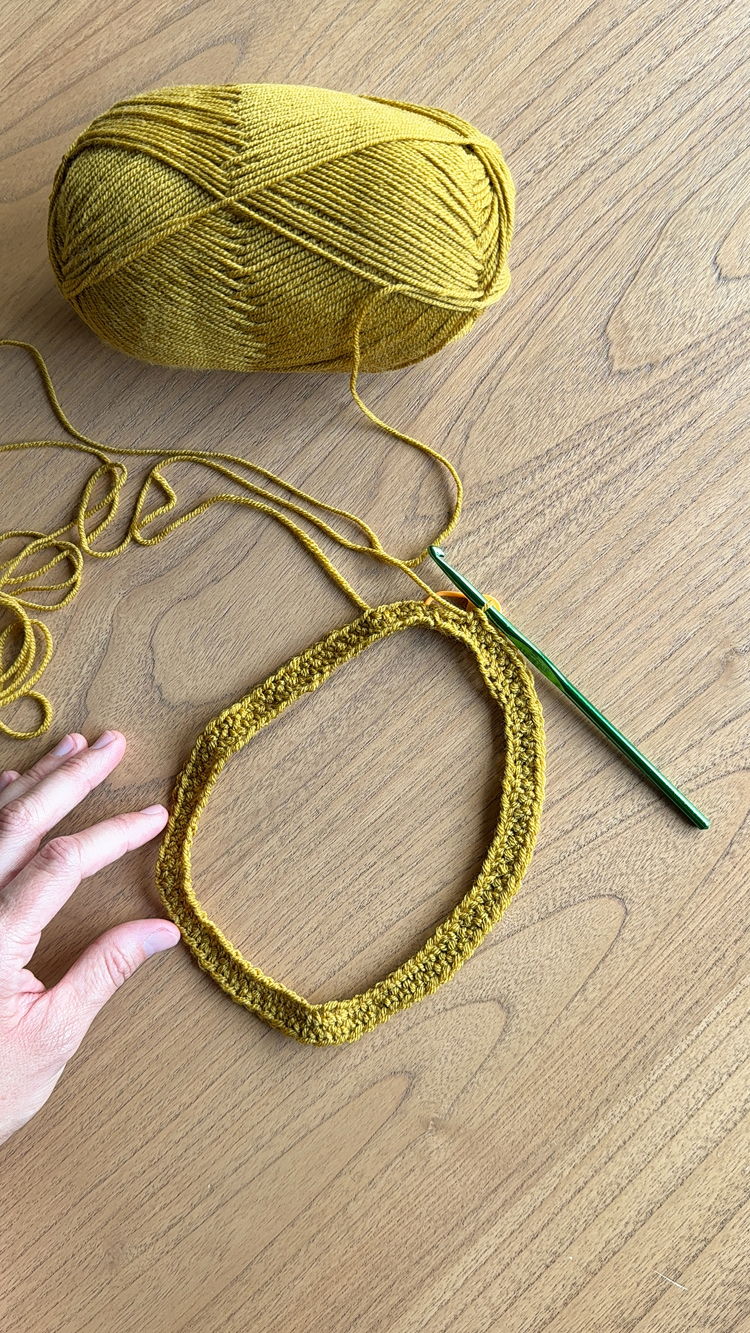
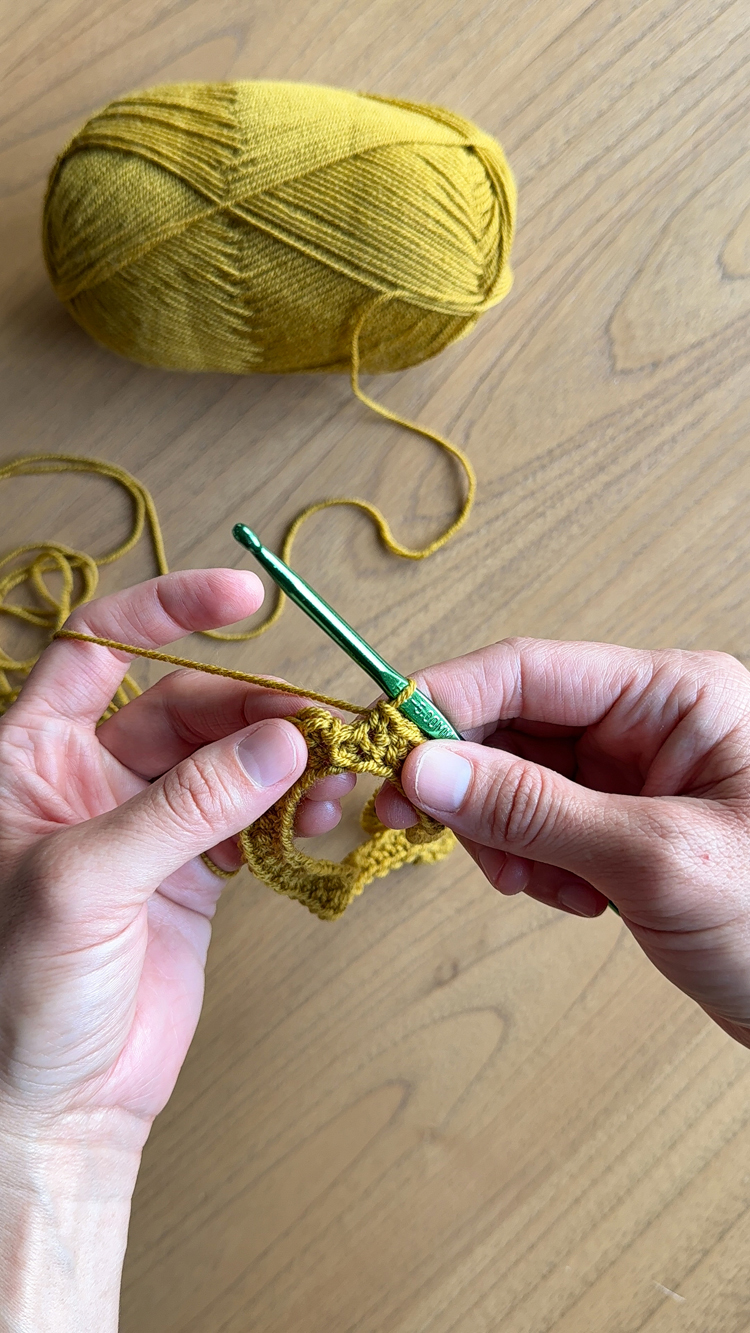
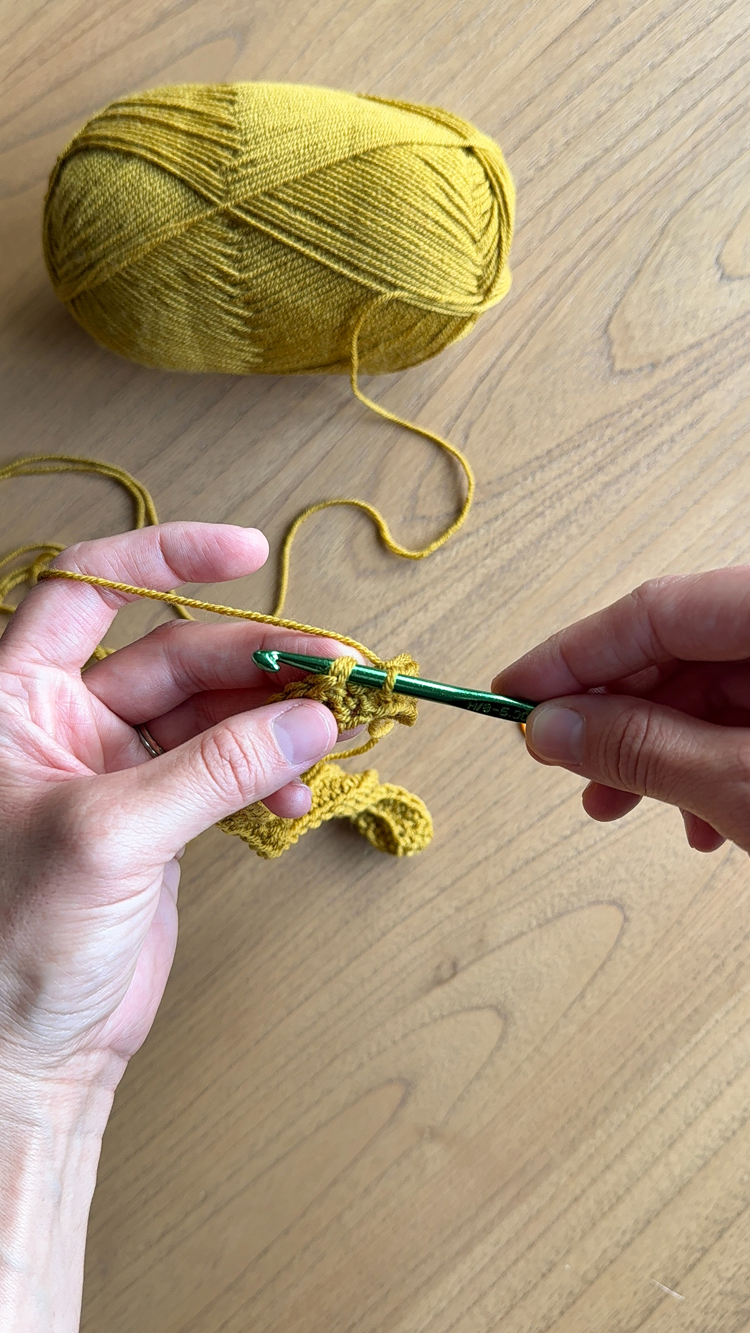
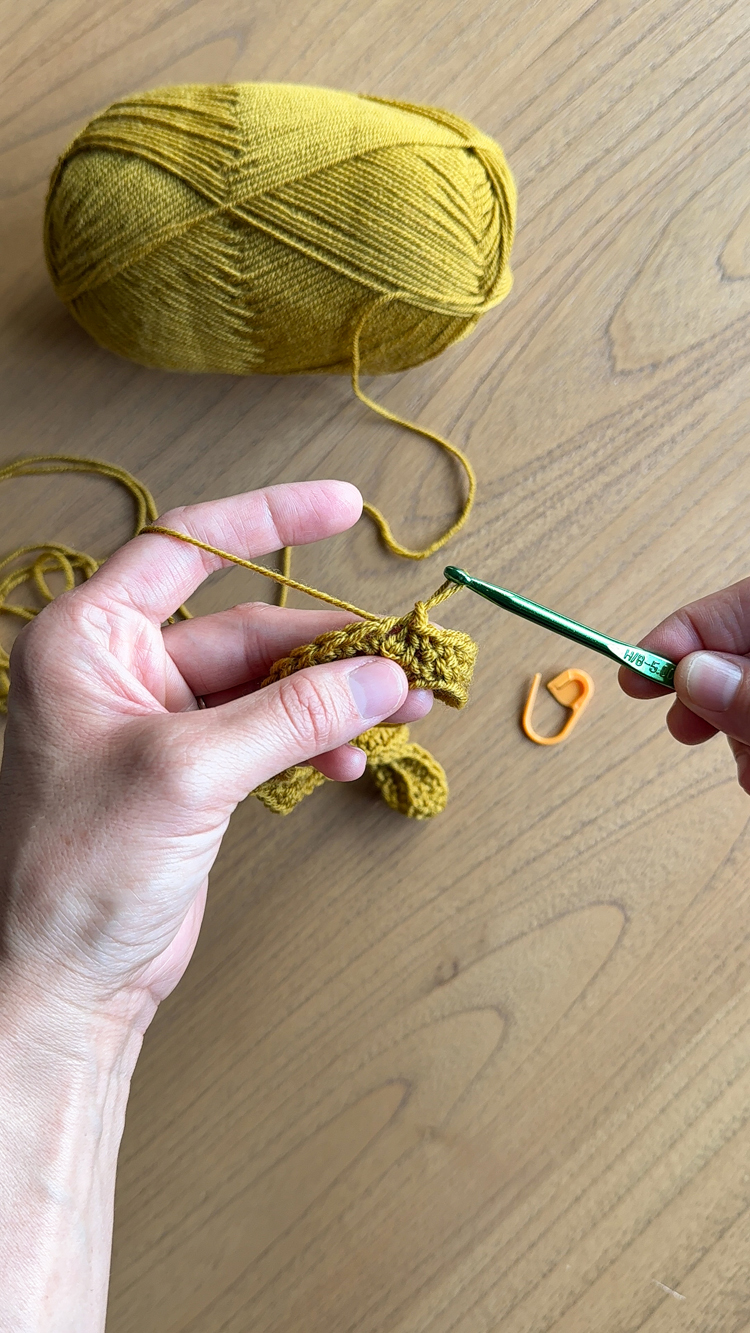
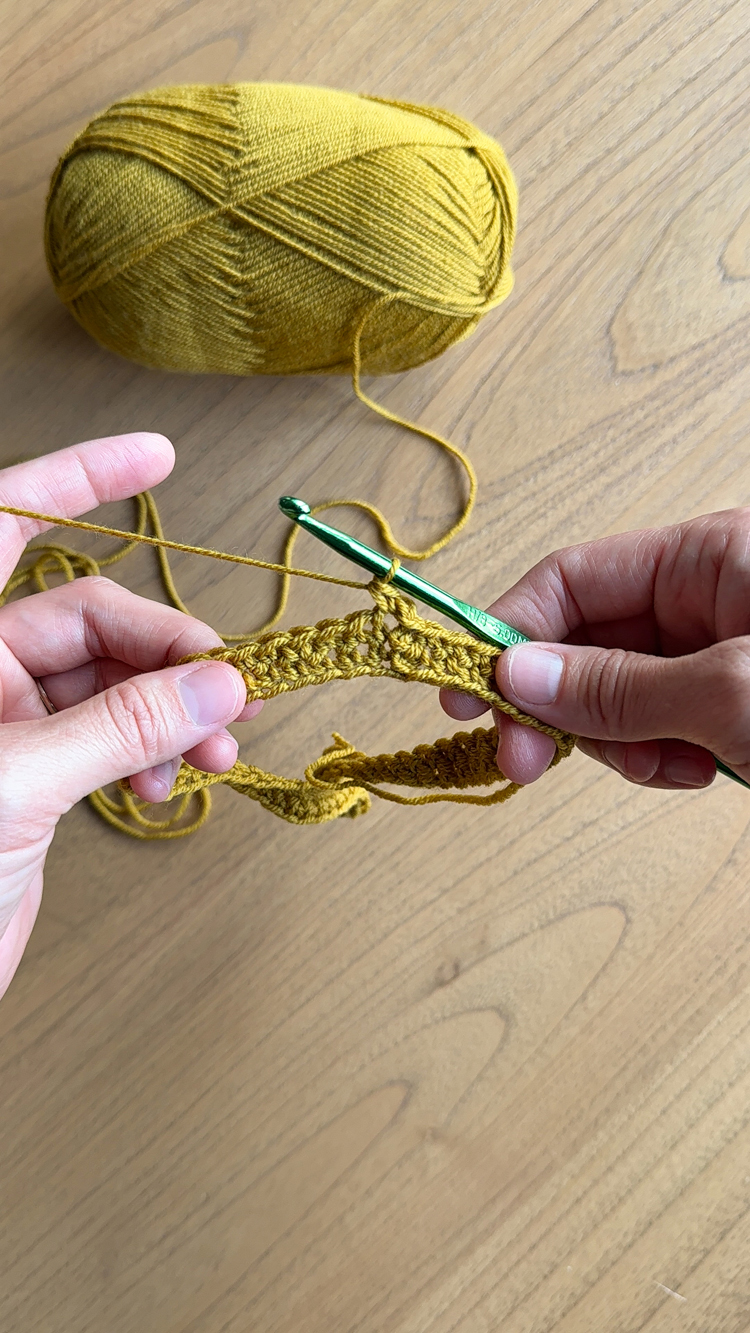
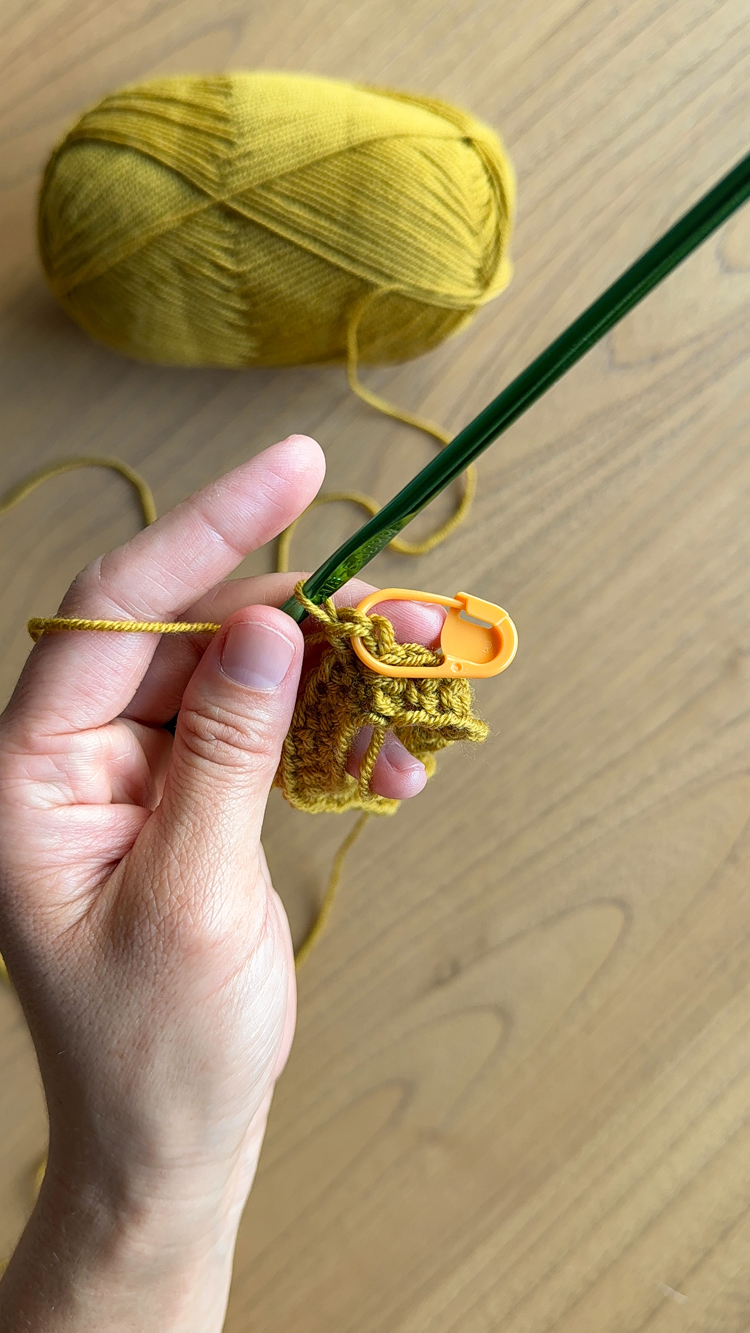
Tie off your end, leave a 2 foot long tail.
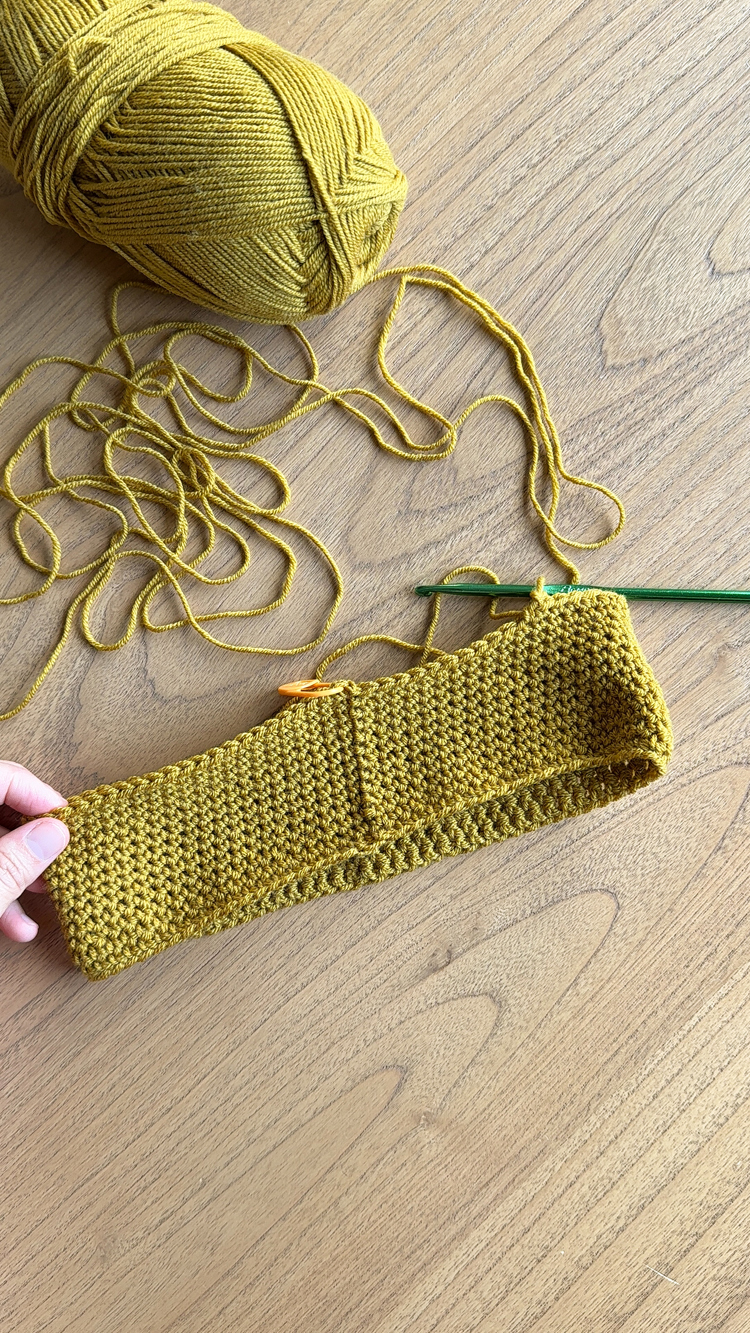
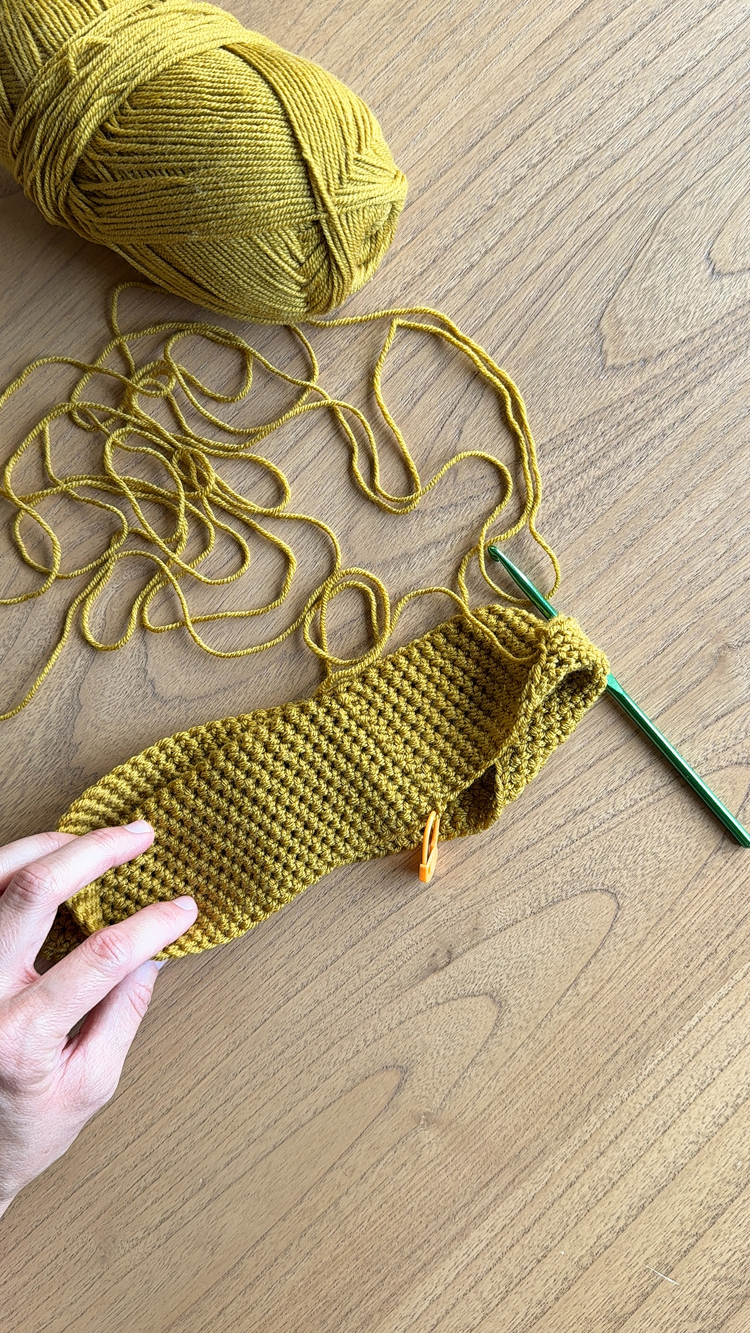
Because we didn’t turn our work, each side is uniform and distinctly different from the other side. Choose which side you want to show on the outside of your scrunchie.
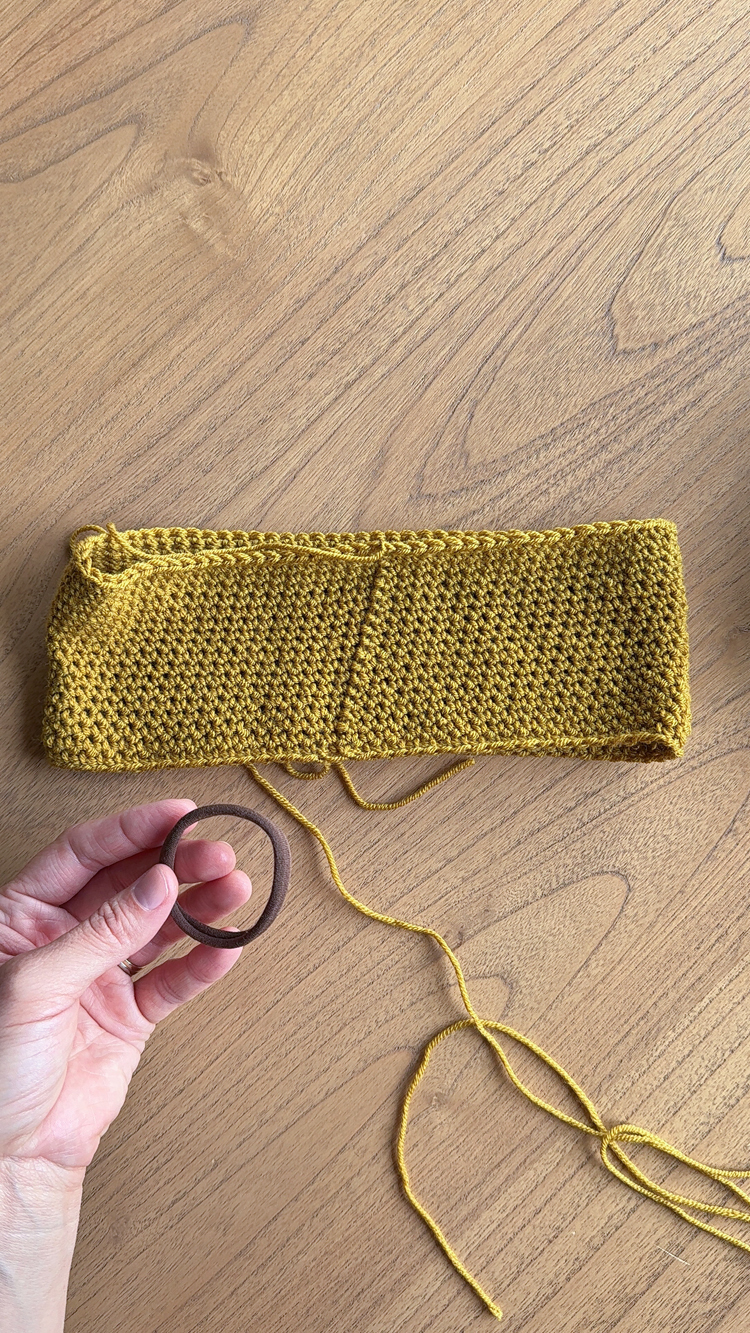
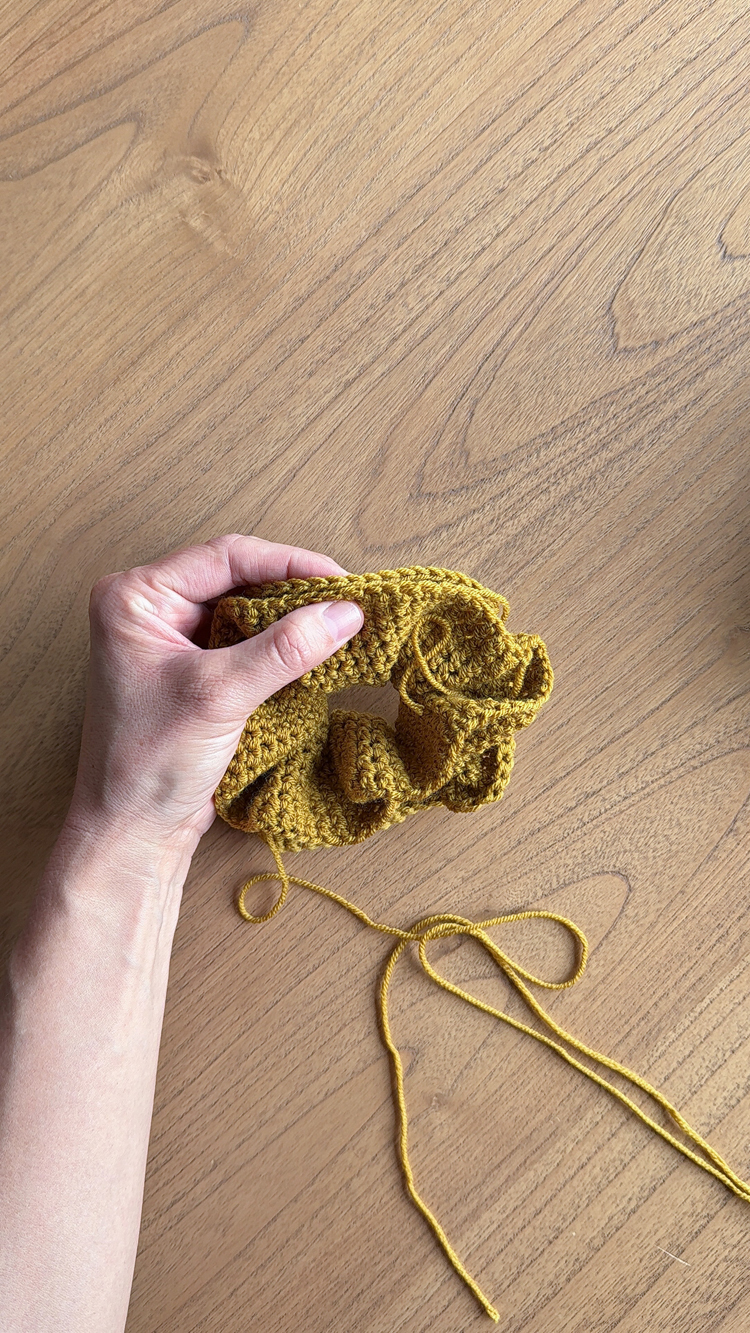
Then turn it wrong side out.
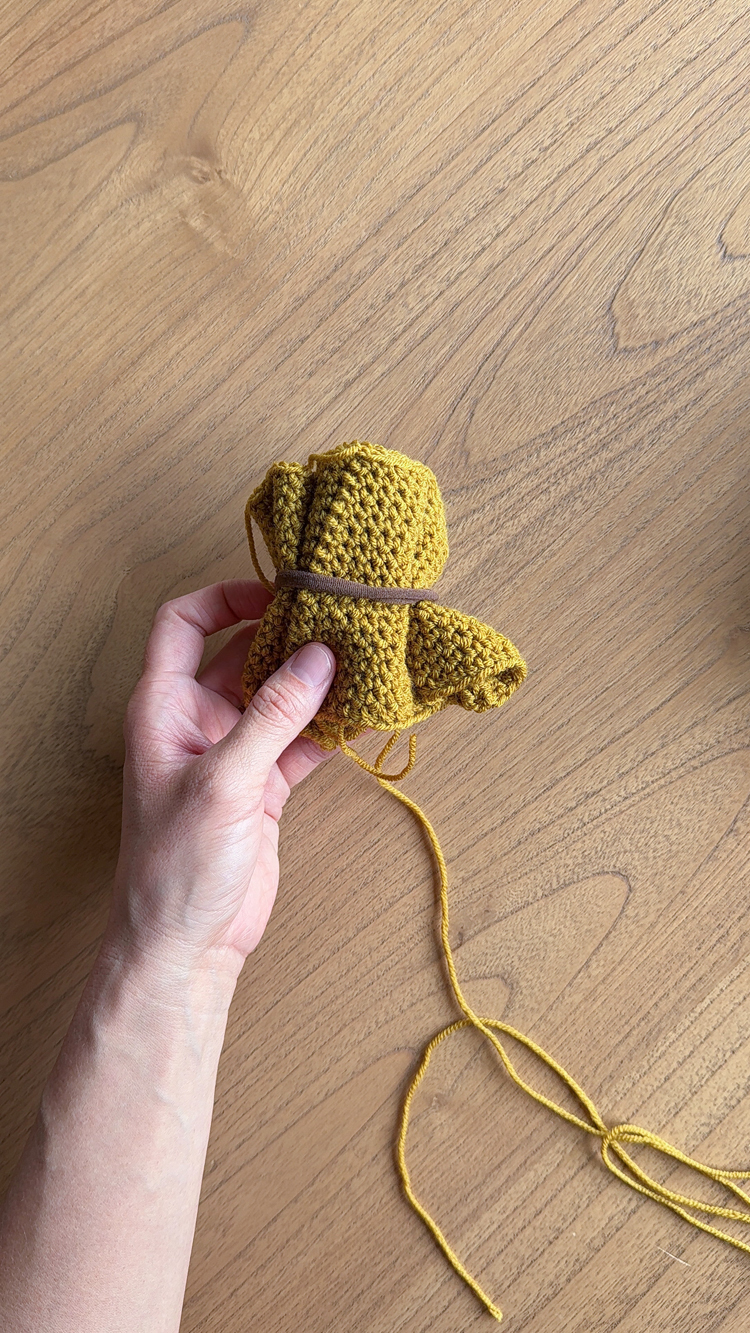
Bunch the looped rectangle up and put the elastic around the center.
Fold the rectangle in half, width-wise (length-wise??? …just long sides together), encasing the elastic.
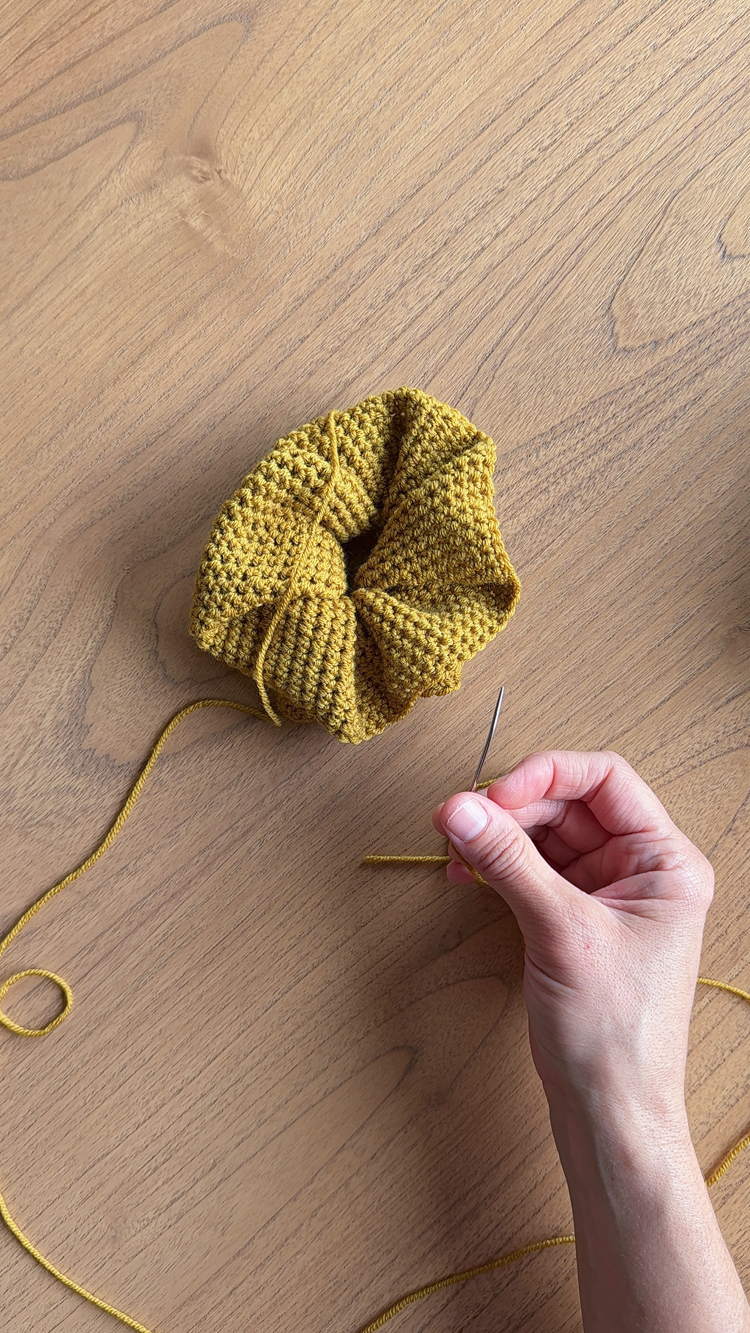
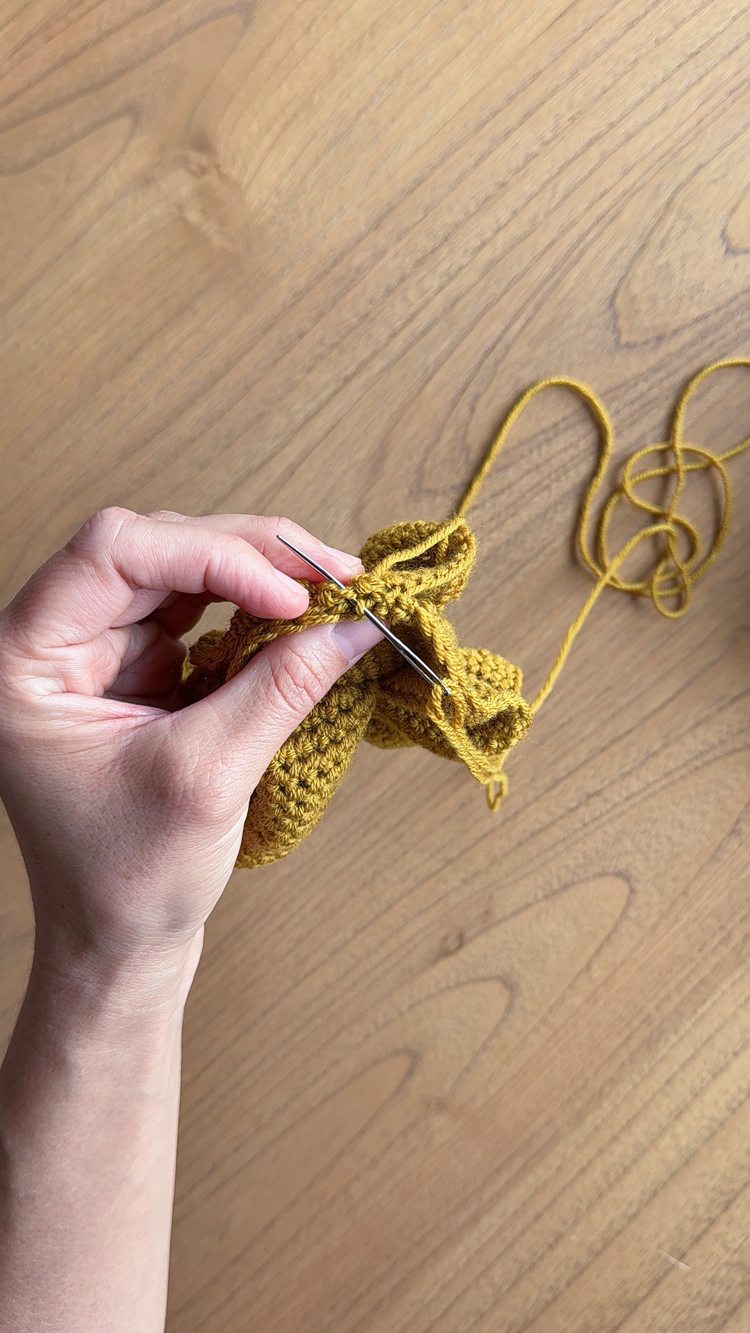
Thread the long tail onto a yarn needle. Make sure the rectangle isn’t twisted from the elastic. Use the long needle to sew the long edges of the rectangle together using a sort of a ladder stitch that zig zags back and forth from each side.
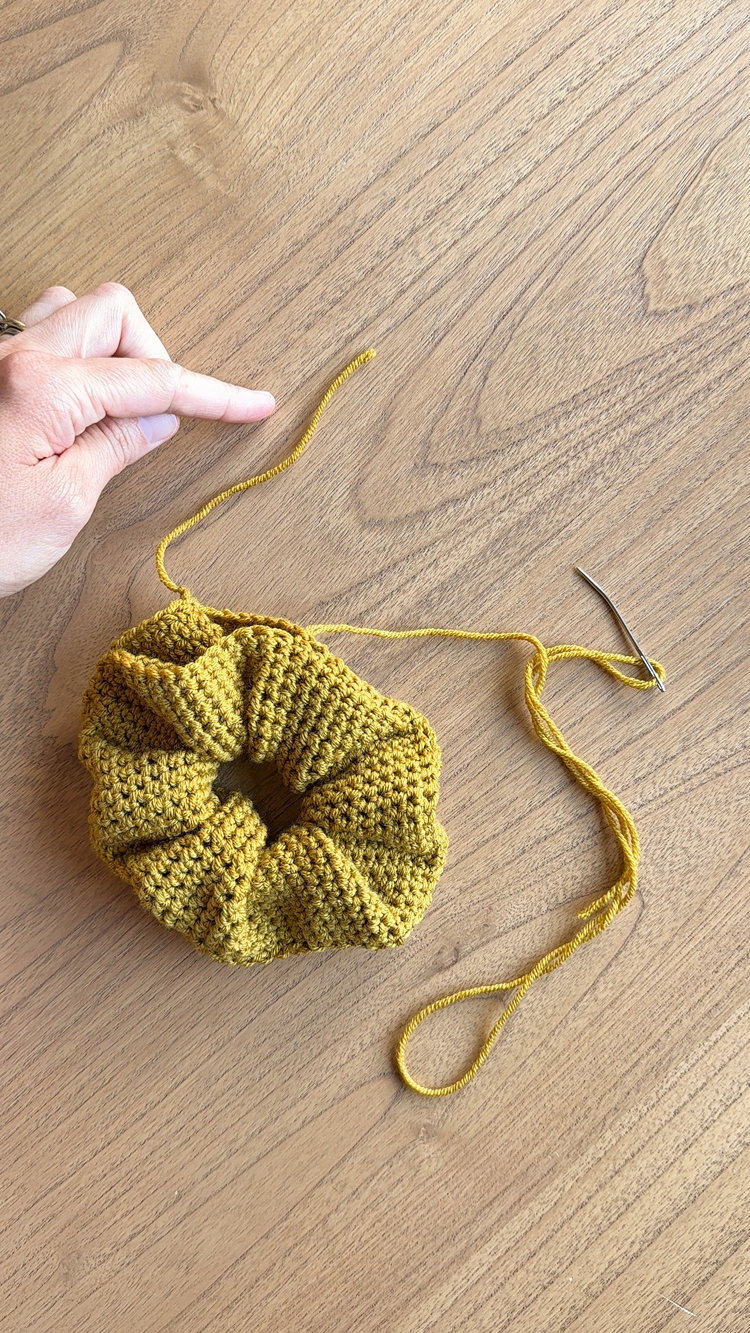
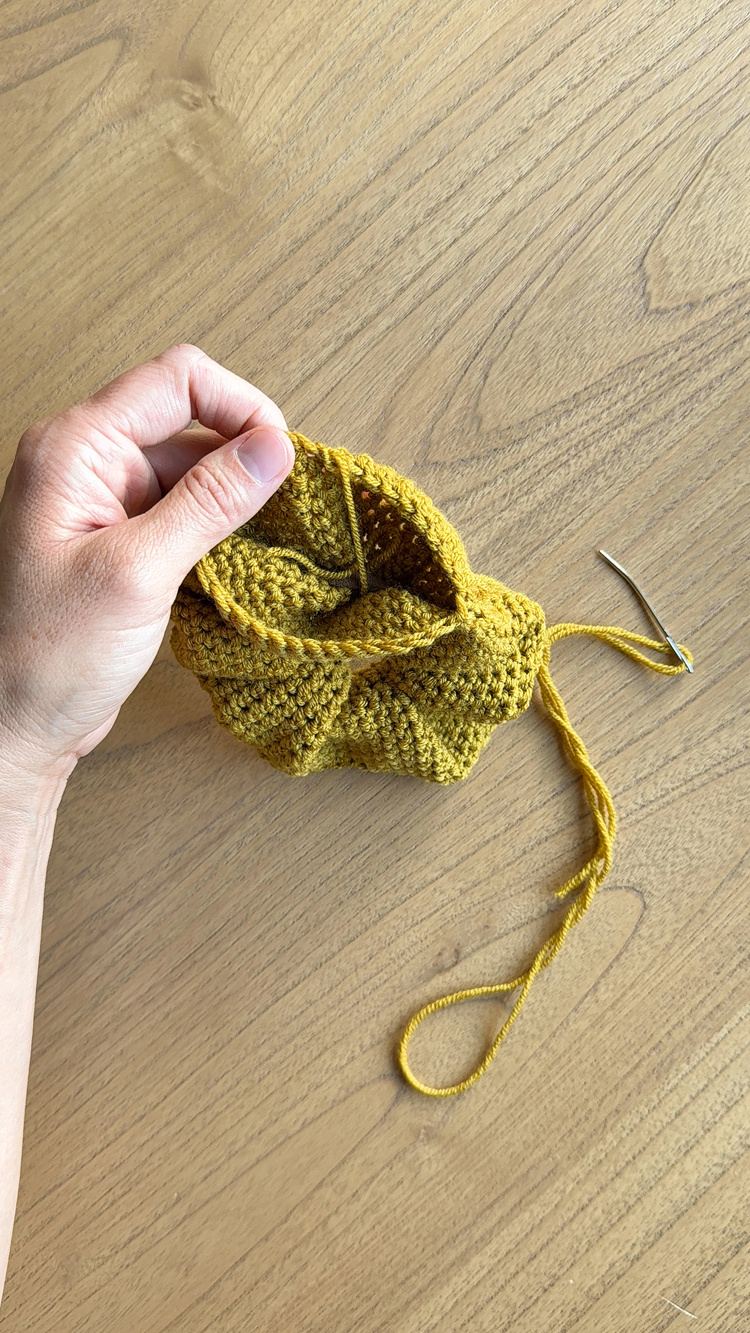
As you get close to the end, stuff the shorter tail into the scrunchie so you won’t have to weave it in. If the sides look uneven, you can stretch the shorter side to fit the longer side, as long as the discrepancy is minimal. If the difference is too great, remove stitches and try to even out the sides.
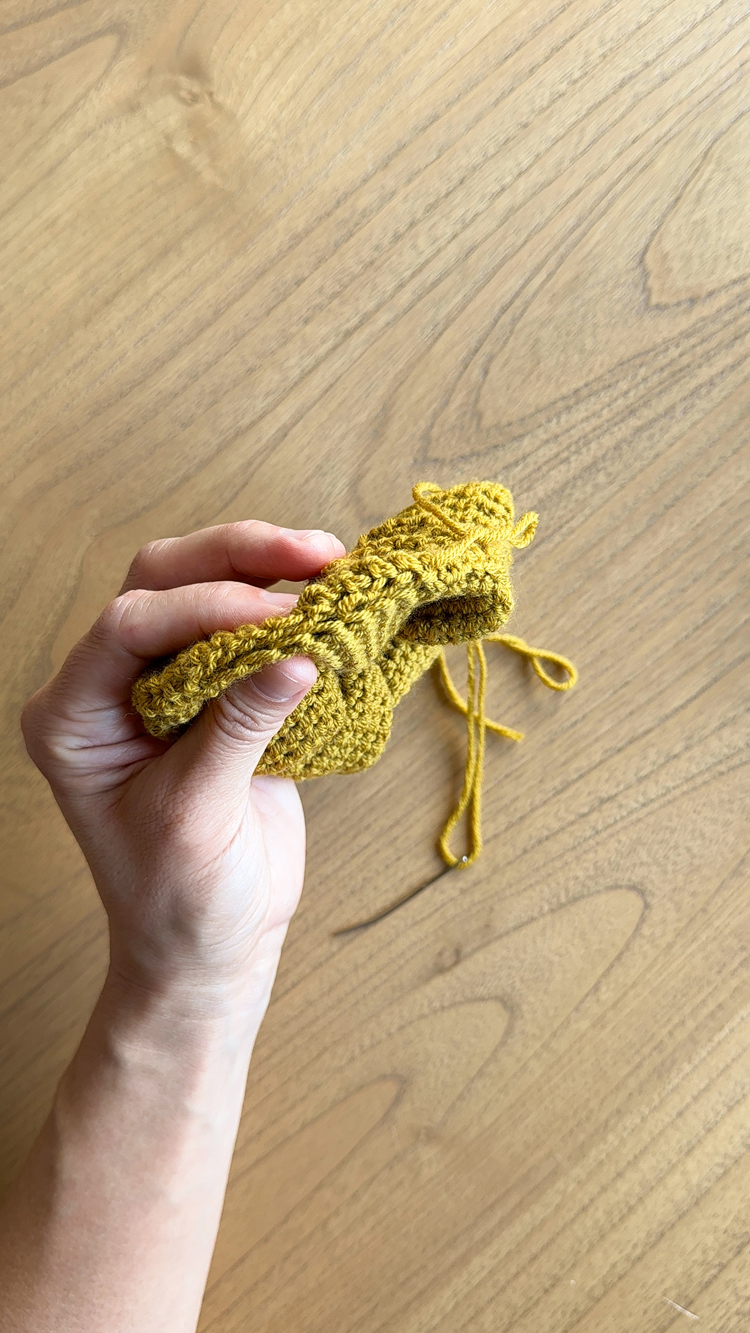
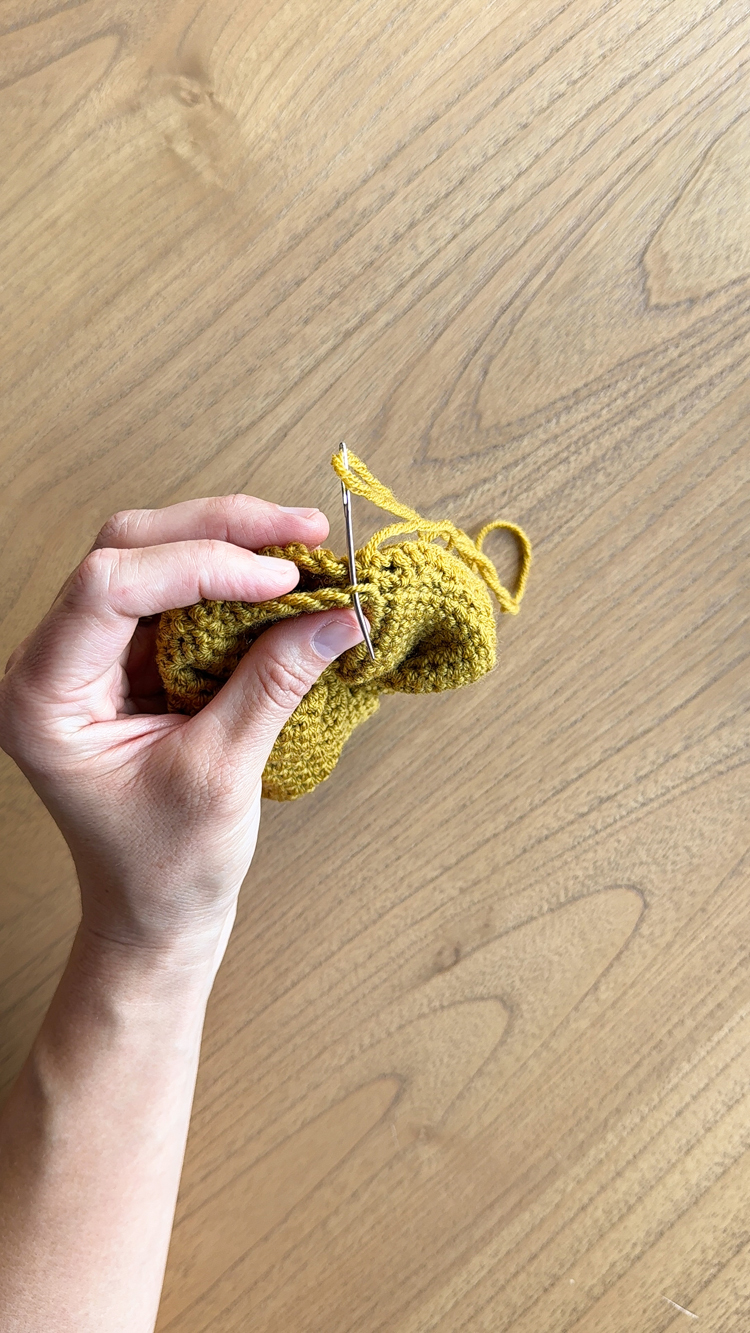
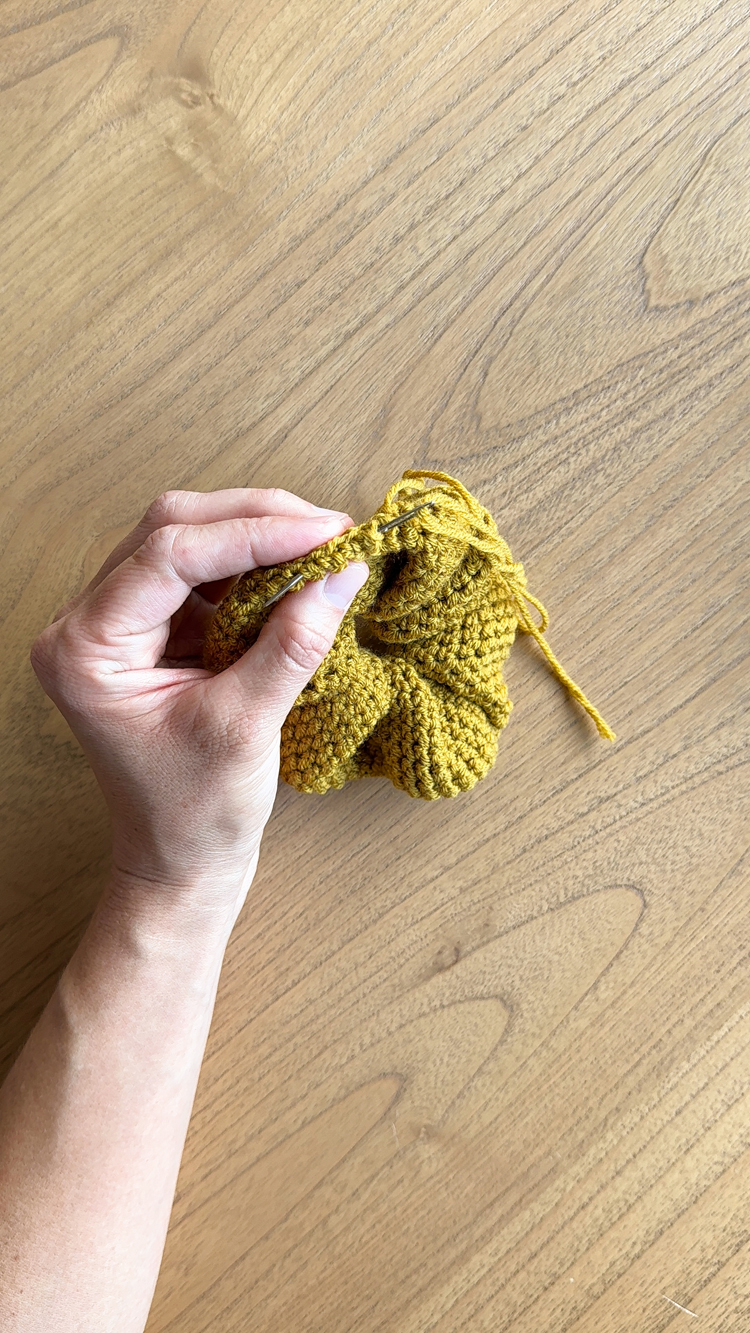
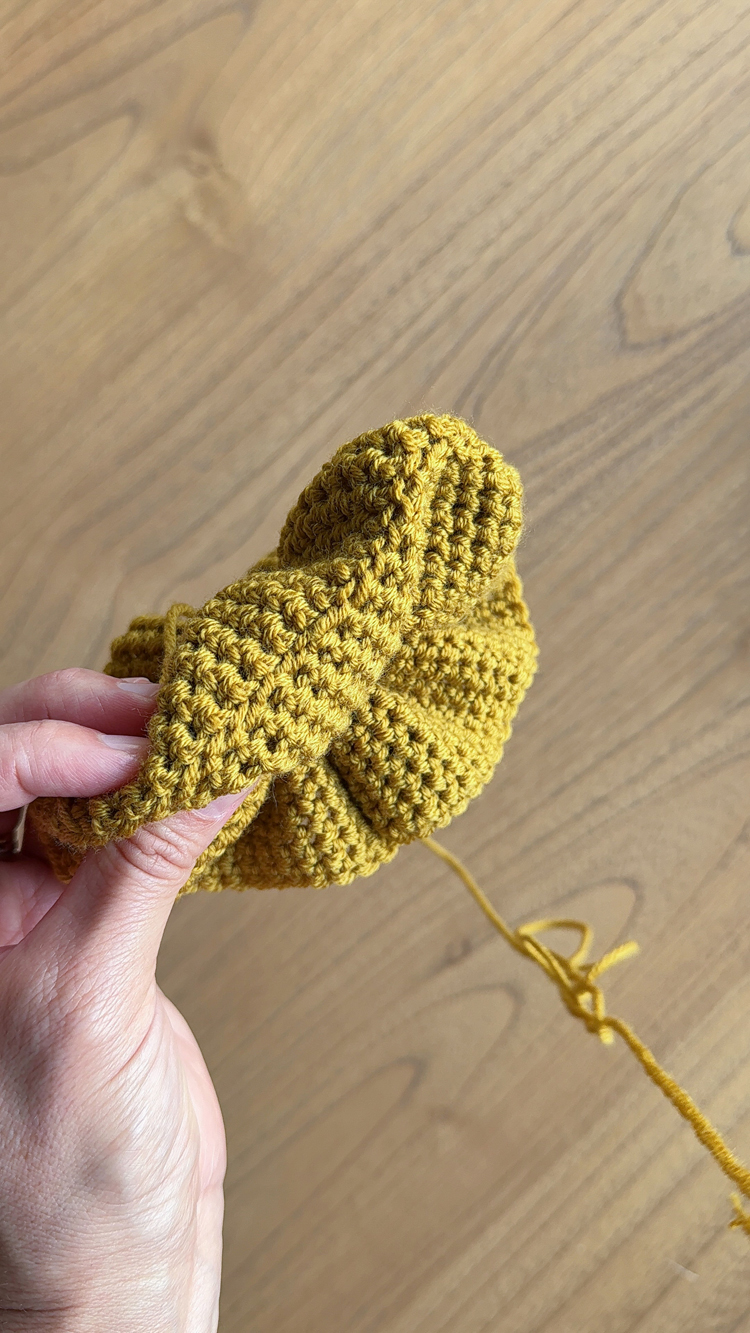
Once you make it all the way around, turn your scrunchie the other direction and double back with a few more inches of stitches and little knots. Hide the end inside the scrunchie and cut off the excess.
Roll the the outside seam toward the center where it is less obvious.
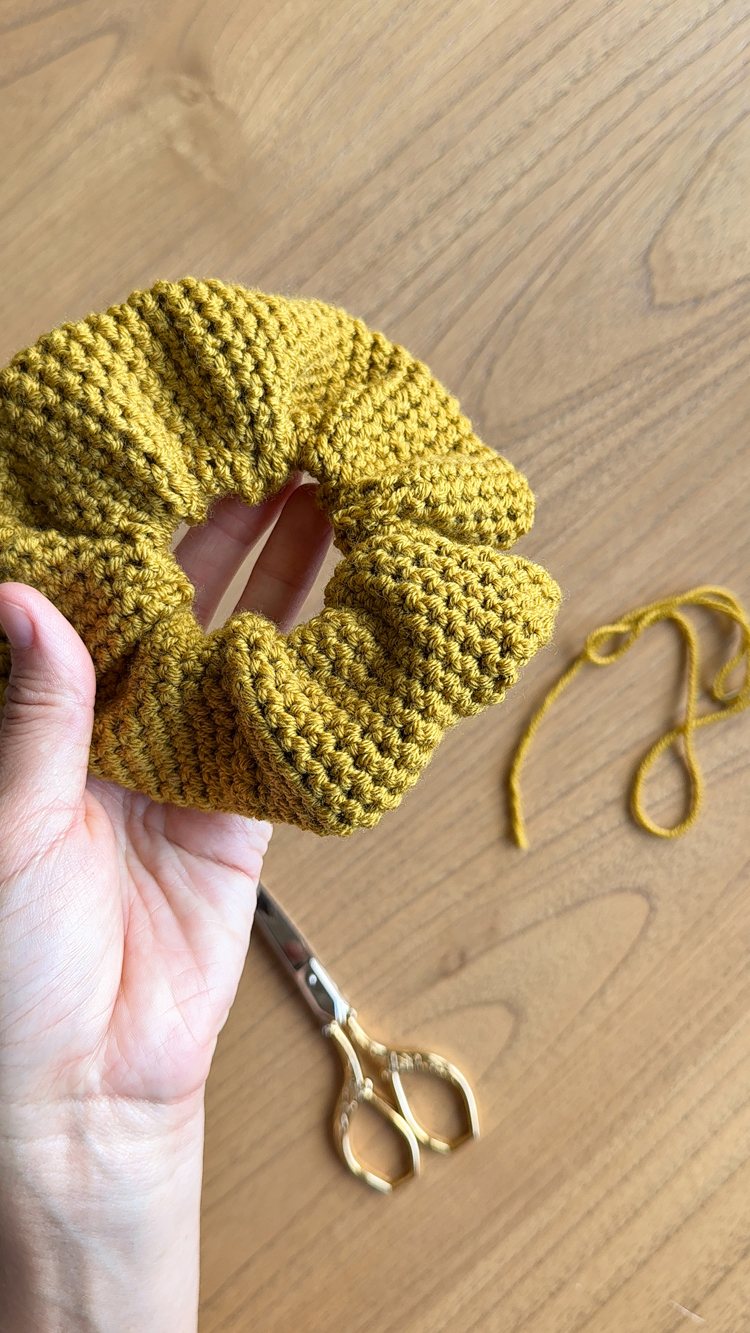
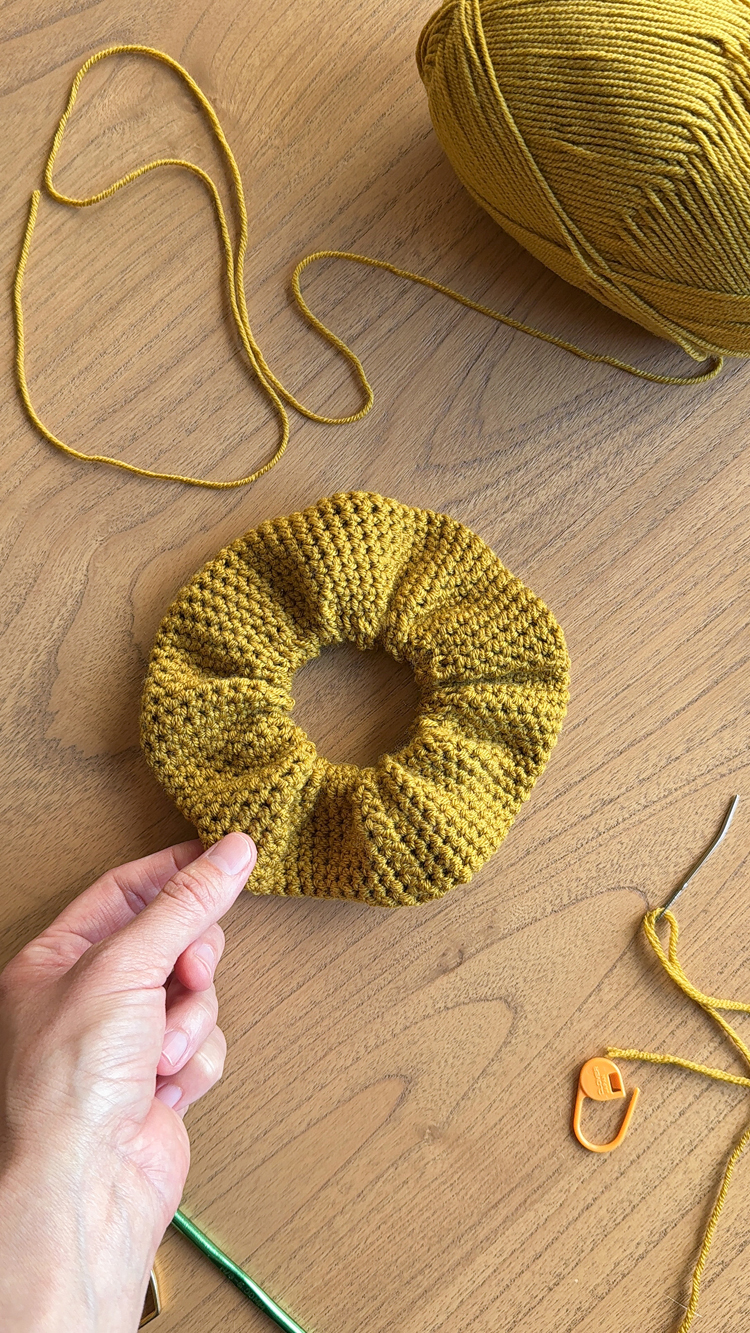
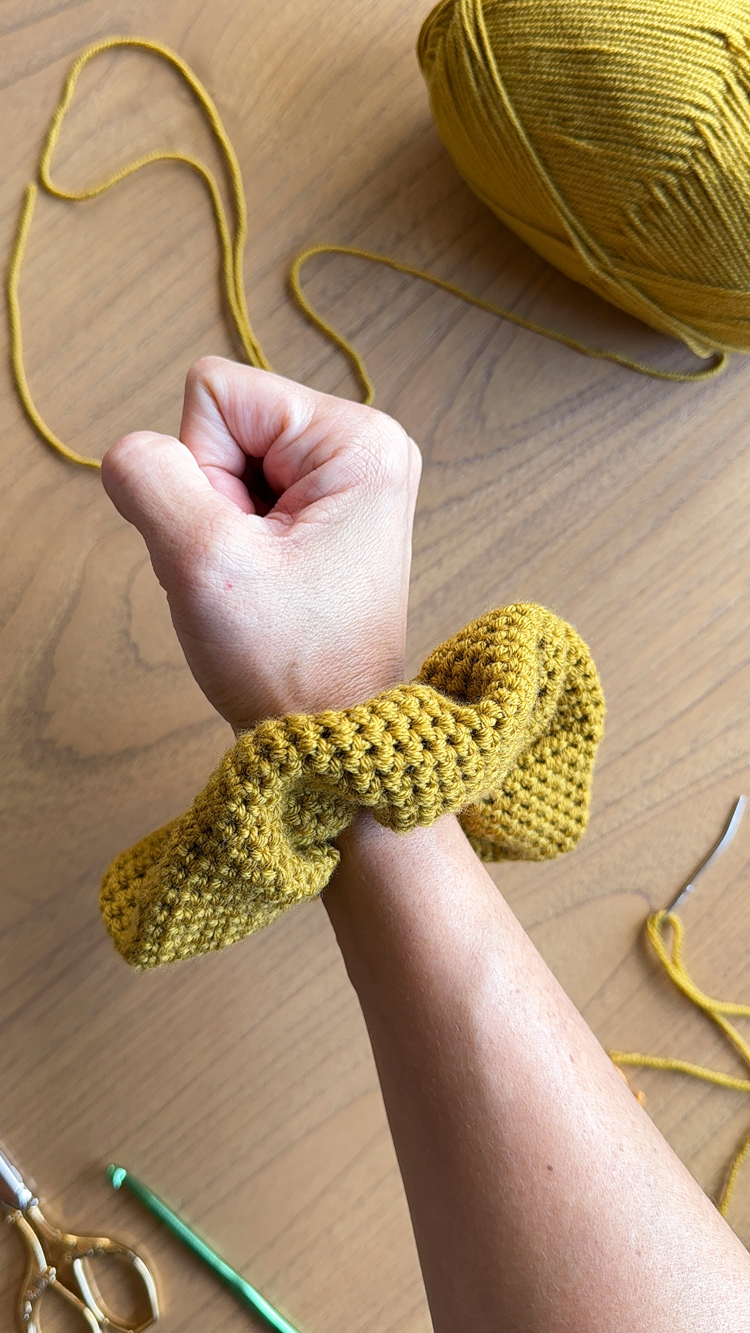
And that’s it!
For more beginner friendly projects included in my Crochet Basics series, check out this post.
Leave a Reply