

This is the first project in my refreshed Crochet Basics Series, which teaches you how to crochet a basic stitch and then make something with it.
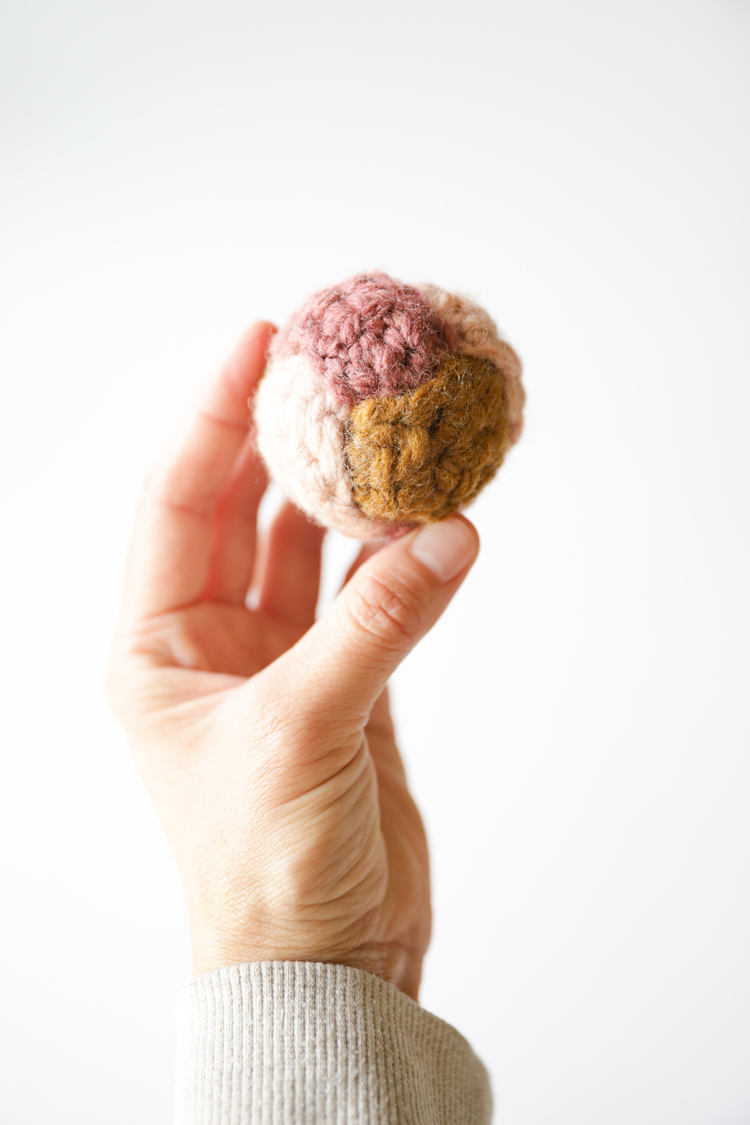
It is completely beginner friendly. All you need to know is how to single crochet and work in rows which I cover in this post, and in this one from my original Crochet Basics Series.
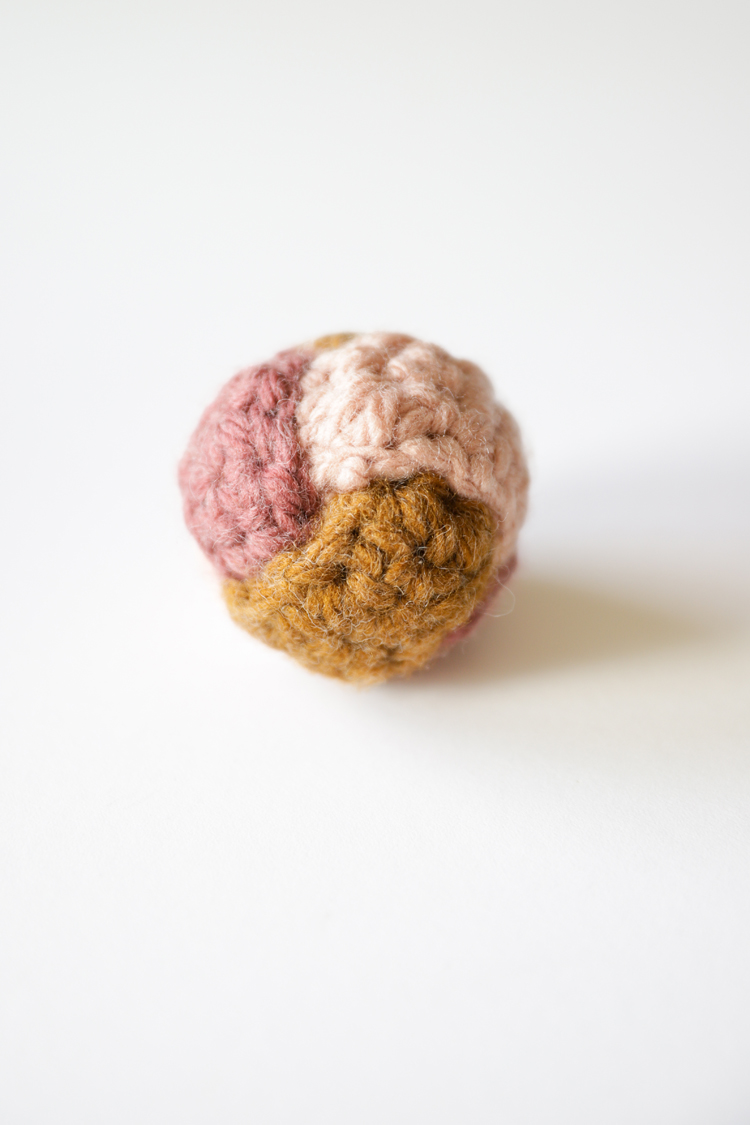
Usually a ball would have to be worked in the round, but not this one! We’re going to turn three little rectangles into a puzzle like ball.
Let’s get started.
MATERIALS
- About 10 yards of size 5 yarn*
- 6.50 mm crochet hook
- Yarn needle
- Scissors
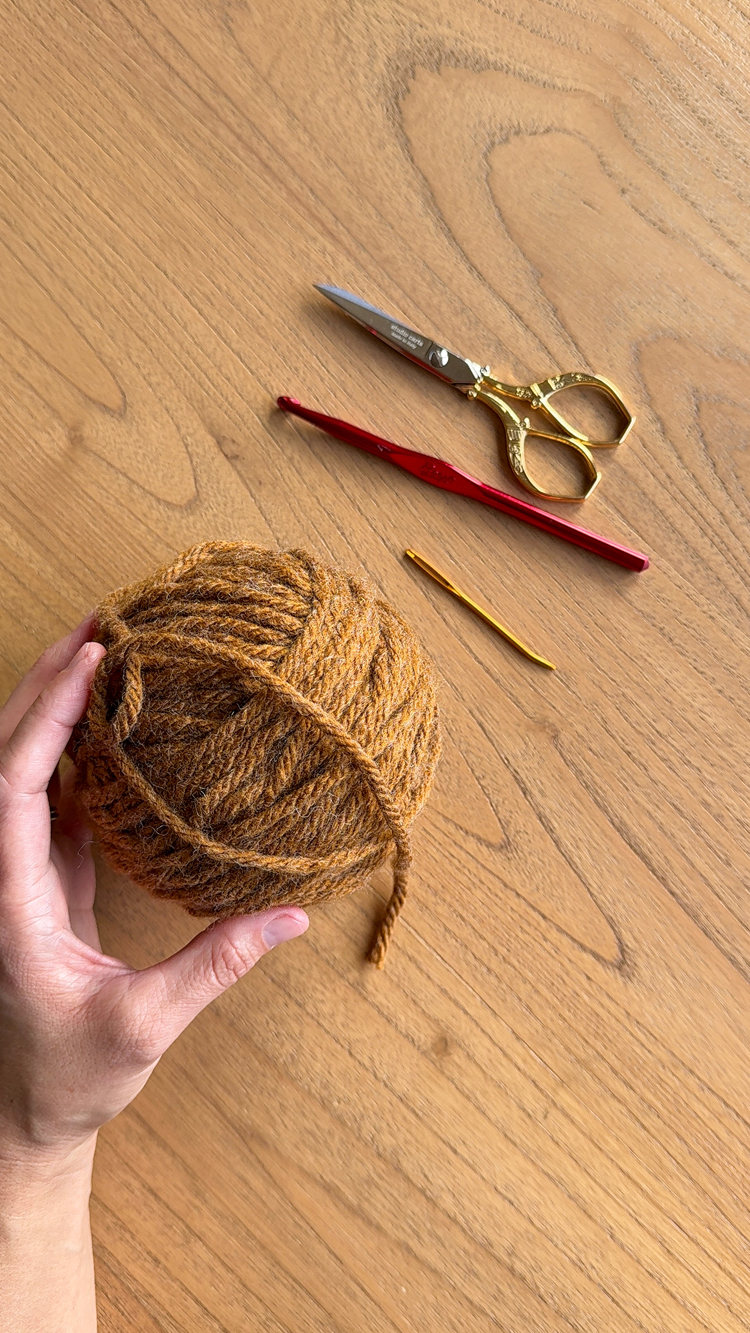
Material Notes:
*You can use all one color or three different colors for interest or if you want to use up small scraps. If you’re using three colors, you’ll need about 3-4 yards of each color. I used Hue + Me size 5 wool blend yarn from Lion Brand.
GAUGE
It’s difficult to get a gauge because the pieces are so small. Each rectangle should measure roughly 1.25 inches wide by about 4 inches long.
ABBREVIATIONS
- ch = chain
- sc = single crochet
- sl st = slip stitch
VIDEO TUTORIAL
Click play on the vertical video player below. It will play after intial ads. If you x out of it, you will need to refresh the page to get the video back.
WRITTEN PATTERN & TUTORIAL
To begin, crochet three small rectangles.
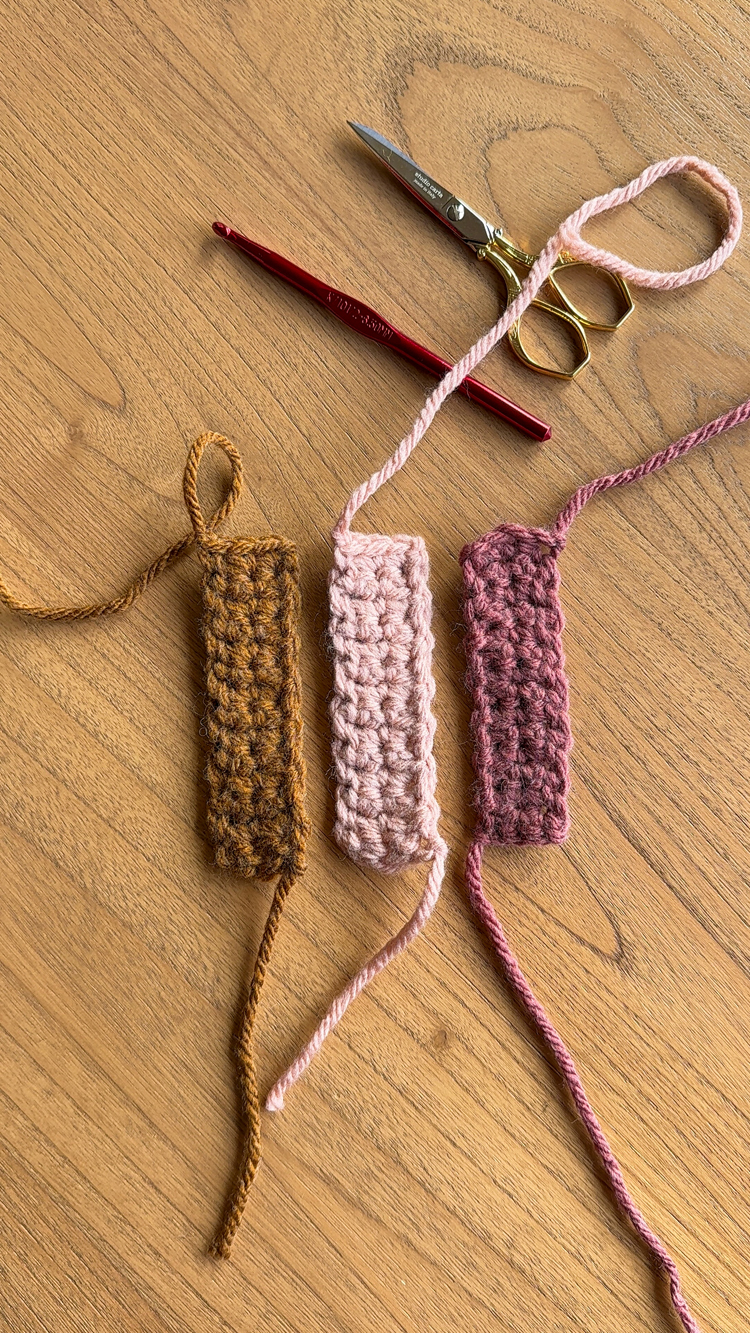
Rectangle Pattern
Row 1: ch 4, sc into the second ch from the hook. Sc two more times. (Total stitch count = 3)
Row 2: Turn, ch 1 (ch 1 doesn’t count as a stitch). Sc into each. (3)
Note: I like to work my last sc into the starting ch 1 from the previous row. This creates straighter, crisper sides. So, skip the last stitch and work the 3rd sc into the ch 1.
Rows 3 – 14: Repeat Row 2.
Tie off, leave a long tail 8-9 inches long. We need the long tail for sewing the ball together.
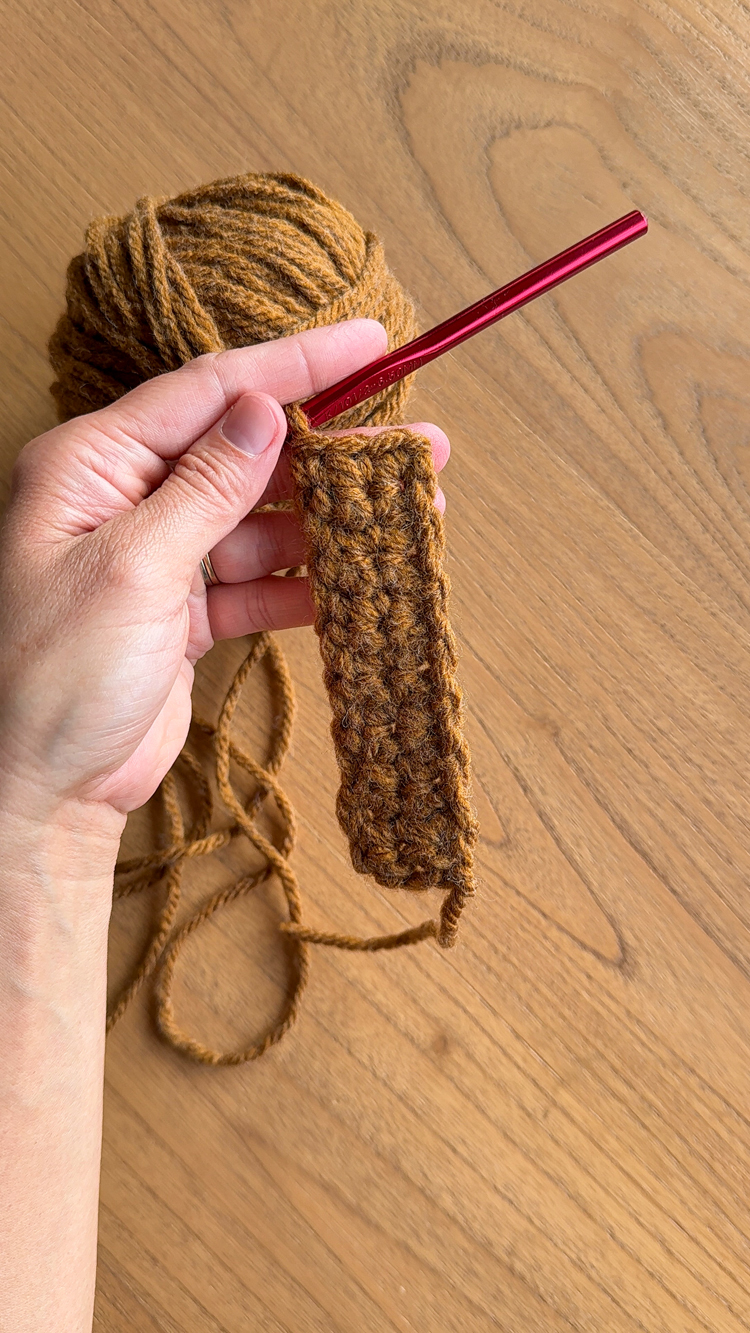
Repeat pattern two more times for a total of three rectangles.
Sew The Ball Together
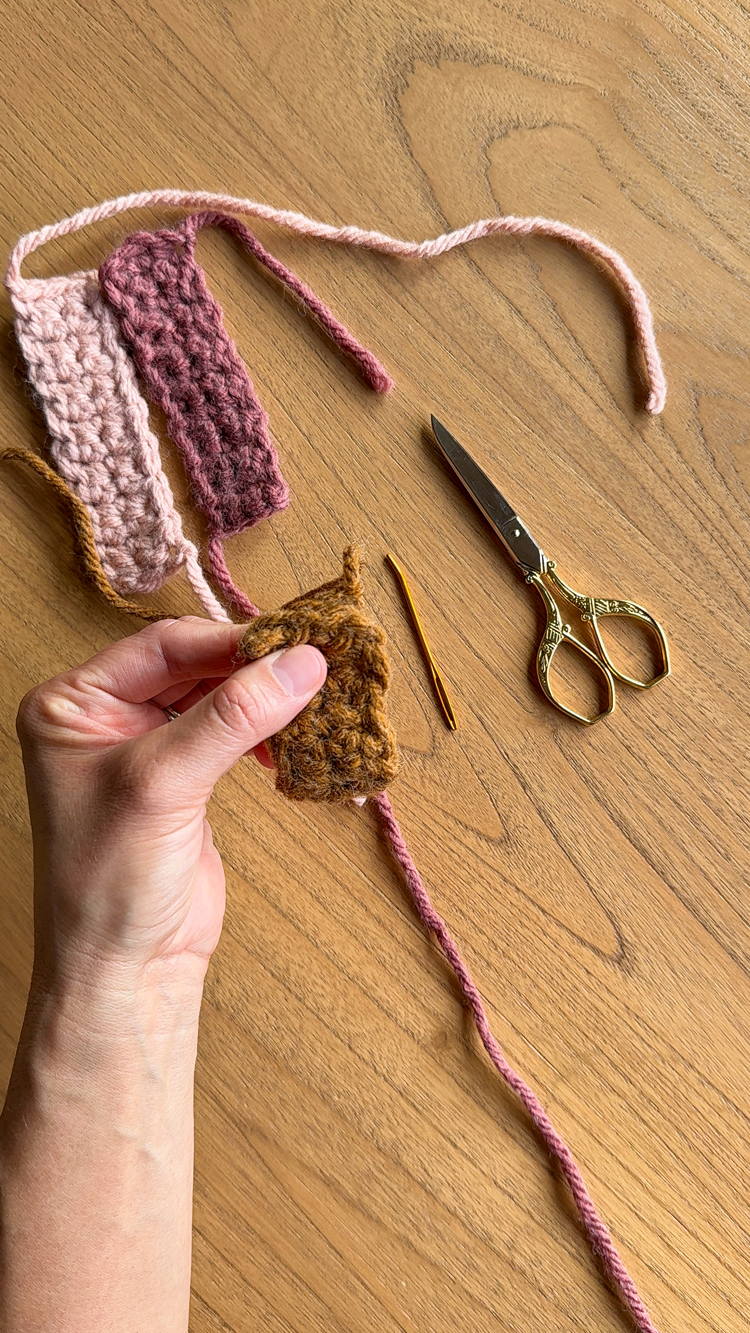
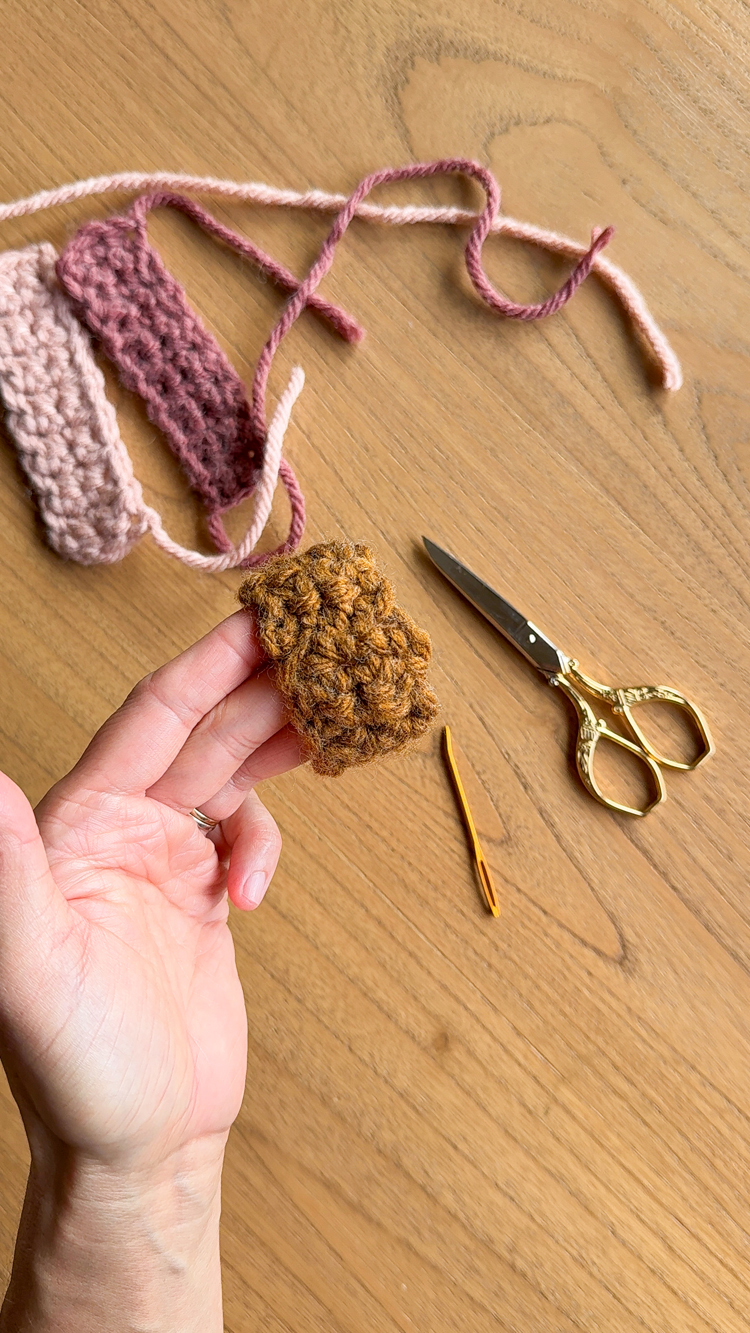
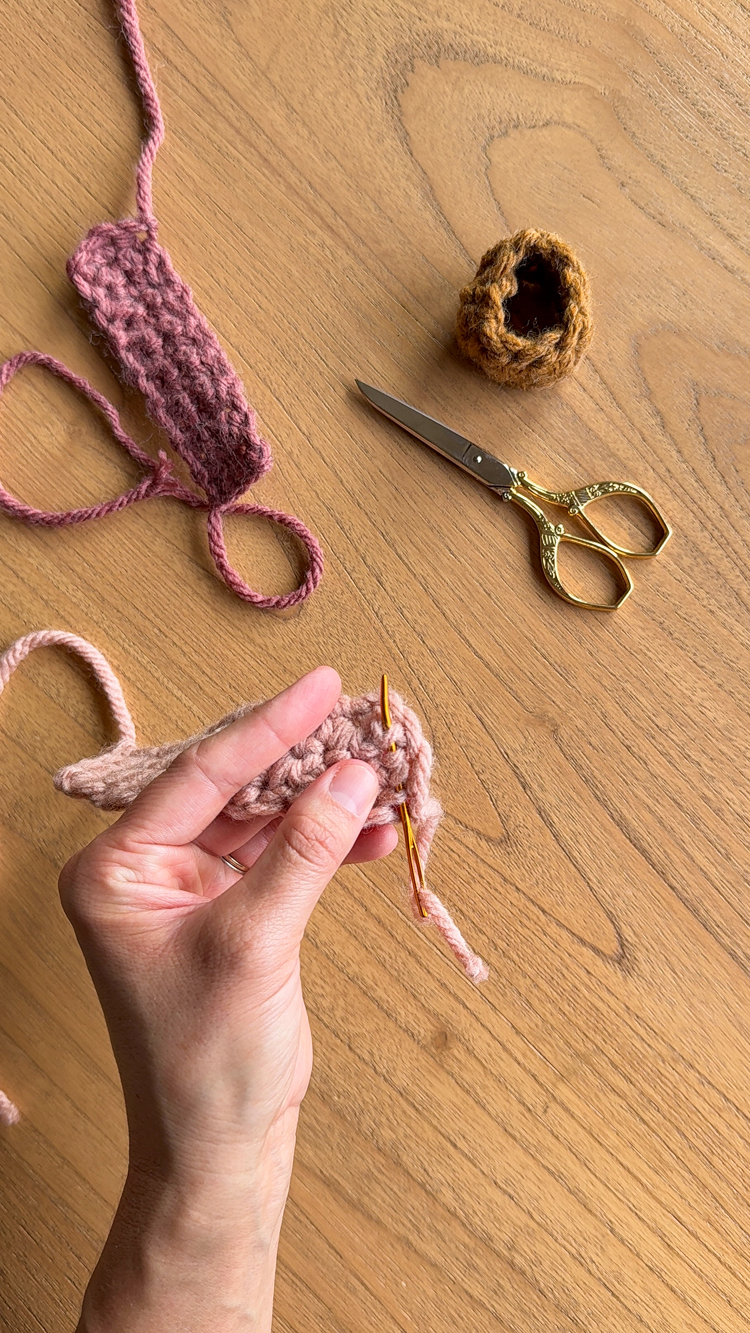
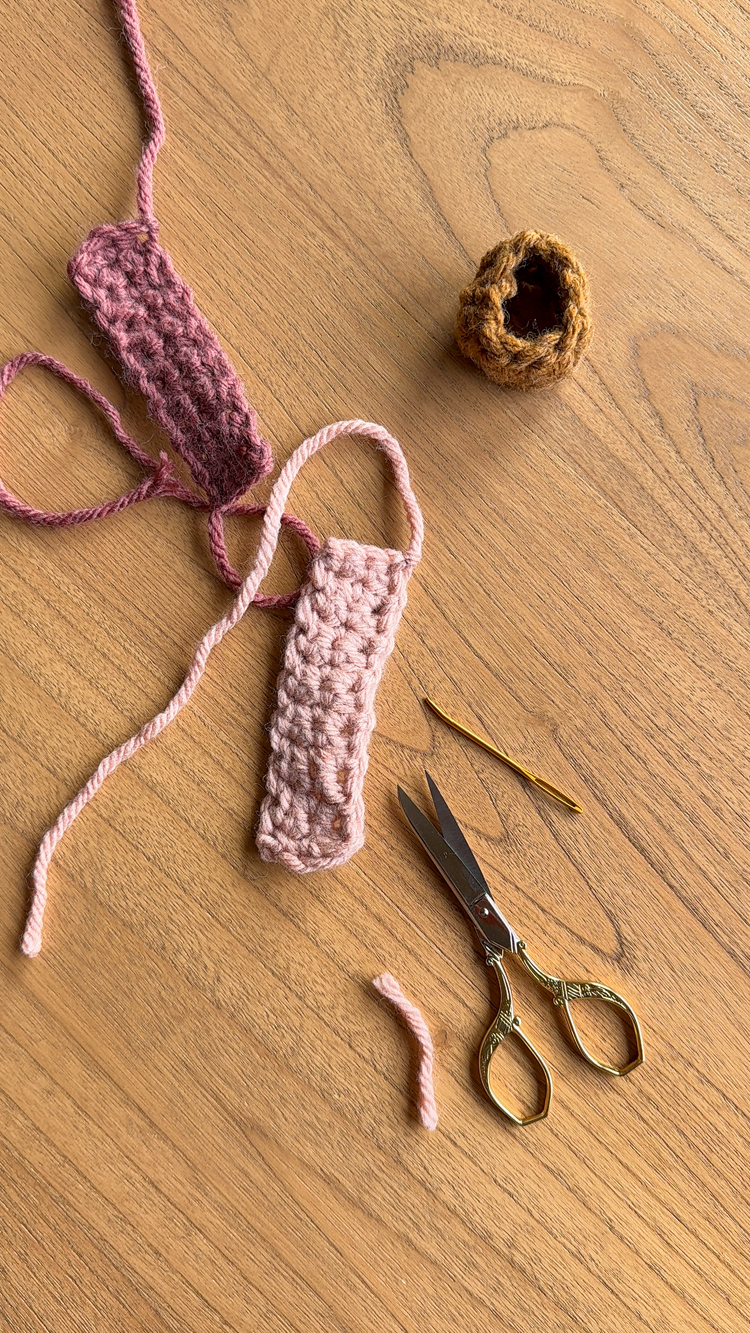
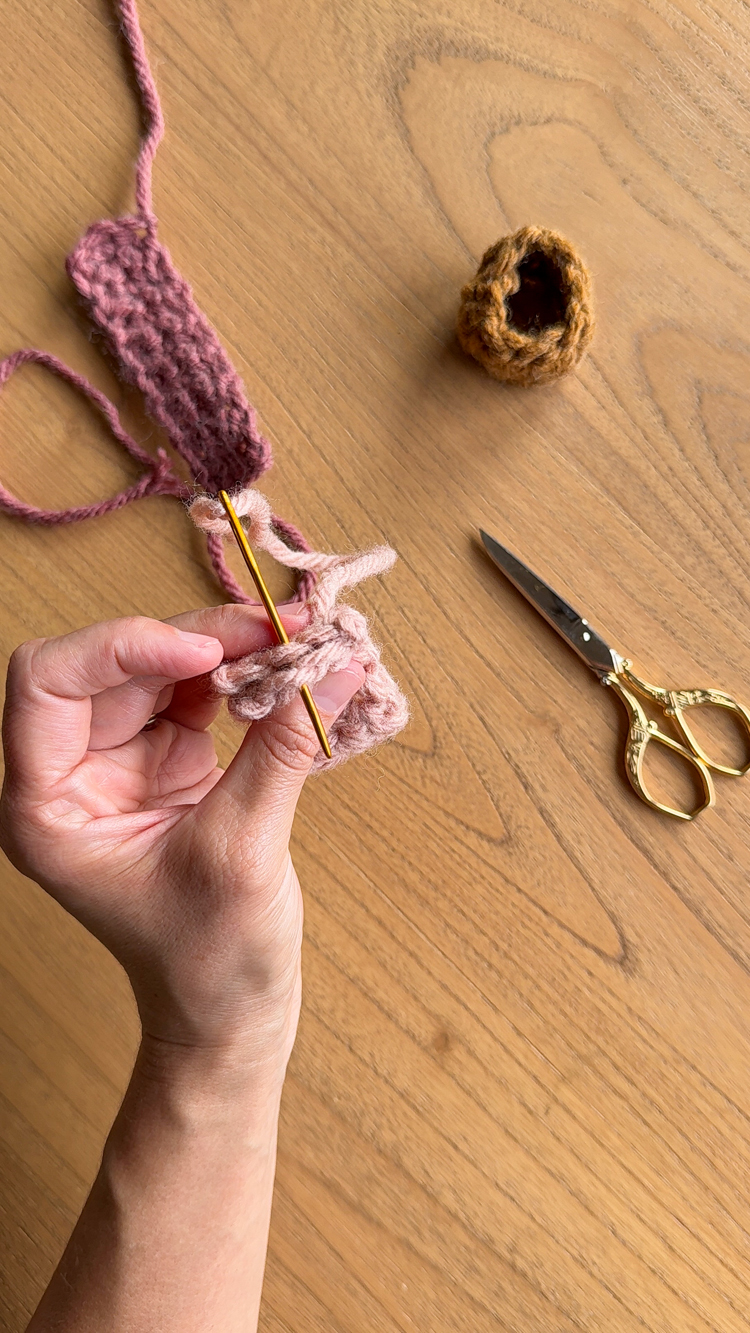
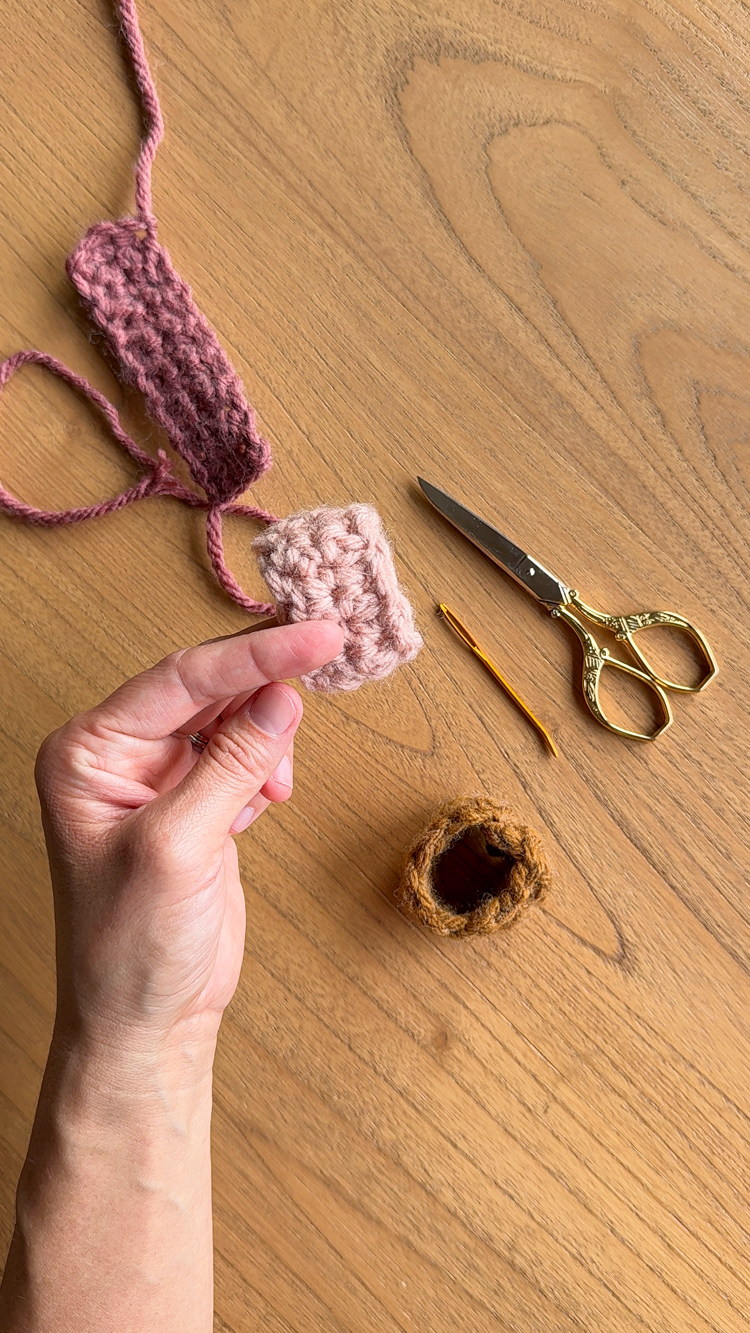
- Weave in the short tails of each rectangle piece.
- For two of the rectangles, fold them in half, short end to short end. Use the long tail to sew the rectangles into loops. Then weave in the the remainder for a couple of inches and cut off the excess. Turn it inside out so that seam that shows is smoother.
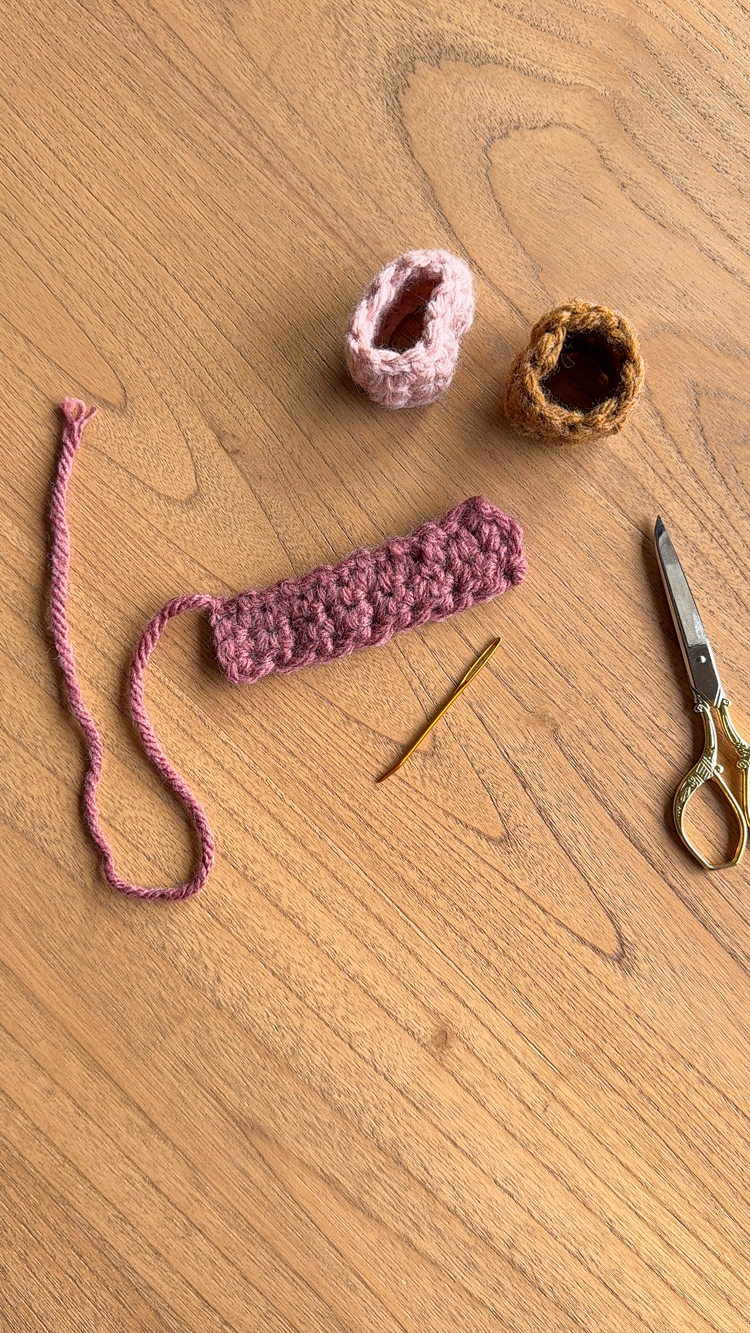
- Insert one loop perpendicular and through the other loop to create a plus sign shape.
- Turn the plus sign shape toward you so you can see the top of the vertical loop. Insert your fingers into the horizontal loop on either side of the vertical loop to create obvious holes.
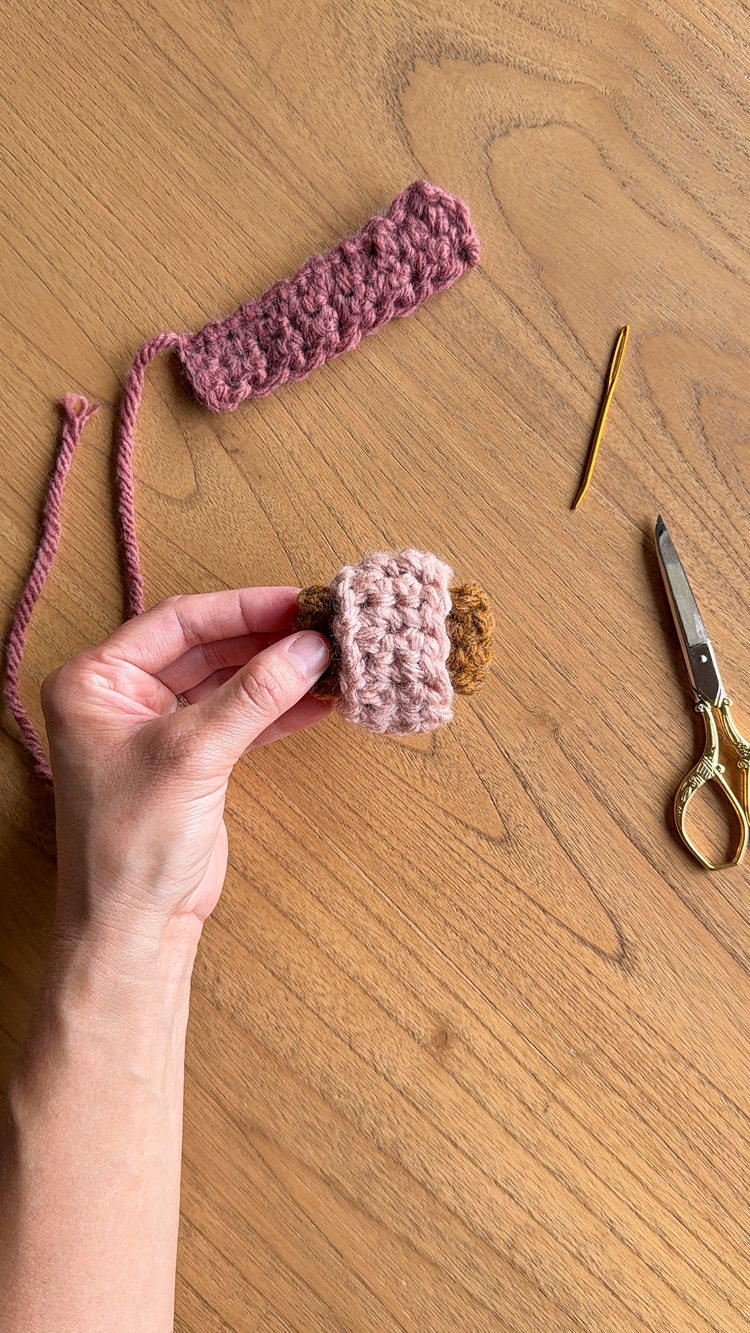
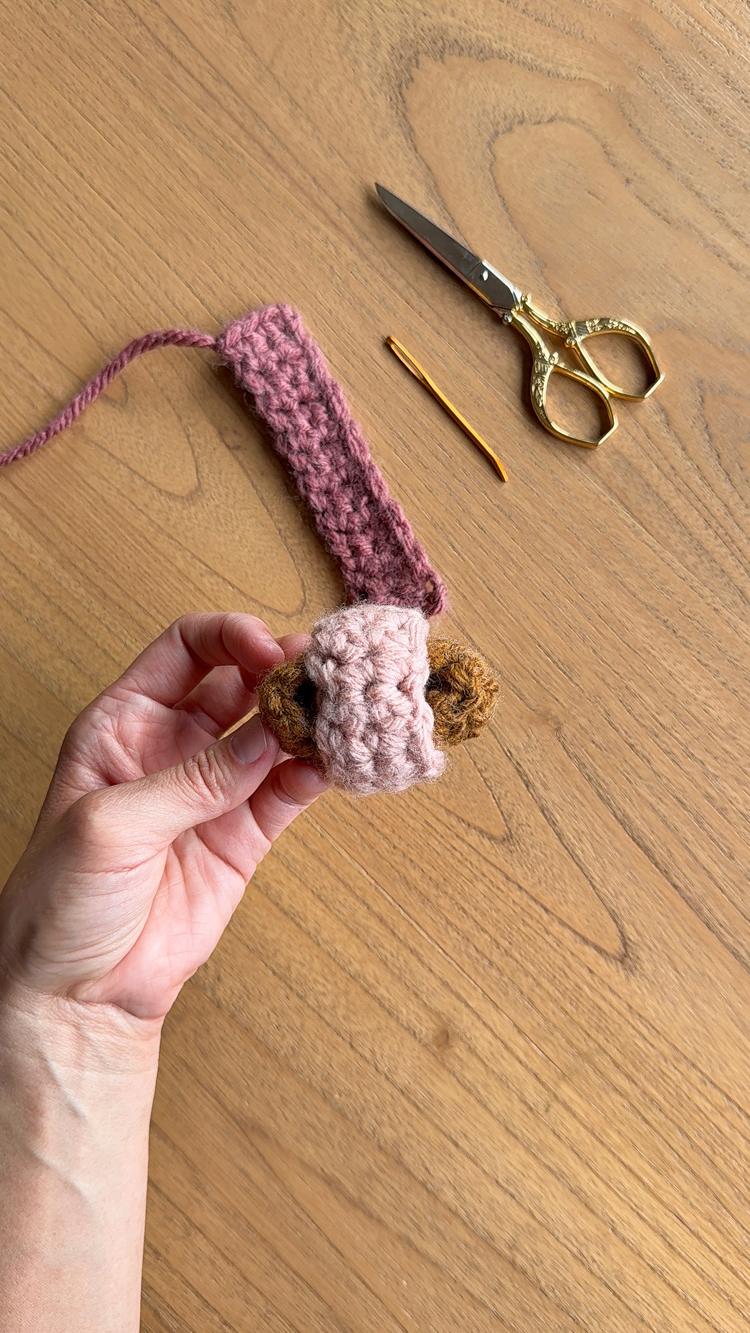
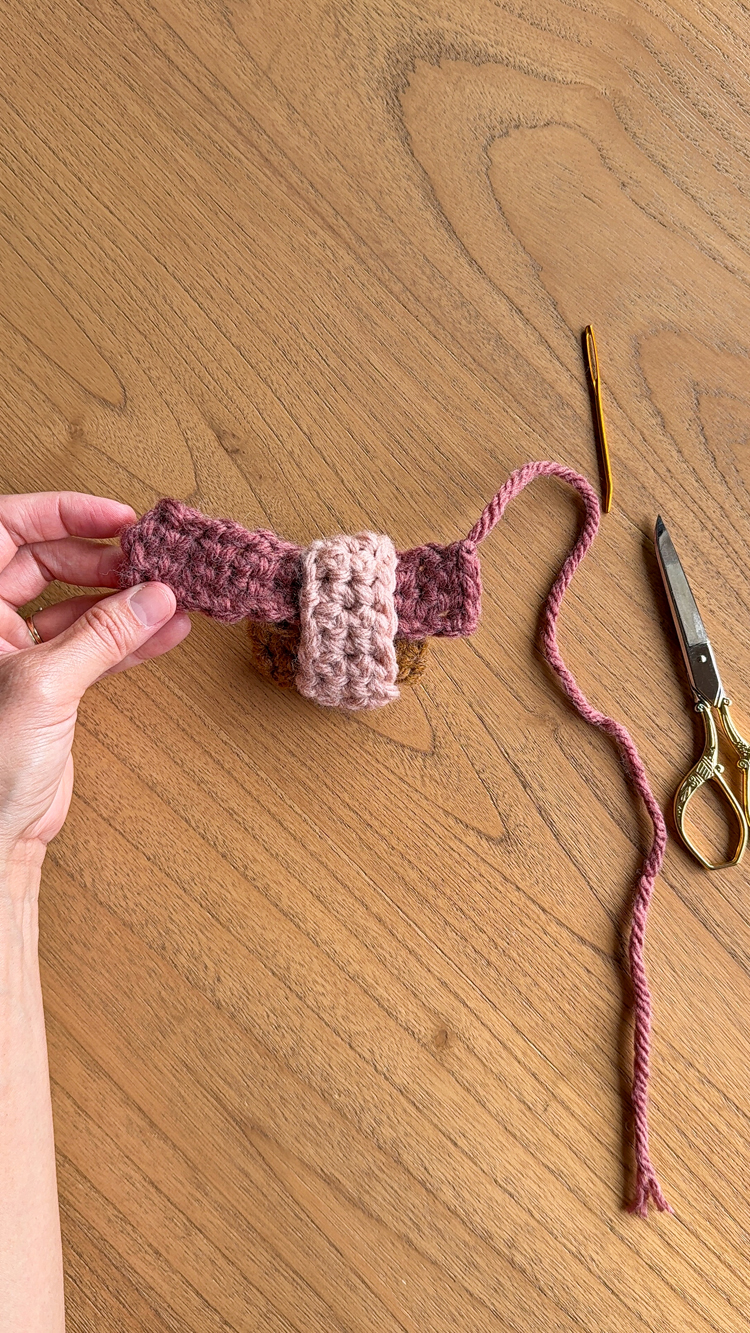
- Insert each short end of the third rectangle into each of the holes. Then turn the clump of rectangles over to join the short ends of the third rectangle over into a loop.
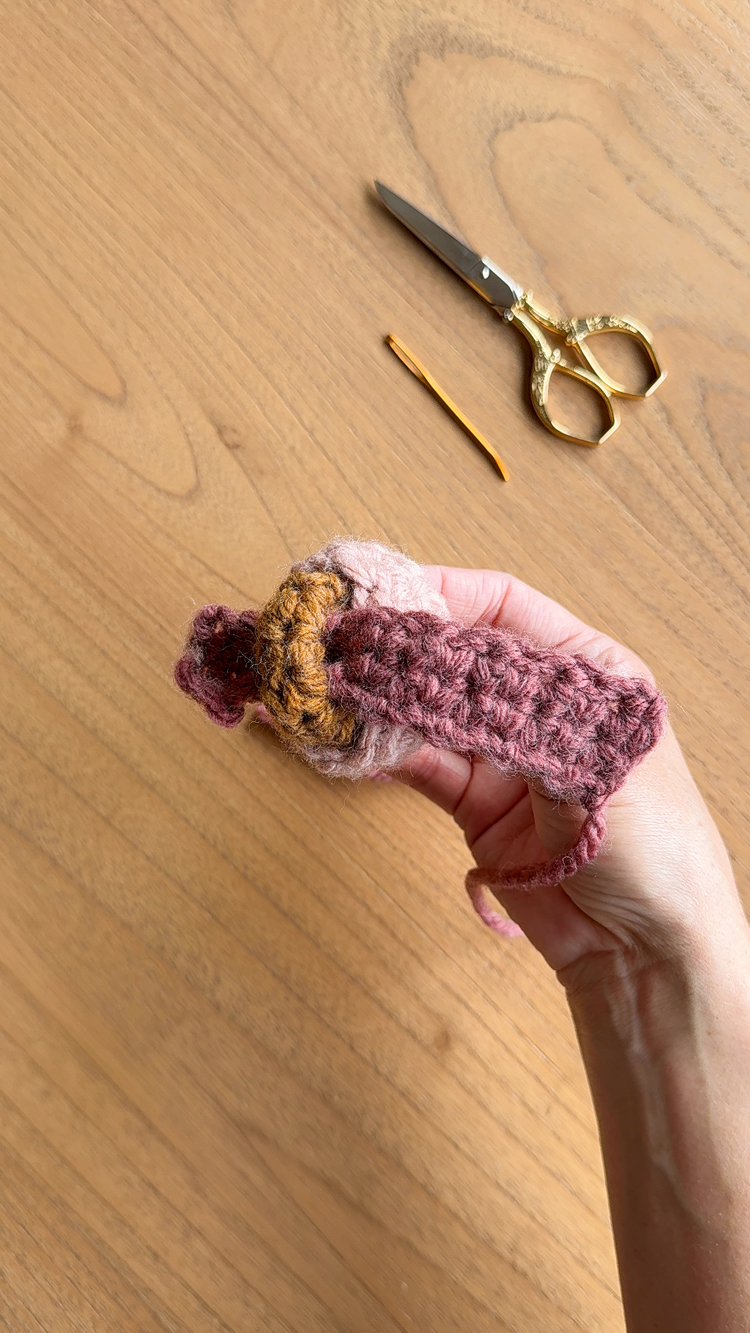
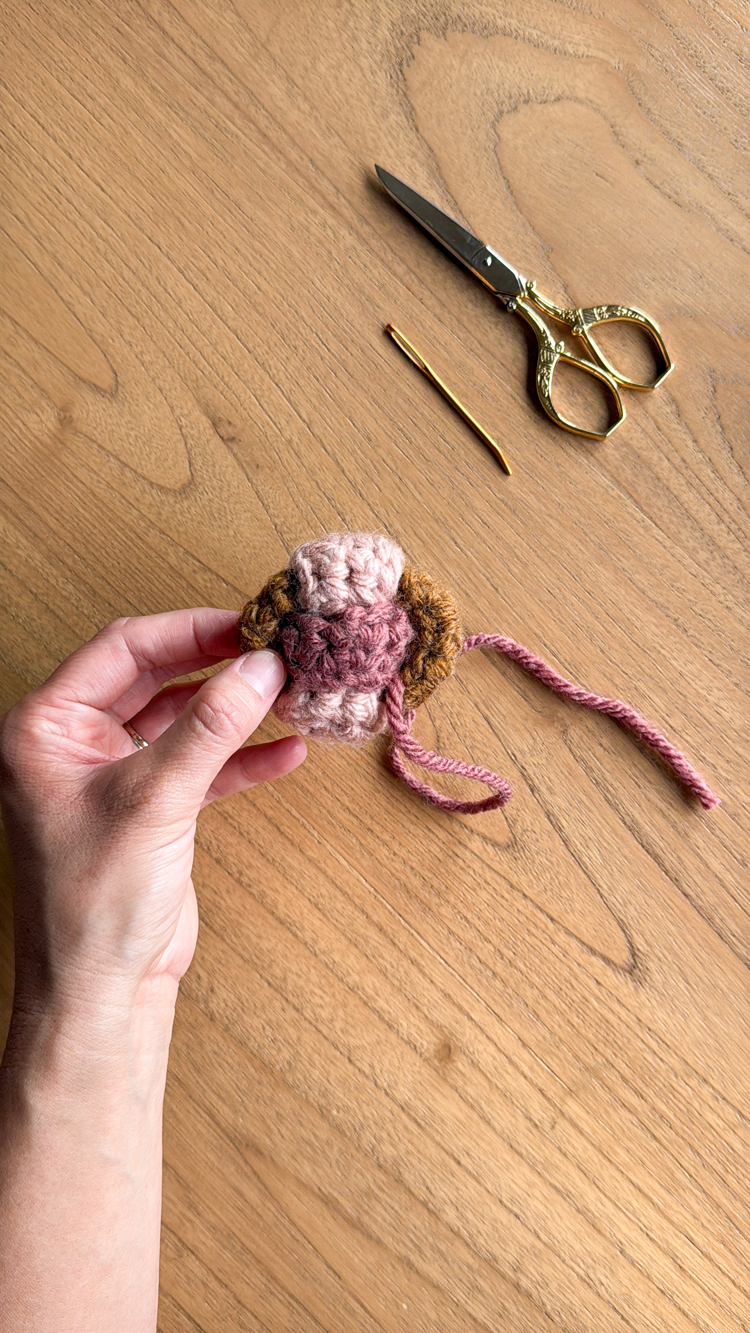
- Sew it to together like you did the other two loops. Then turn it inside out. This will be trickier than the other loops because you have to work around the other loops.
- It will likely look like a lumpy mess at this point. Use your fingers to flatten out the crocheted strips so the sides aren’t curling under. This should do a lot to help the ball puff up a bit.
- Stuff the ball. I used yarn scraps, but you can also use poly fill or fabric scraps. Stuff until firm.
- Uncurl the sides again where you were stuffing the ball. Then roll the ball between your hands and give it a few squeezes to help evenly distribute the stuffing. Once the ball is nice and round…
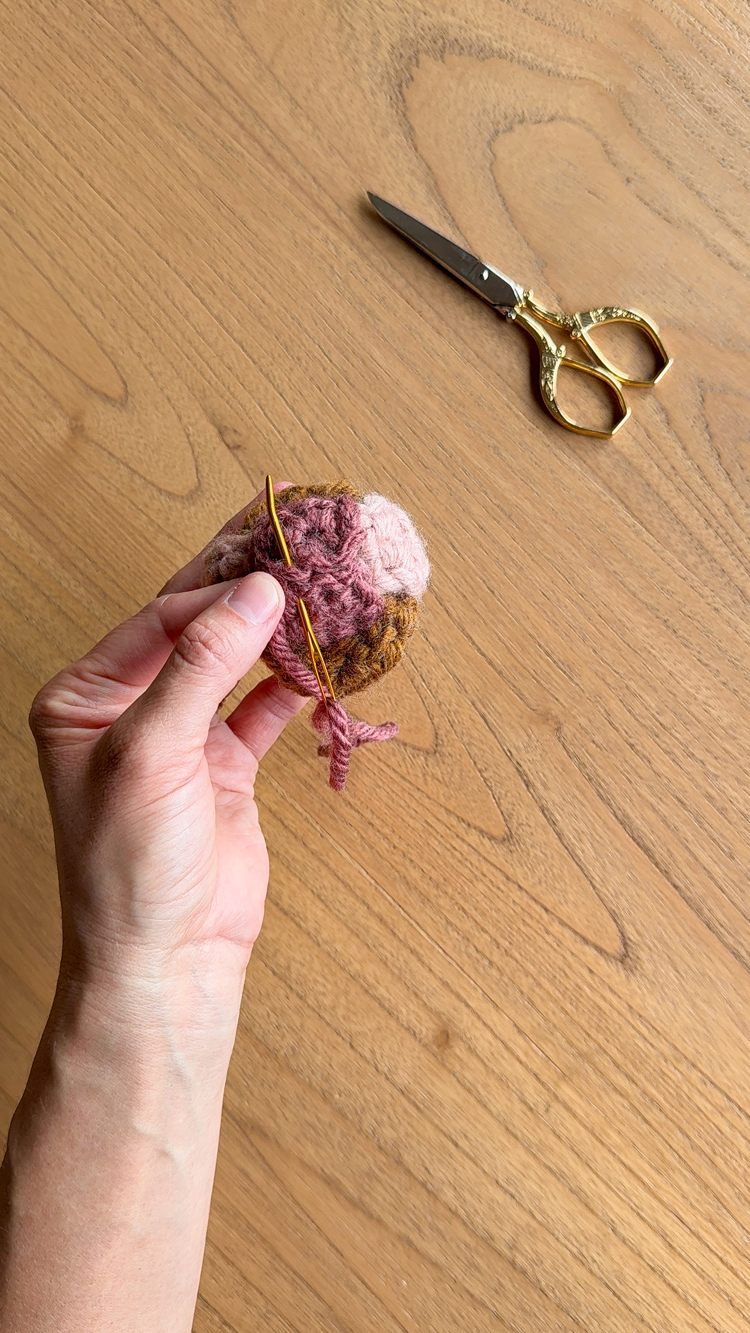
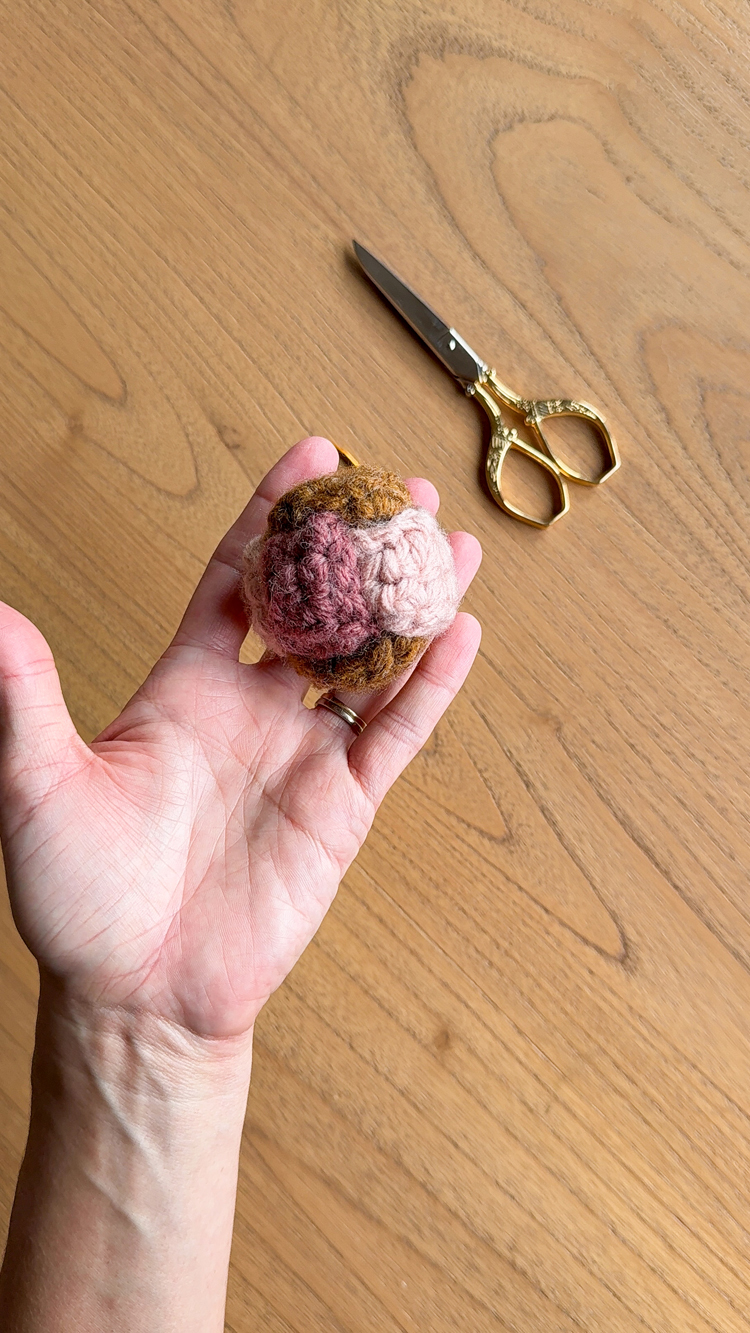
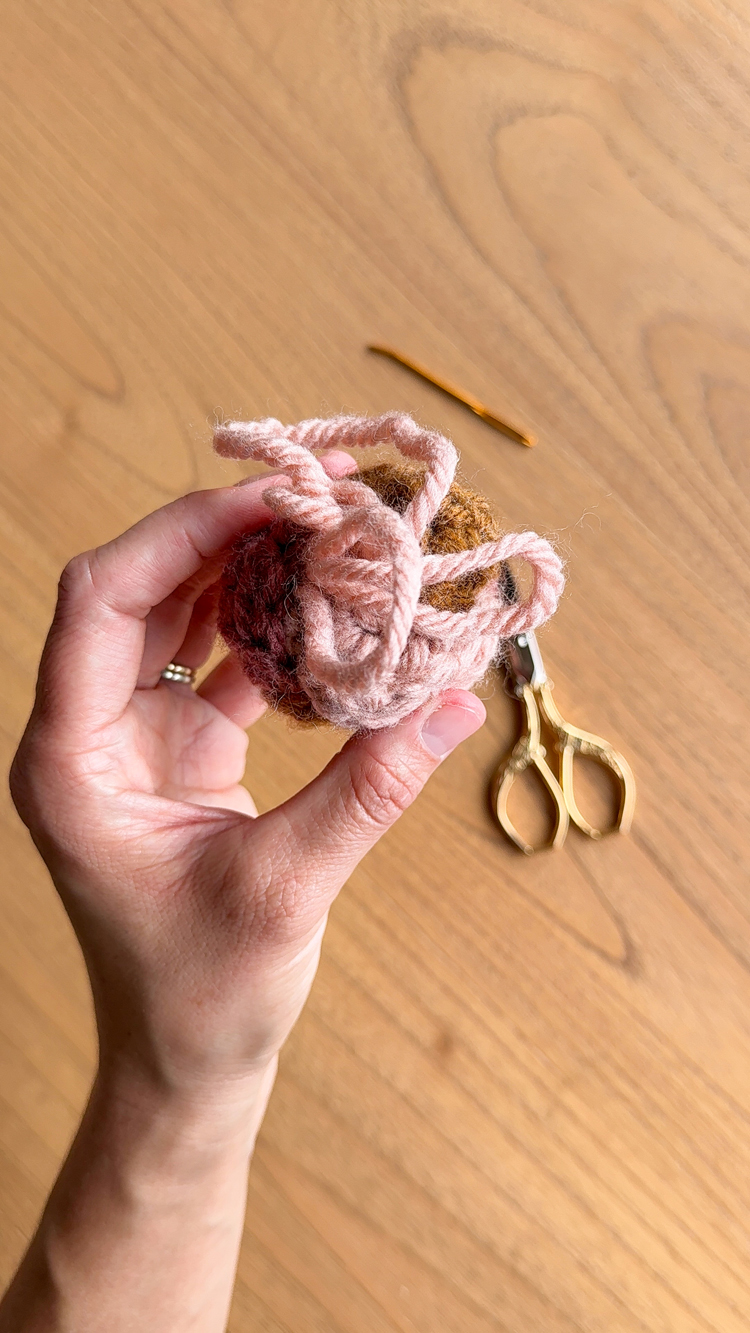
You’re done!
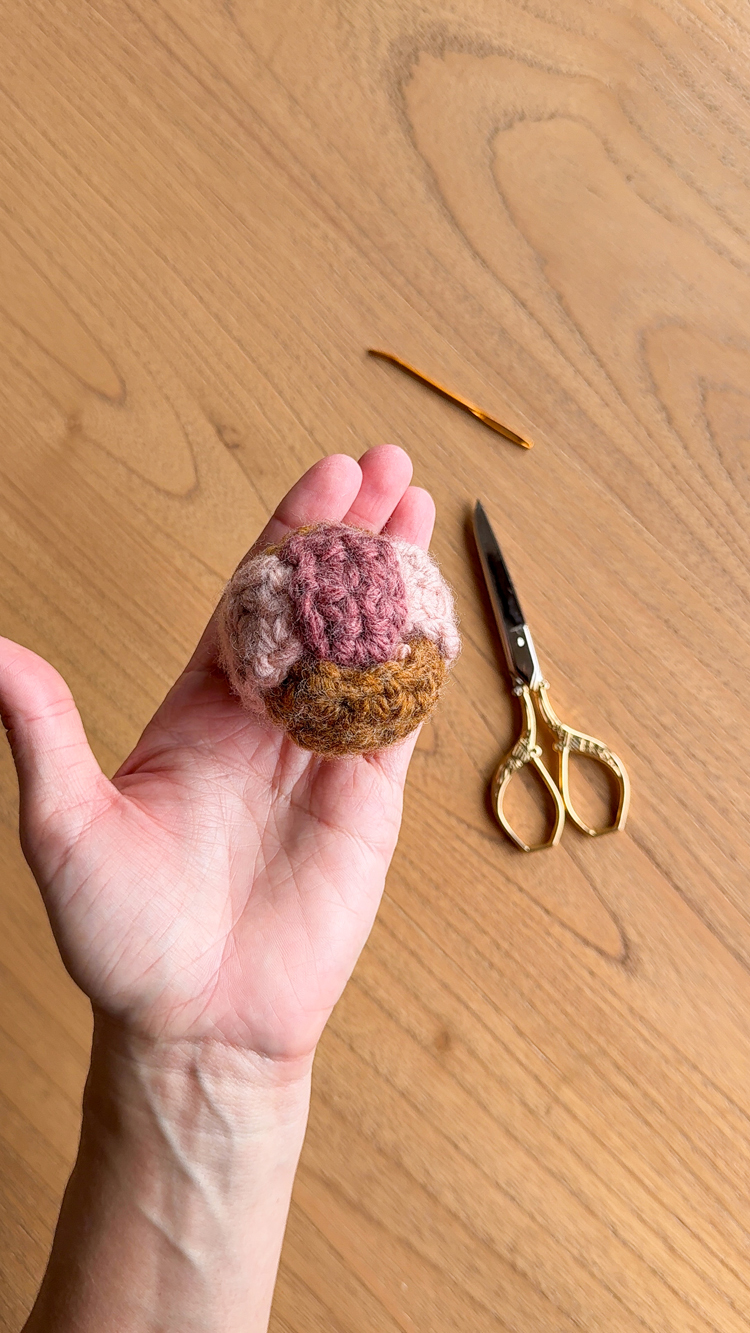
It makes a fun little ball to play with or give to your cat. 😉
If you want more single crochet, beginner focused projects, check out this bow tutorial.
Leave a Reply