

If you don’t how to crochet, I bet you can still crochet this wreath!
It’s made with wool roving that you simply “chain” to an embroidery hoop. If you don’t know what that means, no problem. I walk you through how to grab the yarn and create a braided texture in the video tutorial and written tutorial below.
It’s a beginner project that takes just minutes to pull together.
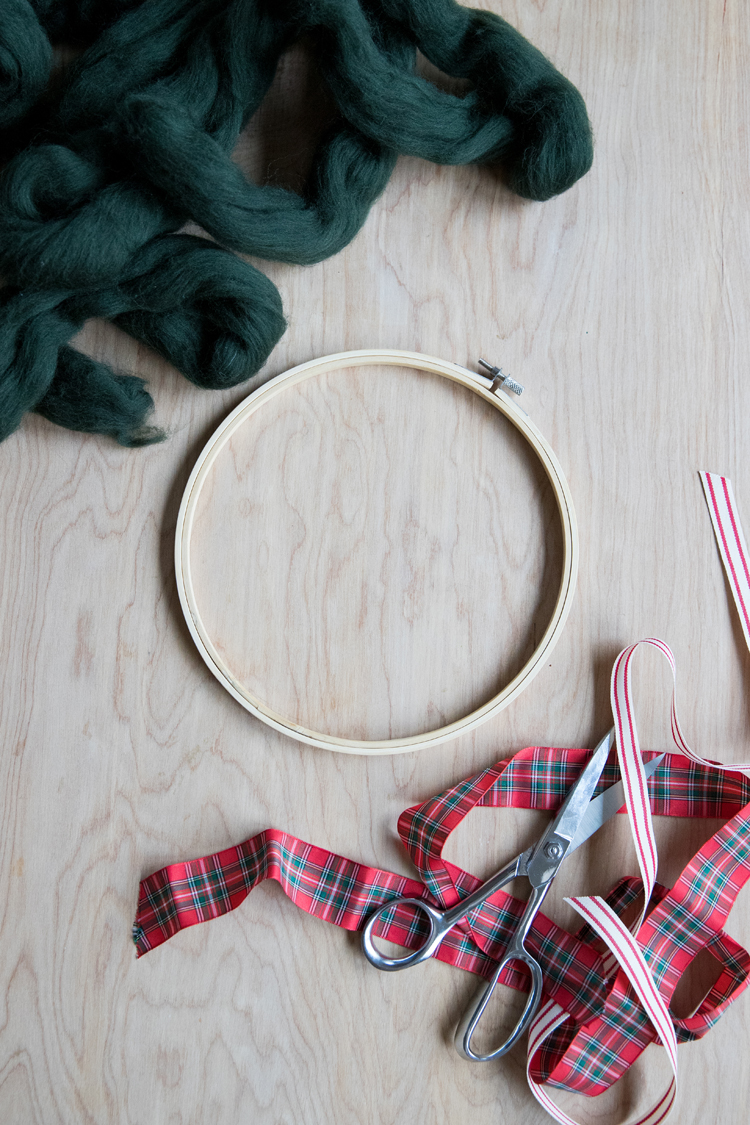
Materials
- Wool Roving – just under 5 yards*
- 9 inch embroidery hoop**
- Optional: ribbon, scissors, floral wire, wire snips
Material Notes
*I purchased this dark green wool roving from Amazon for about $8 (this is an affiliate link but does not affect your price). It was more like 4.5 yards and you need at minimum 4.75 yards, which is why I took time to stretch out the thicker parts to 4.75 yards in the tutorial.
**You can find embroidery hoops at craft stores for $2-3 but I have found them for a fraction of that cost at thrift stores and garage sales. I got my hoop at the thrift store for 50 cents, and I plan on using the outer ring for a future wreath form.
Video Tutorial
The video should have popped to the top or side of your screen already, but if it hasn’t you can view it here. Please note that it will play after the initial ads. Also note that if you don’t click on it or pay attention to it, it will roll over to another tutorial.
Written Tutorial
Disclaimer: I share some photos but not all. If you’re a beginner, I really recommend watching the video.
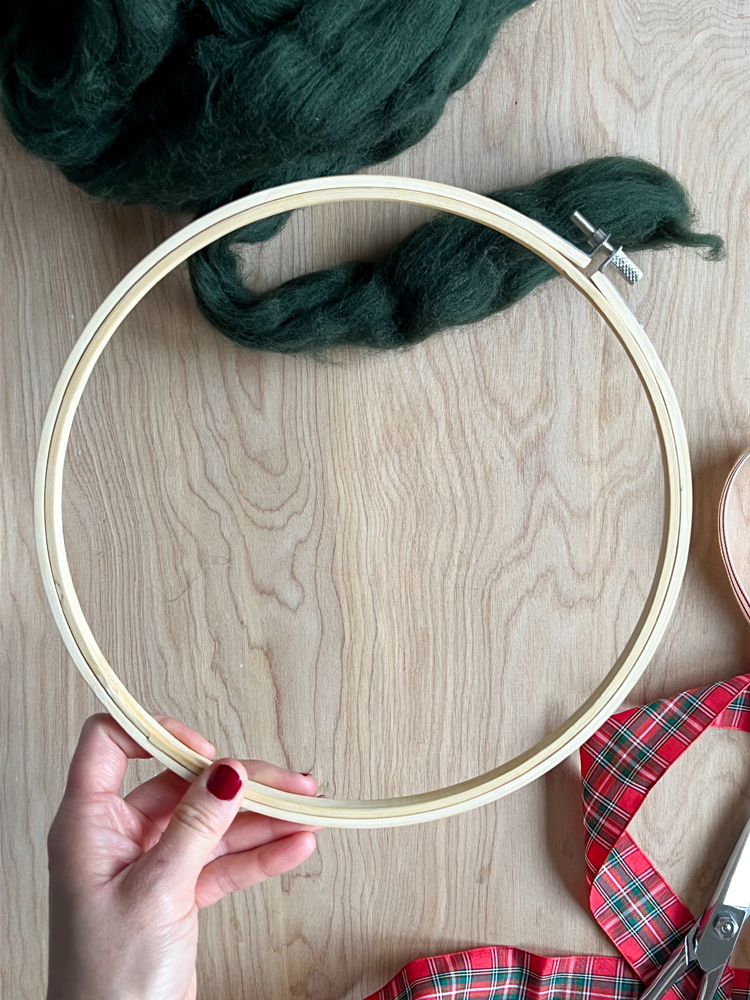
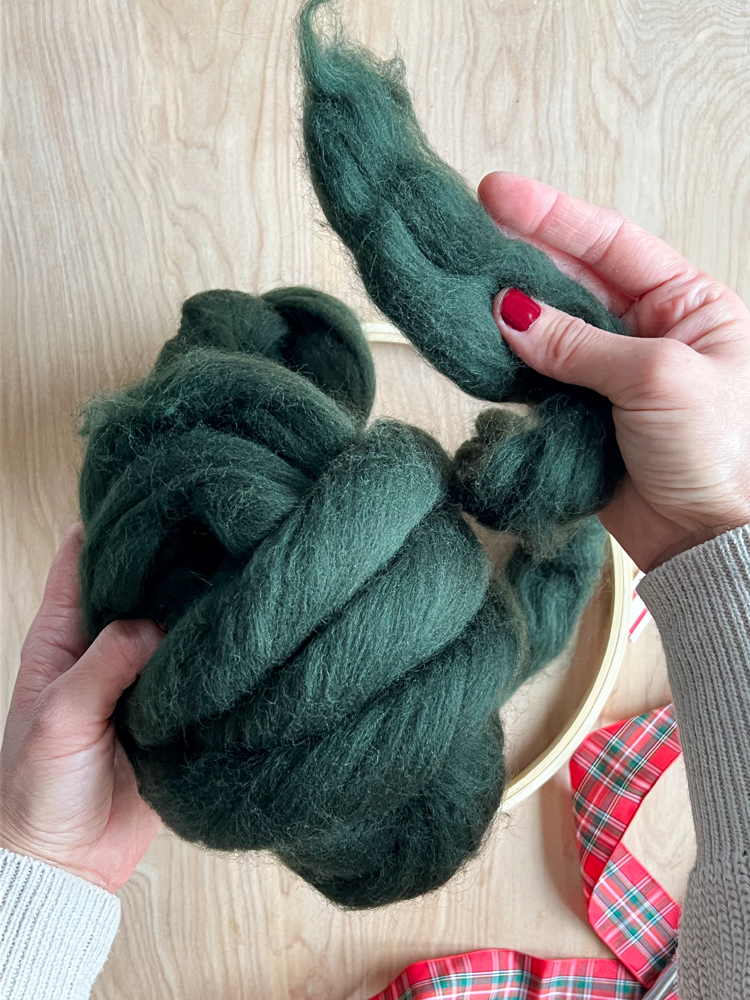
STEP ONE: Prep materials.
Remove the inner ring of the embroidery hoop and set aside the outer ring for another project. You can use them together or use the outside ring instead, but the metal hardware may snag the wool.
If you need to, like me, smooth out and stretch out the thicker parts of the roving so that you have a minimum of 4.75 yards of roving. Just take care not to pull too hard. You don’t want the roving to come apart.
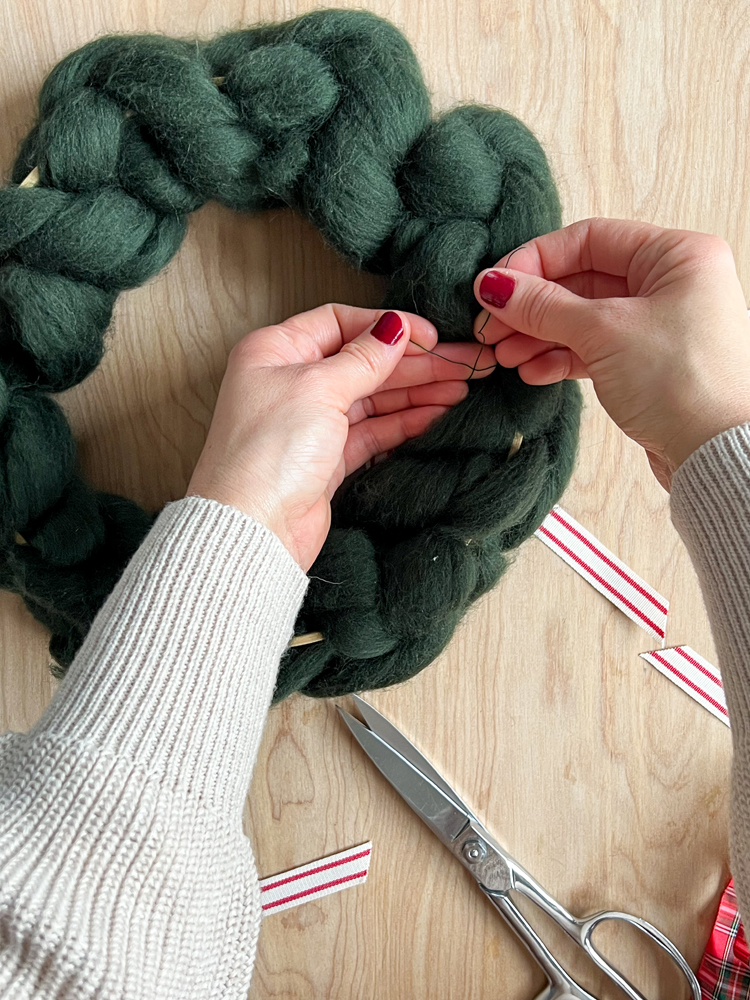
STEP TWO: Crochet onto wreath.
Tie a loose slip knot with a short 5 inch tail. The video shows this in action if you are unfamiliar with how to tie a slip knot.
Be sure to keep everything nice and loose. You never want to pull anything tight for this wreath.

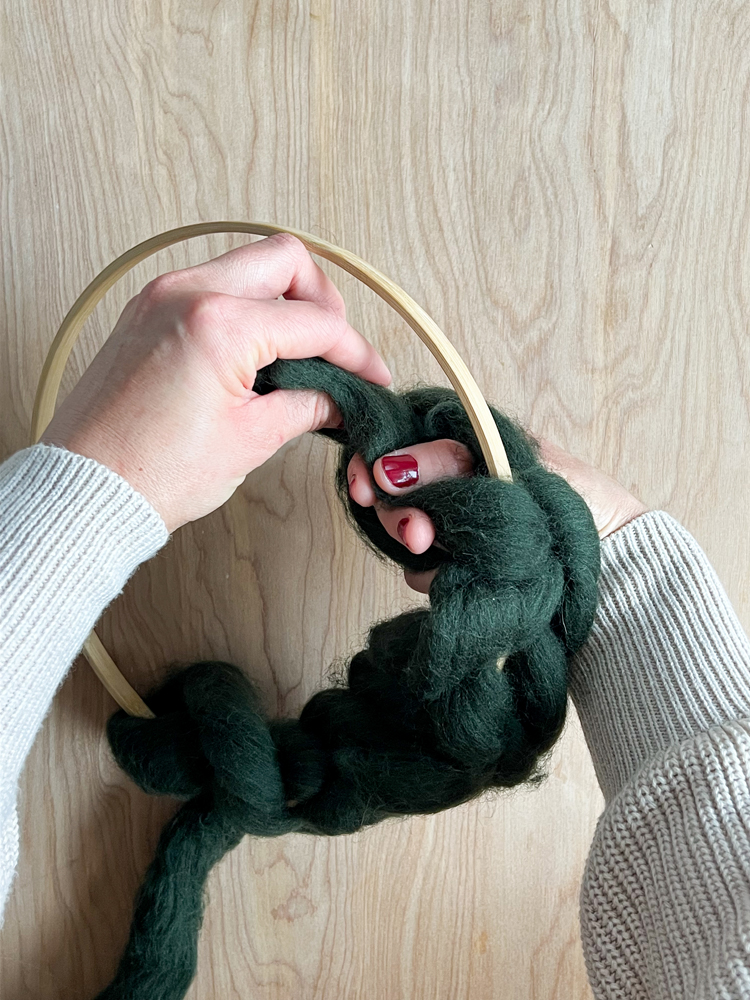
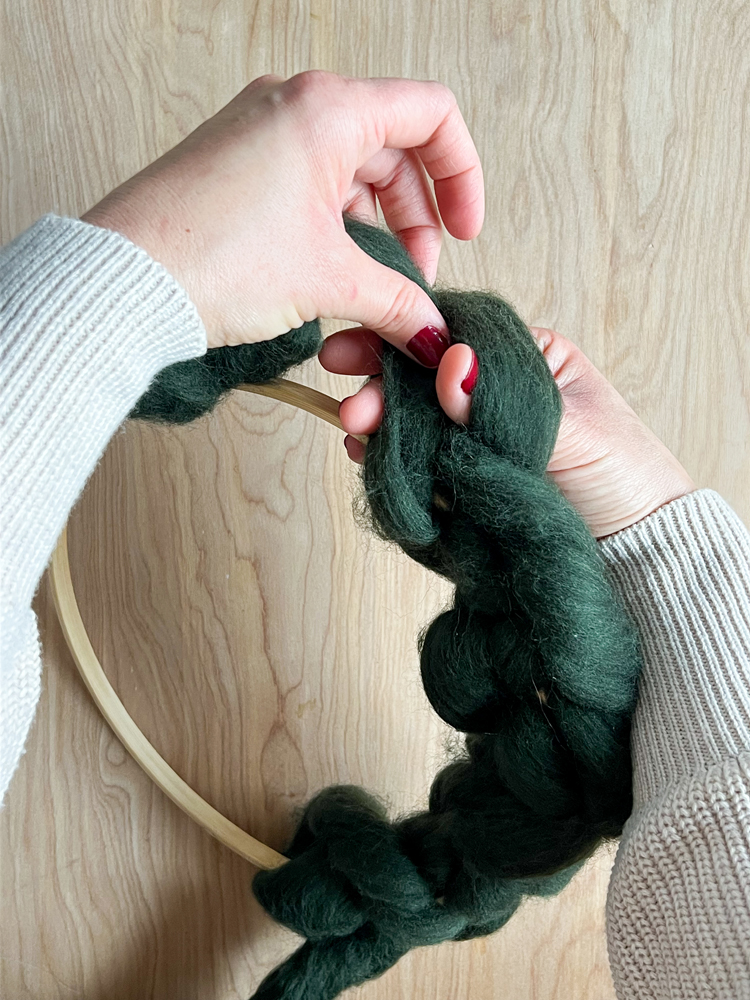
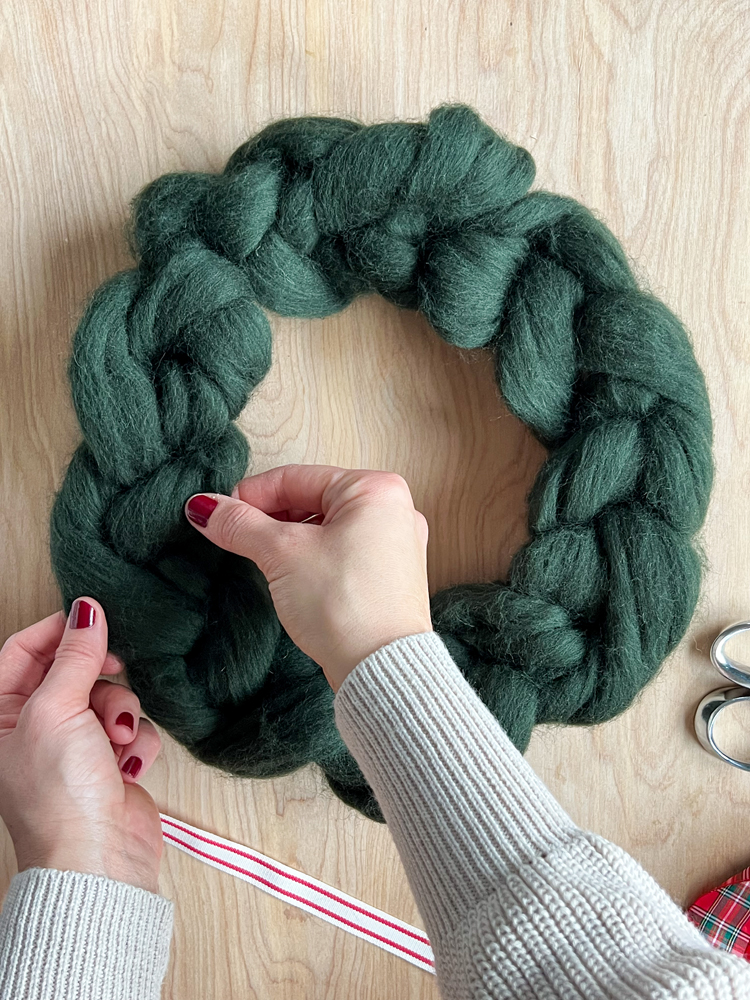
Insert you hand into the loop of the knot and grasp the hoop. Use that same hand to grab more wool roving and pull it through the loop, creating a new loop.
Repeat this process again but grab the wool from the opposite side of the hoop. Continue grabbing the wool and pulling it through on alternating sides of the hoop until you get to where you started.
If you have too much wool at this point it *may* be that you crocheted too tightly (or if you have closer to a full 5 yards, you may just need to trim off the excess). If you have too little, simply pull the wool and it will unravel from the hoop. Measure again and try crocheting just slightly tighter.
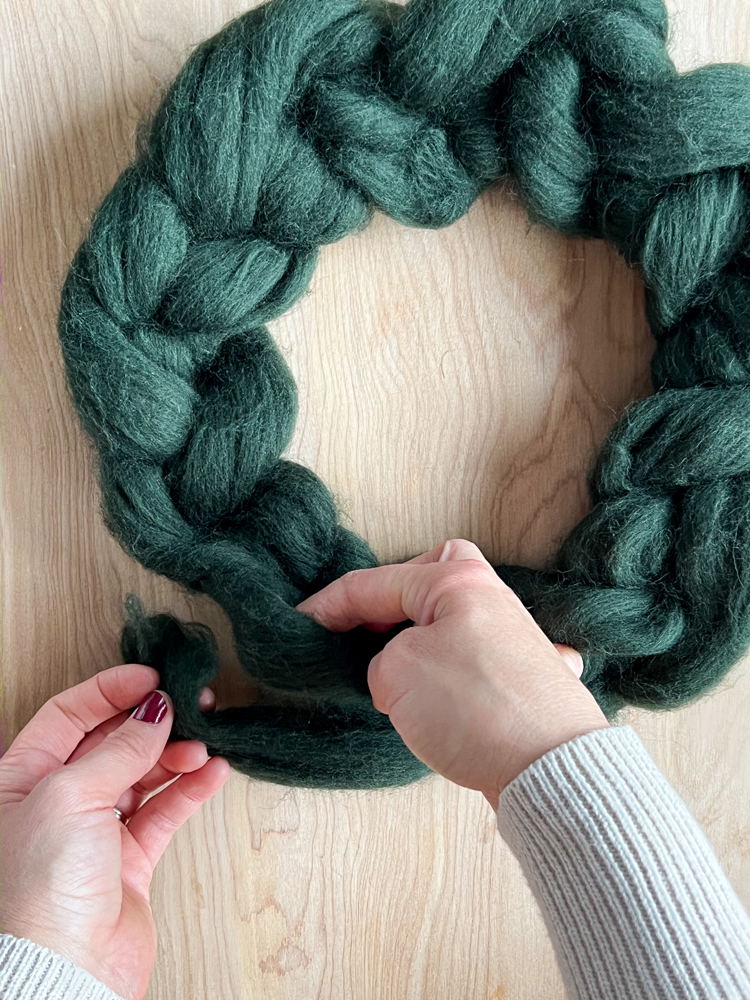
STEP THREE: Join ends and finish.
If you made it all the way around with just about an 8-10 inch tail of wool left, insert your fingers a loop in the beginning knot (stitch) grab the tail and pull it all the way through instead of creating a new loop. This time you can pull it a bit tight.
Tuck the ends into the wreath in a way that matches the braid texture.
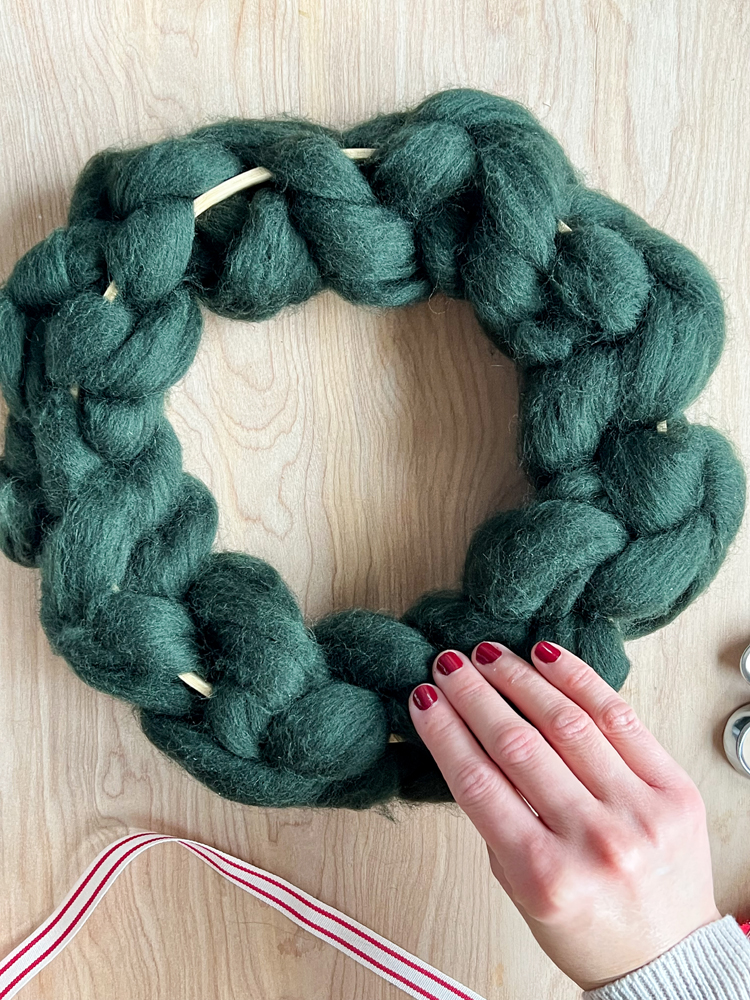
Because of the irregular nature of most wool roving, you may end up with part of the wreath that thinner than the rest. Tease it out with your fingers to fluff it up and smooth out any parts that got a little fuzzy. Play with it until it looks how you want. (See the photo above to note how there is a definite back side that is not as pretty ;)).
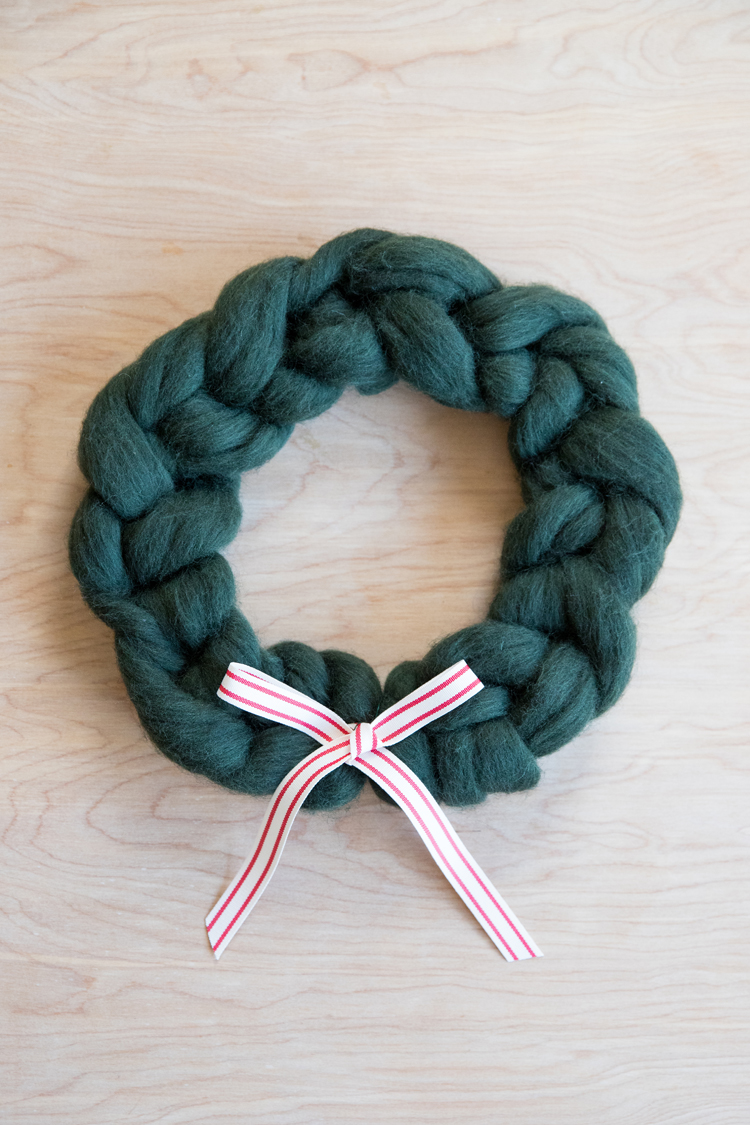
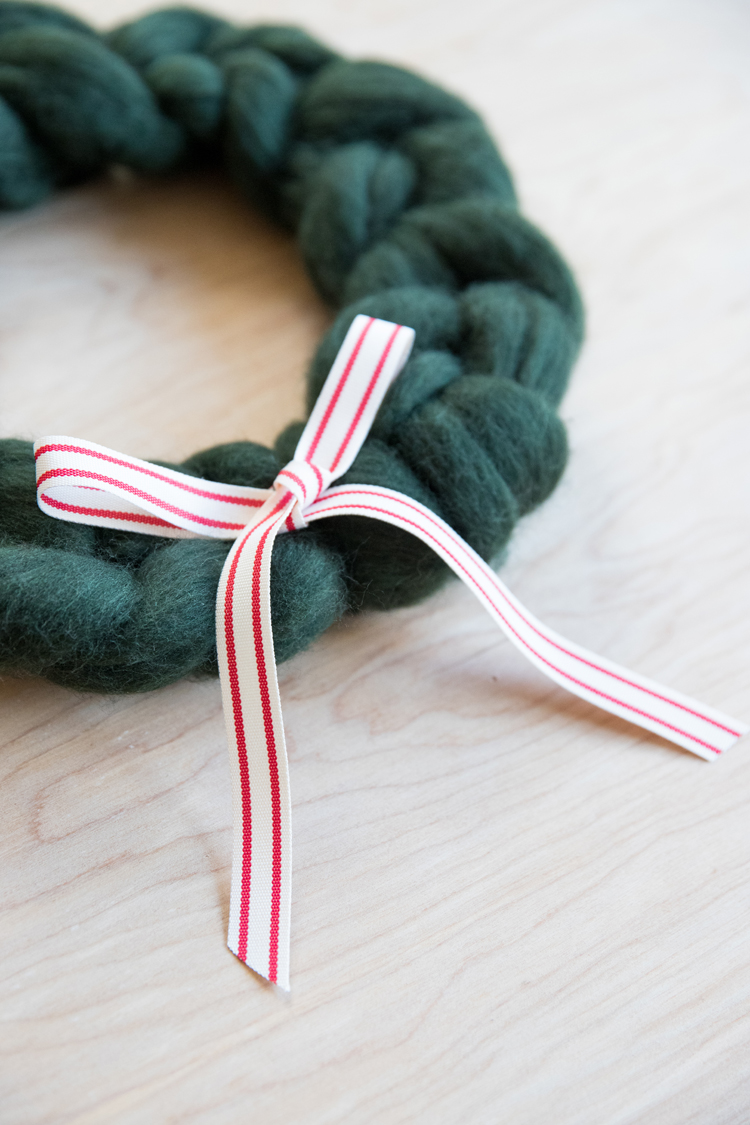
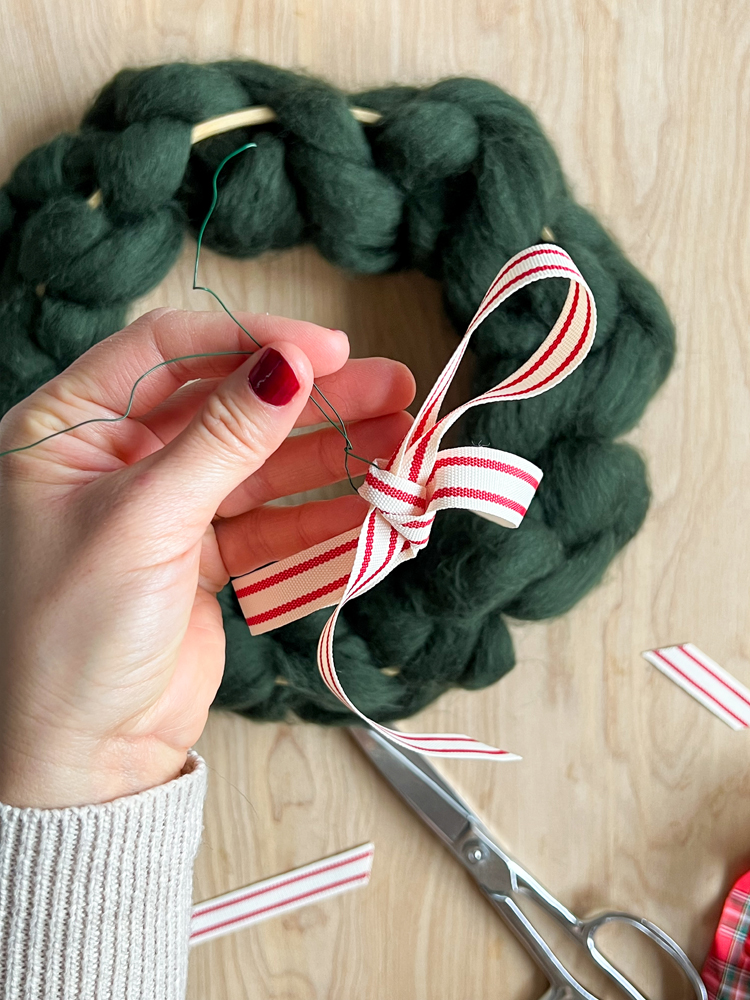
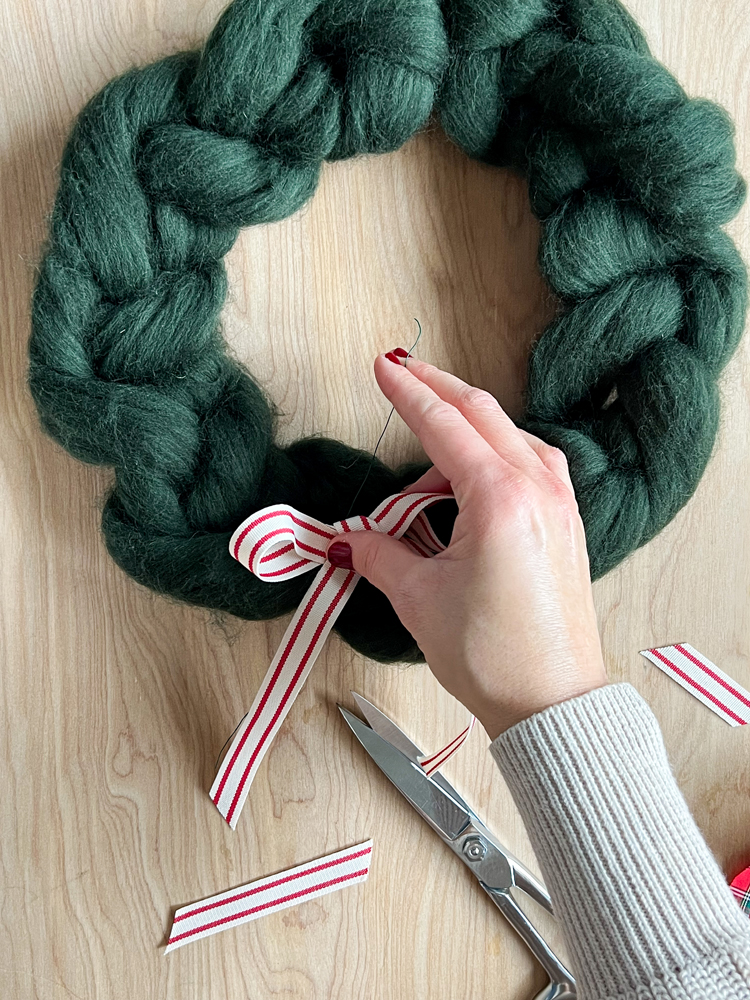
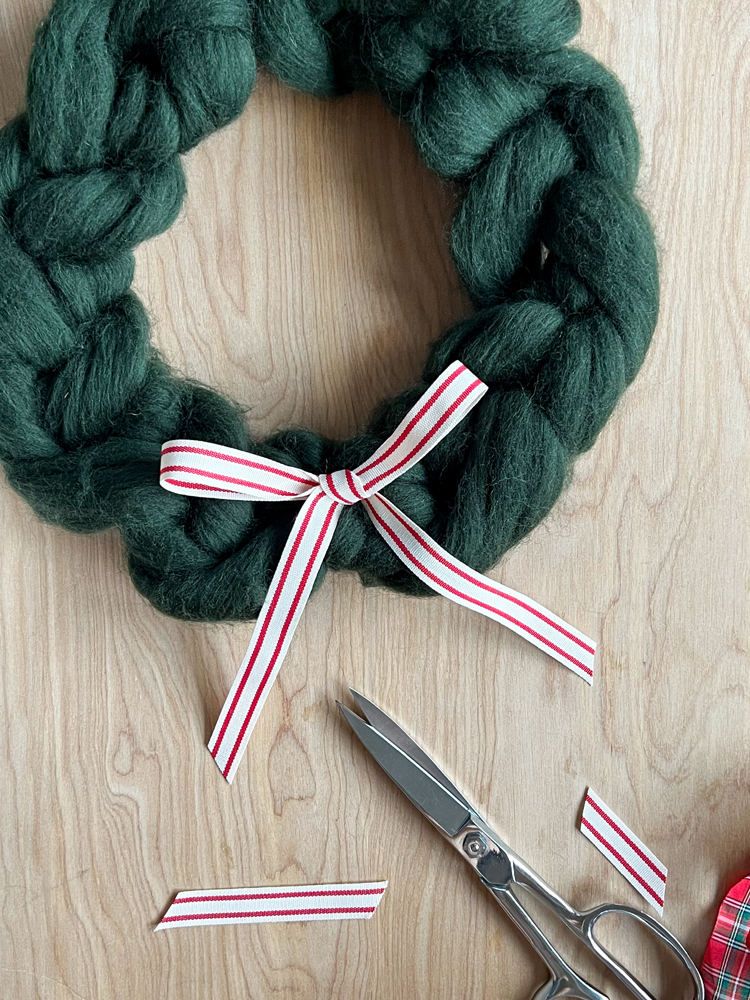
Optional: Add a bow.
In order to not squish the wool and change the shape of the wreath. I recommend tying the bow in advance and then attaching it with floral wire.
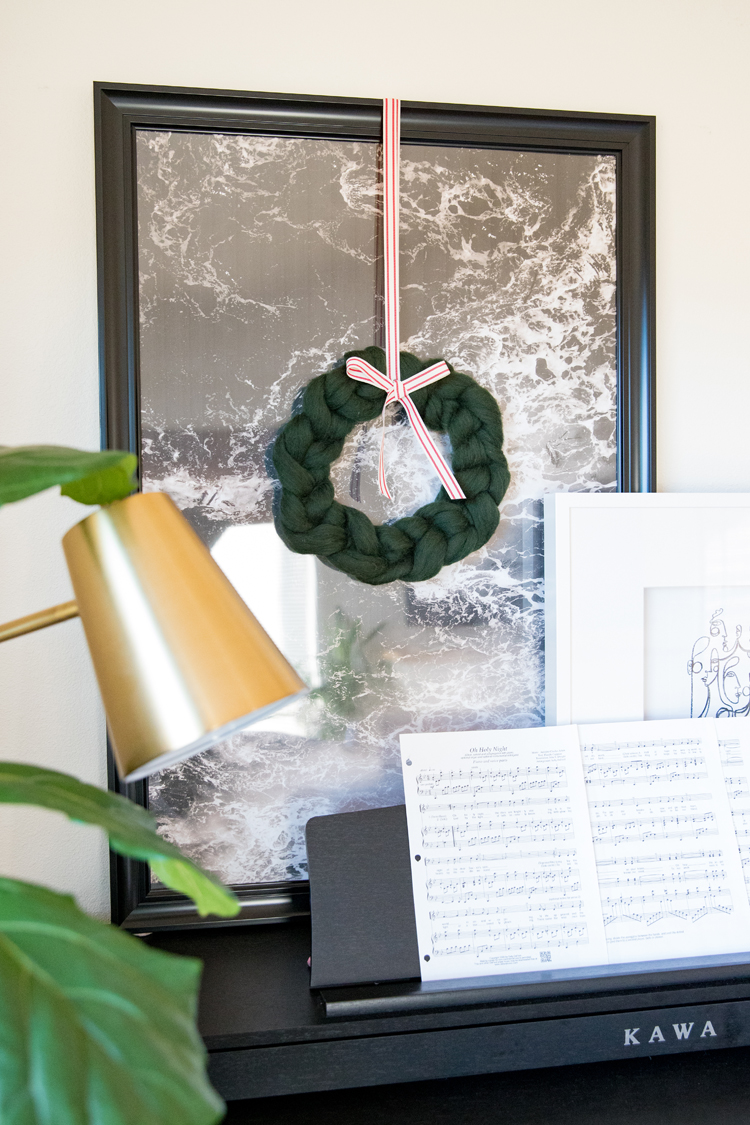
Easy peasy…and you’re done!
It adds a little cozy touch to your holiday decor, but I also think could be year round decor in the right colors.
Happy making!
P.S. For more crochet and yarn projects, click HERE.
Leave a Reply