

Need a project to get you in an autumnal, autumn-y mood?
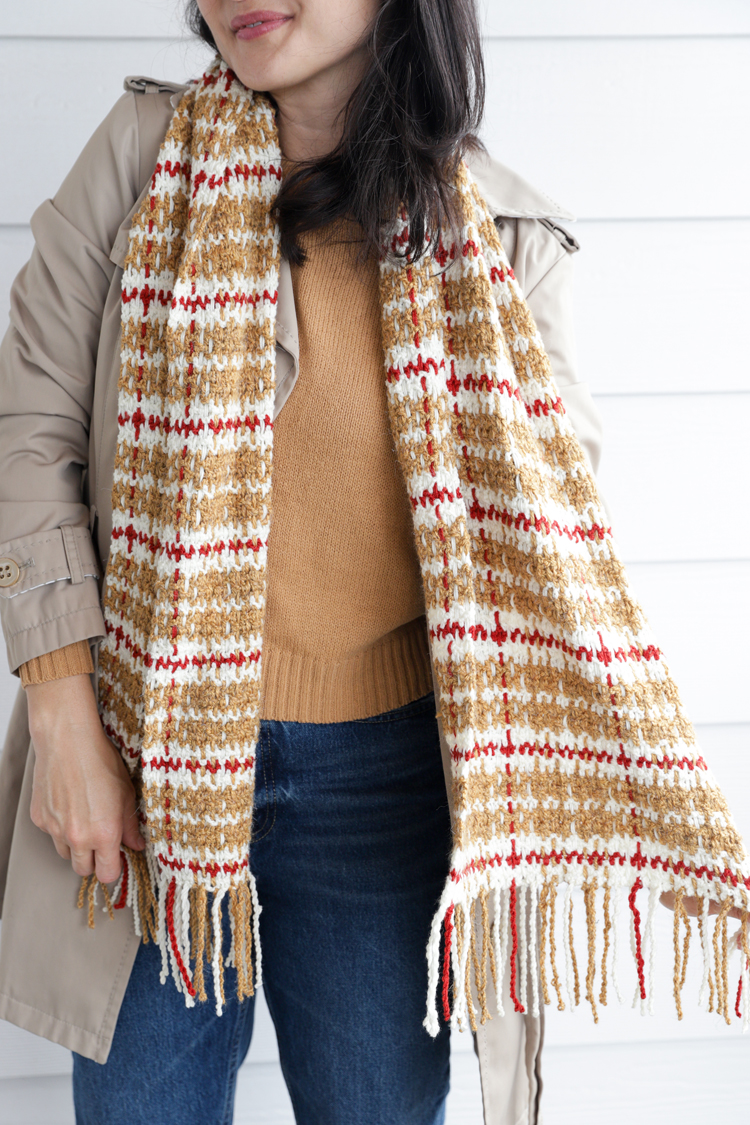
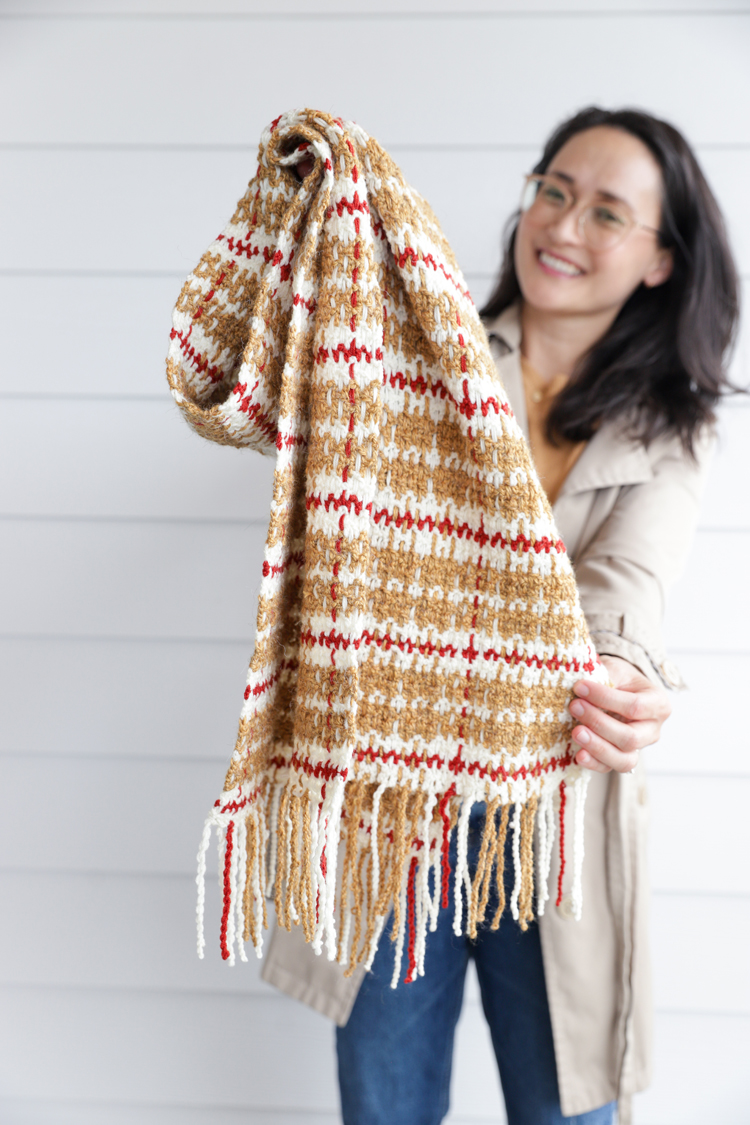
This woven plaid crochet scarf is not only beginner friendly…hello, it’s just chains and double crochet! – but it produces a scarf that looks and feels so luxe.
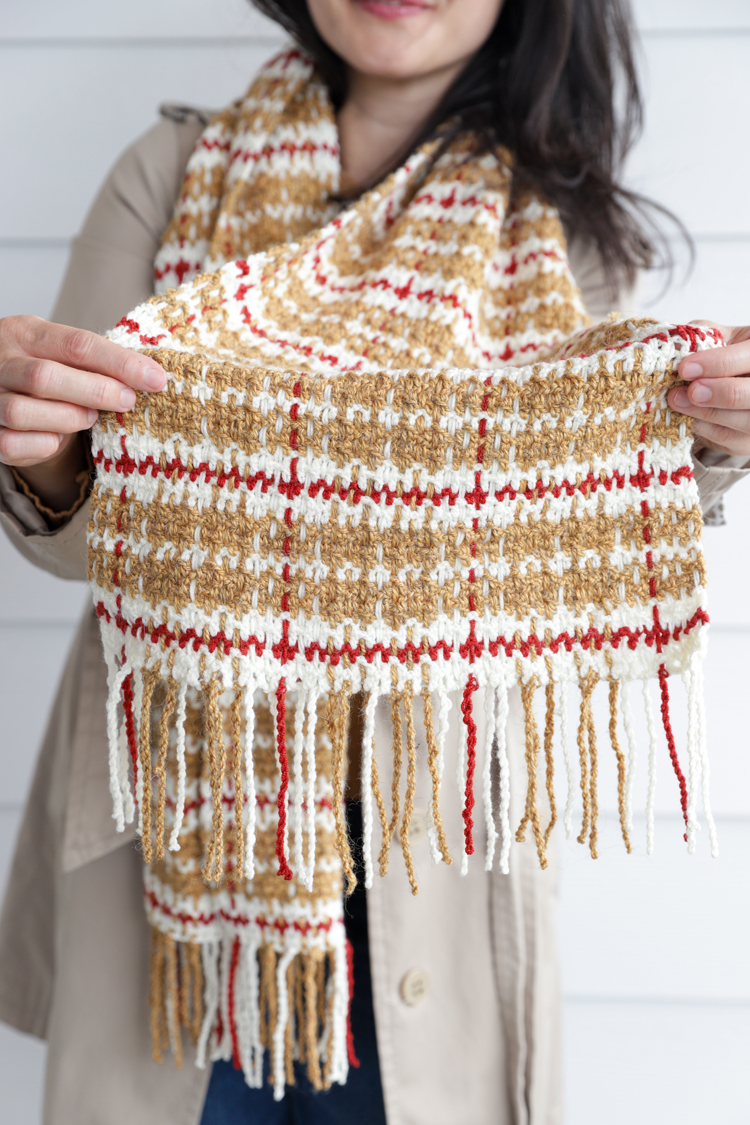
It’s basically a grid of mesh stitches made up of double crochet stitches and chains with doubled up strands of yarn woven through. It gives it such a dense finish but it doesn’t feel heavy and it’s so soft and drape-y because we use DK yarn.
This is the same technique I used for my gingham crochet blanket pattern. It has an even simpler pattern and uses worsted weight yarn if you want to check it out HERE.
I like that this pattern kind of tricks you. It doesn’t overtly scream crochet until you look closely.
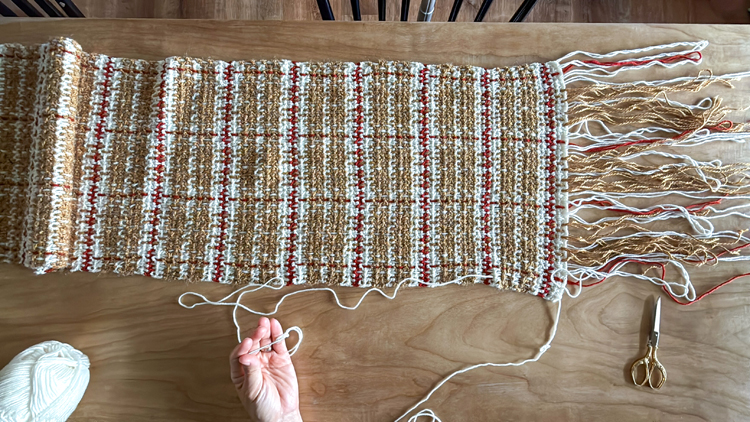
Plus it’s fun to work up. In the back half of this pattern you get to see the plaid design come together one strand at a time, which is a delight.
Let’s get started!
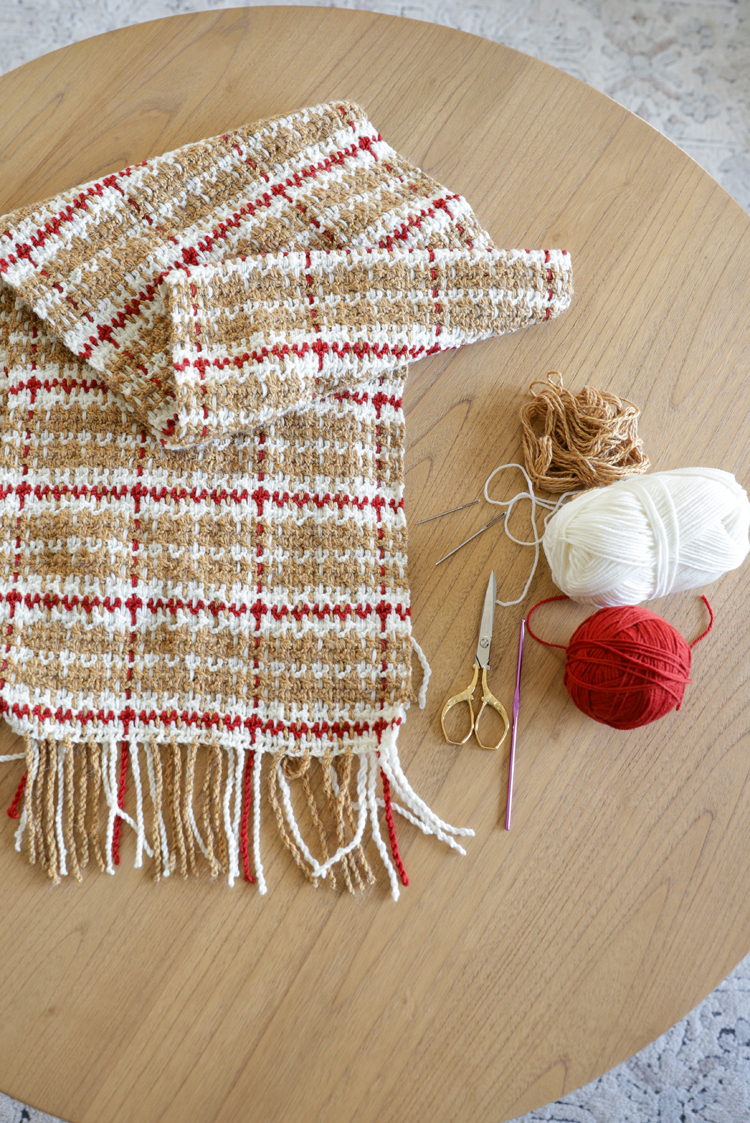
MATERIALS
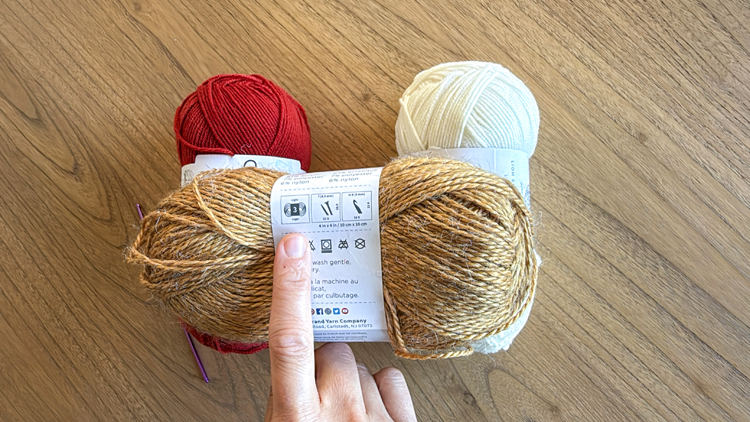
- Acrylic or wool DK yarn in three colors – see material notes (below) for amount break down by color*
- 3.25 mm hook**
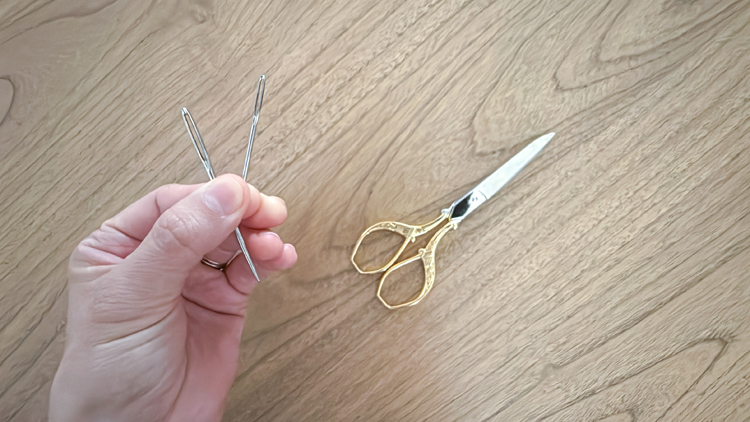
- Small yarn needle and large yarn needle***
- Scissors
- Ruler/measuring tape
- Optional: Large, heavy book to hold the fringe in place while you twist it

Material Notes
*I used Superwash Merino wool yarn from Lion Brand in Antique (creamy white) and Burnt Red. I also used Feels Like Alpaca yarn, also from Lion Brand, in Mustard. I recommend using wool and acrylic yarns with some drape. You can use cotton but the gauge will be different and you will likely need to make some adjustments.
*Here is the amount breakdown by color:
- Red – 35 g or about 110 yards
- White – 153 g or about 470 yards
- Yellow – 196 g or about 540 yards
Exchange the colors as you desire. I recommend making whatever you use for the “red” yarn a bold, contrasting color.
**I prefer to use metal hooks because they have a pointy tip. This is helpful when trying to insert through hook through the head of a dc stitch, which I explain more in the pattern below.
***I find that a smaller needle is essential for weaving in the DK yarn into tight stitches. The large needle makes weaving the yarn through the grid much less frustrating as well.
SKILL LEVEL
Beginner friendly!
This would be a fantastic project to try after you’ve learned how to double crochet and you feel like you can keep your stitches straight and square. It will challenge you in that it uses a thinner yarn and you’ll likely be trying new skills like switching colors and twisting fringe. But it’s very doable even if you are still new to crochet.
If you are brand new to crochet, I have a Crochet Basics Series that covers everything you need to know from how to hold your hook to how to work all the stitches required to make this project.
You can step up or down the difficulty level by your yarn choice too. The Feels Like Alpaca yarn I chose is kind of “sticky” and not for the impatient crocheter, and the Superwash Merino wool tends to split, which makes them more challenging yarns to use. I would say the result makes it worth it, but if you want something easier, I would look into the Luxe Merino wool yarn from Michaels or most 100% acrylic yarns. Just be mindful that it may have less drape.
SIZING
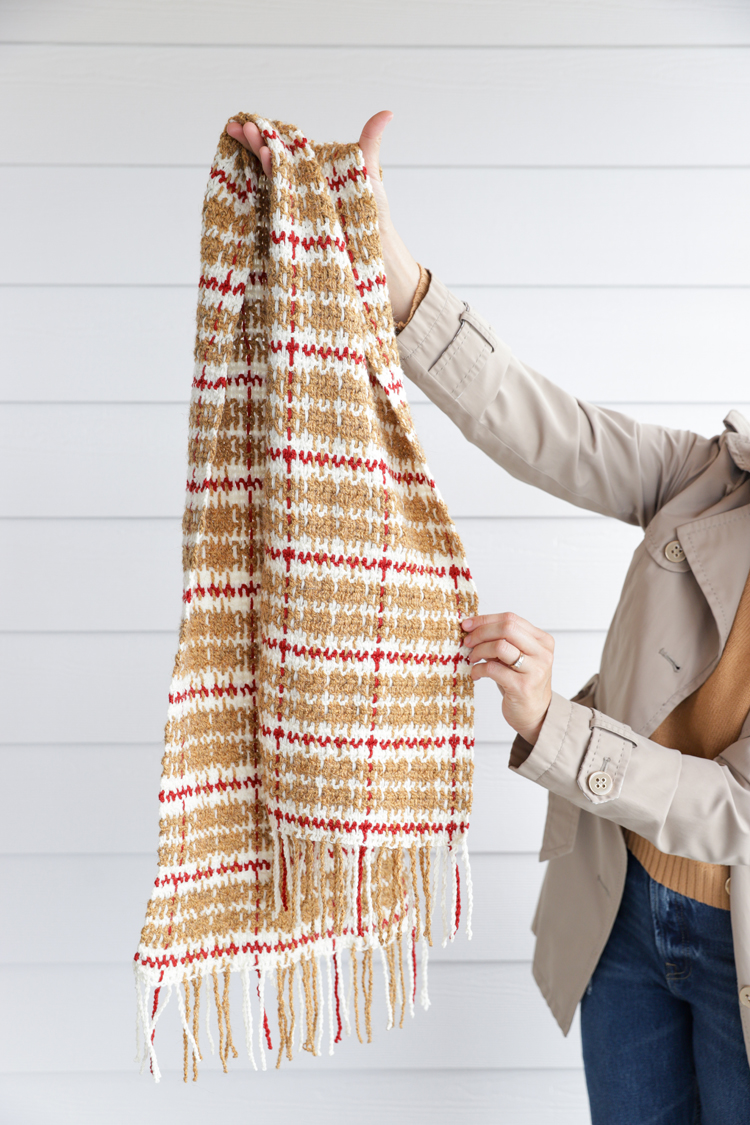
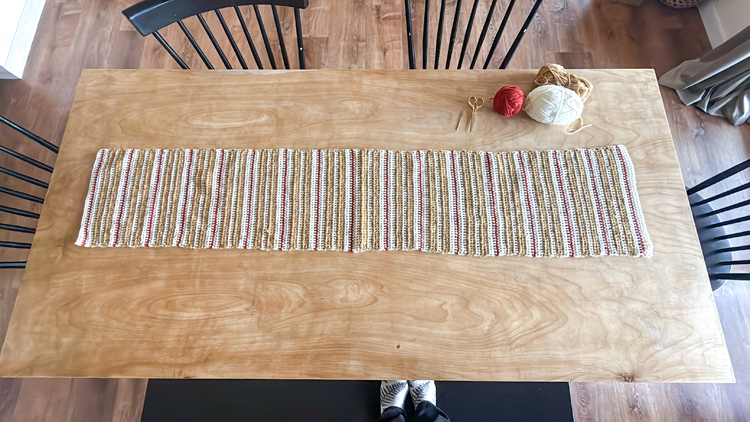
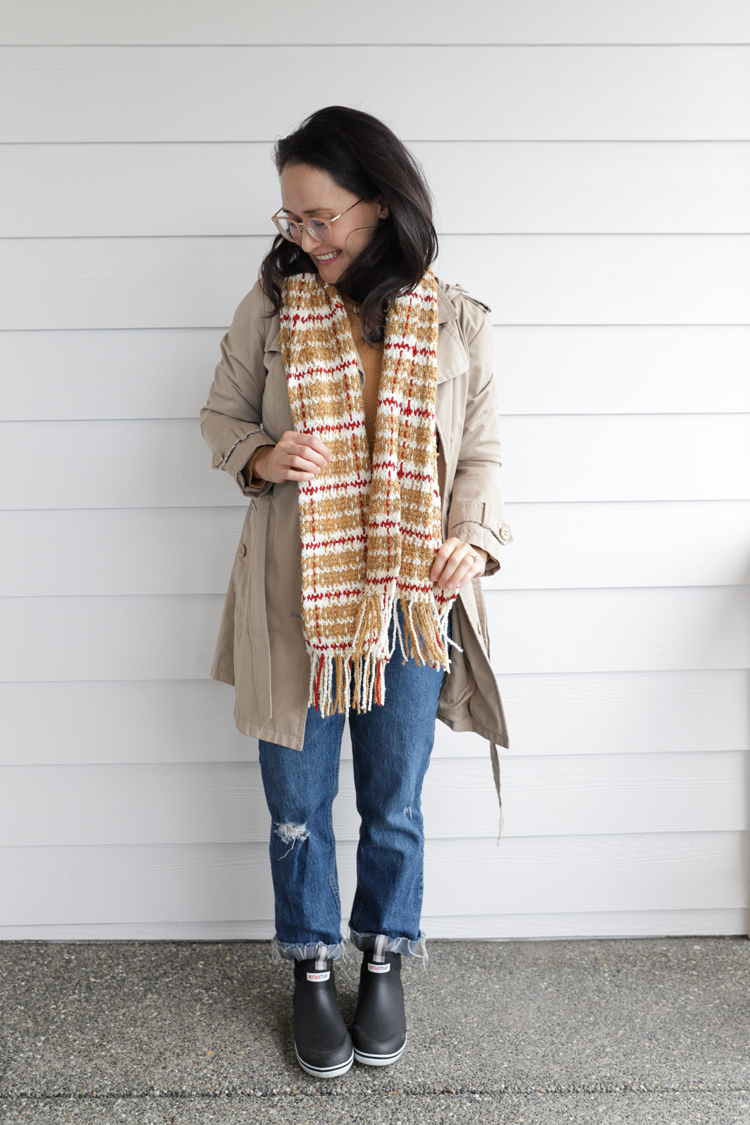
Finished size of the scarf = 12 inches wide and about 68 inches long (including the fringe)
GAUGE
4 x 4 inch square = about 13 dc and 13 chains x 15 rows
If your gauge varies somewhat, this project can be very forgiving. Keep in mind that if your gauge is different than mine, it may impact yarn amounts and how long you need to cut your cross strands.
ABBREVIATIONS
Note: This pattern uses U.S. crochet terms
- ch = chain
- dc = double crochet
VIDEO TUTORIAL
If it hasn’t already popped to the top or side of your screen the video will play here, and it will play after the initial ads. If you “x” out of the video pop-up, you will need to refresh the page to get the video tutorial back.
Music is by Pleasant Pictures Music Club.
WRITTEN PATTERN & TUTORIAL
Striped Grid – Crochet Pattern
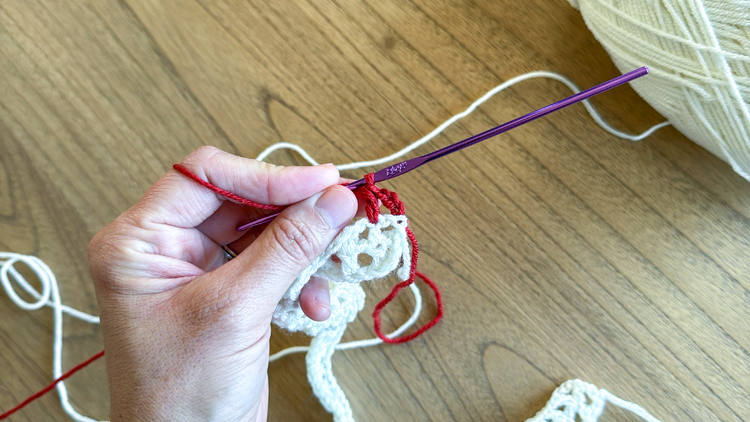
NOTE: For each color change, leave at least a 6 inch starting tail. After working a few stitches in the new color, cut the old color away from the skein, also leaving a 6 inch tail.
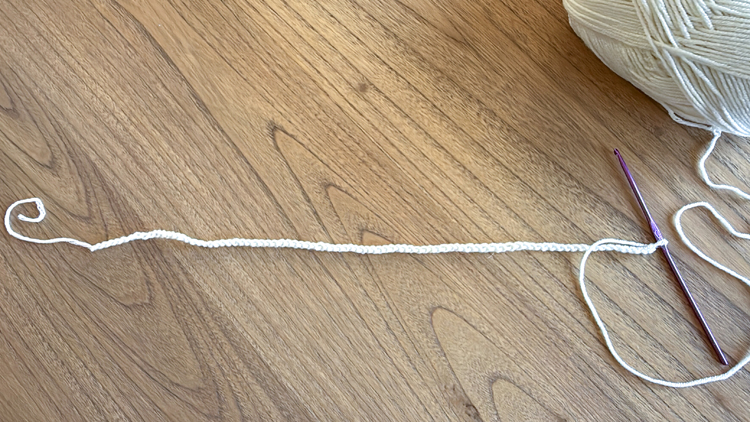
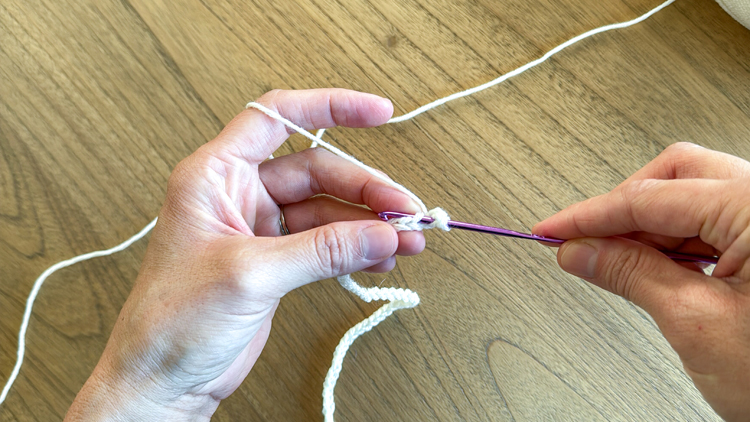
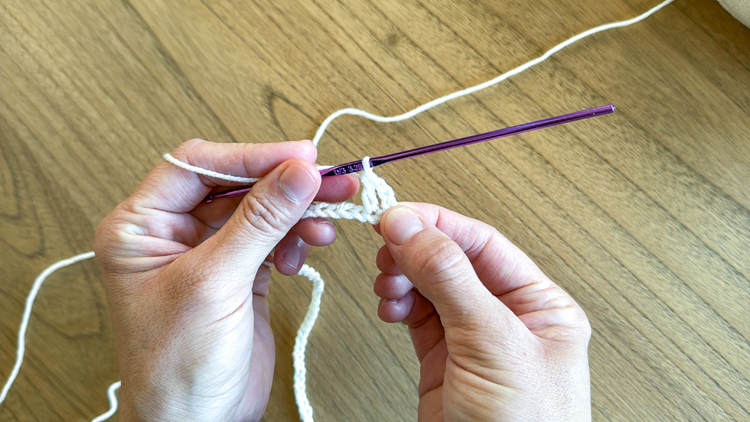
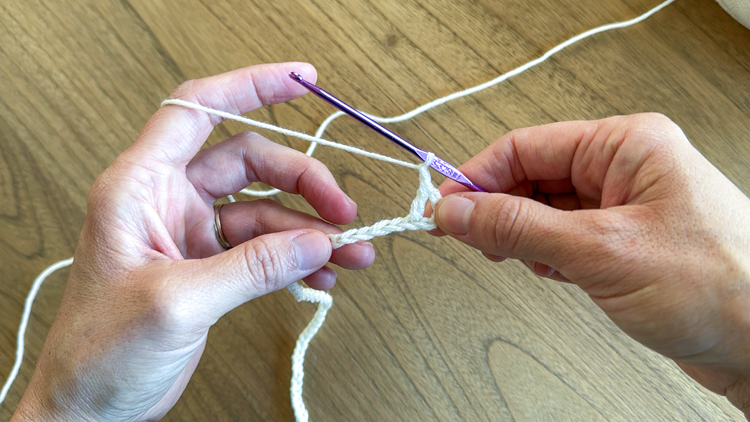
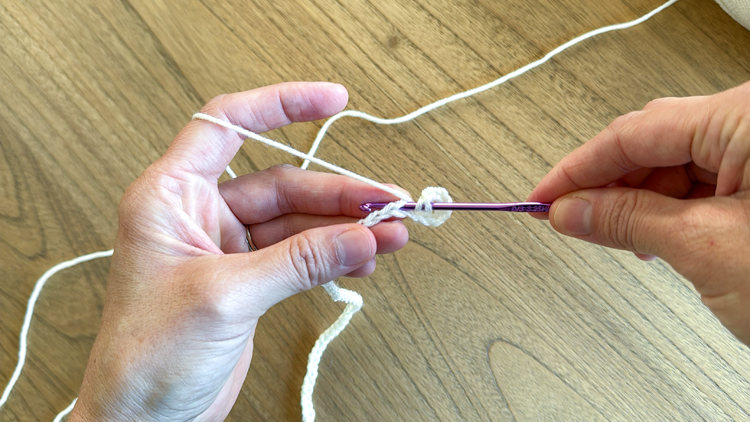
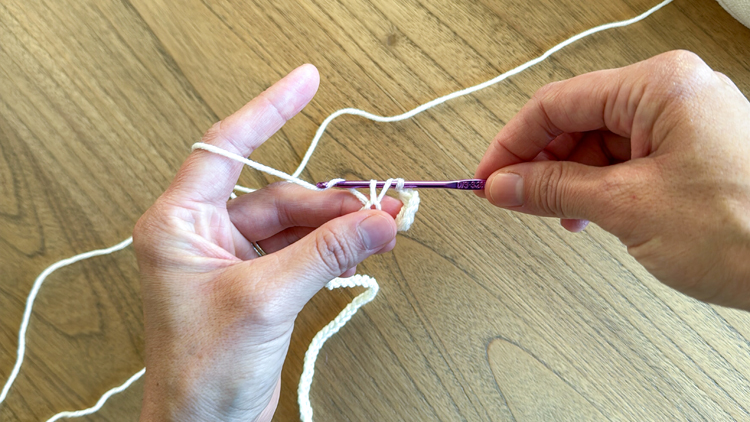
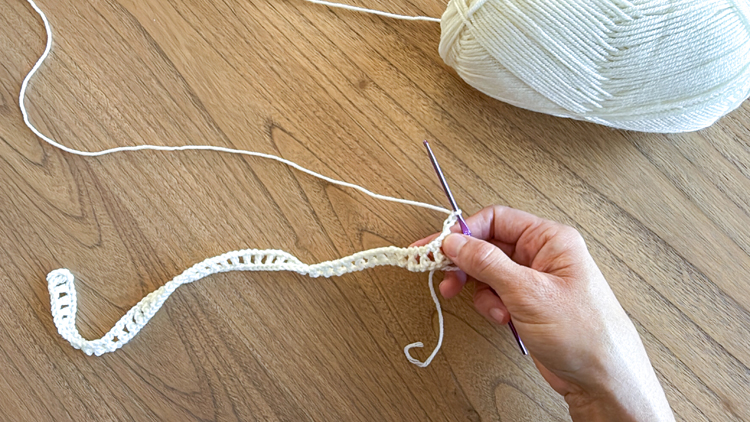
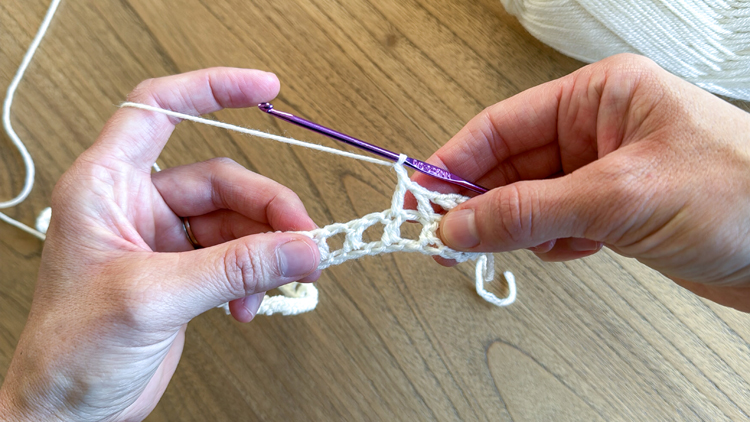
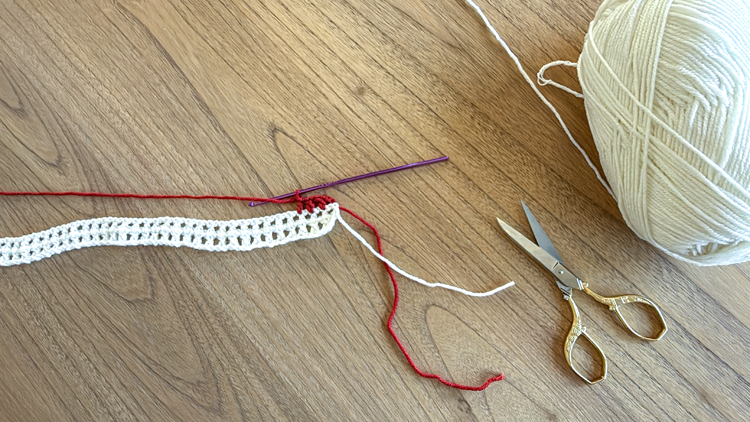
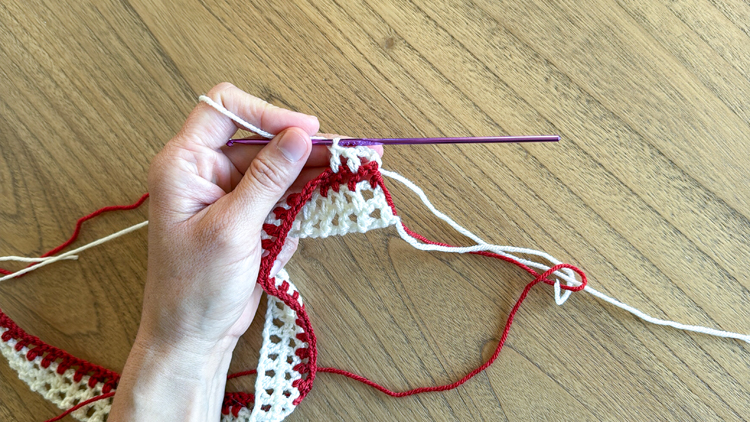
Row 1 (white): Starting with the white yarn, ch 85. Turn, and dc in the fifth ch from the hook. *Ch 1, skip 1, dc.* Repeat from * to * 39 times. This creates a row of “boxes” we will later weave into. You should end up with 41 ch gaps and 42 dc stitches.
The skipped stitches at the beginning count as 1 dc and 1 ch gap. For the rest of this pattern 3 ch = 1 dc but for this first row only: Out of the four skipped ch, 1 ch counts for the bottom of the first “box”, 2 ch = the 1 dc on the side, and 1 ch = for the ch gap at the top.
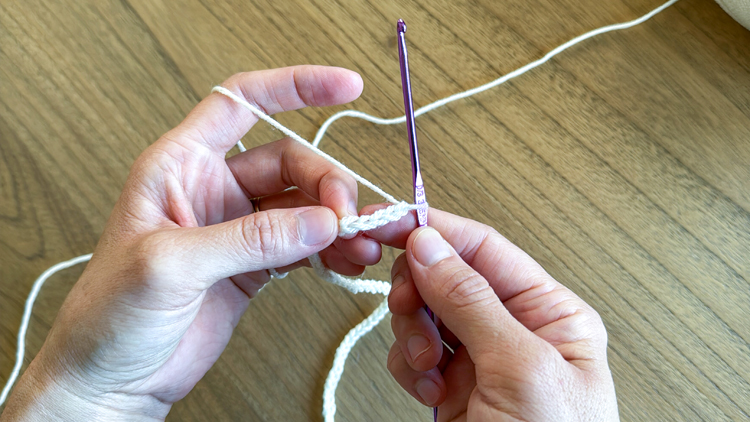
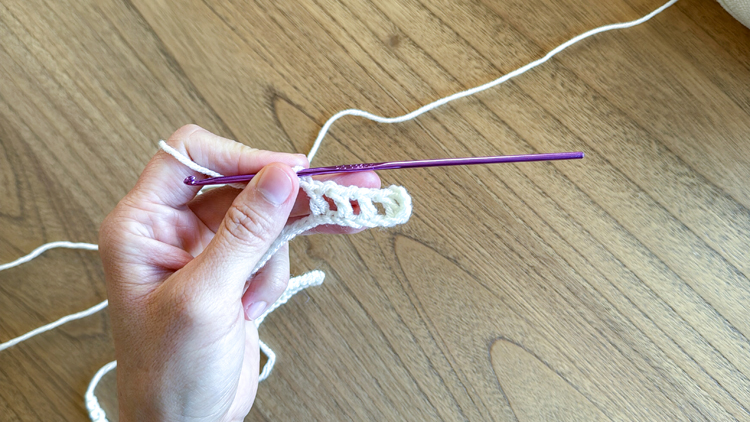
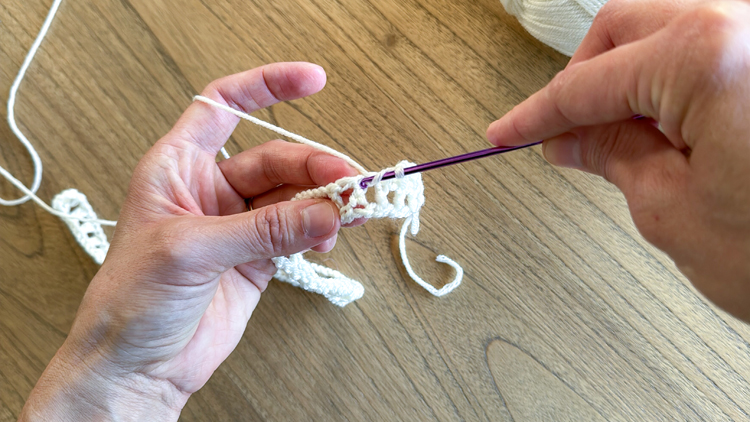
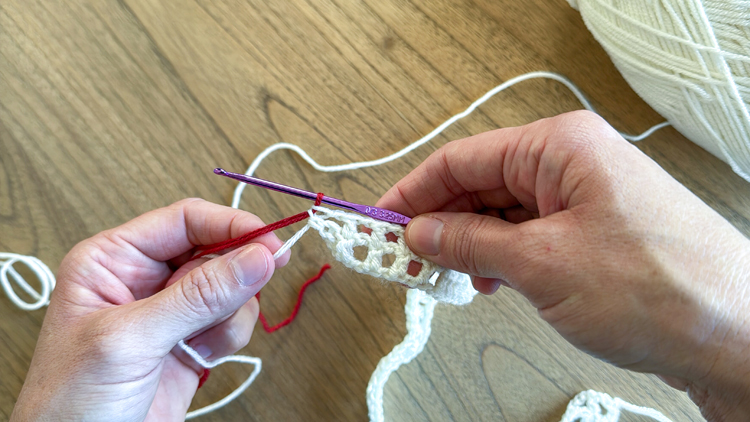
Row 2 (white): Turn, ch 4 (3 ch = 1 dc + 1 ch for the first ch gap). Skip 1, dc* into the next. *Ch 1, skip 1, dc.* Repeat from * to * 38 times. Then ch 1, skip 1, and when working the last dc, insert your hook into the middle of the chains from the previous row. Don’t work in the top chains, but more toward the bottom middle. This will ensure the sides stay square. When working the last dc, before yarning over and pulling through the last two loops, change to red. Total stitch count = 41 ch gaps, and 42 dc. Stitch count won’t be mentioned again because it will remain the same throughout the scarf.
*IMPORTANT: To keep the dc stitches straight, insert your hook into the middle of the top of the previous row’s dc stitches. This ensure that the stitches don’t lean either way and that you will have straight grid lines to weave through.
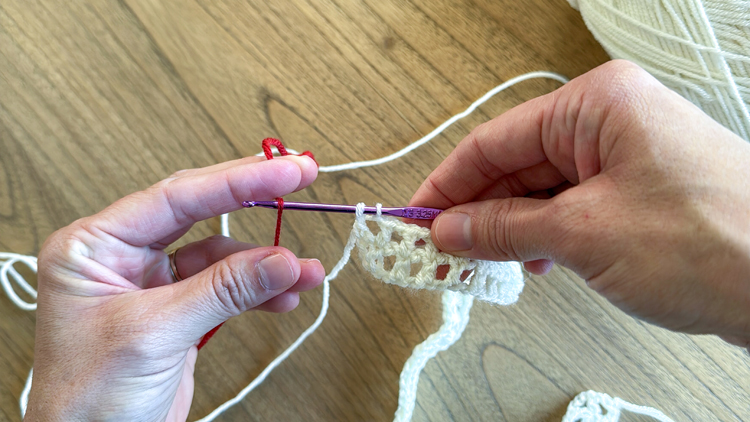
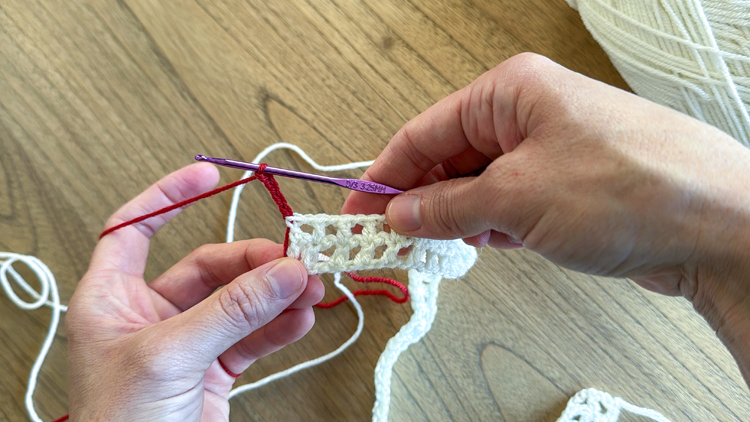
Row 3 (red): Turn, ch 4 (3 ch = 1 dc + 1 ch for the first ch gap). Skip 1, dc into the next. *Ch 1, skip 1, dc.* Repeat from * to * 38 times. Then ch 1, skip 1, and when working the last dc, before yarning over and pulling through the last two loops, change to white again.
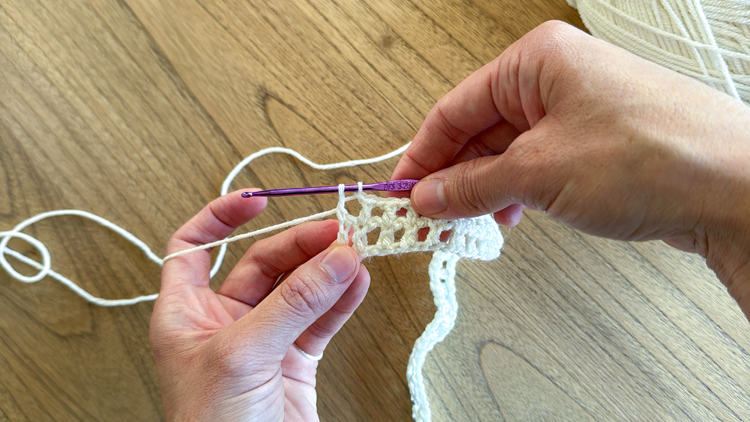
Row 4 (white): Turn, ch 4 (3 ch = 1 dc + 1 ch for the first ch gap). Skip 1, dc into the next. *Ch 1, skip 1, dc.* Repeat from * to * 39 times.
Row 5 (white): Turn, ch 4 (3 ch = 1 dc + 1 ch for the first ch gap). Skip 1, dc into the next. *Ch 1, skip 1, dc.* Repeat from * to * 38 times. Then ch 1, skip 1, when working the last dc, switch to yellow.
Row 6 (yellow): Turn, ch 4 (3 ch = 1 dc + 1 ch for the first ch gap). Skip 1, dc into the next. *Ch 1, skip 1, dc.* Repeat from * to * 39 times.
Row 7 (yellow): Repeat Row 6.
Row 8 (yellow): Turn, ch 4 (3 ch = 1 dc + 1 ch for the first ch gap). Skip 1, dc into the next. *Ch 1, skip 1, dc.* Repeat from * to * 38 times. Then ch 1, skip 1, when working the last dc, switch to white.
Row 9 (white): Turn, ch 4 (3 ch = 1 dc + 1 ch for the first ch gap). Skip 1, dc into the next. *Ch 1, skip 1, dc.* Repeat from * to * 38 times. Then ch 1, skip 1, when working the last dc, switch to yellow.
Row 10 and 11 (yellow): Repeat Row 6.
Row 12 (yellow): Turn, ch 4 (3 ch = 1 dc + 1 ch for the first ch gap). Skip 1, dc into the next. *Ch 1, skip 1, dc.* Repeat from * to * 38 times. Then ch 1, skip 1, when working the last dc, switch to white.
Row 13 (white): Repeat Row 4.
Row 14 (white): Repeat Row 2.
Row 15 (red): Repeat Row 3.
Rows 16 and 17: Repeat Rows 4 and 5.
For Rows 18 through 185: Treat Rows 6-17 like a cluster. Repeat this cluster a total of 14 times.
Rows 186 – 192: Repeat Rows 6-12.
Row 193 (white): Repeat Row 4.
Row 194 (white): Repeat Row 2.
Row 195 (red): Repeat Row 3.
Row 196 (white): Repeat Row 4.
Row 197 (white): Turn, ch 4 (3 ch = 1 dc + 1 ch for the first ch gap). Skip 1, dc into the next. *Ch 1, skip 1, dc.* Repeat from * to * 39 times. Tie off your end, leaving a 6 inch tail.

Weave in all the ends. Use the ends to clean up the sides and make the color change points more secure.
Optional: You can block or gently steam the scarf if it isn’t laying flat.
Cross Strands
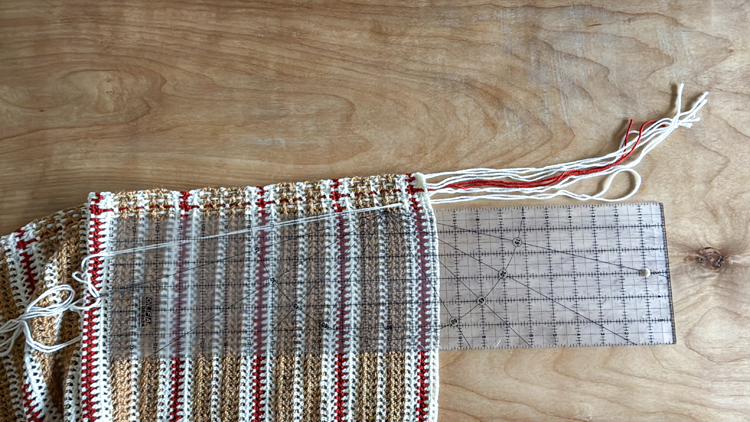
Prepare the Cross Strands
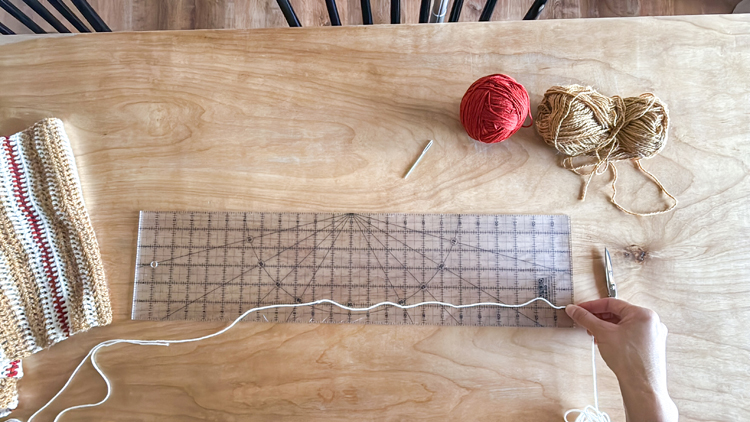
Measure out pieces of yarn at least 168 inches long. Be careful not to stretch the yarn as you measure as this will distort the true measurement.
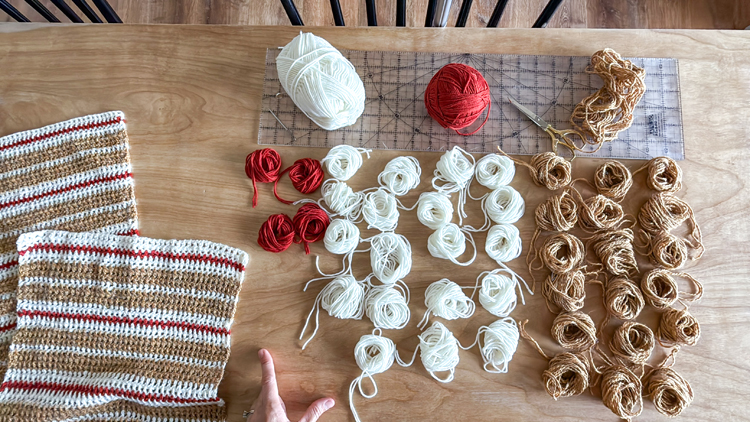
You will need: 19 white strands, 18 yellow strands, and 4 red strands
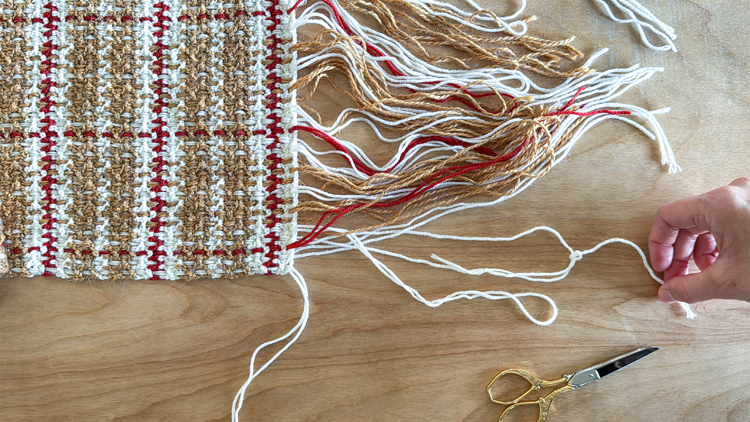
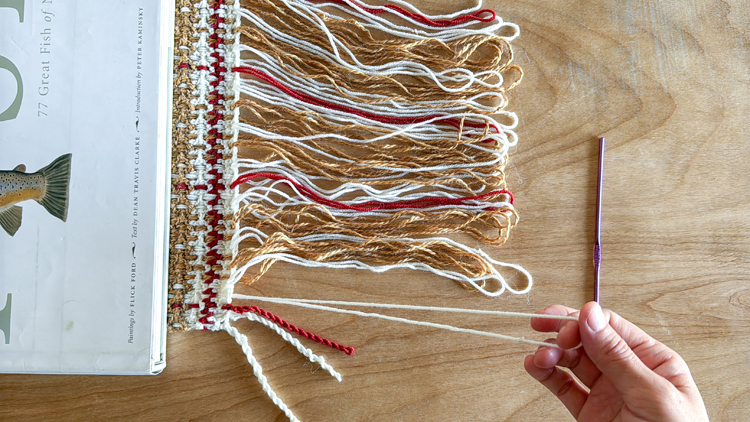
Weave In The Cross Strands
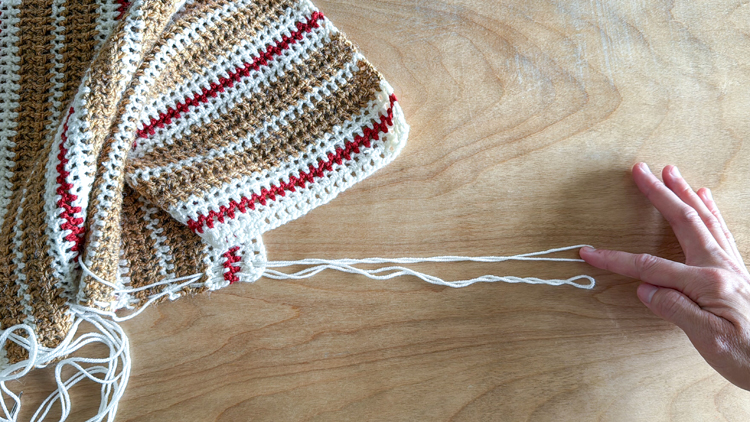
Fold each strand in half and thread the cut ends through the large yarn needle. We will be weave the strands through the grid, doubled up.
- Starting at the edge of one end, weave the white yarn through the scarf, going up and down, over and under the chain gaps.
- After weaving a couple of inches, pull the looped end of the yarn through until it is about 9-10 inches long. Leave this looped end unwoven.
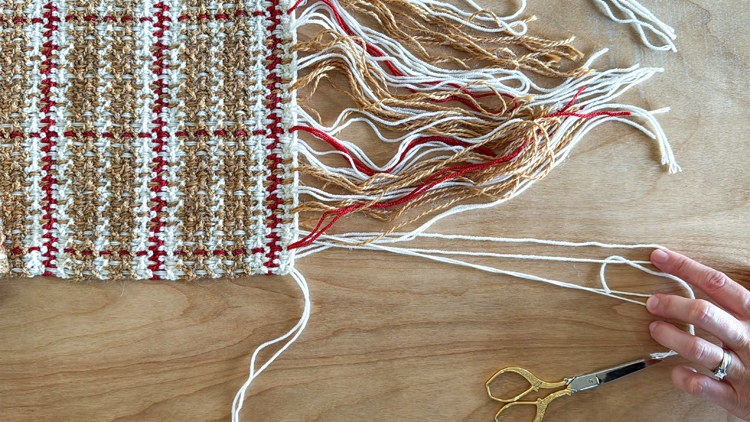
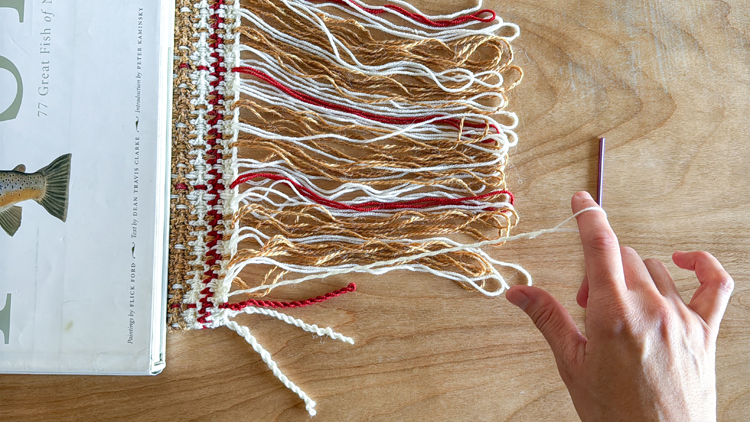
- Continue weaving the yarn through to the other side of the scarf. Your cut ends should measure at least 12 inches beyond the other end of the scarf. We will be tying this into a loop later.
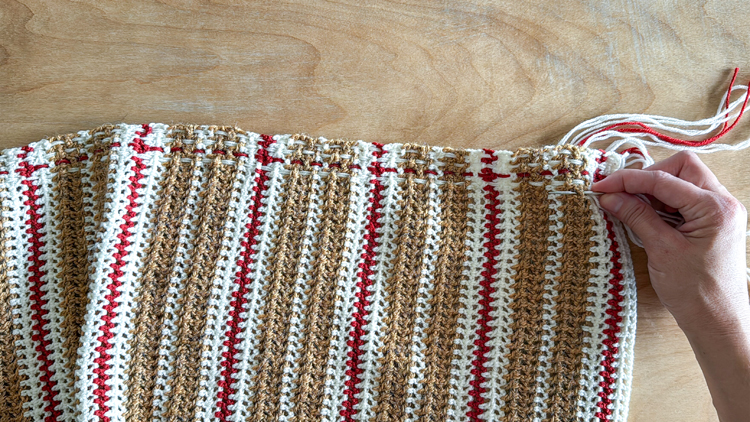
- Thread another piece of white yarn into the yarn needle and weave it through the next line of “boxes” in the grid. This time, however, start going up and down in the opposite pattern, like with pie crust lattice. If you started by going over and under with the previous strand. Then start the next strand by going under and then over.
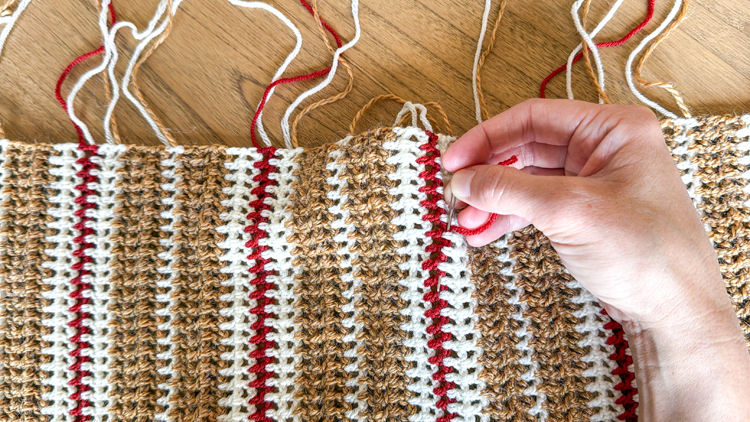
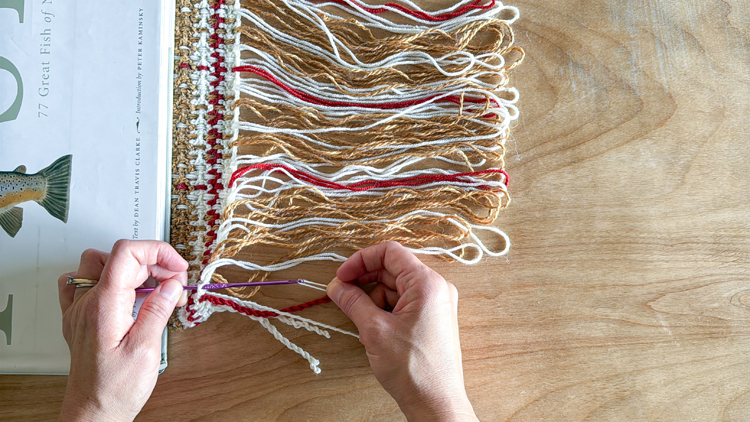
Continue weaving strands into each line of “boxes” in the grid, in this alternating pattern, following this color pattern:
2 white, 1 red, 2 white, 3 yellow, 1 white, 3 yellow
Repeat this color pattern two more times and then end with:
2 white, 1 red, 2 white
This mimmicks the same color pattern as the striped rows we crocheted.
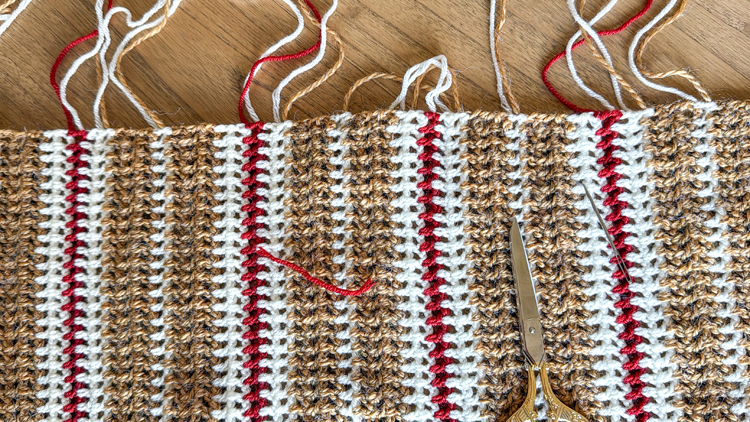
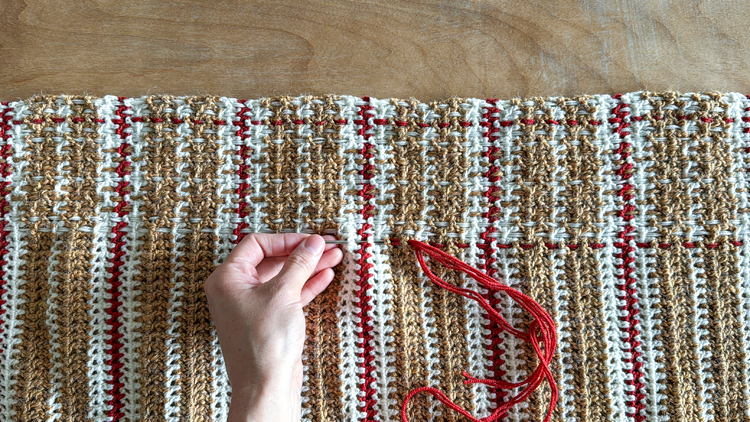
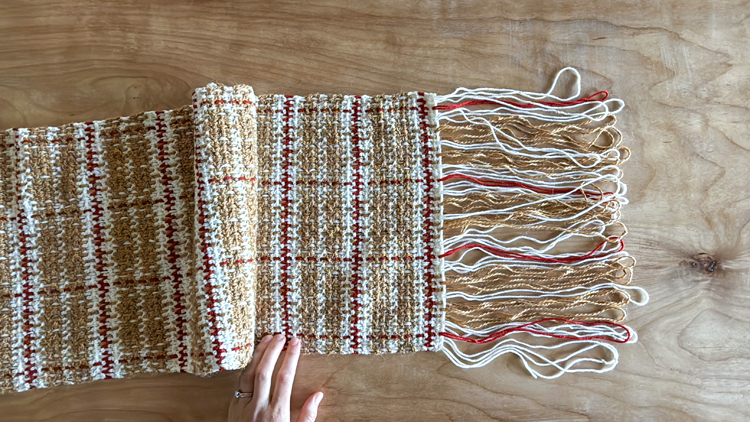
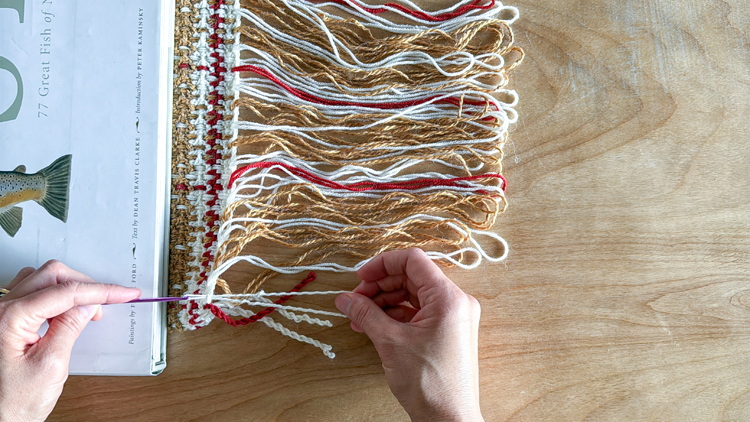
NOTE: I shared the image below because it shows the plaid design coming together, but it also shows a mistake I made by accidentally adding an extra row of stitches. I explain in the video how I “fixed” it by blending it in, rather than pulling it out and redo-ing…just in case you find yourself in the same predicament. 😉
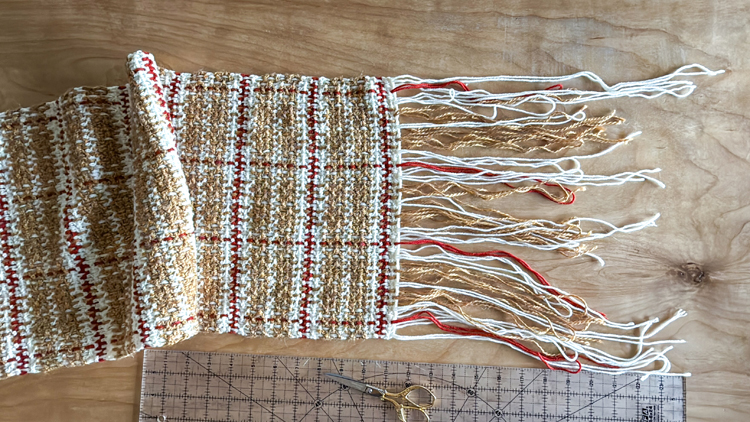
TIP: We will be tying the cut ends into loops, and even though the knot we use is not that noticeable I prefer to not have all the clean loops on one side. So, I flipped the scarf around back and forth so that I started on a different end each time. This gave me a mix of loops and cut ends at each end of the scarf.
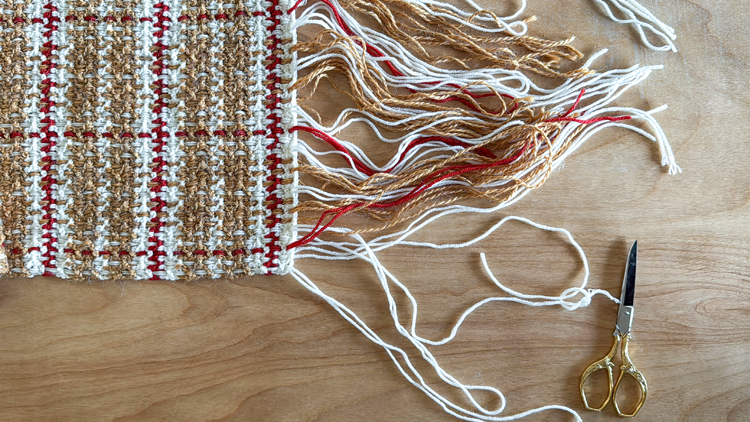
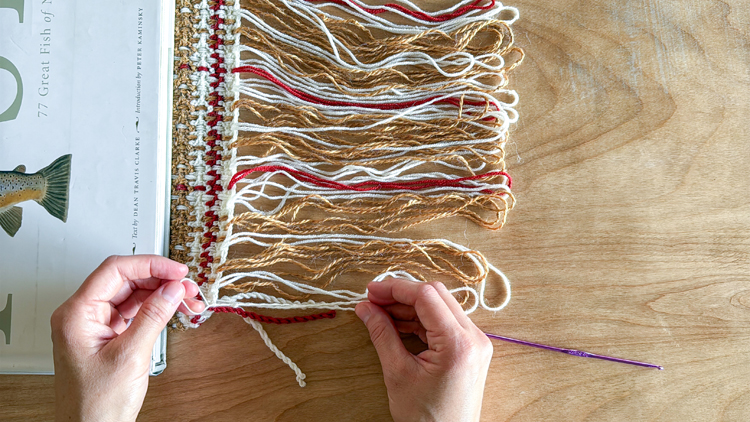
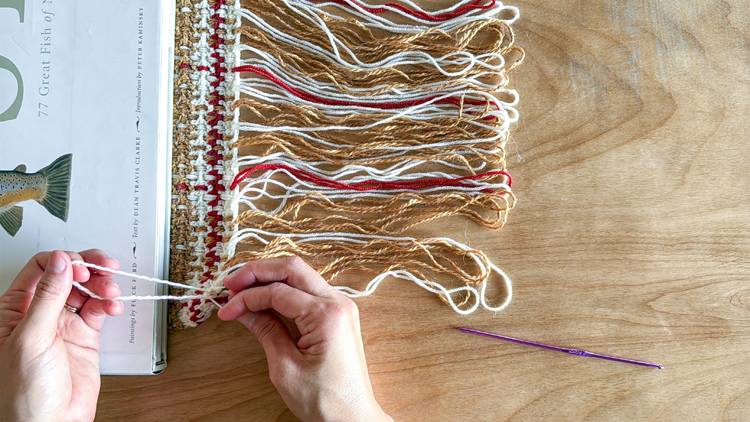
Tie Loops
Tie all the cut ends together into a loop to match the length of the other looped ends, using a magic knot or what is also known as a fisherman’s knot. This creates an almost seamless knot that can be trimmed right up to the knot without coming undone. The video tutorial covers this briefly, but I also have a magic knot tutorial HERE.
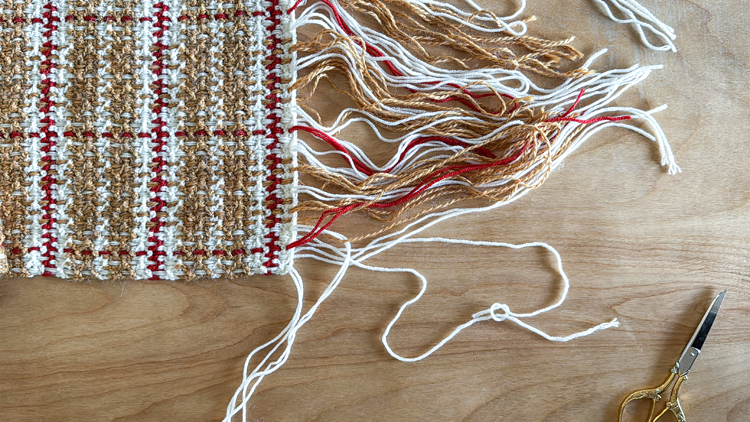
Each loop should measure about 9-10 inches long. It’s tricky to get them to all match exactly 10 inches but getting fairly close is just fine. Once it all gets twisted you won’t be able to tell a difference.
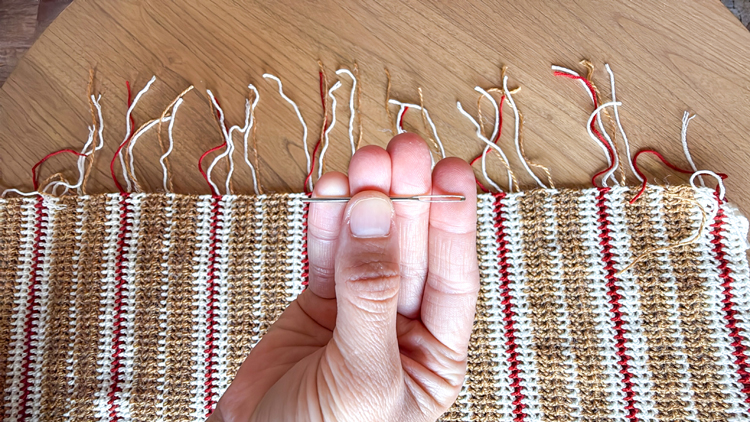
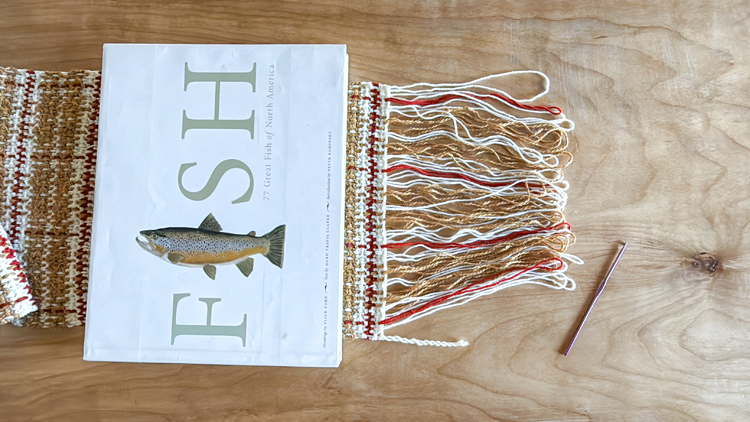
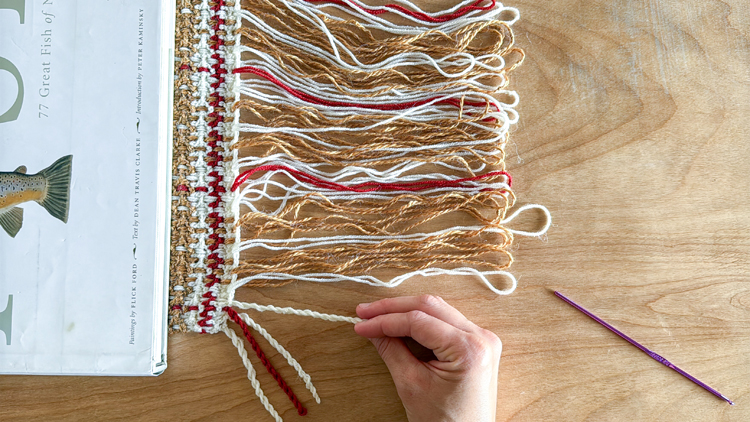
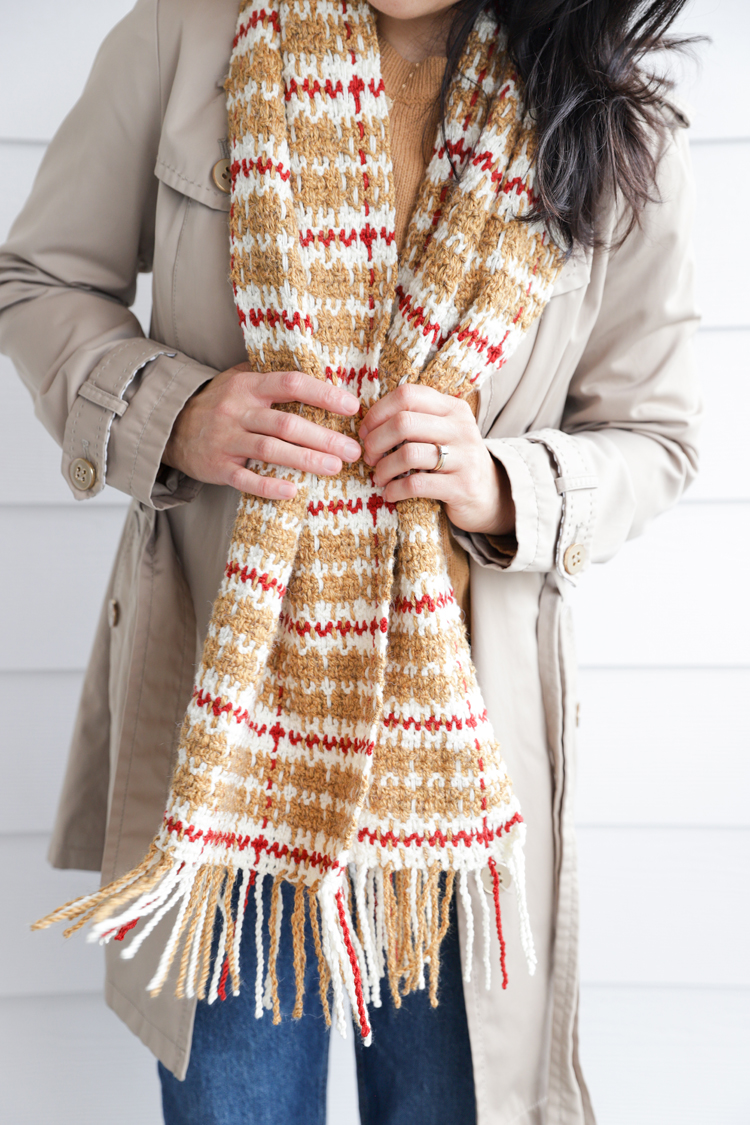
Twist Fringe
Optional: Place a heavy book just before the edge of the scarf. The strands are pretty tightly woven in place, but just in case, I place the book as a weight to keep the strands from moving and causing any puckering.
Slide each loop on a finger and twist it about 30 times. It should be really tight but still barely leave room for your finger.
Insert the hook into a bottom stitch from the corresponding row of “boxes.” Lay the looped end over the hook and pull it through the stitch just until you have a small loop on the other side of the stitch.
The twisted fringe will now be folded. Insert the folded end into the loop and secure it with a luggage tag knot (also called a girth hitch).
You may need to wiggle it around, twist it more, and even untwist it a little to get the knot to lay flat and for the fringe to look even.
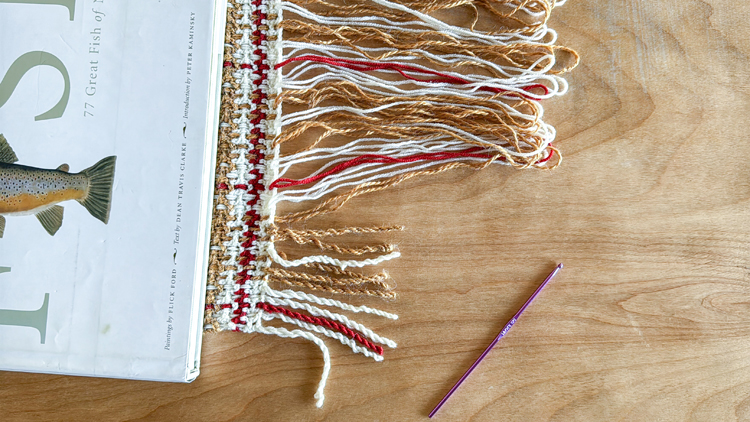
Repeat for all the loops.
All done!
Washing Instructions:
Wash according to your yarn’s washing instructions. If it allows for machine washing and drying, I recommend choosing the delicate cycle and then air drying it to ensure it maintains its shape.
Washing may cause it to relax some, especially if you didn’t block it (I didn’t), but it should not expand too much because of the woven cross strands. The only thing I noticed, was that a few of my woven ends popped up. ;/ Fortunately, the tweed-y look of the scarf blends them in pretty well.
This is probably one the most favorite things I’ve made. I’m already scheming my next color combination to make another!
Beautiful!! Would the lion brand wool ease recycled yarn work for this? I love all of your patterns SO much!!
Good question. I believe that yarn is worsted weight so it is a heavy, larger yarn. It would still work but your dimensions will be different. Scarf sizing is fairly forgiving though. You may also need to go up a hook size.
And thank you! That is so kind of you!