

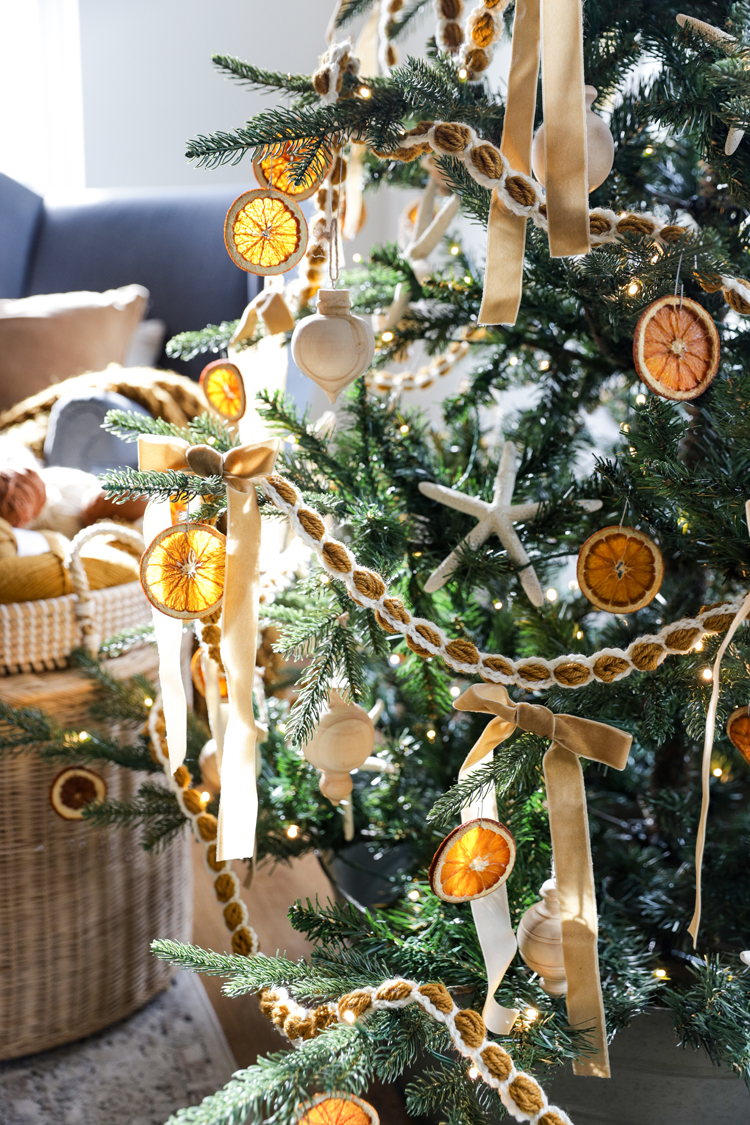
After having the same Christmas tree theme a few years in a row, I wanted to switch things up this year which means, of course, I had to make a new crochet garland! 😉
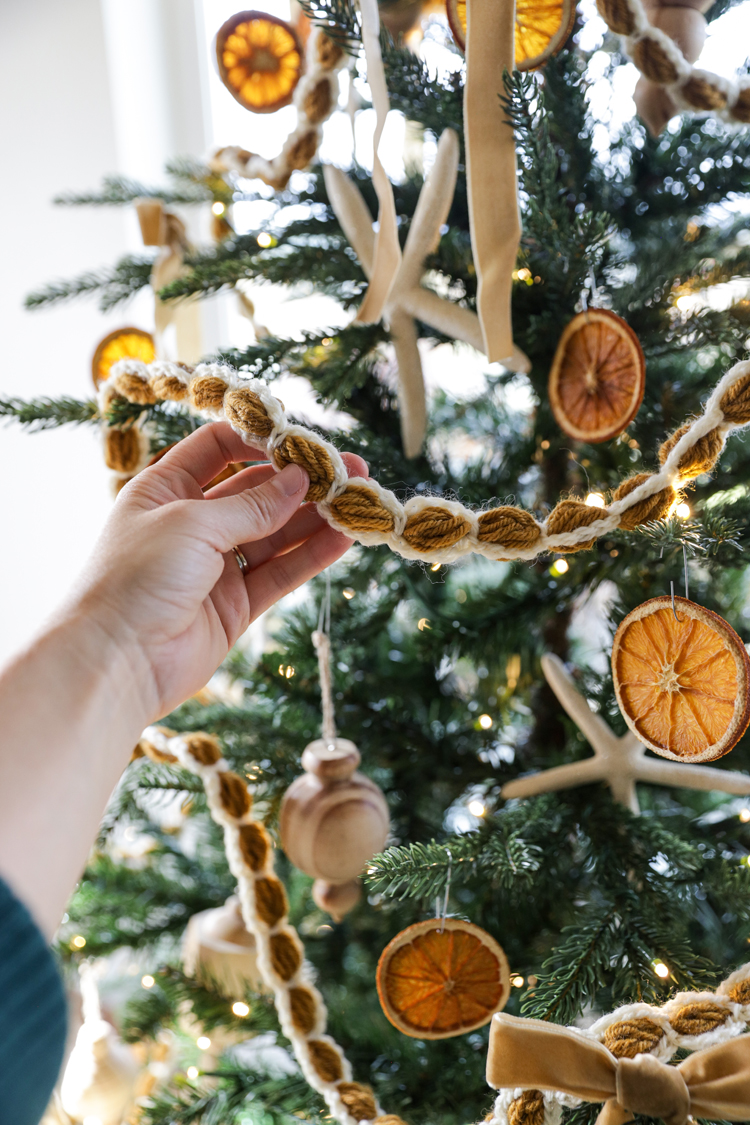
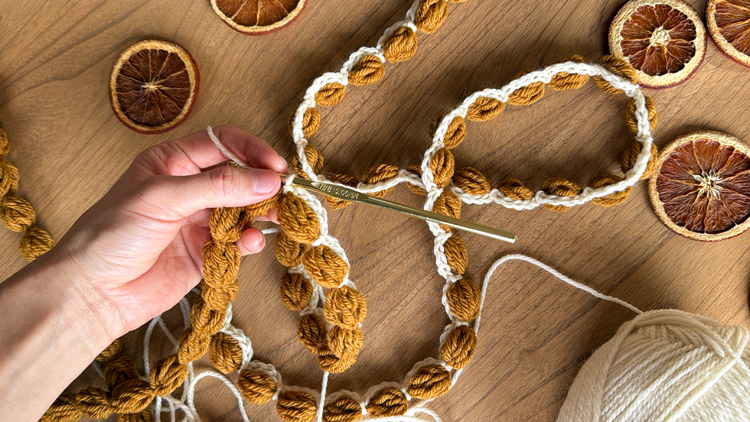
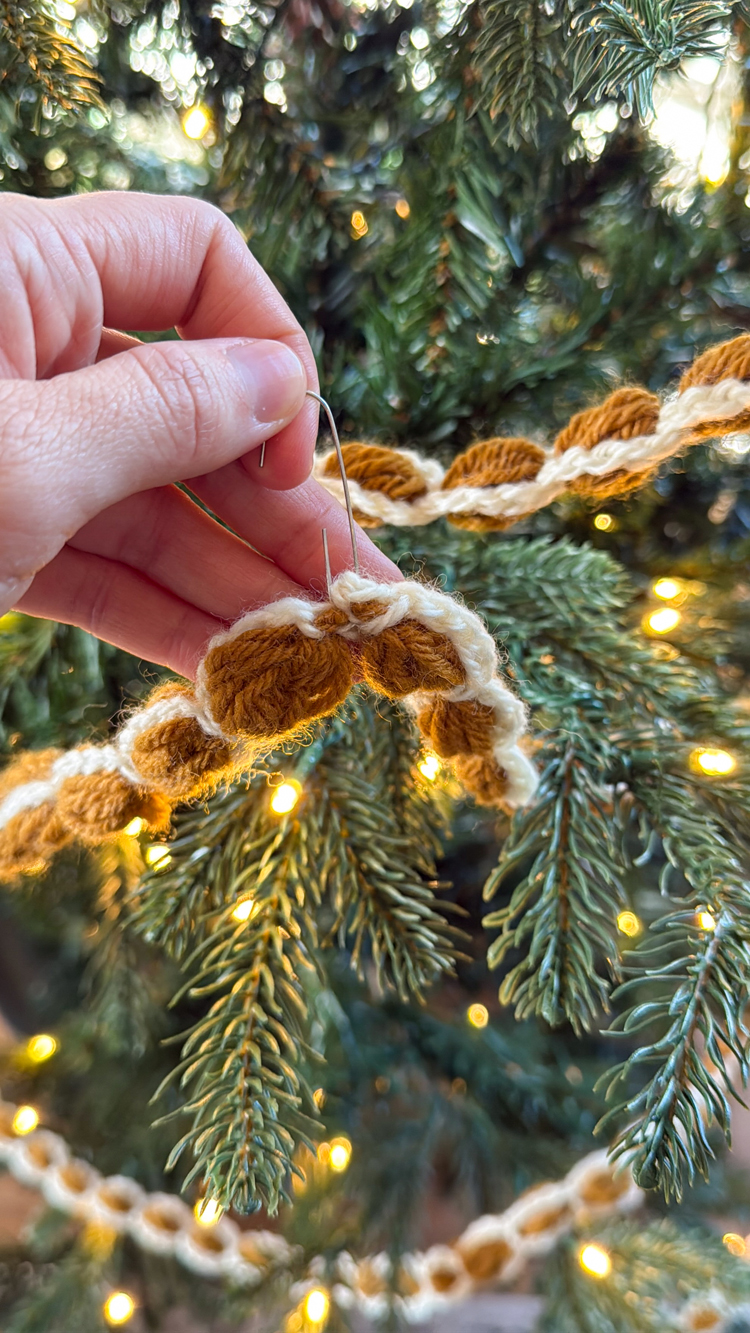
This Chains and Puffs Crochet Garland starts out just like my Bubble Puff Garland or like my Chunky Crochet Garland but with thinner yarn. Then you simply add an outline of chains and slip stitches which really helps the garland pop!
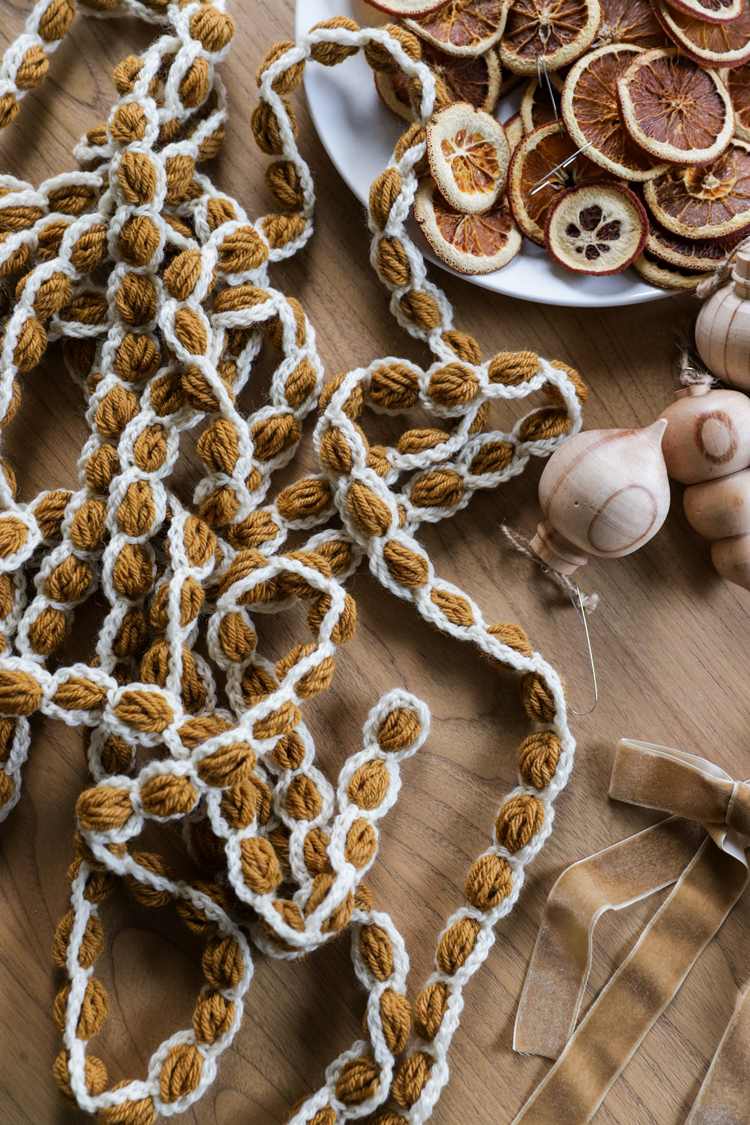
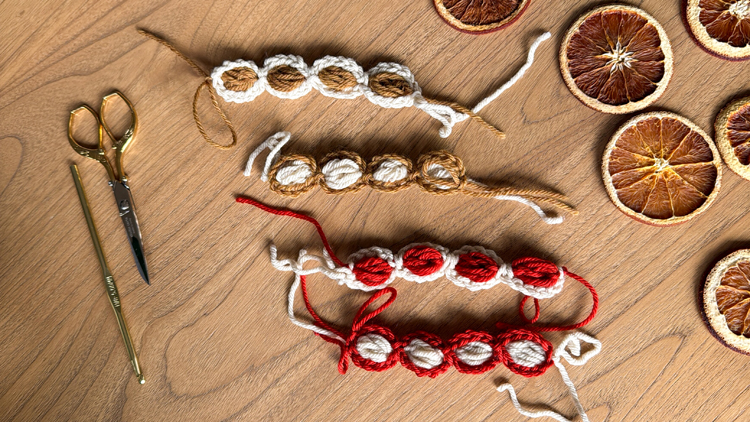
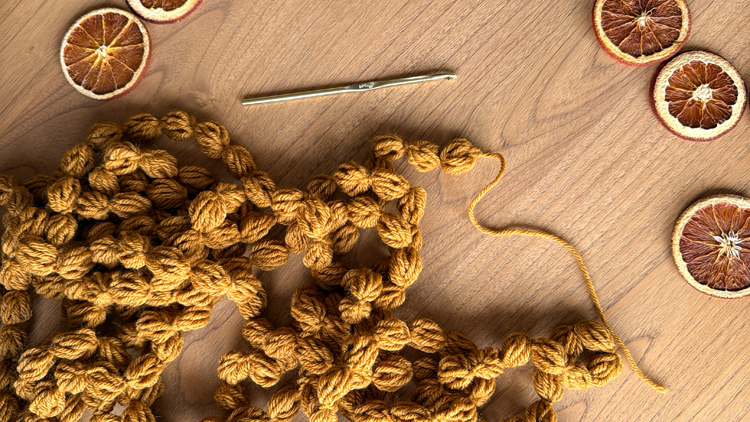
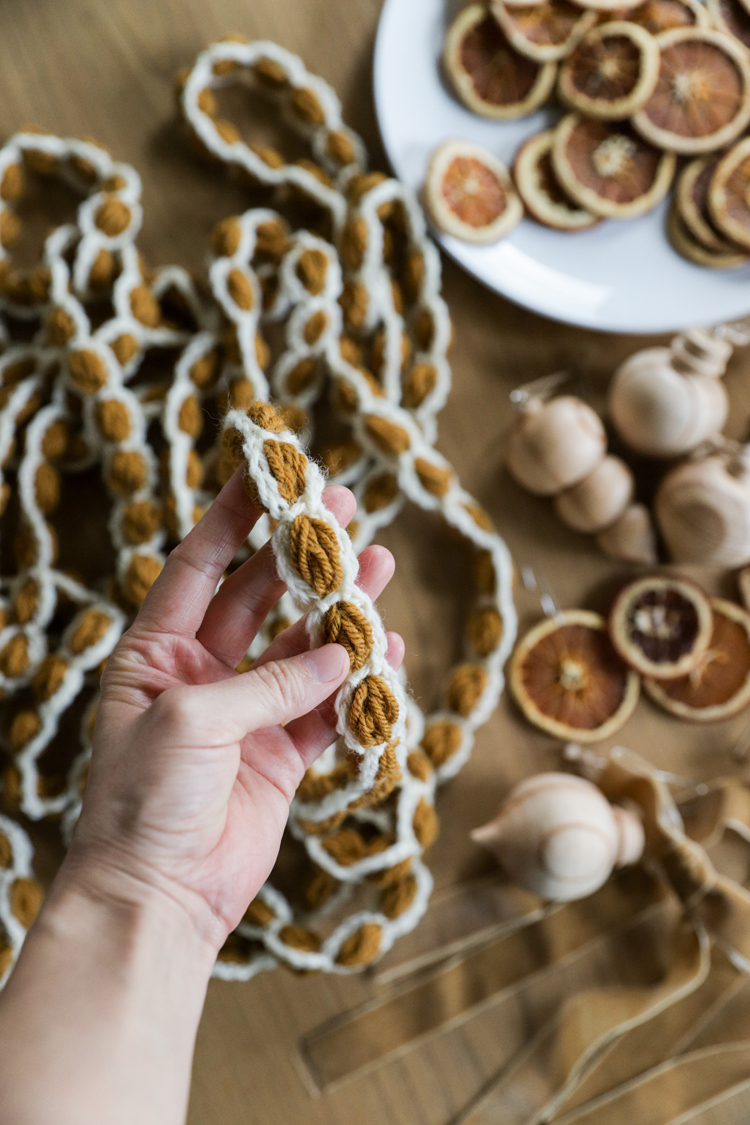
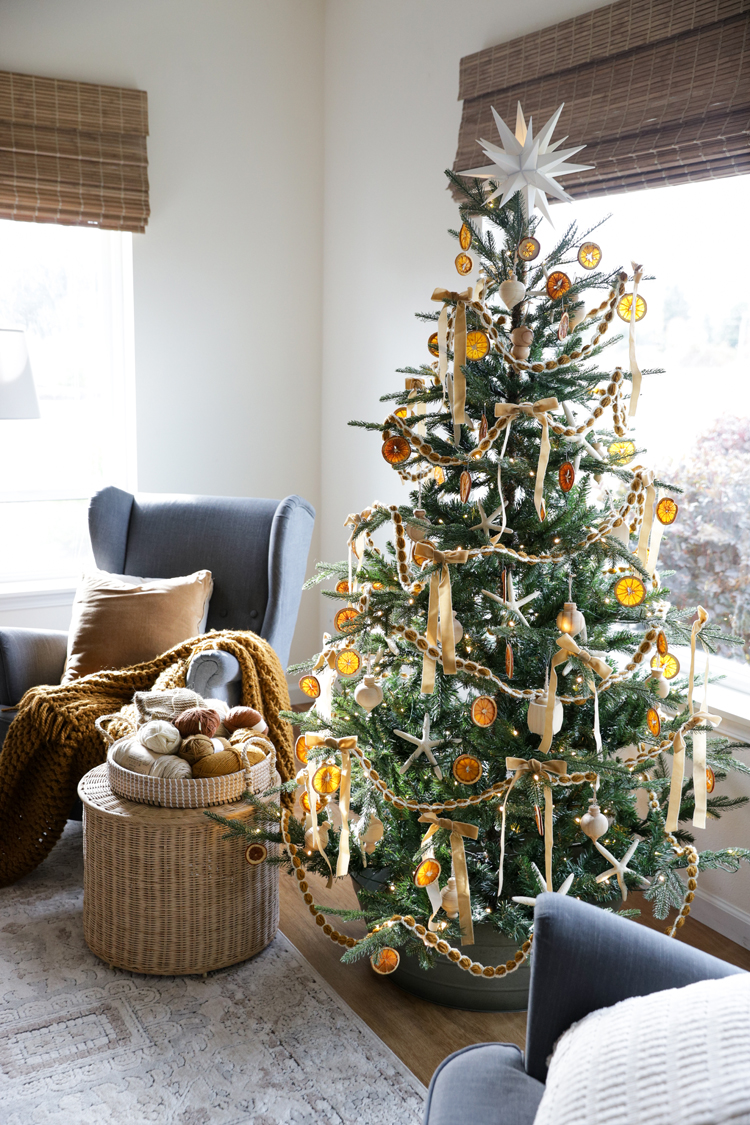
I used a golden brown and cream yarn that goes well with these dried orange slices, but I can see so many more color combination possibilities for other holidays or celebrations!
MATERIALS
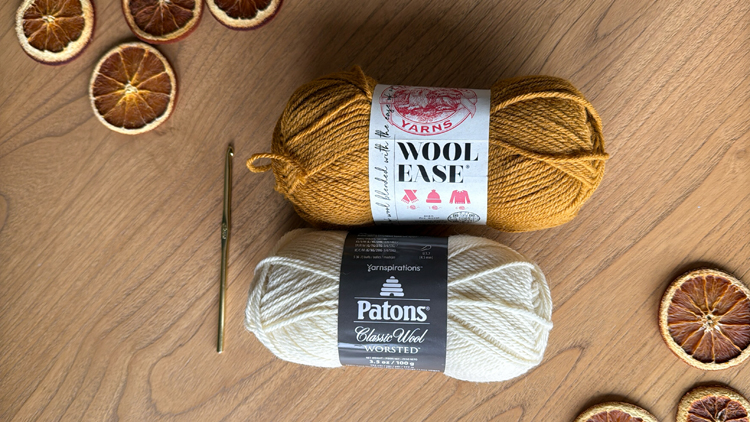
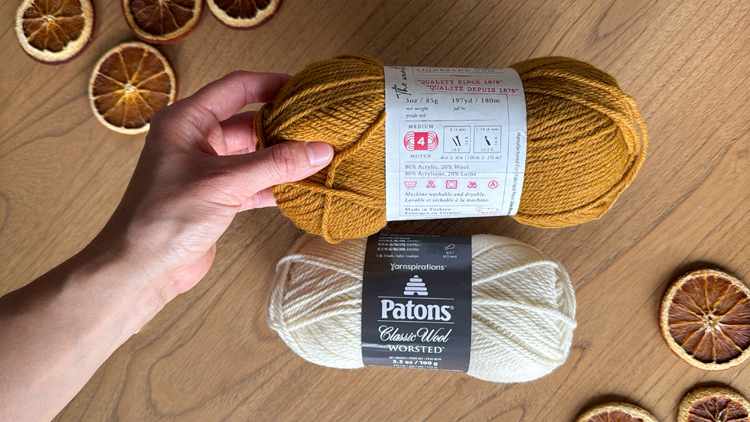
- Two contrasting colors of worsted weight yarn*
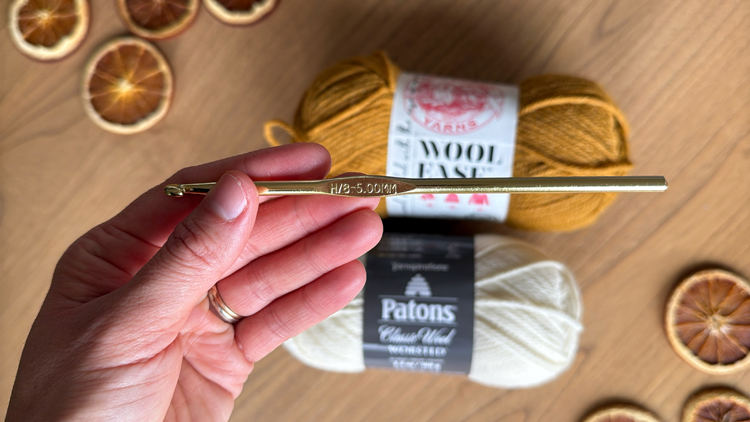
- 5.00 mm hook
- Scissors and yarn needle
Material Notes
- Worsted weight or category 4 yarn in any fiber type should work. Just be mindful of how different fiber types may work together. Cotton is often heavier and may require you to go down a hook size. I used wool and wool/acrylic blend yarns.
- My main yarn (the bubble puff centers) is Wool Ease in Arrowwood from Lion Brand. At 197 yards, it yielded a garland about 26.5 feet long. The accent yarn (chains) is Classic Wool in Aran from Patons. At 194 yards or 100 g, I used about half of it to outline the puff stitches. In fact, it was exactly 50 g for both of my garlands which you would think would mean I only needed one skein, but unfortunately if you weigh your skeins beforehand you’ll see that sometimes it comes in over or under that. I needed two skeins, because the Patons yarn shorted me 1-2 grams each.
- I strongly suggest making some small samples to see how the yarns will look together before committing to a full garland. Only 3-4 puffs should be sufficient and you don’t have to tie off or cut the yarn like I did. Just keep it connected to the skeins, then pull it out and use it in the full garland.
SKILL LEVEL
Adventurous beginner.
If you’ve made a Chunky Crochet Garland, then I would say you are ready to try this garland. The puff stitches are the hardest part to get the hang of because of the unique tension of the tall loops. Once you get to the chain outline, it’s a breeze both in skill and in time it takes to crochet it.
If you are brand new to crochet and need help with learning about yarn sizing and how to hold your hook, check out my Crochet Basics Series first. I try to slow things down a little in this tutorial to make it beginner friendly, but it’s not as patiently explained as it is in my Crochet Basics Series.
GAUGE
4 puffs = about 4.75 inches long and 1 inch wide
Keep in mind that this gauge is flexible. If yours is different from mine, it may affect the appearance slightly and how long the garland ends up, but that’s it. This project is low stakes and open for a lot of individual preferences and interpretations.
SIZING
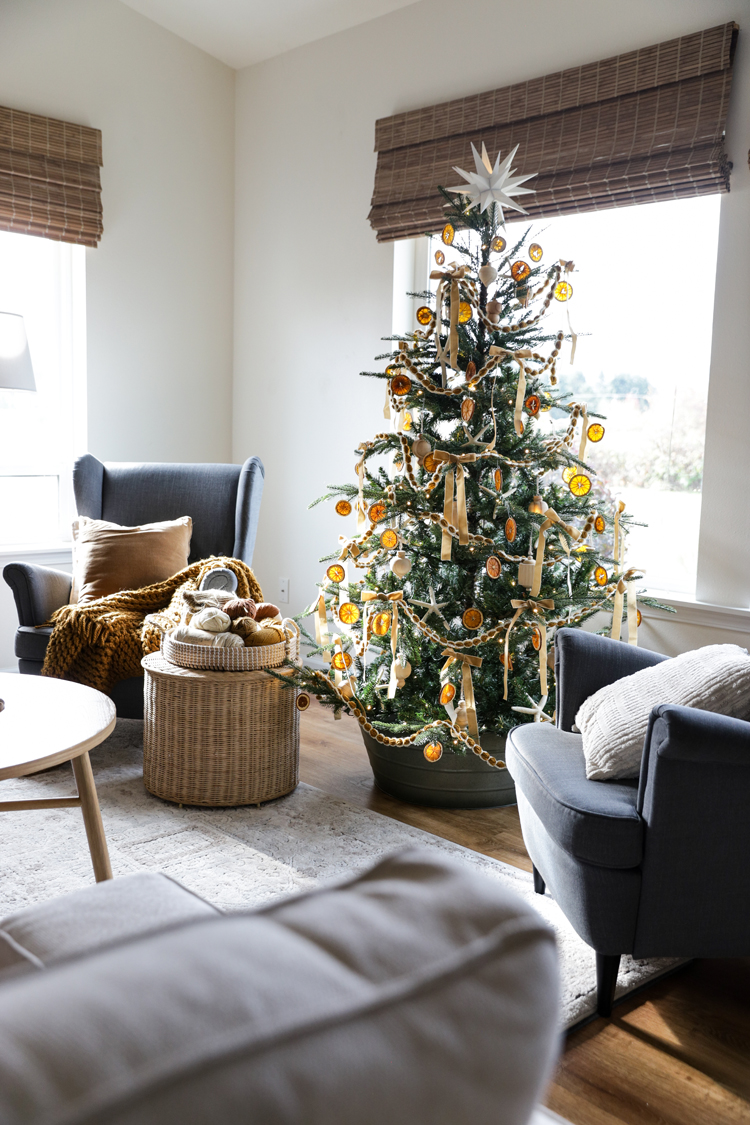
My main yarn color is 197 yards long and it yielded a garland about 26.5 feet long. I needed two garlands to generously fill my 6.6 foot tree.
ABBREVIATIONS
Not necessary this time since this pattern is very short and repetitive.
PLEASE NOTE: THIS PATTERN USES U.S. CROCHET TERMS.
VIDEO TUTORIAL
The video should have already popped to the top or side of your screen. It will play after some initial ads. If you “x” out of the video, you need to refresh the page to get it back.
Music is by Pleasant Pictures Music Club.
PLEASE NOTE: THIS PATTERN USES U.S. CROCHET TERMS.
WRITTEN PATTERN & TUTORIAL
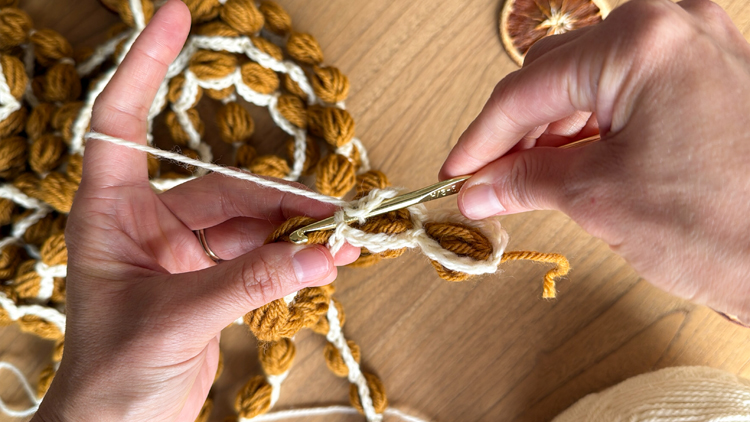
PUFF STITCHES
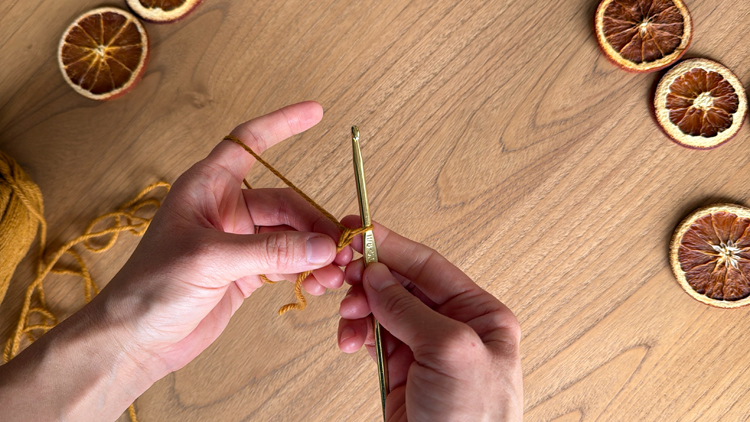
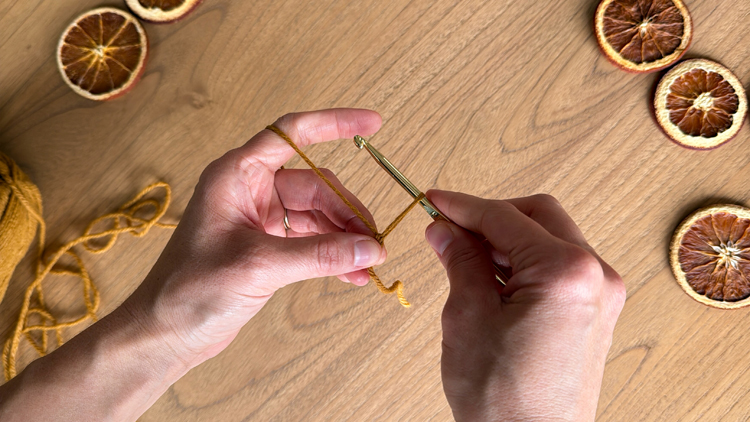
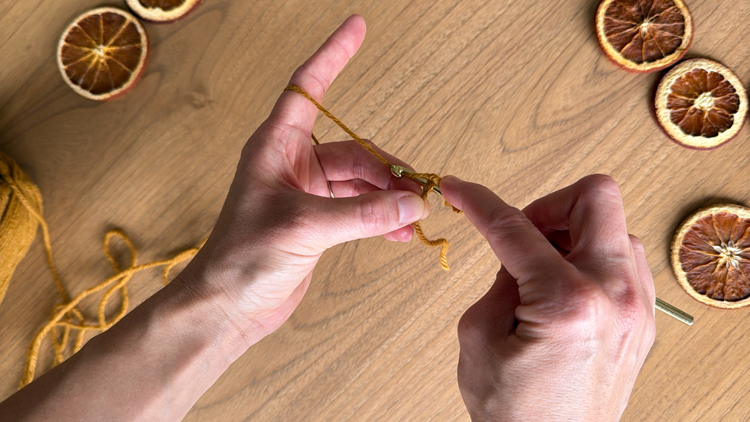
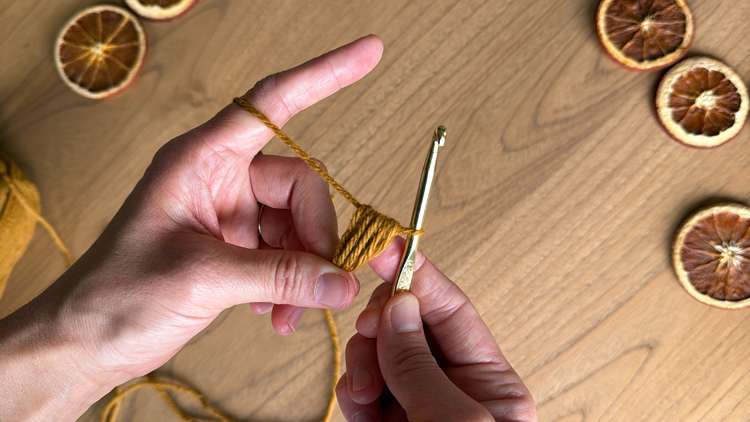

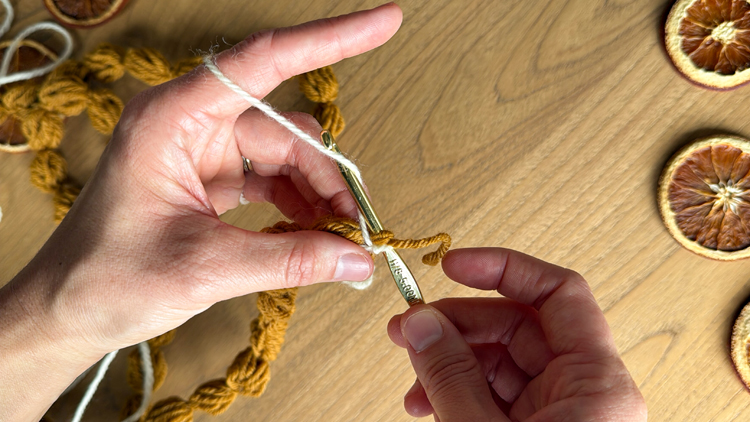
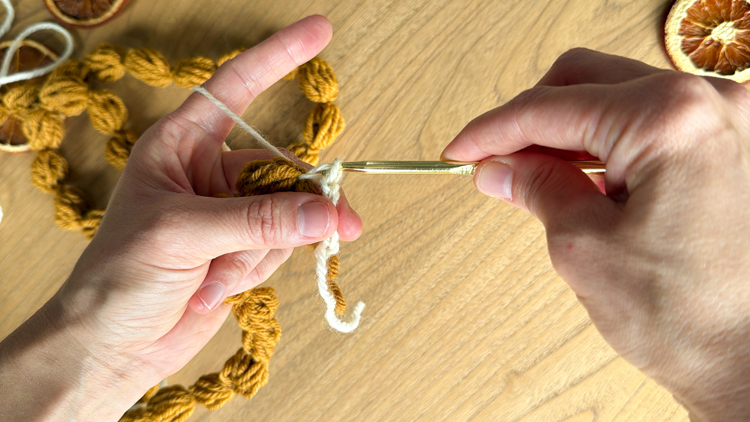
- Tie a slip knot leaving a 3 inch tail. Insert your hook.
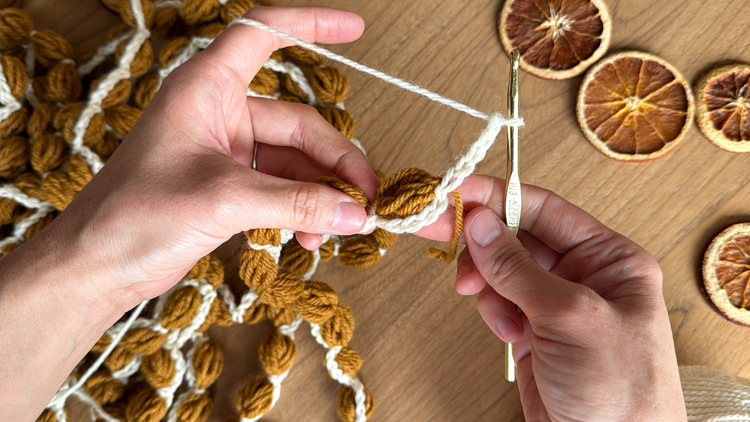
- Chain 1. Hold the chain between the thumb and middle finger of your non-hook hand.
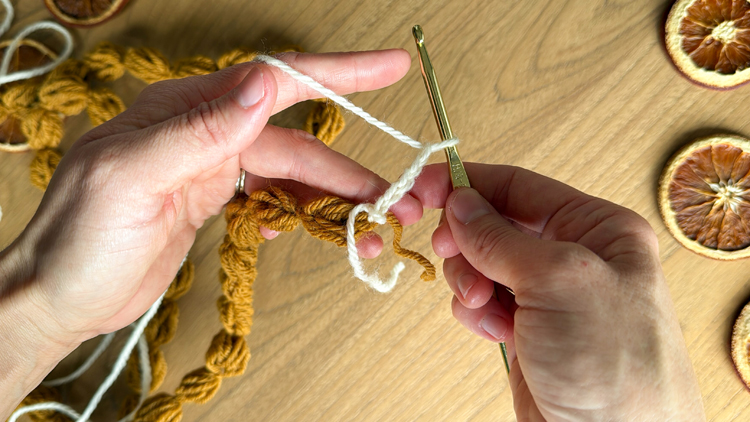
- Pull up a tall loop about 1 – 1.25 inches tall.
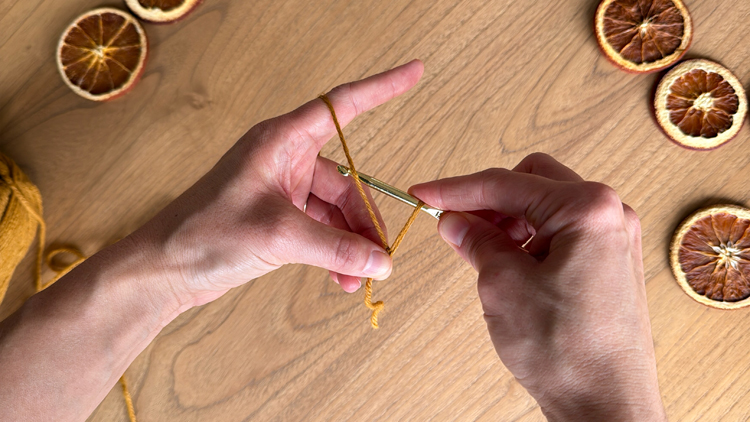
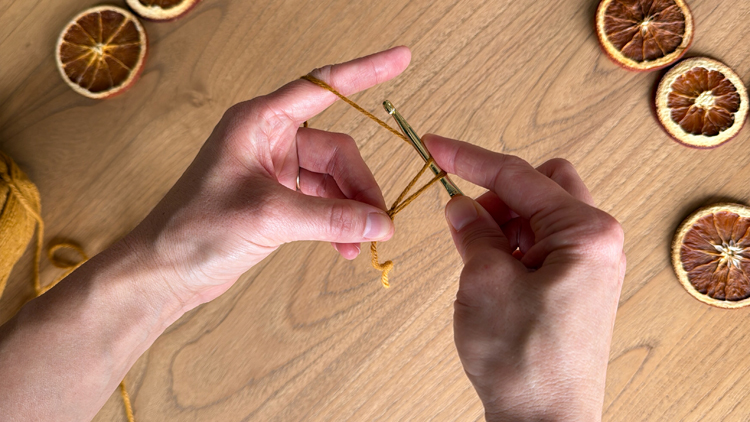
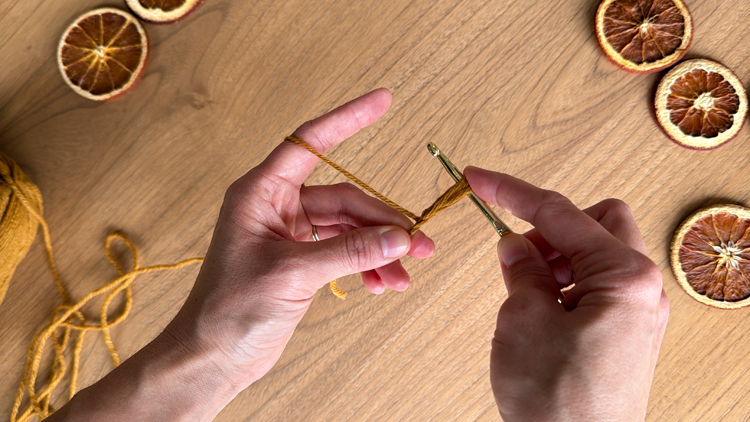
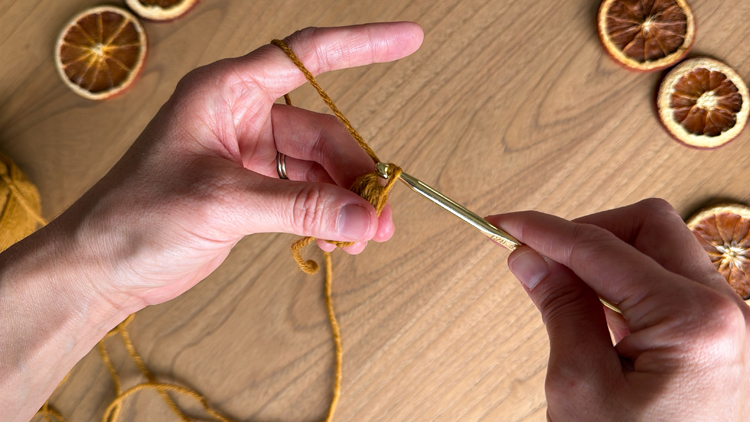
- Yarn under*, hold the yarn under loop in place with the index finger of your hook hand, insert your hook into the same chain, yarn over and pull up a loop to match the others.
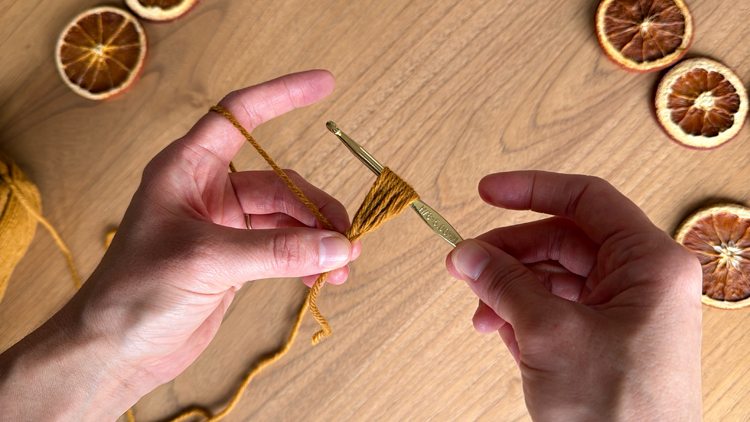
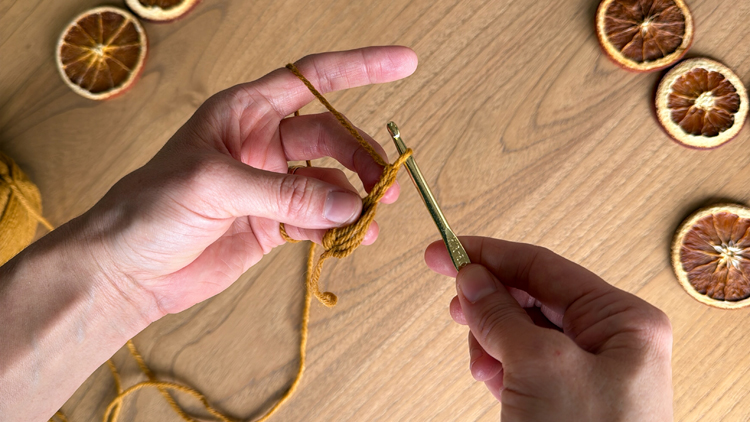
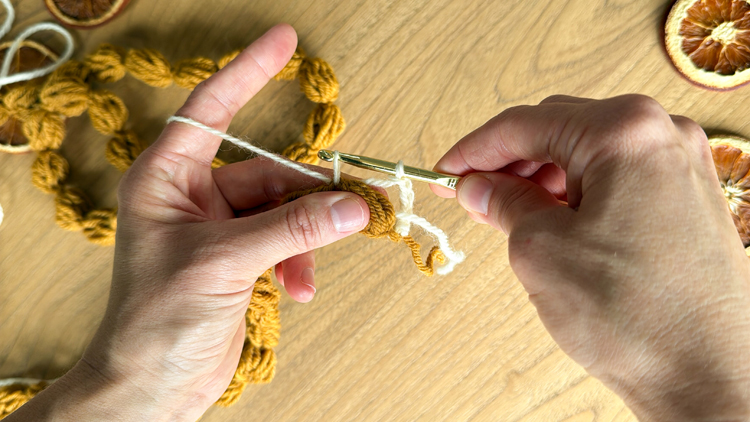
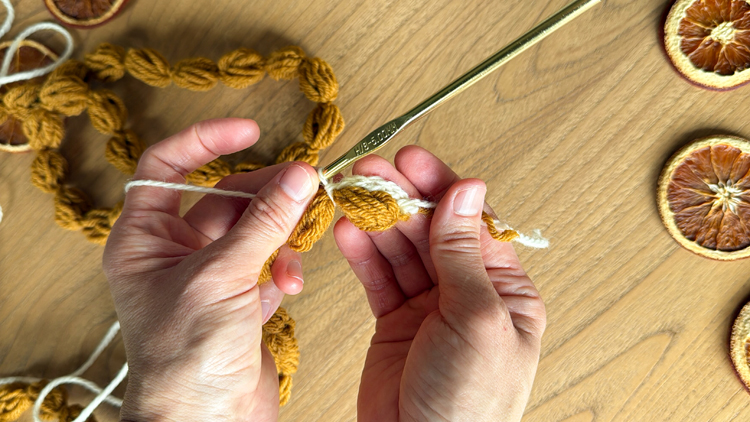
- Repeat the yarning under and pulling up a tall loop process, three more times for a total of four. You should now have 9 loops on your hook.
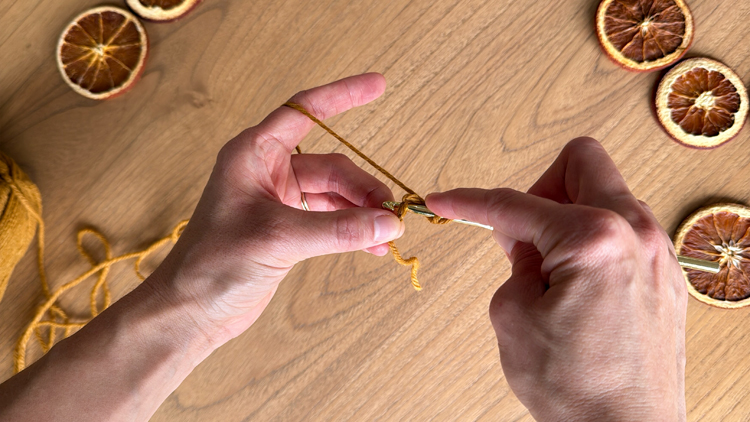
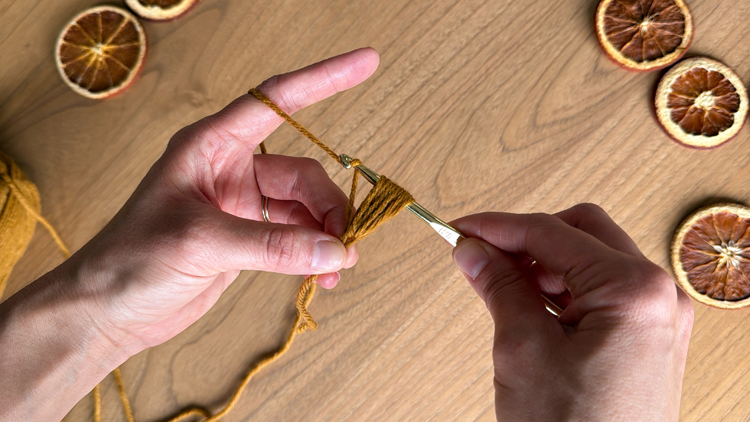
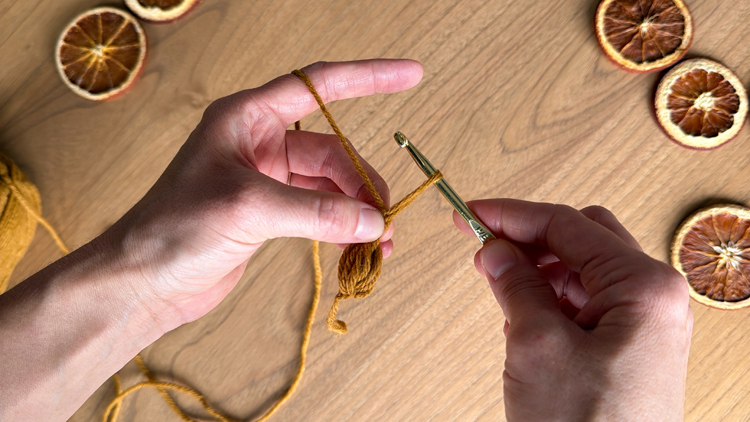
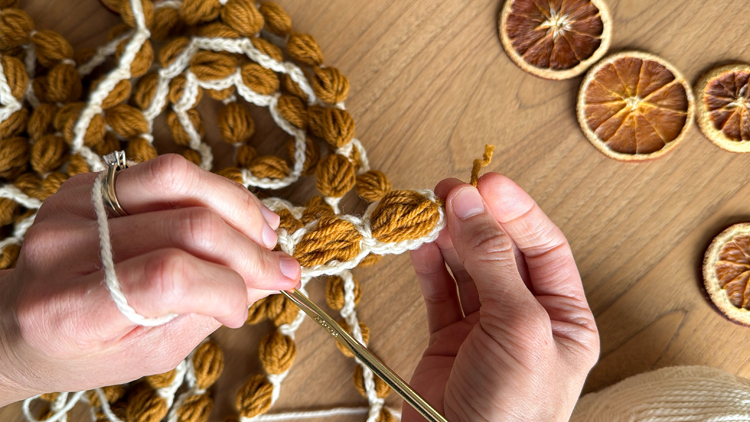
- Yarn over and pull through all 9 loops. Chain 1 to secure the bubble puff stitch.
- Now repeat working bubble puff stitches until you run out of yarn.
*NOTE: See the video for more clarification on yarn over vs yarn under. You can technically do a more typical yarn over (grabbing the yarn from the front of the working yarn), but I have found it to be a little easier to do a yarn under.
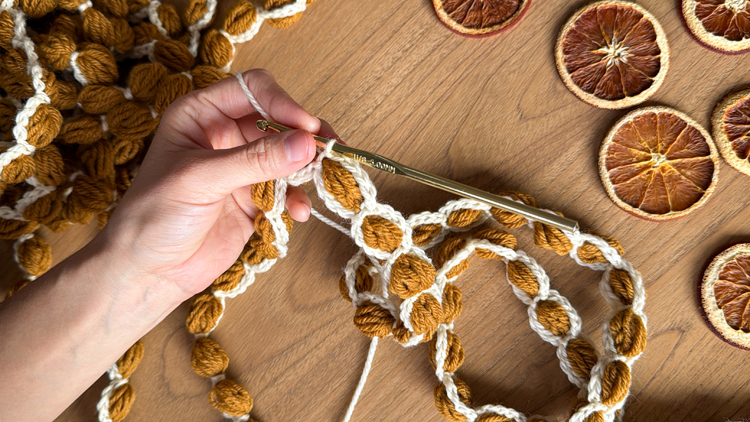
CHAIN OUTLINE

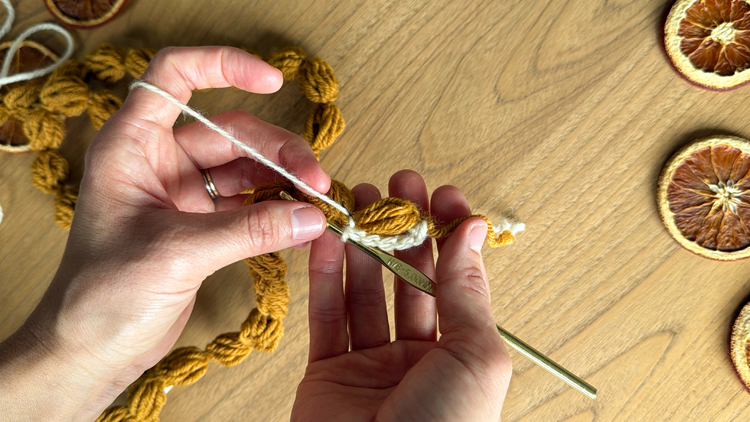
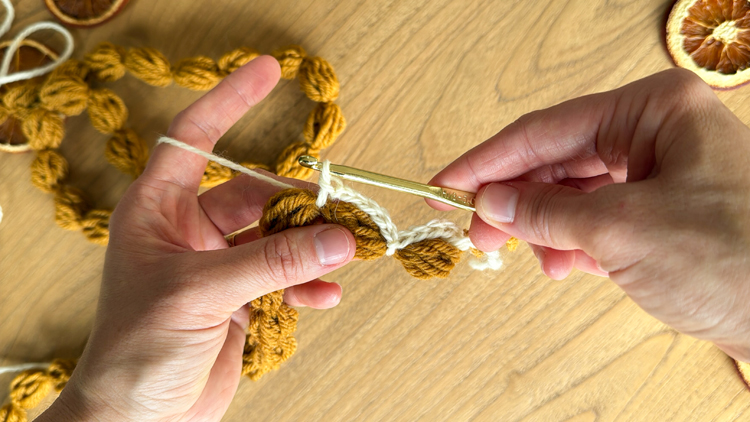
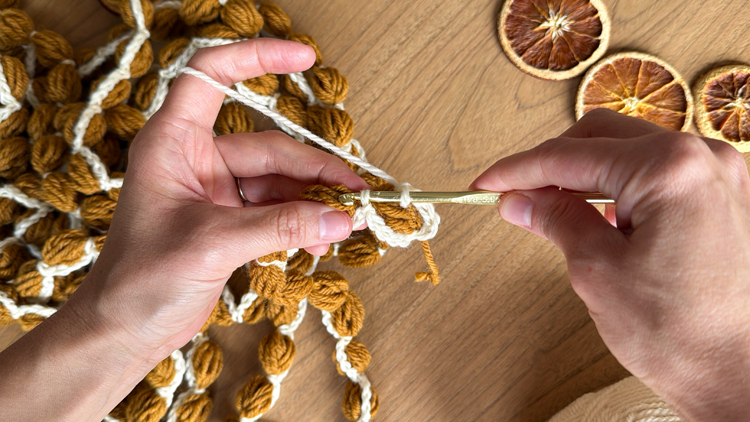
- Leaving a 3 inch tail, tie a slip knot with the contrasting yarn and insert your hook. Insert your hook into one of the chains at one end of the bubble puff garland and work a slip stitch.
- Chain 5 over the bubble puff, then slip stitch around the first chain space between the bubble puffs. You will not be slip stitching into any stitches, rather around the the chain space. (See the video if you need more clarification.)
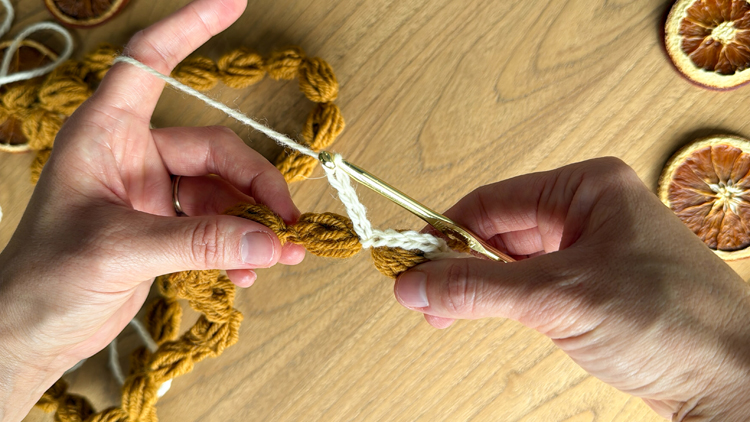
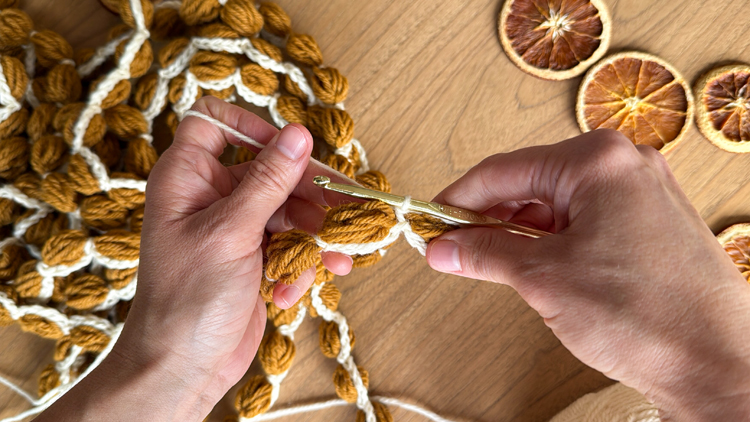
- Continue to chain 5 over each puff stitch and slip stitch around each chain space for the rest of the garland, thus “outlining” one side of the puff stitch garland.
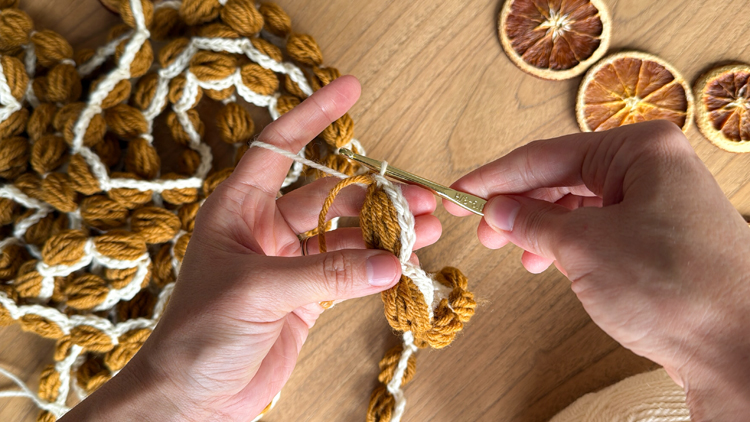
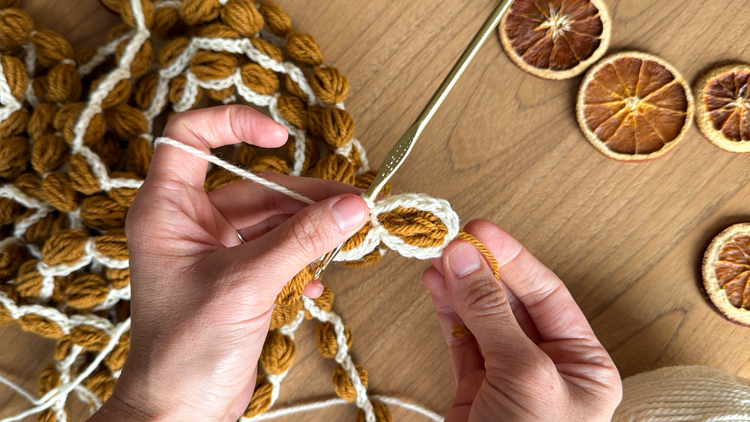
- When you get to the other end of the garland, slip stitch into the ending chain, then turn.
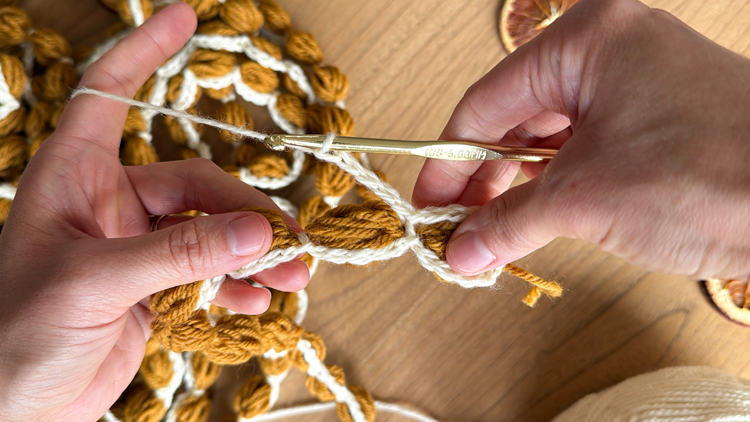
- Now “outline” the other side of the garland in a similar way. Chain 5. Then instead of slip stitching around the chain space, this time, slip stitch into the slip stitch from the other side. (See the video tutorial if you need more clarification.) This ensures the garland looks good from both sides.
- Once you reach the end of the garland, slip stitch into the starting slip stitch of the same color yarn. Tie off your end, leaving a 3 inch tail.
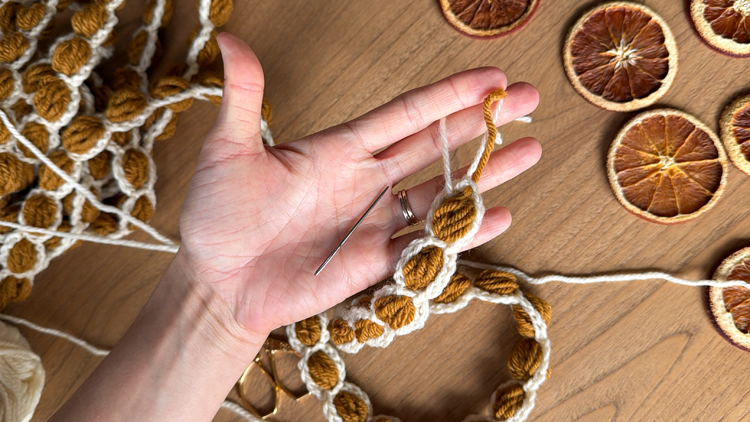
7. Weave in all the tails.
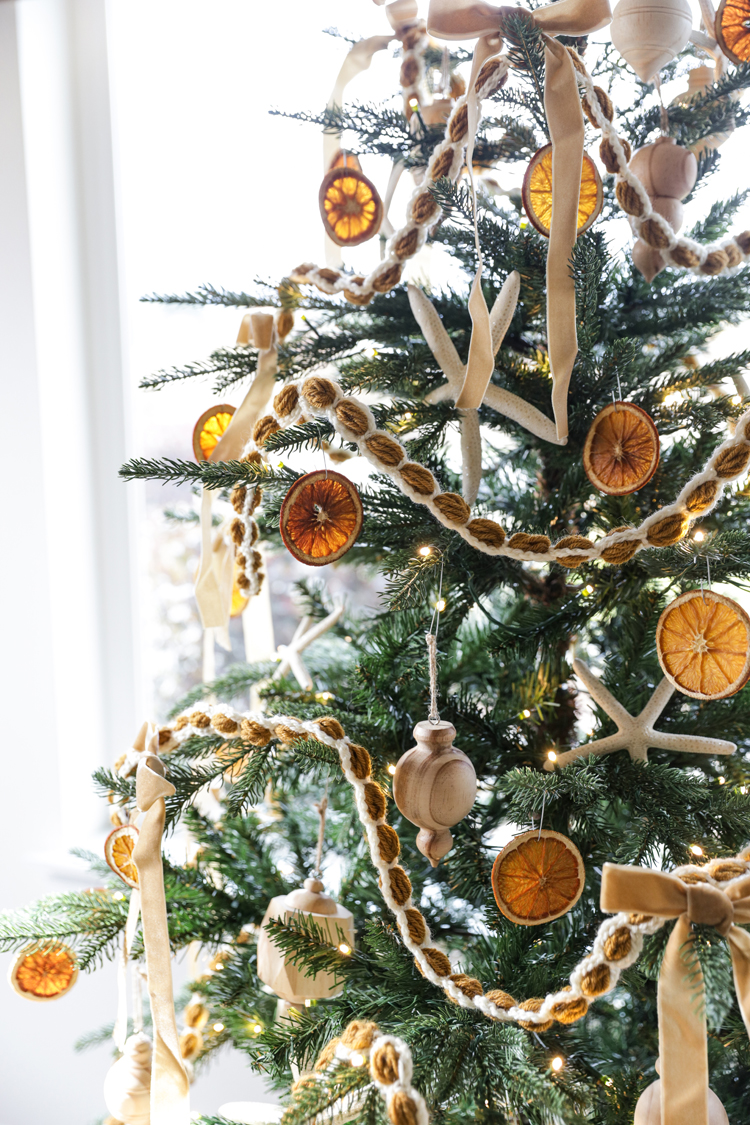
This is important because unless you have a 3 foot tree, you will likely need more than one garland. If the ends look mostly tidy, you can connect them with an ornament hook and nestle them into the branches for a nearly seamless look. I included a clip of how it blends into the tree at the end of the video tutorial.
Easy peasy! Hang and enjoy!
My favorite part about my other crochet garlands is seeing everyone else’s versions. I am especially excited to see different color variations from you guys, so please tag me on instagram (@deliacreates) so I can see and share your creations!
Hi! I am not seeing a video pop up anywhere. I tried my phone and computer and nothing is coming up.
The video is run through my ad network and will look like a pop up ad at first because every video starts with ads. If you x out of it, you have to refresh the page to get it back. If you use an ad blocker, the video will not show.
If none of those things apply, let me know and I’ll try to troubleshoot what might be happening.
Hi! I’ve been so excited to create this garland! But I can’t seem to get past the first puff 😩 For some reason I cannot seem to stop my very first chain from expanding as I pull up a long loop each time. So each long loop is progressively smaller and smaller. It’s not giving me a singular balanced puff. I’ve tried adjusting my positioning and how I’m holding it, but nothing is working! Can you help me figure out what I’m doing wrong? (I’ve been crocheting for years, so I’m especially baffled why this seemingly simple pattern is getting away from me.) Thanks so much!
There are a few things you can try. You can try working an additional chain before the puff stitch. This may help it hold it’s size better. I’ve had some readers decide to do that for the entire garland. So work 2 chains between puffs.
I do offer some troubleshooting tips in the video tutorial as well. One of those tips talks about pinching the chain with your non-hook hand and then very quickly, right from the pull through pulling up a loop. There is something about pulling it quickly with no delay that helps the loop come up correctly. I am not really sure why any hesitation or waiting makes the loops get stuck and come up shorter, but in my experience, it just does. So, yarn over and pull through with tall loop quickly while yanking your hook hand wrist to the right kind of aggressively. That limits stretching on the chain and makes the loop come up tall. If you make the loop too tall it is much easier to pull it down to the right size than to add more height.
I hope this helps. If you need more troubleshooting help, message me on instagram. I’m @deliacreates over there. I can help you one on one in the direct messages. Sometimes instagram doesn’t notify me of message requests until waaaay later, so if you don’t hear back in a day or so, you can email me to let me know the message is there. My address is [email protected].
Amazing, thanks for the response! You’ve encouraged me to press on. 💪 I had trouble getting the video on my phone but was able to watch it on my laptop and found it helpful. I am experiencing more strain in my non-hook hand as I’m trying to keep things even, but I’m pressing along with it and hoping things will smooth out the more practice I get with it. I also imagine the contrasting border will smooth things out visually in the end.
Thanks for being so accessible and open to helping! I so appreciate it and will reach out if anything else comes up.