

A recurring theme in my garden is experimentation. So much of what I do in my garden is something I’ve never tried before, whether it be a new plant variety or outdoor projects like installing a paver patio flooring for the first time in my greenhouse.
I love that the stakes and expectations are low and that my mistakes can mostly be turned into charming character. 😉
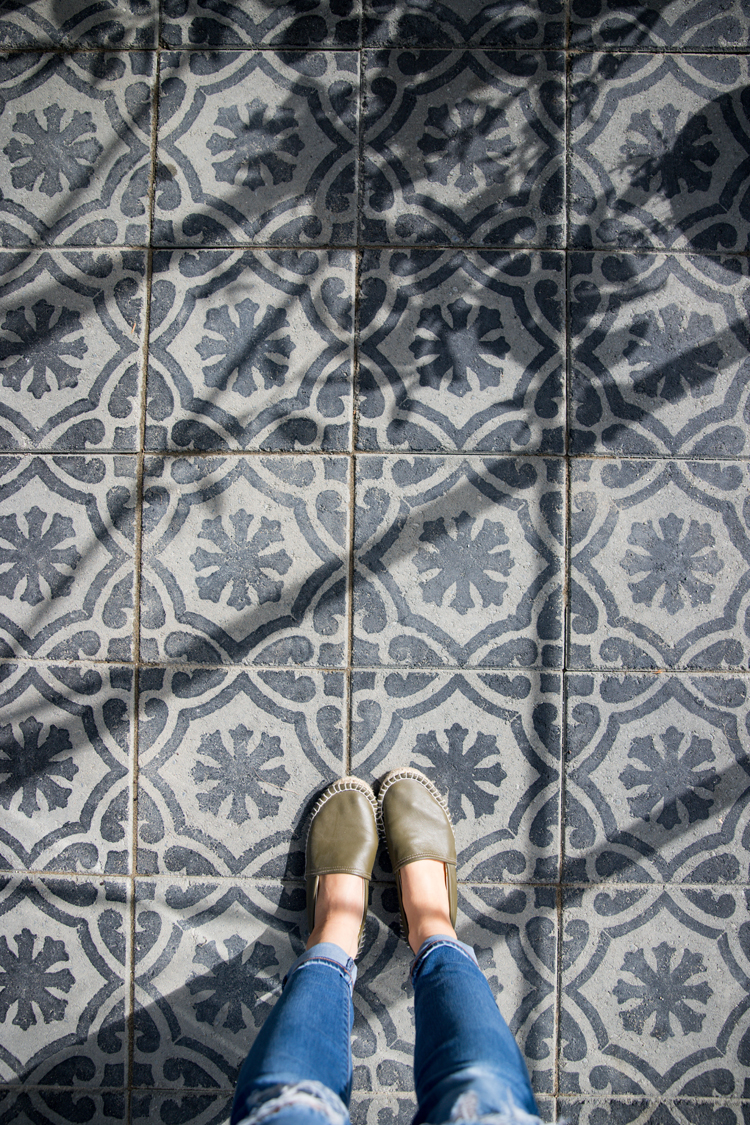
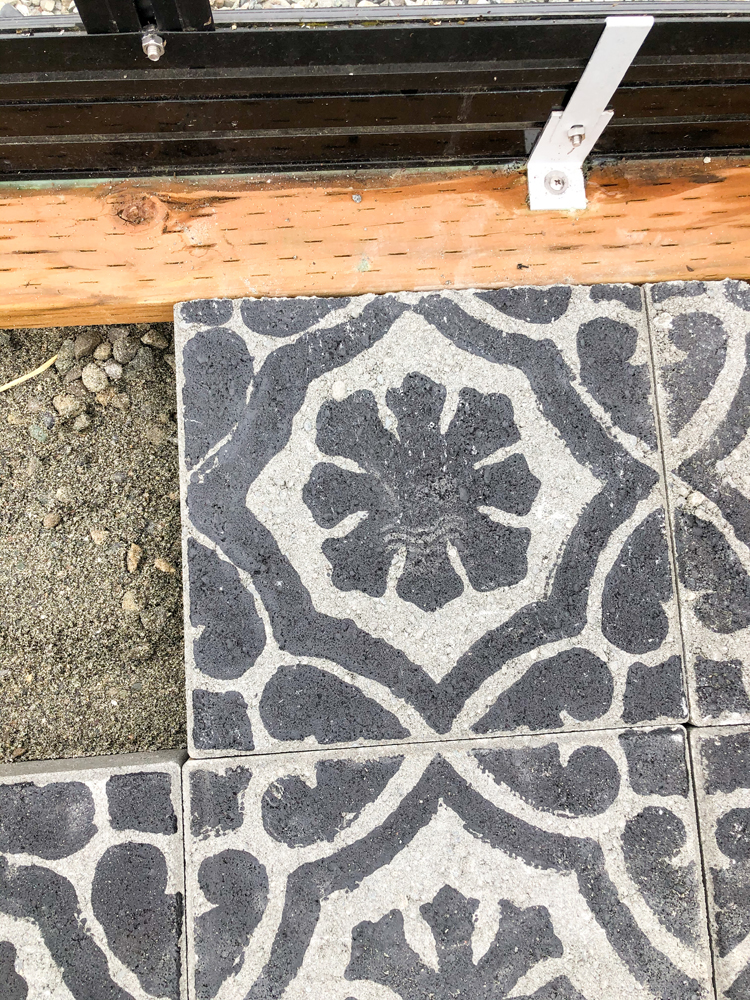
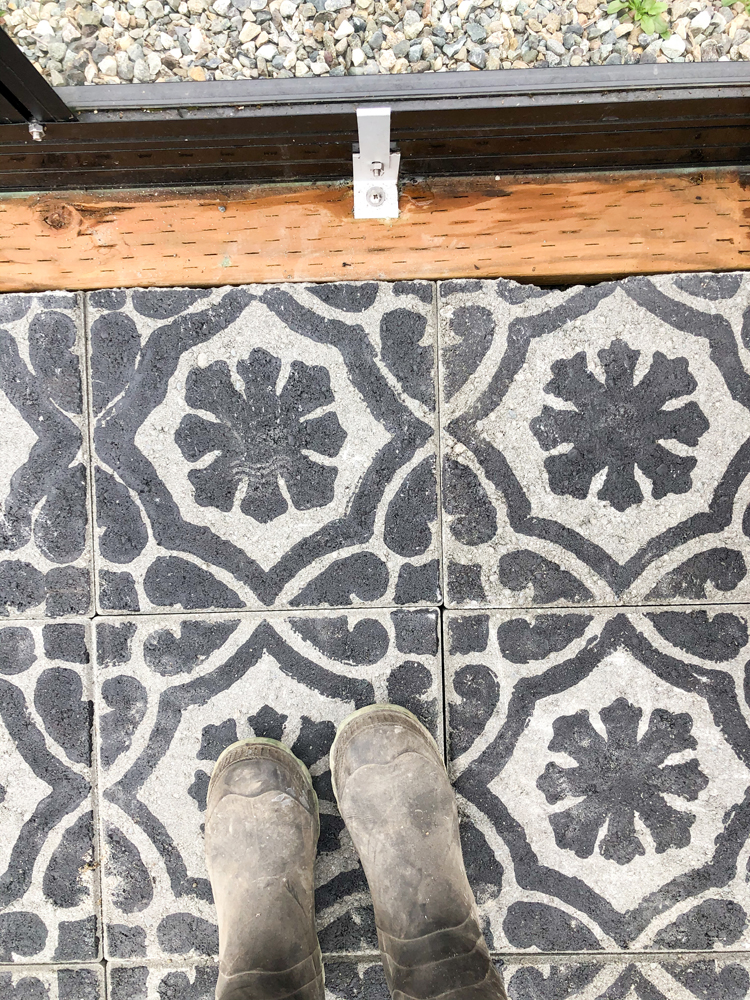
I took inexpensive garden pavers/stepping stones from Home Depot which cost $1.48 each, stenciled them with a garage epoxy paint to make them look like large tiles, and installed them down the center of my greenhouse.
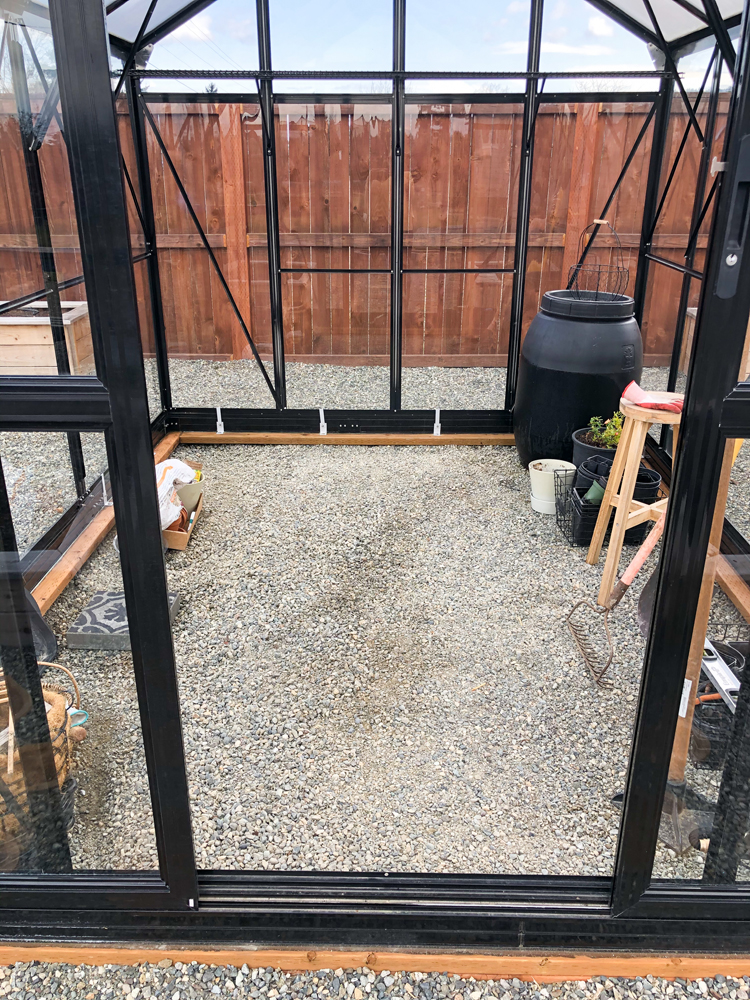
BEFORE
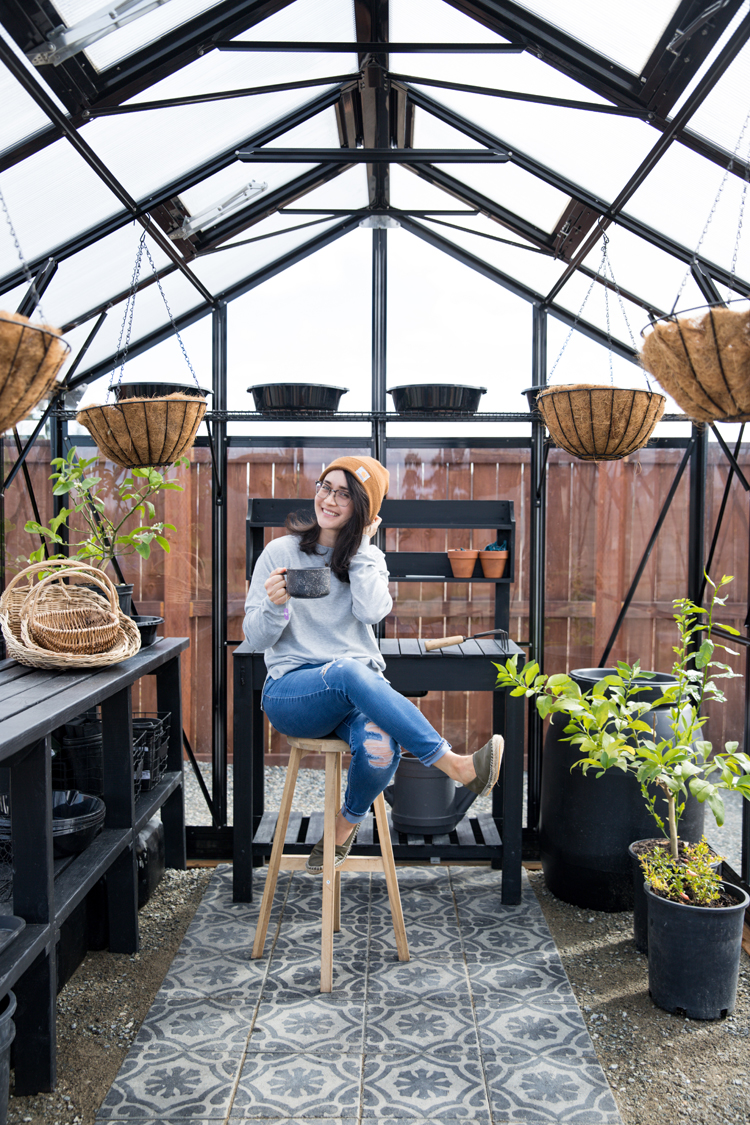
AFTER
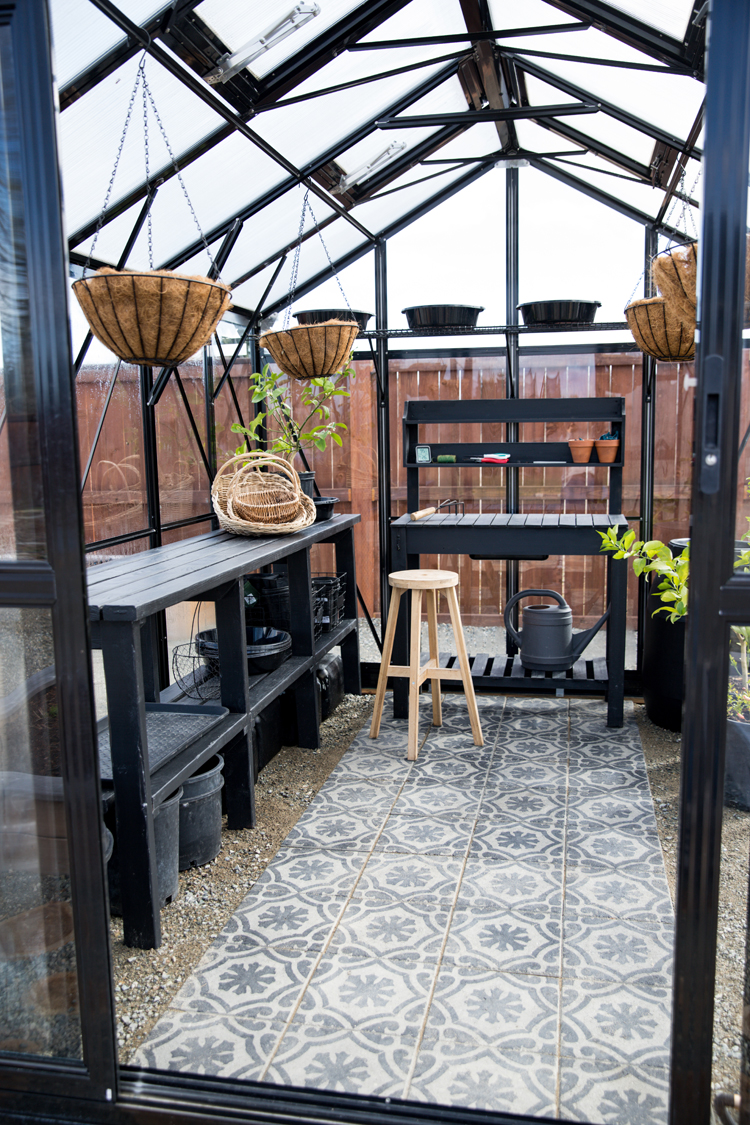
It’s hard to compete with the greenery in that before shot (can’t wait for to fill up this greenhouse!) but I think the flooring makes it look more complete. It also makes stepping in and out of the greenhouse much easier. I have plans to roll out my yoga mat in here too now that the ground is even.
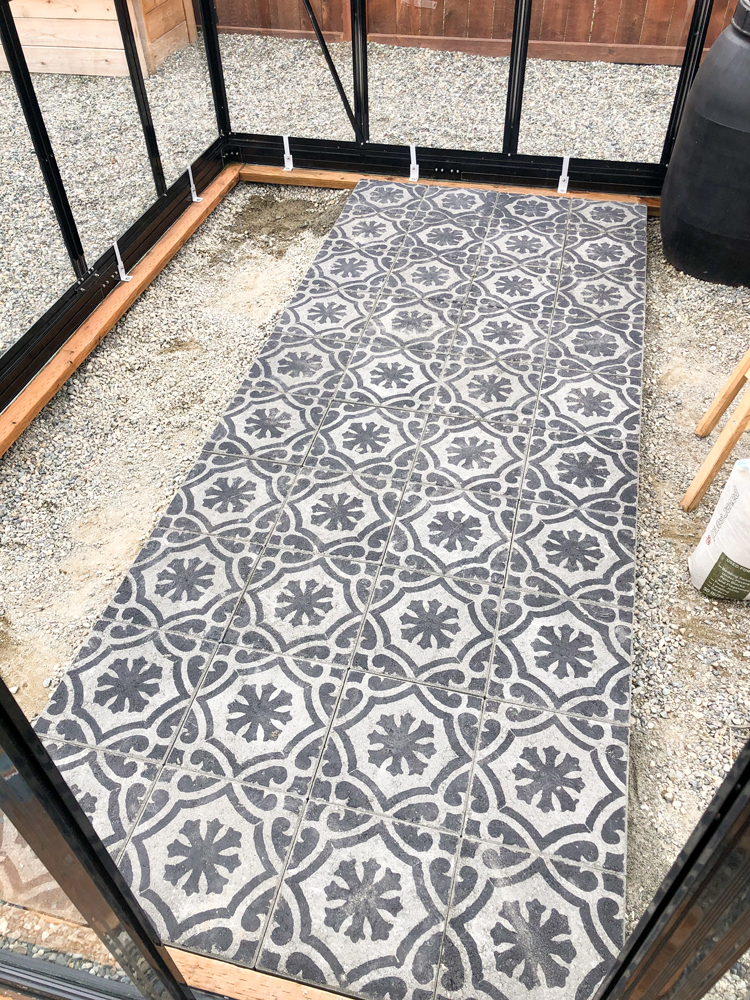
I only tiled the walkway and left the sides open for gravel so that I could still reap the benefits of good drainage beneath where most of the plants will be kept. It also allowed me to save some money by focusing the pavers to the area where they offer the most visual impact.
DISCLAIMER: I know not everyone is going to be working with the same sized greenhouse and parameters that I’m working with. I’ve included notes about the process that will hopefully help you adapt this tutorial to your needs.
BEFORE WE BEGIN BECAUSE I GET ASKED ABOUT OUR GREENHOUSE A LOT: I bought our greenhouse from a local supplier who unfortunately only services Western Washington. Palram has a similar one in their Glory line (not the hobby line).
MATERIALS
- 12×12 inch concrete stepping stone pavers
- Garage epoxy paint
- 12×12 inch stencil*
- Paint roller or brush
- Paver sand
- Crushed gravel (with “minus” that promotes compaction)
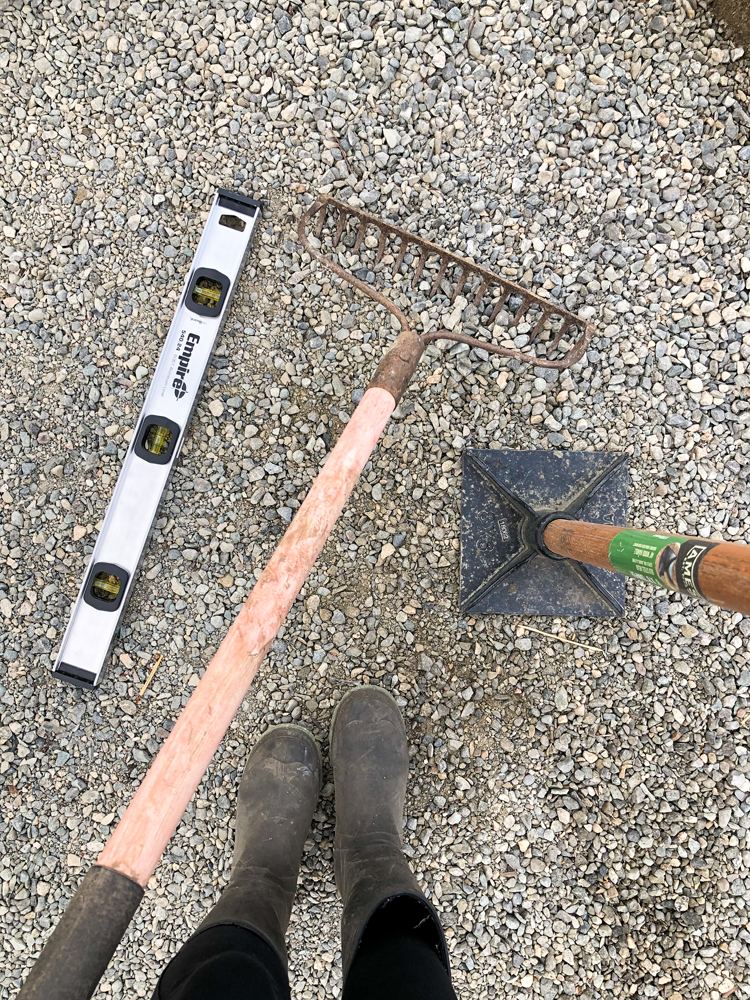
- Level
- Rake
- Hand tamper
- Outdoor broom
- Optional: Cold chisel and hammer if cutting pavers
Note:
Our whole raised garden bed area, including the greenhouse, is built over land that we scraped/leveled, laid with professional grade weed fabric (that allows for drainage), and has been covered with 3 inches of crushed granite gravel with “minus” that promotes compaction. So the foundation of our patio type flooring was already pretty much ready to go.
*I found this stencil on Amazon. You have to pay for shipping which would usually turn me off on buying it (ha), but I love the design and couldn’t find another one I liked as much. It’s not the most cost effective, but if you really want the same design, here’s an affiliate link: https://amzn.to/3d8OyOl.
VIDEO
If you prefer to see things come together via video, I put together this quick overview of the project for social media. If you scroll past it it will pop to the side so you can watch as you read.
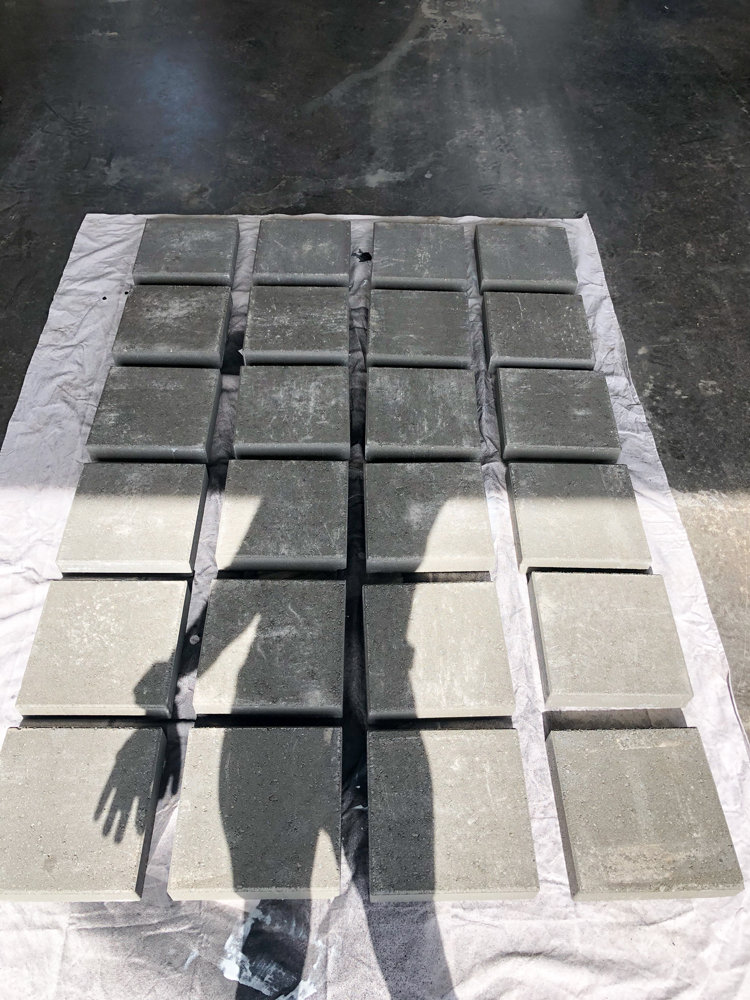
STEP ONE: Paint Pavers
Paint
I was going to use outdoor paint and a sealant over the tops of the pavers, until the employee at Home Depot recommended this Concrete & garage floor epoxy. Always game for saving a step, I thought I’d give it a try.
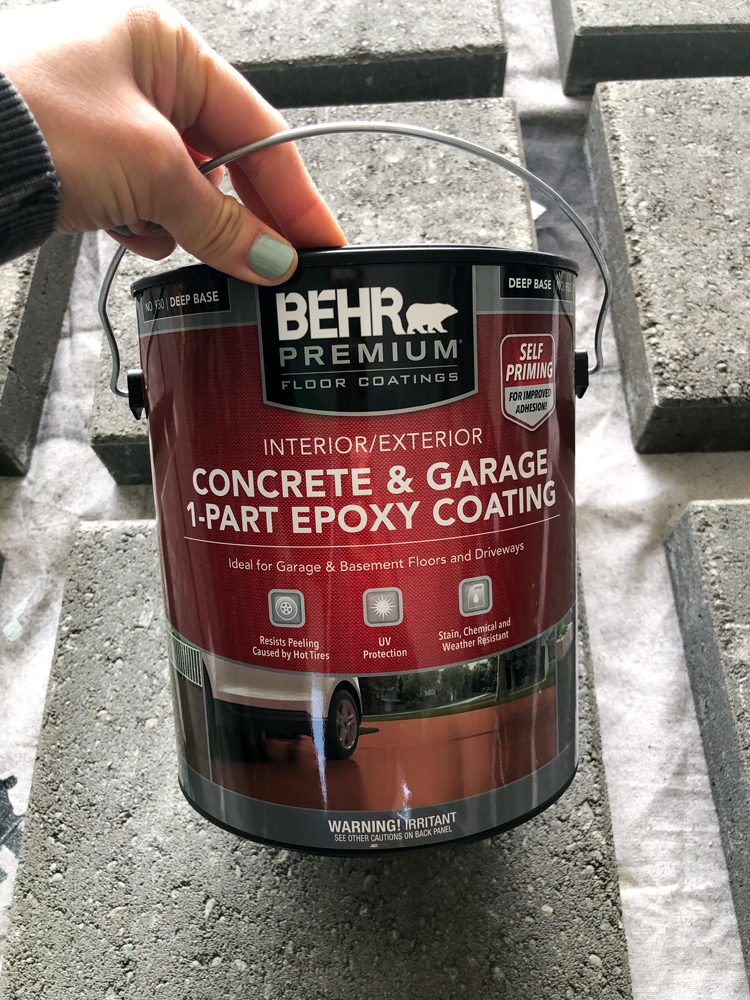
Here are my thoughts:
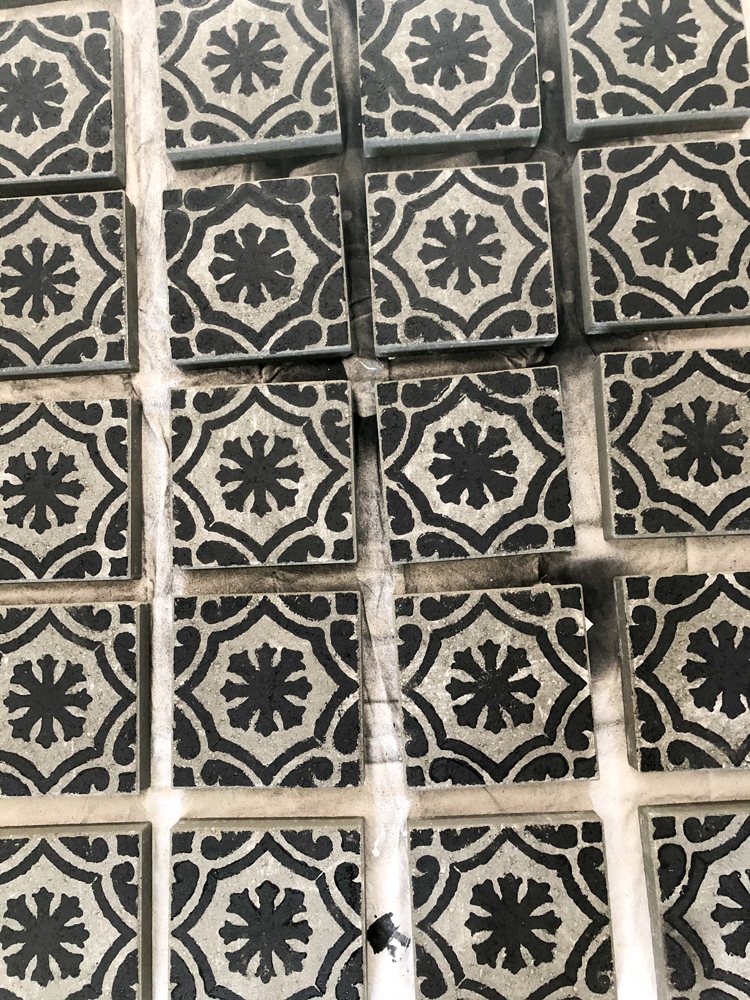
- The paint worked with the stencil pretty well.
- The coverage was excellent. I only needed to do one coat. I used a quarter of a gallon for 40 pavers and still had some left over in my paint pan.
- I didn’t prep the pavers at all and I didn’t wait a full 7 days of curing (I waited more like 3-4 days) before I rubbed sand over them in the installation process. This may be why they look a bit hazy. I think it works in this context though.
- I’m glad I used it and would use it again for pavers.
Pavers
The pavers are listed as 12 x 12 inches but as you know, that doesn’t always mean they’re actually that size. These pavers are actually 11.6 inches by 11.6 inches. They are smaller than the stencil, but I just tried my best to center the stencil and I think the designed still worked out fine.
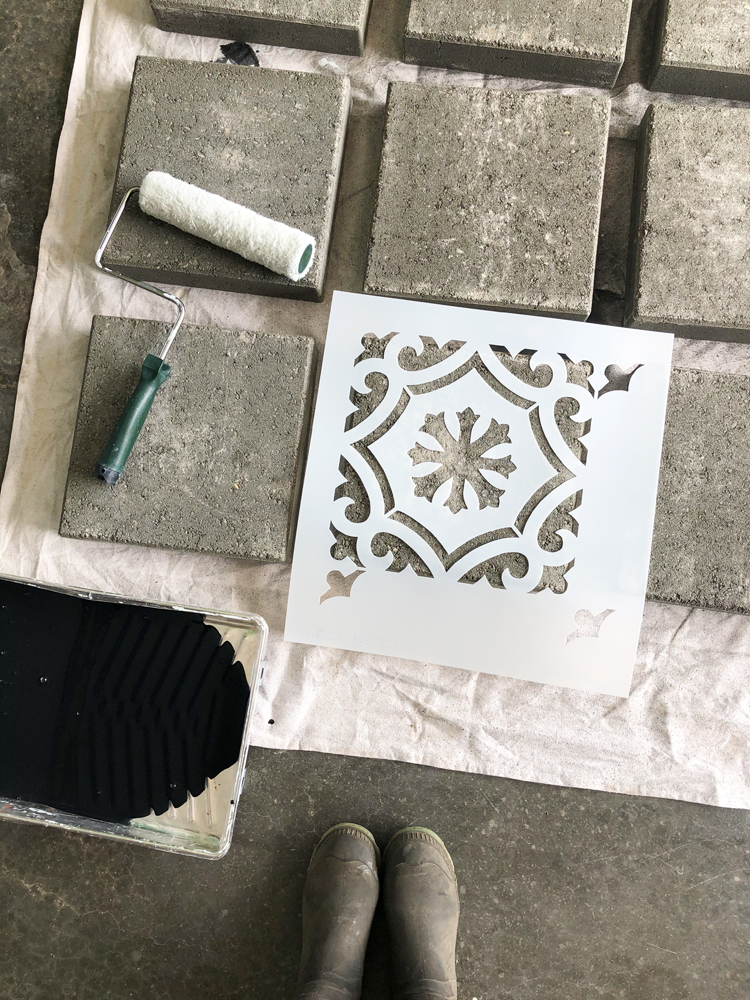
Stenciling
This was my first time stenciling something on this scale so I learned quickly that you either:
– …want your roller to be well but evenly saturated so that you can take a light hand (don’t smush or press too hard) over the stencil and paver.
OR
– You want a slightly dry roller/brush that you can run over your stencil/paver with more pressure.
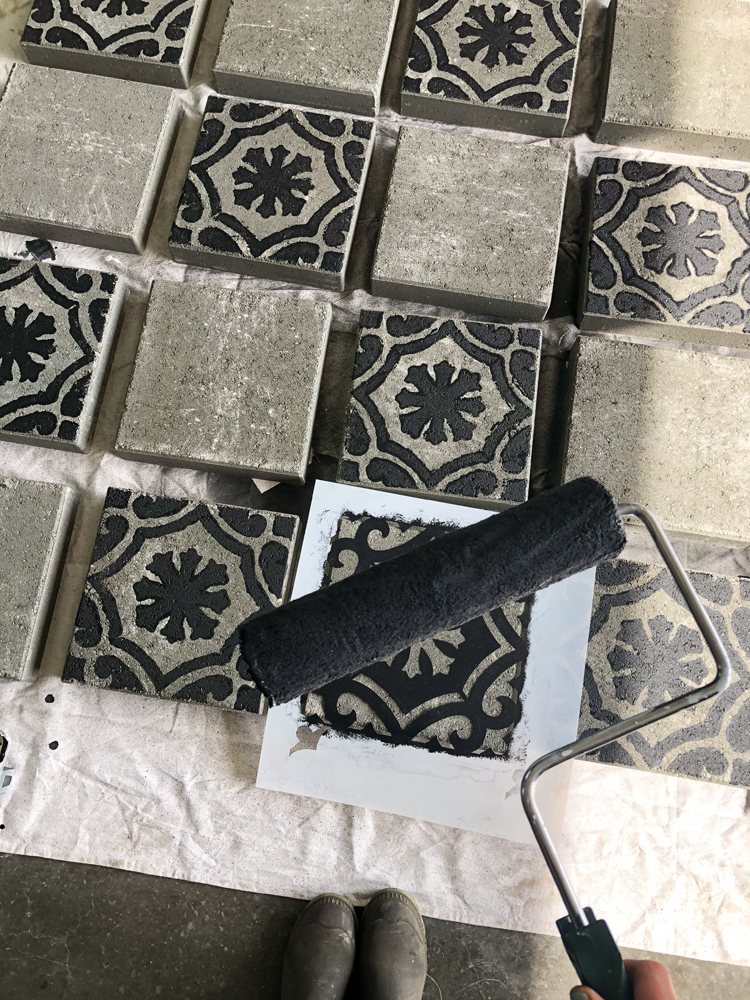
You can see that I smushed and smudged quite a few pavers before I figured this out. But I’m not worried! The over all design still came together nicely.
I used a large paint roller with a coarse nap because it was easier and faster, but I think a small stenciling brush would have given a more precise finish.
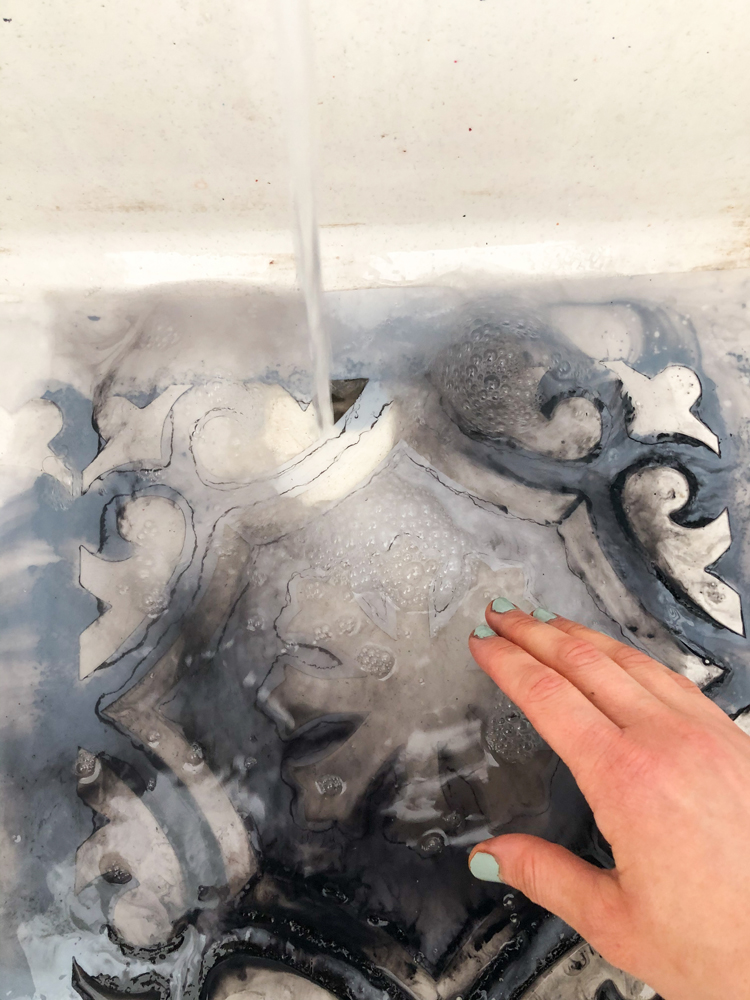
TIP: I also found it helpful to wash the stencil off every few pavers to limit smudges. I just had to make sure to dry the stencil well because a wet stencil can cause running and smudging as well.
STEP TWO: Preparing for Installation
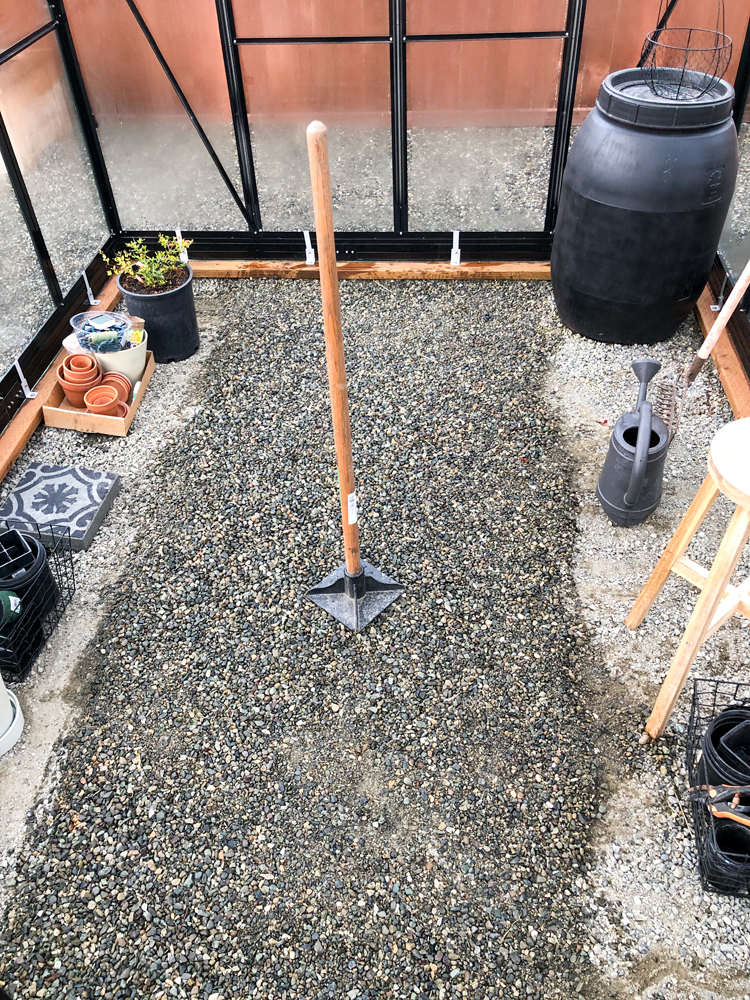
Gravel Base
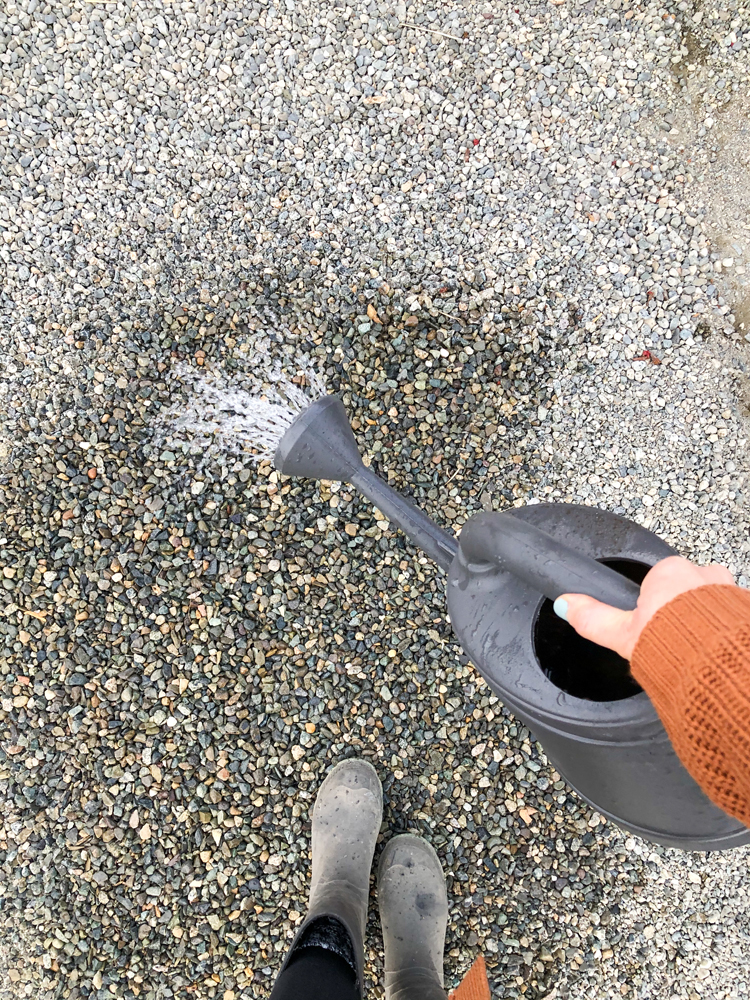
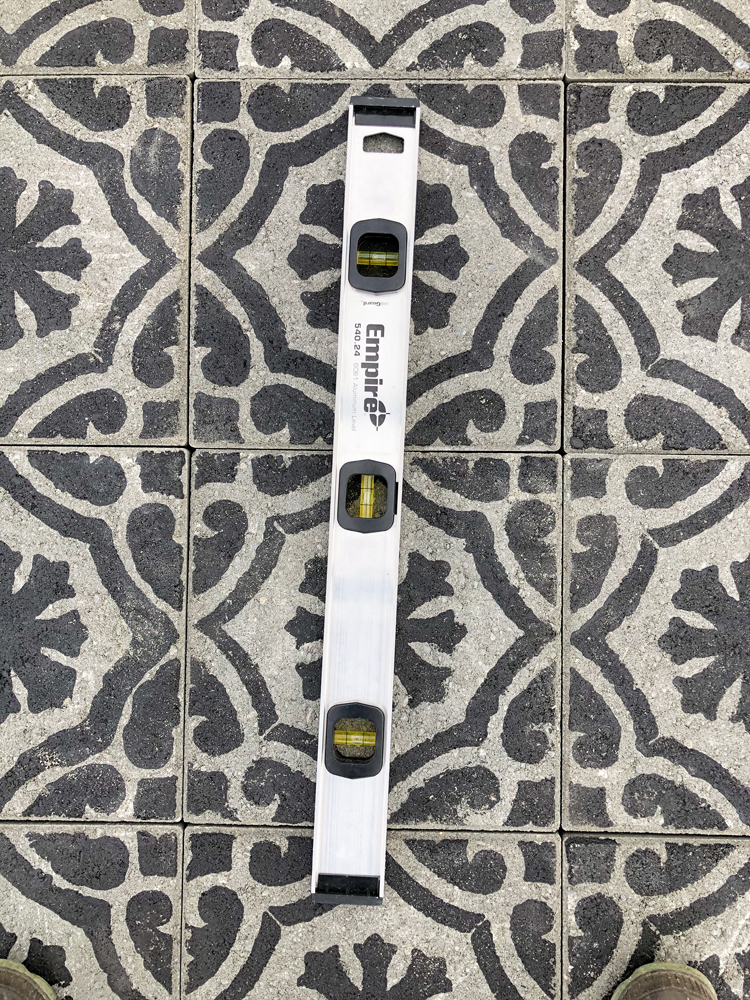
I wanted my pavers to be level with the wooden greenhouse base, so I built up a sturdy gravel foundation and made it as level as possible, wetting and hand tamping it as I went. Because I was working with a small area, I was able to do a lot of eye balling and checking with my 2 foot level. I didn’t stress about make it perfect, because I knew sand would help level out small imperfections in the next step.
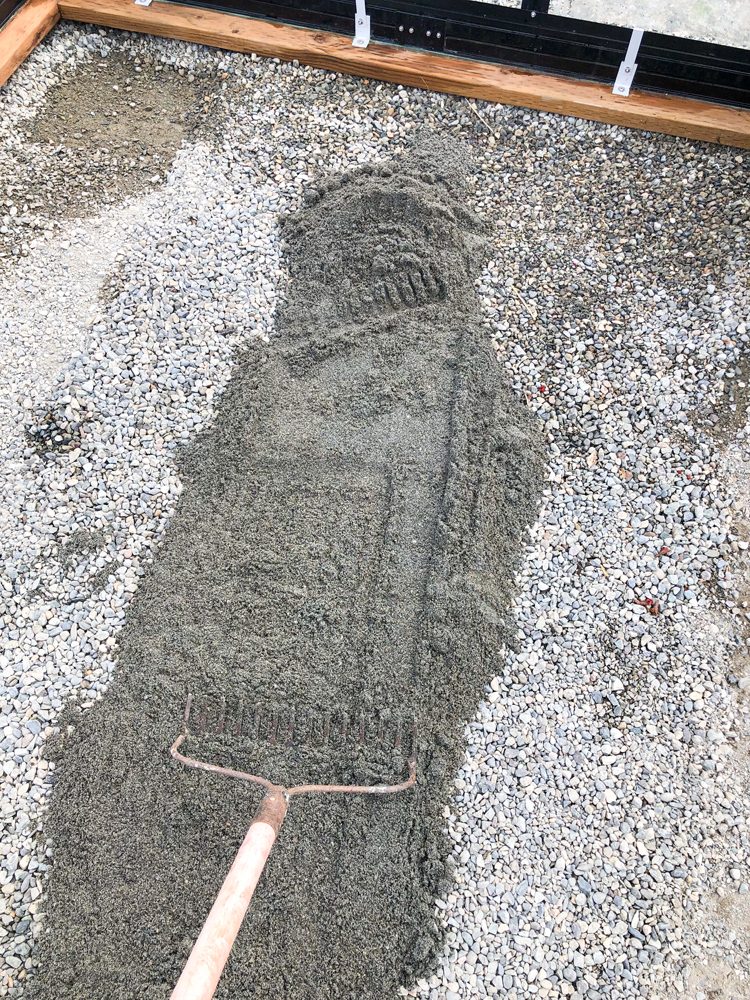
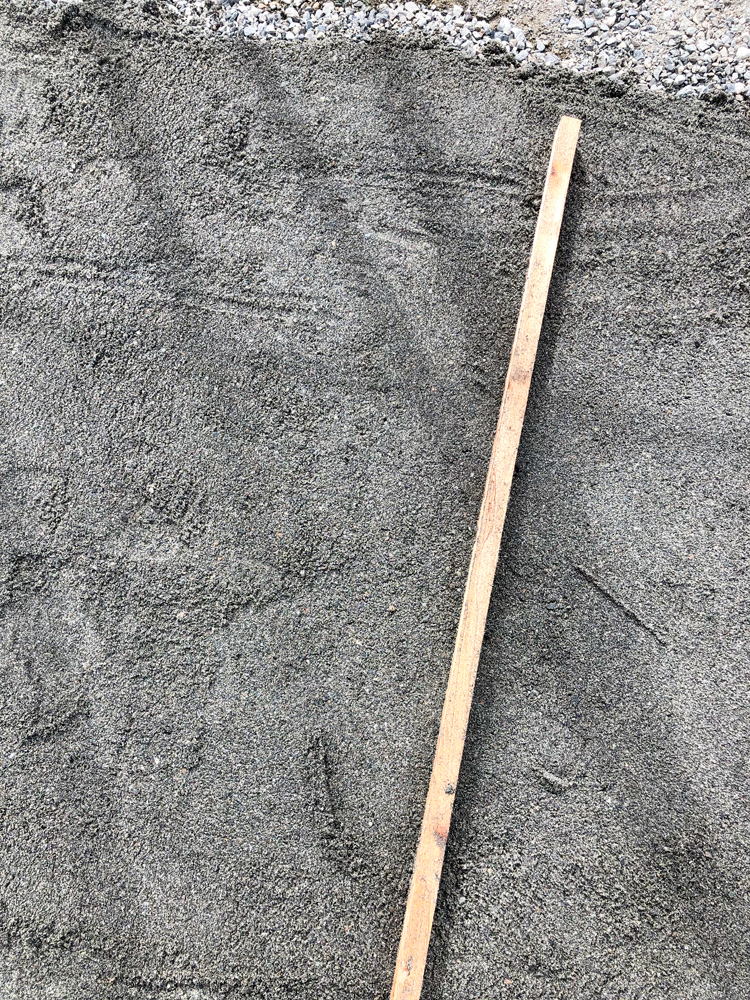
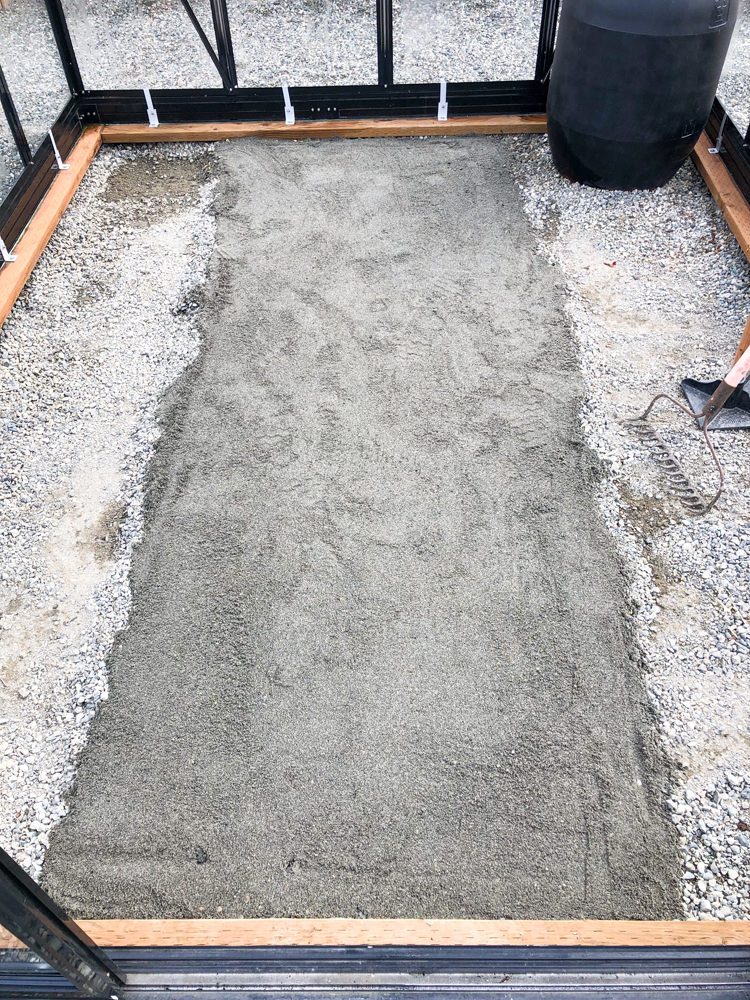
Sand
I got three bags of paver sand and laid not quite an inch of sand on top of the gravel base. I’ve seen with traditional patio installation, that you install pipes and run a flat board over it to ensure the layer of sand is even. Because either side of my patio wasn’t getting paved, I just stood on the side and smoothed it out.
Again, I didn’t worry too much about perfection because I knew I would be making some slight adjustments when I laid the pavers.
STEP THREE: Paver Installation
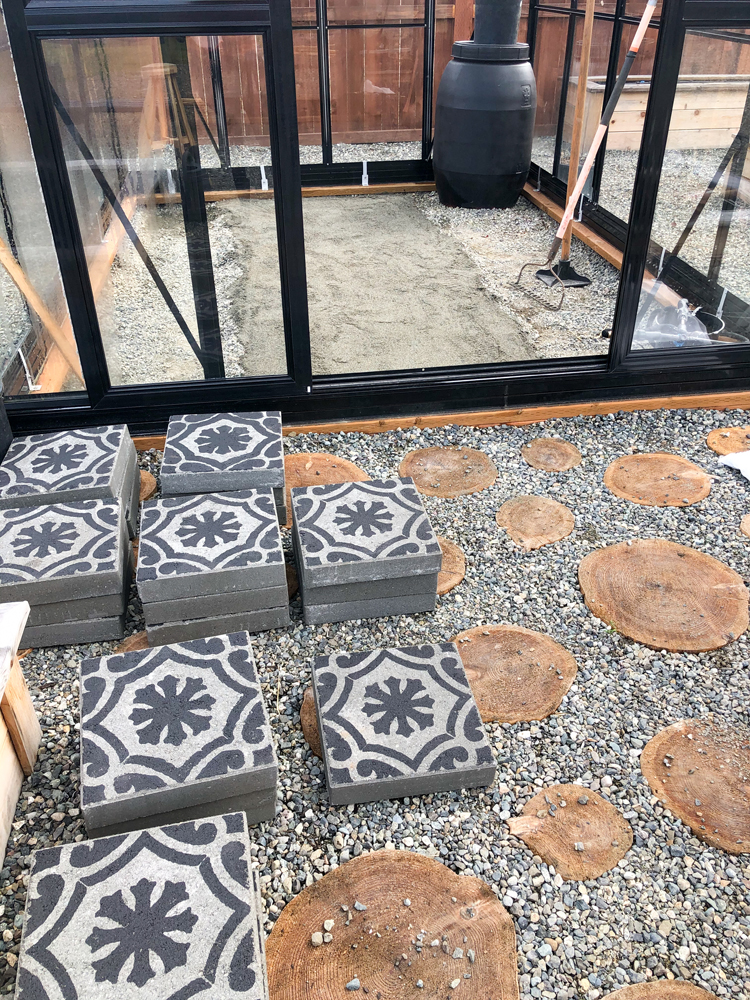
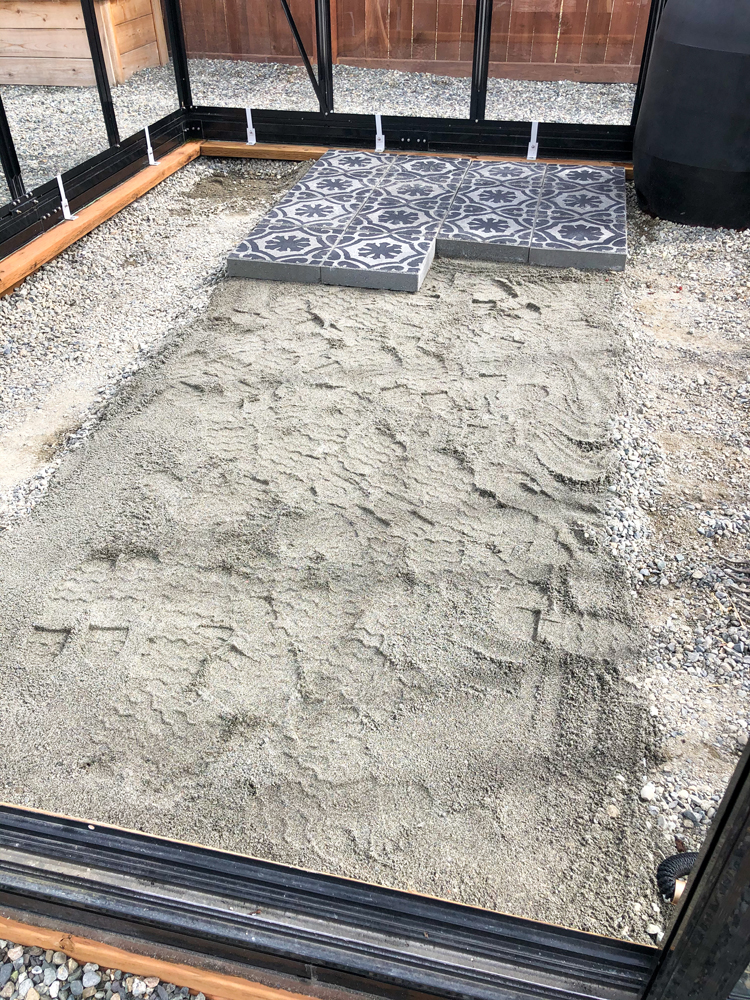
Placement
I started laying the pavers, checking that they were as level as possible as I went. I started at the back at first, but then pulled them and laid them again, starting at the entrance so that the best pavers were the most visible.
Even though I had measured several times, I underestimated how much slight gaps between the pavers would add up. So, my last row of pavers were about 3/4 of an inch too big.
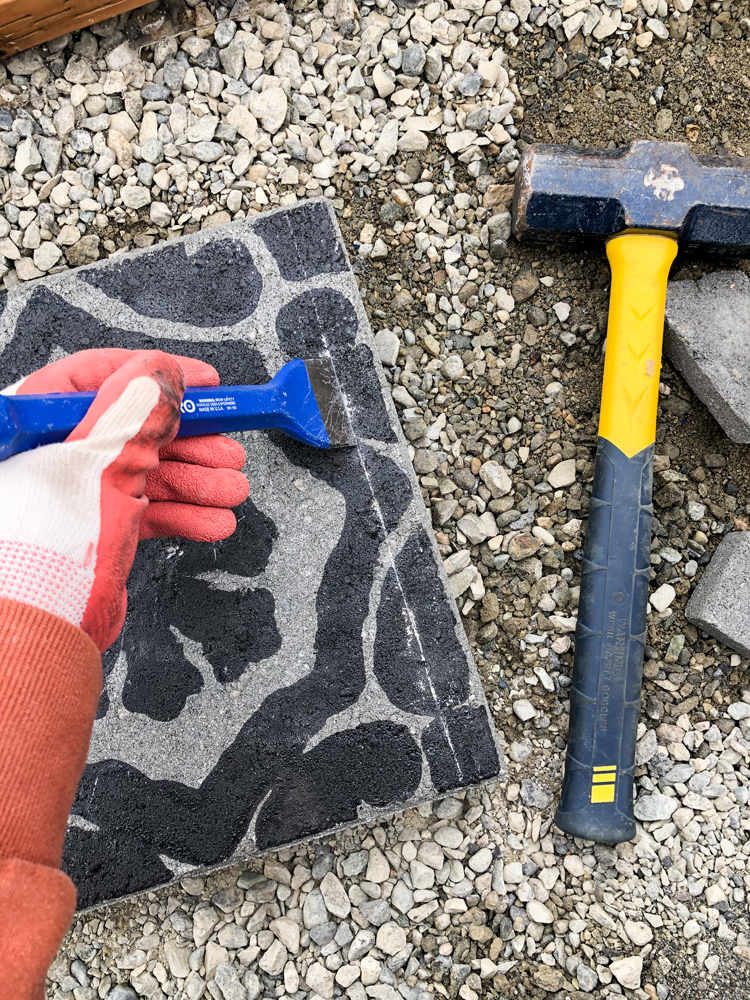
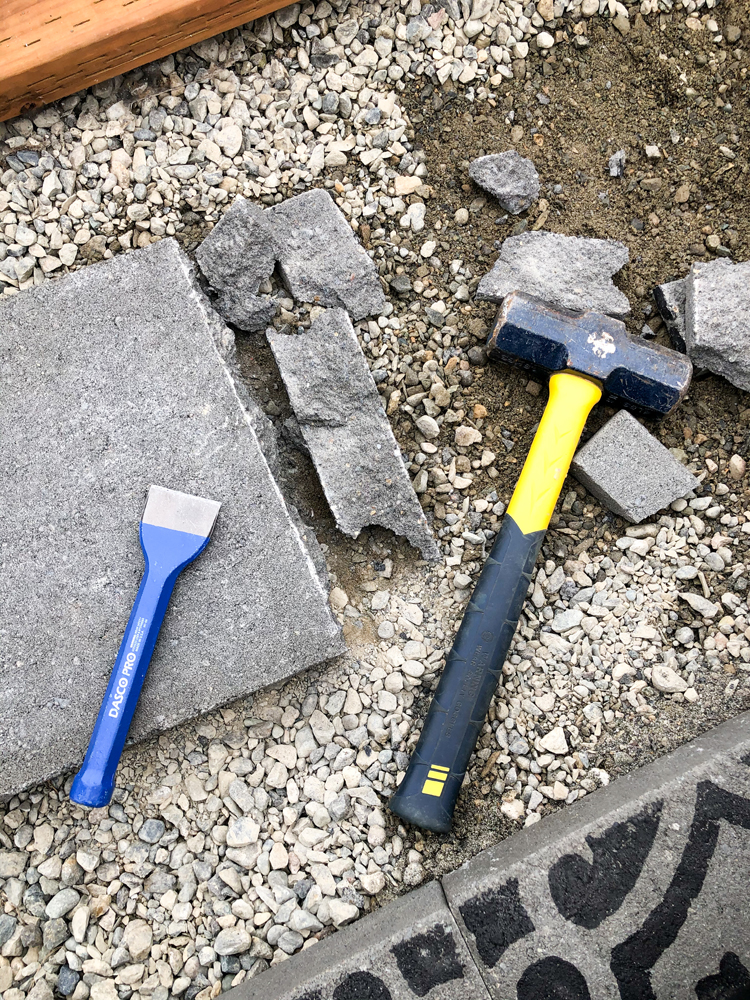
Cutting Pavers
I cut them with a cold chisel and a small sledge hammer (you can use a regular one but a mini sledge saves some hand fatigue). I won’t give a full tutorial here, but you basically mark a line where you want to cut the paver all across the top, the sides, and the bottom. Chisel along that line, scoring just a little bit away at a time and repeat the process many times until the end of the paver starts to break away. Then chip it off with harder hits and clean up any jagged edges with your hammer and chisel.
You can see that my first paver didn’t cut as cleanly as my others. I simply filled this gap with sand and you can’t really tell. It also helps that my potting bench went over the top as well. 😉
Filling in Sides
Once all my pavers were in place. I filled in the sides with more crushed gravel so it was even with the pavers. I compacted it with my hand tamper and added more until it was even…kind of like brown sugar.
Not only does this level out the rest of the ground in the greenhouse, but it offers additional stability to the pavers. It looks like sandy mud right now, but as time wears on, the fines in the gravel will settle and the larger, prettier rock will remain.

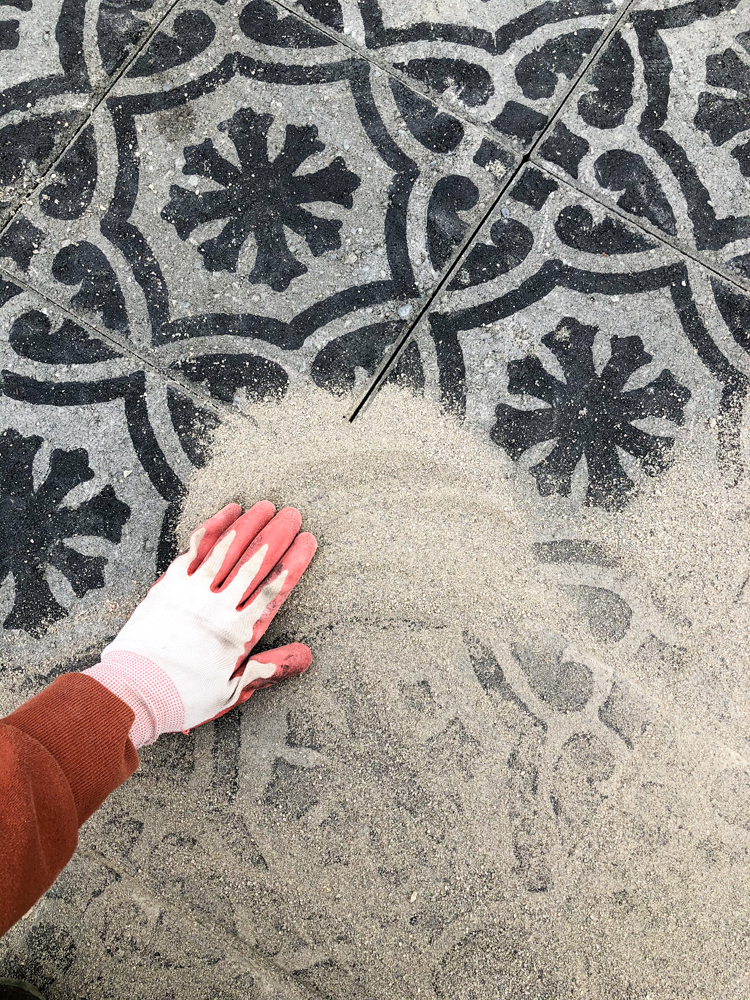
Sand Grout
After double checking to make sure pavers were level (well mostly level, I wasn’t as worried about perfection in here), I laid DRY sand over the top of the pavers. I emphasize dry, because this doesn’t matter too much for the sand layer under the pavers, but it does for this step.
Using a gloved hand and an old outdoor broom, I rubbed the sand into the cracks over and over again until they were mostly filled with sand.
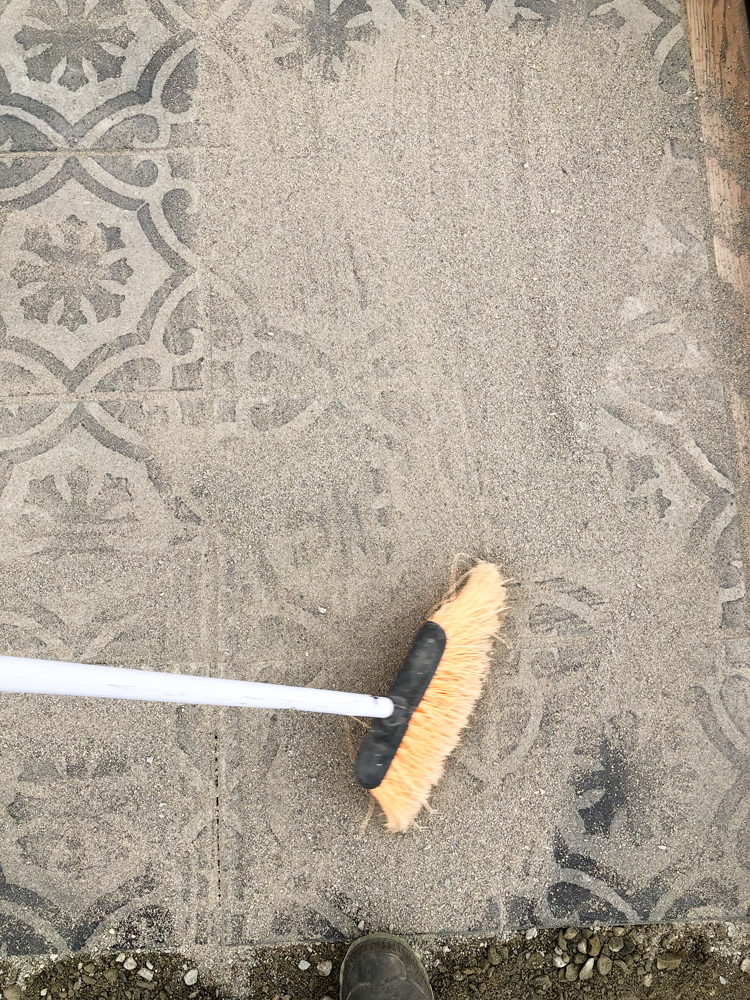
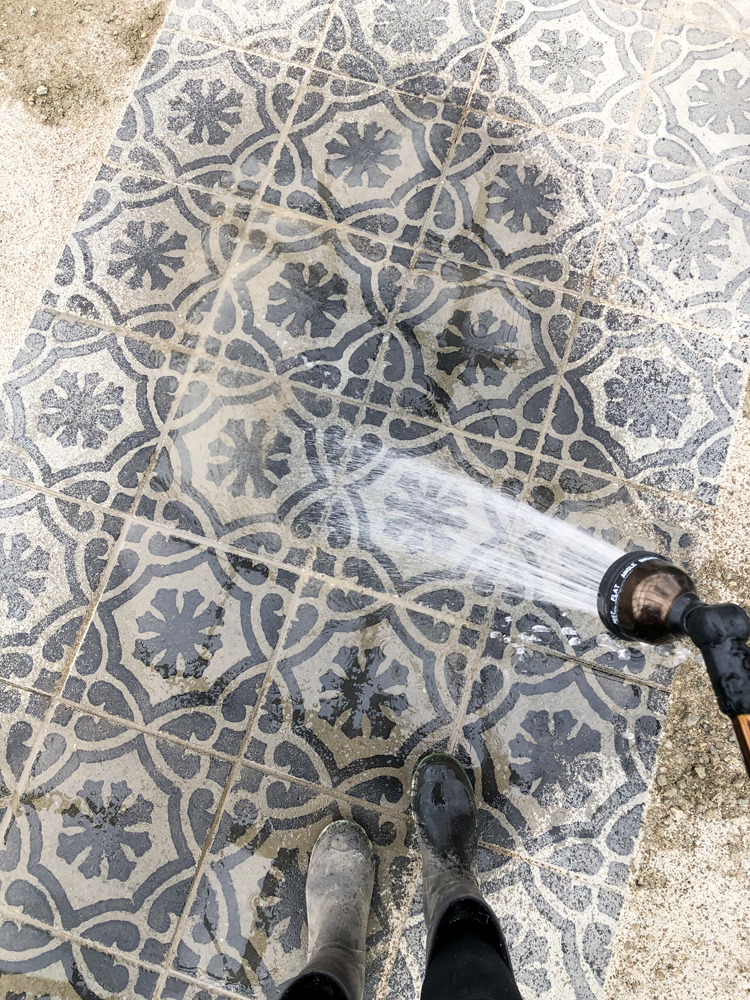
Then I hosed it down and brushed away the sandy haze as much as I could. It’s similar to tiling in that a haze still keeps popping up after it dries, but gets better the more I sweep it and hose it down.

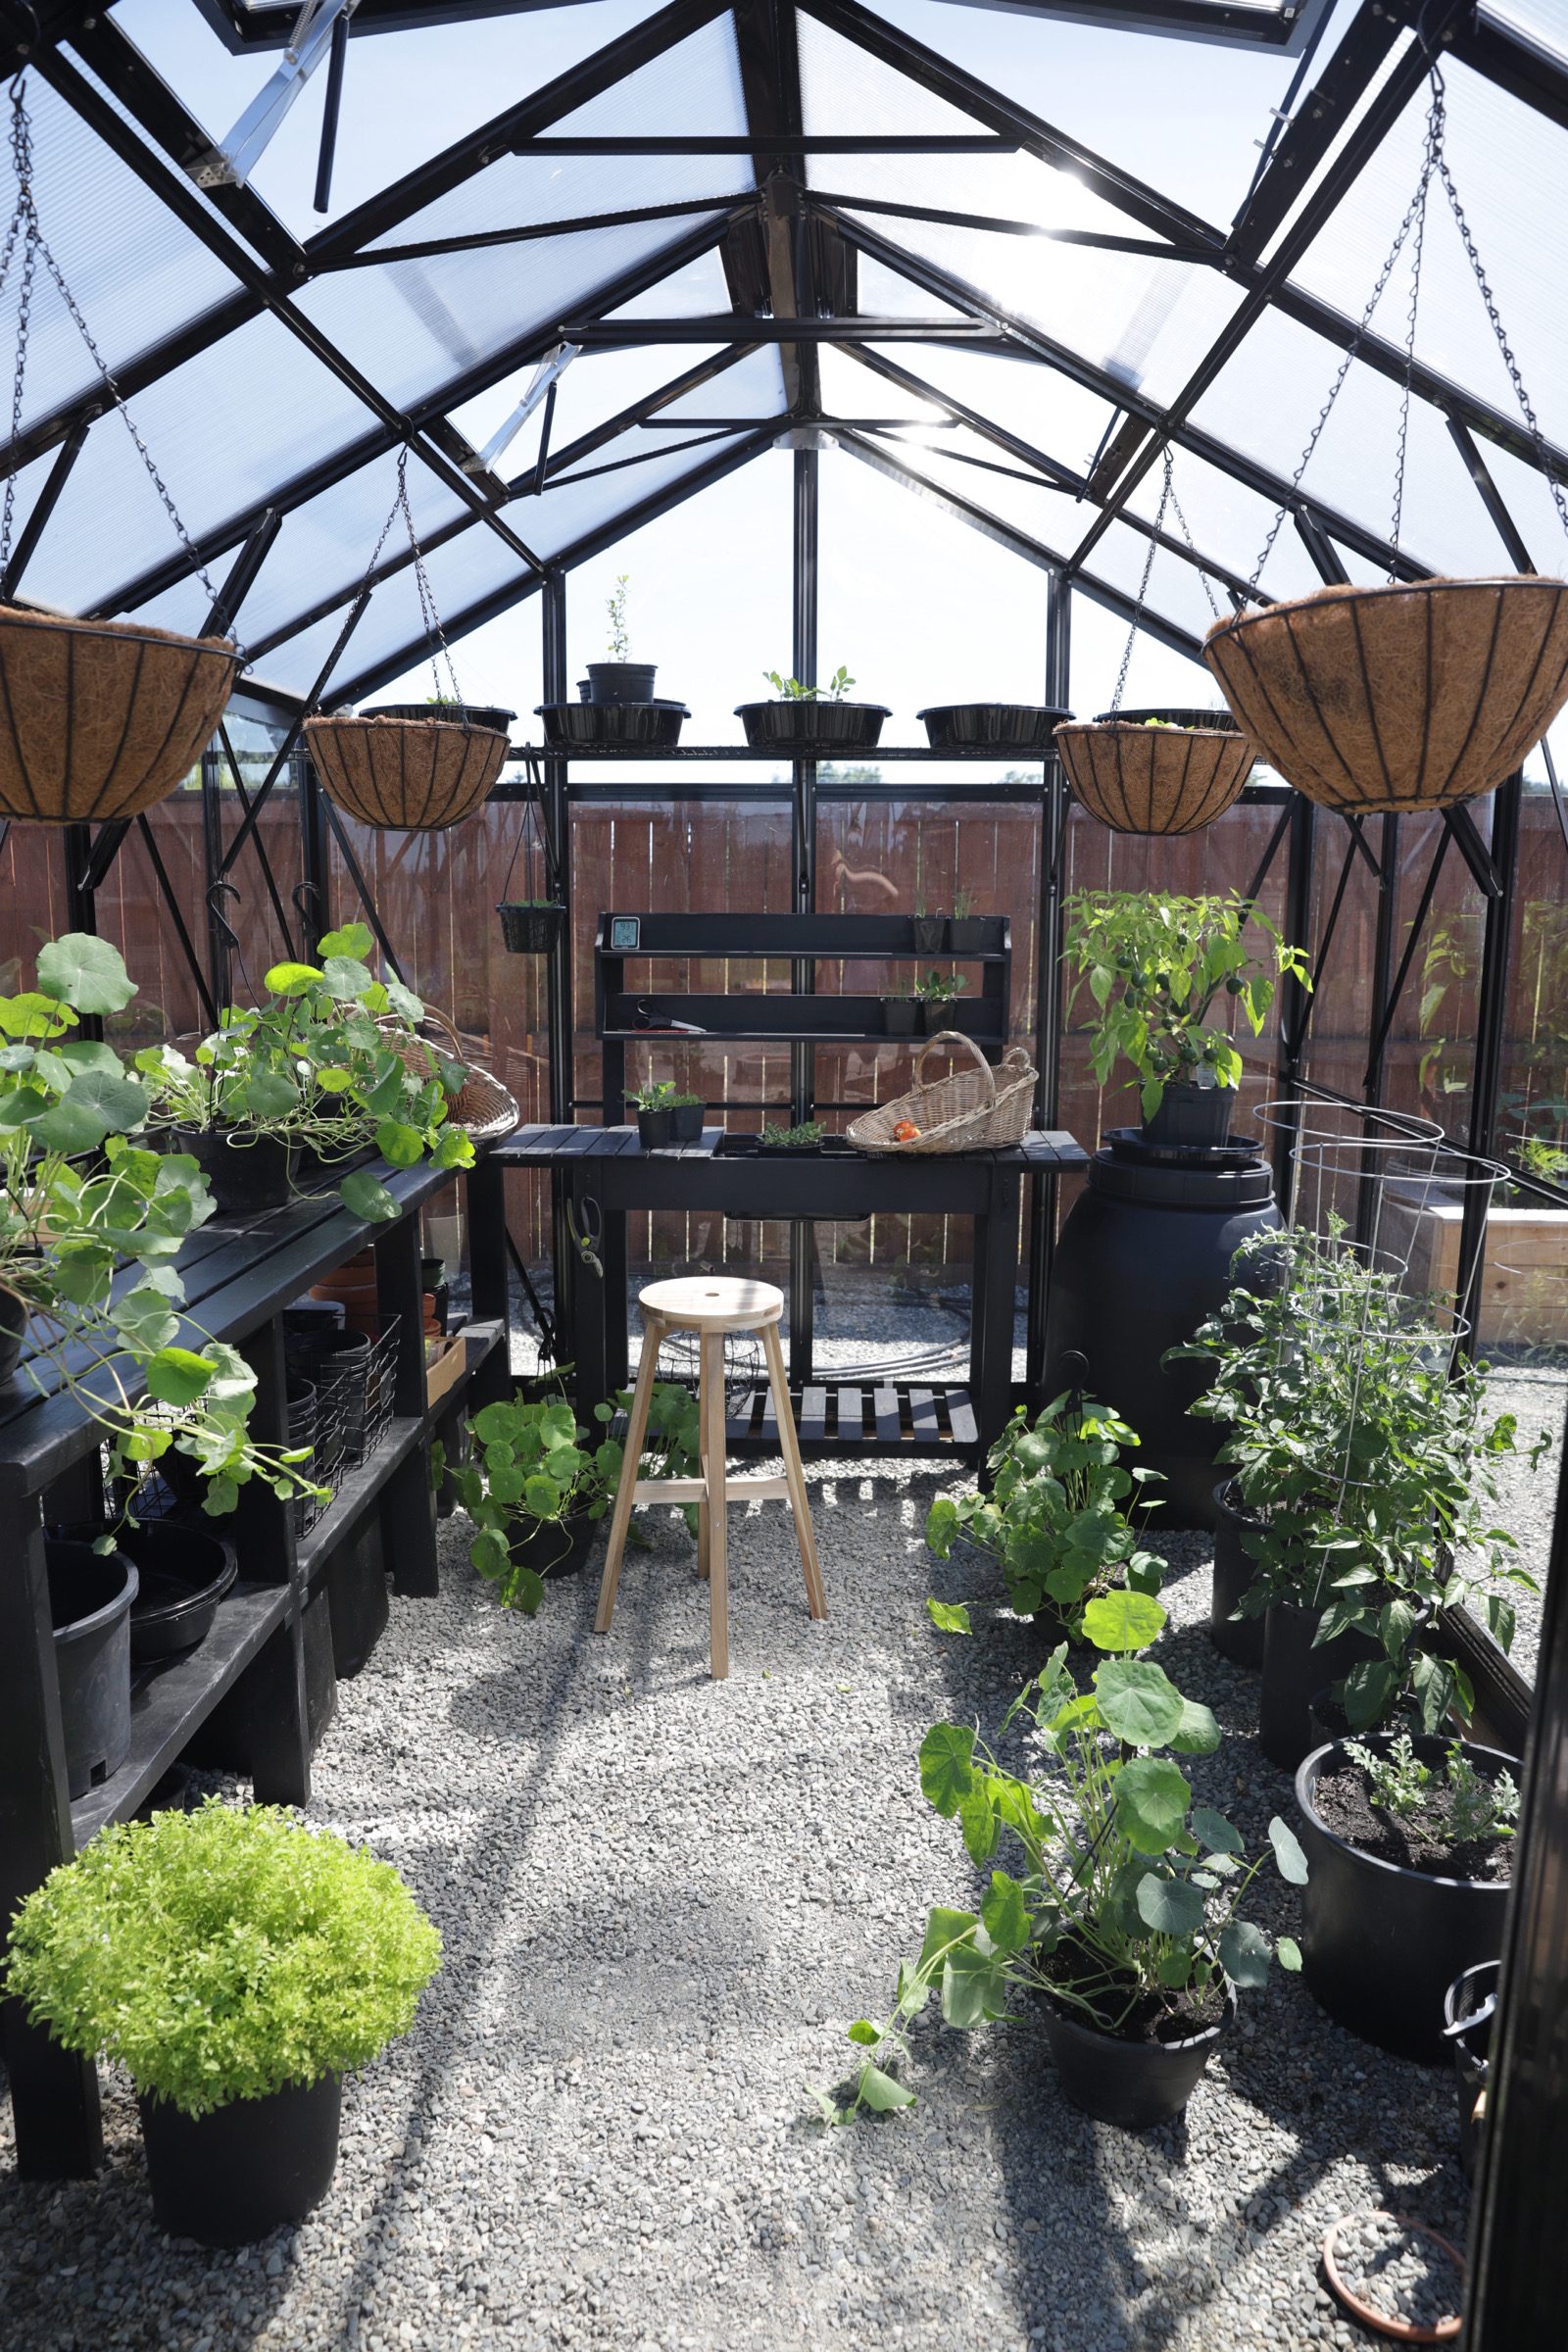
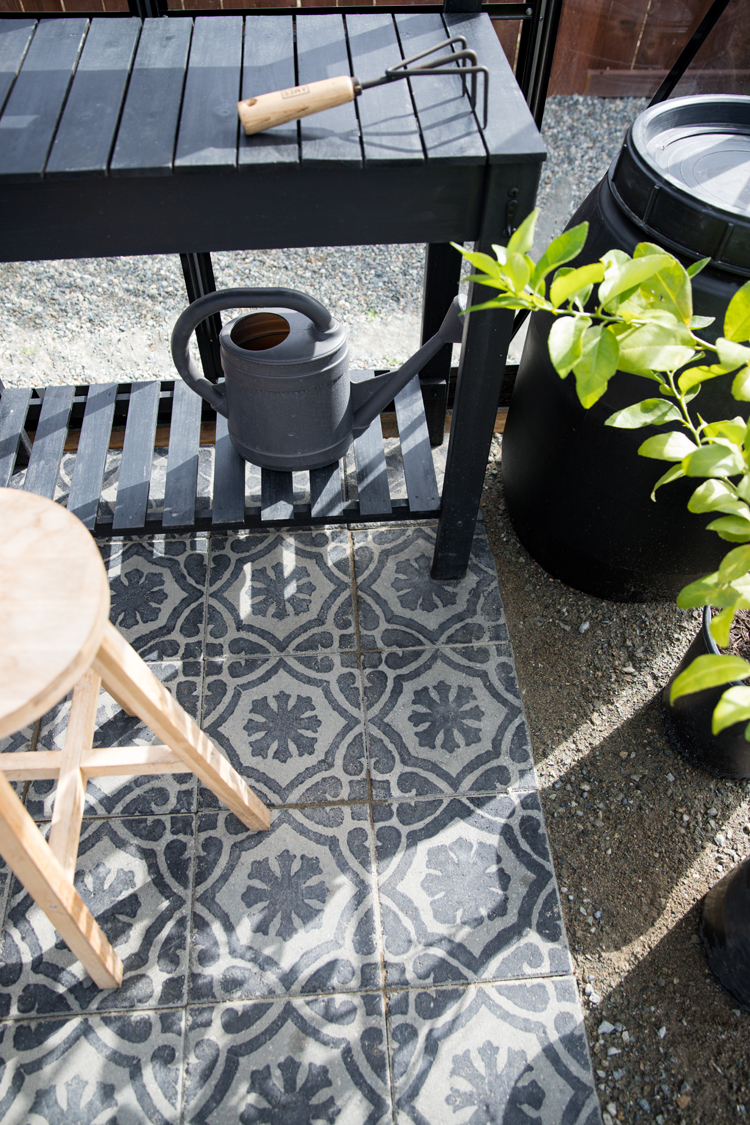
I added all my greenhouse furniture back in…except that big water barrel that I’m using as a heat sink. I didn’t want to/couldn’t (ha!) move it so I just buried it in the gravel on the side.

Now that I have my greenhouse back, I’m ready to start filling it up with some seedlings! I’m excited!
Absolutely beautiful!
Thanks for sharing your project! Love this idea.
You did such a beautiful creation with simple cement squares.
I am in the process of having an 8X10 greenhouse built. I plan to use your suggestions to stencil cement squares as you did.
Thank you for sharing this valuable information.
Thank you! That’s so exciting that you’re getting a greenhouse!
Such a great idea. thank you for posting this!
Where did you get your greenhouse? Is it something that we can order?
Thanks! I bought it from a local company who only services Western WA. Palram’s Glory line has a pretty similar greenhouse though.
I live in western Washington can I get the name of the company. Love the wood stepping stones and tiles.
Thanks Jania! If you really want it, please direct message me on instagram (@deliacreates). Although, in the time since purchasing this greenhouse, the customer service from the place I bought it has been a little predatory. The greenhouse has mostly held up great, but I wouldn’t recommend the service.
Hi! Delia, I was curious the size of your green house? I’ve been looking at some online, but yours seems larger than the 6 by 8 ones. Thanks!
Hi Ashley! You’re right. Mine is about 8.5 x 10.5 feet.
Hi Delia: I really enjoyed this article and plan to try it out this summer. My mother’s name also was Delia. She was born in 1917!
Oh I love that! Thanks Vonda.
Love the simplicity of this project but the impact is big! nice job!
Hi Delia,
I also live in western Washington and have a greenhouse, a 6×8 from Harbor freight. I’ve been searching for a larger one. Can you share where you got yours?
If you want to email me: [email protected], I can give you the local information. Unfortunately, I have to give this recommendation with a warning that the customer service is a bit predatory and unhelpful. The greenhouse quality has been great, but any time we’ve needed to made a repair or had a question, we’ve been nickle and dimed or given incomplete information so that we would pay him to do the work.
Hi! Did you use the epoxy as-is or did you have it tinted to black? Hoping to do this with our greenhouse floor too!
Sorry for my delayed response. I had the floor epoxy paint dyed black. I hope that helps!
Thank you for posting this info. I love the greenhouse floor. We are in the process of putting our greenhouse together. But I plan on doing this to my floor also. My Tiles are 16×16 in a 6×8; greenhouse. You did a beautiful job👍
Love that stencil, what’s the name? I know this is an old post but I’ve looked everywhere.
Sure! It looks like it’s still available on Amazon: https://www.amazon.com/gp/product/B07B17NHJV/ref=ppx_yo_dt_b_search_asin_title?ie=UTF8&th=1
Merci pour ton inspiration. J’ai adorer la réalisation et j’ai choisi un autre stencil car le tien n’était pas dispo chez Amazon au Canada. J’ai trouver une Marguerite en souvenir de ma grand mère
Christine
Do you happen to have links or information about the potting bench and work benches?
I am so sorry but the bench I bought is no longer available. I wish I had a better answer for you.