

 Today, I’m sharing a project that I made for Natalie a few months ago, when the weather still felt like summer, and our lawn was this Utah, thick, green suburbia grass. The kind you want to lay down in and try to make grass angels.
Sigh… 🙂
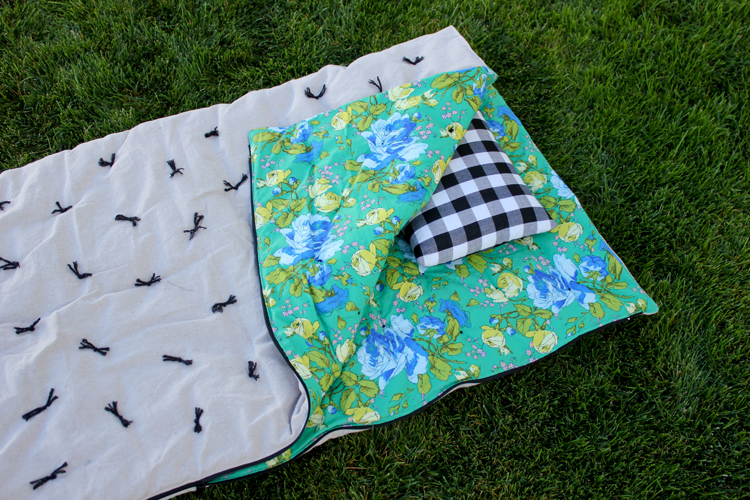
I had been admiring all these cute little sleeping bags from the Land of Nod and decided to DIY my own version for my daughter Nat. I had just collected all the materials to make it, when we decided to move. Instead of moving the loose materials, I decided to just “get’er done.” I am SO glad I did! One…because it was way easier to pack it and move it in finished form. Two…I have it done so I can share it with you today!
You know…in case you want to make one for Christmas. 🙂 Natalie uses it as a quilt too. It’s super cute and versatile.
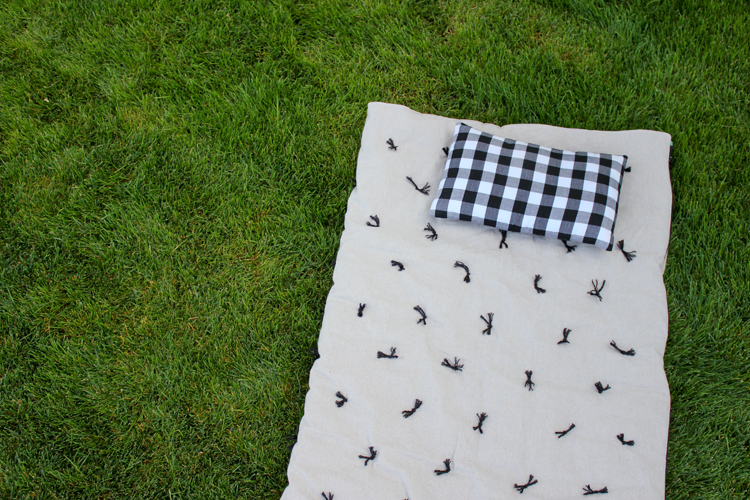
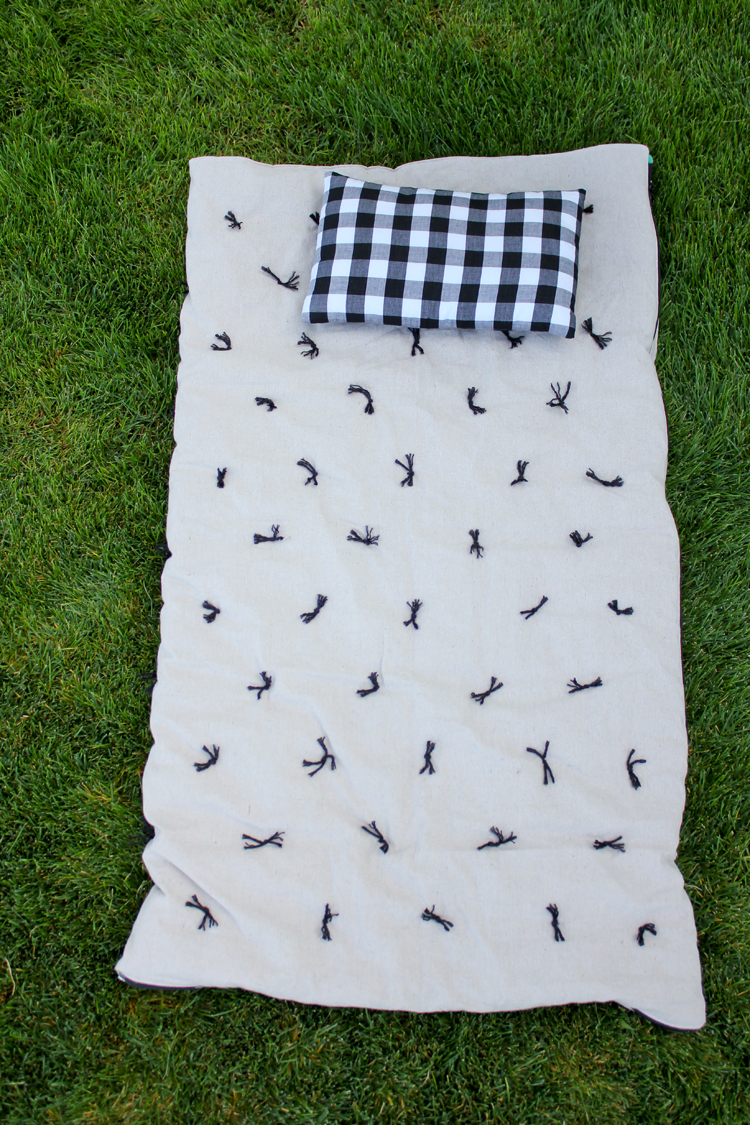
I added a little tied quilt detail to the outside, similar to this linen quilt by Martha Stewart. I love, love it.
MATERIALS
100 inch separating zipper* Main/outer fabric** – 1 3/4 yards if using 50″+ wide fabric, 2 7/8 yards if using 43″-45″ wide fabric Lining fabric – same fabric allowances as main Batting – same as lining and main, add 1-2 layers as desired Yarn – worsted weight, any type, about 10 yards Basic sewing supplies (sewing machine, scissors, pins. matching thread, etc.) Zipper foot Yarn/tapestry hand sewing needleMaterials Notes:
* 100 inches is plenty of zipper. Expect to trim off over 20″ for this toddler sized sleeping bag. I sourced my zipper at Jo-Ann and the only suitable zipper I could find was 100 inches. If you can find one that is 75 -80″, that would suit this project perfectly.
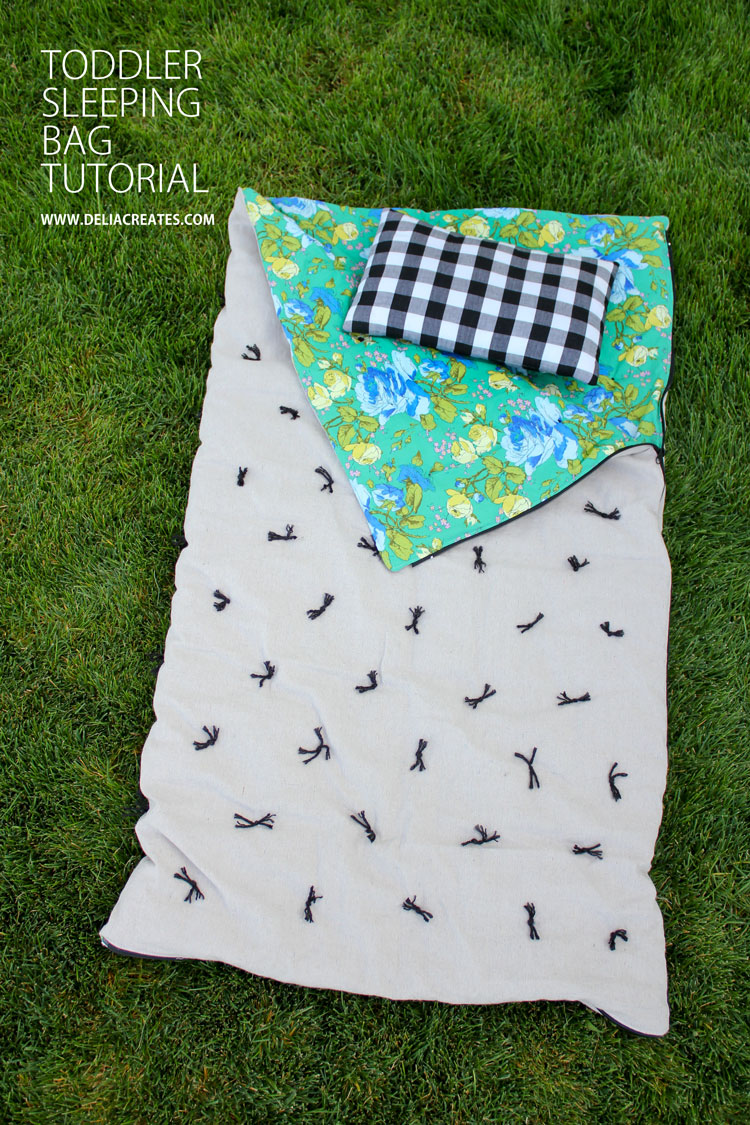
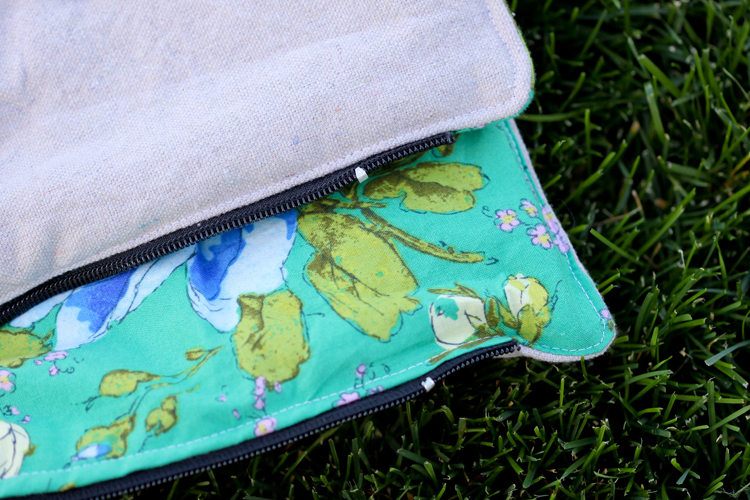
** For the main or outer fabric, choose a bottom weight, or something heavyweight. I actually used a painter’s drop cloth. For the lining, choose a flannel or cotton fabric. I used a quilter’s cotton from the Ribbon Retreat (sorry, they don’t sell fabric anymore!). For the batting, I used polyester quilt batting and I used two layers.
ALL SEAM ALLOWANCES ARE 1/2 inch.
STEP ONE: Prepare main and lining pieces.
You want to cut or create rectangles of fabric that are 50″ by 57″. If your fabric is wide enough, you can simply cut your fabric to size. If it isn’t, you’ll need to sew two smaller rectangles together that are 50″ by 29″.
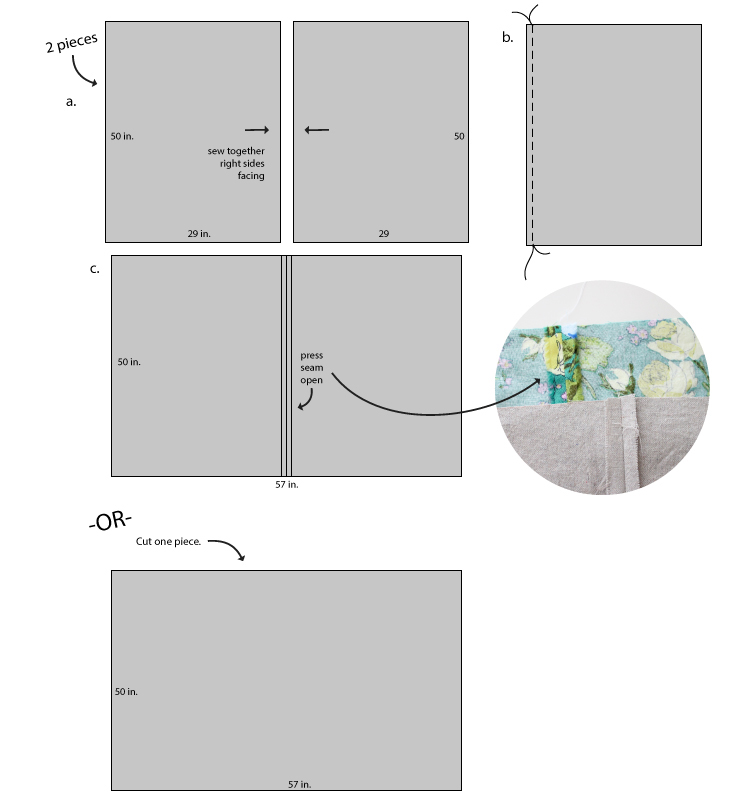
You should now have:
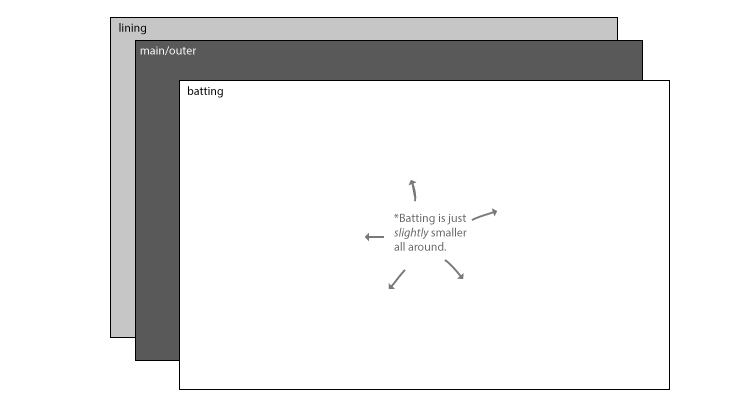
This illustration only shows one layer of batting. Remember to include more layers for a fluffier sleeping bag, if desired.
STEP TWO: Prepare zipper.
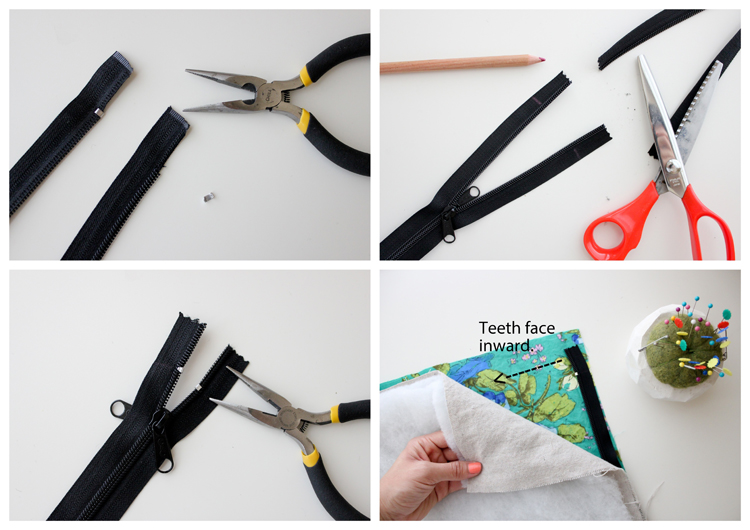
a. Carefully, remove the zipper stops at the top of the zipper. Set them aside and save them for later.
b. Measure your zipper to about 77 inches. Zip your zipper up to the 77″ mark, mark about 1 inch above that, and cut the excess zipper off at that mark.
c. Using needle nose pliers, clamp the zipper stops back onto the trimmed zipper at the 77″ mark. You can also sew new zipper stops into the zipper tape by hand, if your original stops are not salvageable. Simply whip stitch on the inside edges of the tape, until you built up a strong knot/zipper stop.
d. Now, your zipper is ready to be sew into the sleeping bag.
STEP THREE: Pin and sew all layers together.
a. Lay the lining down, right side face up. Lay the main fabric down on top, with the right side facing the right side of the lining.
b. Lay the batting on top of the wrong side of the main fabric.
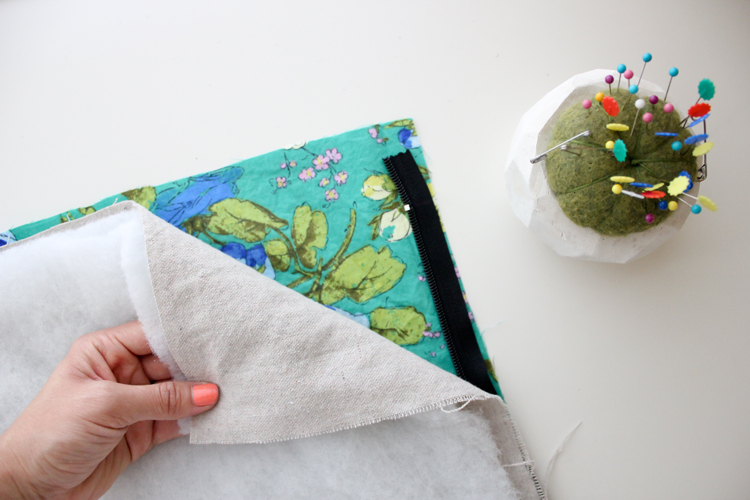
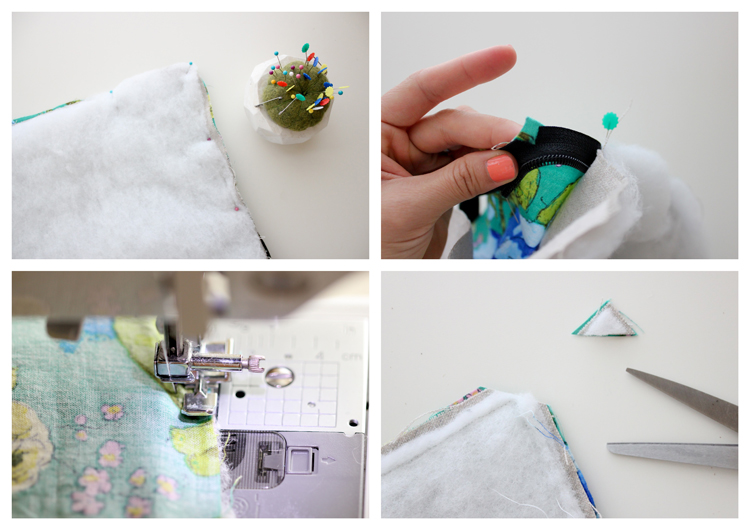 c. Now, unzip zipper all the way. Place the top of one side of the zipper about 1/2 inch from the top of the sleeping bag, close to the edge, with the zipper tape lined up with the raw side edges, and the teeth facing inward.
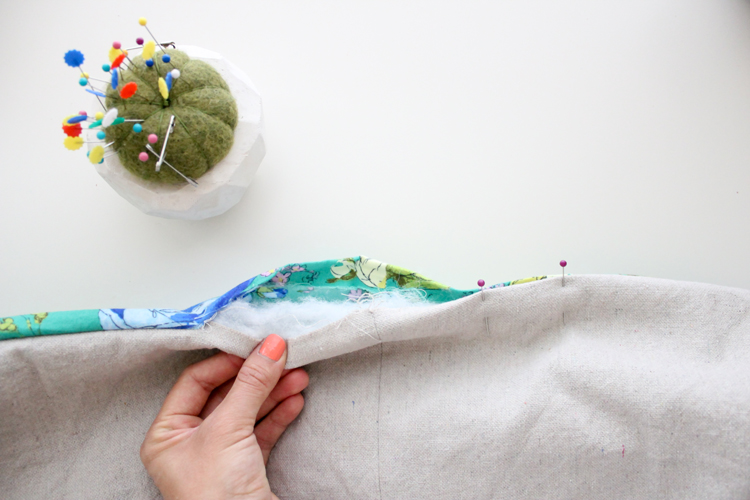
d. Pin all layers together, all the way around, making sure the separating zipper bottoms line up and meet up at the middle seam of the sleeping bag, and that both sides are 1/2 inch from the top on each side. You want to keep thing as even and symmetrical as possible.
e. When you get to pinning the corners, clip the zipper tape a couple of times , without cutting too close to the zipper teeth, to help the zipper curve with sleeping bag.
f. Using a zipper foot, sew all the way around and through all layers. Start at the top and then end about 5 inches short from where you started, leaving an opening.
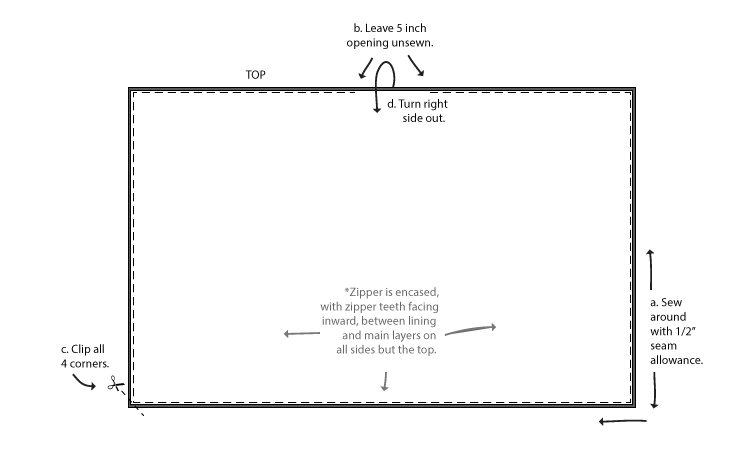
g. Trim all four corners to reduce bulk for when you turn it right side out. Be careful not to clip through any stitches, and take extra care around the corners with the zippers. You may need to clip the fabric seam allowance as well so that it will turn right side out neatly.
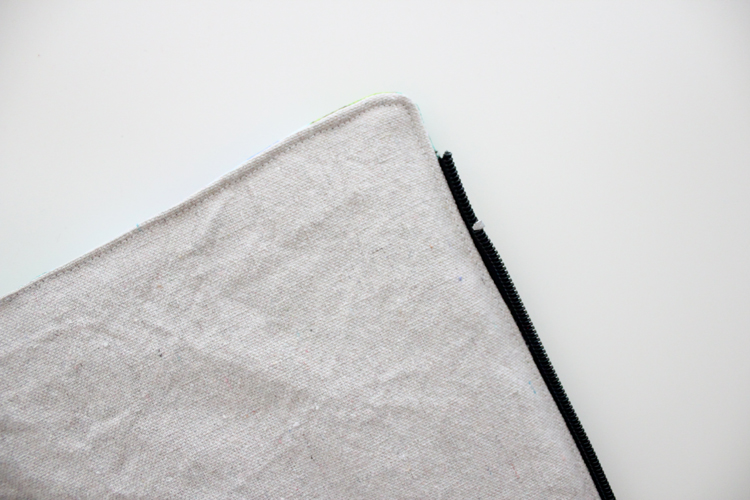
h. Through the opening, turn the sleeping bag right side out. Check your corners to make sure they came out clean and without puckers. Go back and re-sew and clip the zipper tape more, if needed.
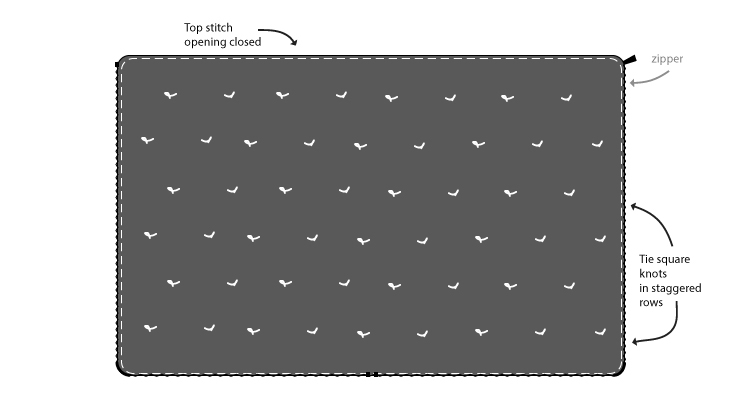
STEP FOUR: Top stitching and square knots.
a. Fold the raw edges of the opening inward and press in place with an iron, or pin in place. Top stitch all the way around the sleeping bag, close to the edge, and stitch the opening close.
b. Tie rows of evenly spaced yarn square knots into the sleeping bag. Make sure the knots are square knots, or they risk coming undone over time.
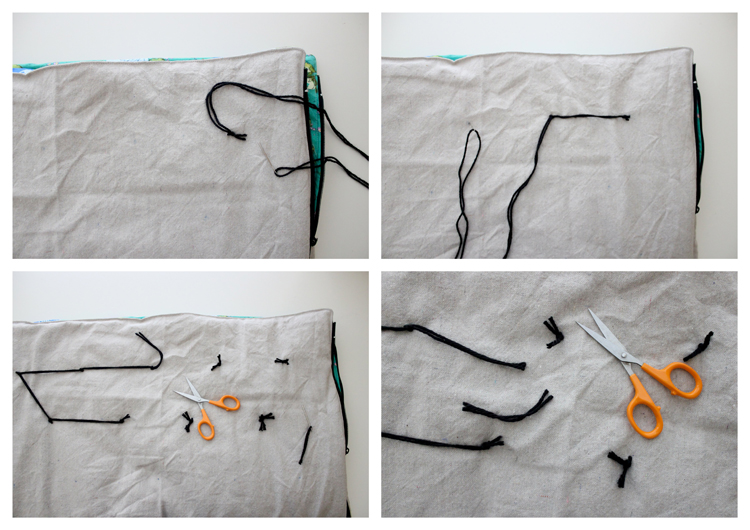
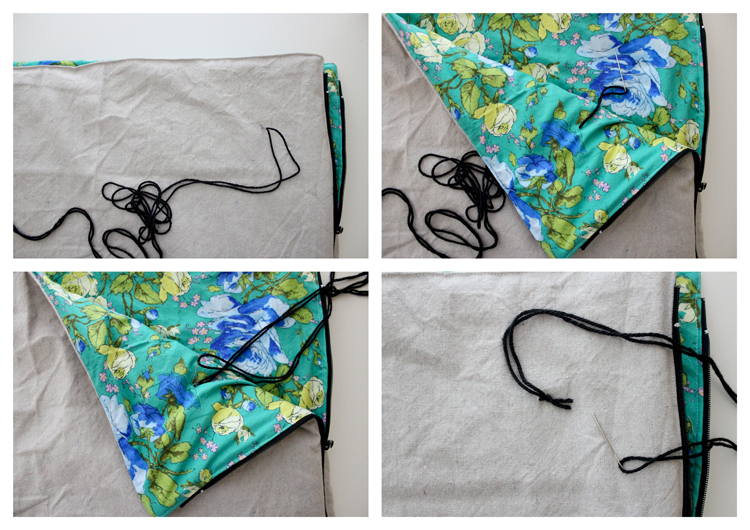 It’s easier and can save you yarn, if you keep sewing and knotting yarn knots without stopping to clip your yarn. Do this until you’re done or out of yarn on your needle. Clip the yarn tails down at the end.
That’s pretty much all there is to it!
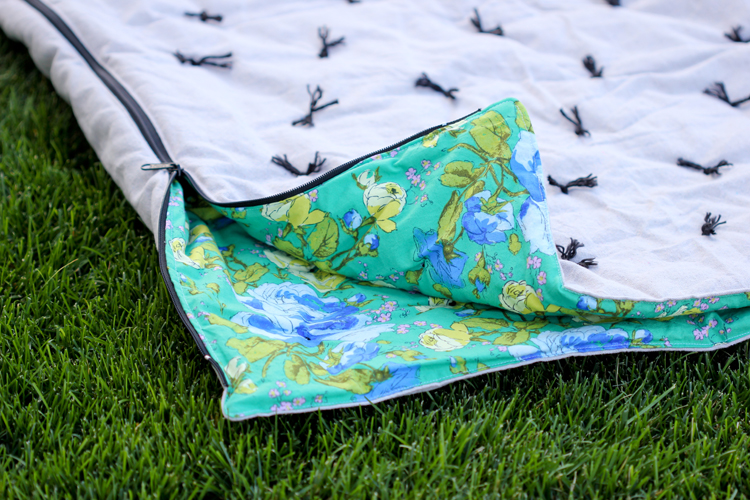
Connect your separating zipper ends, and give it a test zip to ensure everything is working and matching up properly.
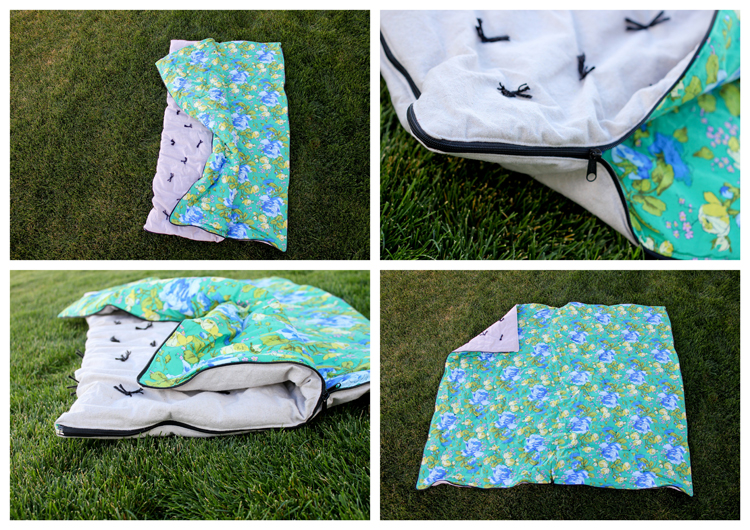


I didn’t add elastic loops to the bottom, but you are certainly welcome to do that, so that it’s easier to roll up and store.
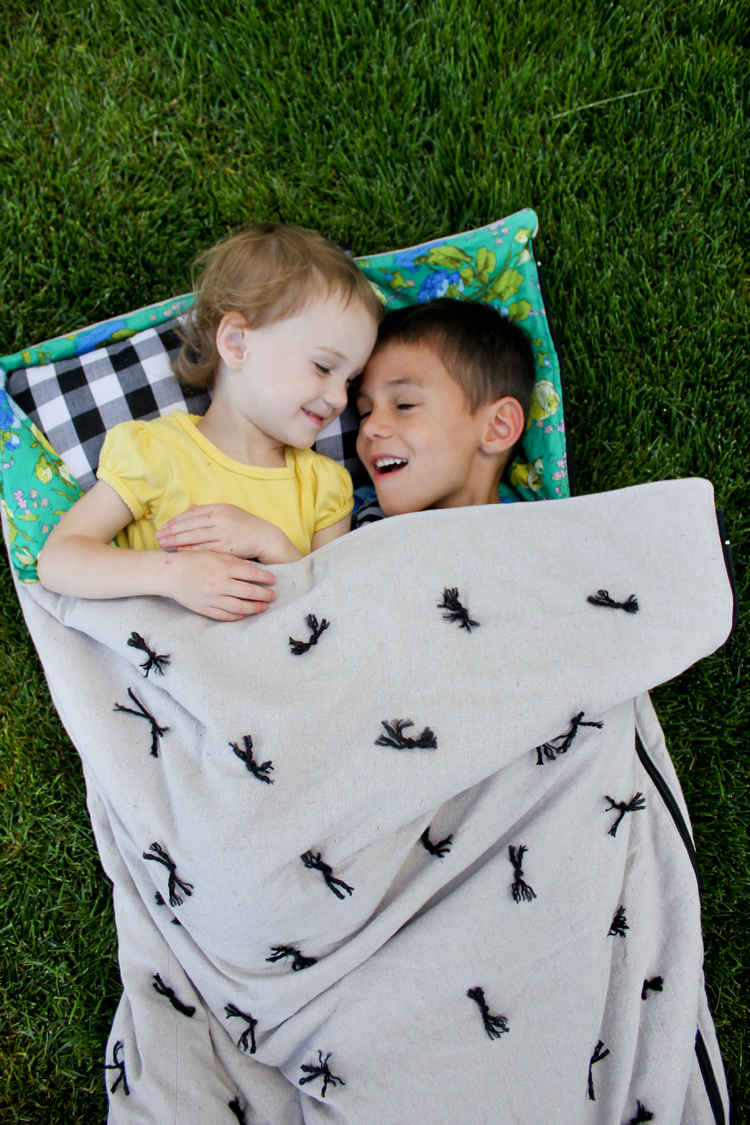
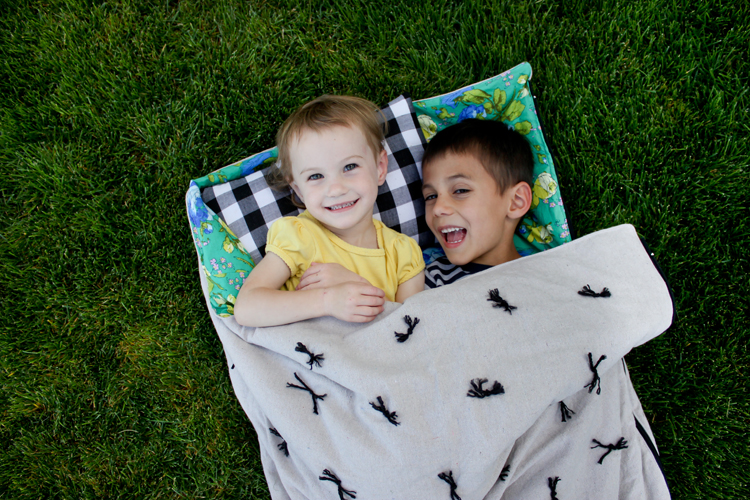
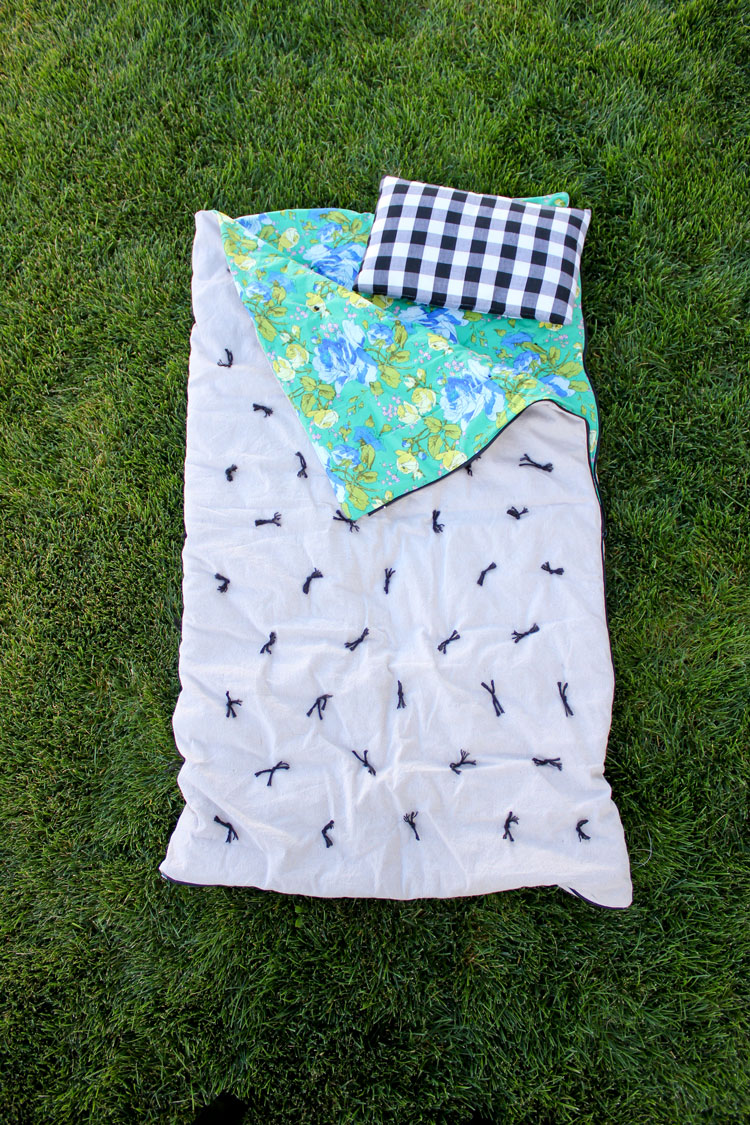
The finished dimensions are 49″ x 56″ or 49″ x 28″ when folded and zipped. It fits, a toddler/preschooler with room to grow…as well as a 6 year old…apparently. 😉
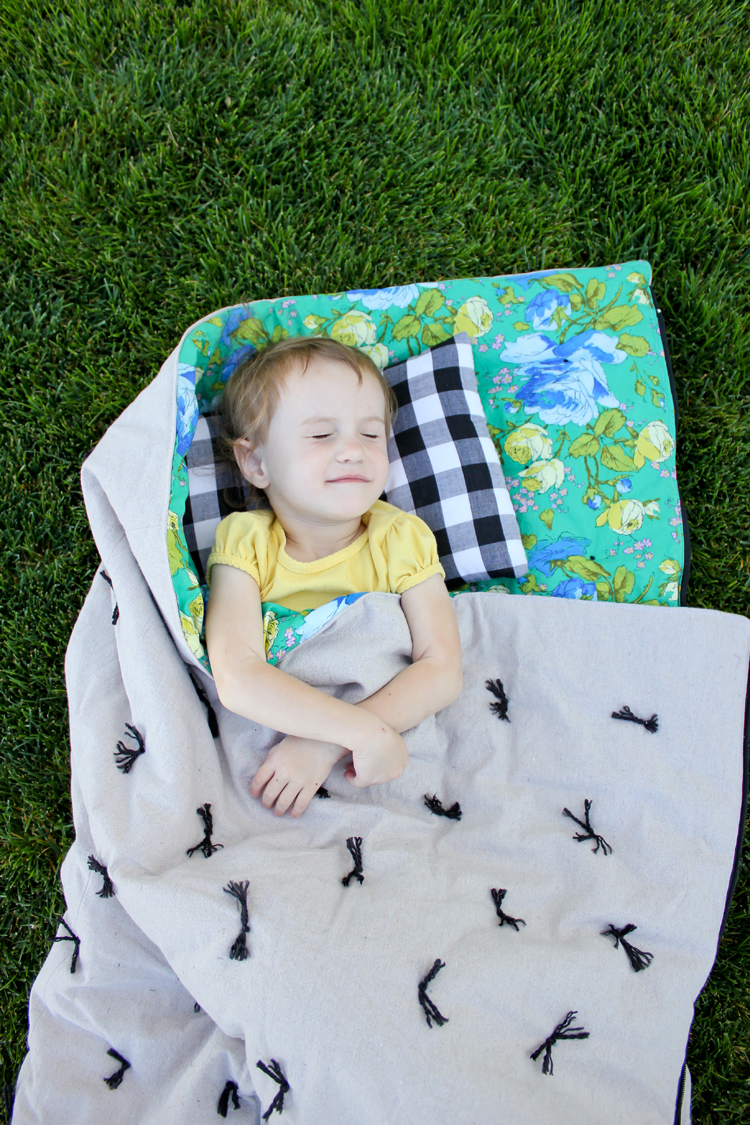
She’s pretending to sleep. I die….

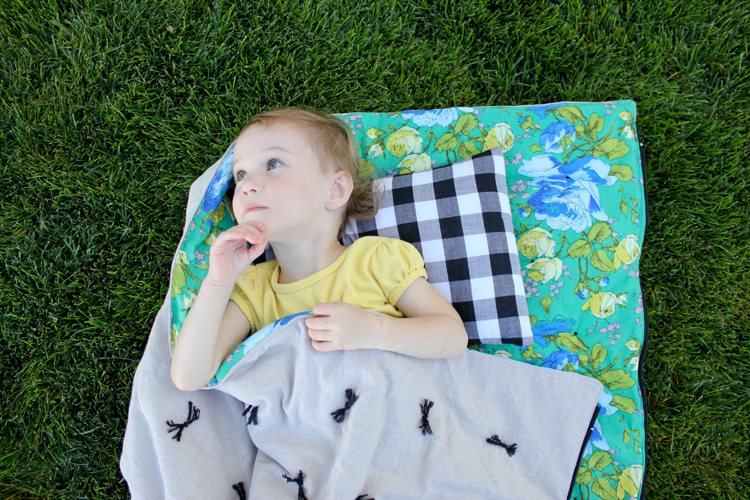
I think it’s safe to say she loves the sleeping bag. 😉
Aside from just being large, and a little cumbersome to sew that way, this project is really quite simple. I was surprised at how quickly this one came together.
I’ve considered making more, maybe with some plaid flannel, and some cotton batting. How cute would it be to make Christmas sleeping bags!? We’ll see how far sewing Santa gets this year. 😉
That’s adorable! My boys would love sleeping bags. Thanks for sharing!
Thanks Julie!
Really loving the fabric choices! I’m wishing that could be the comforter on my bed! I’ve got a Craft Gossip post scheduled for tomorrow morning that links to your tutorial:
http://sewing.craftgossip.com/tutorial-toddler-sleeping-bag/2014/11/12/
–Anne
Thanks so much Anne! I know! I was thinking the same thing. I really like the tan with black yarn look. I am sure it will pop up again in future projects! 😉
Those pictures are absolutely adorable! Someday I will make one of these sleeping bags. Hopefully soon. =)
Thank you Charity! Yes, yes. It’s pretty fun to sew and a total kid pleaser project. Gotta love those!
This is genius! And she is so adorable!
Oh my gosh, I love it and your daughter is so darn adorable! I’m going to add this to my sewing list as I’m pretty certain my kids would love it too! Thanks for sharing.
Love (love love love!). What a great idea- and you’re right- these would make fabulous Christmas gifts!
What a wonderful idea! Thank you for the great tutorial. I have been saving up some vintage sheets from the thrift store and this is the perfect project for them.
Your kiddos are cute. Such silly models!
Thank you! What a great idea to use sheets!
thank you so much , I made one for my granddaughter and one for my grandson, they absolutely love them
I am so happy to hear that! What a great grandmother you are!
Oh m gee! You did an amazing job on this project. Thanks for sharing
Thanks Patsy!
What a lo lovely Work ! Congratulations! And thank you so much for sharing it and very clear explanations !
Thank you!
How did it hold up over time?
I am looking at making these for my son and niece for Christmas.
How does the yarn hold up to washing?
I made it for my daughter over 5 years ago and it is still holding up great! The yarn gets a little frayed but that adds character. Just be sure to tie a square knot or it will come undone. I hope that helps!
and for washing it is not a problem? Light wash in the washing machine? Do you recommend stitching down the middle of the fabrics to hold batting in place so it keeps its shape better after washing? Thank you!
I have washed mine many times over almost a decade and it has held up great. The yarn ties are what help hold the batting in place. If you want to add an additional line of stitching at the fold I’m sure that couldn’t hurt, but I didn’t and my sleeping bag has held up fine.
P.S. So sorry for just now seeing your comment and for my very very late reply.
Hello, and thank you for this tutorial.
I am interested in making this sleeping bag for my niece, but would like to quilt the blanket rather than doing the yarn ties. I am guessing that I would do this after sewing the zipper on? Unzip the sleeping bag and quilt it that way?
I look forward to your reply.
You could do that but I would worry about little that there might be some bunching. The quilting would have to be minimal. I am so sorry for just now seeing this comment so very late. I hope it worked out well. <3