

For most of the year, my daughter lives in leggings.
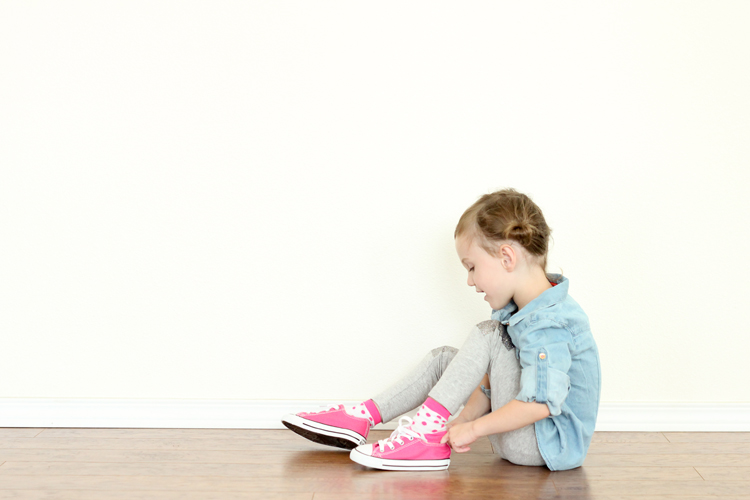
I thought it would be fun to dress some of them up with simple, easy heat transfer vinyl patches!
This works great for covering up holes or works well as a cute preemptive measure against those inevitable swiss cheese knees.

I didn’t even use a special cutting tool or machine (although I seriously want one).
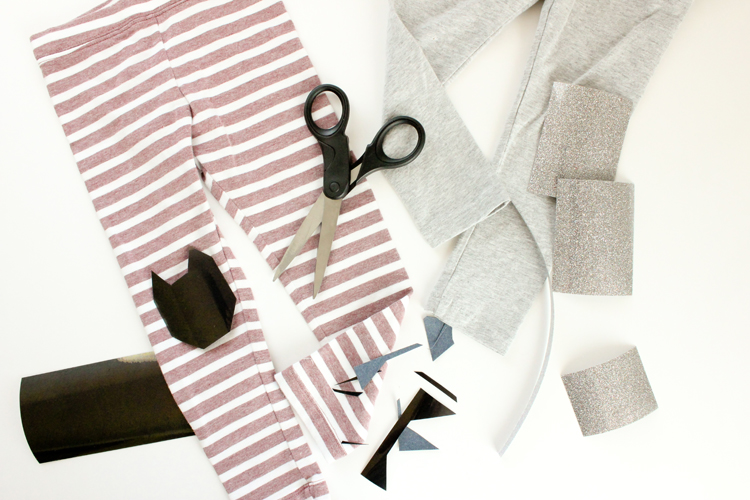
I just cut up the vinyl with scissors and a paper cutter, and then ironed them on per the instructions.
TIP: If you don’t have a table you can press hard onto with your iron, like the people in the video (see link to instructions above), try lowering your iron board all the way to the ground. That way you can press harder, get more leverage, and not break your ironing board. 😀
 Seriously though…just a quick cut and iron. That’s it!
Easy. Peasy.
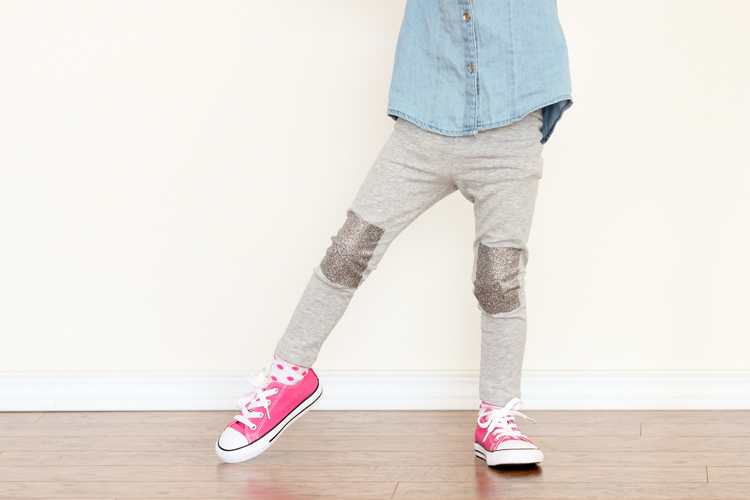
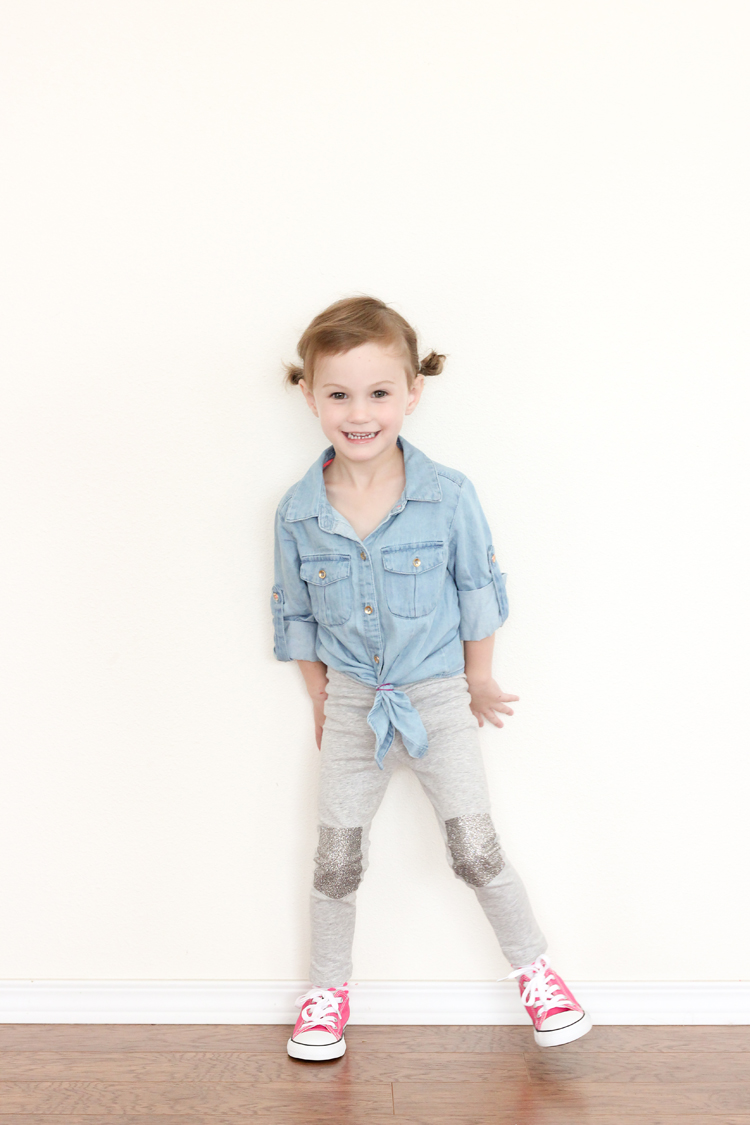
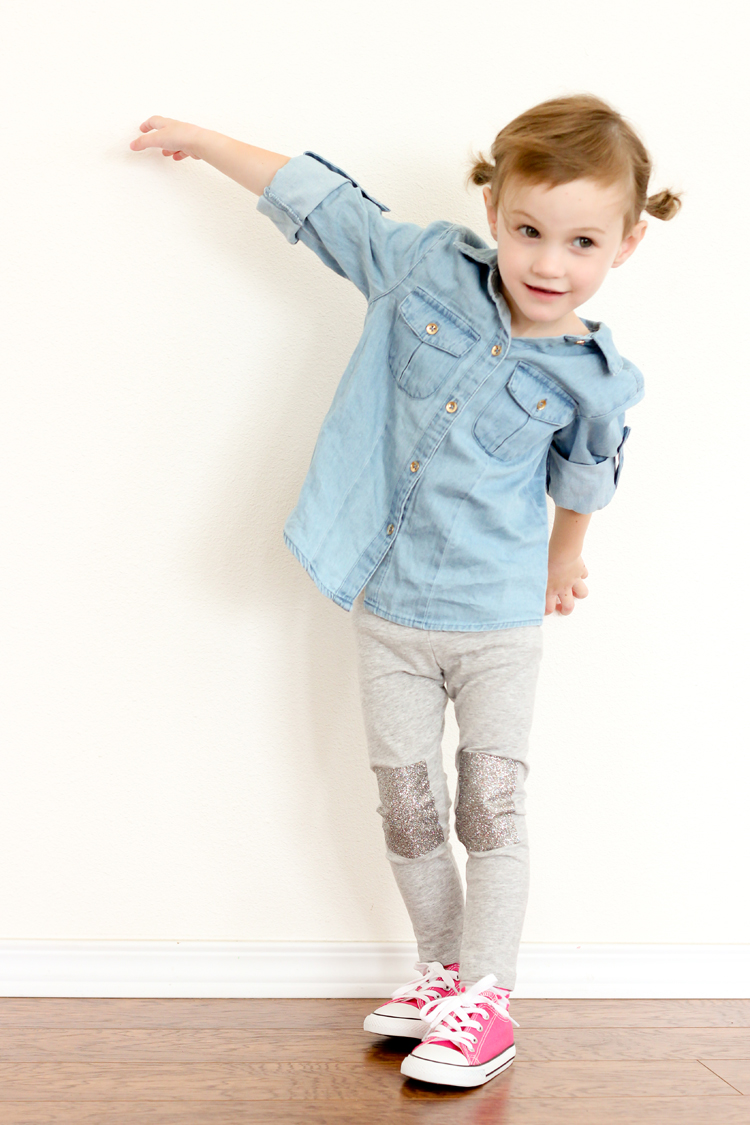
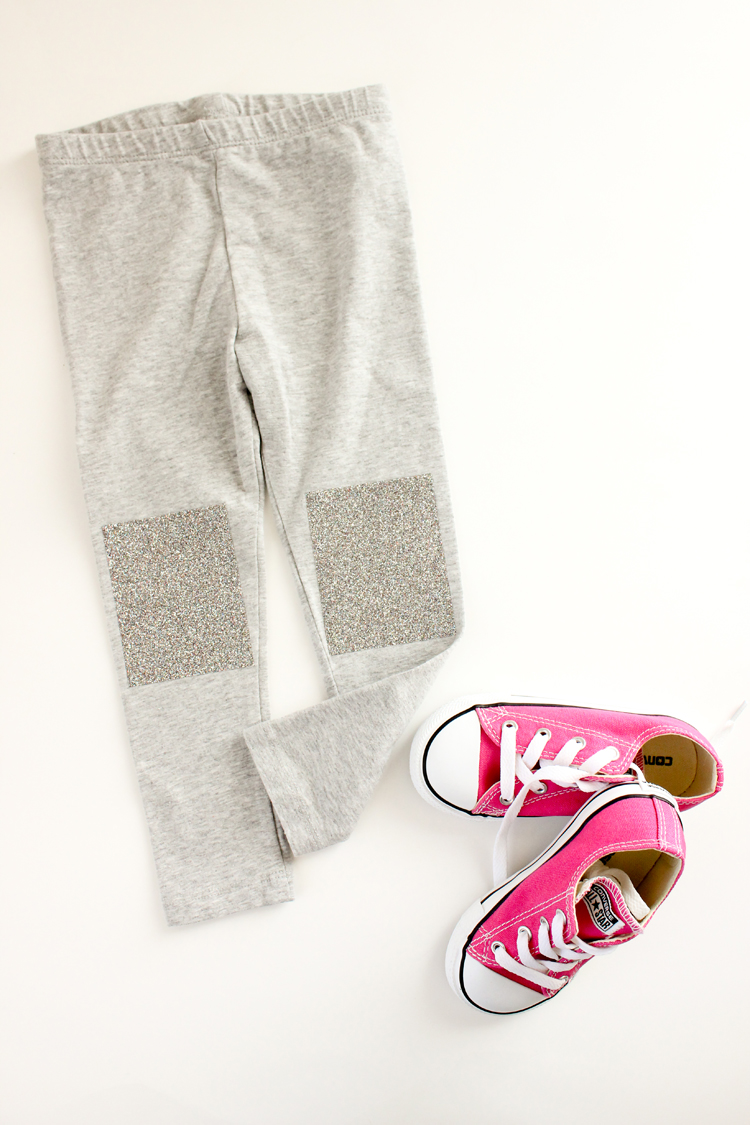
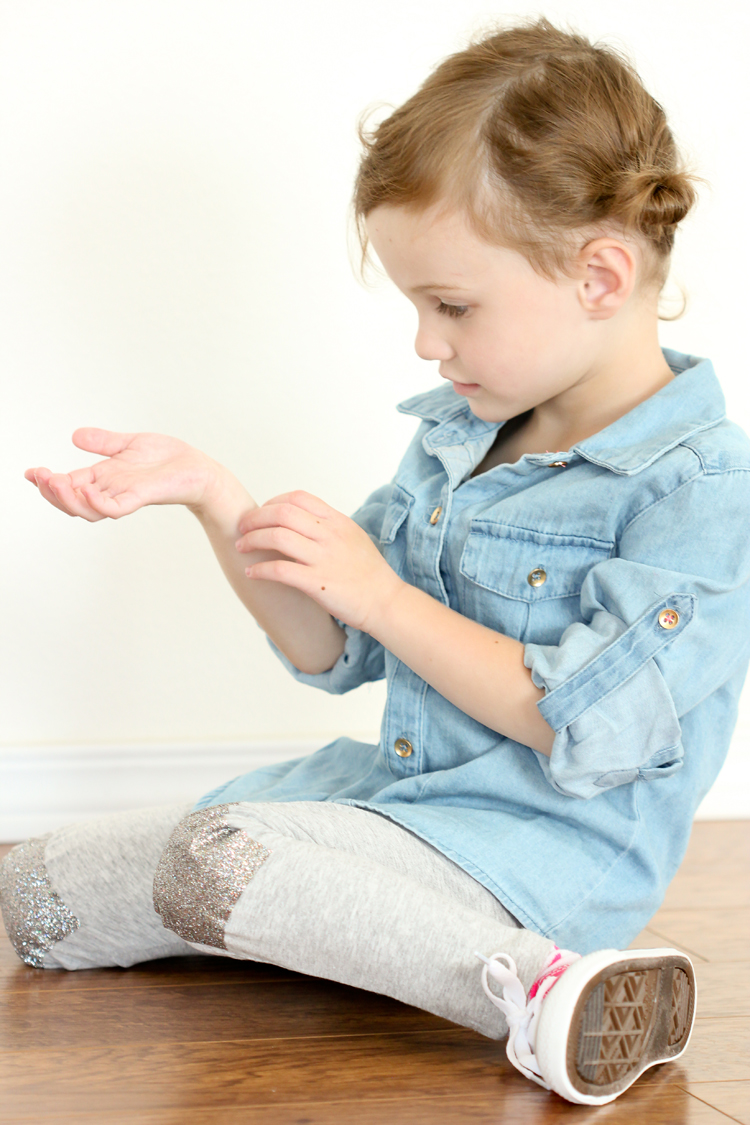
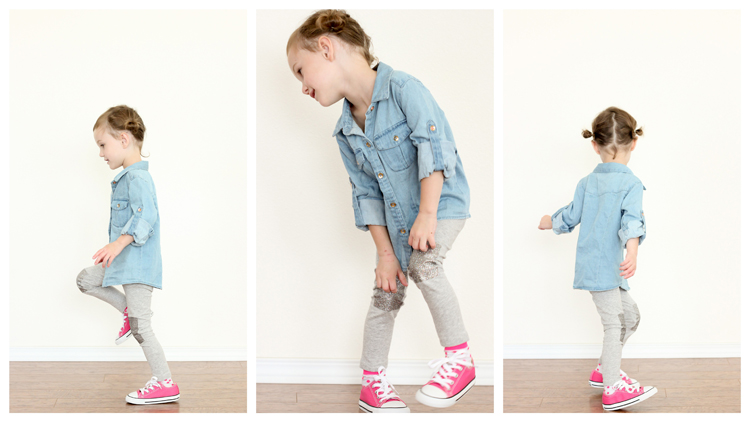
For the glitter knees, as Natalie likes to call them, I used this Light Multi Siser Glitter Vinyl from Expressions Vinyl.
I love this stuff! It’s so pretty…even prettier in person, and it stays shiny after application and washing.
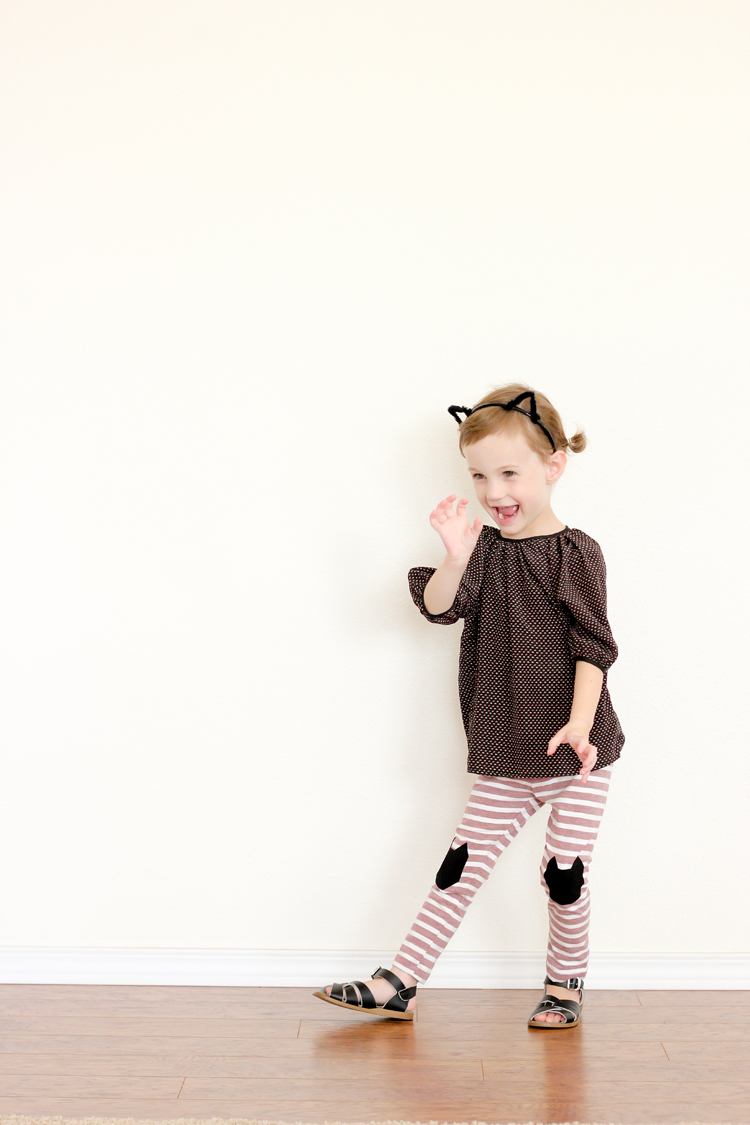
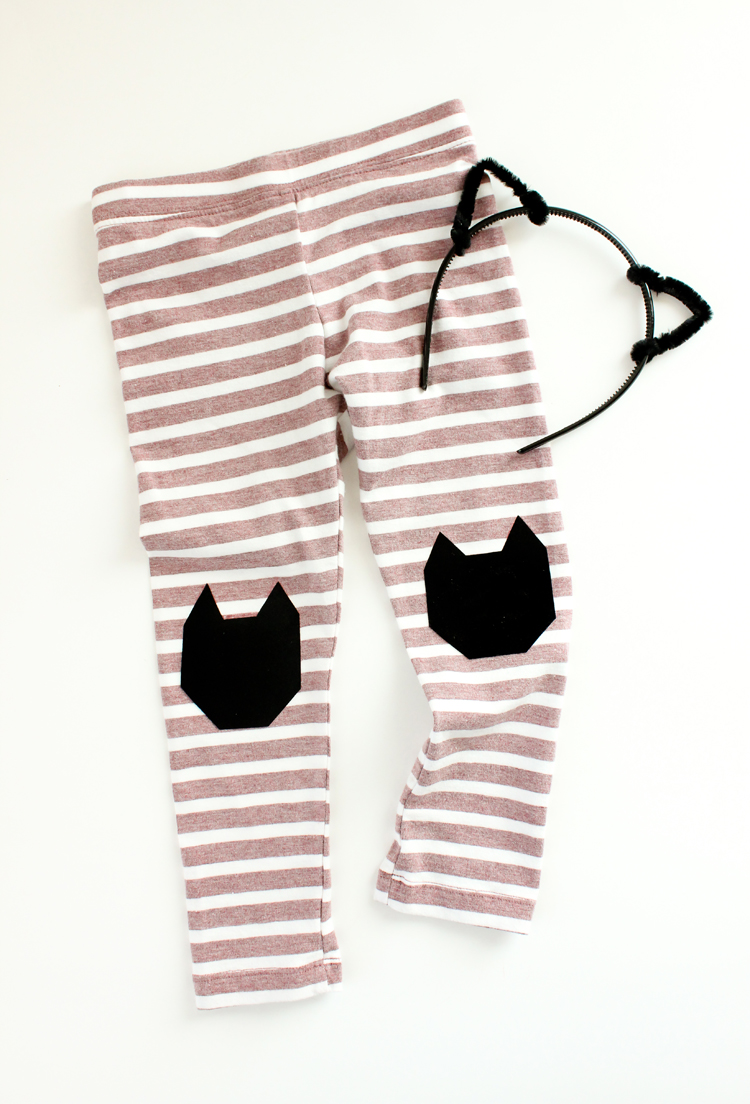
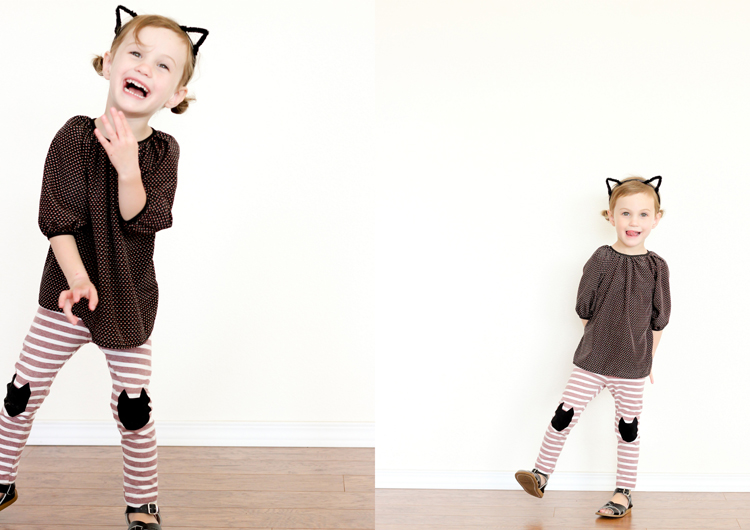
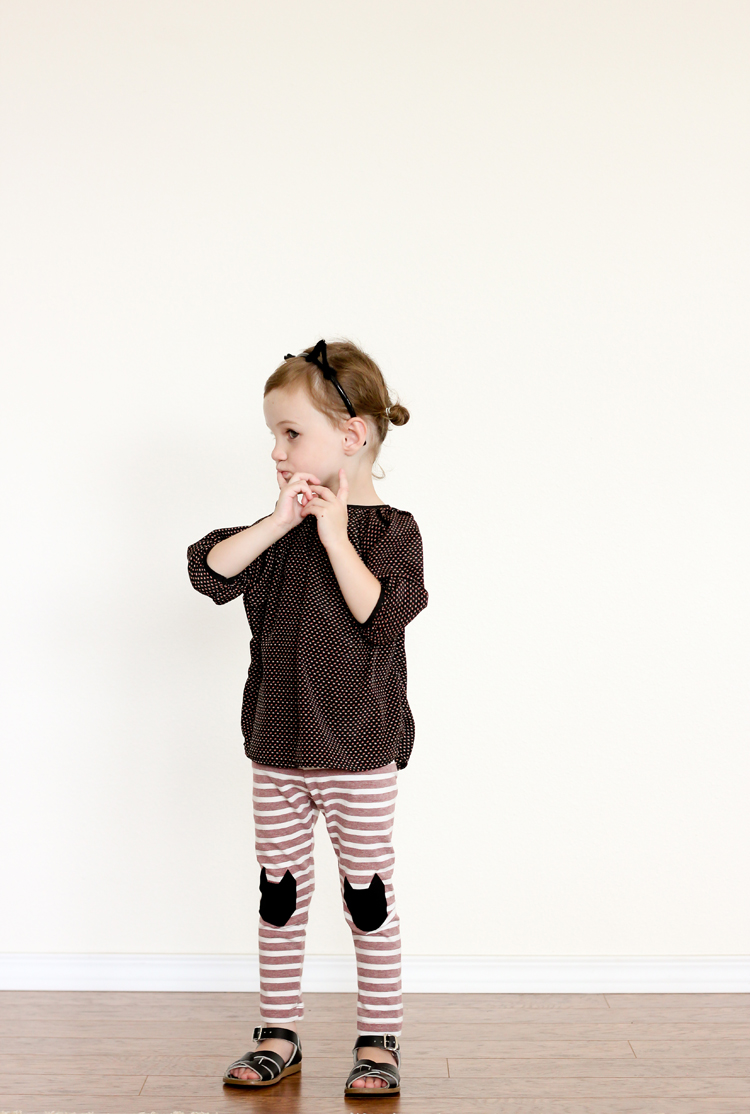
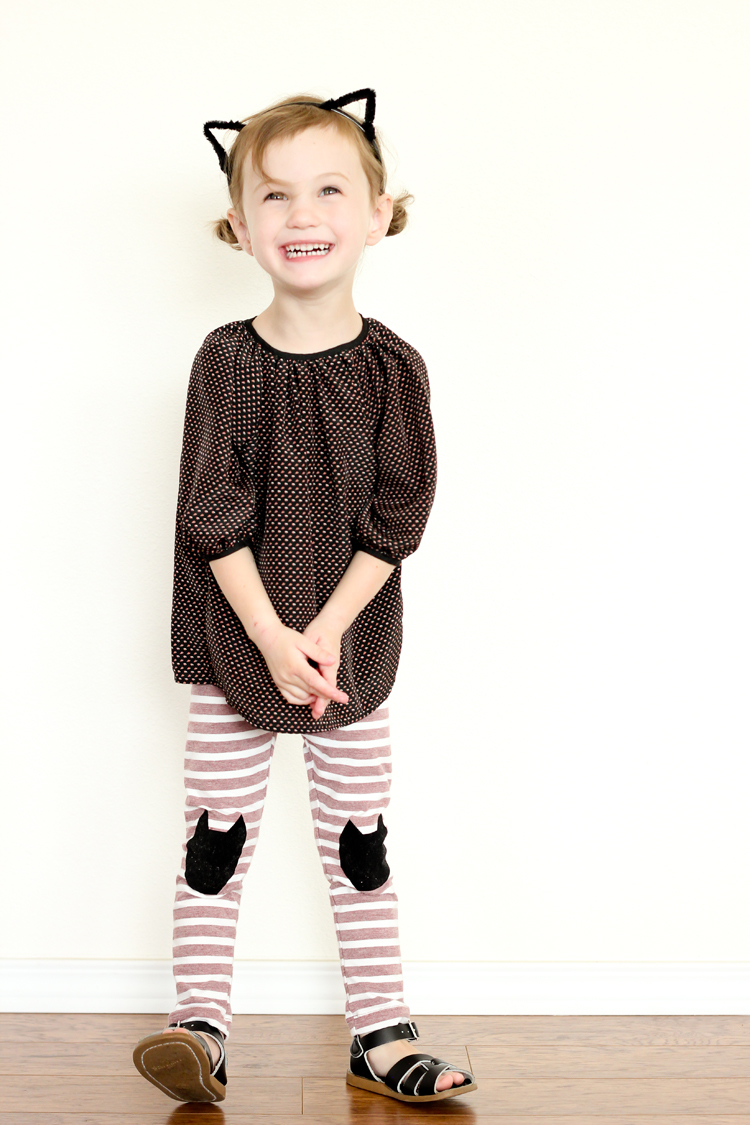
Because Nat is such a cat lover, I knew I had to throw something kitty-fied into the mix as well. I cut up some geometric cat faces in this Black Stripflocked Heat Transfer Vinyl, and ironed them onto this cute mauve and white striped pair of leggings from Old Navy.
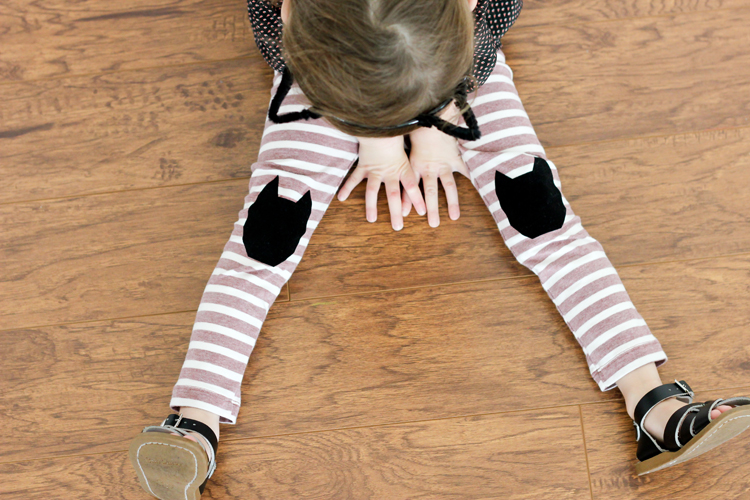
I love how fuzzy and felt-ish they feel. It feels like the stuff they put on store bought shirts…the smooth, yet fuzzy textured stuff? Does that even make sense? Well…basically, it’s legit.
It does seem to attract lint though, especially after being washed, and it’s easier to spot because it’s black, but it’s not too noticeable after a wash or two. The whole thing gets a little linty and it all blends in. 🙂
Speaking of washing it, all the vinyl has held up pretty well in the wash actually. I say “actually” because I wasn’t so sure at first. I’m totally a heat transfer vinyl rookie (this is my first go at it!) and I’ve only washed them a couple of times, but so far, so good. The glitter still glitters, which is what I was most worried about. The stripflocked vinyl shrunk a tiny bit, but I’m pretty sure I was suppose to wash cold, gentle, and line dry or tumble dry low. I just washed it as normal, with warm water and a hot dryer. I knew I would wash it like that eventually anyway. 😉
The vinyl also is a a little stiff when it first goes on, but seems to soften up a little bit with each wash. (I took these pictures before washing.)

This project was so fun to do too. I can see this getting addicting. Hmmm….what else can I add heat transfer vinyl to? 😉
Do you want to win some Expressions Vinyl for you to play with as well? How about $100 worth?
Alright!
Enter in the raffelcopter widget below.
a Rafflecopter giveaway
Good luck!
Sources:
Glitter: Leggings and denim shirt are from Target, and pink shoes are Converse (Ross.)
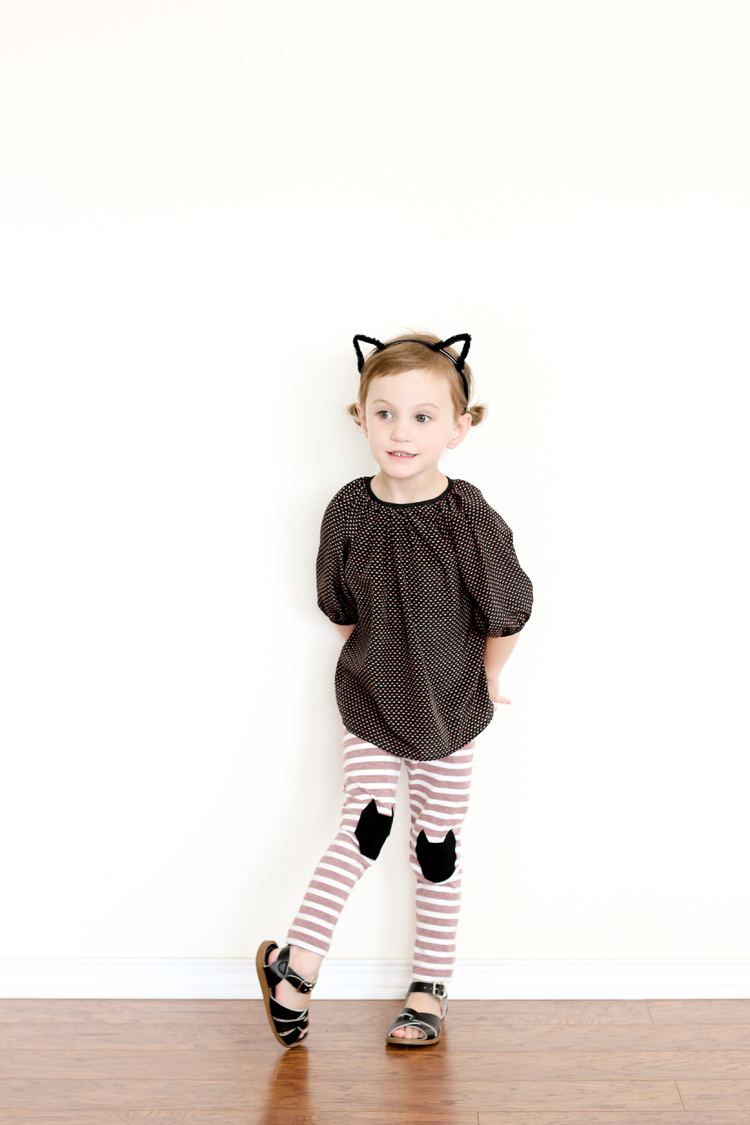
Kitty outfit: Leggings from Old Navy, Blouse – is handmade, Shoes are Saltwaters, cat ears are a black headband with black fuzzy pipe cleaners twisted onto it.
***Note: This project was created for A Girl and A Glue Gun’s Heat Transfer Vinyl Tour. I received free vinyl to use to create my project. Everything I wrote in this post is my honest, and sincere opinion. Keep in mind that I have never tried other brands of heat transfer vinyl. All I know is that this stuff holds up well and it was easy to use. :)***
Love the kitty version! That is a really cute way to add patches! (Isn’t heat transfer vinyl fun?) =)
Thank you Charity! It is so fun. I am going to have to restrain myself from heat transfer vinyl-ing all the things…haha!
Oh my lanta! These are so darling! My daughter lives in leggings..can’t get her in a pair of levis if my life depended on it! This is so stinking clever! You are so amazing!
haha. Thanks Kimbo! …and thanks for allowing me to be apart of the tour!
What a beautiful girl!!!!!
Thank you! <3
I love these patches, and as others have said, your girl is so cute and photogenic! I’ve just made some bunny patches for my girl’s pants and got inspiration form posts like this 🙂
Thank you Naomi! The bunny patches sound darling!
Thank you so much for sharing this! My daughter loves her leggings but they always get holes in the knees no matter what we do. I have a couple pairs that I’ve tried to sew back together and they always get ripped again the next wear. I just put some glitter heart patches on today after following your instructions and saved the leggings! I am so excited for her to see them later and can’t wait to see how they hold up! Thank you!
So glad this helped! Thanks Lindsey!
Hi, I was so excited to see this post because my daughter plays hard and her leggings are all getting knee holes. I bought the heat transfer vinyl and tried to apply it to the leggings with an iron…but I ended up melting the vinyl all over my iron. Can you please help? I may have mom brain but I can’t figure out how to make it work. Do I need to peel something off the vinyl before ironing? Which side should be up? The sheets of vinyl I received have a white backing on them. I watched all the instruction videos but I don’t have that equipment, just an iron. Thank you 🙂
Hi Christa! I am so sorry that happened! I am not sure which brand of heat transfer vinyl you are using. Mine came with transfer paper that you can iron. You may need to buy some separately? I used a regular iron as well. I would happy to help you trouble shoot the issue if you want to direct message me on instagram. I am @deliacreates there.
I’m hoping to try this tomorrow! Did you put anything inside the pant leg before you ironed on? Just wondering how the vinyl would cover the hole but not stick to the inside of the back of the pant leg…
That’s a great question. It’s been a while since I shared this but I believe the holes were small enough and thready enough to move/stretch the fabric and threads around enough to fill the holes. If yours are larger, you can add some scrap fabric to the back so that it doesn’t stick and feel tacky on the inside.
Thank you for posting this! These were so easy to do and lovely for patching up knee holes in beloved leggings, I was able to mend a couple of pairs in no time, even as a complete iron-on vinyl newbie!
A helpful tip for those trying out patterns that are cut by hand with scissors (like I did) – the instructions will tell you to load the vinyl pattern mirror image and glossy side down, but you’d *reverse* those instructions if you’re cutting by hand – no need to mirror image, glossy side UP. The iron-on also goes glossy side up, so you’re literally cutting the image that goes on the fabric.
It’s simpler than using a machine, but it took me a first try to figure out which side goes onto the fabric. The glossy side has a plastic you’d peel off, so if you are marking the cut lines, do so on the glossy side too as it feels off when you’re done. Hope this helps! 😊
Great tips. Thank you!