

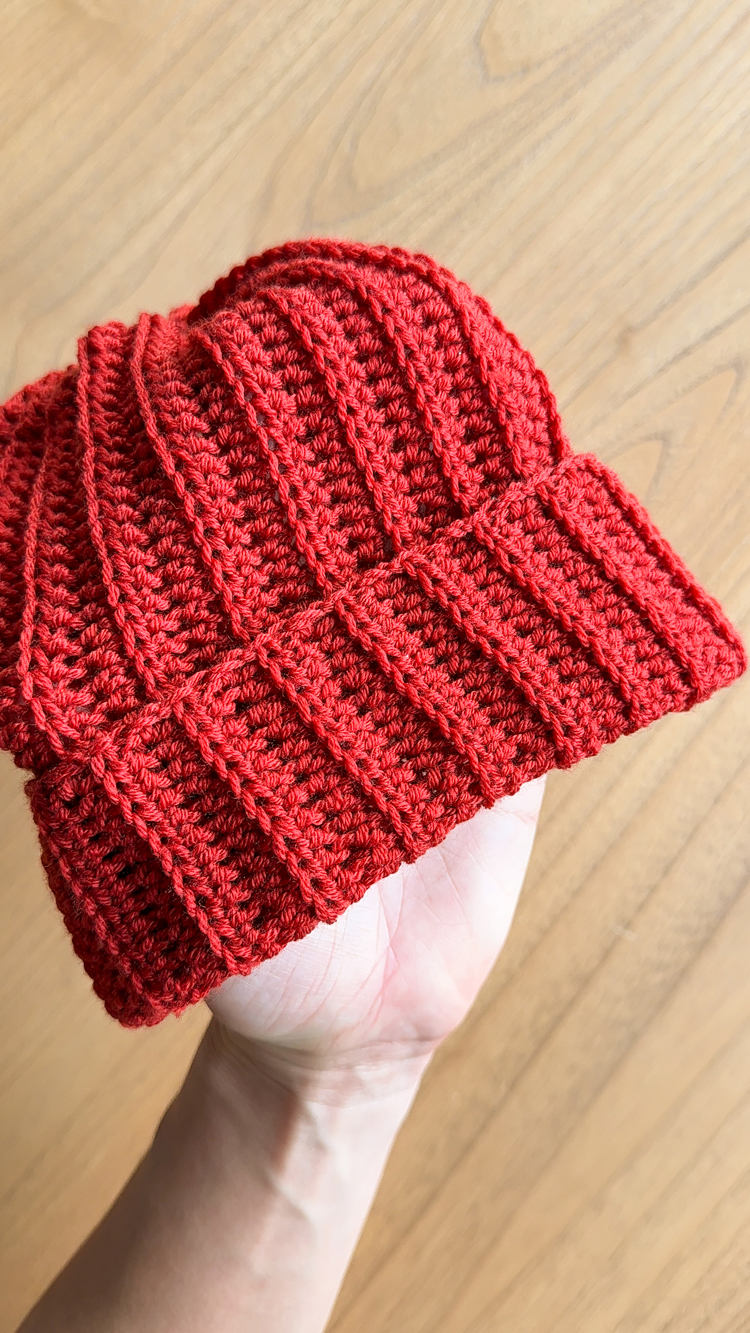
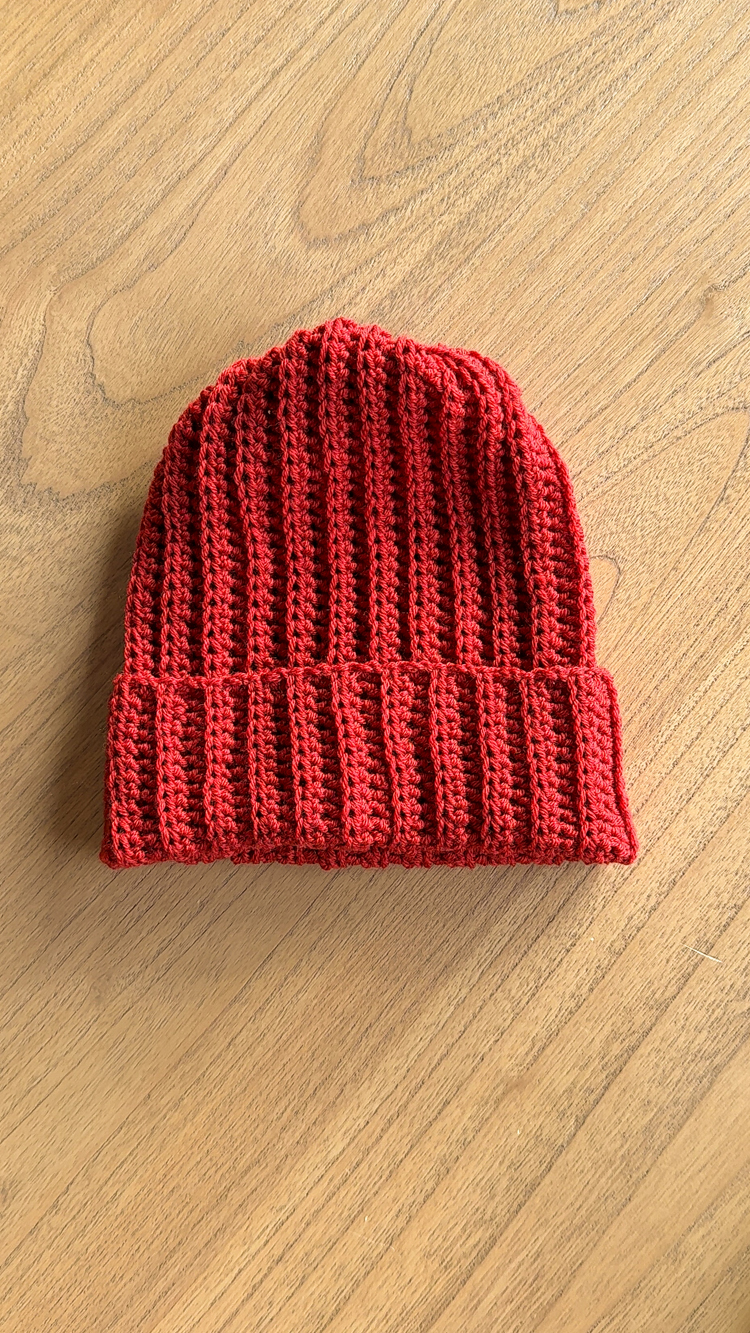
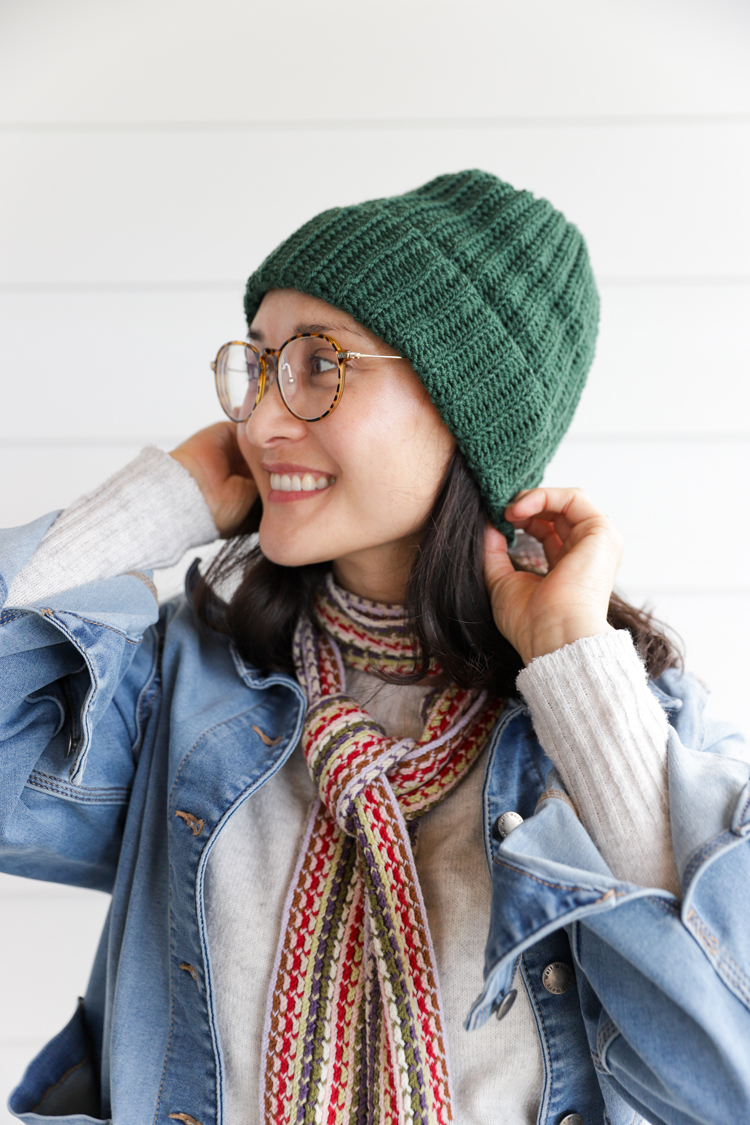
If you can half double crochet a rectangle, you can make this beanie!
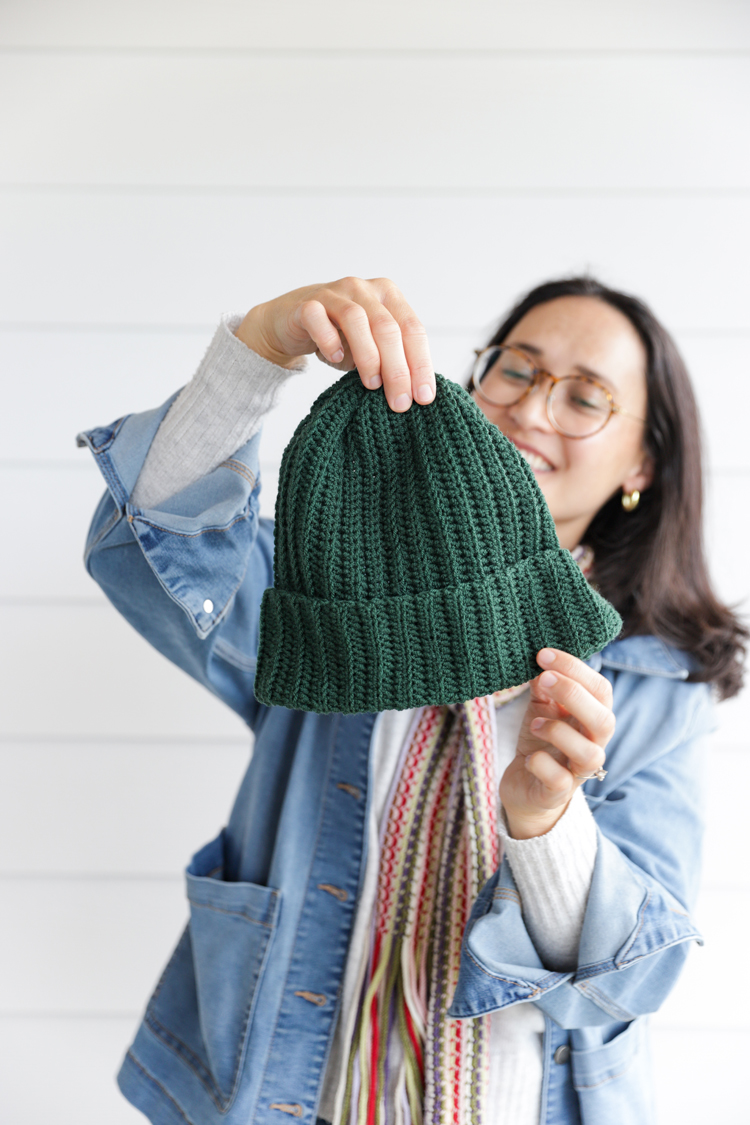
This is the companion project to the half double crochet (hdc) lesson in my refreshed Crochet Basics series. So, you learn a basic crochet stitch and then make something with that stitch.

I believe the best way to learn something is to put it to use and practice, practice, practice. This may consist of a simple rectangle, but it has you crocheting thousands of hdc until it feels like second nature. It’s a really great way to learn!
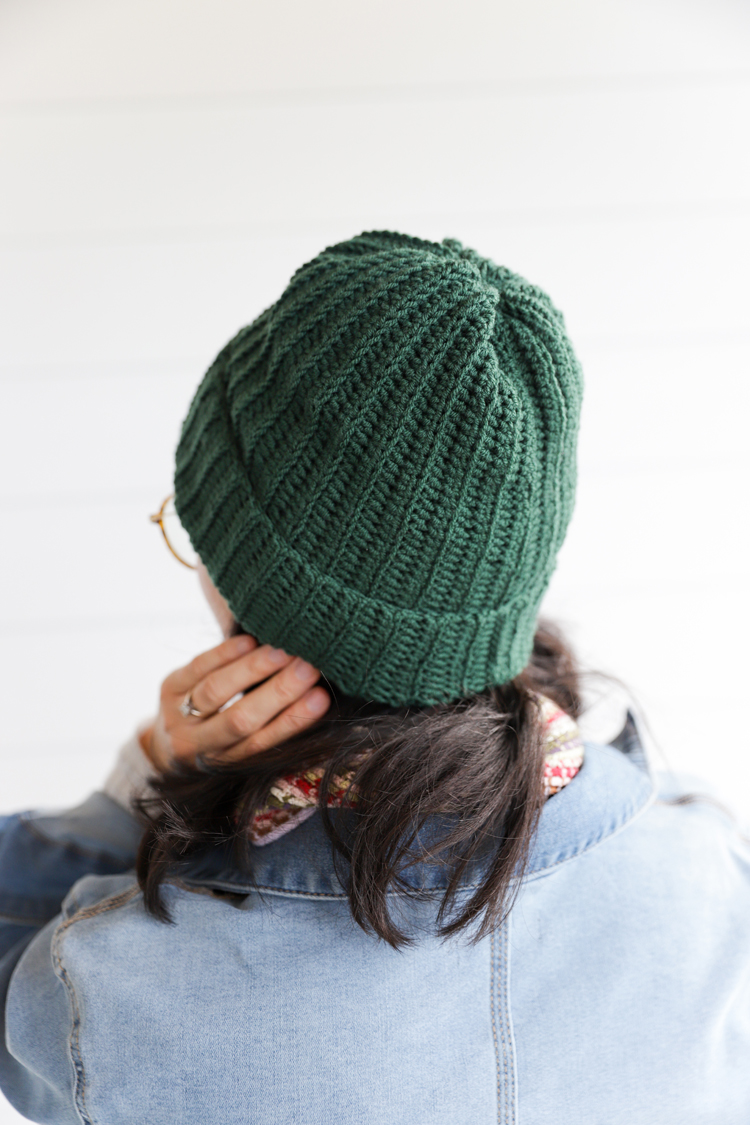
I have a very similar hat and tutorial from my original Crochet Basics Series here. For the updated hdc lesson, check it out here on TikTok.
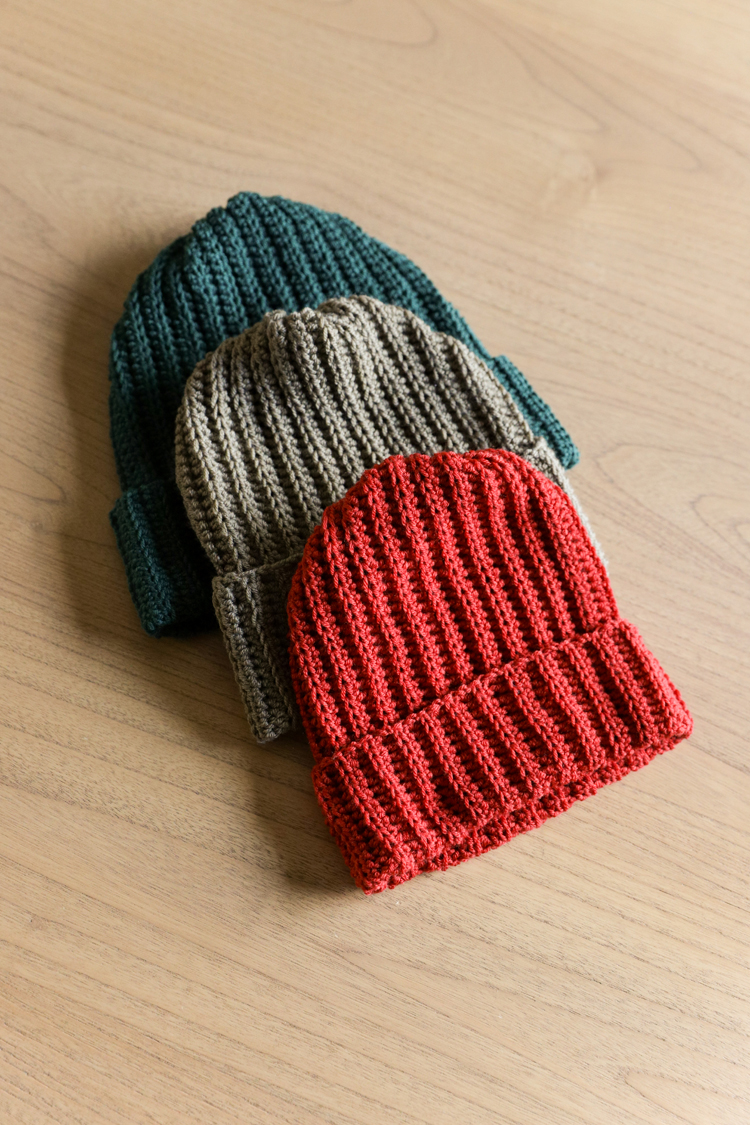
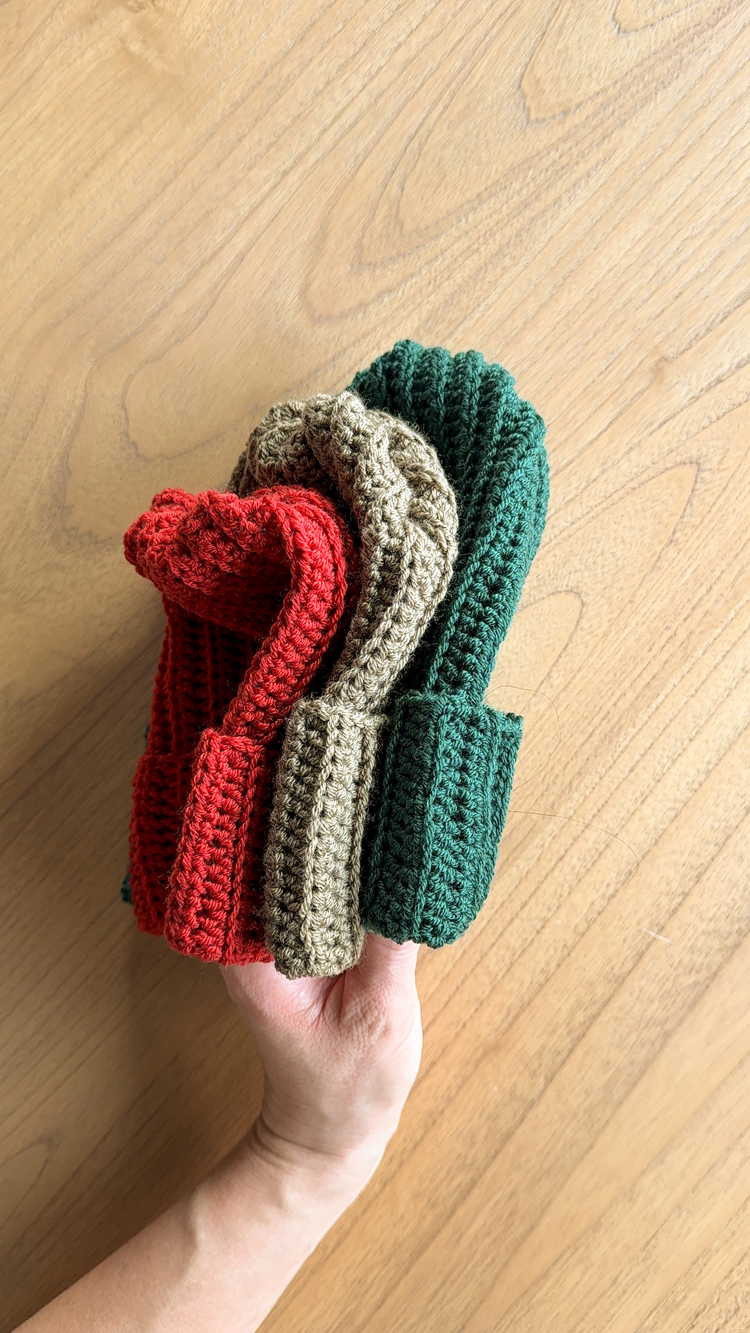
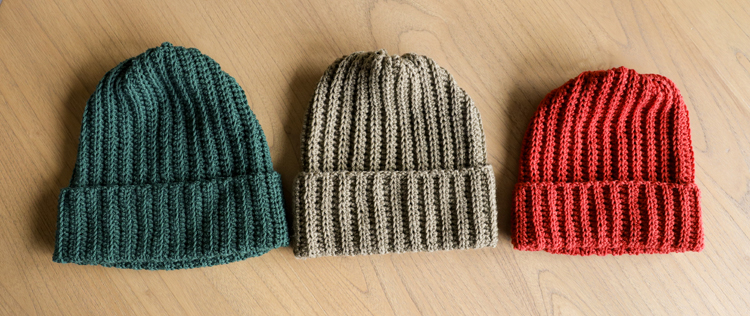
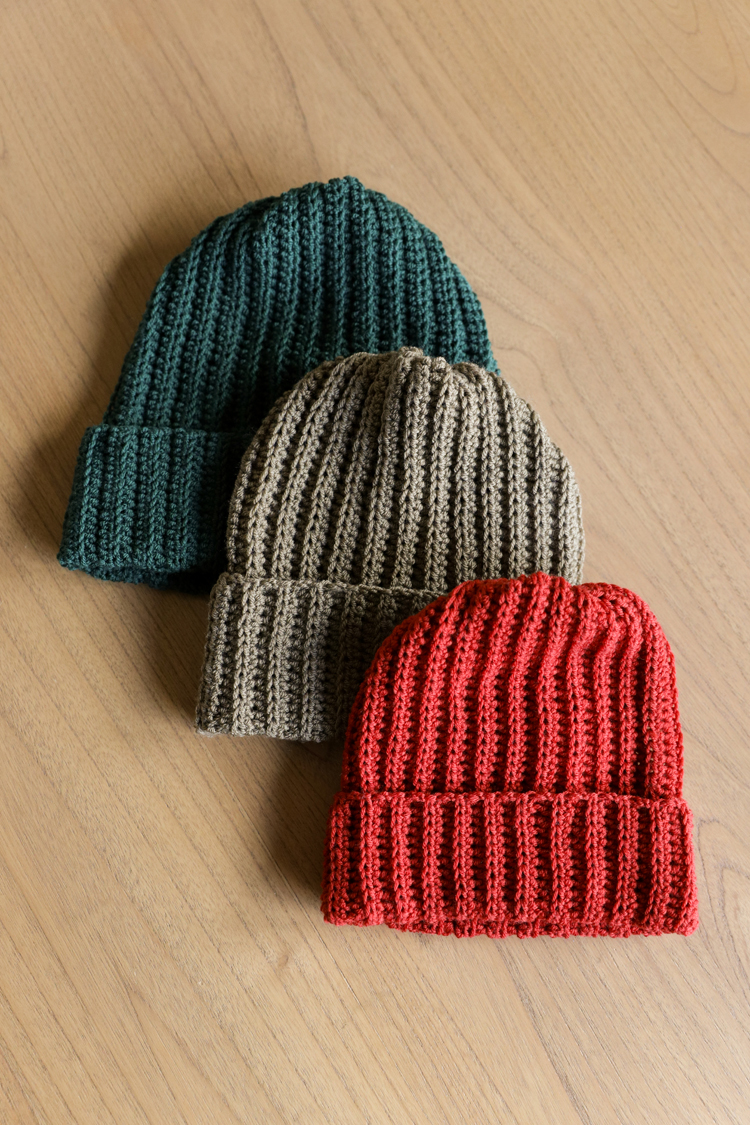
For this Half Double Crochet Beanie free pattern I’ve designed it to come in three sizes: adult, child, and baby. Within those sizes I’ve also included some stitch ranges so that you can make them a little smaller and larger within that size range as well.
Let’s get started!
MATERIALS
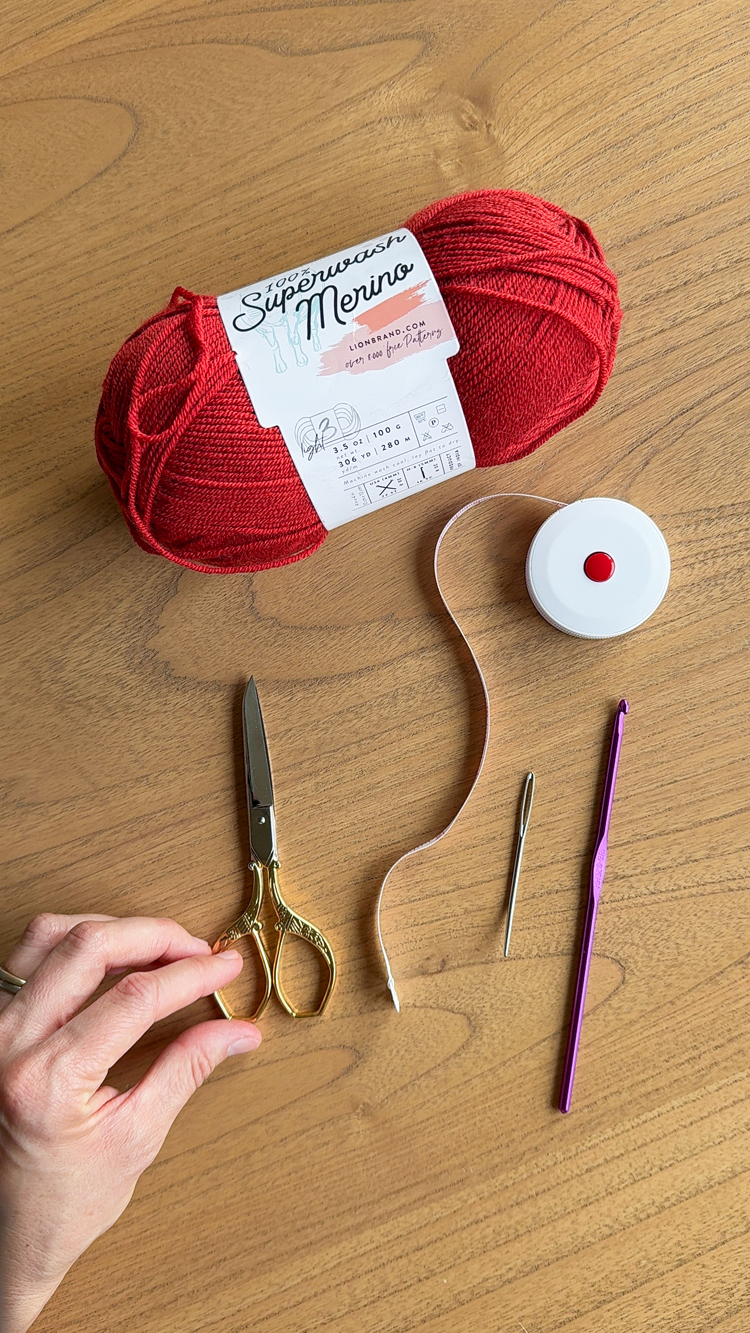
- Size 3/DK wool or acrylic yarn*
- 3.75 mm crochet hook
- Yarn needle
- Scissors
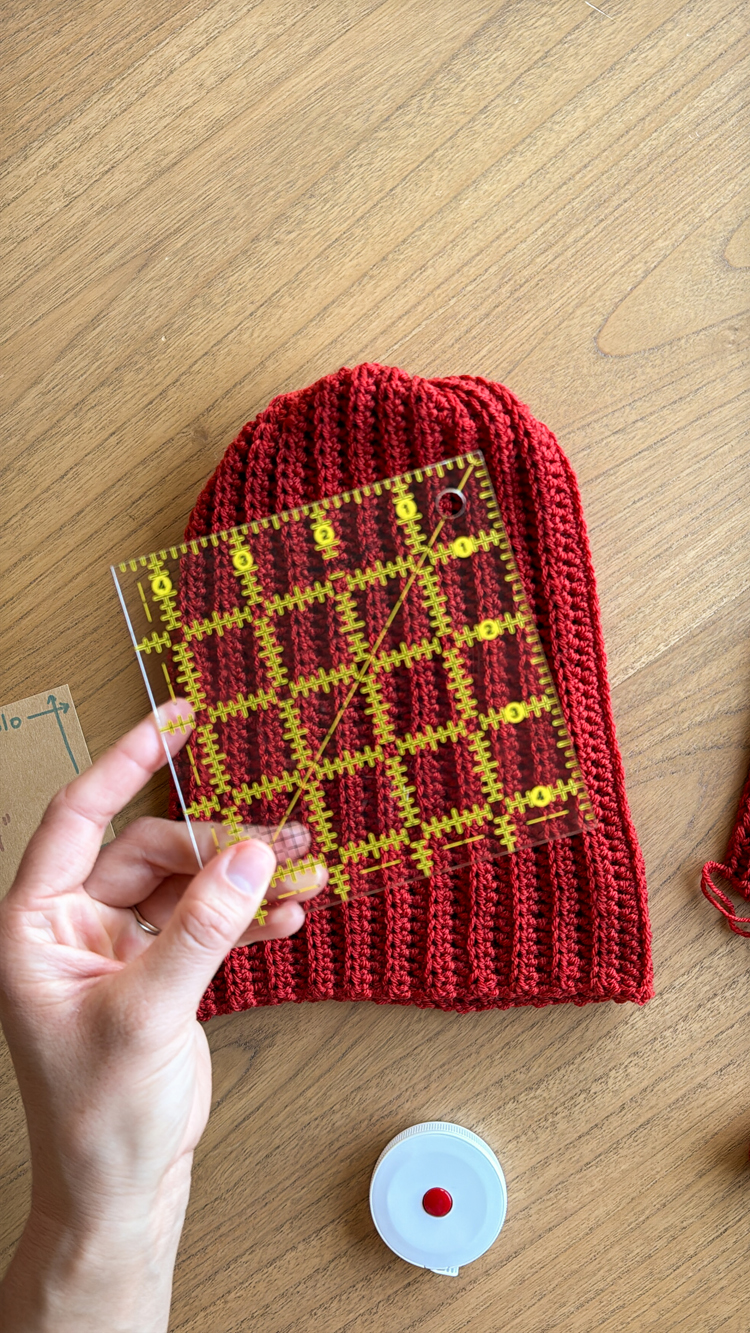
- Measuring tape or ruler (to measure gauge)
Material Notes
*I used Superwash Merino wool yarn from Lion Brand in Paprike (baby), Olive Branch (child), and Hunter (adult). For amounts, see the sizing section below.
SKILL LEVEL
This pattern is geared toward brand new beginners.
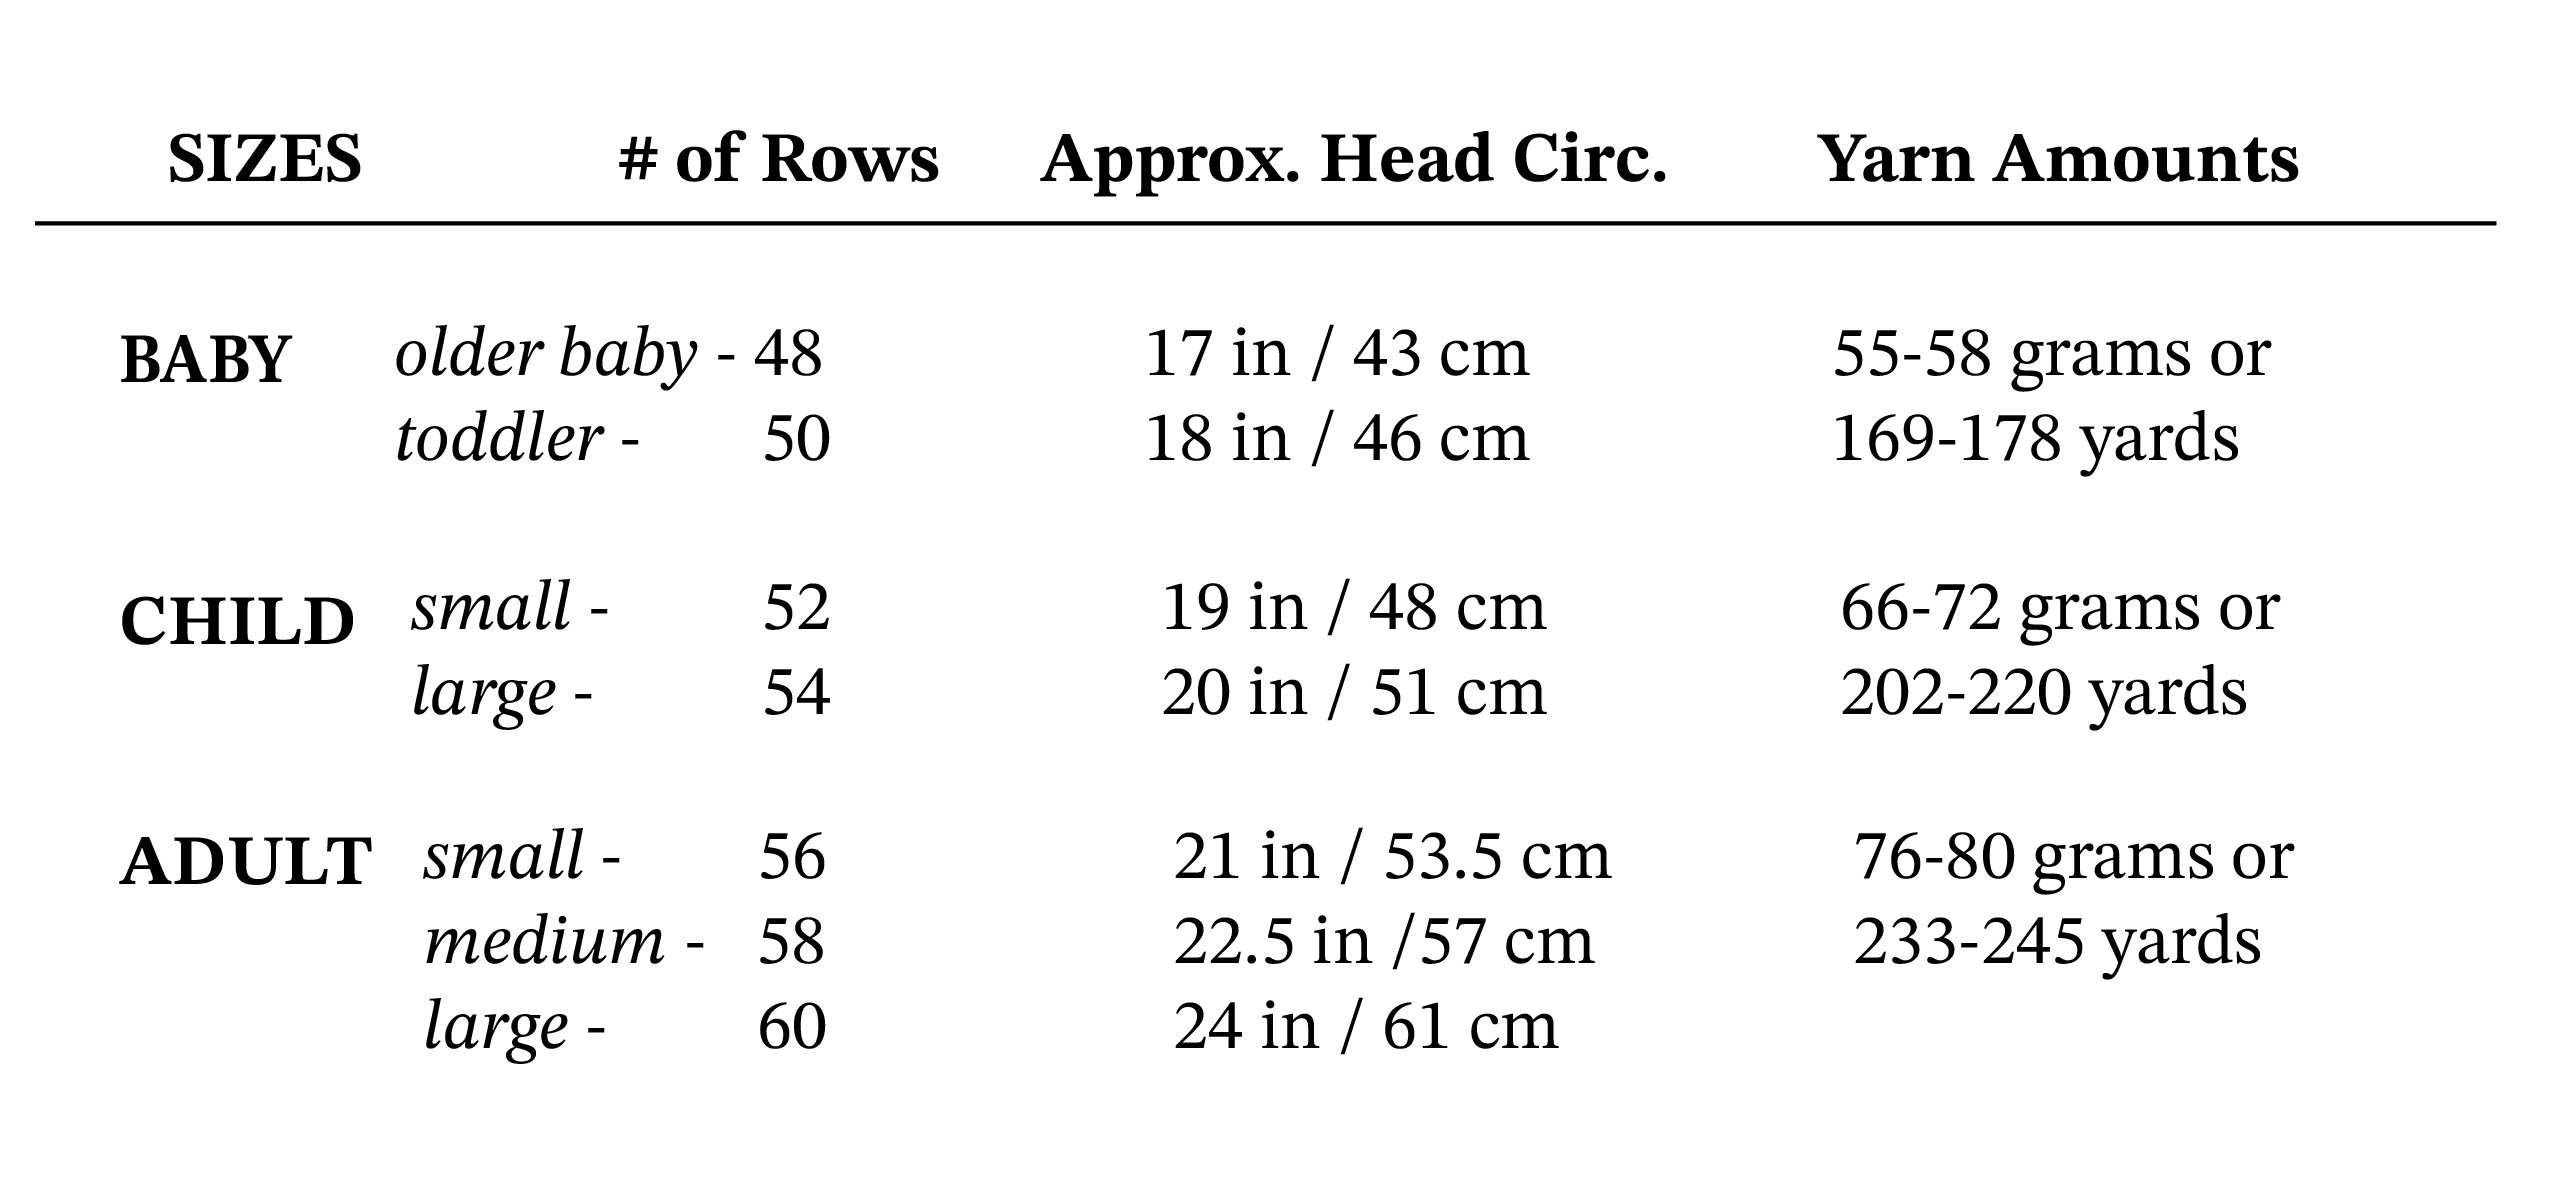
SIZING & YARN AMOUNTS
SIZING ADJUSTMENTS
If you want the hat to have a larger or smaller circumference, add or subtract increments of 2 rows. You always want to end with an even number of rows, so that when you seam up the beanie, the alternating ribbed pattern stays continuous.
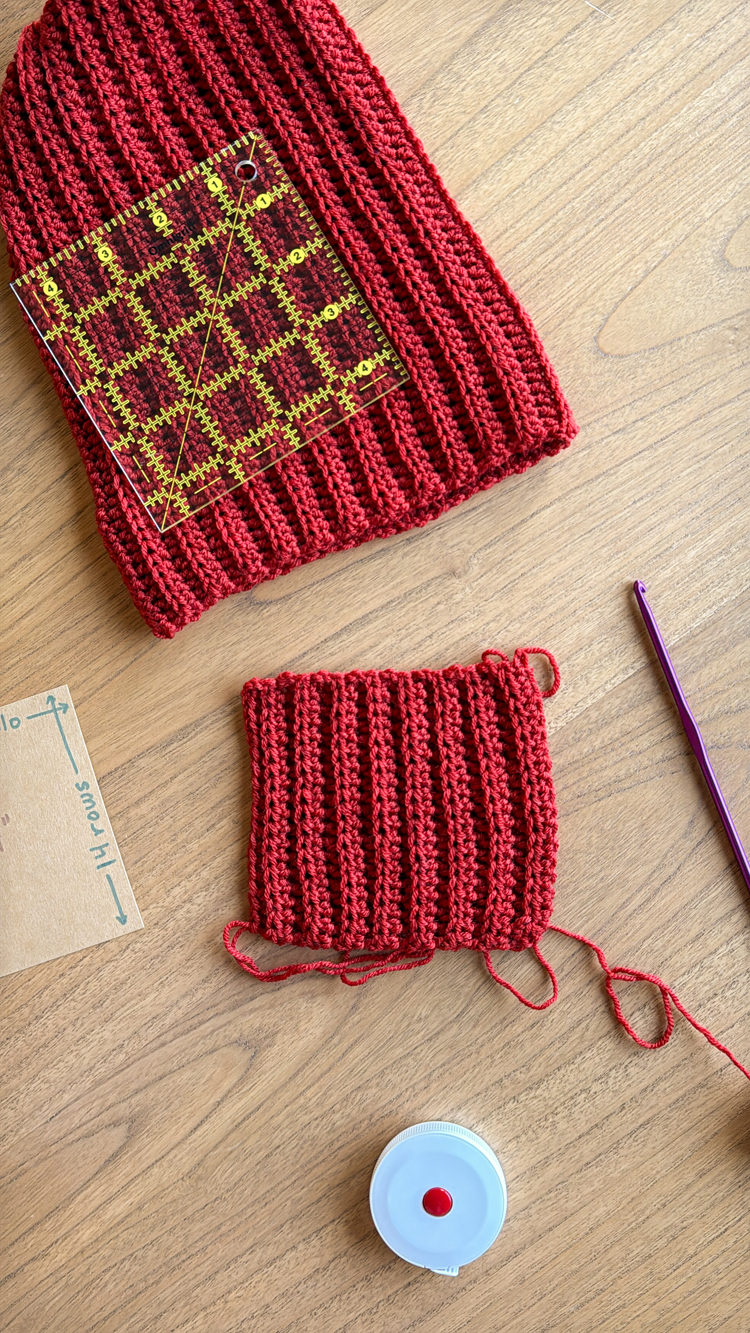
GAUGE
4 inches x 4 inches = 17 hdc in blo x 14 rows
I have another post that discusses gauge. What is it? Do you need a gauge swatch? And how to make one if you do. Go here the video and written tutorial.
ABBREVIATIONS
Please note: This pattern uses U.S. Crochet Terms.
- ch = chain
- sl st = slip stitch
- sc = single crochet
- hdc = half double crochet
- blo = back loops only
VIDEO TUTORIAL
The video tutorial will be added soon.
WRITTEN PATTERN
TIP: The key to helping the sides stay straight and even, is to count your stitches every few rows. It can be very easy to drop or add stitches over time, which will distort the shape of the beanie. It’s boring, I know…but the most effective way to avoid warped sides is to double check your stitch count throughout the pattern.
BABY
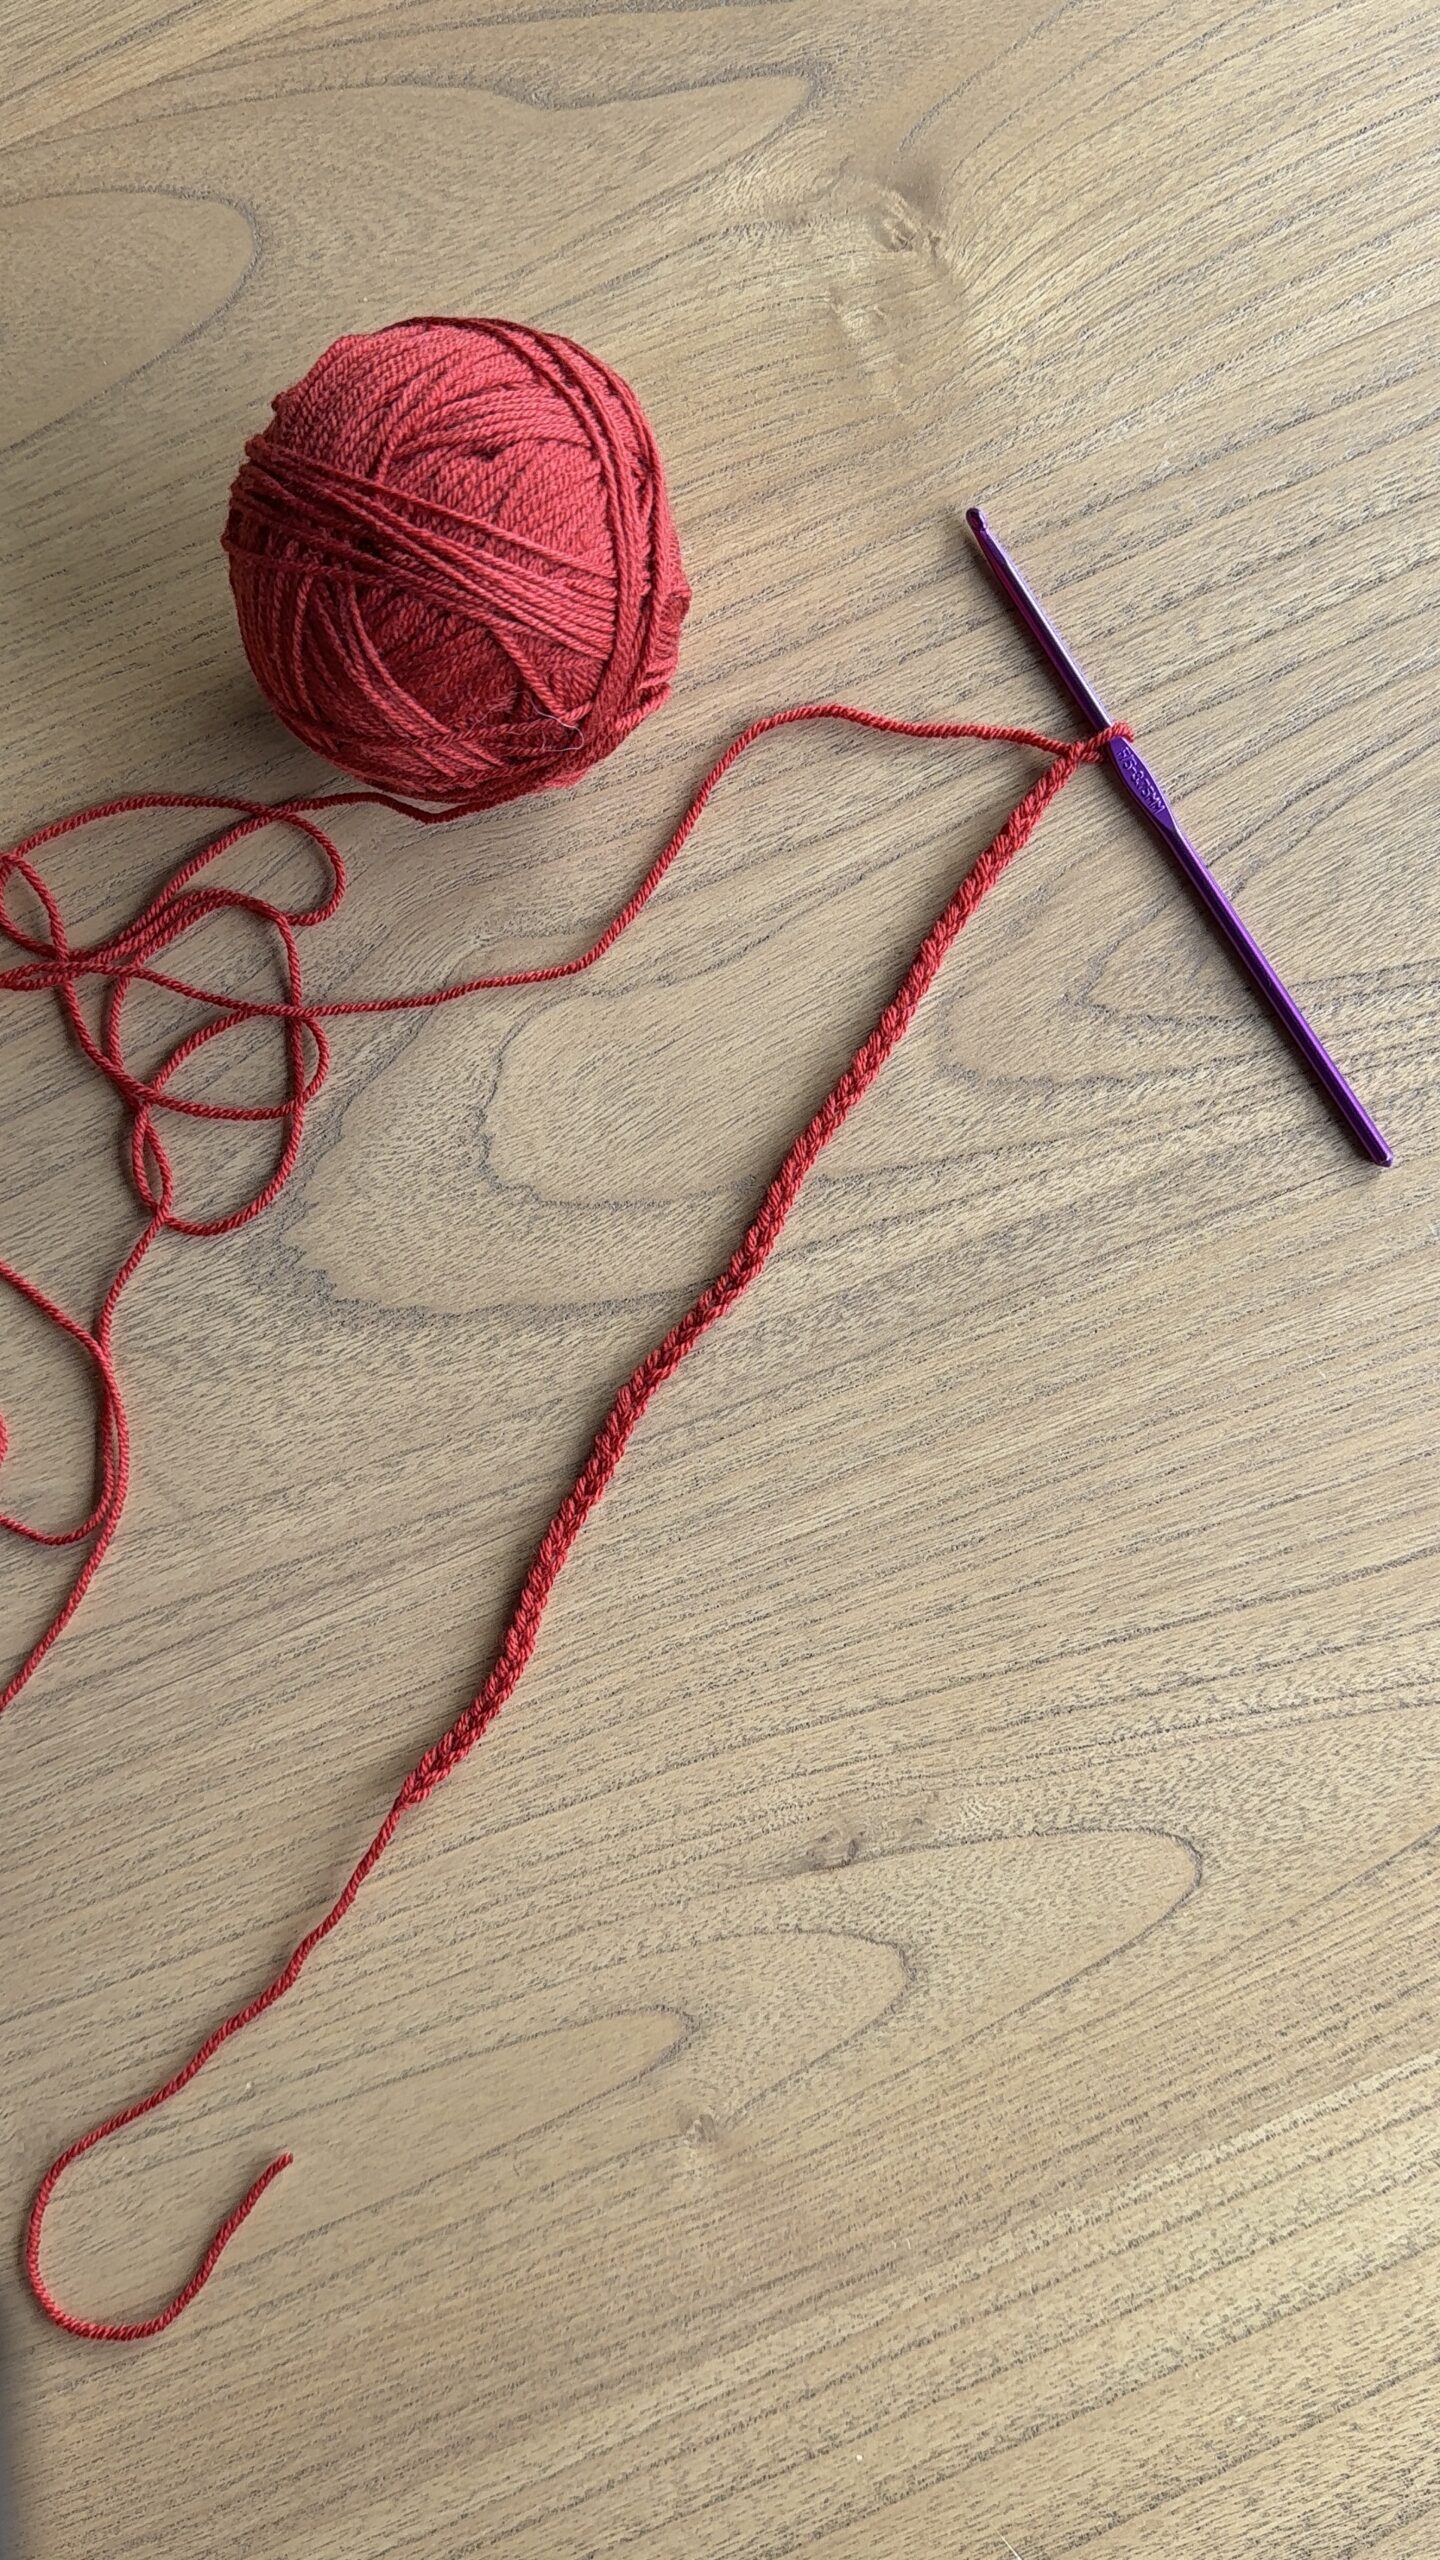
Chain 50.
Row 1: Hdc in the third ch from the hook. Hdc in each chain. Total stitch count = 49
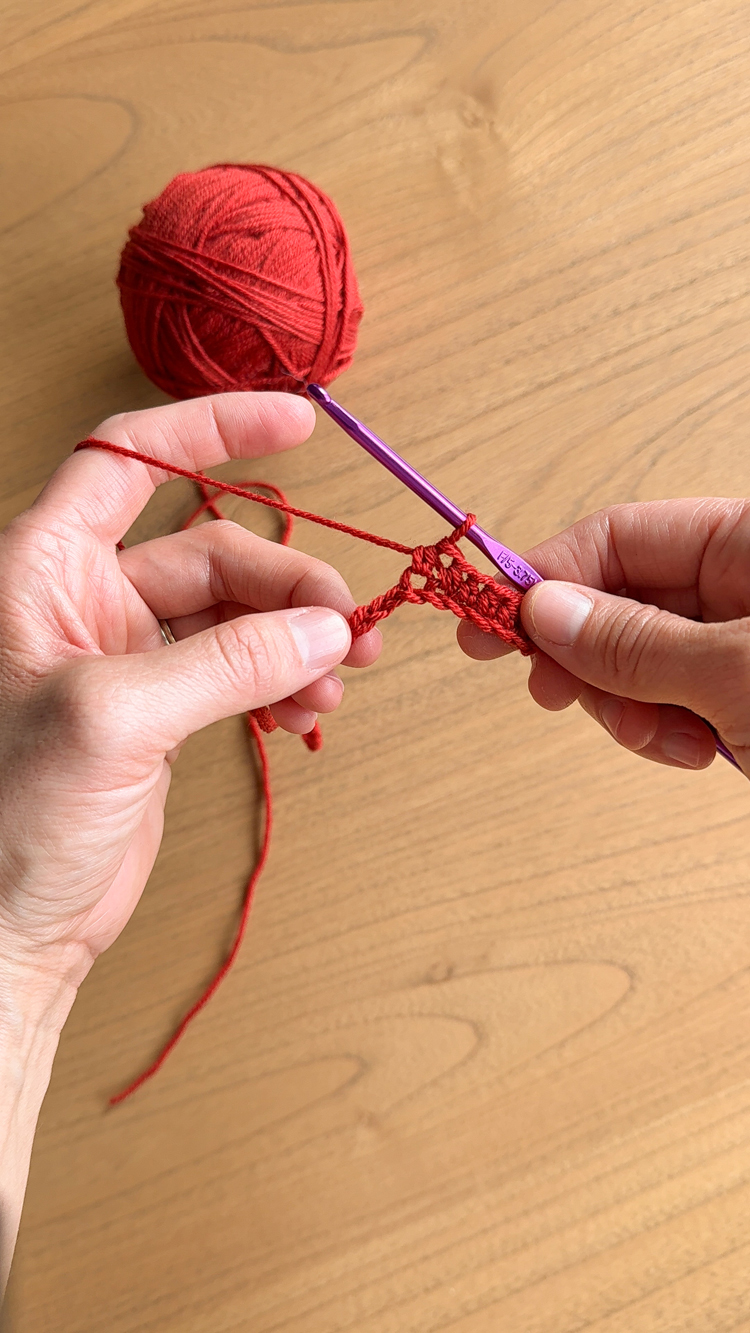
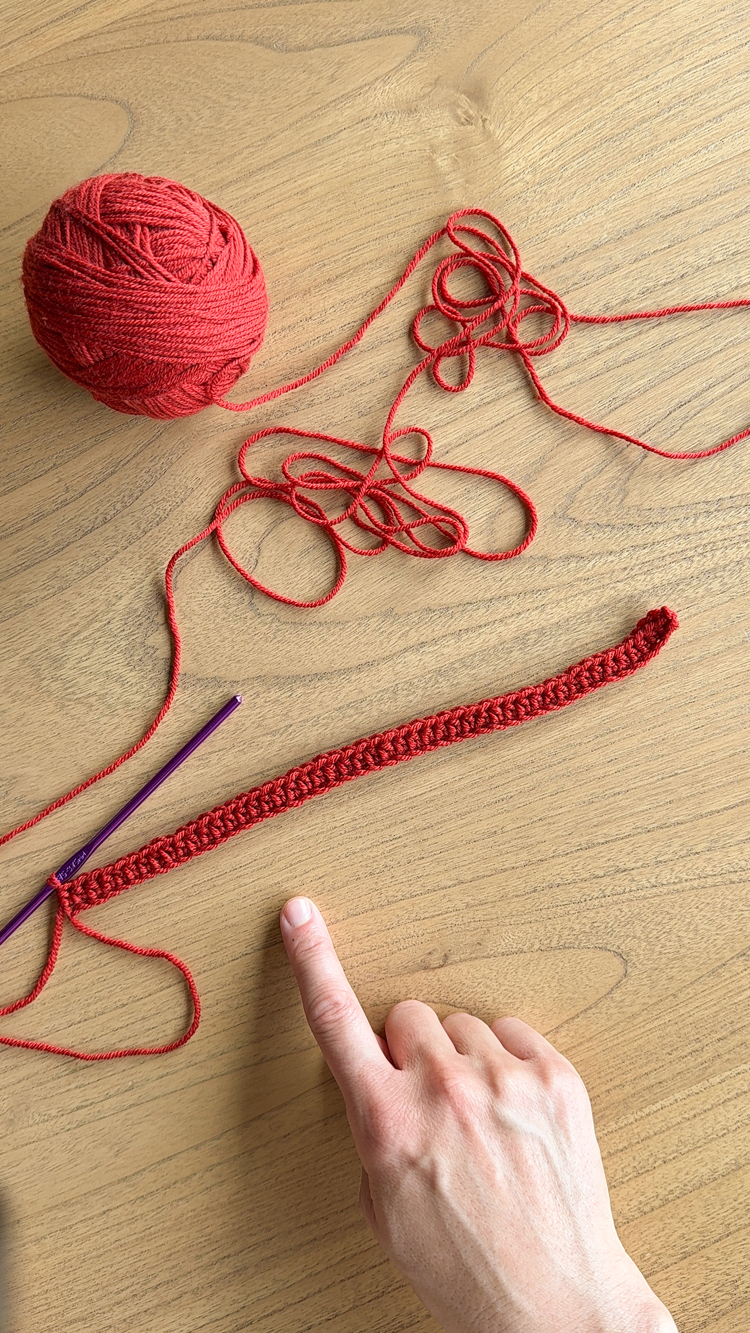
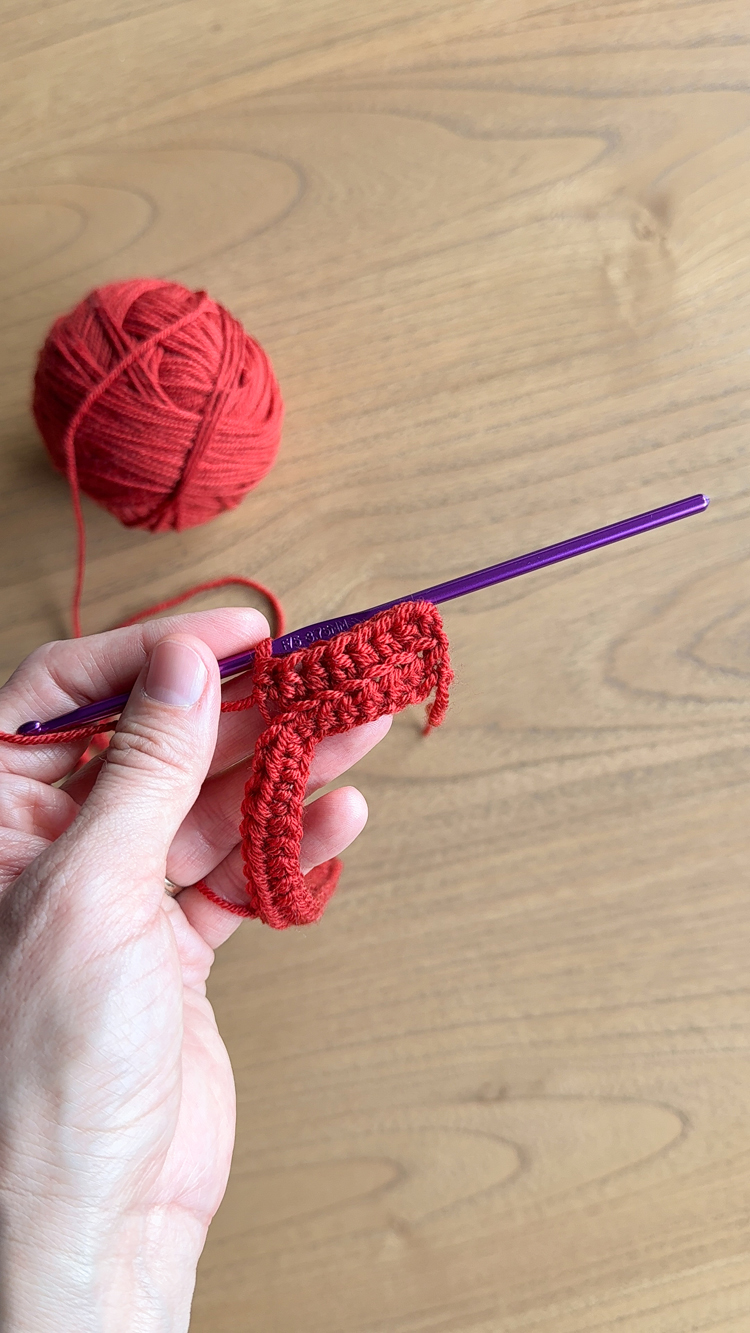
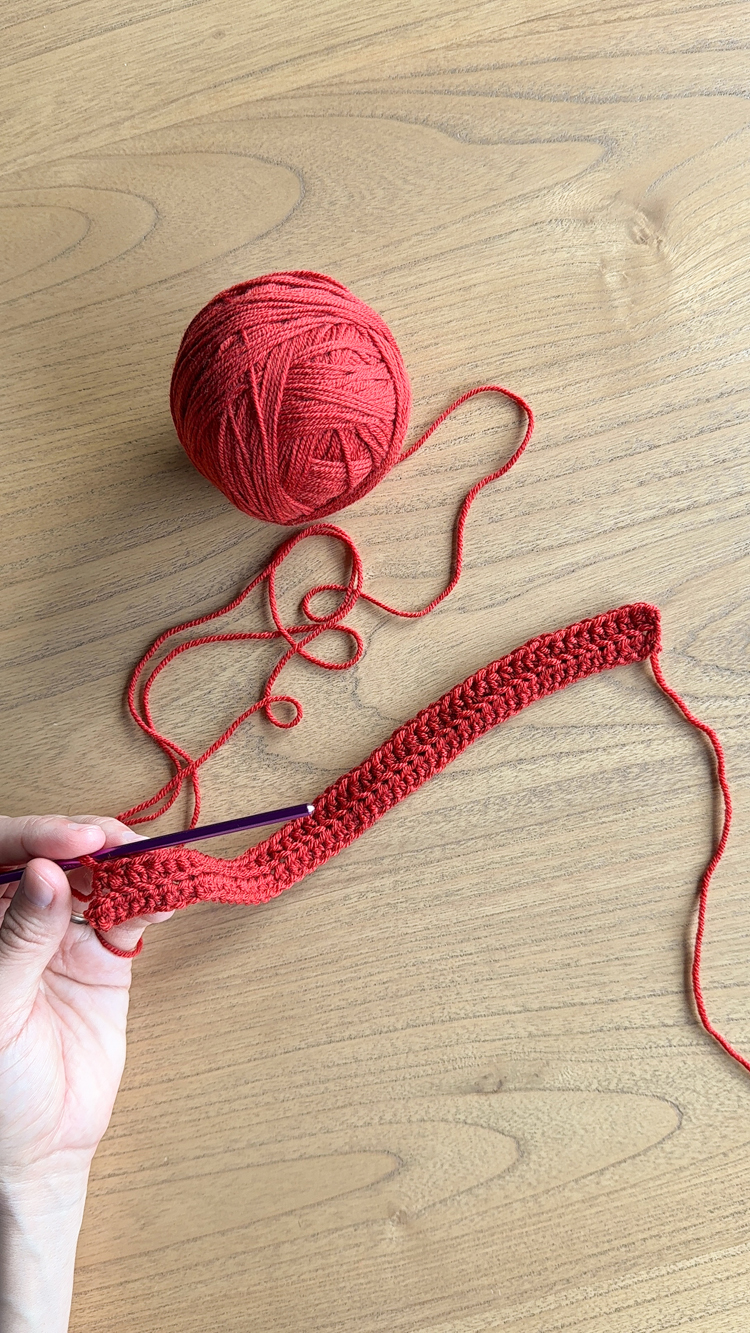
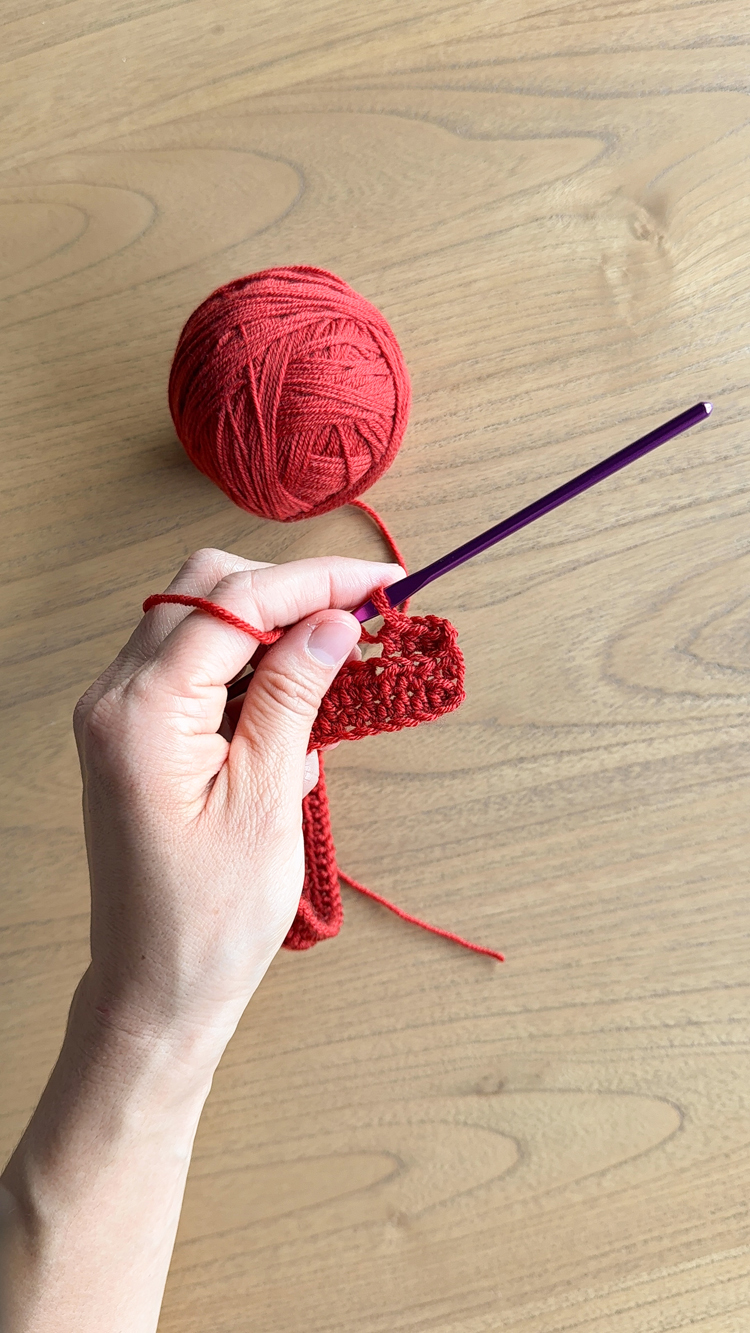
Row 2: Turn, ch 2. Hdc in blo in first stitch at the base of ch 2. Hdc in blo in each ch until last stitch. Notice last hdc and ch 2 from previous row. Skip last hdc and hdc into the top of the ch 2. (49)
Shifting where you put your first and last hdc, helps the sides form straighter. Work int he back loops only, creates the cool ribbed texture of the beanie. You can see it start to form after a few rows.
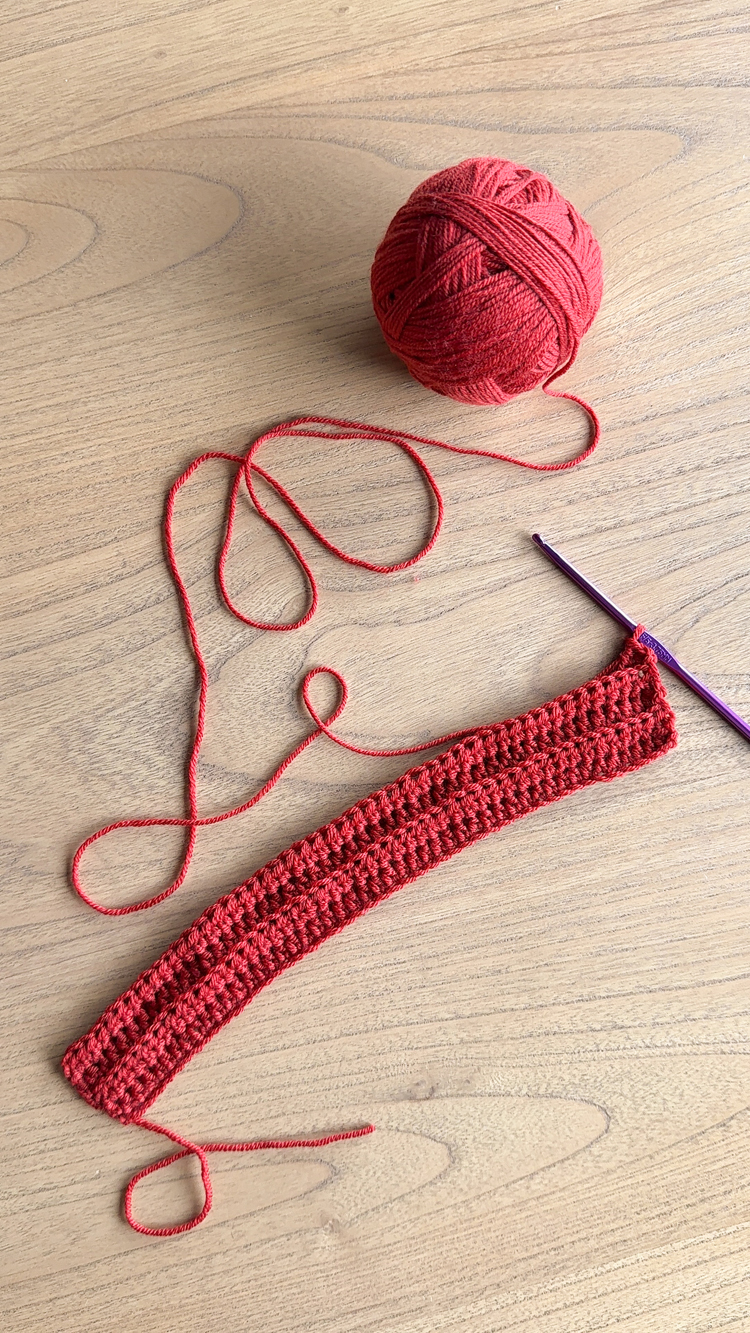
Rows 3 – 48: Repeat Row 2.
For older baby size, go to beanie seaming instructions.
For toddler size, repeat Row 2 until Row 50, then go to beanie seaming instructions.
CHILD
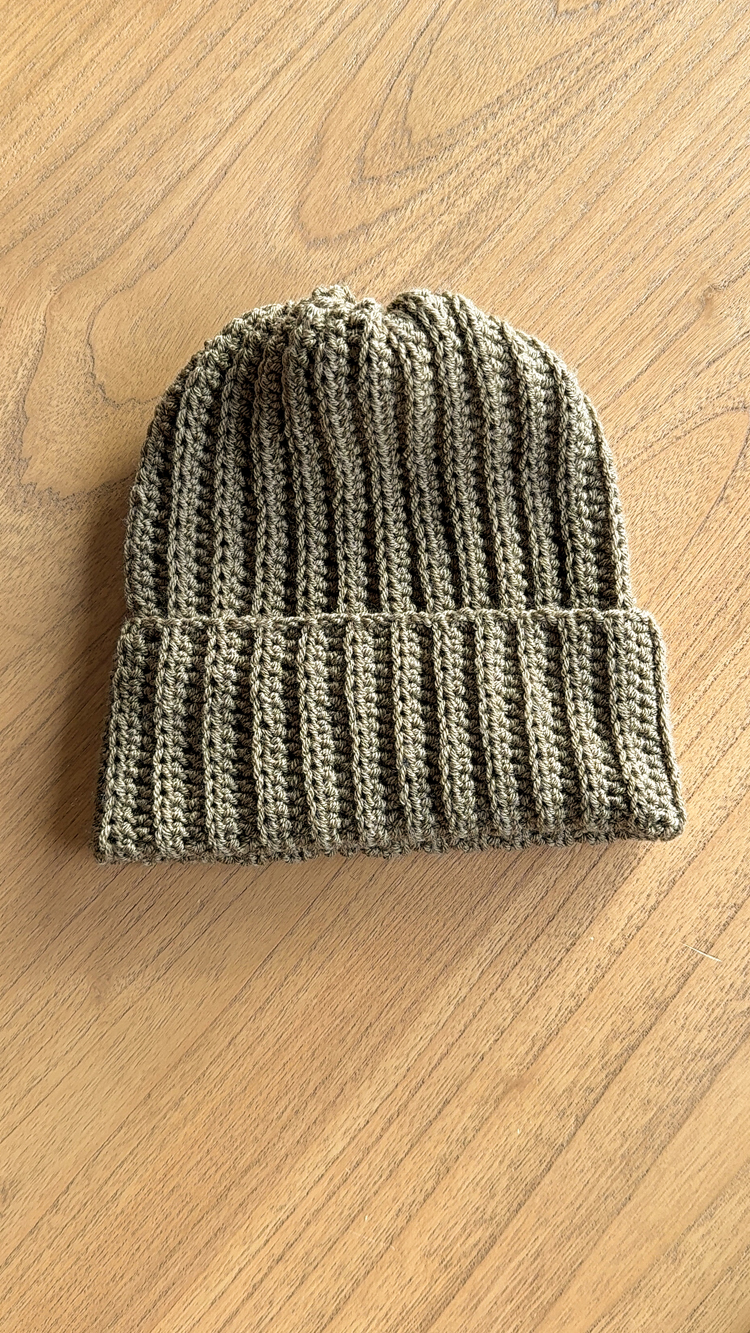
Chain 55.
Row 1: Hdc in the third ch from the hook. Hdc in each chain. Total stitch count = 54
Row 2: Turn, ch 2. Hdc in blo in first stitch at the base of ch 2. Hdc in blo in each ch until last stitch. Notice last hdc and ch 2 from previous row. Skip last hdc and hdc into the top of the ch 2. (54)
Rows 3 – 52: Repeat Row 2.
For small child size, go to beanie seaming instructions.
For large child size, repeat Row 2 until Row 54, then go to beanie seaming instructions.
ADULT
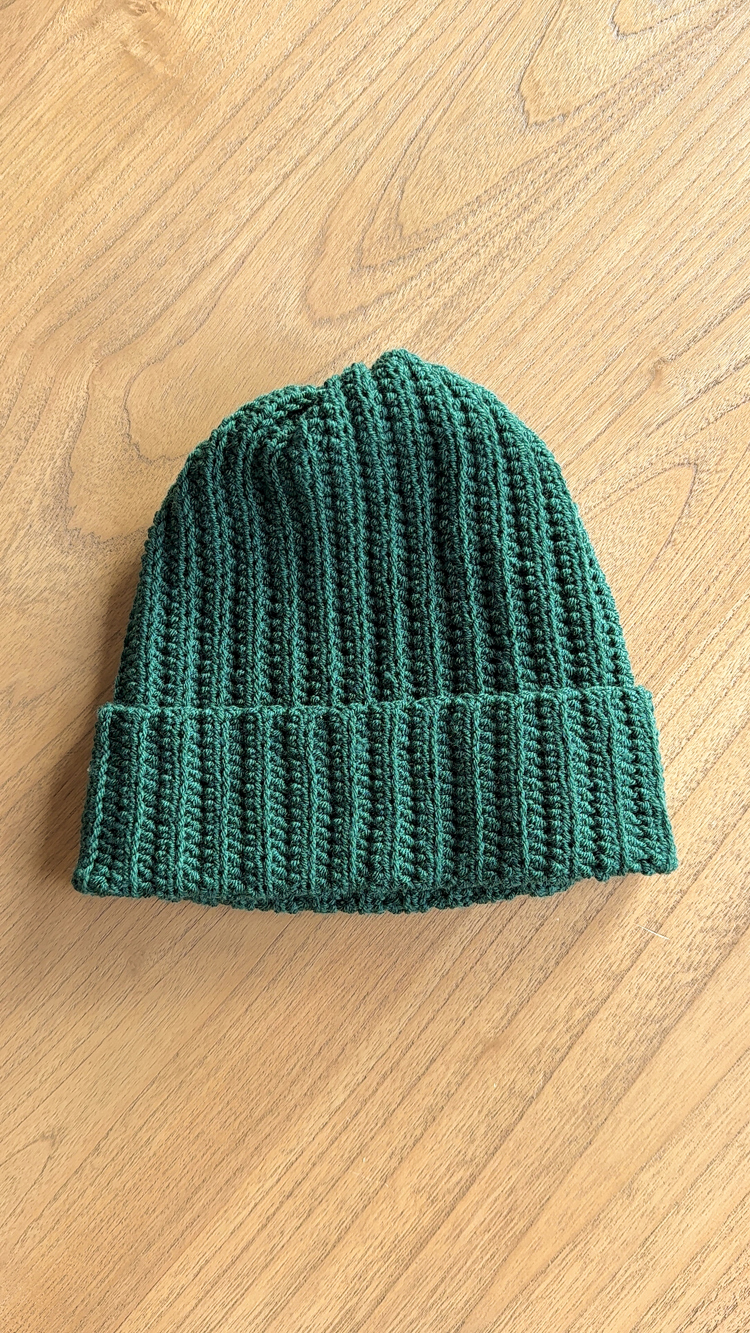
Chain 60.
Row 1: Hdc in the third ch from the hook. Hdc in each chain. Total stitch count = 59
Row 2: Turn, ch 2. Hdc in blo in first stitch at the base of ch 2. Hdc in blo in each ch until last stitch. Notice last hdc and ch 2 from previous row. Skip last hdc and hdc into the top of the ch 2. (59)
Rows 3 – 56: Repeat Row 2.
For small adult size, go to beanie seaming instructions.
For medium adult size, repeat Row 2 until Row 58, then go to beanie seaming instructions.
For large adult size, repeat Row 2 until Row 60, then go to beanie seaming instructions.
BEANIE SEAMING INSTRUCTIONS
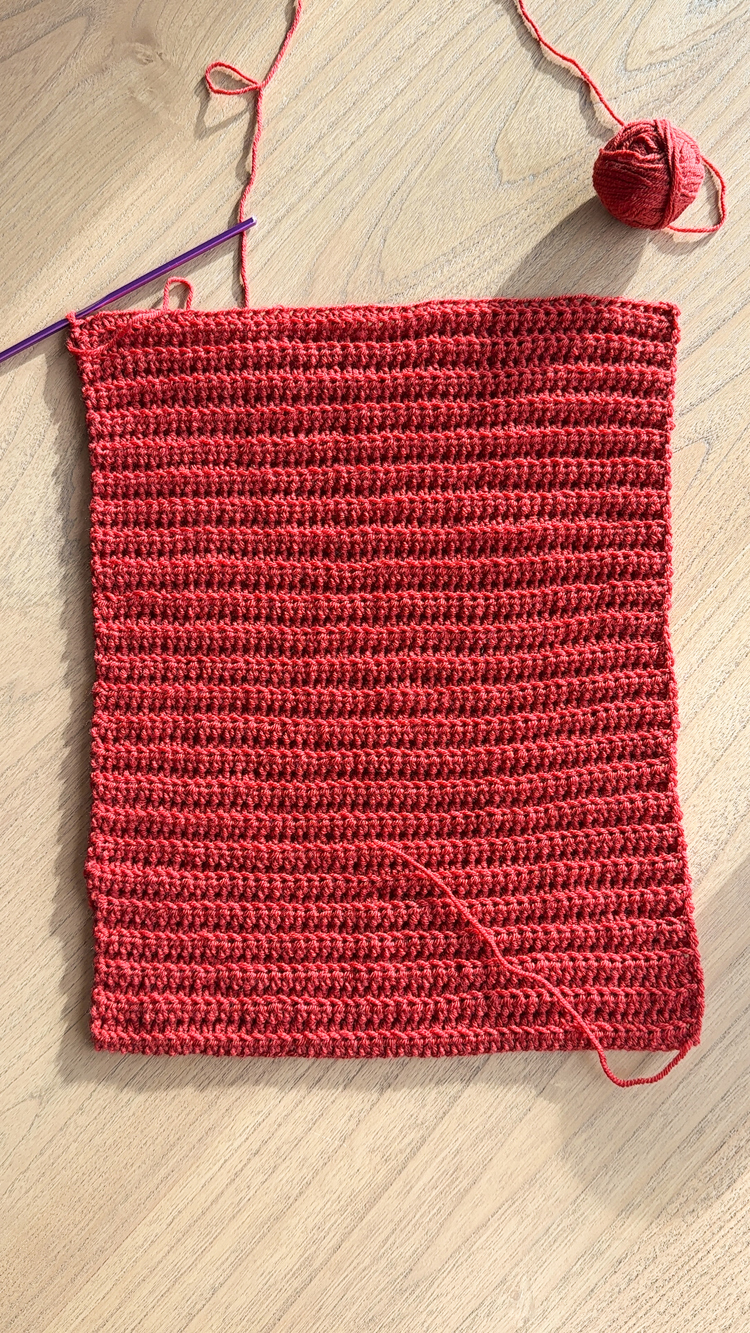
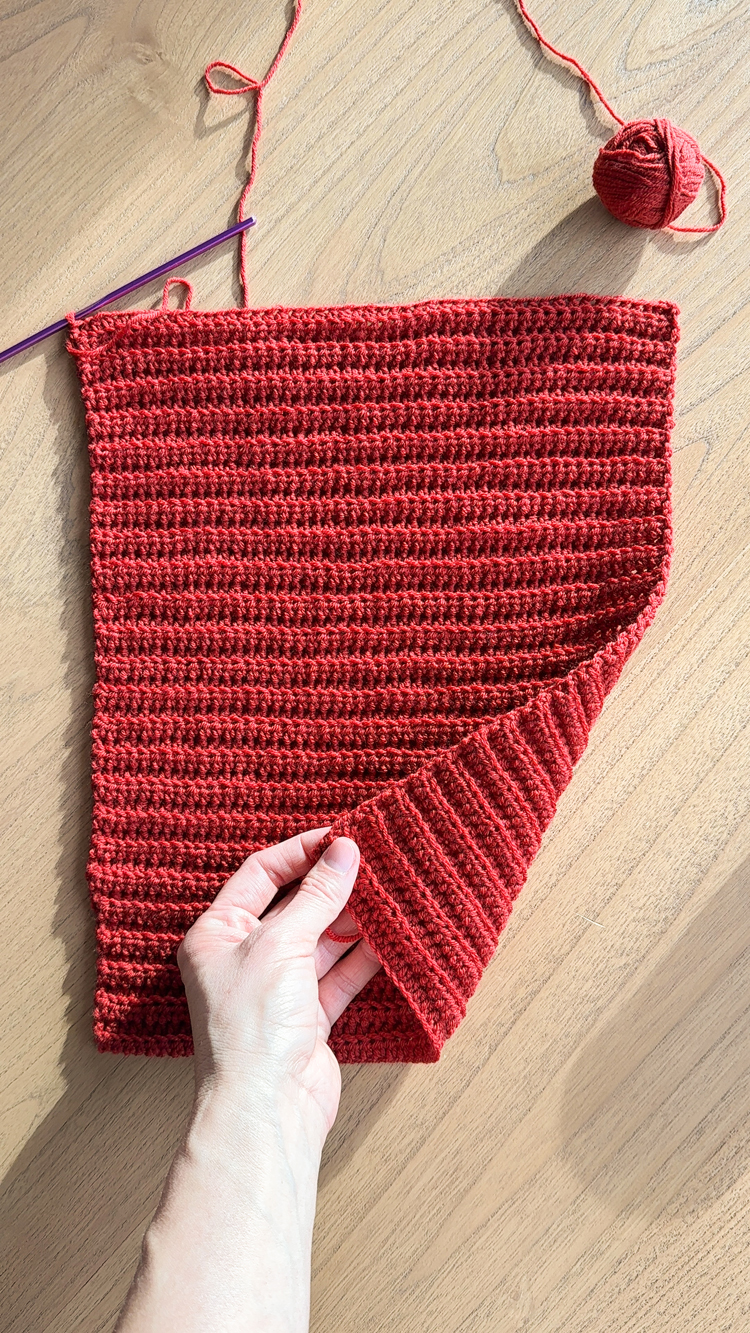
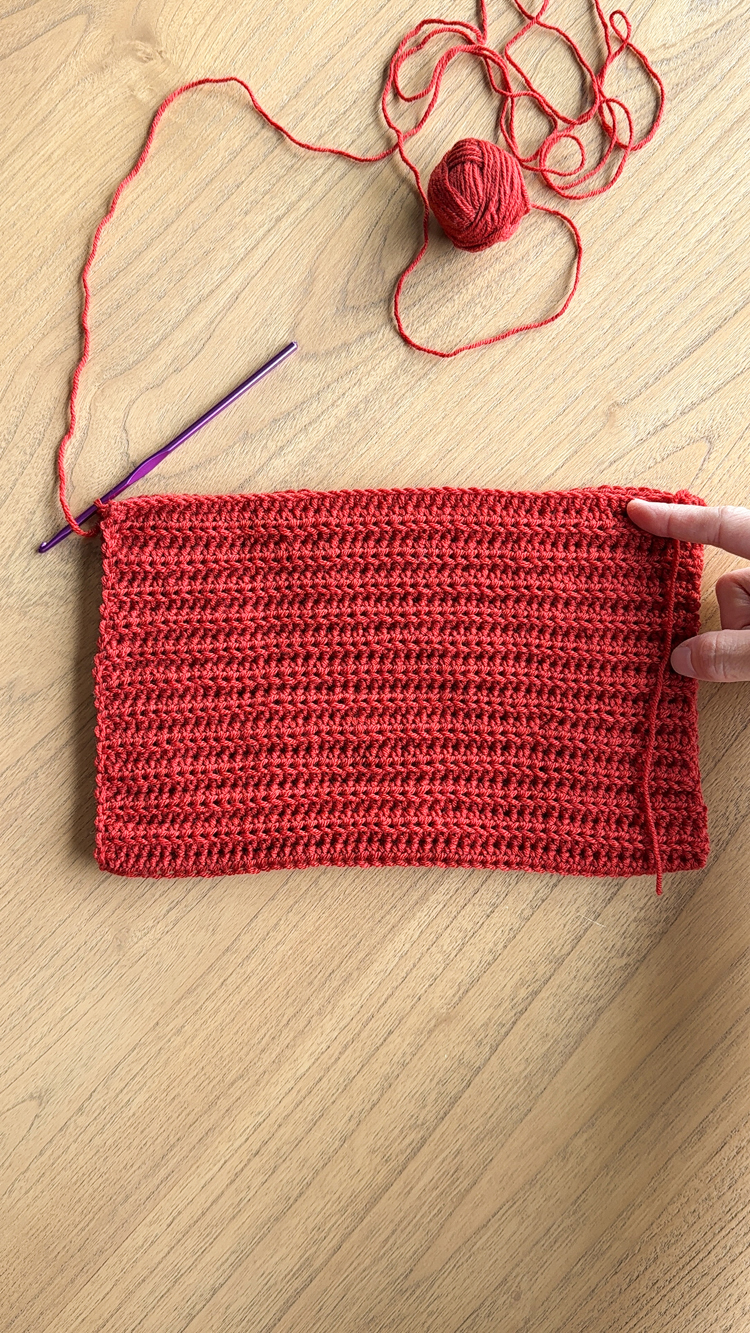
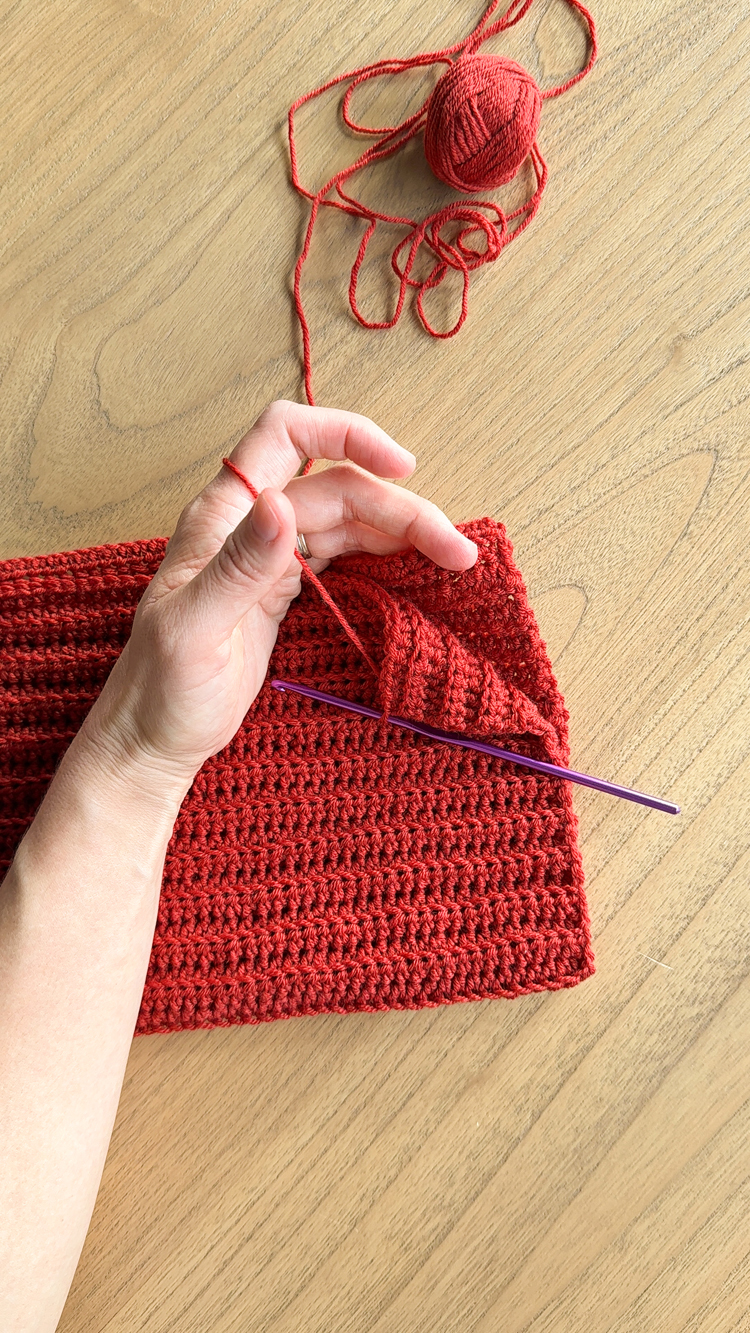
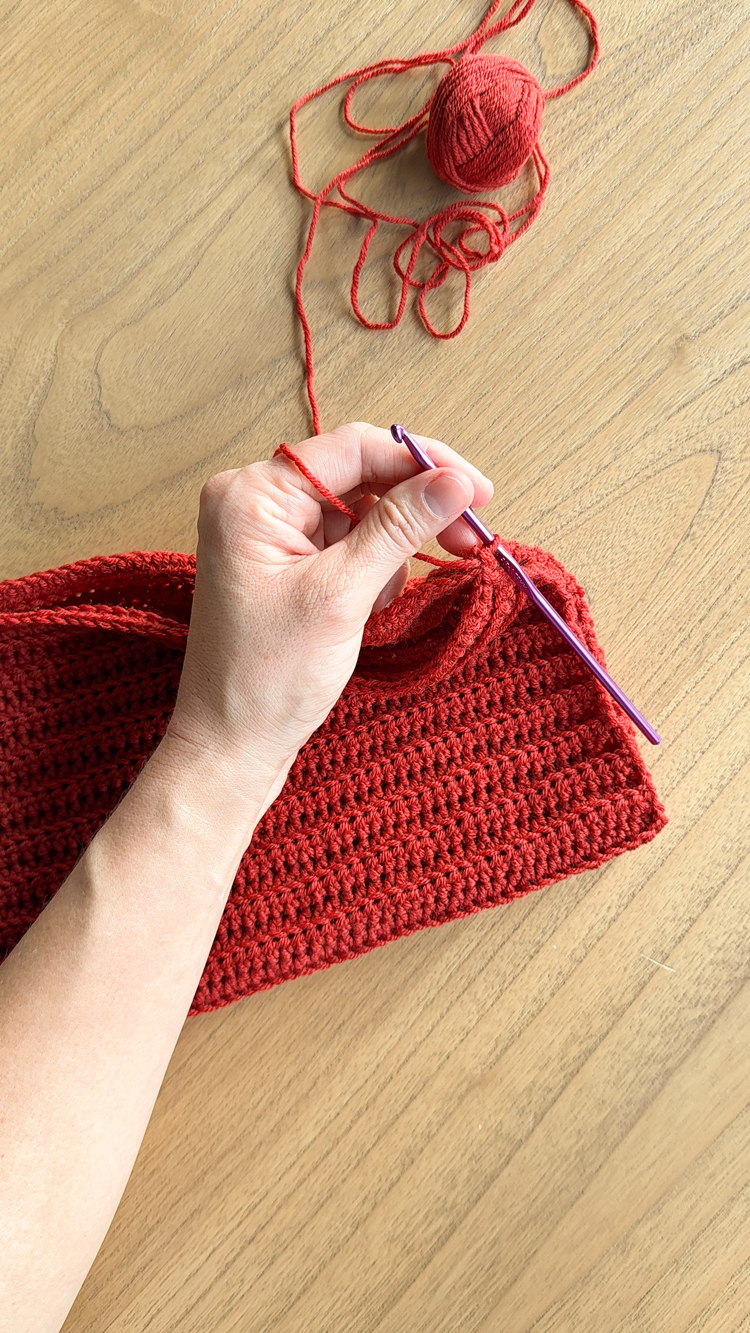
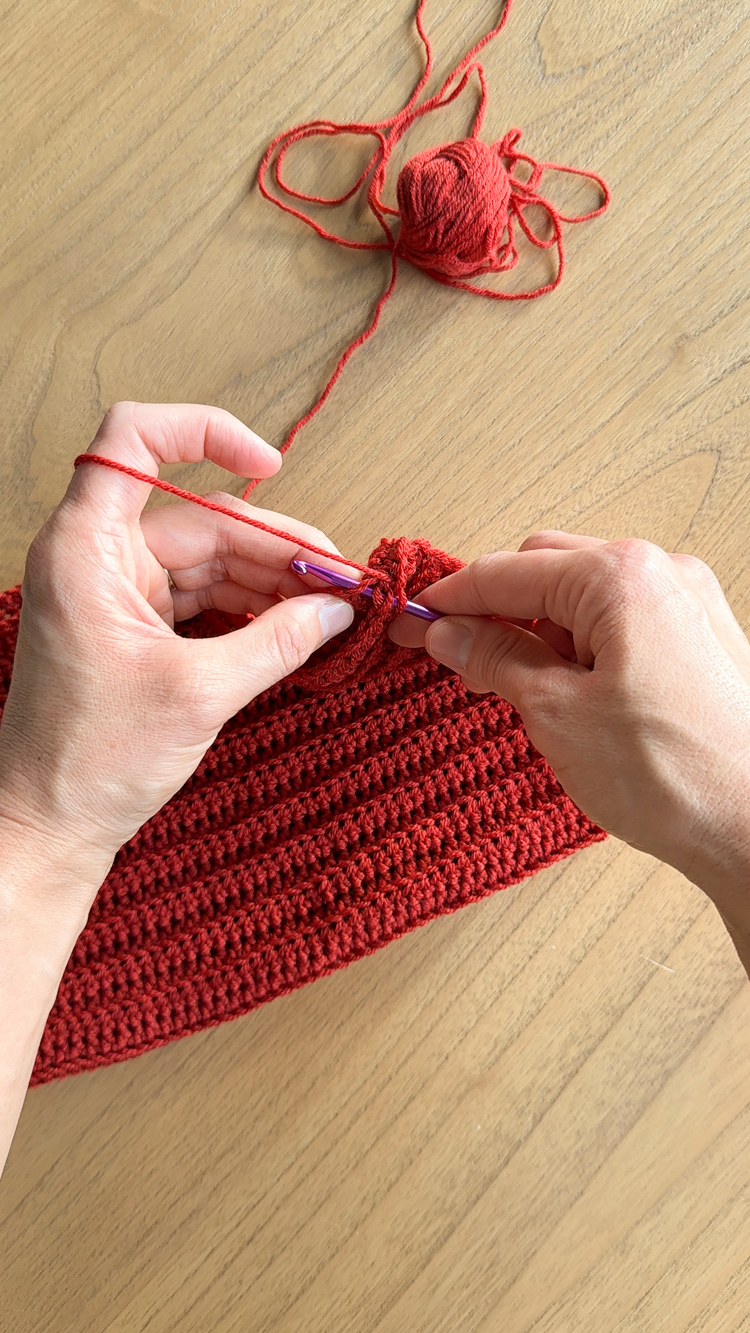
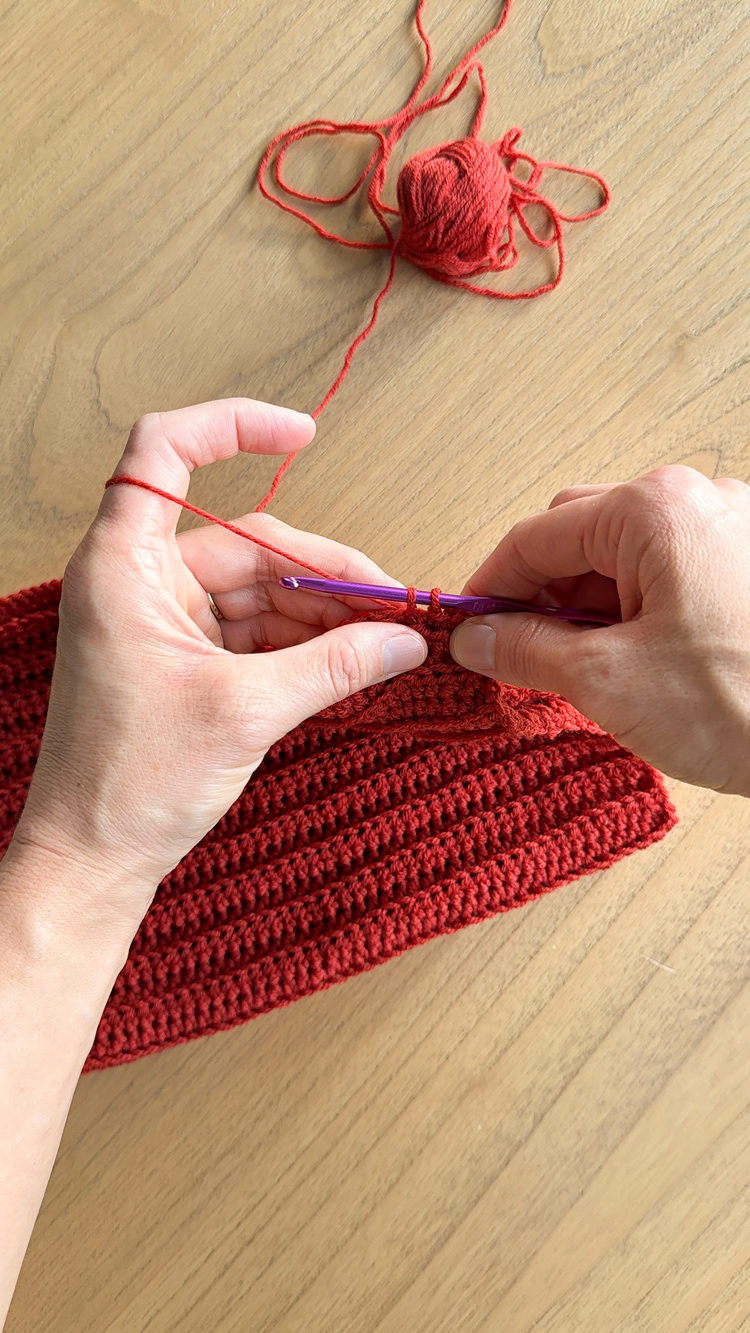
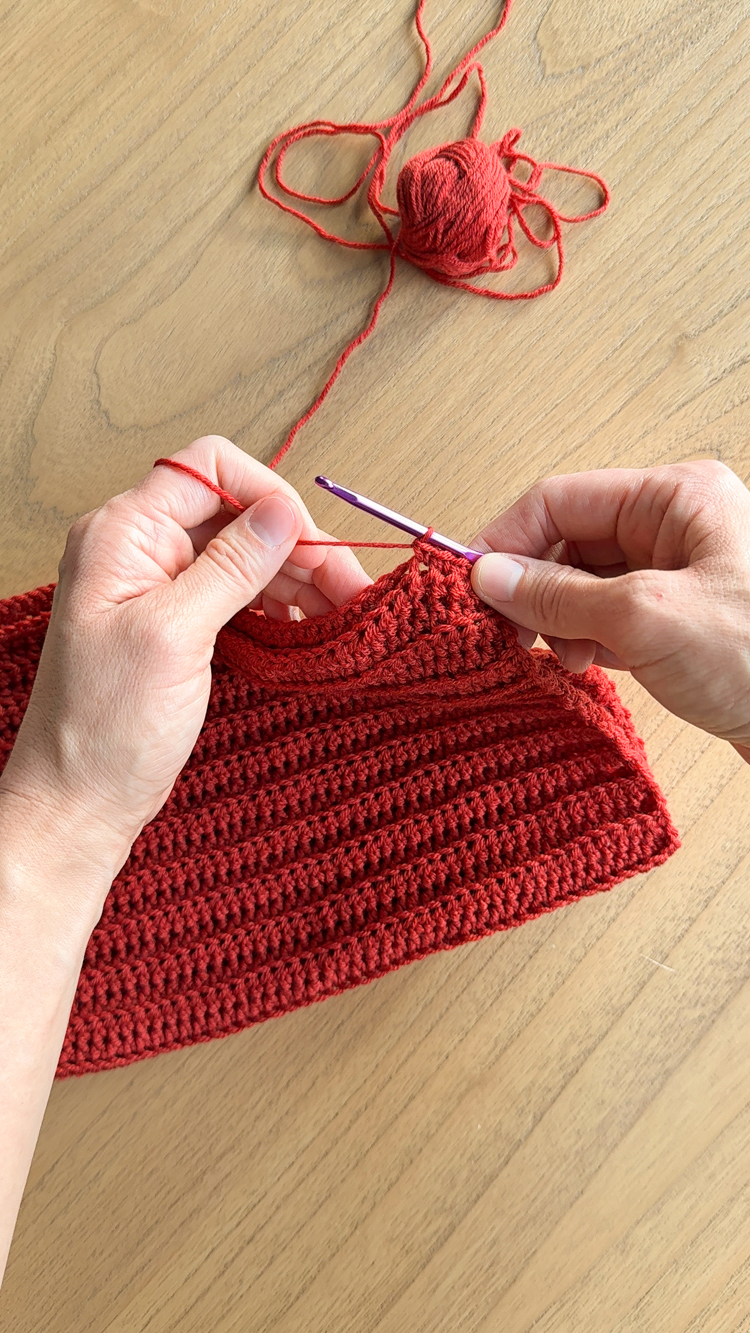
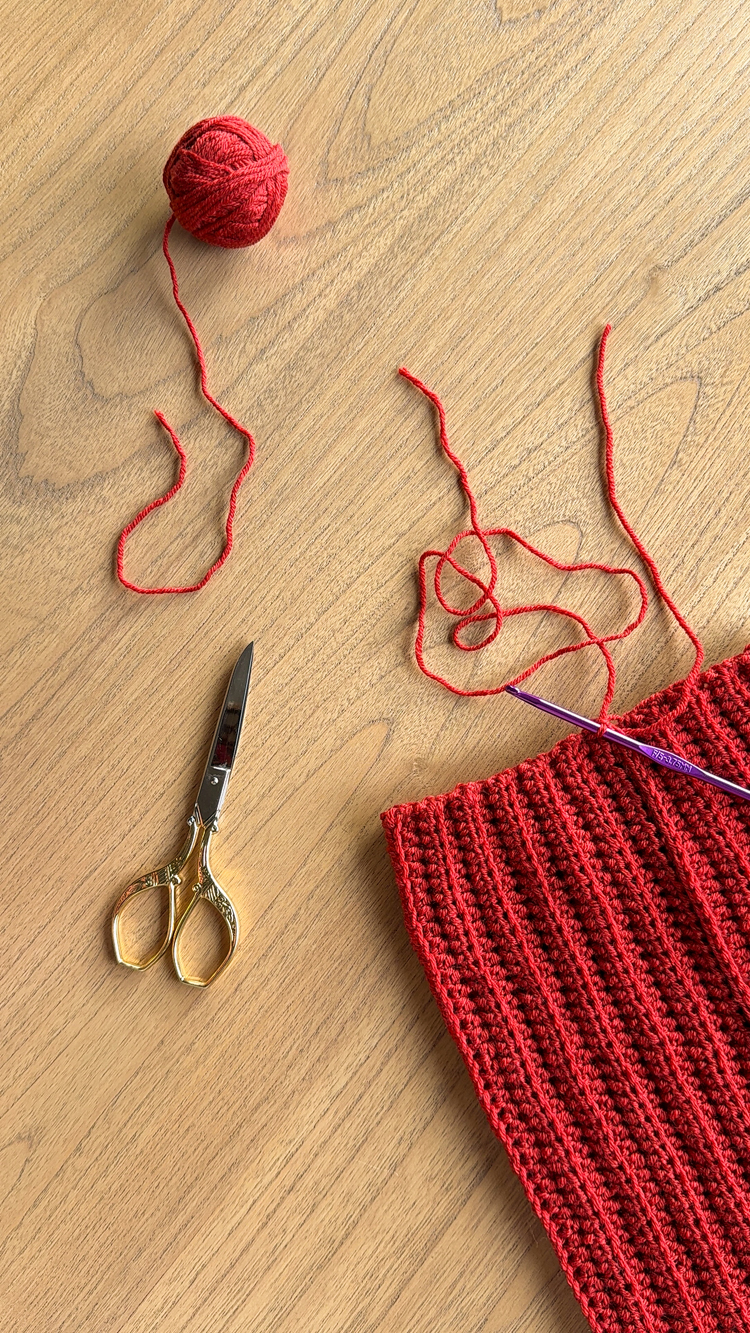
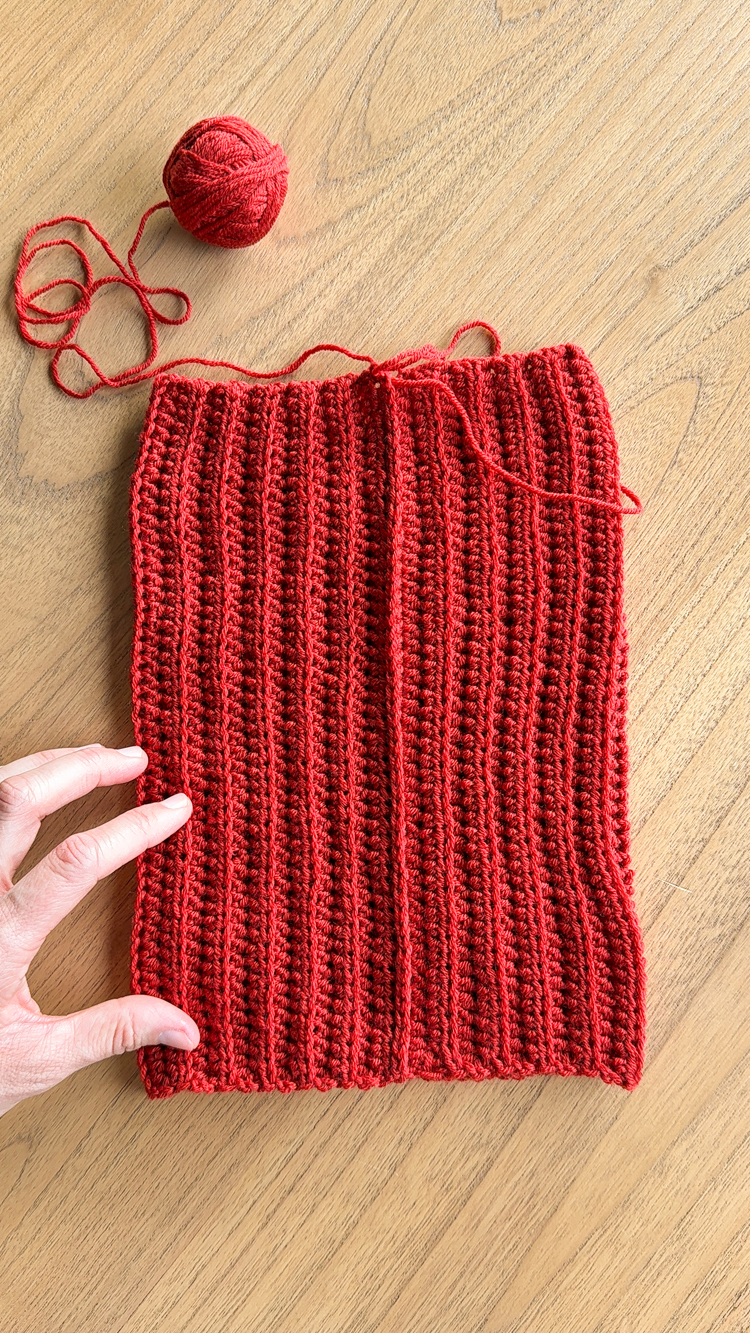
- Ensure the right side is facing up. The under side rows should start with a flat row. The side facing up should have bumps right at the start and at the end. This ensures that when you seam the pieces together, that the underside will meet up with flat row to flat row so that the seam of sc will create the bump between them to continue the ribbed pattern.
- Fold the rectangle in half, short end to short end.
- Slip stitch the two layers together with a slip stitch.
- Notice the top two loops from the last row you worked and the chain stitches from the very foundation chain before the first row. Insert your hook through both top loops of the last row worked and the bottom of the chains from the beginning. Seam the short sides together, stitch to stitch with single crochet.
- When you get to the end, tie off the end and leave a 12 inch tail.
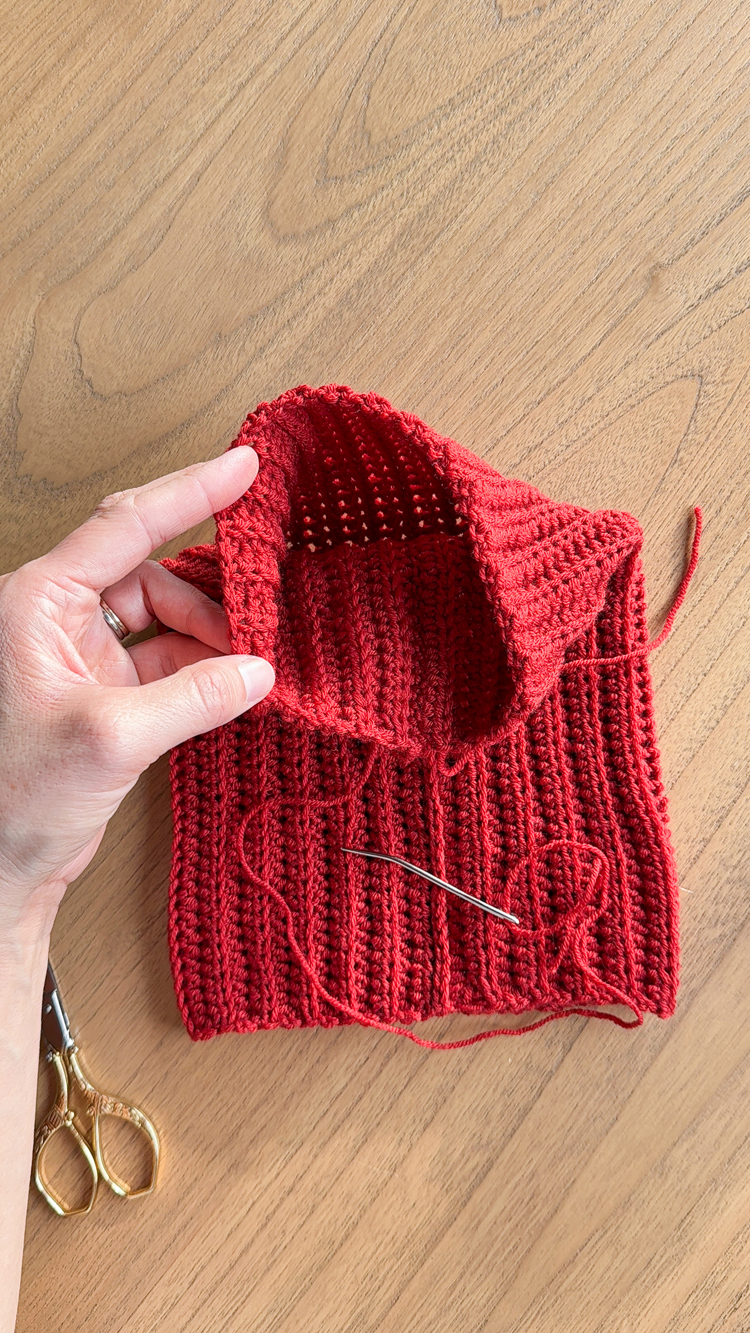
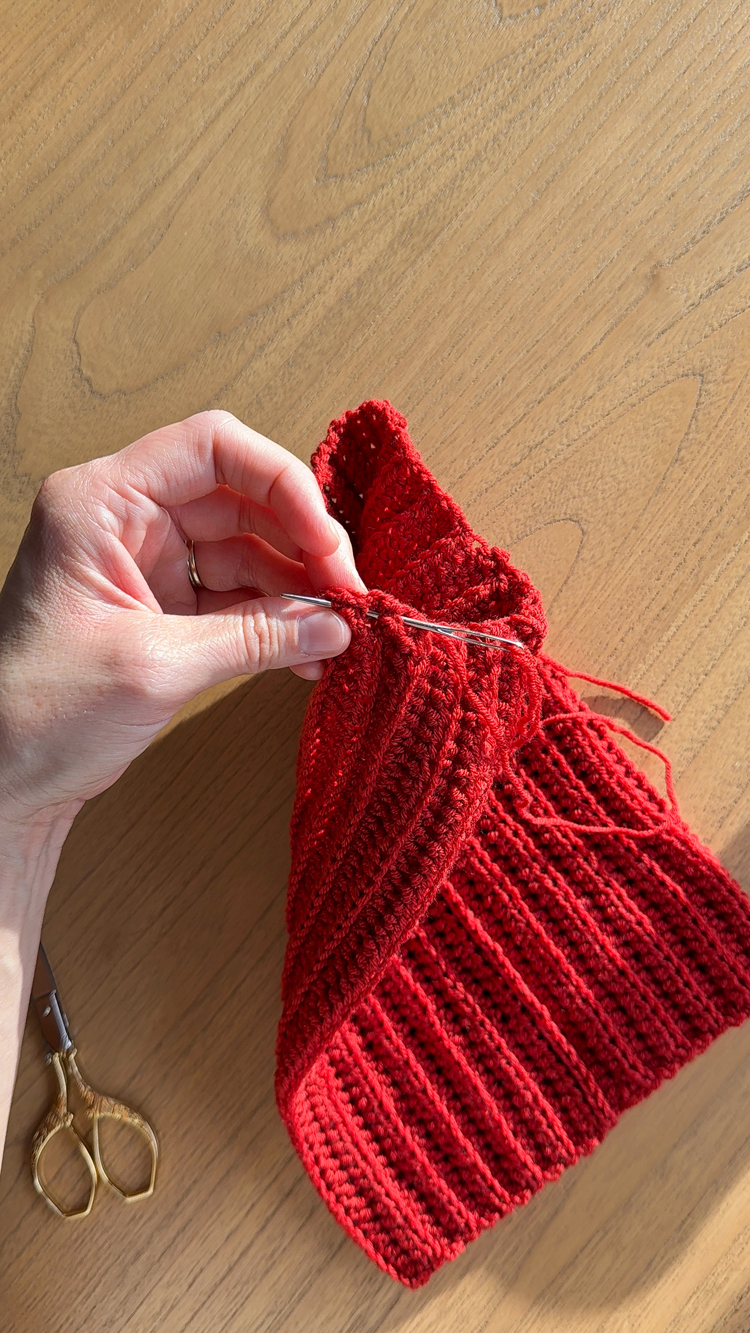
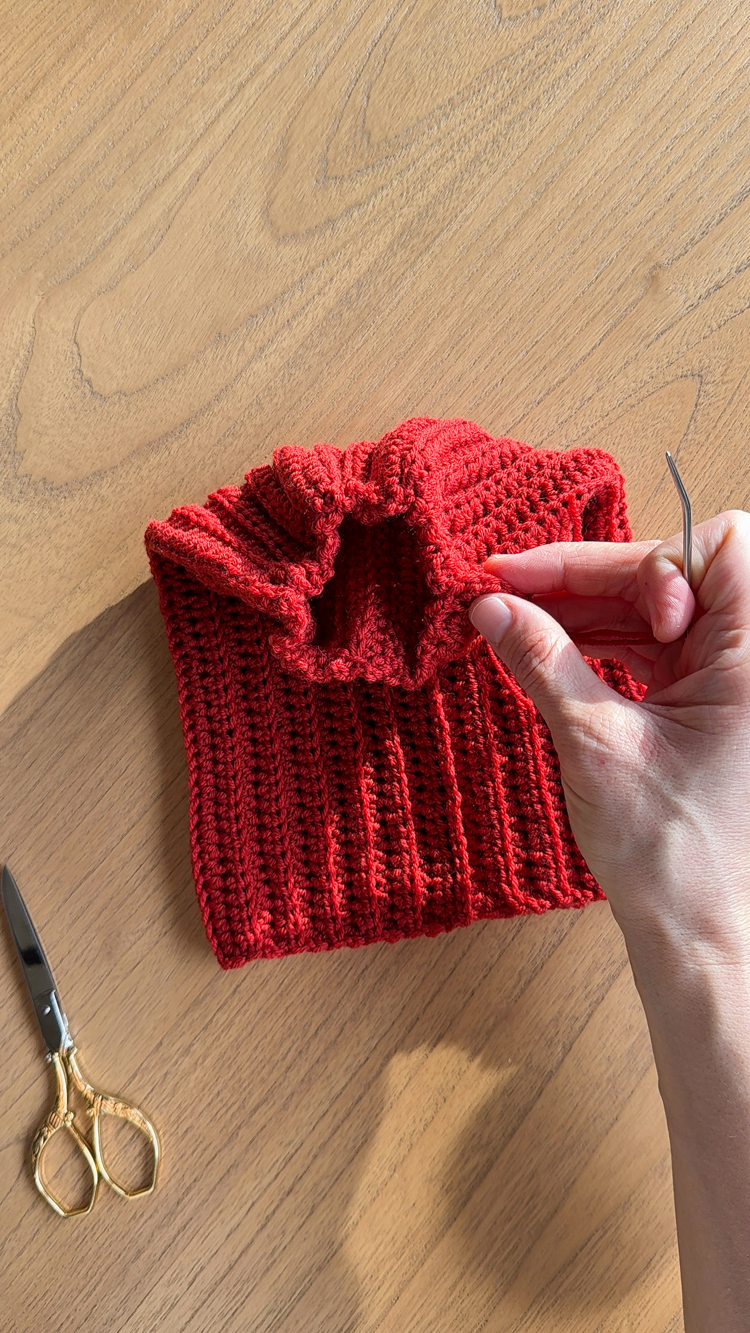
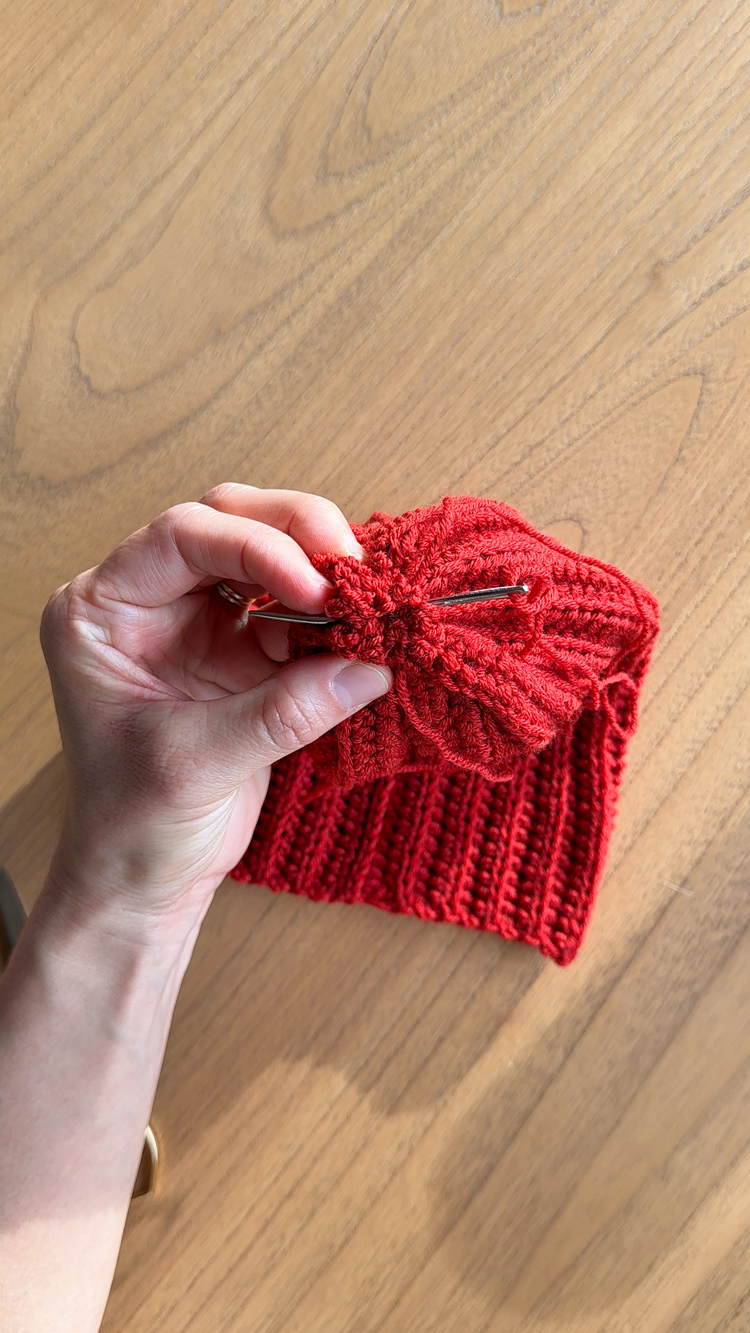
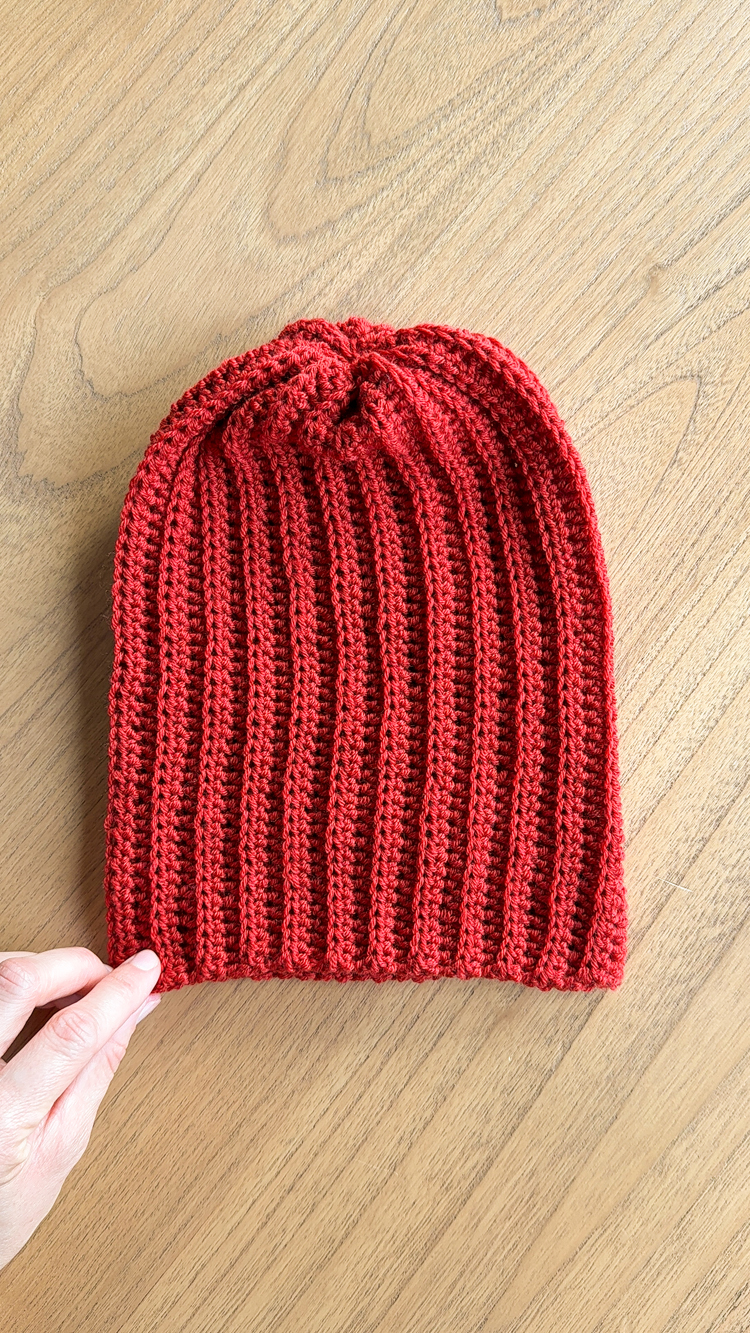
- Use the yarn needle to sew the longer tail around the opening of one side of the tube you just created. Sew with a running stitch around the opening and then pull it tight to gather the opening closed. This will be the top of your hat.
- Repeat with one more pass of running stitches around the tube opening and then sew through the gathers to make sure it’s really secure.
- Sew close to the short tail and tie the long tail and short tail together with a square knot.
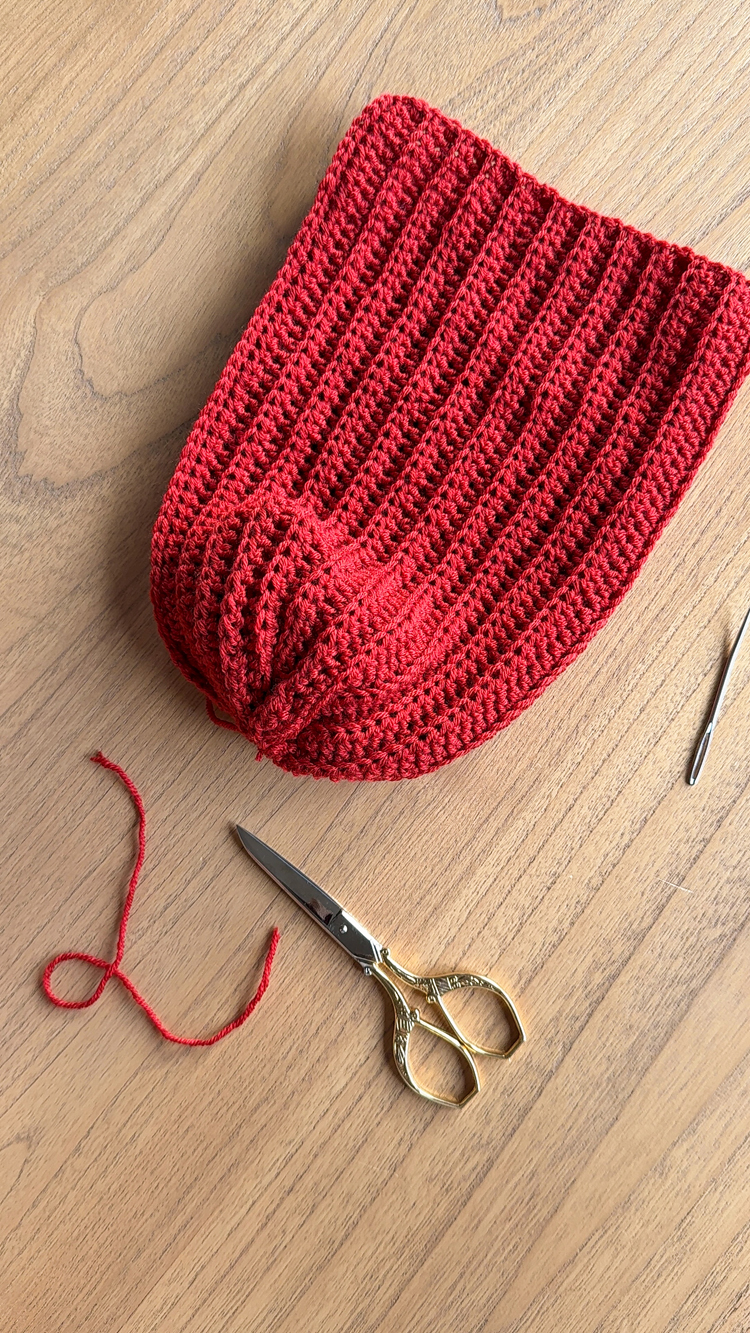
- Weave in the long and short tails for a few inches before cutting off the excess.
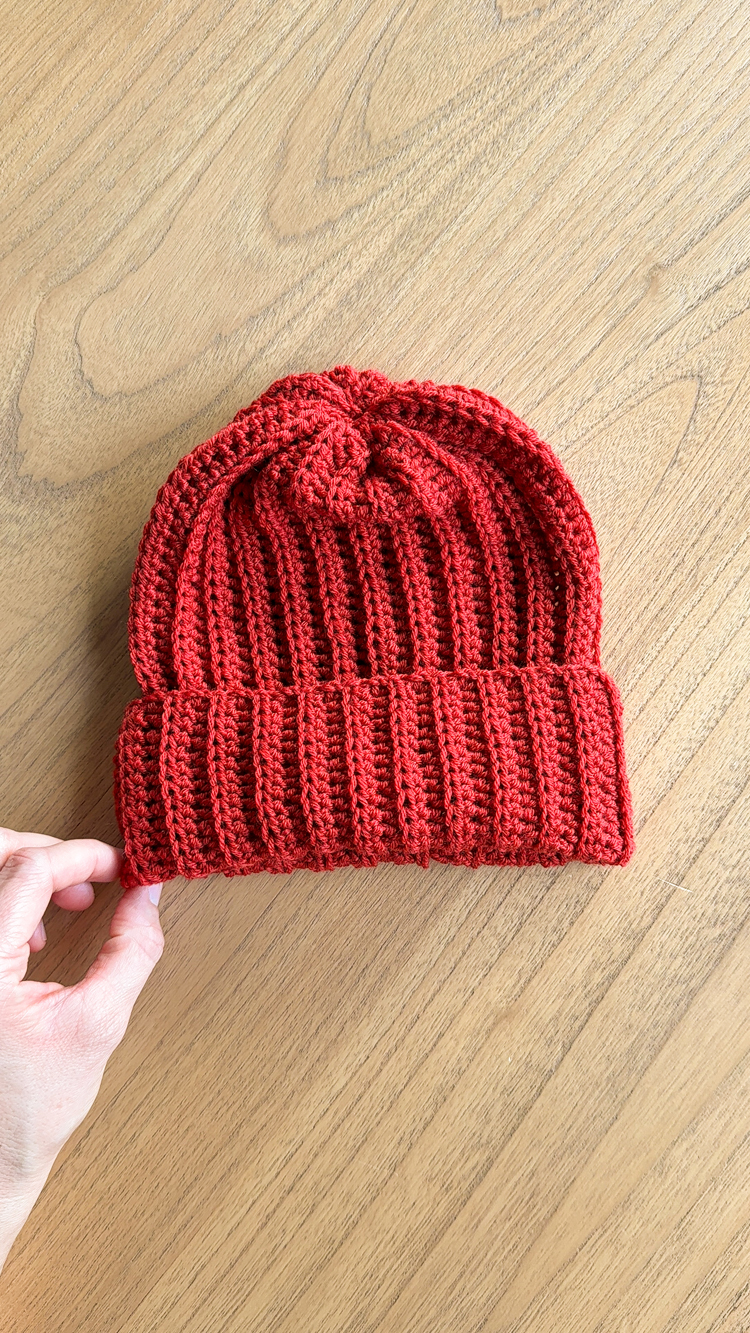
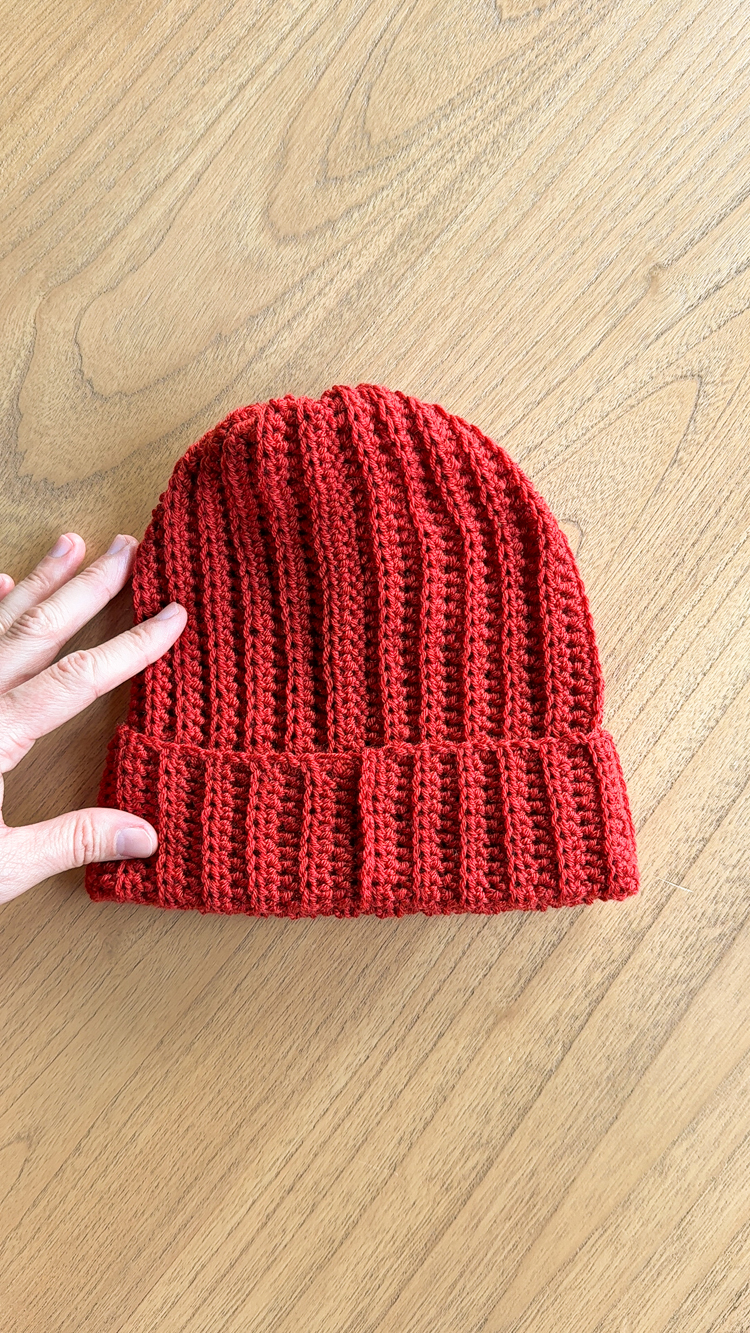
- Turn the beanie inside out, fold up the brim.
All done!
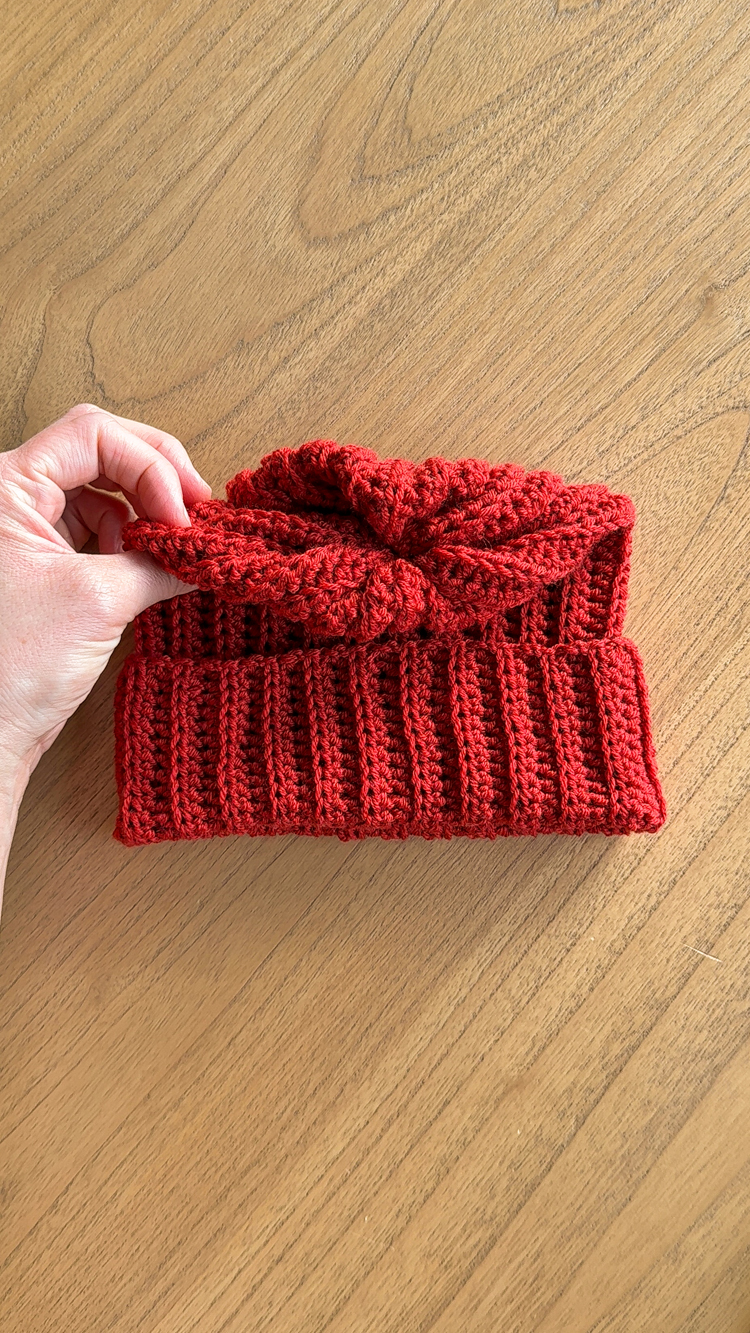
You end up with a seam that’s barely noticeable from both sides…
For more Crochet Basics tutorials and projects, check out this post.
Leave a Reply