Today’s valentine makes a great gal-entine, or mini gal-entine, in our case!
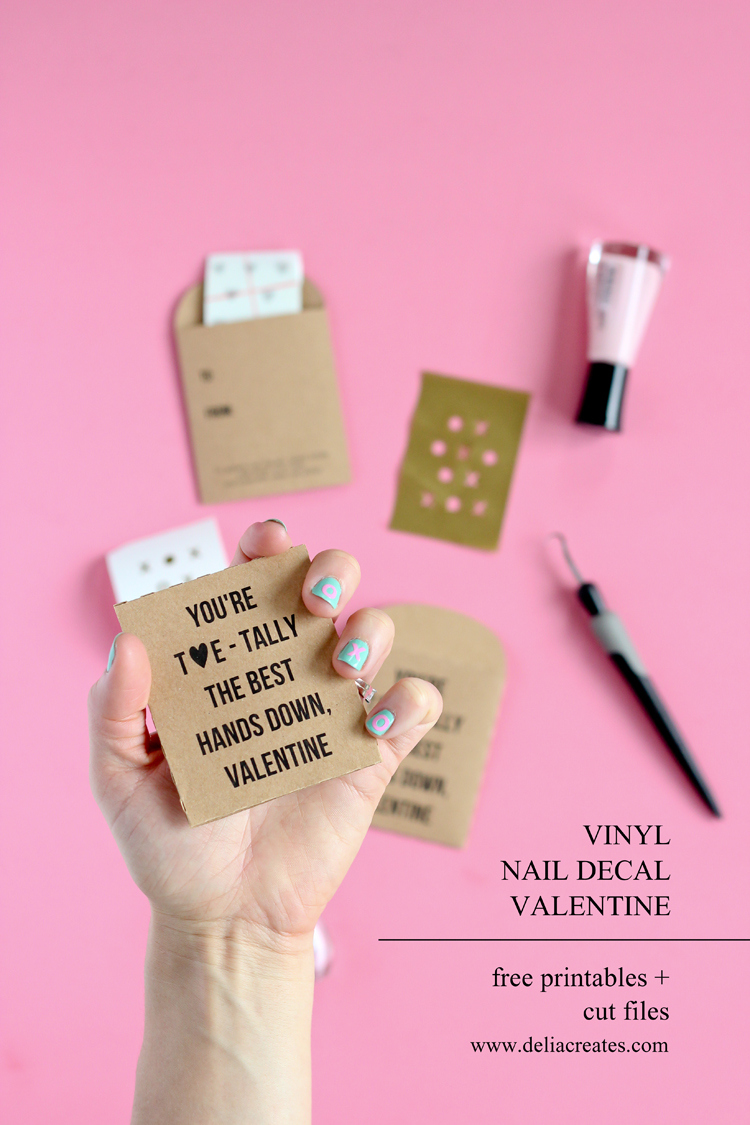
I whipped up these cute little nail decals for my daughter to hand out to her friends from ballet class.
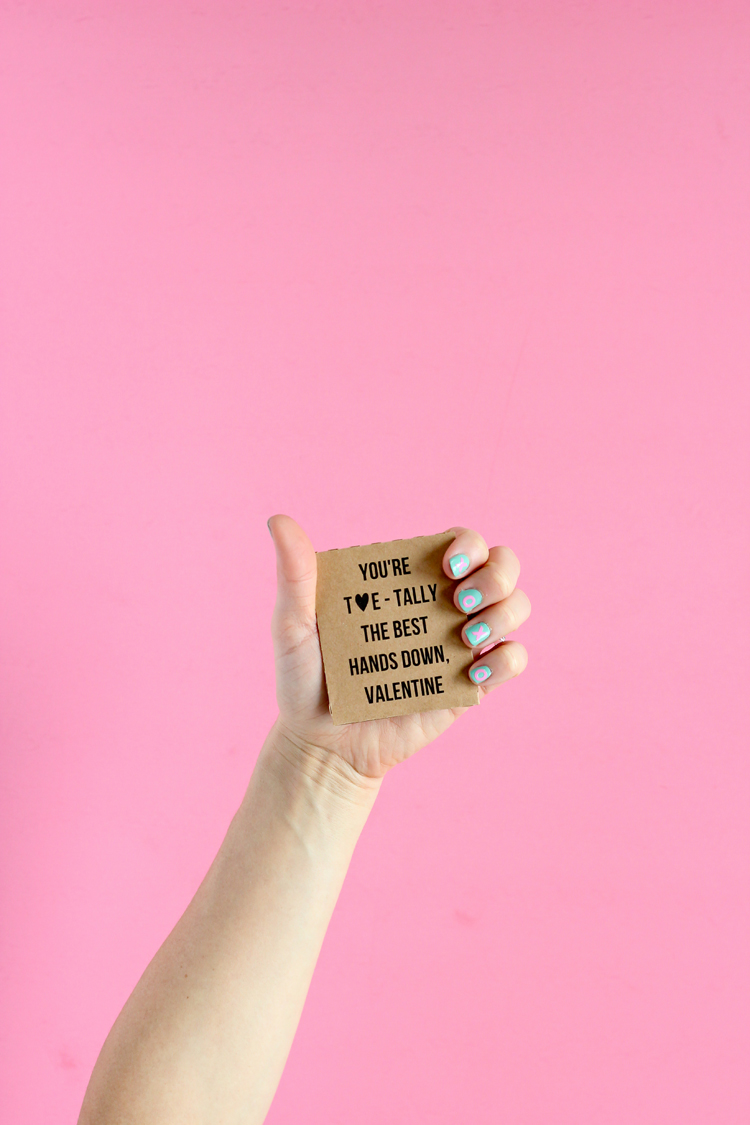
Great for toes, or for fingers…it’s toe-tally, hands down great for your Valentine! 😉
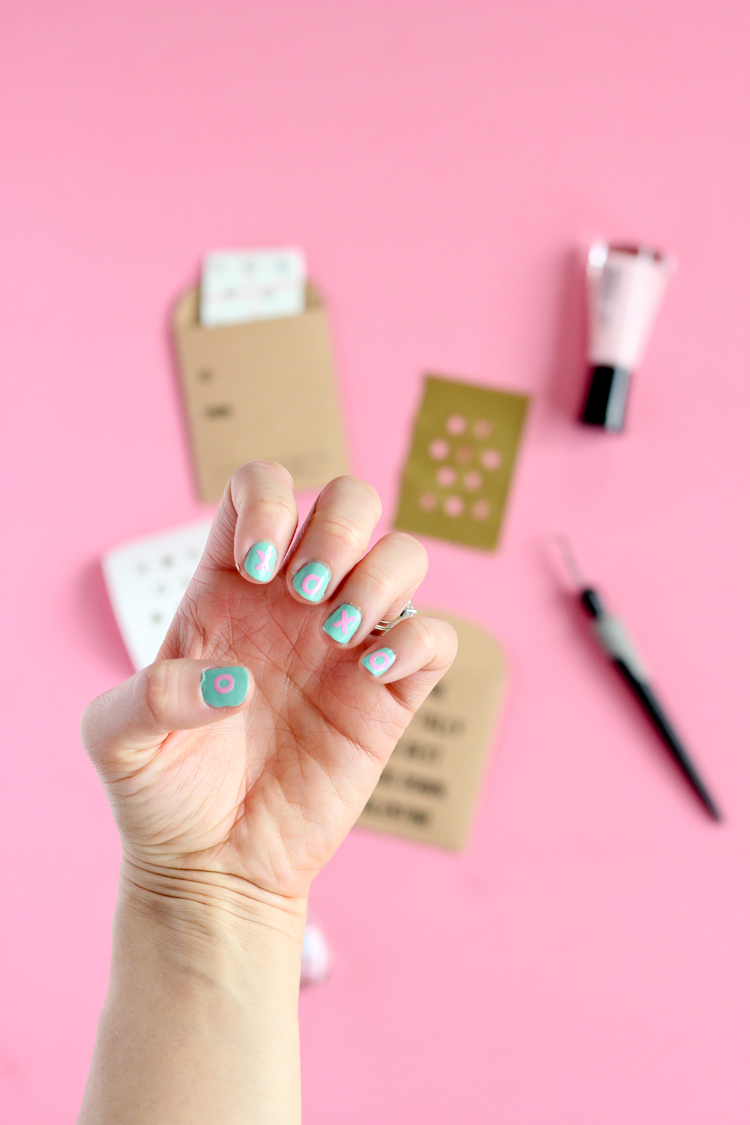
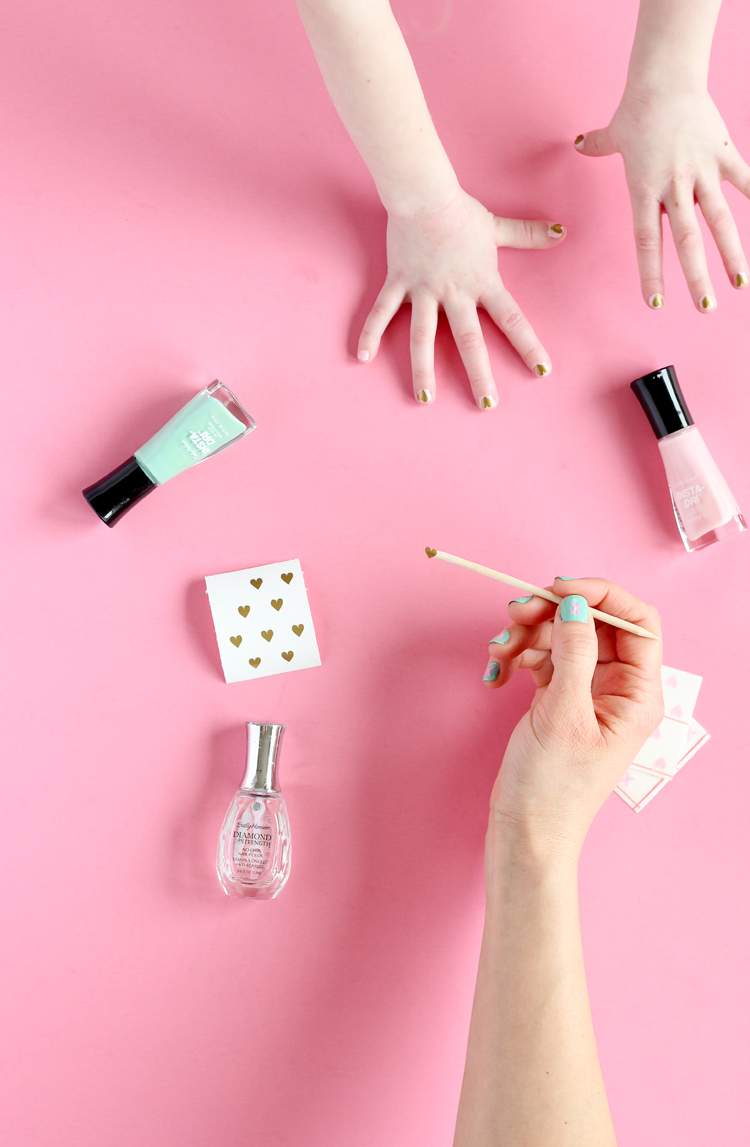
We had a little mother-daugther manicure session to try them out…
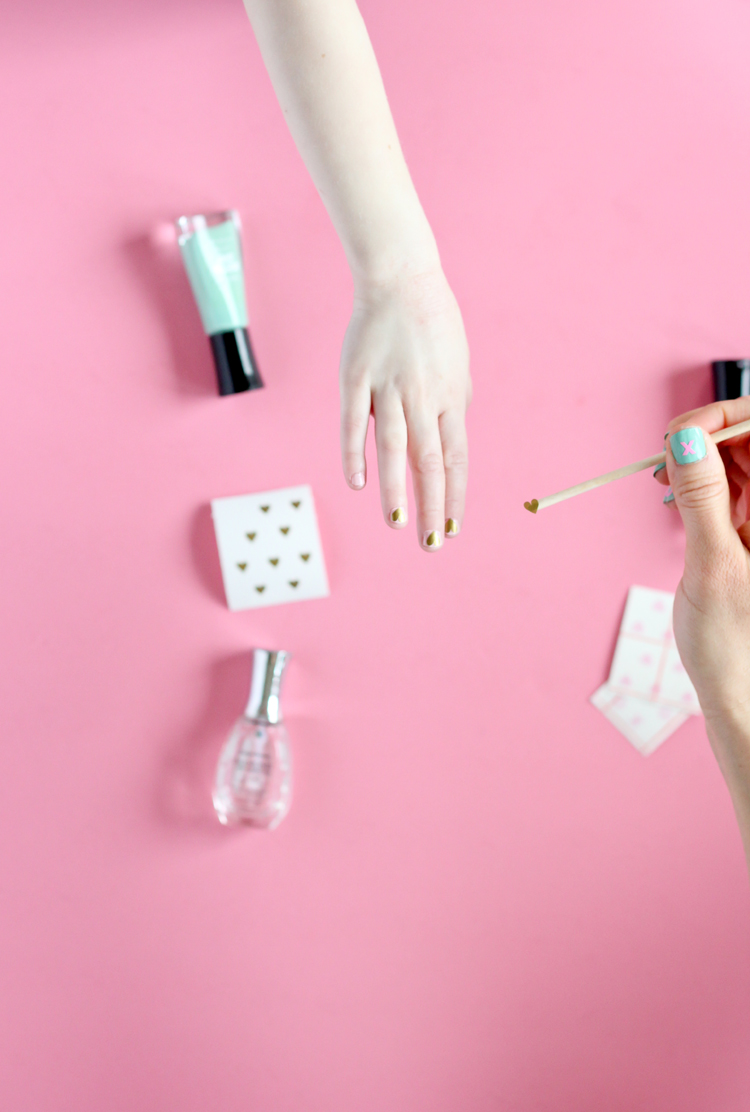 She gasped and giggled with delight when I pulled the gold hearts out. Sometimes I seriously love having a girl!
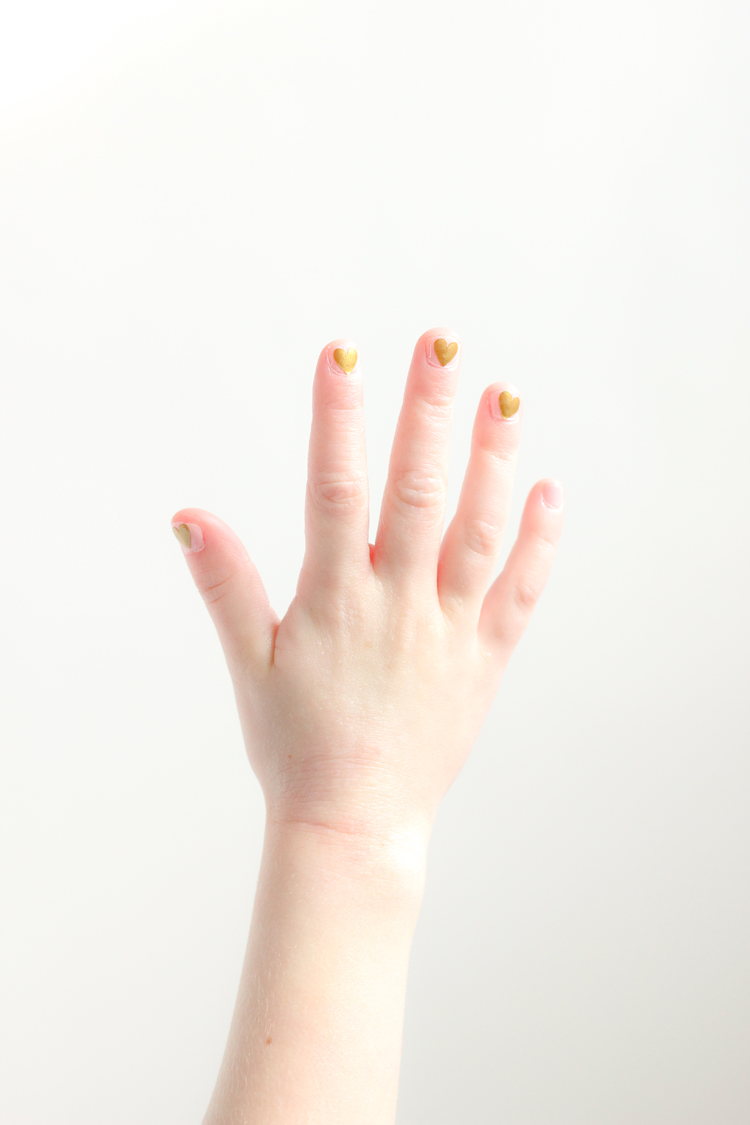
I made the decals about a quarter of an inch in size, thinking that would be small enough. I clearly underestimated just how petite her hands are…they were still too large for her teeny tiny pinky nail!
I’ve included the Silhouette cut file so you can shrink the decals, if you run into the same issue.
You can use them to have your own mani/pedi party, or make the valentines!
Here’s the how to:
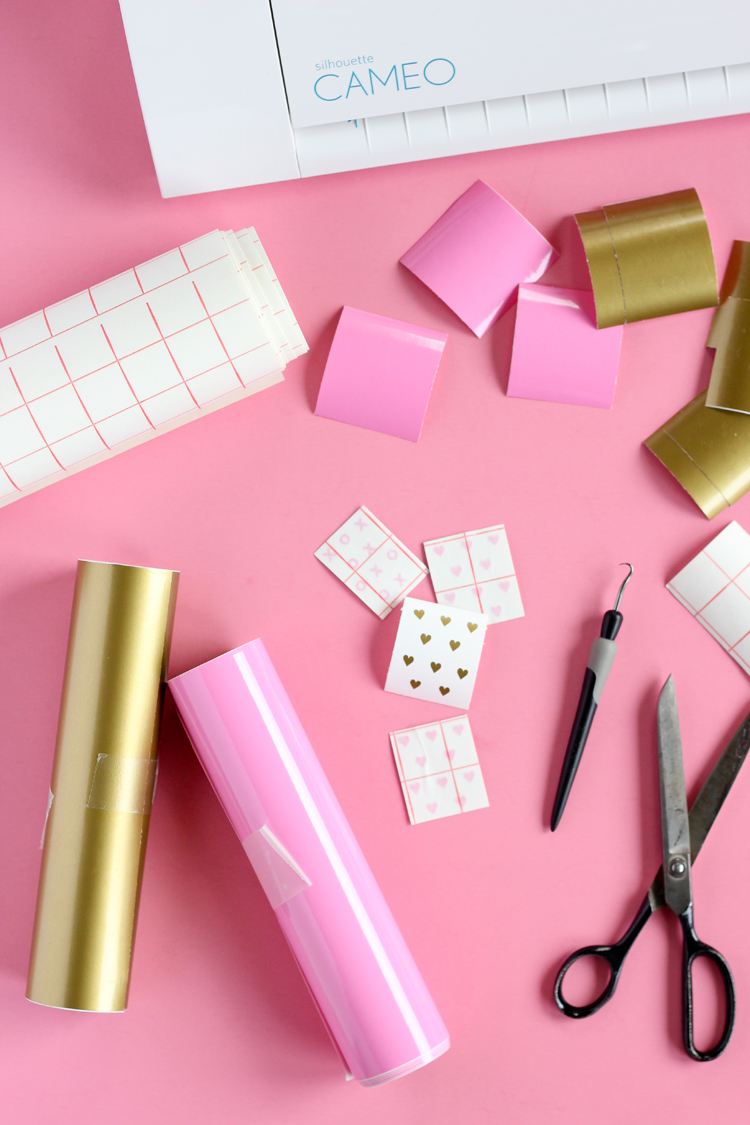
MATERIALS
Adhesive vinyl (and transfer paper)
Card stock (I used kraft paper)
Washi Tape
Glue stick
Sihouette Cameo/cutting machine
Weeding tool (optional)
Nail Decal Valentine Files: Nail Decal Valentine Files – DELIA CREATES
(All file formats are Silhouette Studio files. There will be no file preview and will only open in Silhouette Studio. If you can’t access the files, email me at [email protected]. Please expect email delivery to take up to 10 days. I usually respond faster than that, but there are no guarantees).
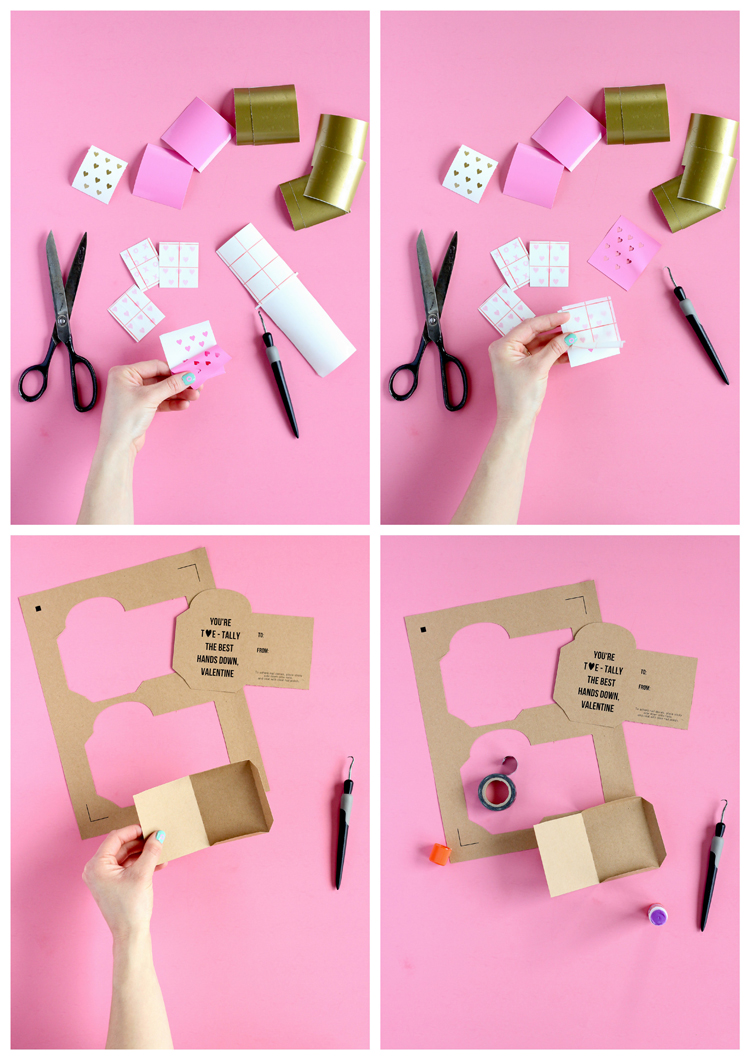
- Cut nail decal file out of vinyl with the Silhouette, then cut groups of 10 into smaller rectangles.
- Weed vinyl decals out, apply transfer paper, and then trim down edges around decals to clean things up.
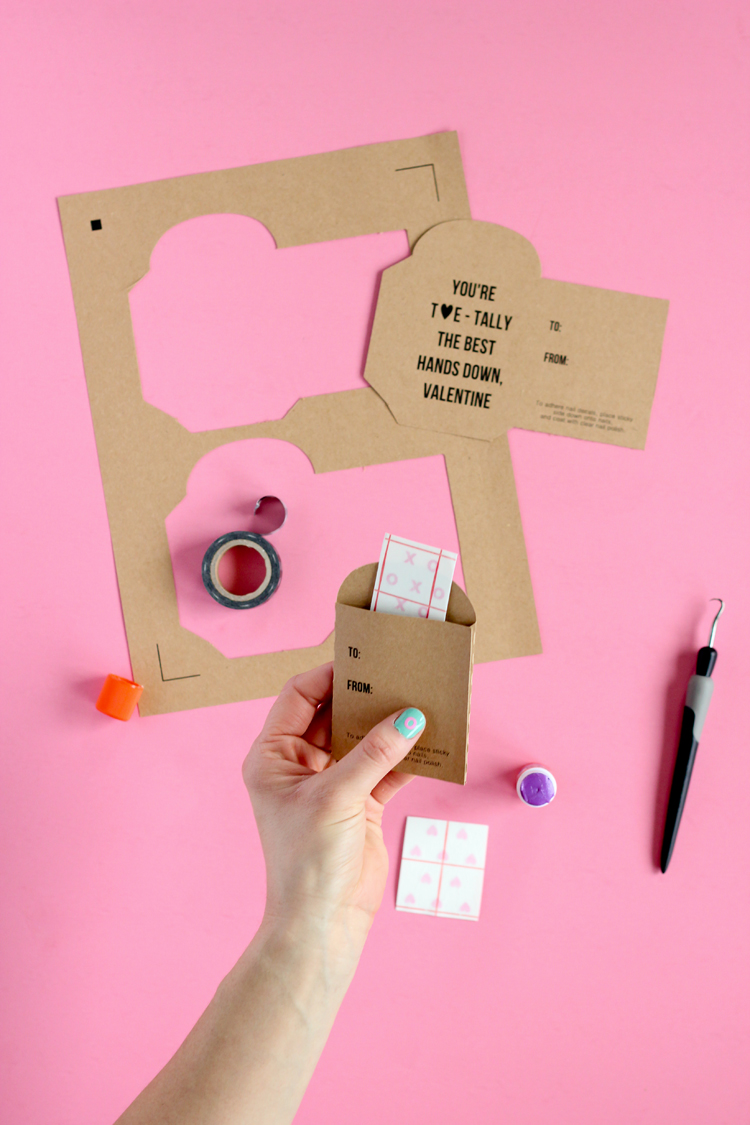
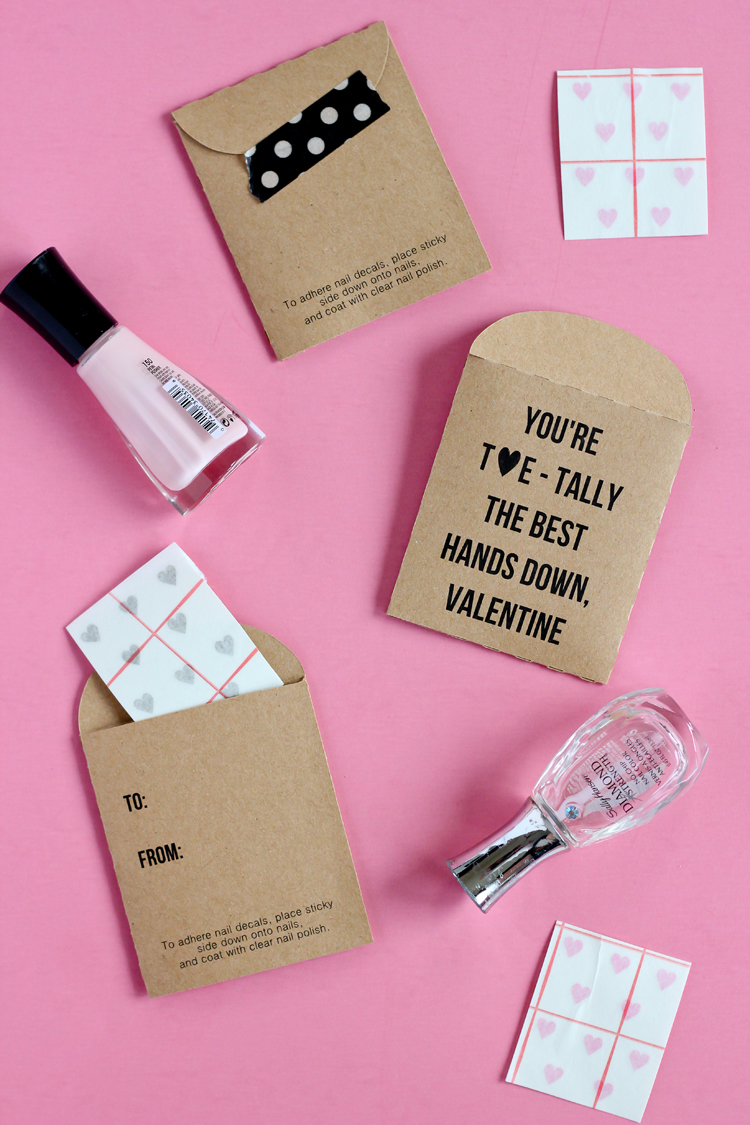
- Print and cut nail decal envelope files out of card stock. The tabs are all perforated, so folding should be pretty straightforward.
- Apply glue to side and bottom tabs and assemble envelopes.
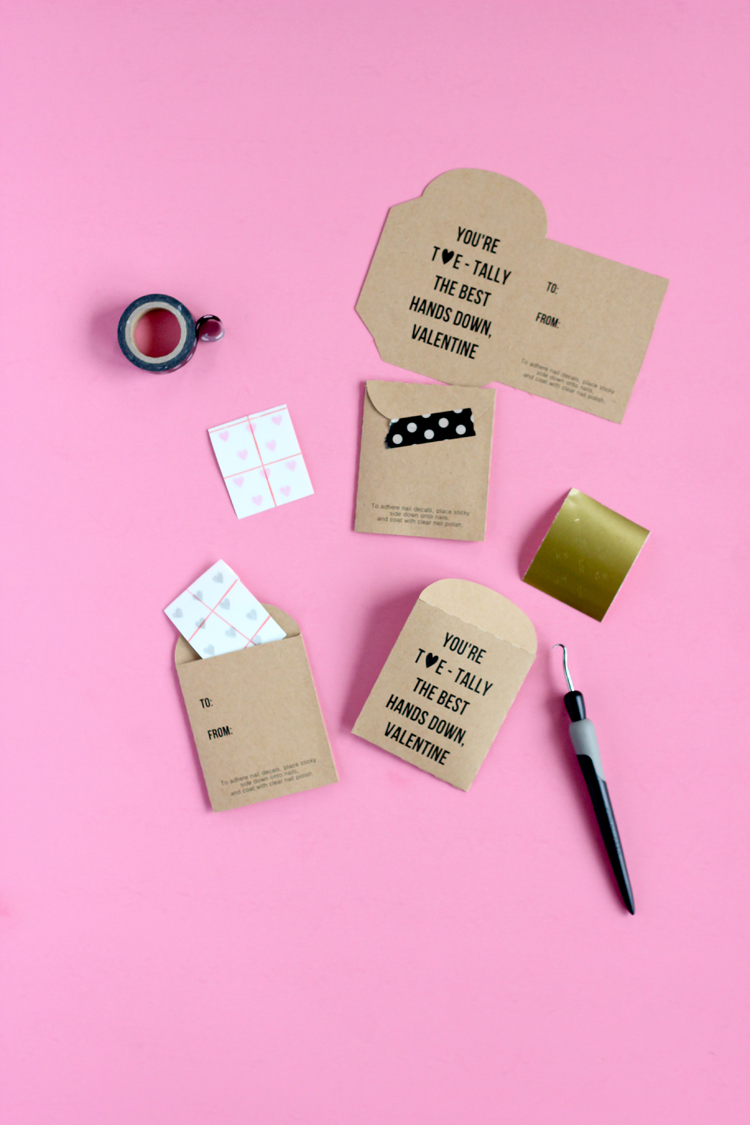
- Insert vinyl decals into envelopes and seal them up with strips of washi tape.
I modified the envelope file to include a to/from section, but found it to be placed too high. After this photo shoot, I fixed the placement, so your file should be all ready to go!
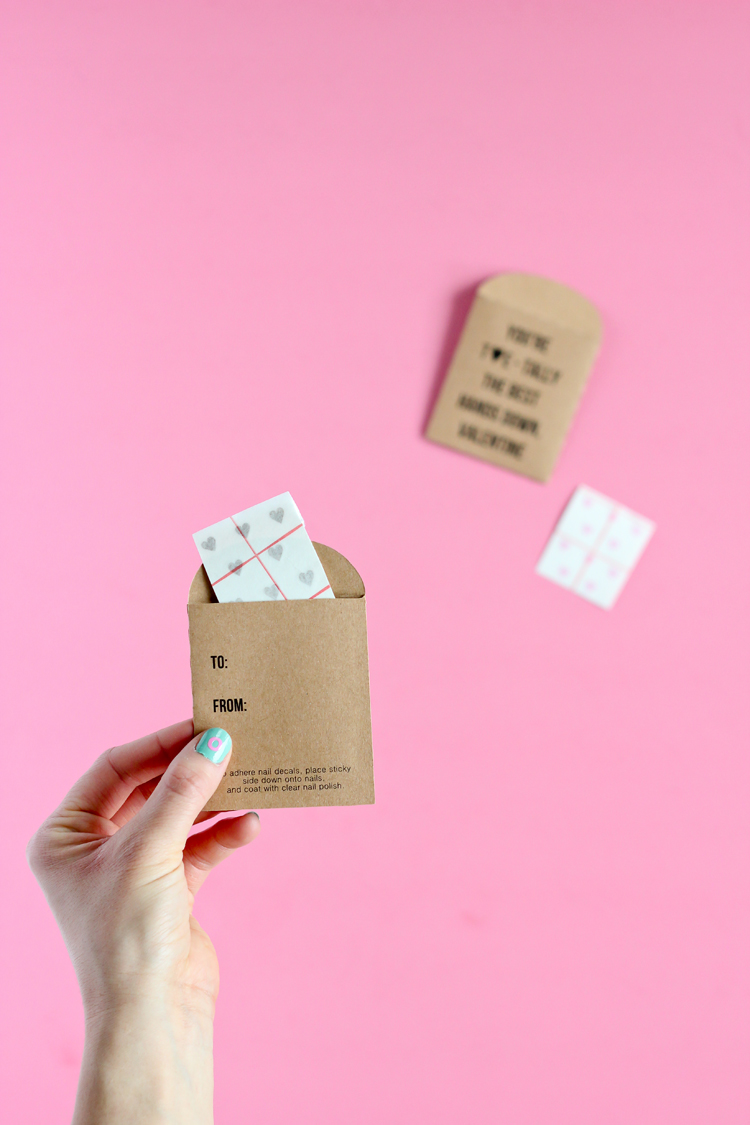
Nail decal instructions are conveniently located on the back of the envelope.
With a good quality clear coat, they stay on great, but are also still easy enough to pick off when you need them removed. My daughter kept them on for a couple days before peeling them off, which is a record for her!
Hope your Valentine’s Day is TEN! 😉
Disclaimer: This post is sponsored by Silhouette America. All content and opinions are genuinely and enthusiastically my own. 🙂
Sources: Vinyl, transfer paper, weeding hook, and Cameo were provided by Silhouette. Kraft paper card stock and washi tape are from Michaels Arts and Crafts.
P.S. Here is the nail decal file again if the link didn’t work above:




Everything about this is fantastic!!! The diy envelope is the cherry on top!
Thank you Rachel! <3
That’s adorable! (And punny!) 😉
Thank you Charity! I’ve gotten to the point where a valentine is not a valentine unless it involves a pun! ha!
Delia you’re truly an amazing mom!
You are so kind Deepika! Thank you!
love these! cute idea, thanks for sharing!
Thanks Sam!