

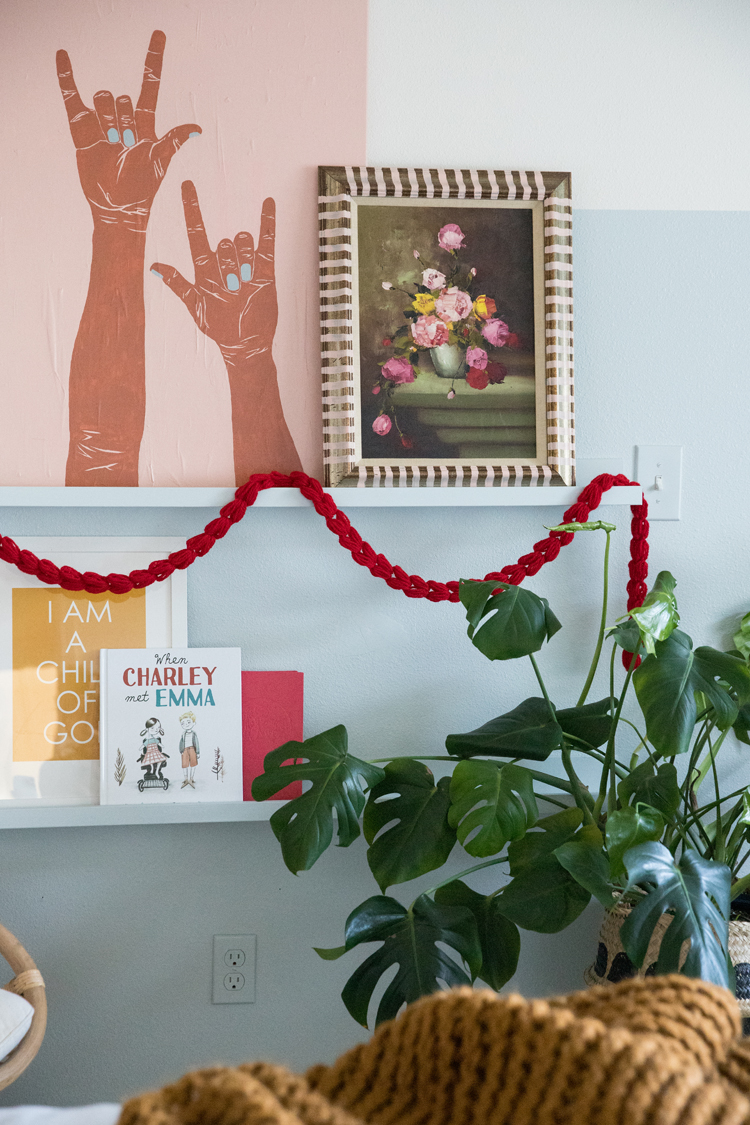
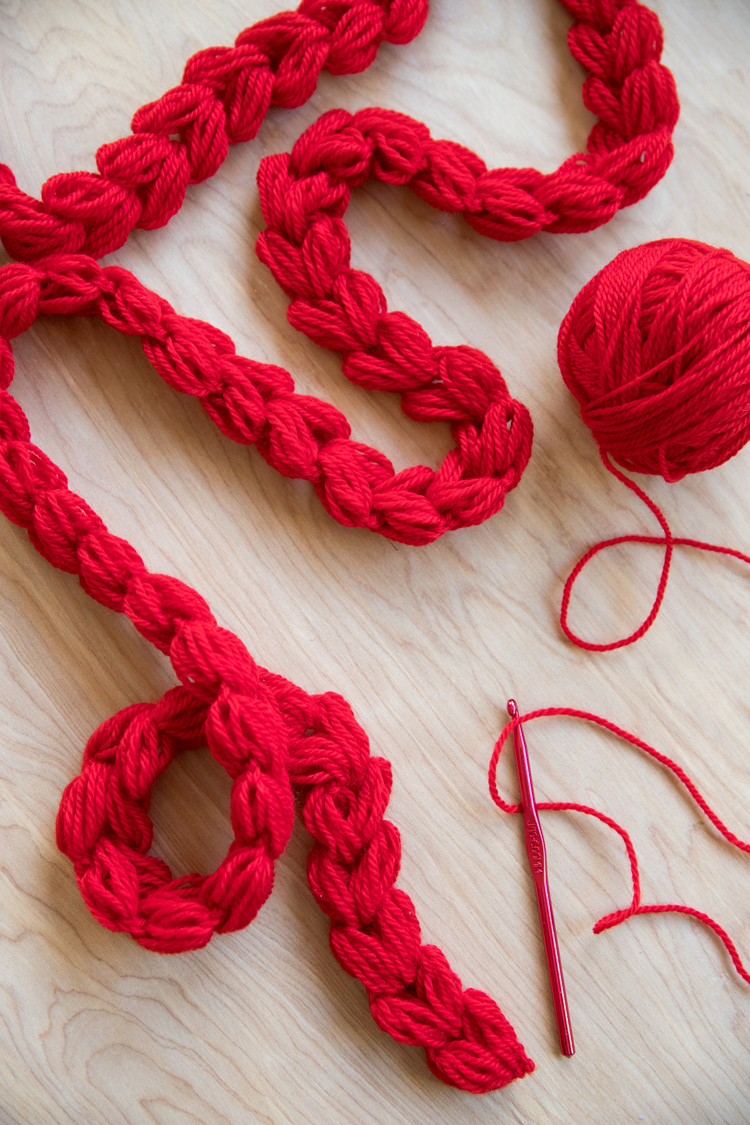
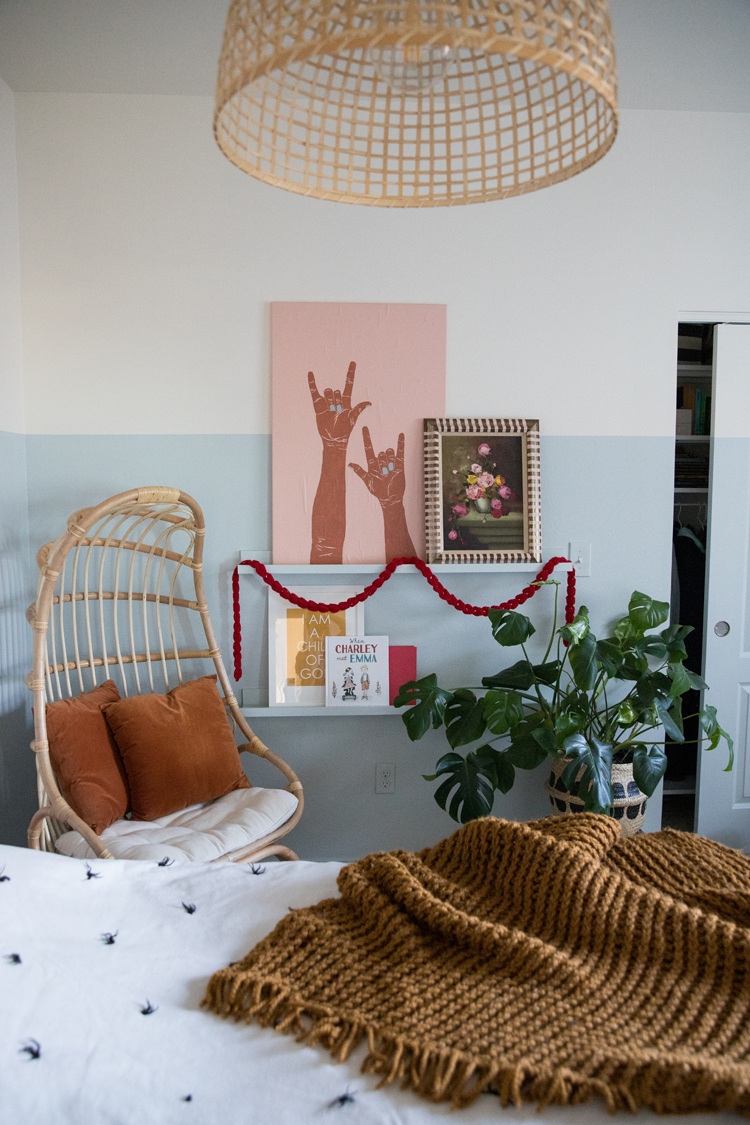
Kind of like the chunky crochet garland but make it puffy hearts!
I made this for Valentine’s Day but I think it can really be used for any occasion… or no occasion at all!
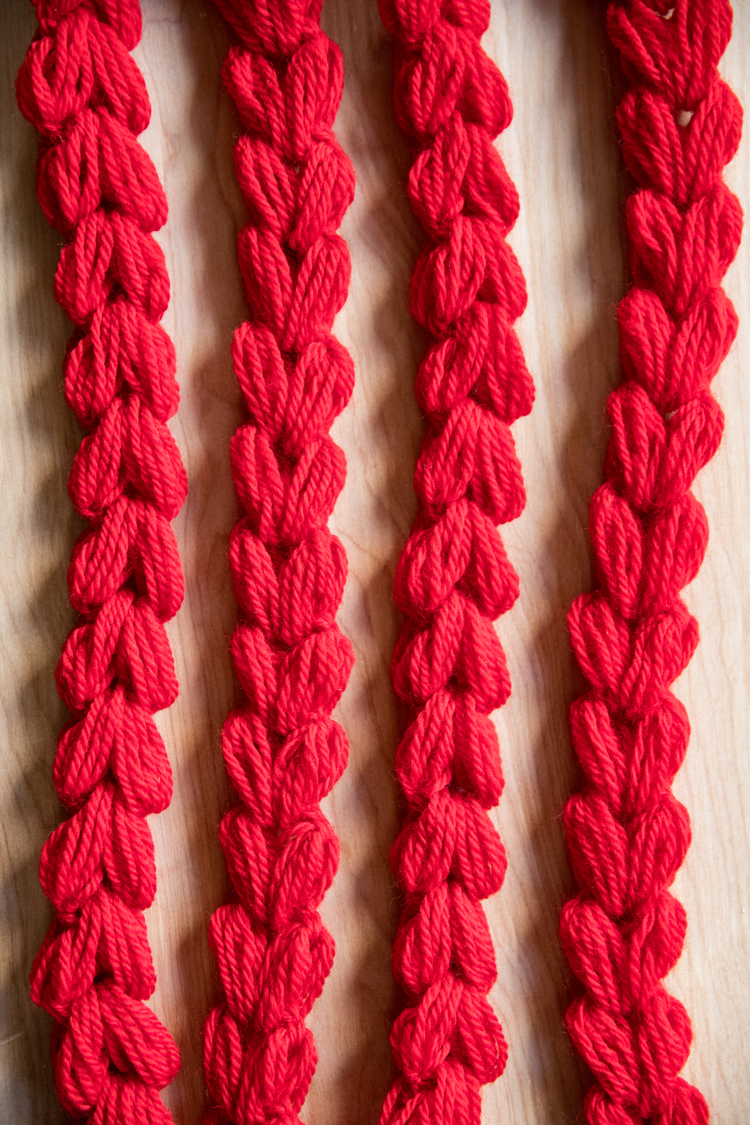
It took me a few weeks to figure out the heart shaped design which ended up relying heavily on the size of the yarn. The hallmark of my bubble puff stitch garland is its flexibility to be used with any yarn and with any hook… But not with this one.
For this stitch, the stitch definition gets a little lost with a chunkier yarn, and it looks too much like braided rope if the puffs are too small. To make these puffy hearts look hearts you need worsted weight yarn, a larger hook, and really tall puffs so that heart shape is more obvious.
I’ll show you what I mean…
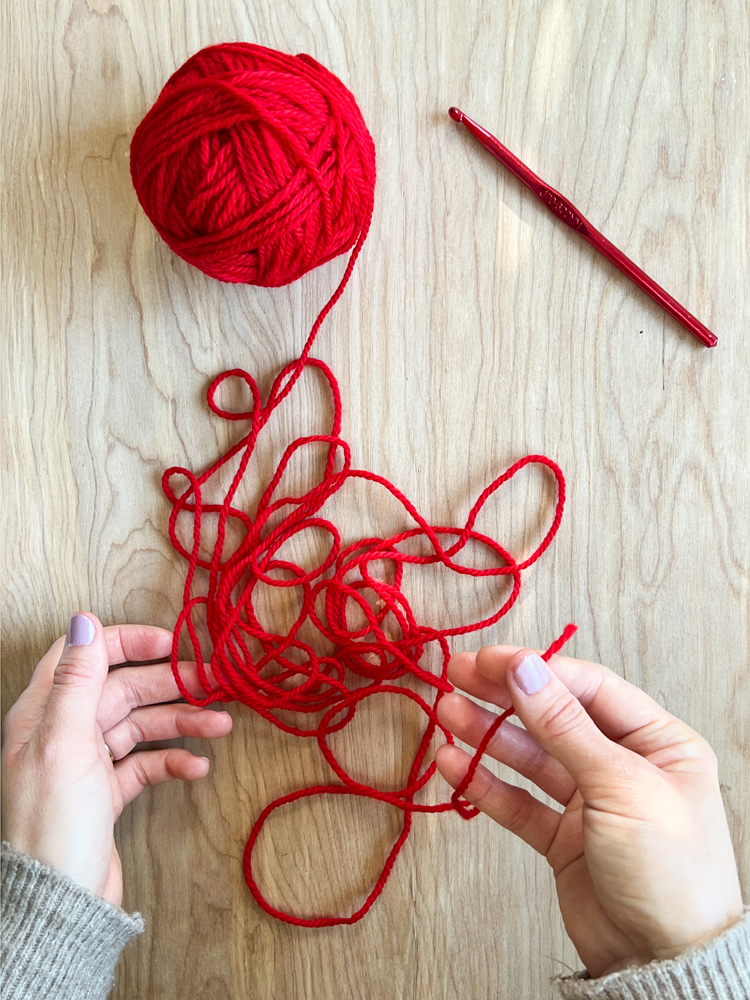
MATERIALS
- Worsted Weight Yarn*
- J or 6.00mm Hook
- Yarn needle and scissors
Material Notes
*I am not listing a set amount, because the garland can be however long you want. For reference though, I used about 107 yards (98 m) of yarn to create a garland 8.25 (2.5 m) feet long. This was about half a skein of Patons 100% wool in Bright Red.
GAUGE
One puffy heart = about 1.5 inches tall (almost 4 cm)
VIDEO TUTORIAL
If the video has not yet popped to the top or side of your screen, you should be able to view it here. It will show after the initial ads.
WRITTEN TUTORIAL AND PATTERN
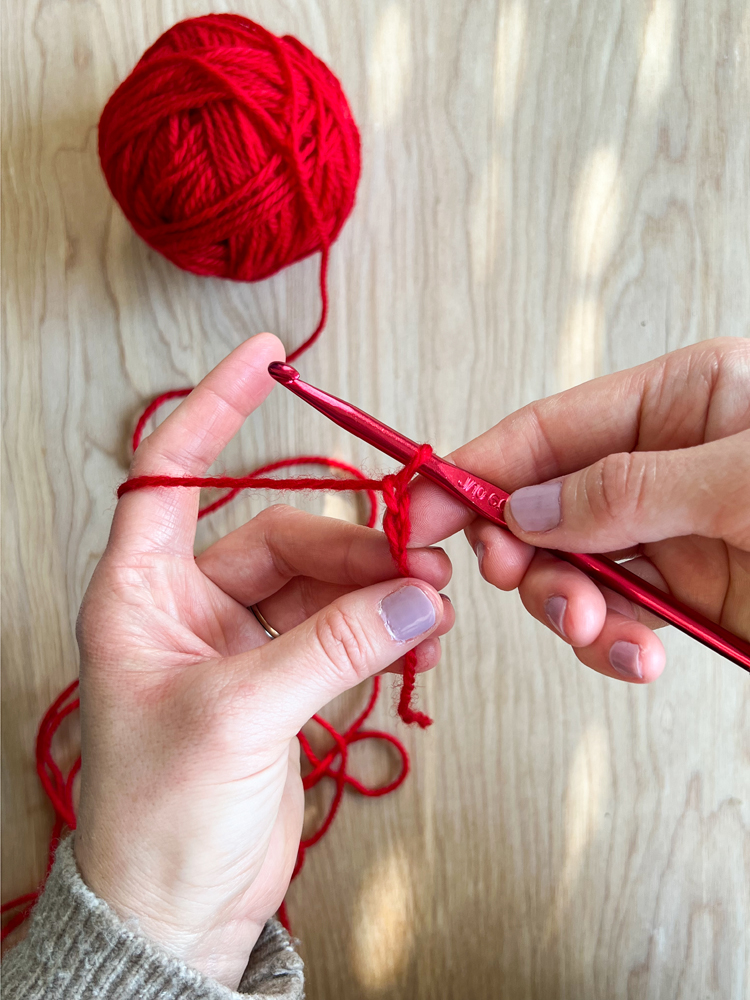
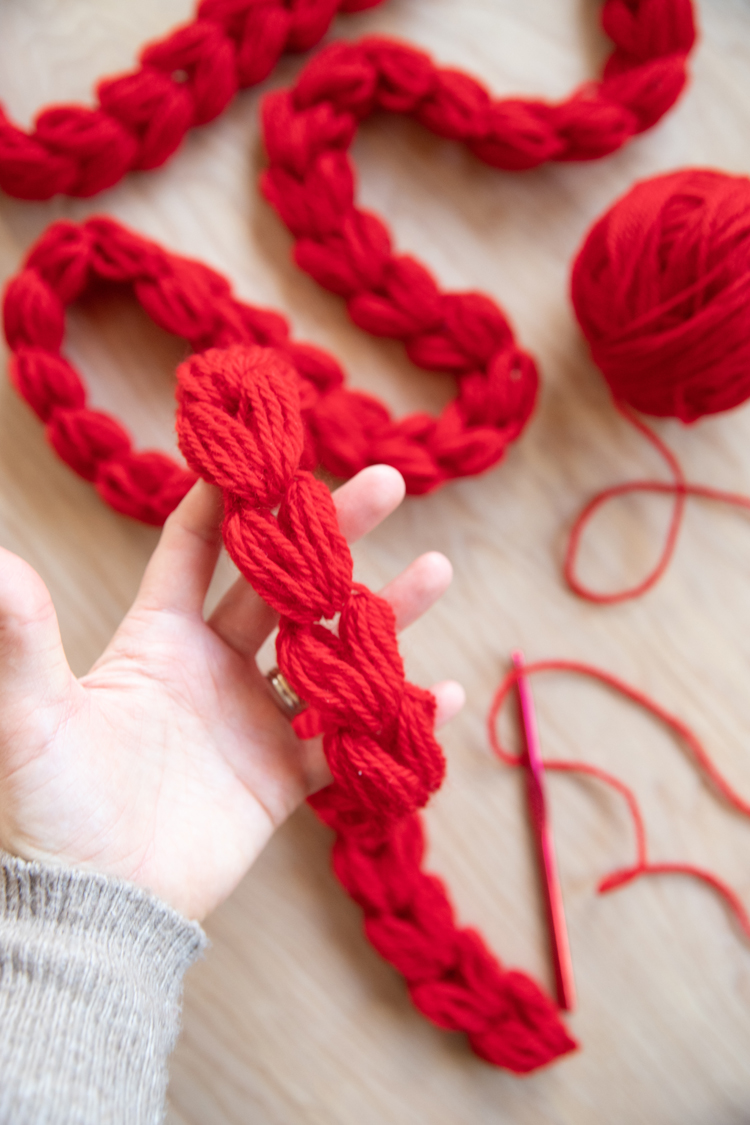
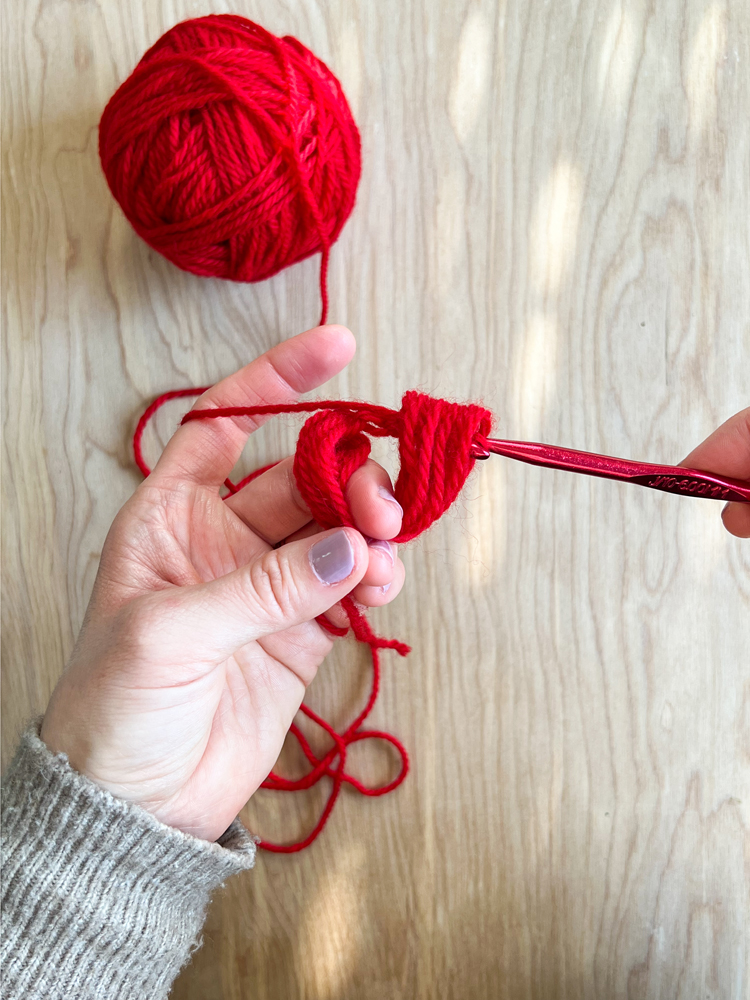
FIRST, give yourself PLENTY of slack. You don’t want any tension on the yarn while you pull up the loops.
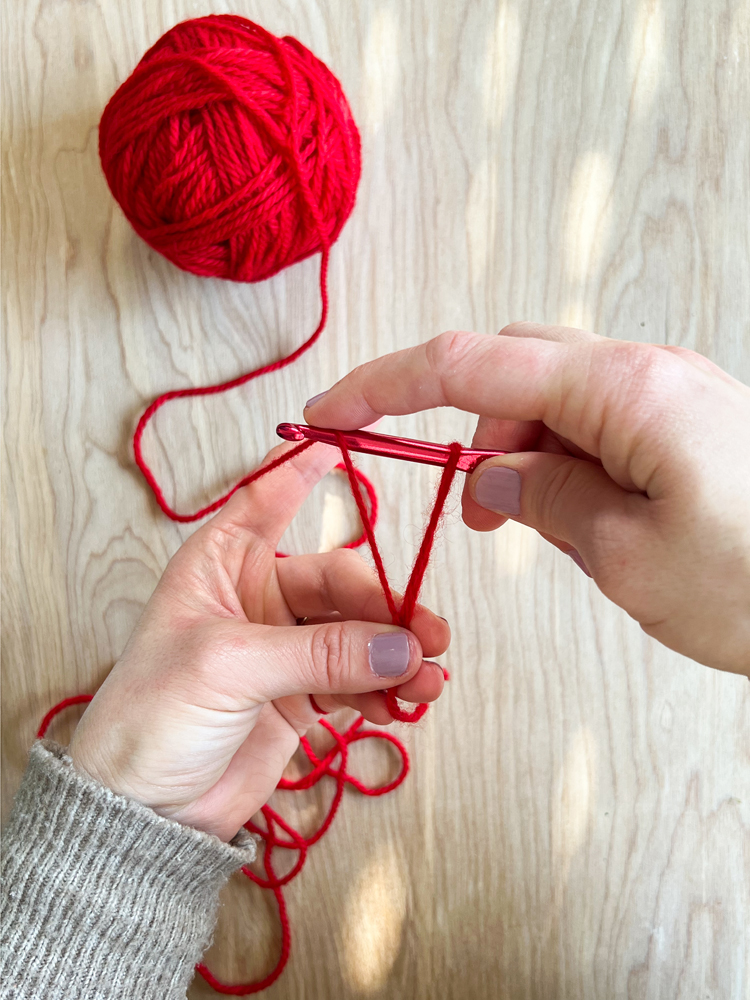
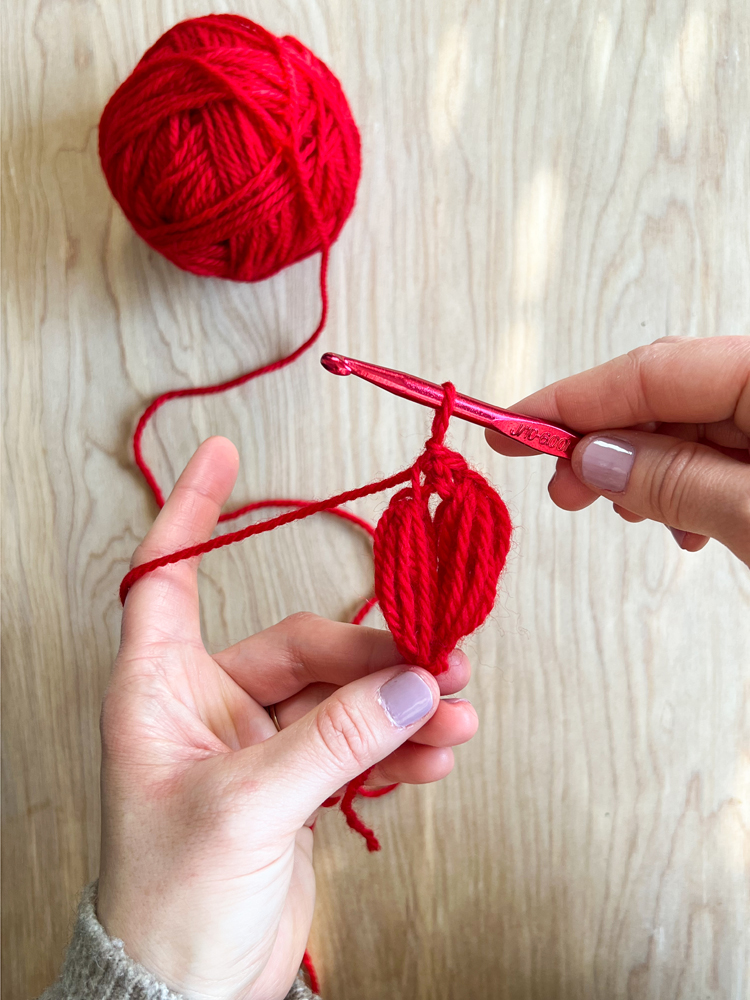
Tie a slip knot and chain 2. (Your starting tail only needs to be about 3 inches or 8 cm)
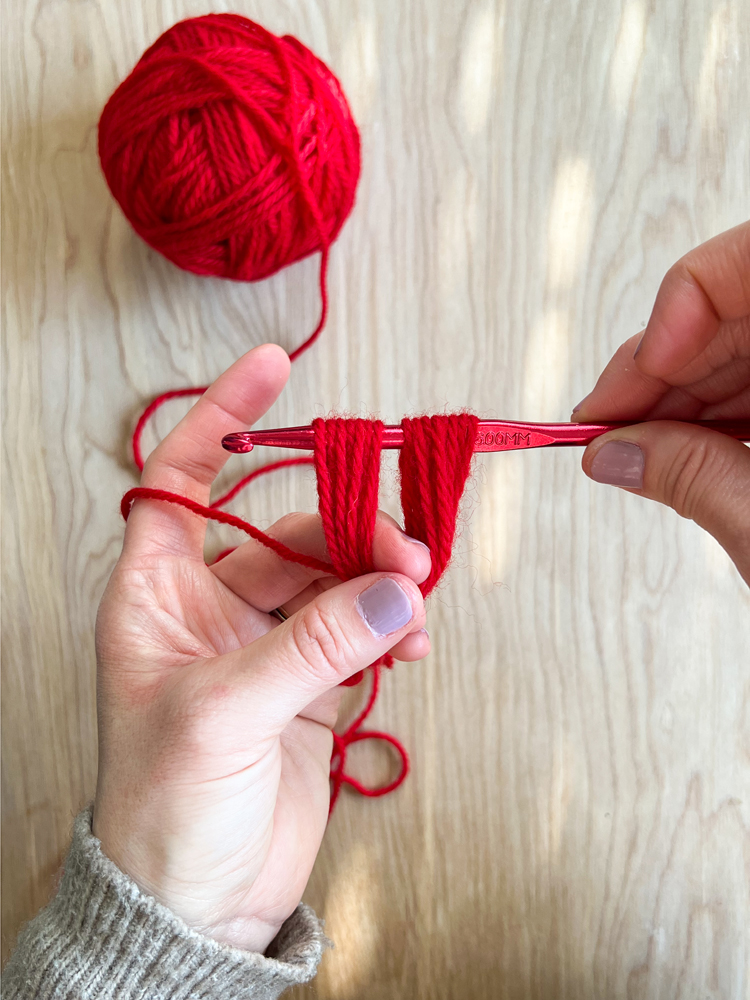
Pull up a long loop, about the height of the top portion of your hook…from the thumb grip to the head. This is about 1.5-2 inches (4-5 cm).
TIP: You want to keep your tension very loose, meaning your yarn will need to stay loose to pull up the tall loops, but your hands will be taut and stretched the whole time. Hold the chain (or previous heart) down firmly with your non-hook hand while you pull the loops up.
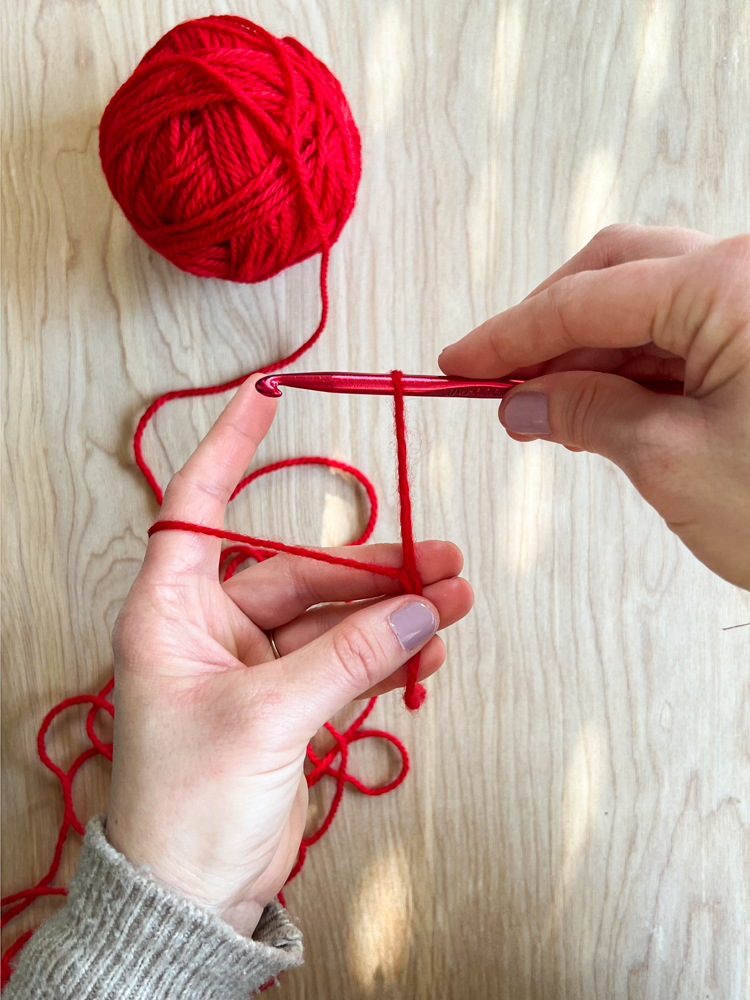
Yarn over or under (this is up to you, I yarn under in the video tutorial), then insert your hook into the previous chain stitch. Yarn over and pull up the two new loops this creates, to match the height of the first loop.
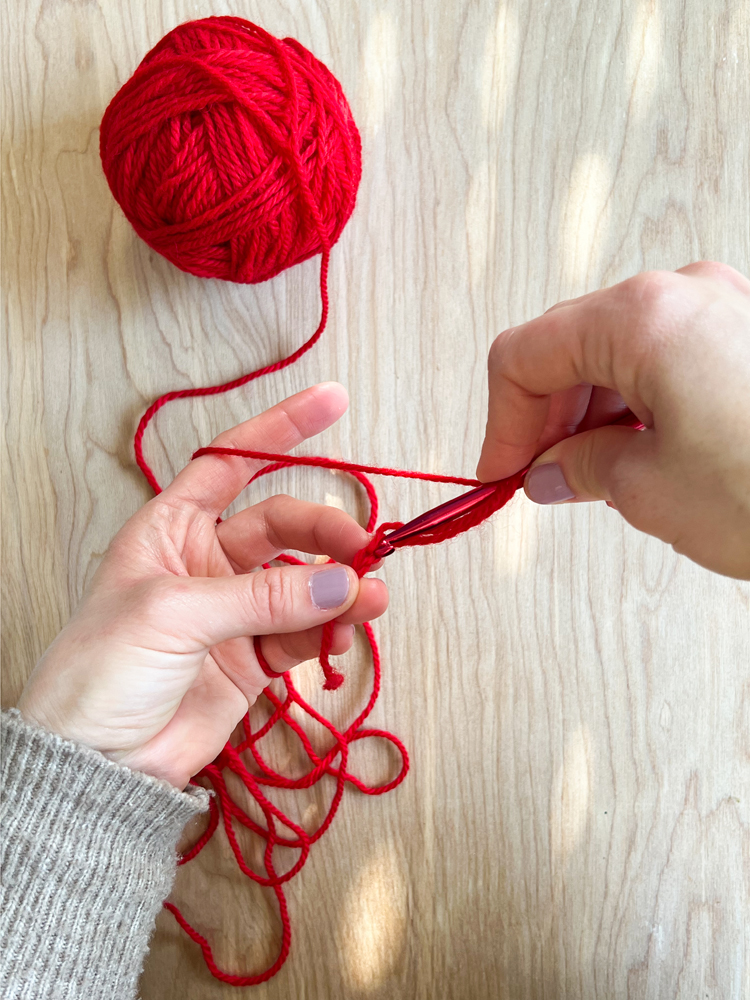
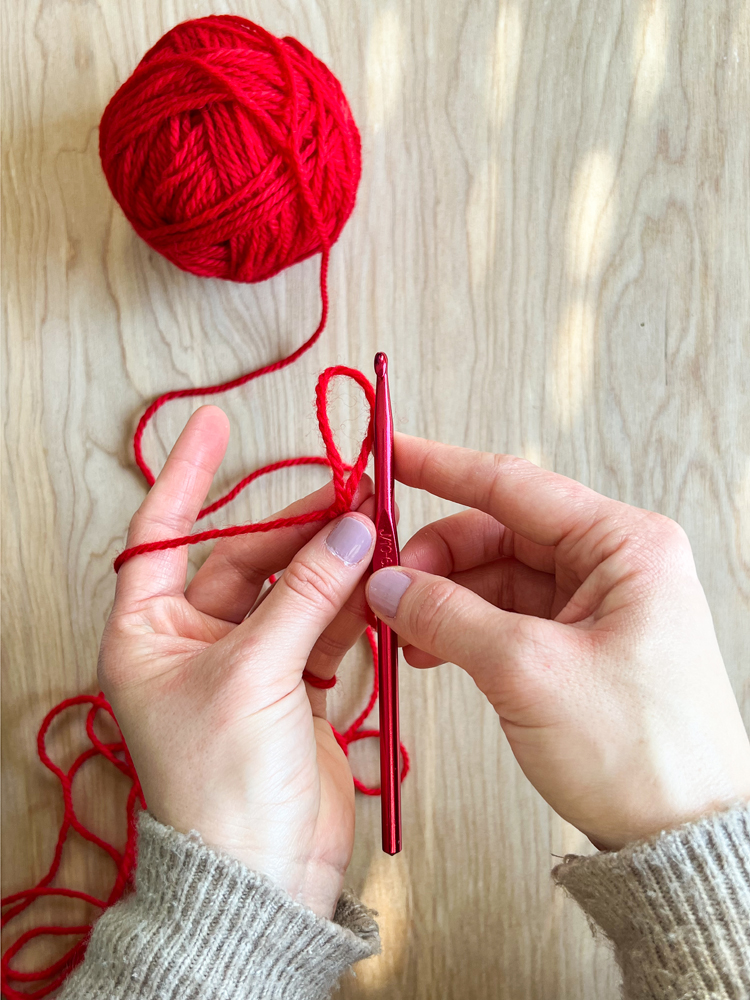
Using the index finger on your hook hand, hold the loops in place and repeat the process a total of 7 times.
NOTE: This may take practice a few times before you get the hang of it and will feel like a bit of a hand work out at first. Your non-hook hand needs to keep steady resistance on the bottom of the chain/heart and your hook hand has the job of holding the loops in place while pulling up new ones without tangling into the previous ones. If you notice one of the loops pulling up too short, it is hard to pull up subsequent loops afterward at the correct height or without any tangling, so you may want to pull out the stitch and start again, pulling more slack from your working yarn to ensure there is no opposing pressure as you pull up your loops to full height.
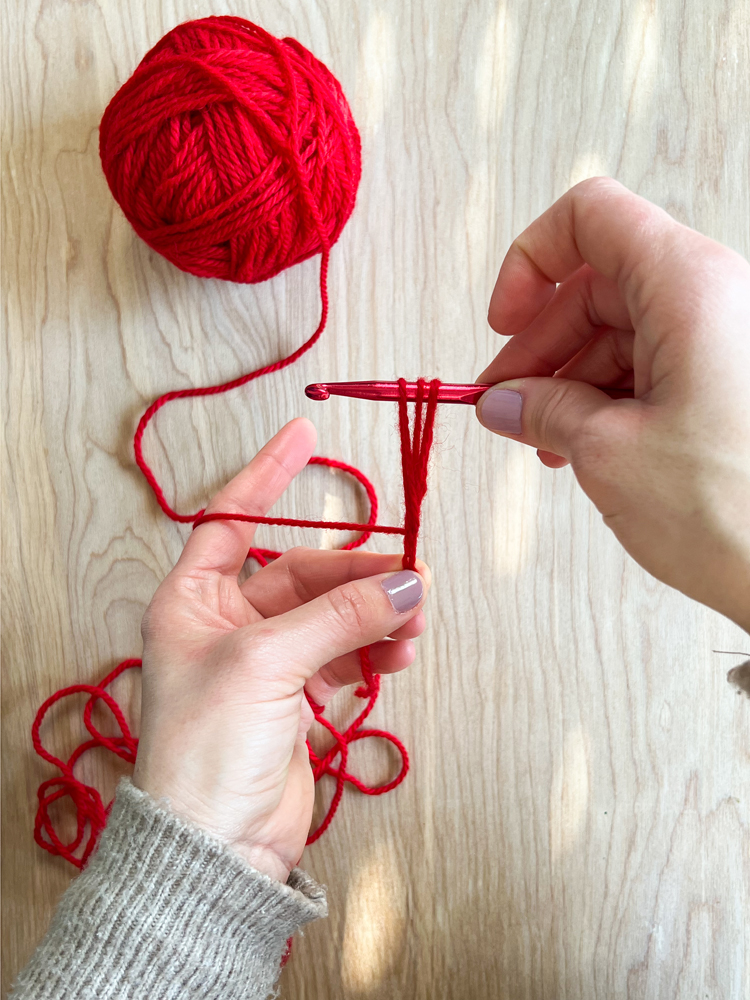
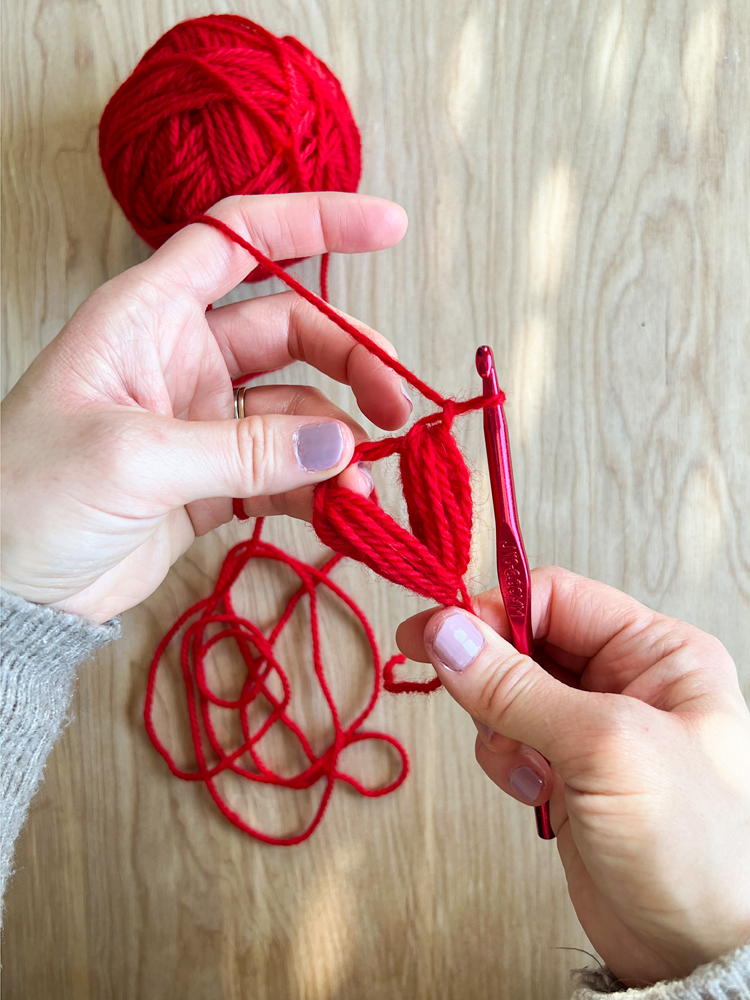
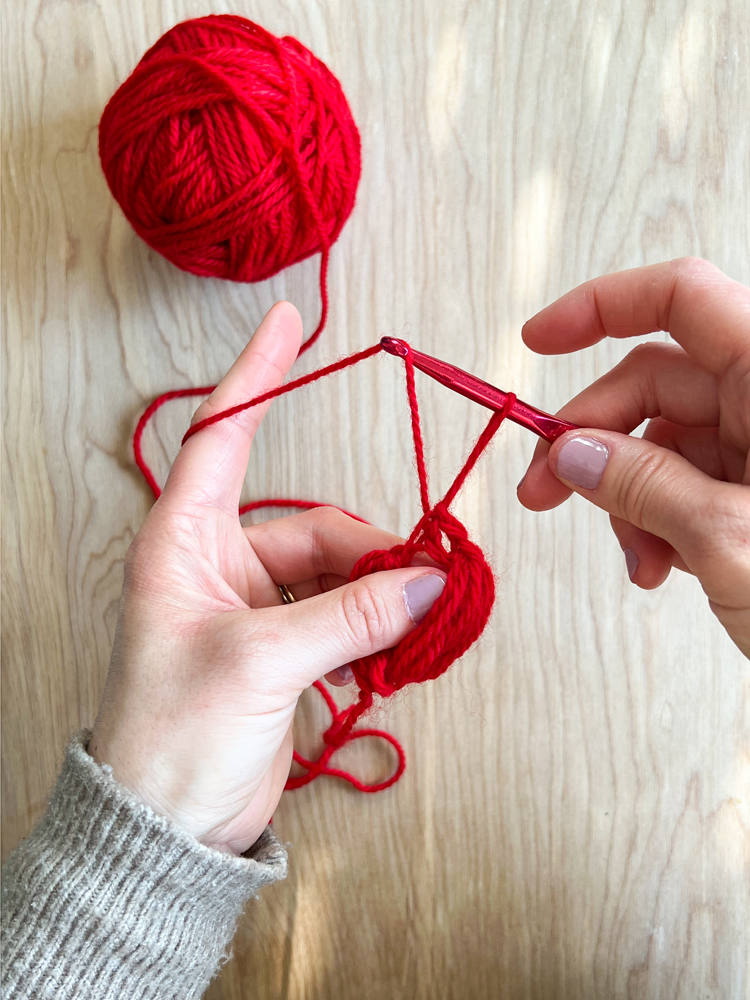
You should end up with 15 loops on your hook. Split the number of loops in half, with 8 loops on the right side or hook hand side and 7 loops on the other side. I use my non-hook hand to keep them separated.
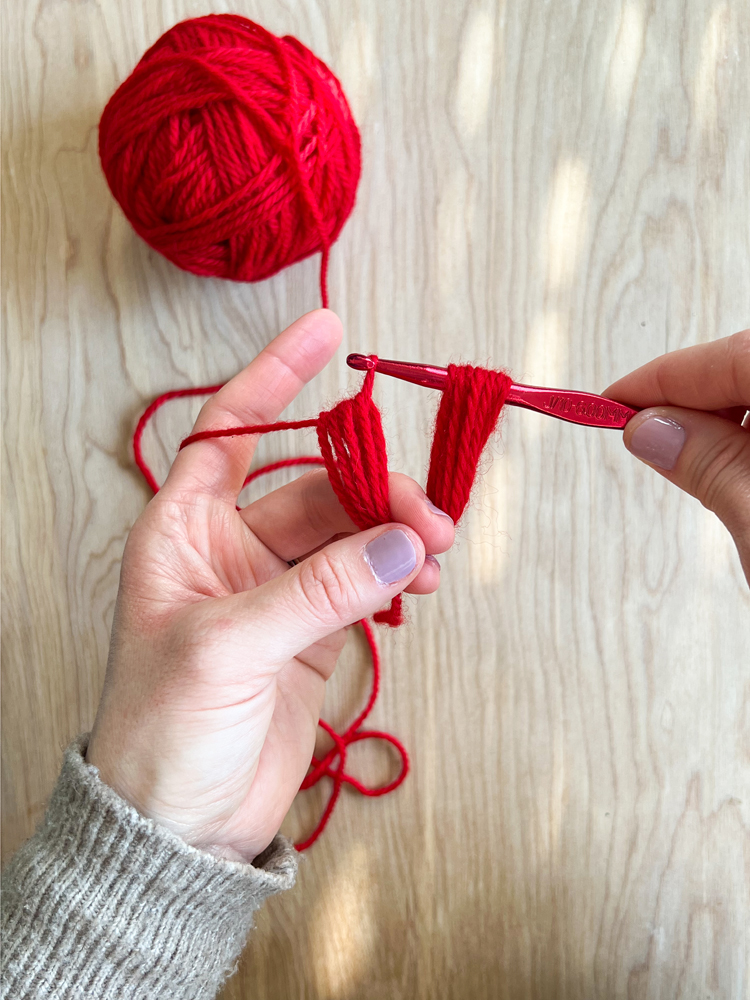
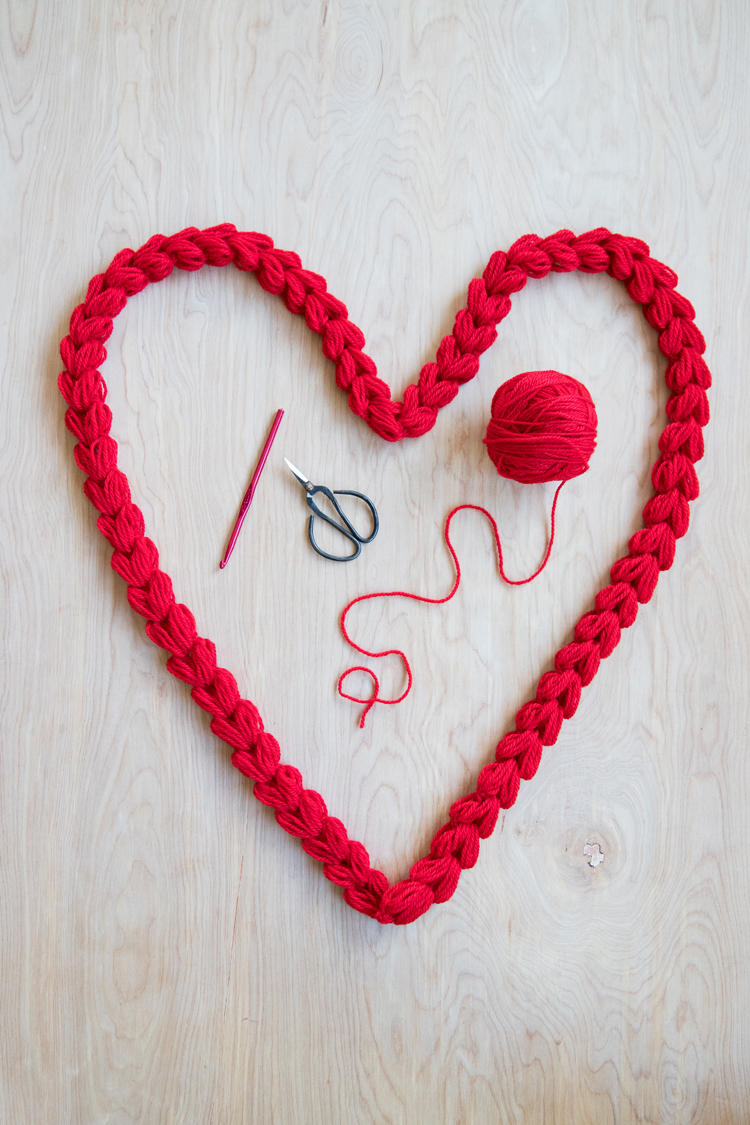
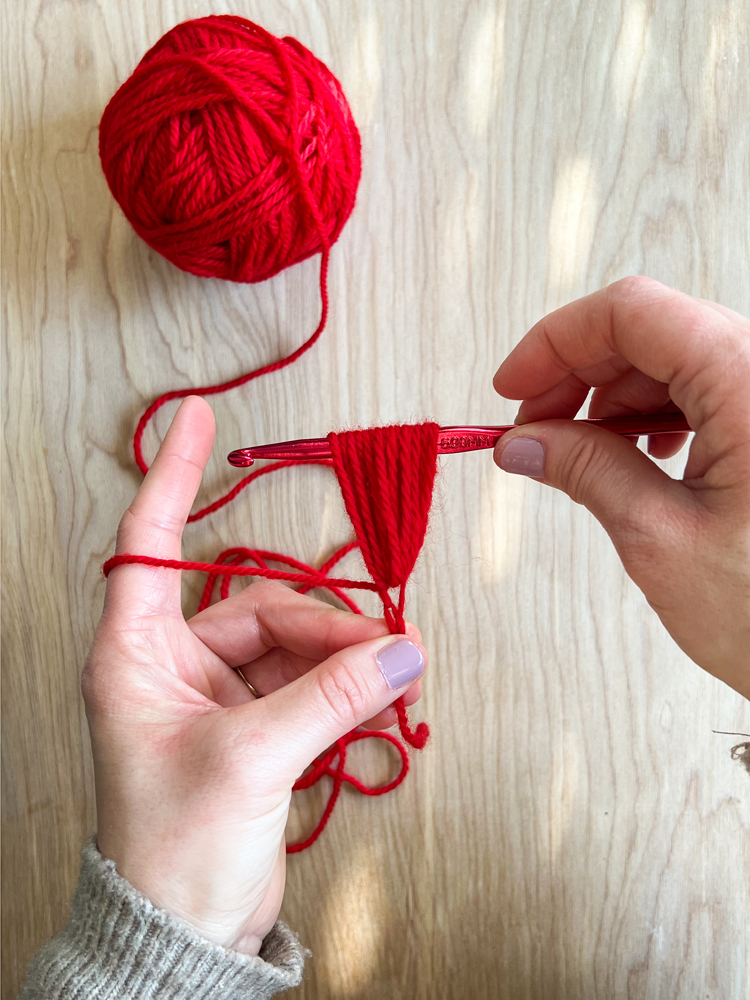
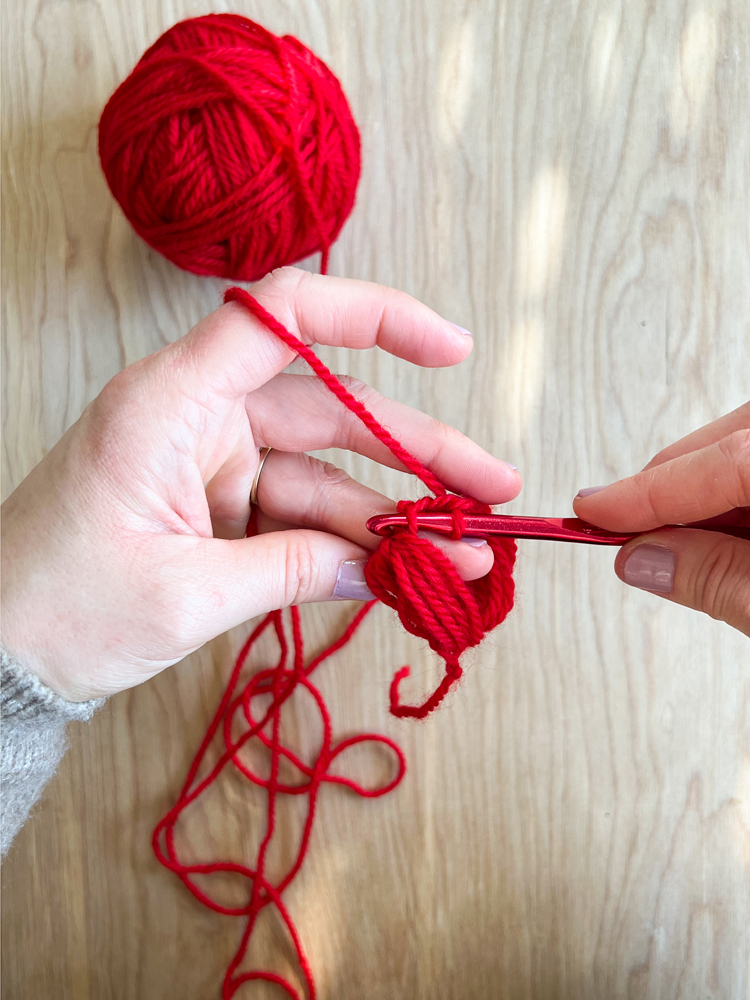
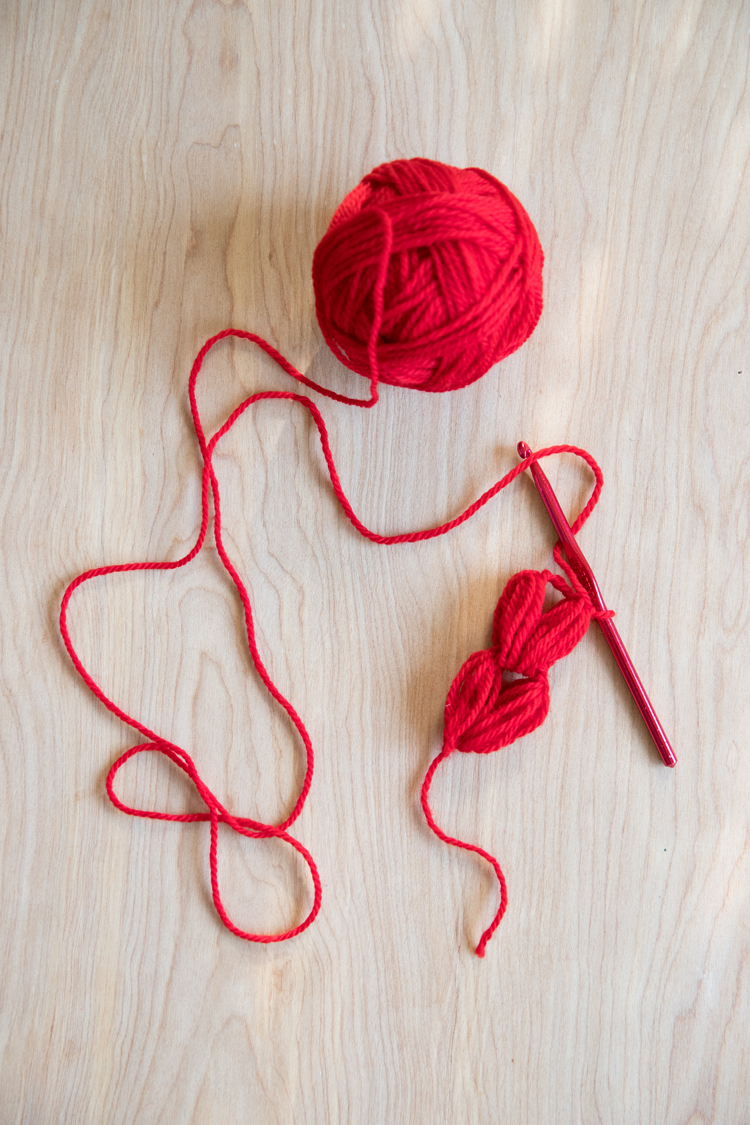
Yarn over and pull through the first 7 loops. Secure the first side of the heart with a chain stitch. Chain three more times, and then pull through the other 8 loops. Chain stitch to secure the second side of the heart. That’s your first puffy heart!
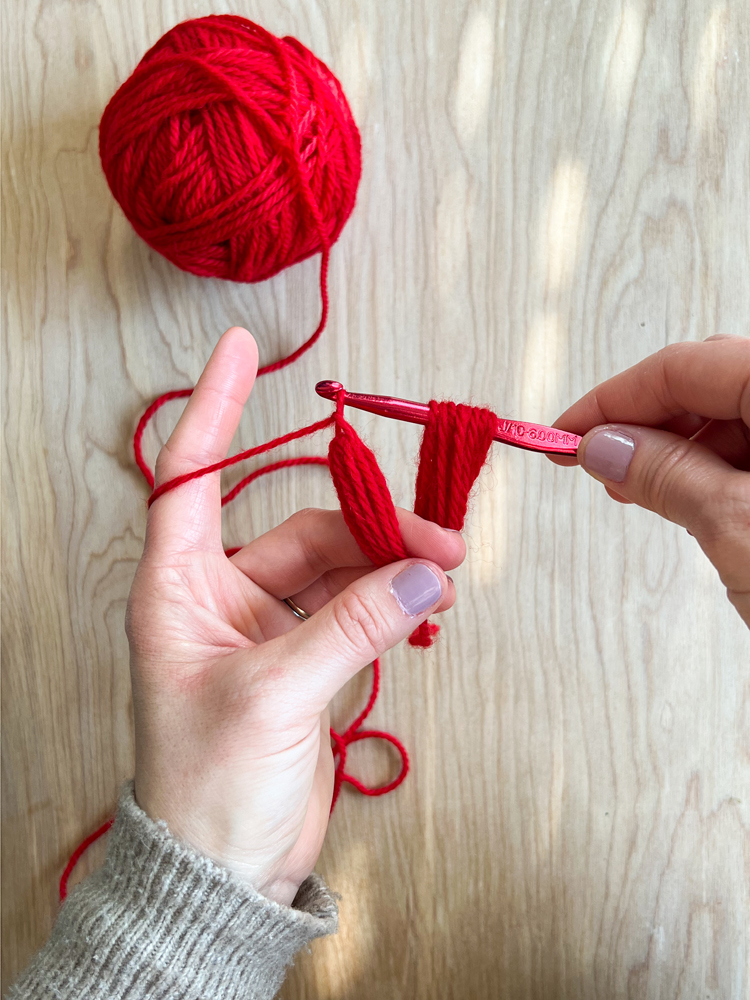
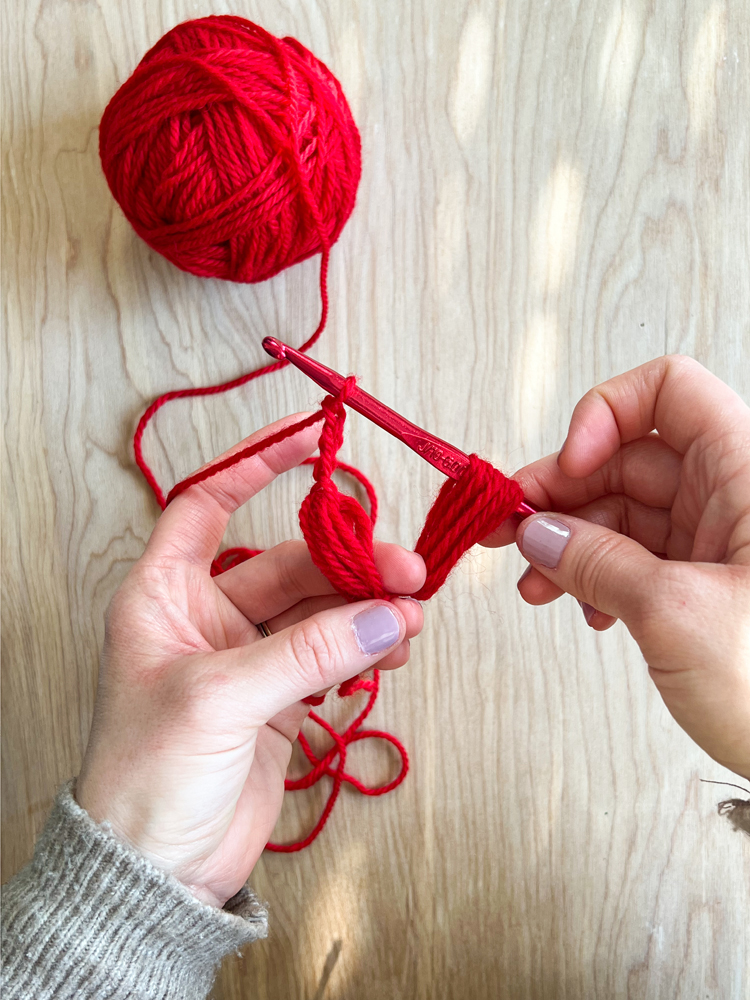
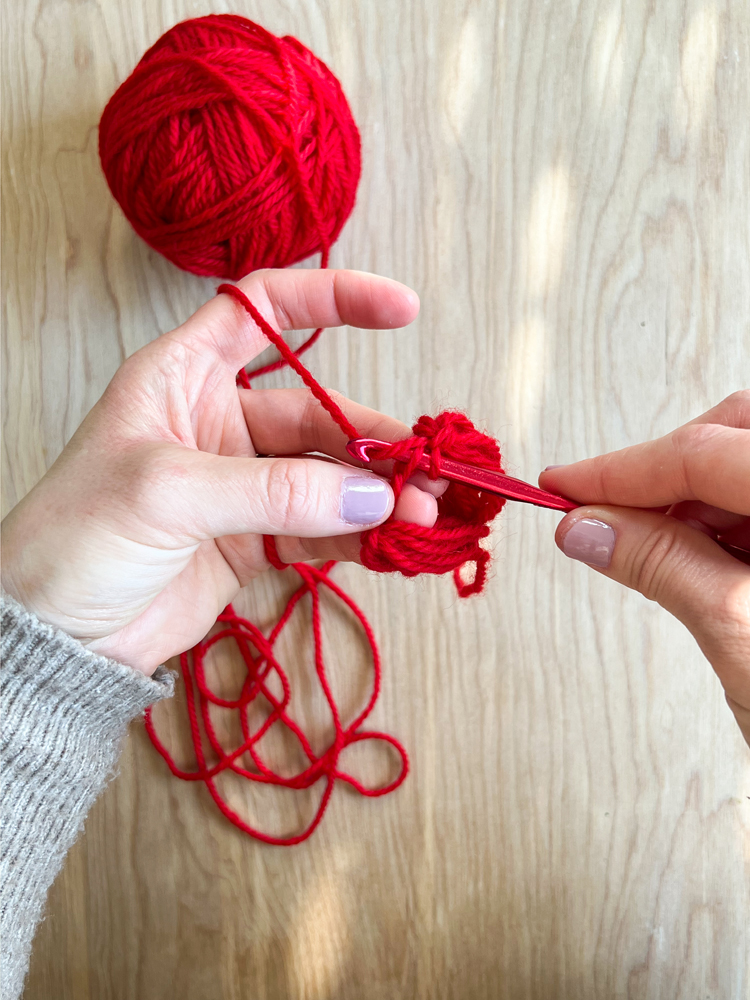
To work another puffy heart, you need to get back to the mid point between the sides of the previous heart. Slip stitch twice across the chains between the previous heart. I like to work one in the middle and then one into the top of the left side (7 loop side) of the heart (see the video if you need a better visual). This seems counterintuitive, but when you pull up the loop it will be centered and where it needs to be.

Pull up another long/tall loop…it doesn’t have to be quite as tall because the chains and slip stitches add some height to the first loop. Yarn over/under, insert your hook into the empty space between the sides of the previous heart, yarn over and pull up the loops to match the height of the first loop, and repeat this 7 times. Finish the puff stitches the way you did with the first heart.
REMEMBER: Keep your tension loose and keep giving yourself plenty of slack as you work the puff stitches so that there are no snags as you pull up the loops. But keep your hands taut and stretched to keep the loops even. It’s a balance that you will sort out the more stitches you work.
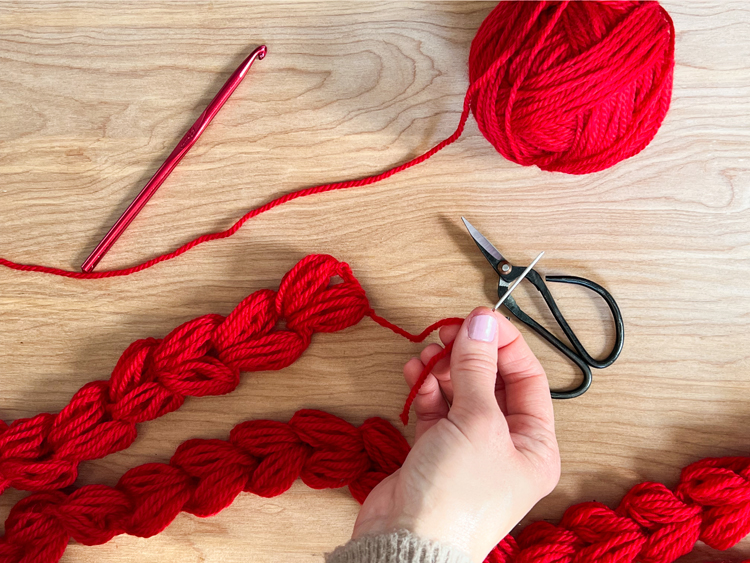
Repeat the process, until your garland is as long as you want it to be. Then tie off the end. Your tail only needs to be a few inches long. Weave it into the last heart and trim off the excess. Then weave in the starting tail in similar fashion.
All done!
For more crochet tutorials, CLICK HERE.
Great idea! I think I am going to combine this with a paper heart garland. The texture of the puffy heart garland is wonderful!
Do you have any idea why my loops on the right side of each heart are looser? I’ve changed my grip and tried all kinds of adjustments but can’t get it right. It’s typically the first loop that gets all slack even though I’m holding it with my finger. Thanks!
Jana,
It could be a few things…if your slack starts to run out at the end, there might be more opposing tension from the working yarn which shortens the loop slightly each time, until you get to the end where it’s much shorter than the first. It also gets harder to pull up a loop to the full height when you’re keeping the other loops in place. That bit can be a bit of a hand work out. And once you pull up one that is not as tall as it should be, the remaining tend to follow suit. If you try to overcompensate to get the next taller again it sort of tangles the loops. If I notice that I didn’t pull one up quite right, I just pull it out and try again because of this quirk.
I hope that helps. I’m glad you asked and I hope this helps others too.
If not, please feel free to message me on instagram (@deliacreates) and I can help troubleshoot there with video.
Thanks so much for your helpful reply! It helped when I tugged down on the previous heart and made sure to have enough slack at the end like you said. I think I was just too desperate to make it look exactly like yours. Once I got over it, it was smoother sailing, and the final product was super cute despite some loose loops.
Love your tutorials! I’m onto the basic beanie now.
Thanks – I just made a red heart garland and will be giving it to my friend tonight. It took me a while to get the hearts to be approximately the same, but I had a 1 1/2 inch paper marker that helped me with the height. It turned out quite well. Thanks so much.
That’s so smart to make a paper marker! You are such a good friend. <3
I’m excited to make this. I’m struggling with the longer loops getting smaller and smaller because that initial chain stitch you keep going back into keeps getting bigger and bigger, stealing the length out of the large heart loops. Any suggestions would be appreciated.
It helps to pull down on the chain with your non-hook hand. I pinch the bottom of the chain with two fingers to both hold it taut so it’s easier to insert my hook, and also to keep it from getting too much bigger. I hope that helps!