

Zippers can be scary right? Especially if you are new to sewing. But there is really no need to fear! It’s one of those things you have to jump in and try, so you can surprise yourself and see that it’s quite satisfying.
 It is best though, to not jump in blind. Zippers come with (vague) instructions but sometimes…most times…you just need someone to show you, right?!
 Craftsy has you covered with their Mastering Zipper Techniques class. It’s a totally FREE (!) instructional video and is very well taught by the lovely and talented Sunni Standing. UPDATE: I am sorry to say that Craftsy has turned this class into a paid course. Please refer to Youtube for basic zipper installation videos. Melly Sews and Made Everyday are also a great resource for basic sewing videos.
If you already know how to sew with zippers, her class is still worth watching. She shows you the proper way to install three different kinds of zippers, plus lining techniques, shortening techniques, and a bunch of other little tips and tricks to make you a better zipper sew-er.
The focus of her class is installing zippers into garments, but they also work great for other projects like today’s pillow projects.
 It’s no secret, pillowcases are some of my favorite things to sew. See HERE and HERE. I even taught a class about it HERE.
They are also a great way to practice zipper installation. It takes such little amounts of fabric and time. With pillows you can’t lose!
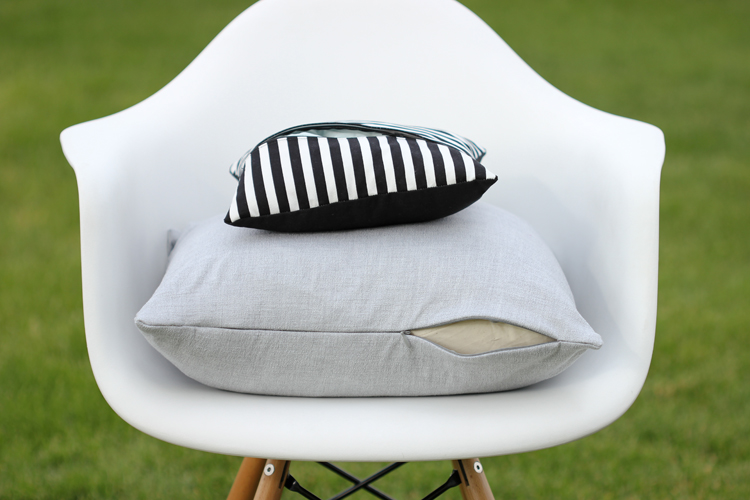
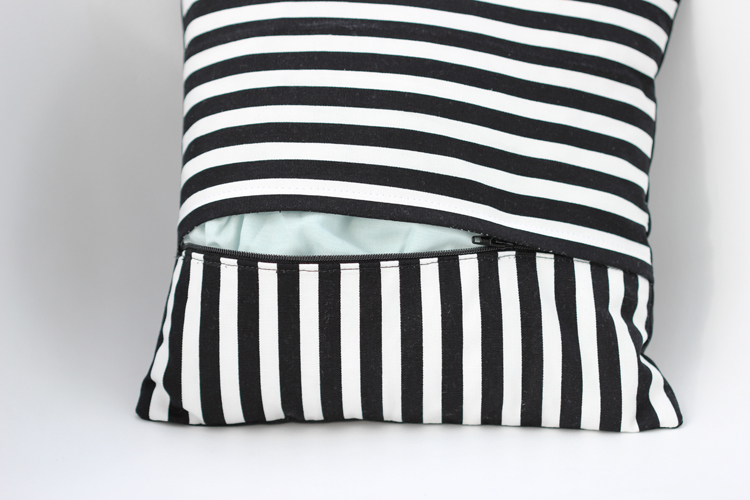
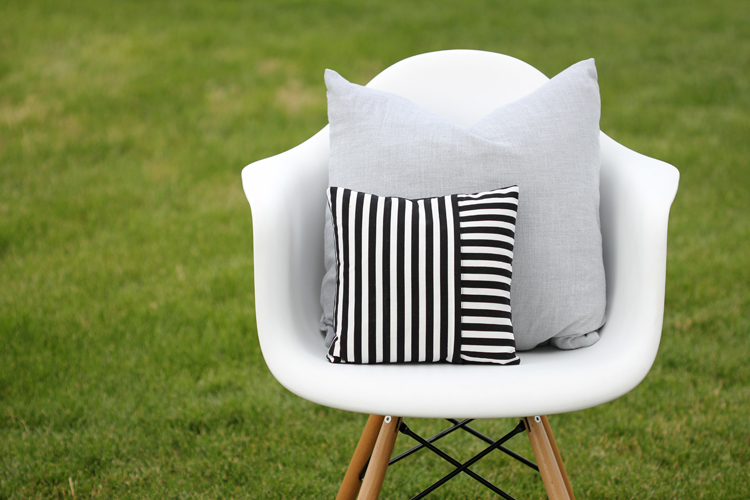
 Today, I’ll be showing you how to make zippered pillow cases two ways: with an invisible zip and a lapped zipper.
 I’m going to take you through each tutorial, send you over to Craftsy for the zipper instruction, and then invite you back here for the final steps. Sound good?
Great!
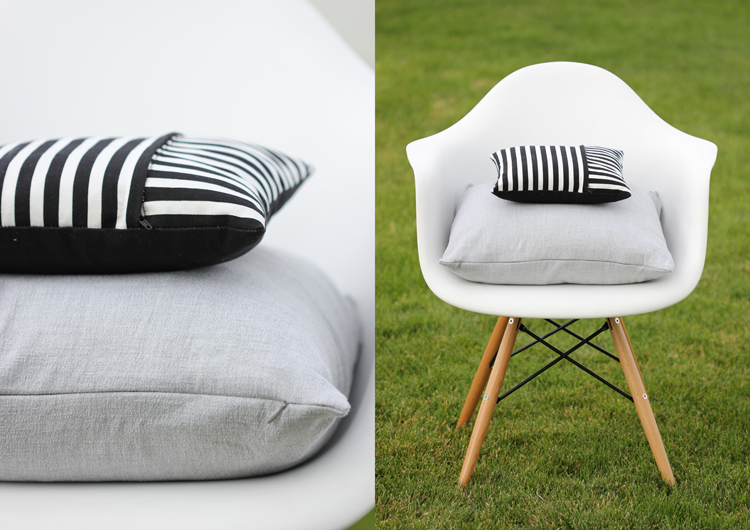
Let’s start with the lapped zipper pillow.
 PLEASE NOTE: ALL seam allowances for both pillows are 5/8″.
MATERIALS:
pillow form fabric, matching and contrasting, bottom weight or heavy weight fabric works best standard zipper about the same length as your pillow form matching thread basic sewing supplies (machine, seam ripper, pins, scissors, etc. )Notes: There are no measurements in the materials list because it depends on the pillow form you decide to use.
Step One: Cutting Fabric
If you are using a 12″ pillow form, as I am here. You need:
1- 12″ by 12″ piece
1 – 4 5/8″ by 12″ piece
1 – 8 5/8″ by 12″ piece
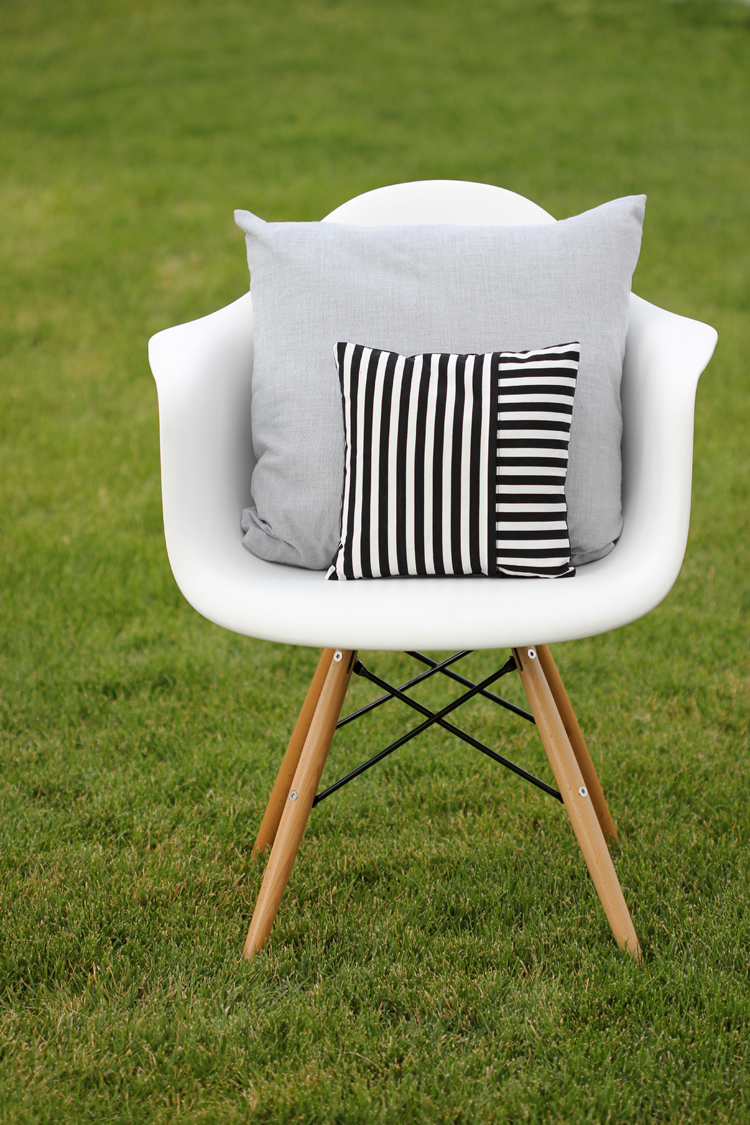
As you can see, for the front, zippered portion of the pillow you simply cut the pillow in half in any ratio you desire (6 and 6, 8 and 4, 7 and 5) and then add 5/8″ to the cut side (or the shorter measurement). For example, if you want to divide your 12″pillow piece into 8 and 4 inches, cut your pieces to 8 5/8″ x 12″and 4 5/8″ x 12″.
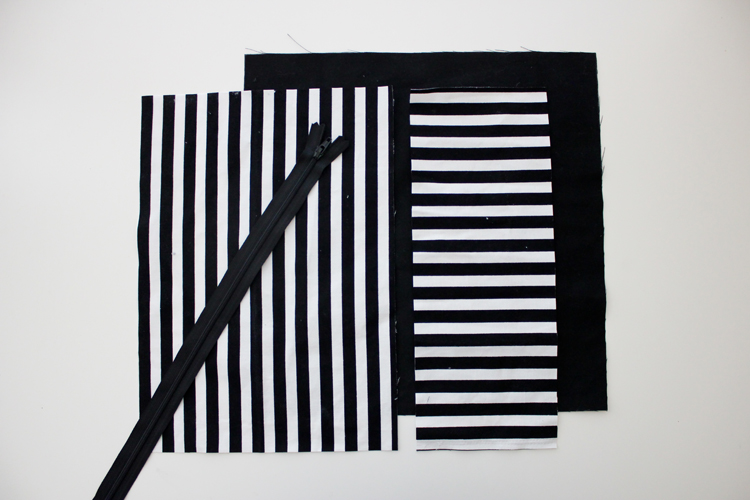 You can make both pieces the same color or pattern, of course. I just feel like it naturally lends itself to be a functional design element. If you are going to have to sew it like that anyway, why not make it interesting right? Color block it or pattern block it, like I did. Whatever you want. Just make sure that the two pieces of fabric are of similar weight and quality. You don’t want the two fabrics to compete with each other and affect the fit of the pillow case.
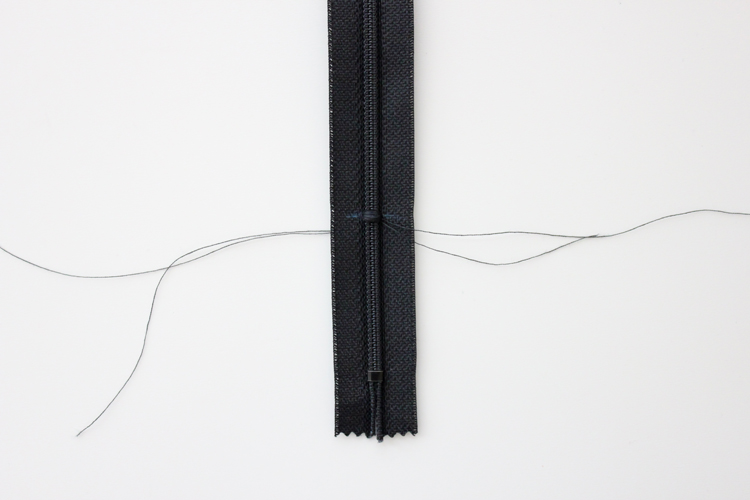
Step Two: Shorten your zipper.
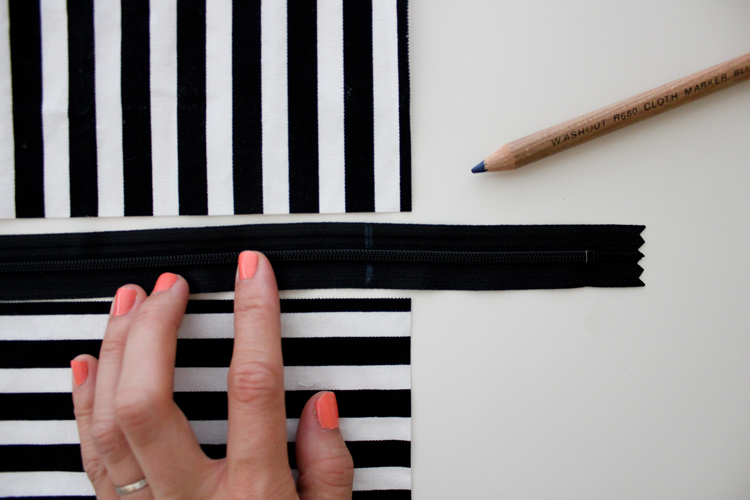
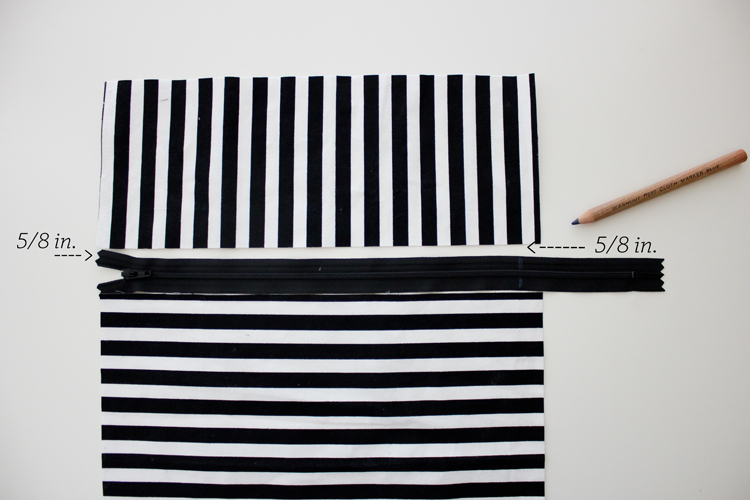 You need your zipper, from zipper pull to zipper stop to be 1 1/4 inches shorter than the width of your fabric, or 5/8 inches shorter at each end. This ensures that you will be able to sew cleanly up the sides of your pillow later.
You can learn how to shorten a zipper in the Mastering Zipper Techniques class. Sunni shows you the proper hand sewn zipper stop method. I personally prefer the down and dirty, put your feed dogs down, and sew a zig zag stitch over the teeth on your sewing machine method. If you do that, leave long tails and double knots the ends by hand.
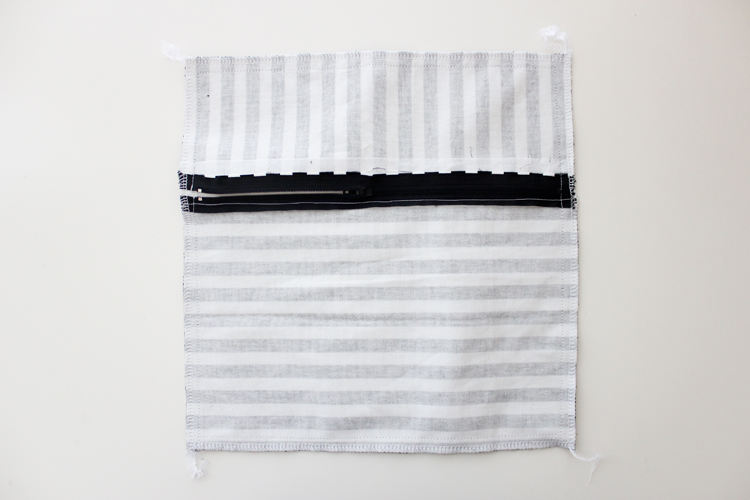
 Step Three: Sew a lapped zipper using two front pillow pieces.
Visit the Mastering Zipper Techniques class to learn how to do this. The lapped zipper lesson is toward the very end. You can skip to it by clicking on the top left hand tab, but I recommend going through the whole course first, if you can.
 Sunni shares a cool interfacing product for reinforcing the zipper opening. I don’t have any, so I used light weight interfacing cut into strips 1 1/4″ wide.
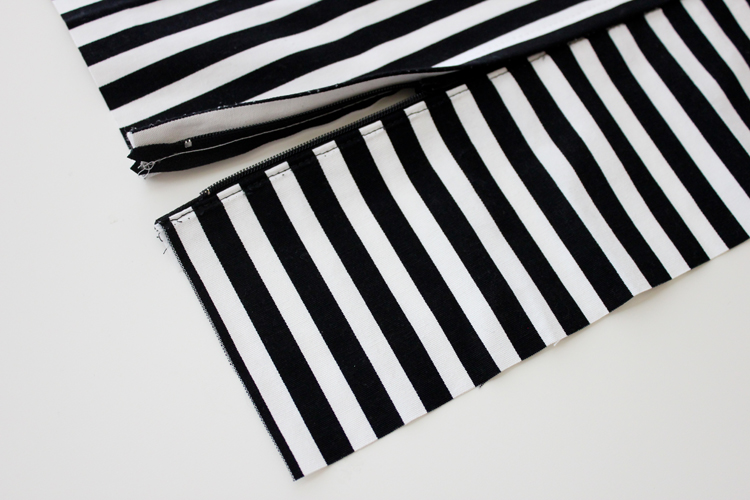 The only change you need to make to your lapped zipper is that when you are top stitching the zipper into place, sew straight down. There is no need to pivot and sew across the bottom of the zipper teeth for these pillow cases.
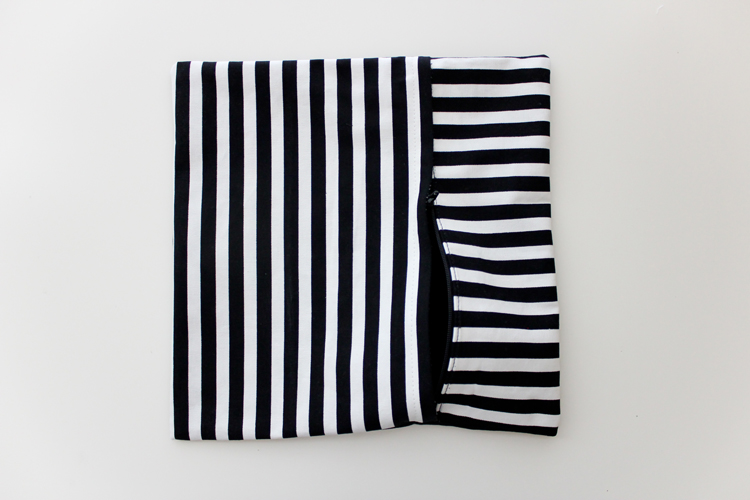
Step Four: Sew your pillow pieces together.
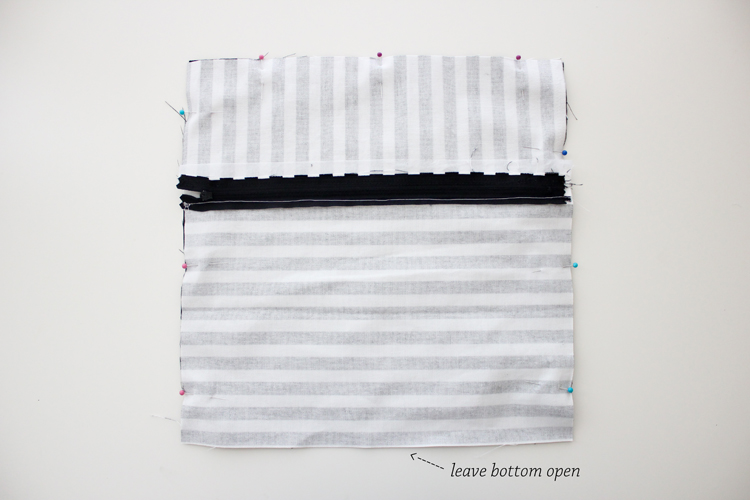 Keep your zipper zipped up. Pin three of the four sides, including both sides that contain the zipper. Sew around the three sides.
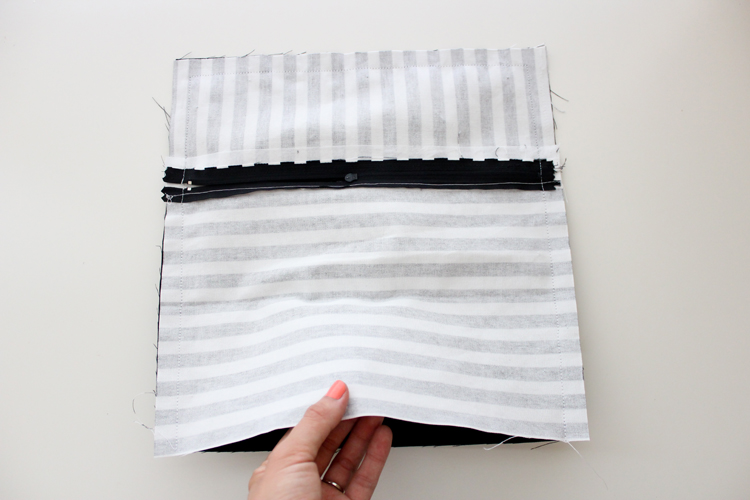 Now, reach into the opening and unzip the zipper halfway. Finish sewing the fourth side.
Optional: overlock stitch or zig zag stitch along the raw edges.
 If you do not overlock stitch the edges, clip the corners before zig zag stitching. The helps the corners turn right side out better.
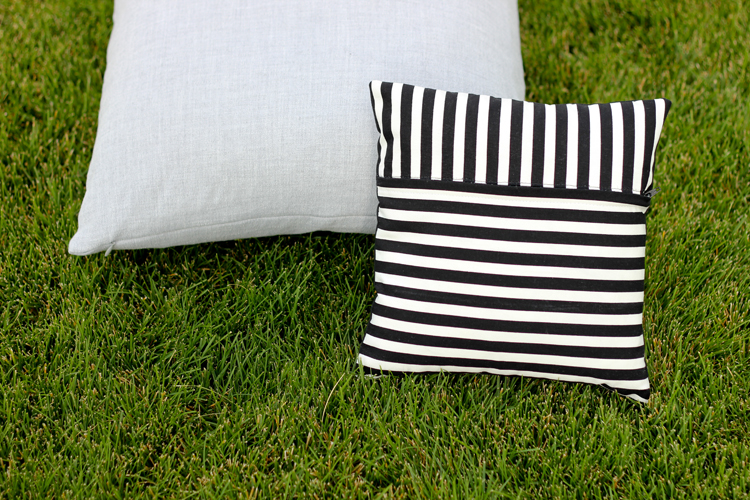
 Turn the pillow case right side out, through the unzipped opening. Stuff your pillow form in…
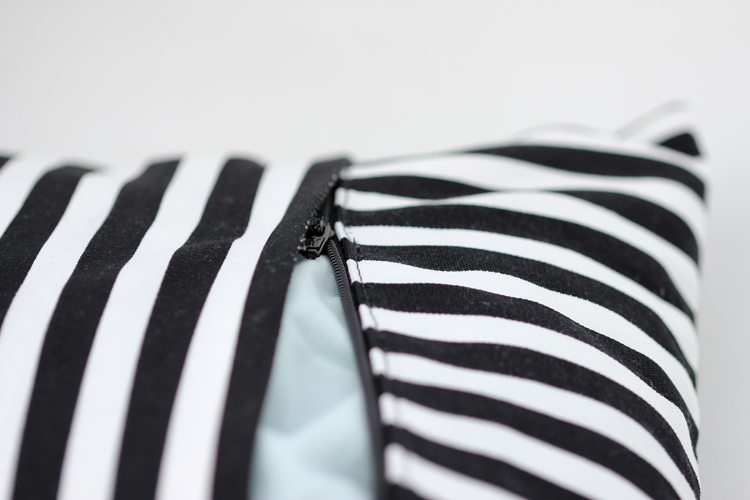 Done!
Done!
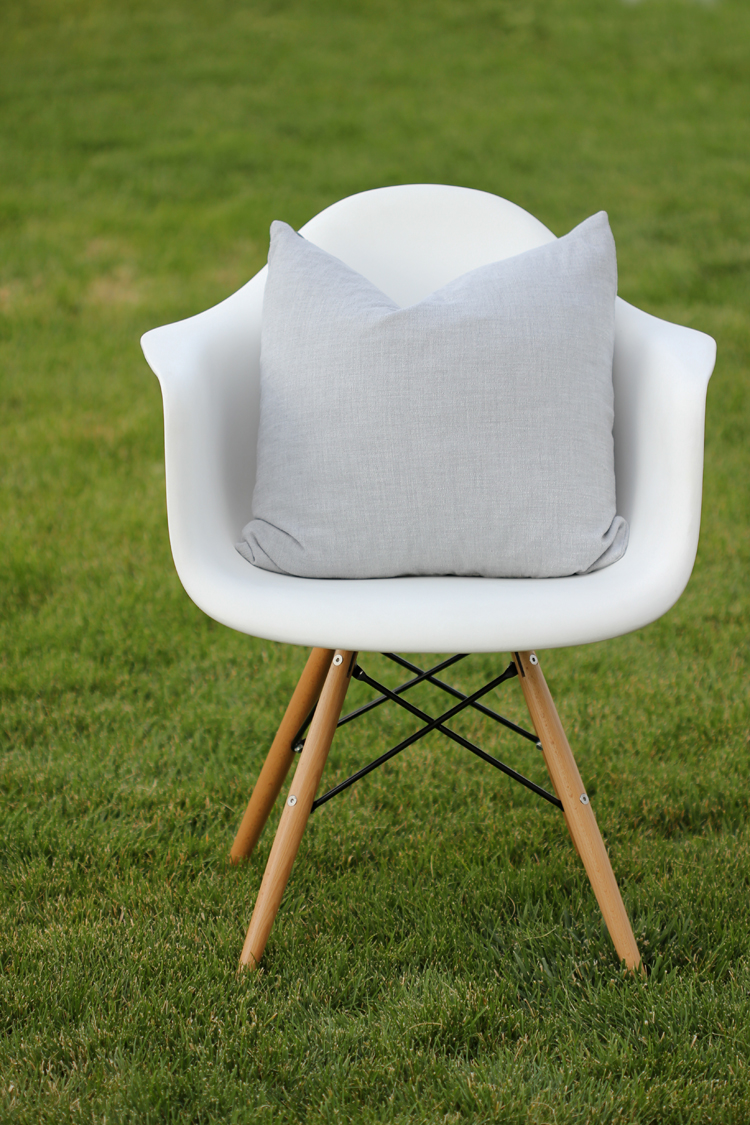 Next up, the invisible zipper pillow!
 Remember: Seam allowance is 5/8″.
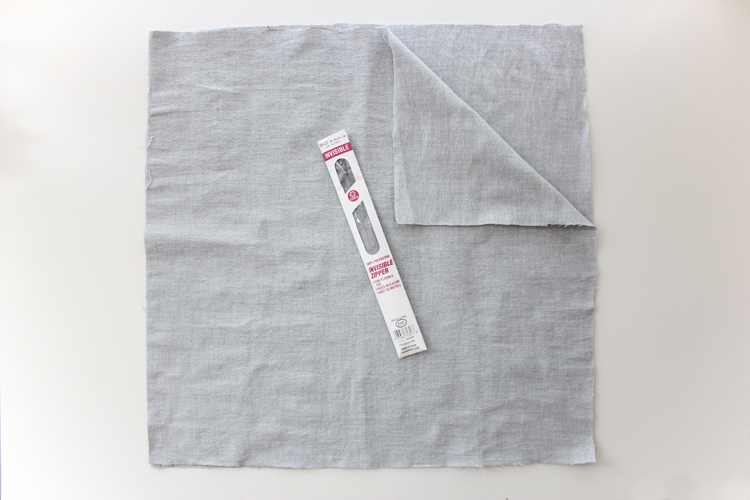
MATERIALS:
pillow form fabric of choice: heavy weight, bottom weight type fabrics are ideal invisible zipper matching thread basic sewing supplies (machine, seam ripper, pins, scissors, etc. )Note: No yardage or measurements are listed because they vary depending on the size pillow form you use.
Step One: Cut your fabric and shorten your zipper.
If you are using a 20″ pillow form, cut two square pieces to exactly 20″ by 20″. There is no extra seam allowance added, because a tighter pillow case looks better most of the time. (If you have a particularly fluffy pillow, you may decide to add seam allowance.)
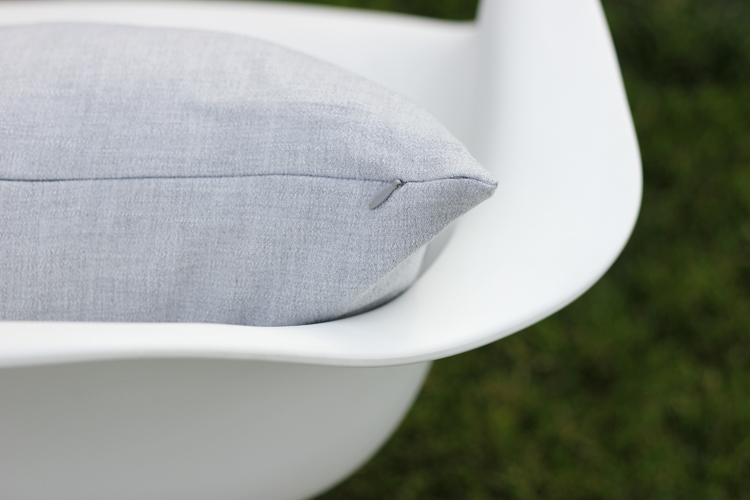
If you are using a 20″ pillow form, you need an 18″ zipper. For the invisible zipper pillow you want your zipper a little bit smaller than your pillow.
 For a cleaner look, you want to be able to sew around the corners and not have the zipper zip right to the corner. If your zipper is too long, shorten it like you did for the lapped zipper pillow.
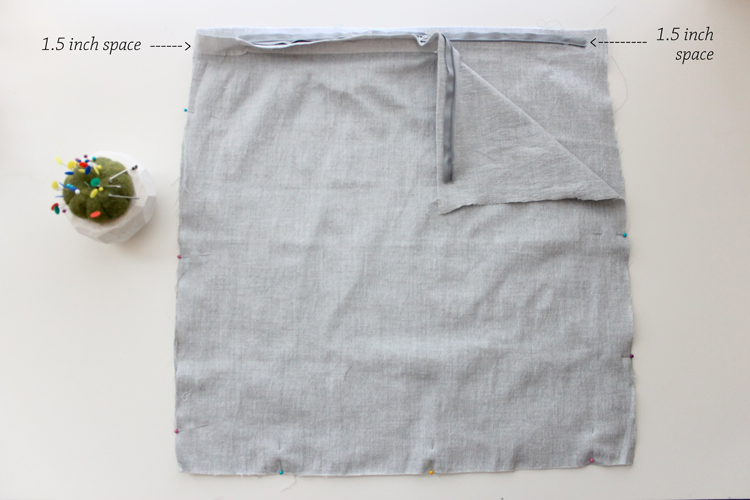
Your zipper should be a minimum of 1.5″ shorter than your pillow case at each end.
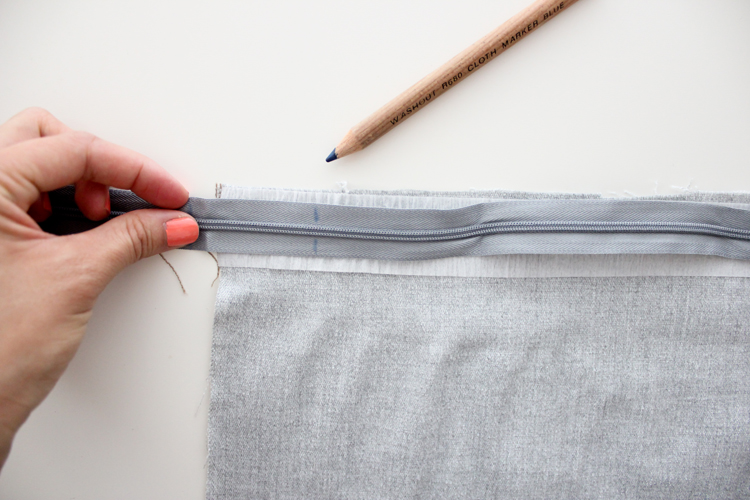
 Step Two: Install your invisible zipper to one side of each of your pillow case pieces.
For full instruction on how to sew an invisible zipper see the Mastering Zipper Techniques class. Tip: You can click on the drop down menu at the top left, to skip to the invisible zipper chapter.
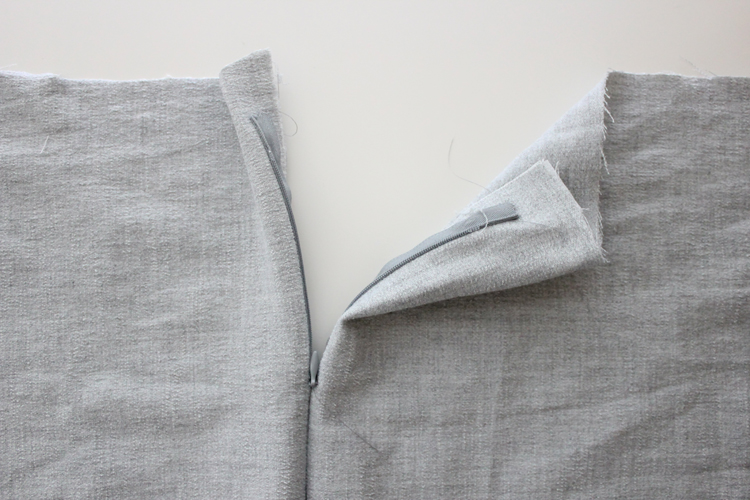
Now that your zipper is installed…
Step Three: Sew your pillow case.
Open your invisible zipper about 1/3 of the way. Pin around the remaining three sides, as well as the corners of the zipper edge.
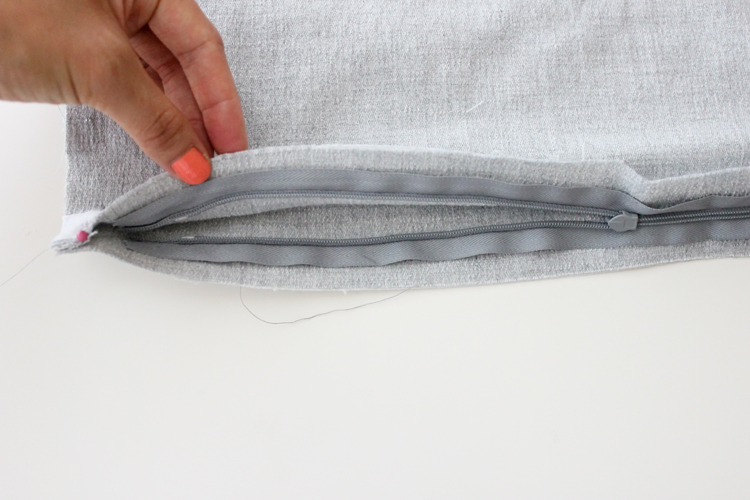 Step Three: Sew all the way around, stopping at the zipper. You want to sew just past where the zipper seam starts and just barely to the inside of it. The zipper class explains this in terms of sewing a skirt. Instead of just sewing up one side though, sew both corner ends in the same fashion as you would sew up the bottom of the skirt.
Optional: overlock stitch the raw edges.
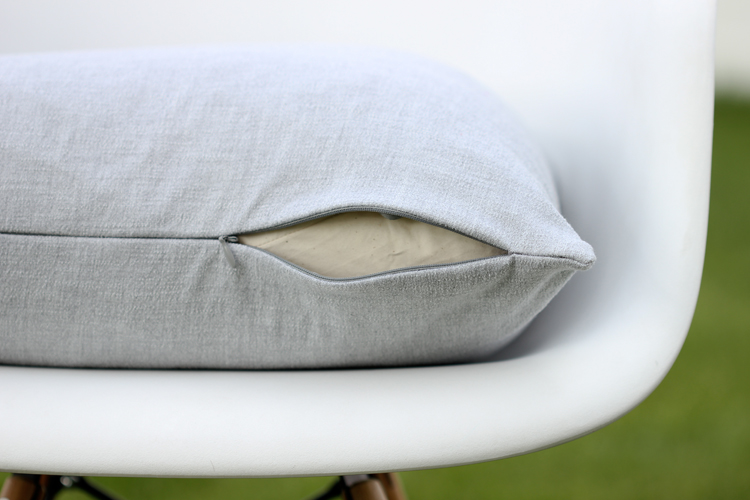
Turn right side out, through the unzipped opening, and you’re ready to stuff that turkey!
More about Craftsy…
Remember if you sign up for the FREE Mastering Zipper Techniques class, it’s yours for life. Go back and review it as many times as you like, ask the instructor or fellow class mates questions, or bookmark parts of the video as you go. This class really a great way to get a feel for Craftsy classes and to learn or brush up on some sewing techniques.
Disclaimer: This post was sponsored by Craftsy. The tutorial content and all opinions expressed are absolutely and enthusiastically my own.
Every tutorial you post is superb! Thank you for this!
I love this so much! Adorable!
Thank you Megan!
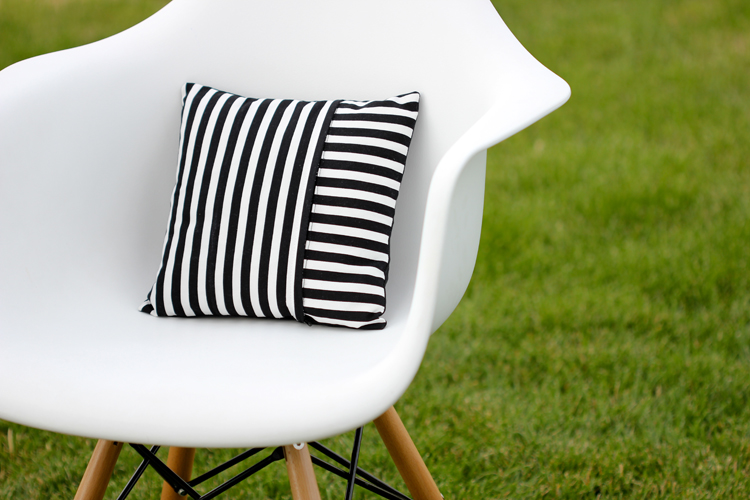
I’ve never even thought of putting a lapped zipper in a pillow like this…. great idea! Although I’ll always love invisible zippers best. I like the change in stripe direction on the black and white pillow!
Thanks Charity! I like invisible zippers best too, but it was fun to incorporate a lapped zipper which I feel doesn’t get used as often.
You are so awesome! Thanks for this tutorial. I’m still so new at sewing and you break it down so well!
Hi Delia,
Where do you get your zippers from?
Hi Pearl,
I usually get them from Jo-Ann, Coats and Clark brand. I sometimes buy some YKK zippers online though. All of them have been great.
This worked so well!! Thanks for linking to the Craftsy site, which was new for me. I did my first invisible zipper! And your instructions for how to make it work in a pillow were really helpful too. Thanks for always doing such a great job and helping other people learn new skills.
Krista,
Thank you for your kind comment!
And…Yay for installing your first invisible zipper! Isn’t it so satisfying to zip it up and see it disappear? One of the best little sewing pleasures. 🙂
So glad you like the tutorial.
Delia 🙂
The master class is NOT free and this “tutorial” is a waste of time.
I’m sorry you had a bad experience. This post is four years old, so Craftsy must have changed the status of the free class to paid. I had no idea until you said something. That is unfortunate! I’m so sorry that they did that. If you google how to install a zipper or look on youtube, I am sure you can find basic zipper installation tutorials. With that knowledge under your belt, these tutorials are surely not a waste of time. I hope you are able to find the information you are looking for. 🙂
I have been desperately seeking a tutorial on how to make a three sided razor edge pillow and the last (bottom side) edge with a zipper resulting in a slightly wedge shaped pillow. I can’t figure out how to sew the edges to the wider bottom as the seam allowance on the sides is not wide enough to meet the sides related to the zipper.
I’m not sure if I totally understand your question, but I think if you want to add some seam allowance but no bulk, you could add a rectangle bump out on either side of your zipper. Does that make sense?