

I admit. I am pretty late to the headwrap party.
I’ve always admired them on others, but haven’t worn them. Probably because I hadn’t made any yet! As a DIY-er, buying one was out. You know how it is?
So, I took literally 10 minutes (including time taking pictures) and just made one already! 🙂
Then, I made another, and then another for Natalie, my daughter…and another! 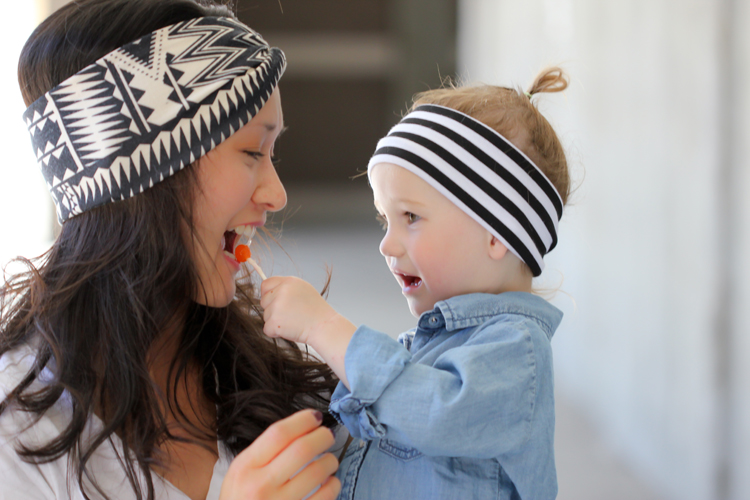
 They are such a fast, fun, and satisfying sew. It was hard to resist!
And can you say scrap buster? They use such little amounts of fabric!

Materials:
Knit Fabric* Jersey or Ball Point needle (for sewing with knits) Hand sewing needle Matching thread Basic sewing supplies (sewing machine, scissors, pins, etc.)*You can use almost any kind of knit fabric. Light weight knit usually has more stretch to it and it’s edges tend to curl, so it’s a little trickier to sew, but will provide a more flexible fit.
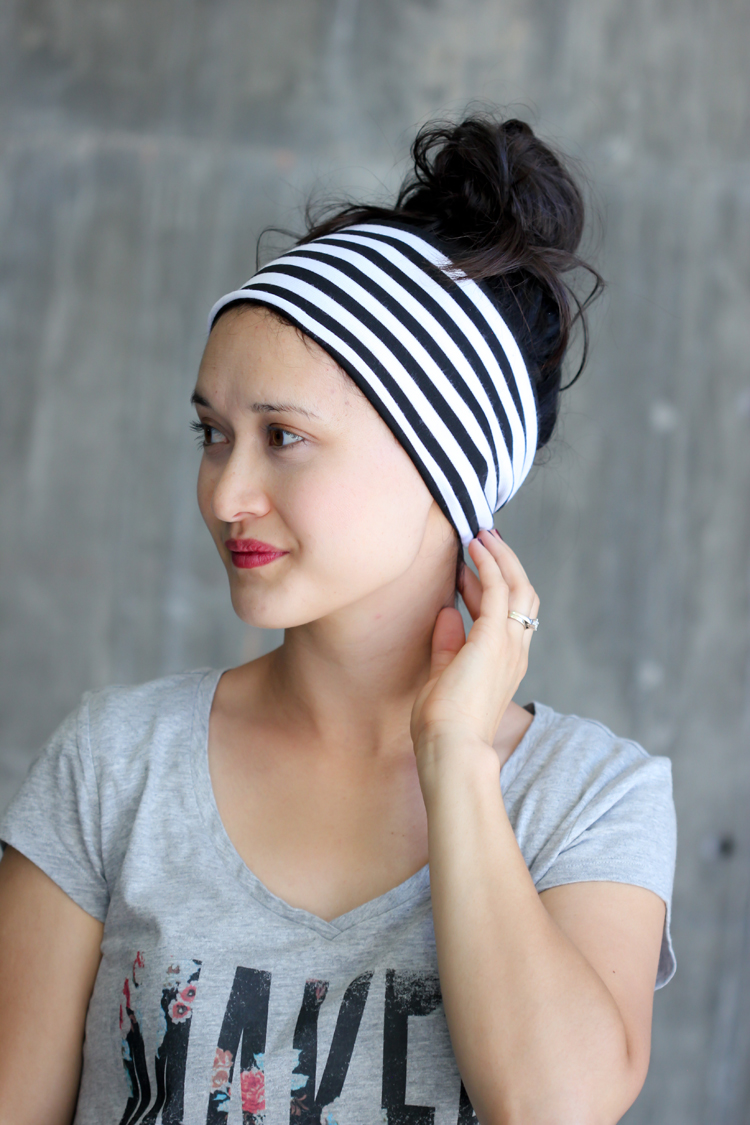
First, measure your head.
LENGTH
Measure around your head from forehead down to the upper part of your neck and then back around.
For a mid weight knit that is a little stretchy but bounces back easily (has good recovery), use your exact measurements. It will end up being a little bit smaller because of the seam allowances, but it will stretch to fit your head nicely. If your knit fabric is really stretchy, consider subtracting an inch from your head measurement. The fabric needs to stretch some to fit your head without falling off.
If you are making the headbands to sell or as a gift, here are general length measurements for a mid weight knit with good recovery:
Toddler = 19″
Girls =20-21″
Womens = 22″
WIDTH
When cutting the width, decide how wide you want it, then double it and add 3/4″ for seam allowance (3/8″ x 2).
You can cut the width of your headwrap band to your preference. If you would like the thick headwrap look, the following is a good guideline:
Toddler = 6 3/4″
Girls = 7 3/4″
Womens = 8 3/4″
Now, let’s sew!
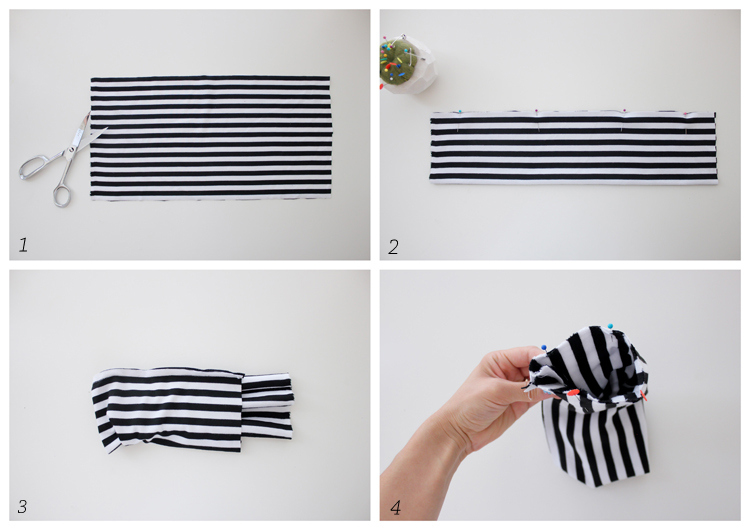 1. Cut fabric (see above)…
2. Fold it lengthwise and pin the long edges together with right sides facing. Sew along long edges with a stretch stitch. I used a narrow modified zig zag stitch. A serger overlock stitch works great as well.
3. Pull out the tube of fabric, you have just sewn, half way so that the two short ends meet with right sides still facing.
4. Make sure the seams line up (so the band won’t be twisted) and pin the short ends together. Sew around leaving a 2 inch opening unsewn. Make sure to back stitch when you start and stop sewing, so that the opening won’t rip open any further when you turn the headband right side out.
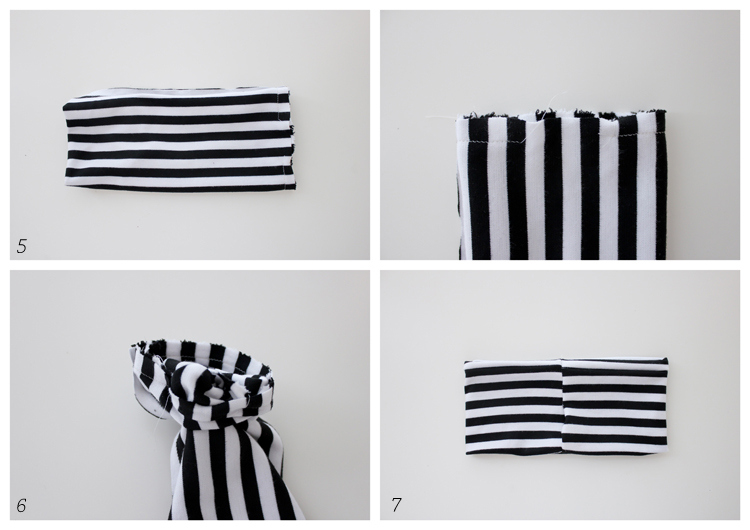 5. This is what your fabric should look like now.
6. Through the opening, pull your headwrap band right side out.
7. Now you’re ready to do some hand sewing. If your pattern/stripes don’t match up quite right, don’t sweat it! You are going to ruche right on the seam and won’t notice it at all when you’re done.
Before we get to that though, we need to thread a hand sewing needle and knot it off.
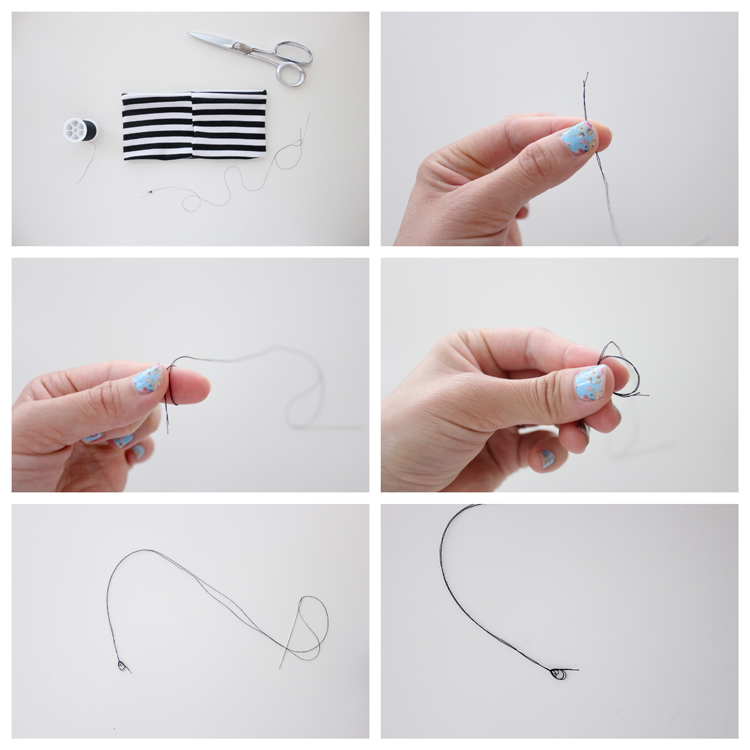 Double up your thread, wrap it around your finger, roll the loop between fingers and pull needle end tight. Ta da! A knot. It’s a messy, chunky knot, but that’s what you want.
Okay, let’s get back to sewing.
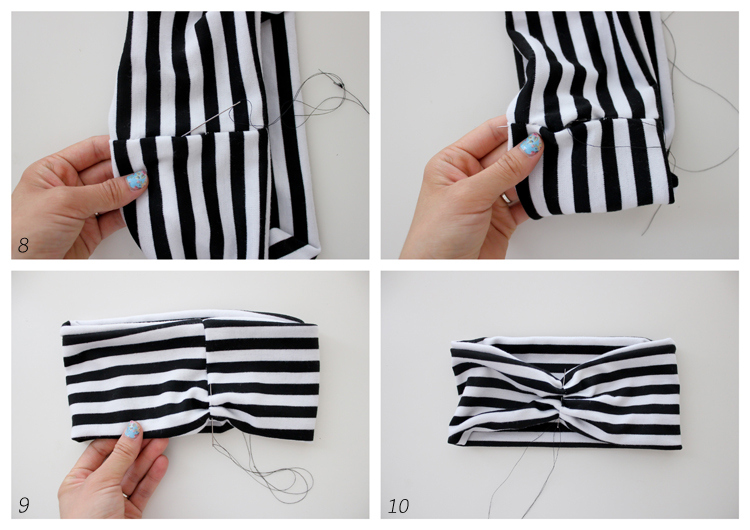 8. Insert your needle into the opening at the seam and push the needle out the side (or really bottom) of the headwrap. The knot should now be encased inside the headwrap.
9. With the needle at the bottom of the headwrap, push it up through the seam of the head wrap, weaving it in and out of all layers of the head band as you go. You also want to close up the opening as you go. To accomplish this, weave back and forth between both sides, just slightly as you weave upward.
10. When you get to the top of the headwrap, turn around and weave it back down the seam in the opposite direction. Repeat this about three or four more times, until the headwrap is securely ruched or gathered. Knot it off in a discreet spot and clip your ends.
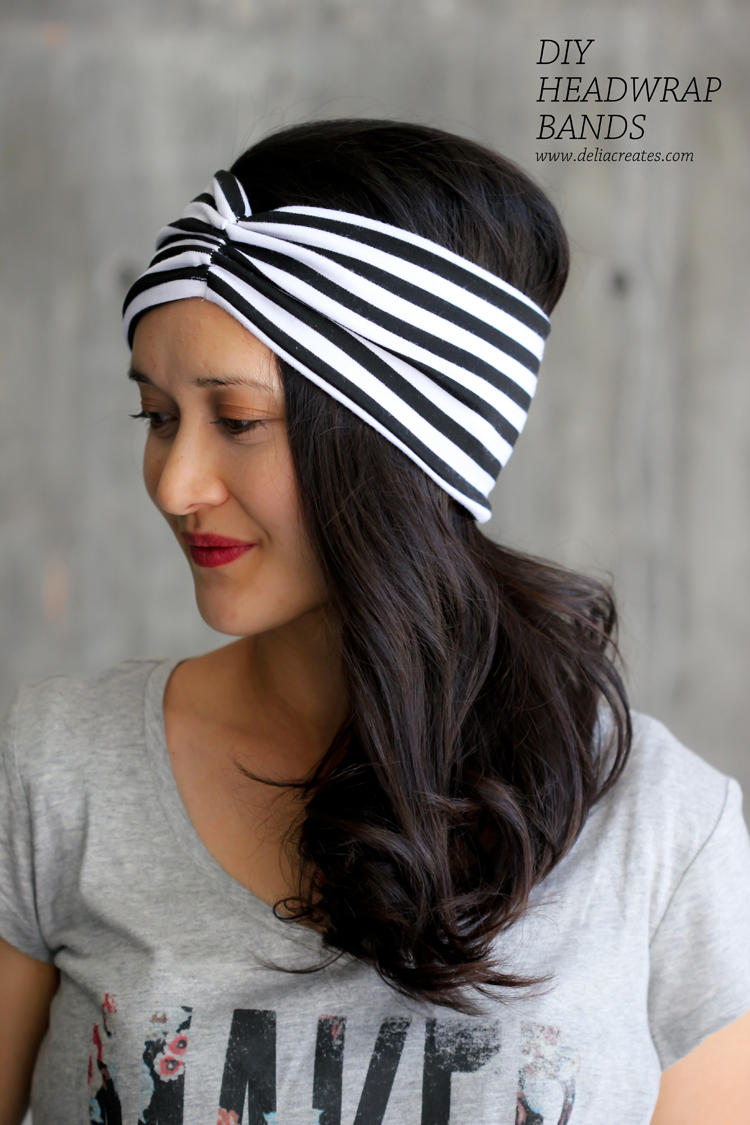
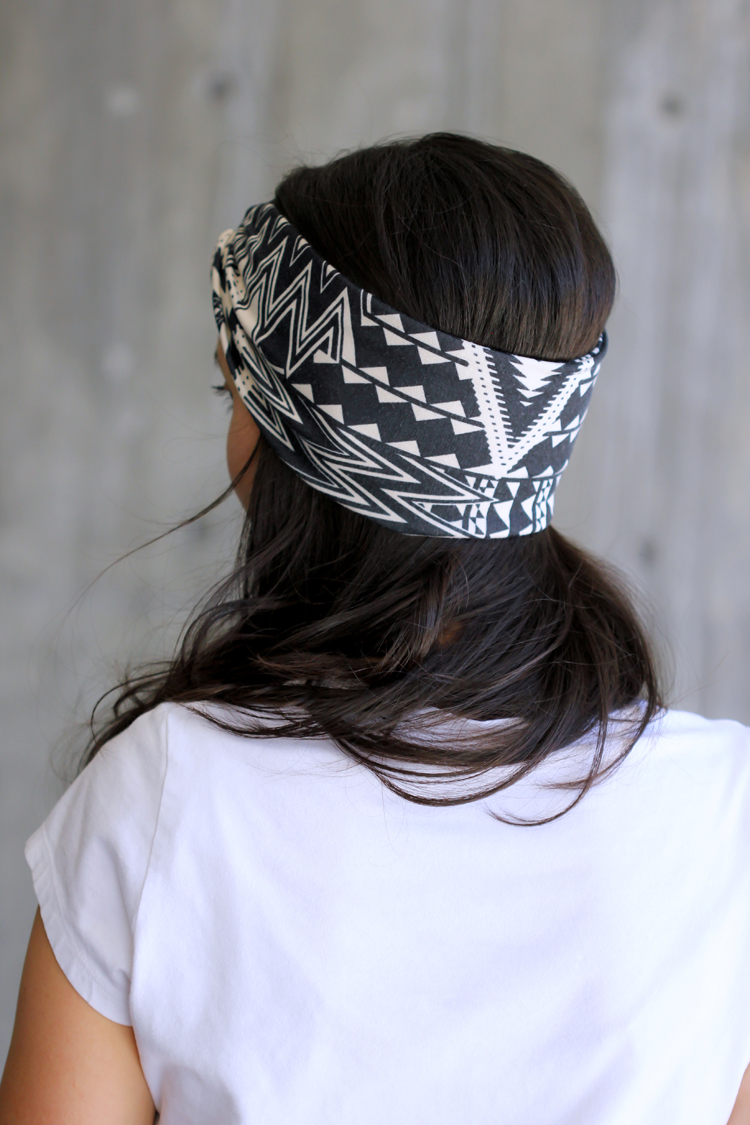
Headwrap band done and ready to wear!
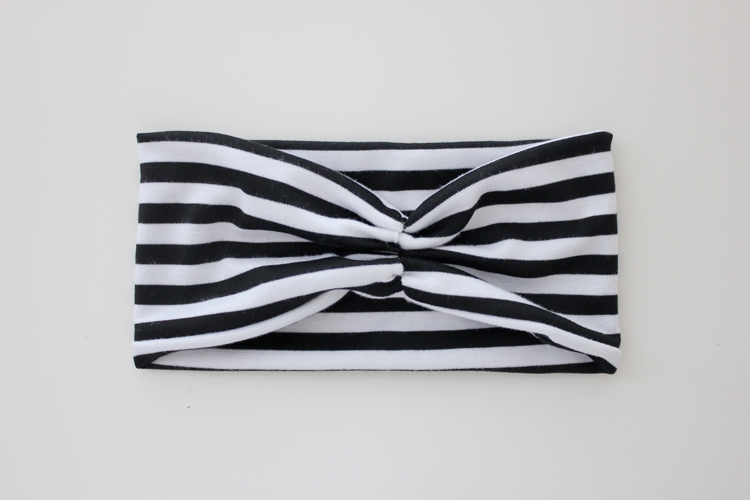
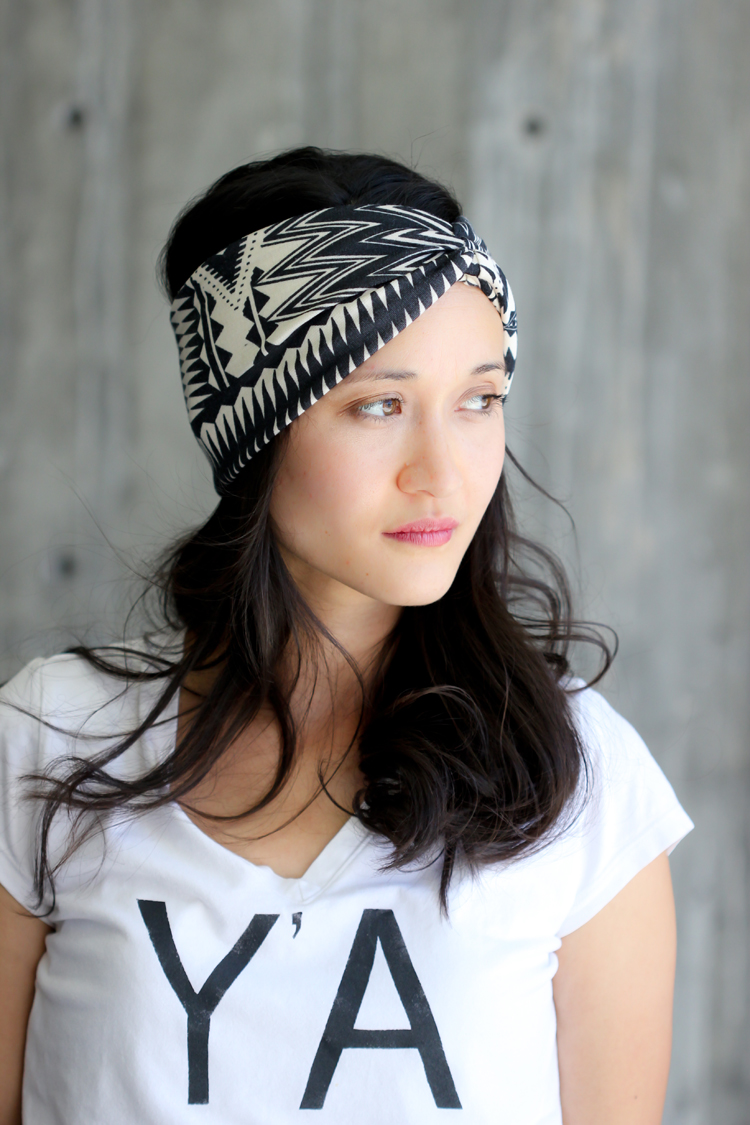
 You can wear the ruching in the front, or flip it to the back so the front has a smooth look.
I am still experimenting with it myself. I was surprised at how warm it made me feel. So, even though I think a lot of people wear headwraps in hot weather, I just can’t stand it. 😉
I’ll definitely headwrap it up come Fall and Winter though!
 I absolutely adore the headwraps on Natalie…especially with her hair down. She still has an unruly mullety mop of curls, but the headwrap band tames it nicely into a cute little ‘do.
Sources: Headwrap Knit fabric – Ponte de Roma knits from Girl Charlee || DIY Graphic shirts (on me) – tutorial HERE || Natalie’s Denim Shirt – Carter’s || Leggings – Go To Leggings pattern || Leather Moccasins – Freshly Picked
Never go to a party late unless you have someone to go with. *wave* I’ll go with you!!
Yours are so cute! and your daughter <3
I am trying these tomorrow!
oops. please add a “you” after ‘with.’ 😉
haha…you’re rad. Thanks Kerrie!
Love it!! I’ve got a Craft Gossip post scheduled for this afternoon that links to your tutorial:
http://sewing.craftgossip.com/tutorial-diy-knit-fabric-headwrap/2014/08/29/
–Anne
Awesome. Thanks Anne!
Wow! Thanks for doing all the math 🙂 These are so cute!
Thanks Kathleen!
Hi is there a way of making these without knit fabric is have none
Could i use elastic some how
I’m sure you could come with something with woven fabric and elastic. Is that what you mean? It wouldn’t work with this tutorial, but I am sure there are great tutorials for something like that.
Ummm this was SUPER easy to make and I LOOOOOVE IT! It’s going on my blog! Thanks! My girls love their’s.
I’m so happy to hear that you like the tutorial! <3