

Even though this one is not to be confused with the other double crochet beret I shared in my Crochet Basics Series, it is still very much beginner friendly!

Using only double crochet stitches, chains, and slip stitches, this beret is worked in the round and topped off with a cute little loop in the center made from the starting chain.
I am not the fastest crocheter, and I’d say this took me about 3 hours. That’s with filming included. Not bad! So if you’re looking for a weekend project… 😉
Let’s get started!
Materials
- About 60 g or 115 yards of worsted weight yarn *
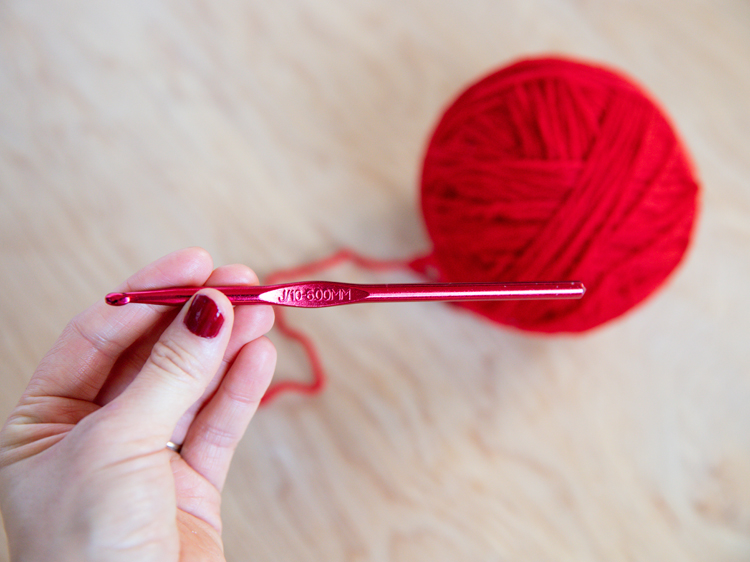
- J or 6.00 mm hook
- scissors and yarn needle
Material Notes
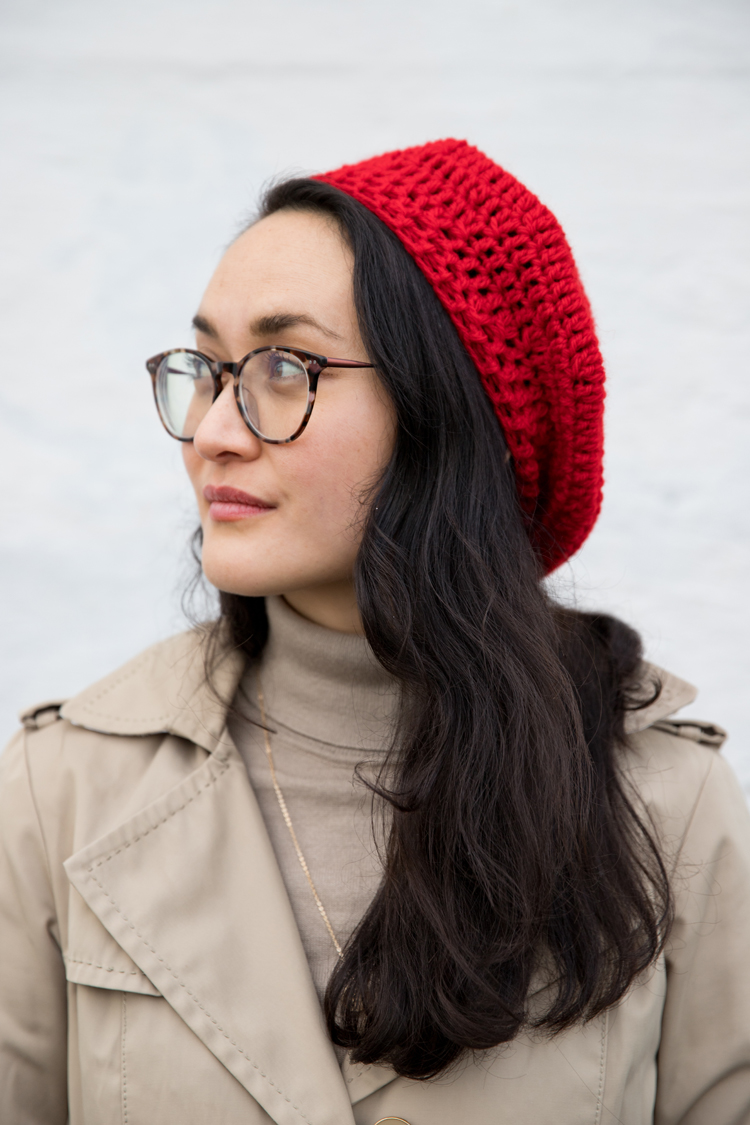
*I prefer the matte finish of wool yarn, so I used Patons Classic Wool yarn in Bright Red. I usually steer clear from 100% wool when making hats because they make me sooo itchy, but because berets mostly sit on the top of my head (and hair), it doesn’t touch skin too much and it doesn’t bother me.
Abbreviations
- ch = chain
- dc = double crochet
- sl st = slip stitch
Gauge & Measurements
2 x 2 inch square = 6 dc x 3.5 rows
This hat is one size fits most and should comfortably fit a head circumference up to 23.5 inches. If your head is larger, you may want to consider going up a hook size, or subtracting one round of decreasing stitches. The finished hat is about 10.75 inches in diameter.
Video Tutorial
If the video hasn’t popped to the top of side of your screen, it should be able to be viewed here.
I walk you through each round, but if you want something even slower and more detailed, check out this easier beret tutorial from my Crochet Basics Series.
Please note, that it will show after the initial ads. Music is by Pleasant Pictures Music Club.
Written Pattern & Tutorial
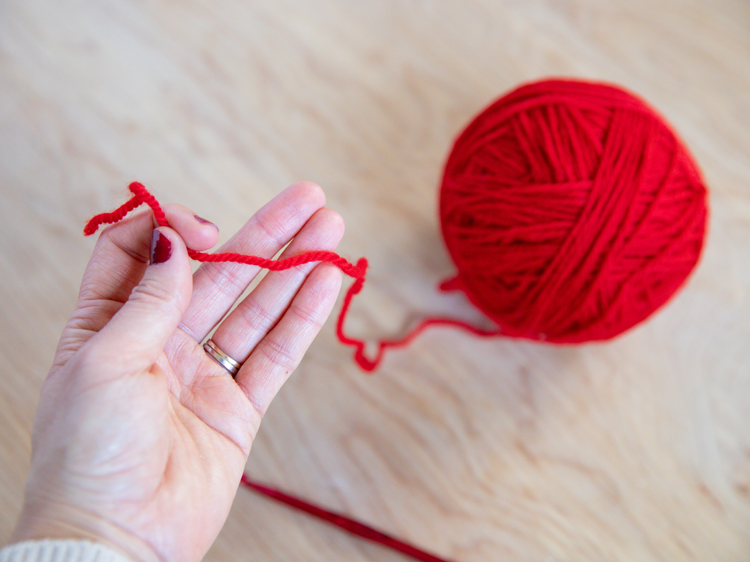
Create a magic ring. This is a slip knot, but you keep it open and then slip your hook into the loop at the top of it.
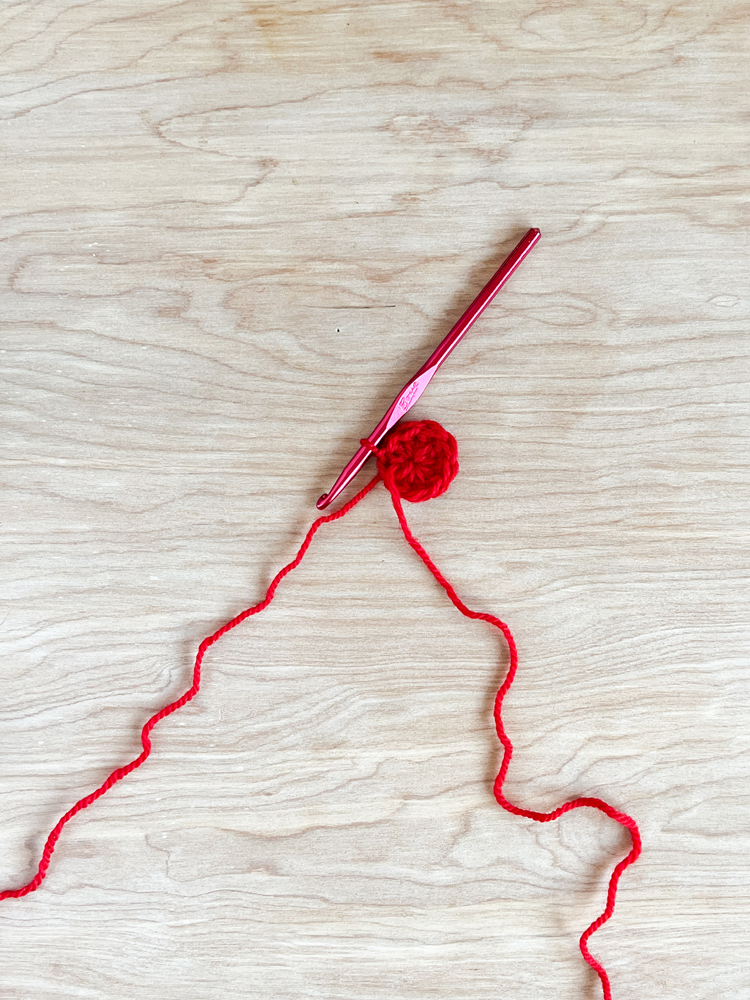
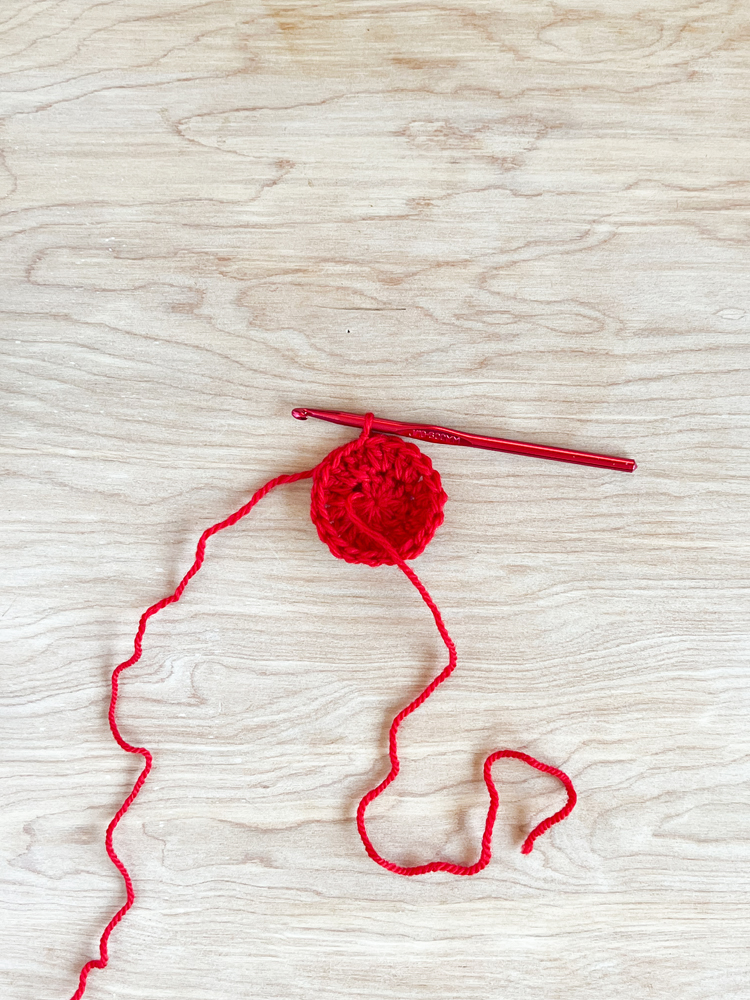

Round 1: Chain 2 (the beginning ch 2 always counts as one double crochet stitch), then work 9 dc into the open slip knot or magic ring. Pull on the tail to close up the magic ring until it pulls the stitches in a circle. Slip stitch to the top of the ch 2 to complete the round. (Stitch Count = 10)
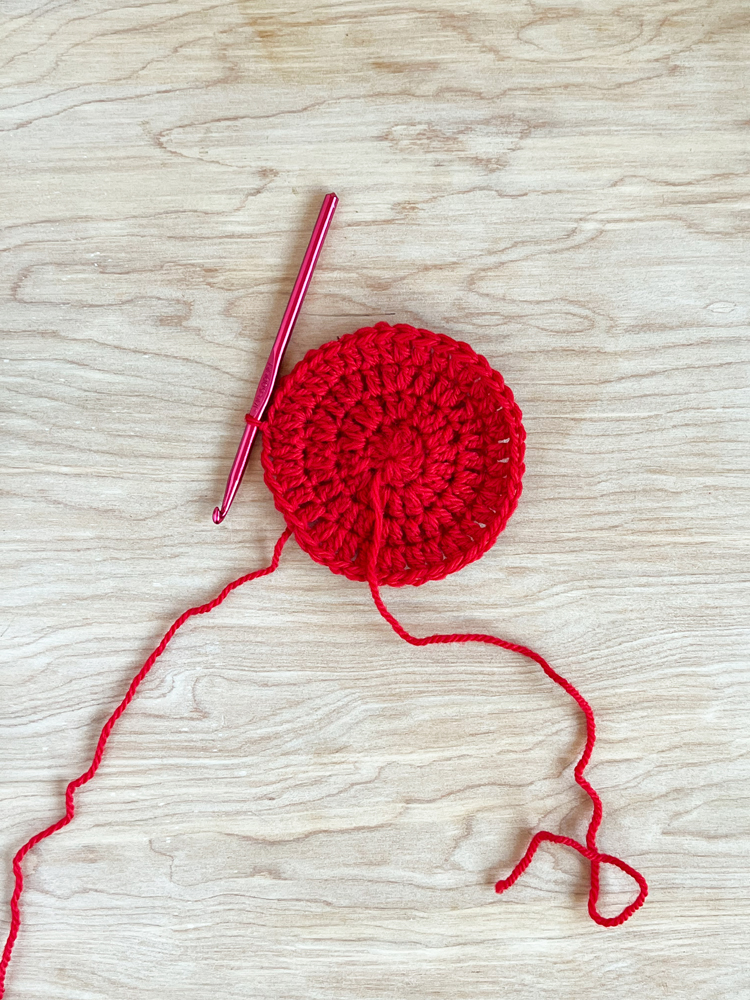
Round 2: Ch 2. Work a dc at the base of the ch 2. Work 2 dc in the next stitch. Continue working 2 dc in each stitch in the round. Sl st to the top of the ch 2. (20)
Round 3: Ch 2. Work 2 dc in the next stitch. Continue the pattern of working 1 dc and then 2 dc in the next, 9 more times. Sl st to the top of the ch 2. (30)
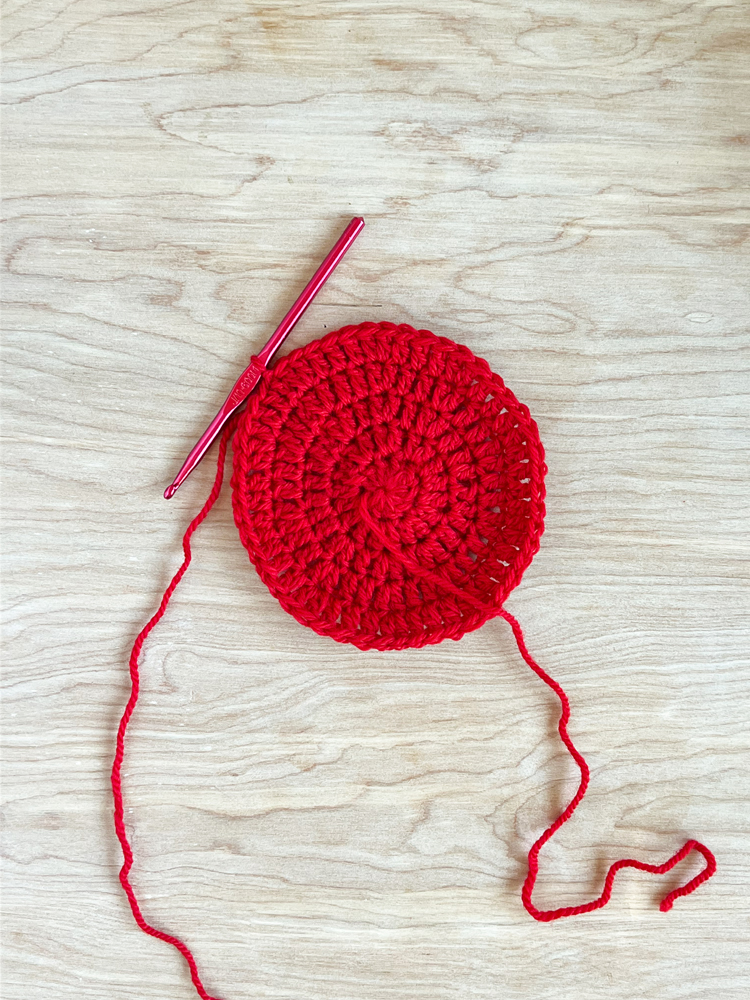
Round 4: Ch 2. Work 1 dc, then work 2 dc in the next stitch. Continue the pattern of working 1 dc, 1 dc, and then 2 dc in the next, 9 more times. Sl st to the top of the ch 2. (40)
Round 5: Ch 2. Work 1 dc, 1 dc, then work 2 dc in the next stitch. Continue the pattern of working 3 regular/singular dc and then 2 dc in the next, 9 more times. Sl st to the top of the ch 2. (50)
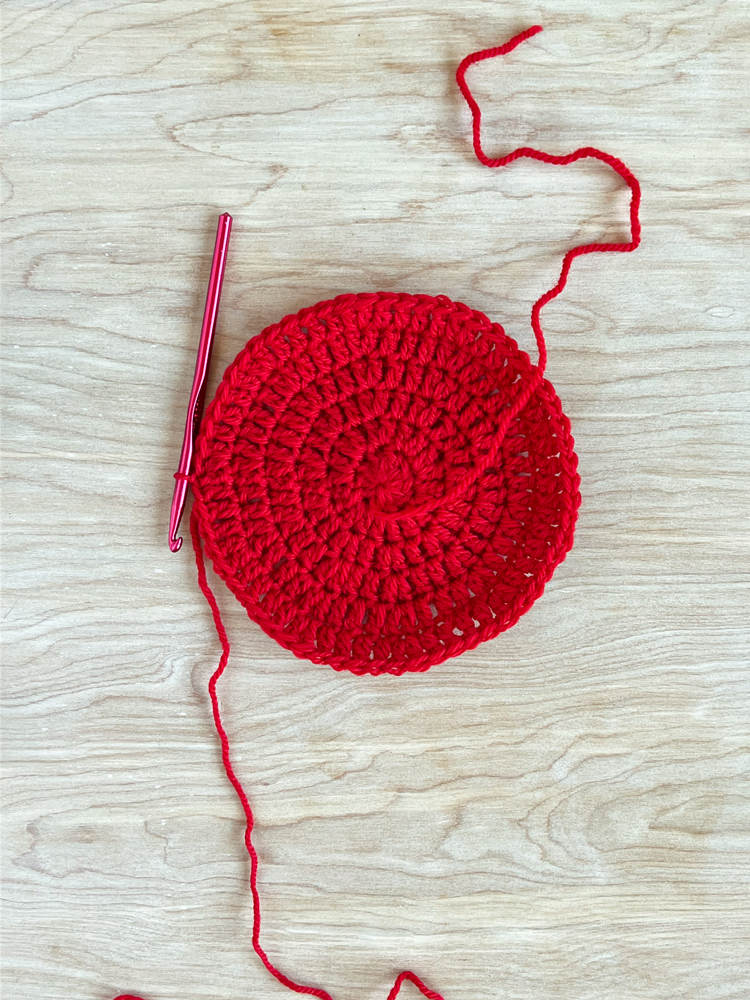
Round 6: Ch 2. Work 3 singular dc then work 2 dc in the next stitch. Continue the pattern of working 4 singular dc and then 2 dc in the next, 9 more times. Sl st to the top of the ch 2. (60)
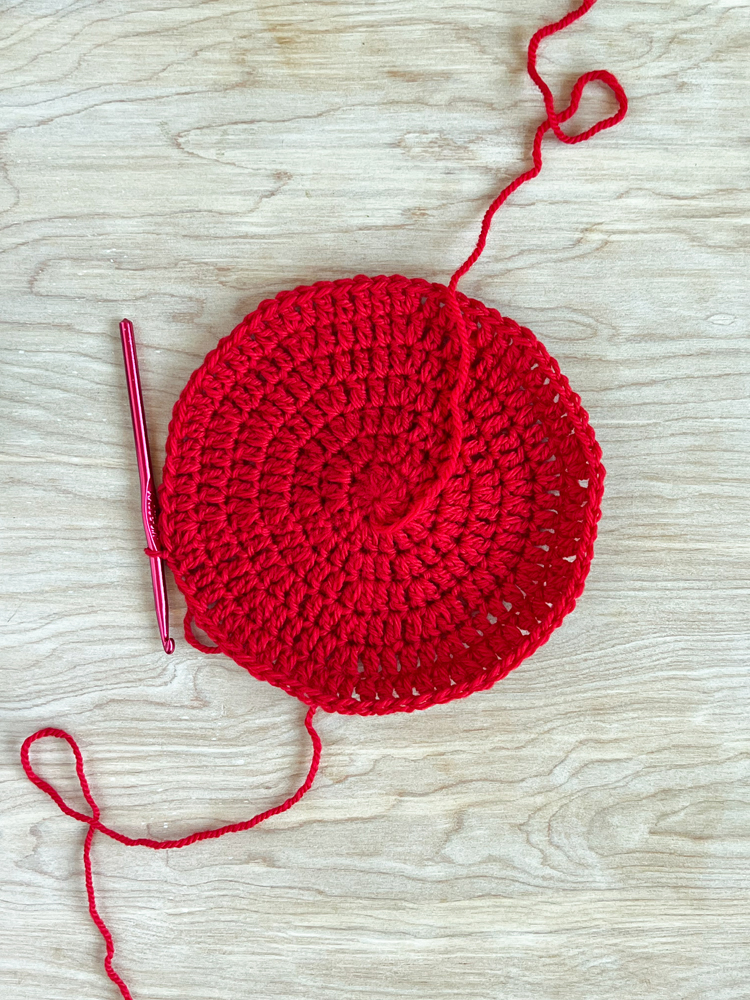

Round 7: Ch 2. Work 4 singular dc, then work 2 dc in the next stitch. Continue the pattern of working 5 regular/singular dc and then 2 dc in the next, 9 more times. Sl st to the top of the ch 2. (70)
Round 8: Ch 2. Work 5 singular dc, then work 2 dc in the next stitch. Continue the pattern of working 6 regular/singular dc and then 2 dc in the next, 9 more times. Sl st to the top of the ch 2. (80)
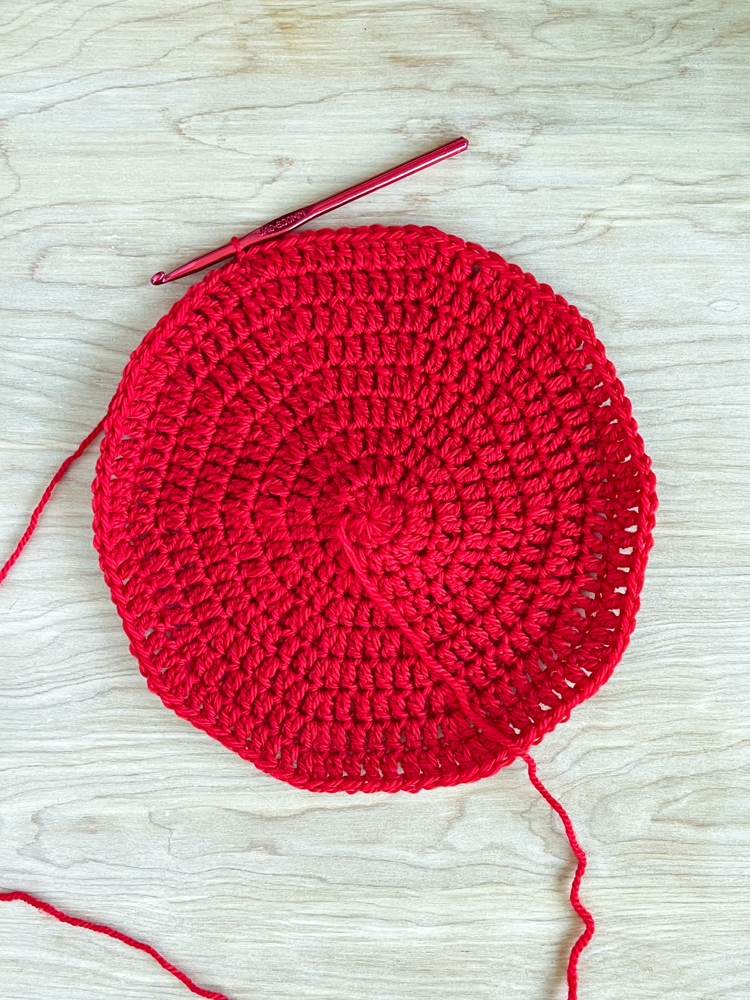
Round 9: Ch 2. Work 6 singular dc, then work 2 dc in the next stitch. Continue the pattern of working 7 regular/singular dc and then 2 dc in the next, 9 more times. Sl st to the top of the ch 2. (90)
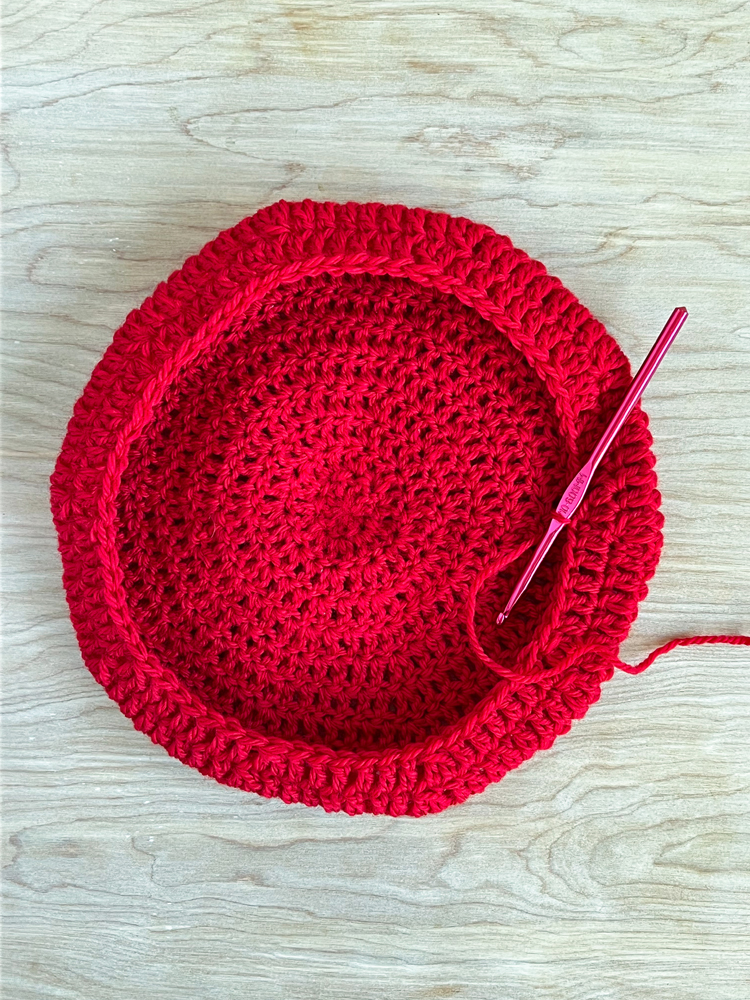
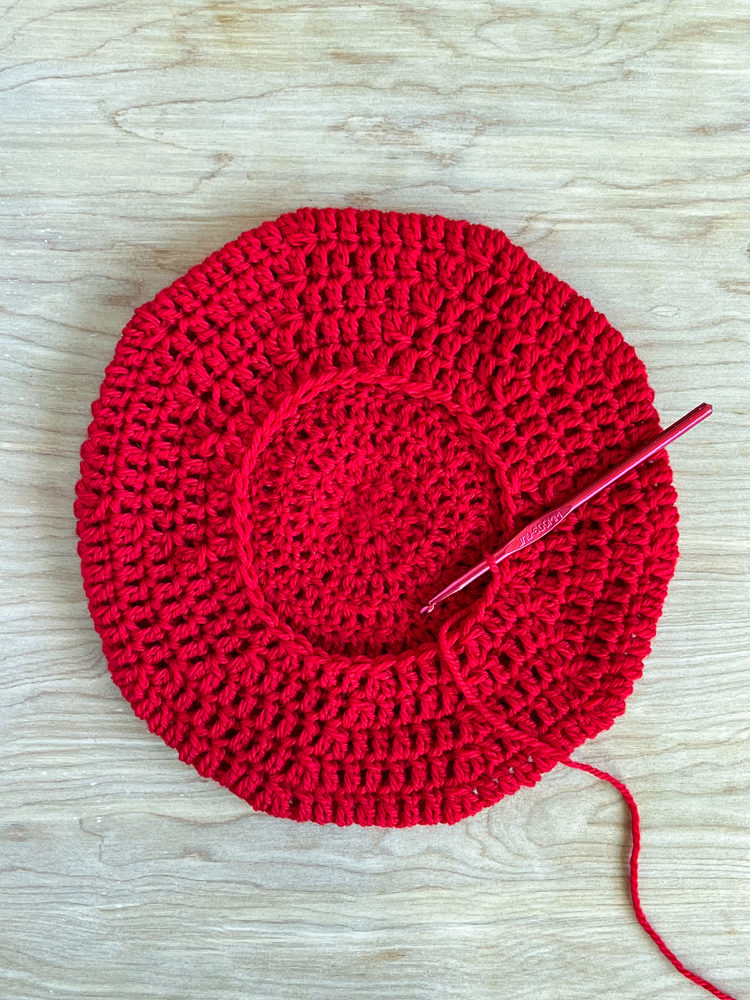
Round 10: Ch 2. Work 1 dc in each stitch in the round. Sl st to the top of the ch 2. (90)
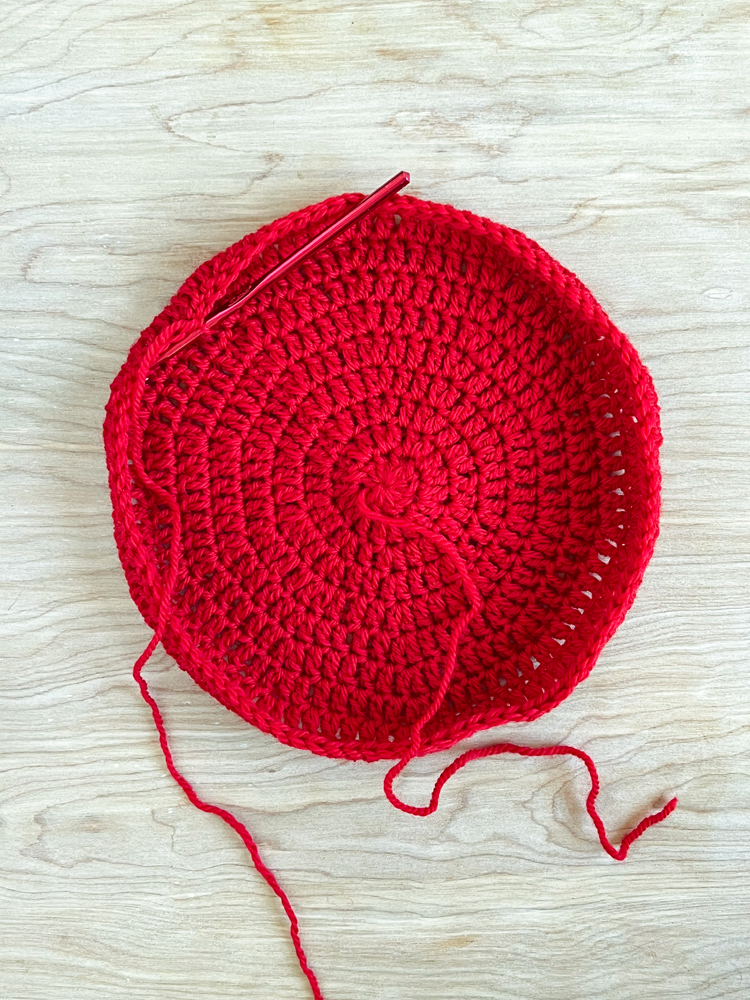
Now that the sides are starting to curl inward, turn the hat right side out and work on it from the outside. (See the video for clarification if needed).
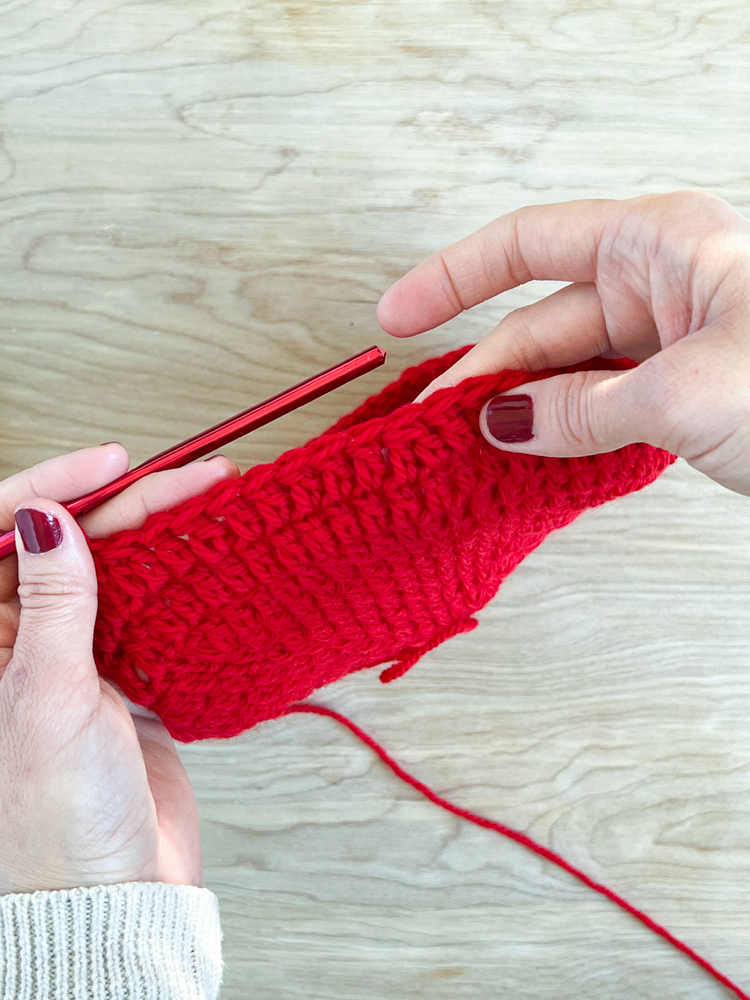
Round 11: Ch 2. Work 6 singular dc, then work a decreasing dc (combine two stitches together – see the video for more instruction). Continue the pattern of working 7 singular dc and then 1 decreasing dc, 9 more times. Sl st to the top of the ch 2. (80)
Round 12: Ch 2. Work 5 singular dc, and then work a decreasing dc. Continue the pattern of working 6 singular dc and then 1 decreasing dc, 9 more times. Sl st to the top of the ch 2. (70)
Round 13: Ch 2. Work 4 singular dc, and then work a decreasing dc. Continue the pattern of working 5 singular dc and then 1 decreasing dc, 9 more times. Sl st to the top of the ch 2. (60)
Round 14: Ch 2. Work 3 singular dc, and then work a decreasing dc. Continue the pattern of working 4 singular dc and then 1 decreasing dc, 9 more times. Sl st to the top of the ch 2. (50)
Round 15: Ch 2. Work 2 singular dc, and then work a decreasing dc. Continue the pattern of working 3 singular dc and then 1 decreasing dc, 9 more times. Sl st to the top of the ch 2. (40)
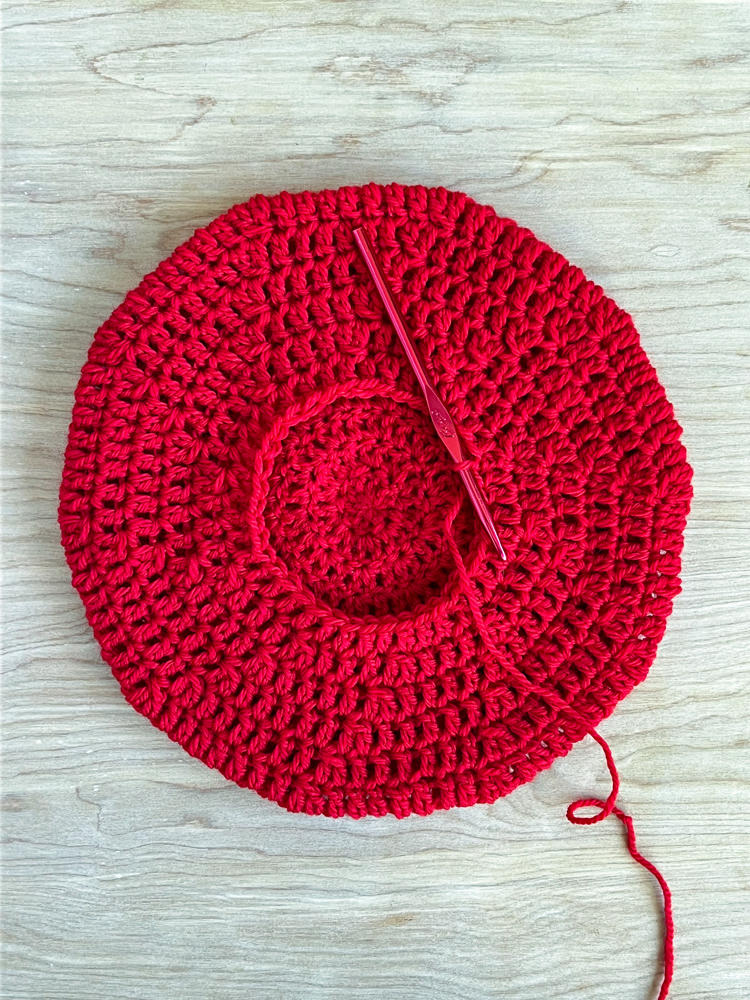
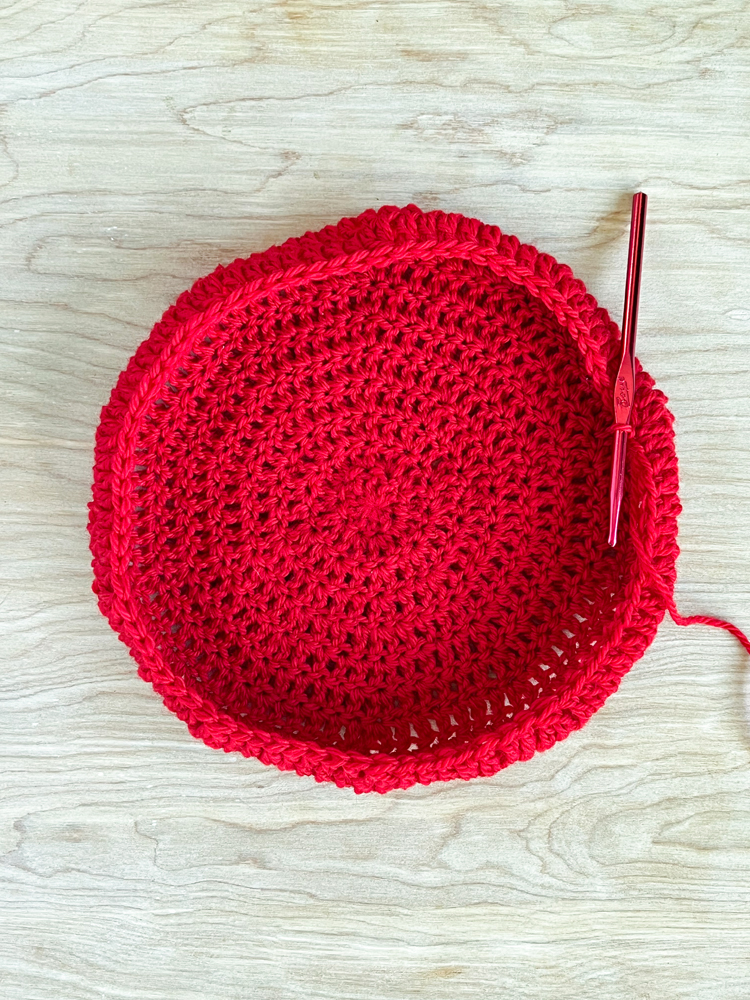
Round 16: Ch 2. Work 1 dc in each stitch in the round. Sl st to the top of the ch 2. (40)
Tie off your end and weave in the tail.
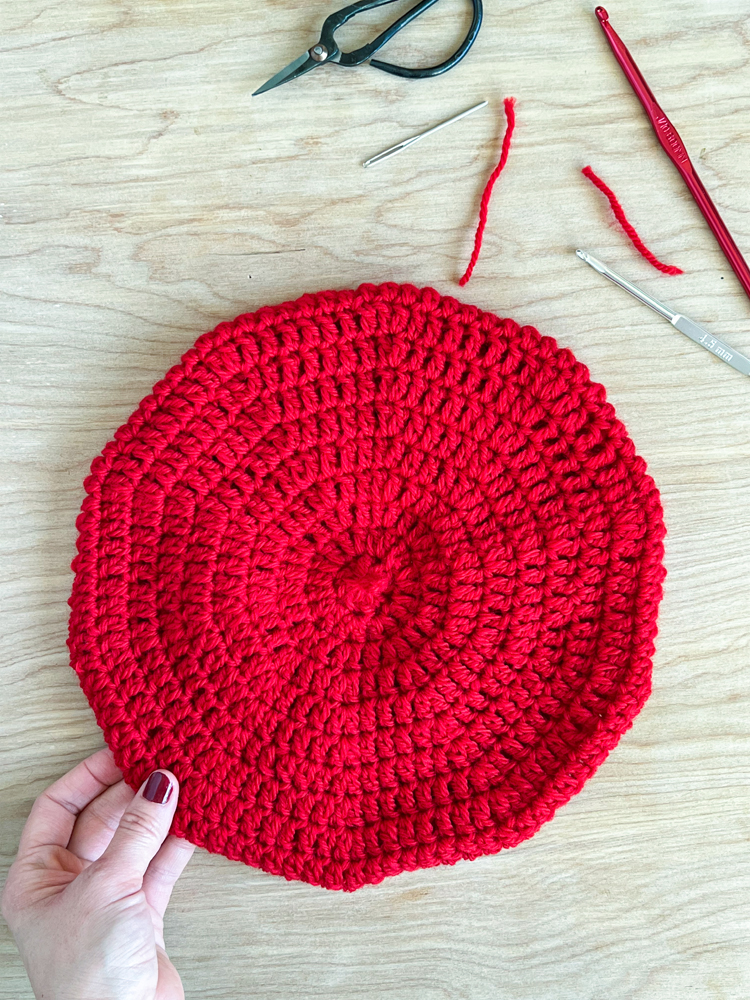
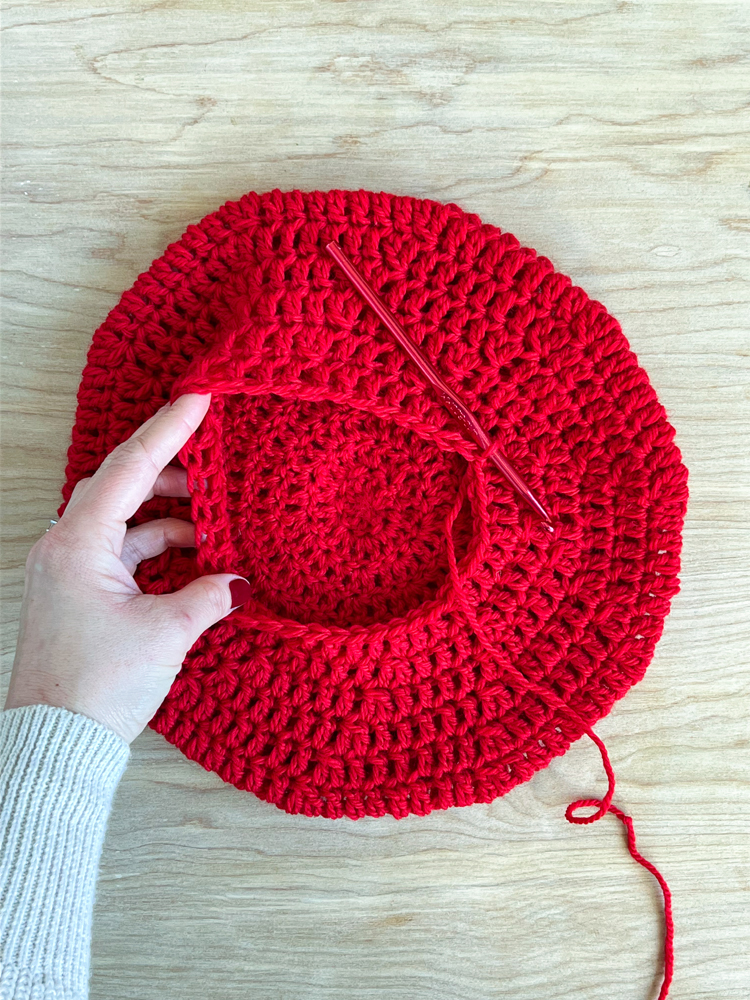
Now take the beginning tail at the center of the hat and turn it into the little loop that goes on the top of a beret.
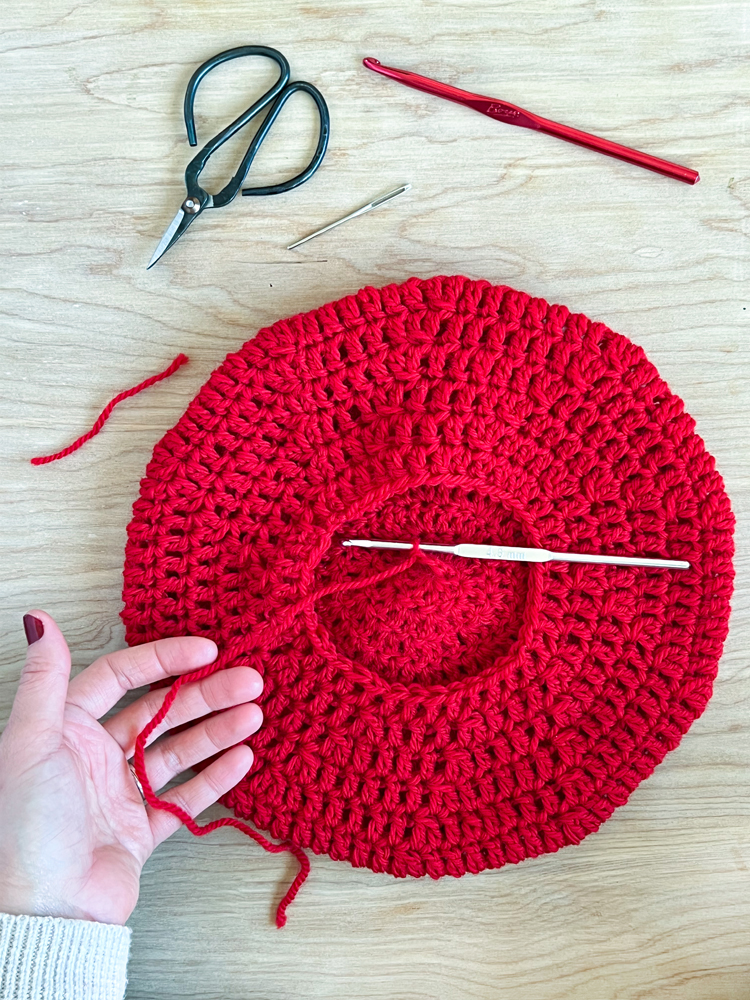
Pull the tail into the inside of the hat. Take a smaller hook, size doesn’t matter, you just want the chains to be little, so a smaller hook helps achieve that. Insert the smaller hook into a couple of the center stitches and pull the tail up into a loop. From there chain 7-8 times, just enough for it to be able to fold down to create the loop.
Then pull the chained loop through the center hole to the top of the hat. Don’t pull it all the way through. Use a yarn needle to weave in the rest of the tail into the inside/underside of the hat which secures the loop and cleans up the tail.
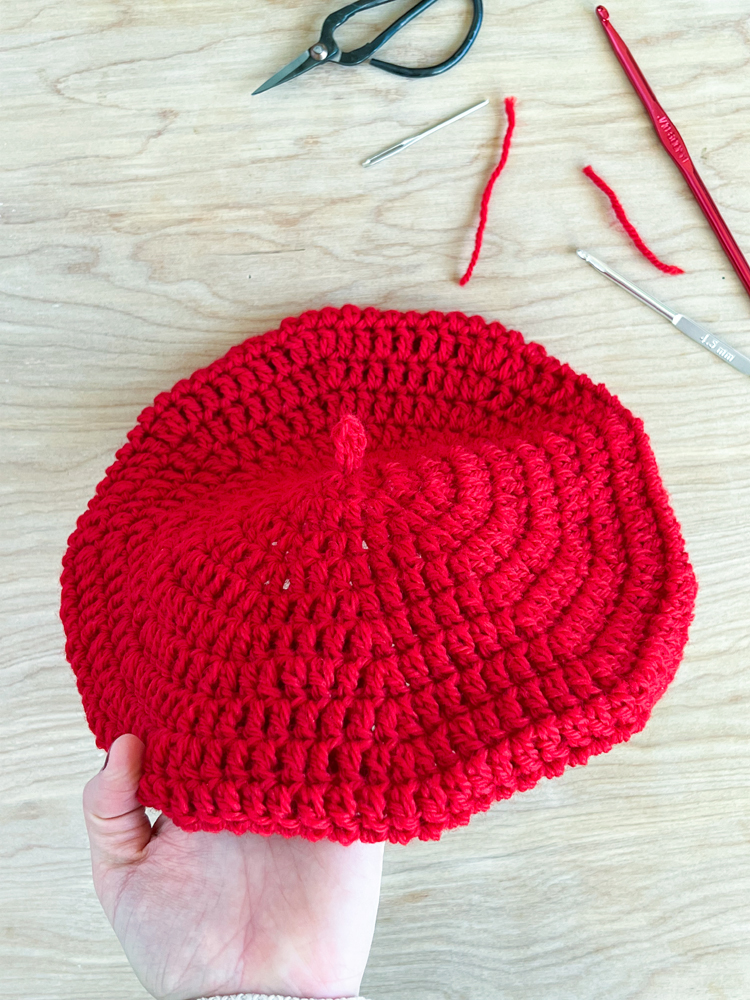
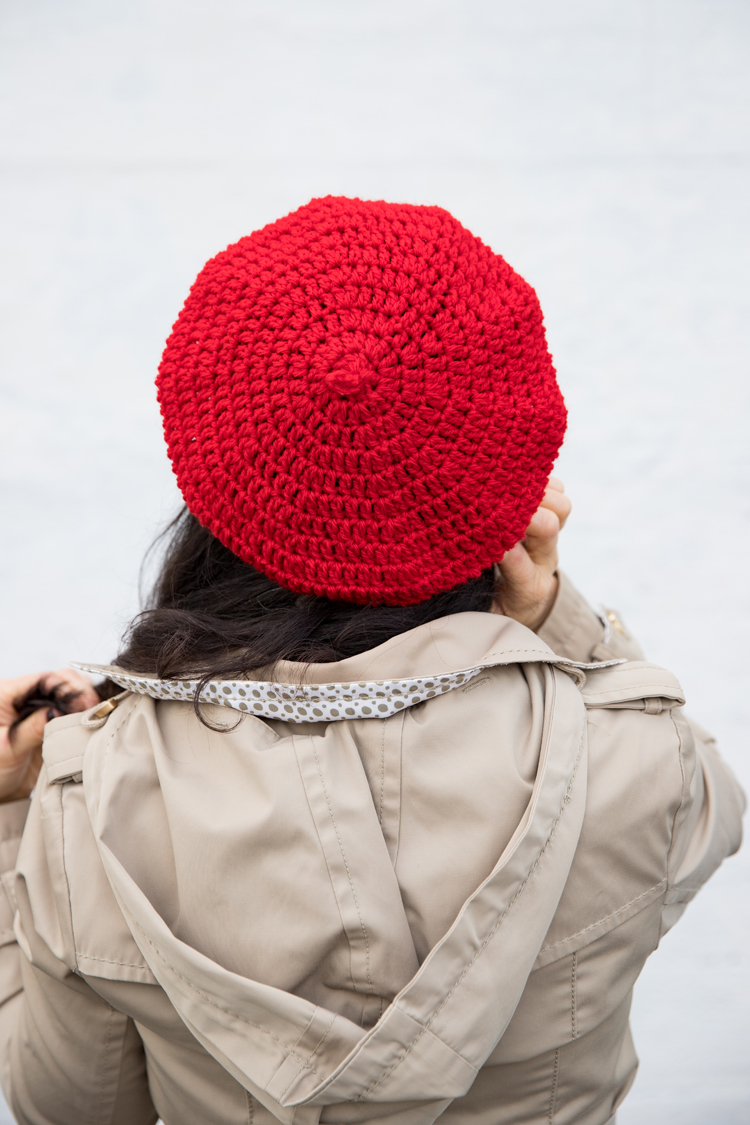
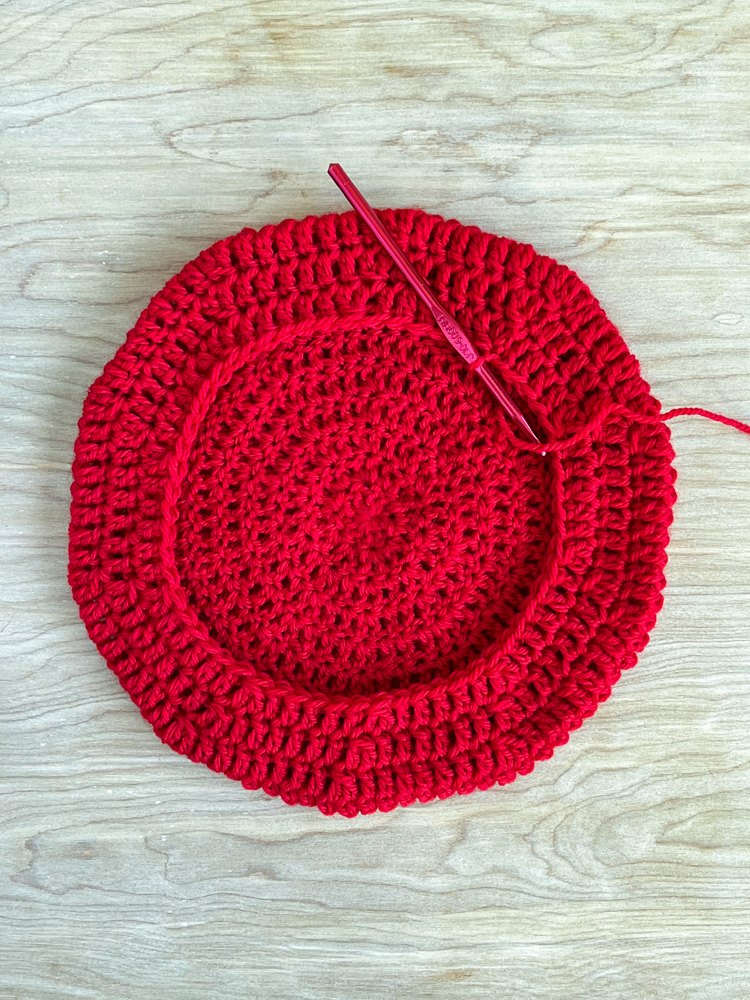
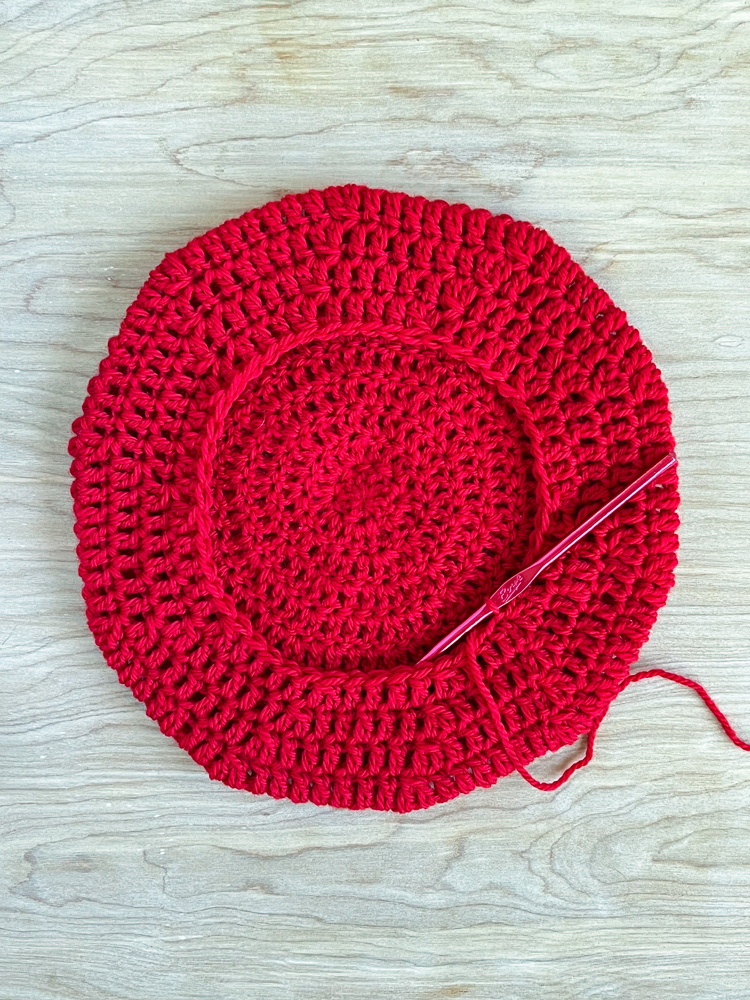
The hat opening is going to look small, but I promise that it will open up and the last round you worked will act as a sort of headband/brim.
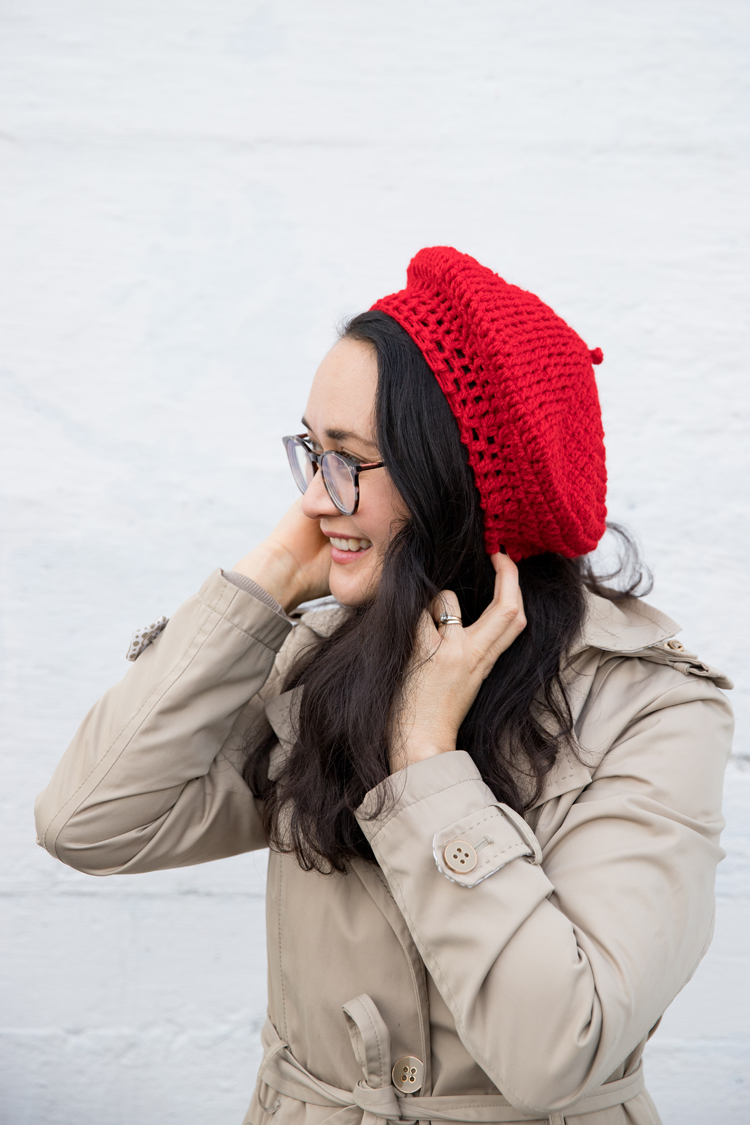
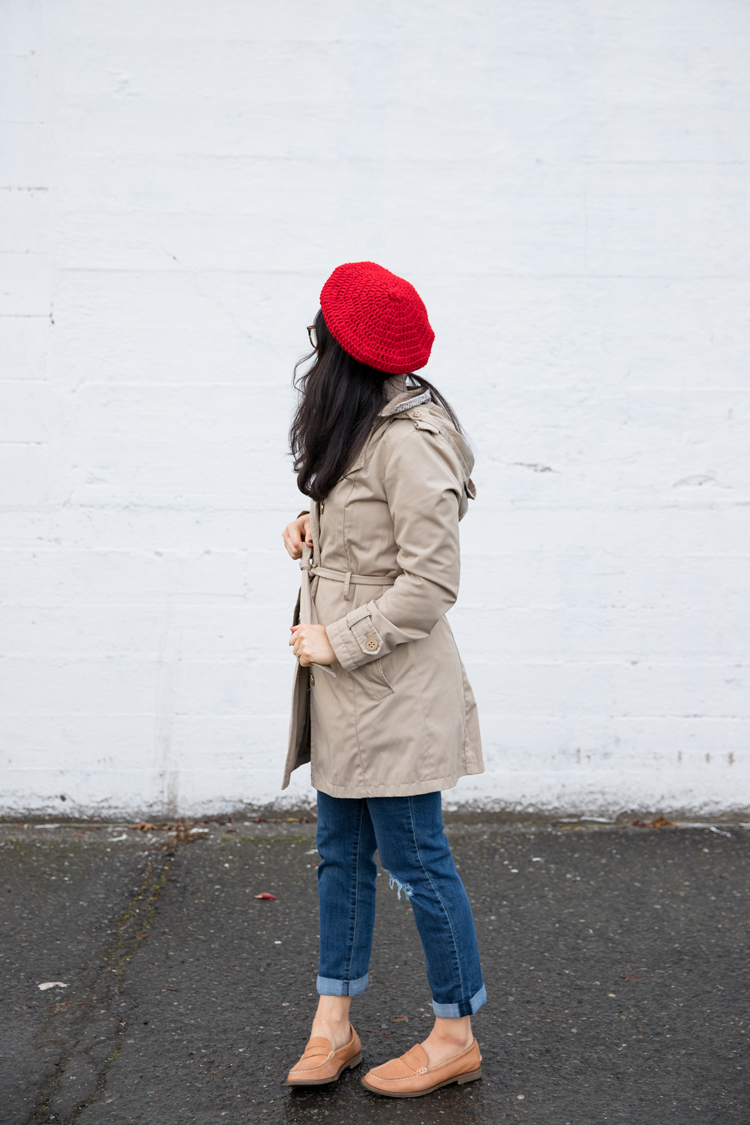
And you’re done!

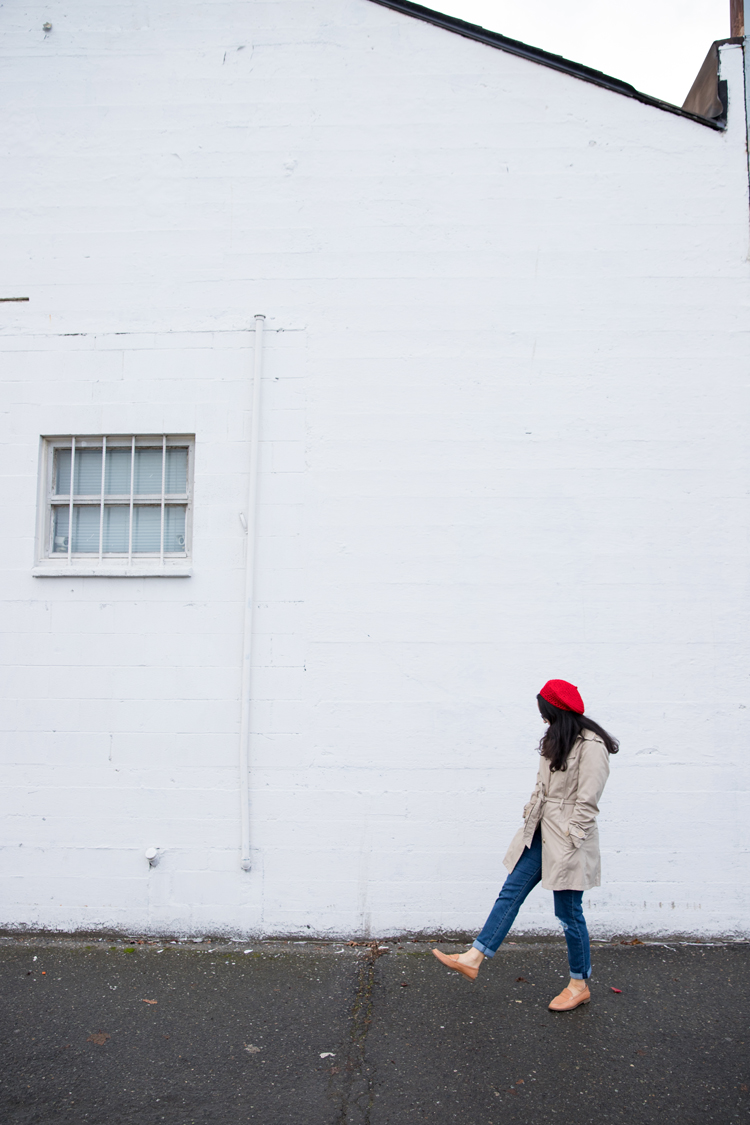
I love how warm and comfortable it is. It feels like a beanie, but with a little extra polish.
I usually sew a holiday dress around this time, but this year I didn’t feel up to it. So I’m counting this beret as my holiday outfit! 😉
For more crochet projects check out my list of free tutorials and patterns HERE.
I just made this hat for an adult woman. The instructions are great only it’s way to small. Can you explain how to make it larger?
So sorry that I just saw this comment. Do you mind if I ask what your gauge is? It could be that your tension is tighter. If so, going up a hook size can help. Yarn type can also impact the sizing.
I don’t see a print option. C
Where do I go to print instructions. Thank you
My apologies but I don’t have a print option at this time. You are welcome to copy and paste the pattern into a word document for personal use.
I like the pattern, but your video needs speed control; it is way too fast to follow along. So I tried working through the directions, but there were so many pop-ups and ads that the page reloaded. I finally stopped and started the video every few seconds to make a friend a gift, and it was way too small. So I frogged it. I used the size hook you suggested for 4-weighted cotton yarn, resulting in the stitches being too open, so I reduced the size hook to accommodate and am working on it now – assuming I will need to add additional rows before I start reducing ( I guess.) Is the video available on YouTube because there is an option to slow the playback down on most YT vids? Just wondering.
Terry,
I am so sorry you had trouble with the video and pattern. I currently only host my videos on my website. I edit them so that they focus on the skills and any tricky parts that need more instruction but then speed through or skip through the redundant parts. I am able to share this content for free because of the ads on my site. You can click on the video to make it larger/full size, which should make it so the page ads don’t bother you as much. I’m not sure if it will help with why your page reloaded though.
As for the sizing issue…I noticed you said “cotton” yarn. The fiber content of the yarn can make a big difference in gauge and sizing. I wrote this pattern for a wool yarn. Cotton yarn usually tends to have more drape and a larger/more open gauge when worked with the same size hook as wool yarn, even if they are the same size. I’m curious why it ended up too small with the stitches being too open.
I am happy to help trouble shoot with you what might have happened. I am always available through Instagram direct message (I’m @deliacreates over there). I like communicating that way because we can share video and photos back and forth to aid in the trouble shooting. I also give faster responses there.
Delia
Thank you!!! Just made it last night and it’s beautiful! Fits perfect!
That makes me so happy!
I love this beret!!! I made my first one on my last break at work one Saturday and wore it to church on Sunday. I received so many compliments and have made three more! I am making this my winter wardrobe staple. I have a question, any ideas on how I can insert a satin fabric lining?
That makes me so happy to hear! <3
You can stitch the edges and the center of the inside of the beret in order to to have a satin fabric lining. I am wondering is this to make hair frizz less?
I am a proud owner of a small crochet business named Haven Loops. If you would take the pleasure to check out my page on Instagram, that would be awesome!
From a fellow crocheter to another, happy crafting! 🙂
Hi! When you say it’s for a head circumference up to 23.5 inches, how are you measuring that? Above the eyebrows, mid forehead, or?? I always need a large/X-large hat, so want to make sure I end up with the correct size beret.
Any other sizing tips you can offer would be appreciated.
Great question! I measure around mid forehead, above the eye brows. I hope that helps. So sorry that I just now saw your comment.
Beautiful pattern – exactly what i was looking for this Winter. Many thanks
You are most welcome. I hope you enjoy the pattern!
This is cool I liked it when you have it on somebody.
Thanks Emma!
I started crocheting 3 days ago and made this my first ever project. It turned out too small as I had completely skipped over the gauge, not knowing what it is, but that’s my fault. Other than that it was really easy to follow along!
That is amazing that this was your first ever project. I am so impressed! Thank you for your kind comment.
I love this pattern! It’s so simple, and yet so cute! My daughters have recently taken up crochet, and I’m scoping out a project to do with them. I think this is it! Quick question since I’m a total newbie—I would love to use this yarn (https://www.hobbylobby.com/yarn-needle-art/yarn-tools/yarn/yarn-bee-velvety-smooth-sparkle-yarn/p/80997254) and I see that the recommended crochet hook size is about the same as for your pattern, so I’m guessing the gauge is similar too? In your opinion, would this yarn be a good choice? Worth a try? Thanks!
Aw thanks! That yarn should work great – how cute will it be in velvet! If you are worried about sizing, just be sure our gauges match. If it’s too small, go up a hook size to loosen the stitches up. If it’s too large, go down a hook size to tighten things up. The yarn you linked is the same weight as what I used so it *should* be able to work with no changes. The smooth velvet may affect things though.
Wonderful! Thank you for your input and tips! If this goes well, next up will be a matching scarf from your site. 🙂 Thank you, Delia!
Blessings,
~Melissa