

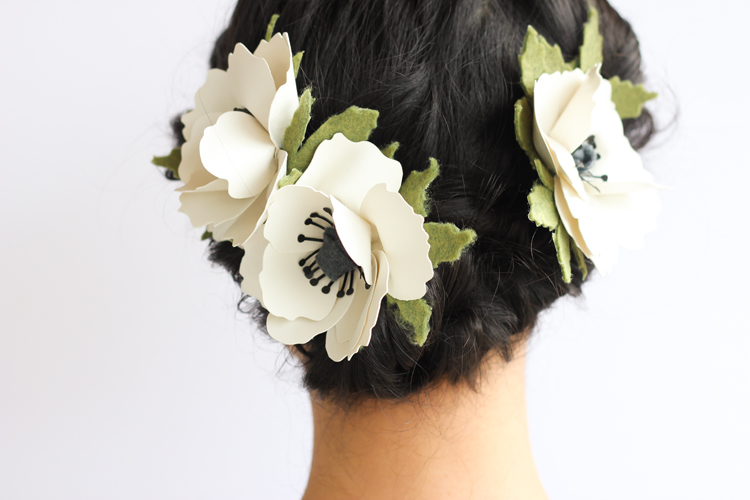
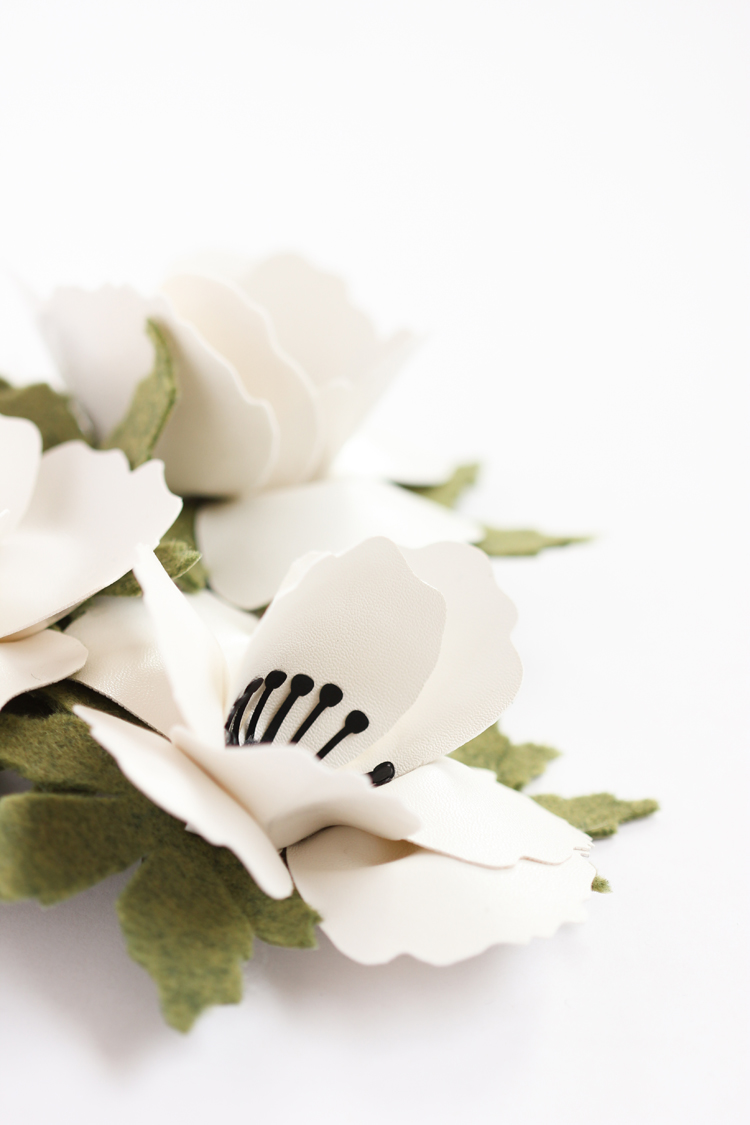
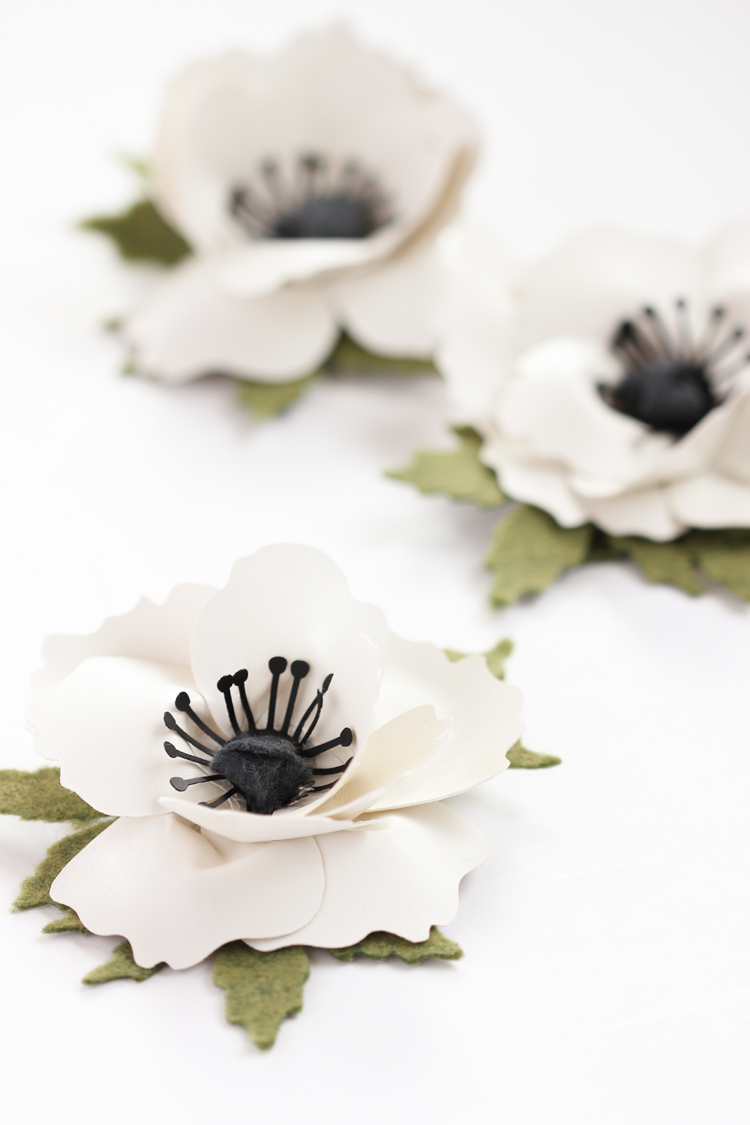
I’m really excited about today’s post because it’s about making one of my favorite spring flowers, anemones!… without all the cutting. If you’ve ever made felt flowers you know what I mean. There is soooo much cutting. Cutting easily takes twice as long as gluing the flower together.
Technically, you still have to do some cutting, but I figured out how to get my Silhouette to do most of the work.
I started out trying to get my cutting machine to cut felt. I’ve googled it, watched videos, and read tutorials. I know it can be done. But it’s a fickle process.
If your felt is too thick, it won’t cut through. If it’s too cheap, it won’t cut through. It has to be a high quality, thin wool. I had real wool on hand but it just wasn’t thin enough.
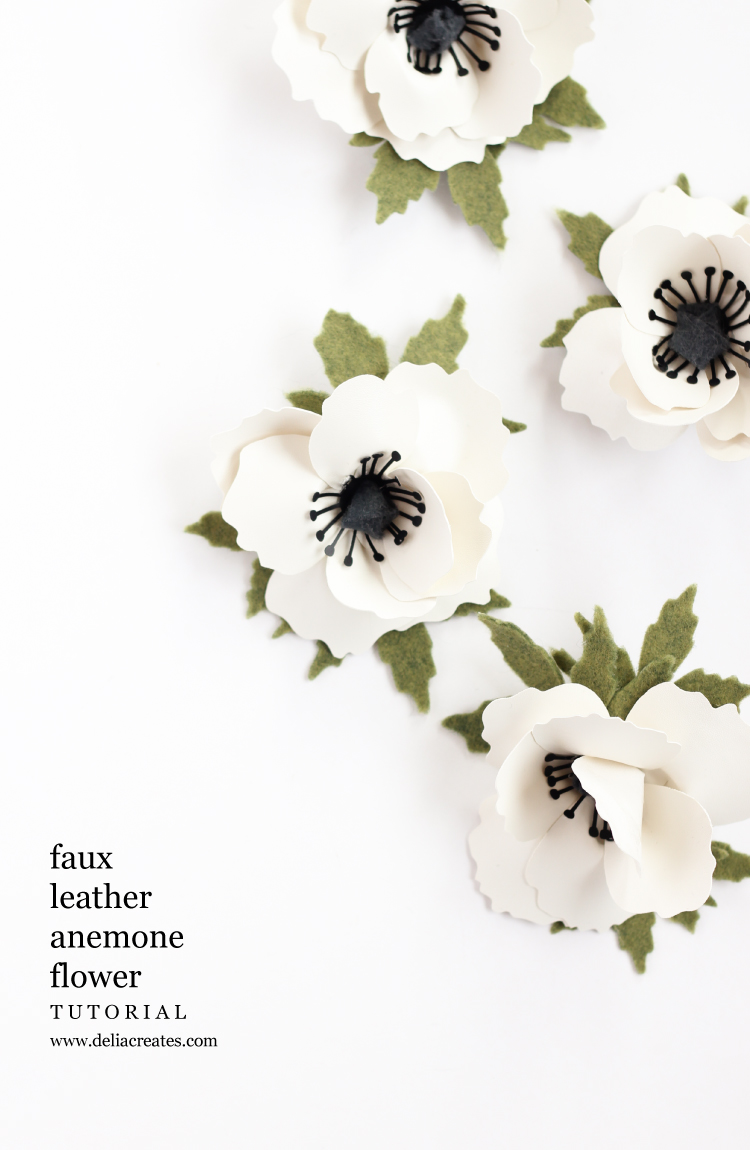
Fortunately, as a sewist I did have a stash of random pleathers on hand, so I gave them a shot. The result was beeeeeautiful! It cut like butta.
You still have to be mindful of the thickness of the pleather. This thin white vegan leather from Girl Charlee proved to work really well.
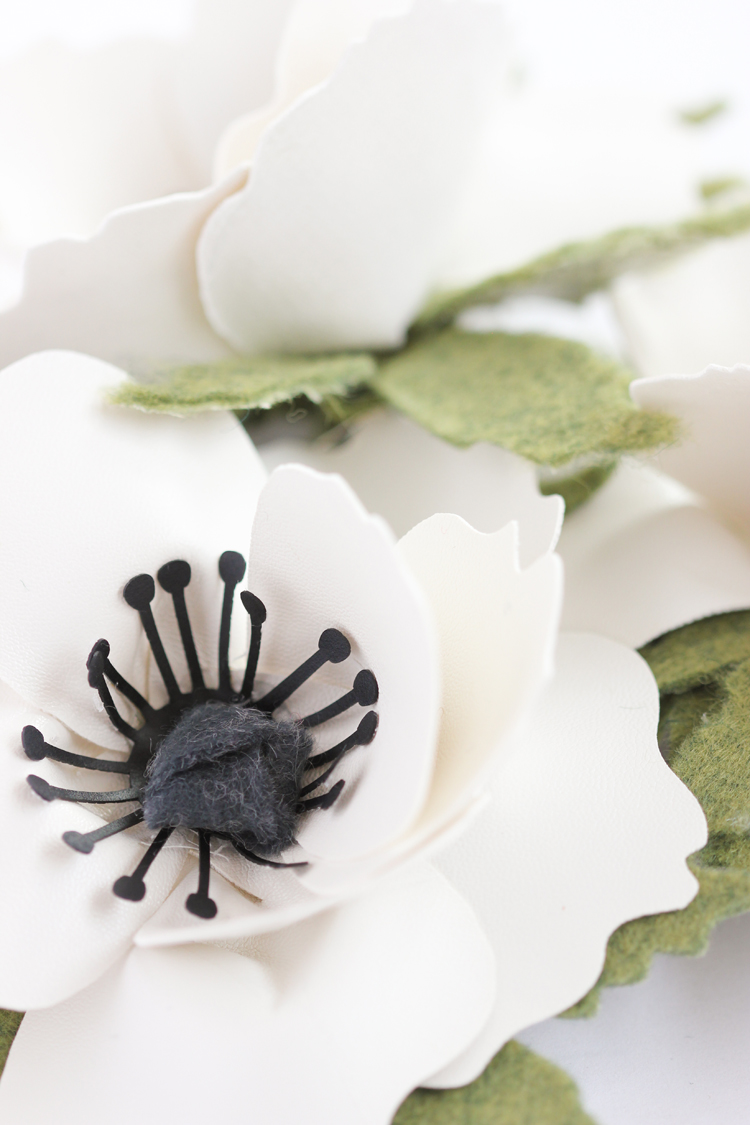
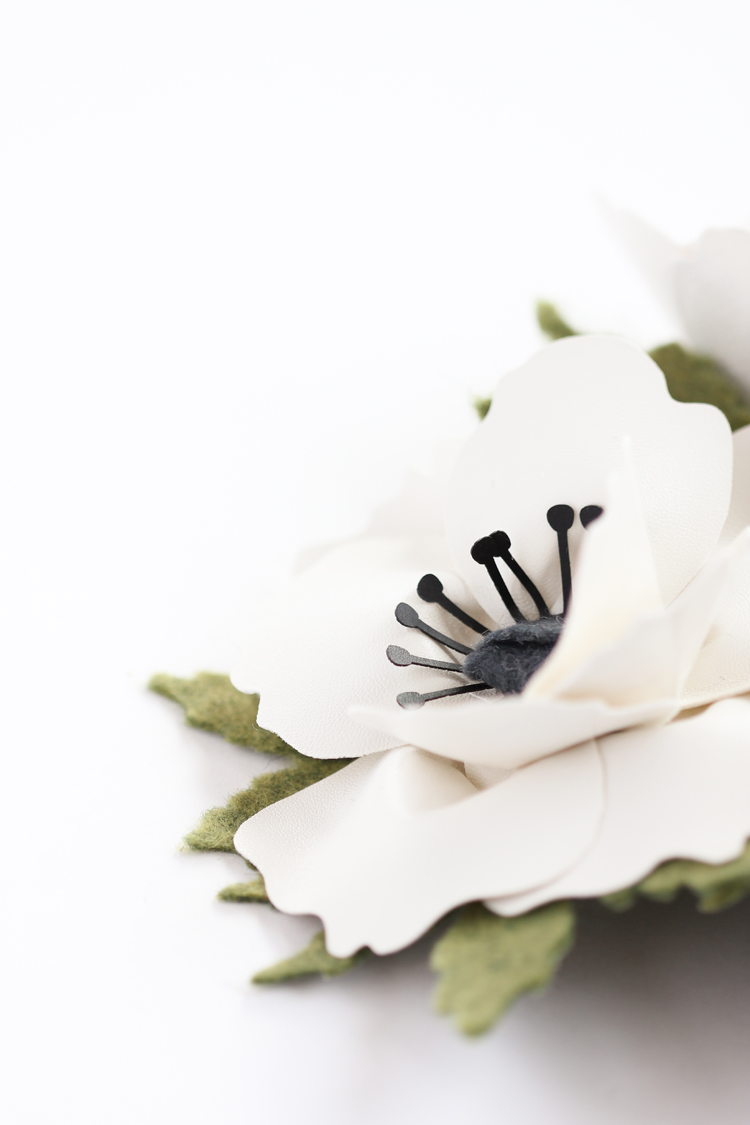
I cut the spindly centers from chalkboard fabric, which is basically like a sturdy plastic table cloth with a netting stuck to the back. I got it at a specialty fabric shop years ago, so I’m not sure where to find it now, but I think you could easily use a thin table cloth fabric from Jo-Ann instead. It would actually probably work better than my fabric, because you won’t have to pick off that pesky netting.
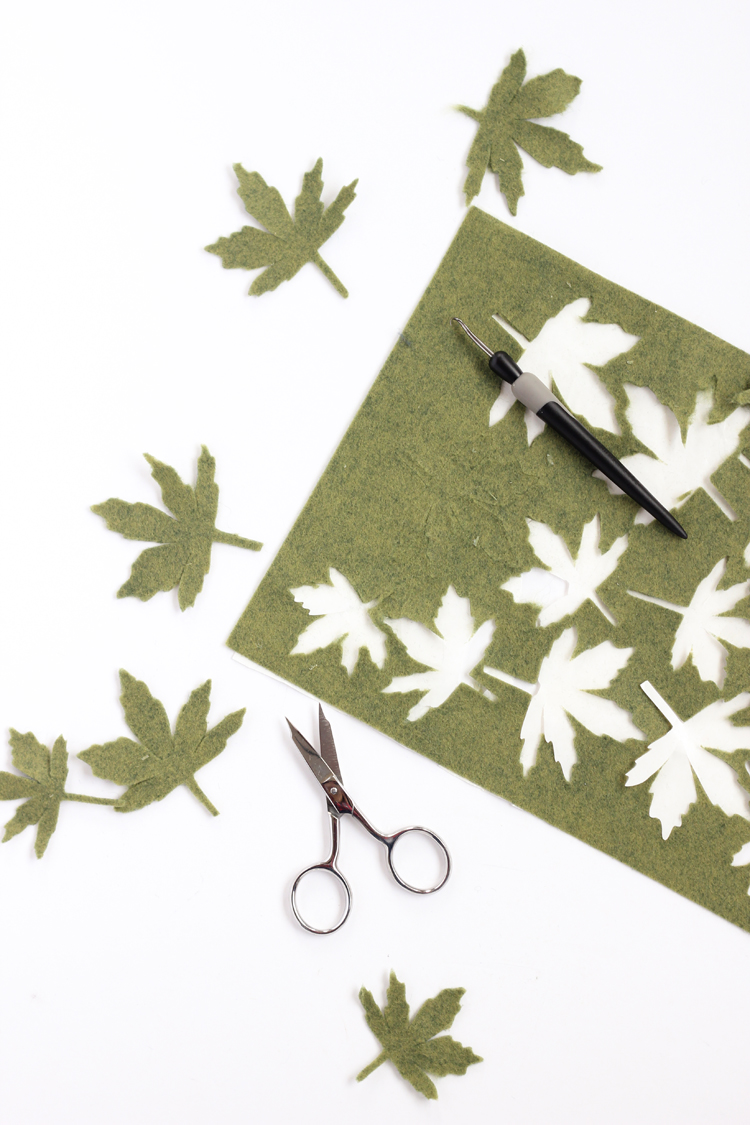
I did use felt for the leaves and I ended up having to cut them out a little bit. My cutting machine scored them out for the most part though. I just had to go through and snip it free in spots where it was still connected. Still…not even near as much work as having to cut them entirely by hand.
But…more about that in the tutorial. Let’s do it!
MATERIALS
- White, green, and black material*
- Fusible Silhouette fabric stabilizer or Wonder Under
- Iron
- Pressing cloth
- Cutting machine – I used a Silhouette
- Hot glue
- Small scissors (like embroidery scissors)
- Floral wire OR a hair clip
*This can be pleather, vinyl (non-sticky), thin wool felt, etc. Make sure you have a 9 x 12 inch piece of all of them. You only need about half that size for the black material.

TUTORIAL
STEP ONE: Download cut files.
These are .dxf files that work well with Silhouette Studio, as well as .svg files. In both cases, you may need to enlarge the files to fit your cut mat. They are supposed to fit a 9×12 cut mat, as most pieces of felt are that size. The petal file makes two flowers.
They are for personal use only and are copyrighted. Please do not copy or redistribute files as your own.
CLICK HERE FOR ALL ANEMONE FILES
STEP TWO: Stabilize material.
You cannot skip this step. Trust me. I tried. Adding stabilizer helps it stick to your mat, and it keeps it from shifting around while it gets cut.
Set your iron to the highest setting and fuse the back of each piece of material with fusible fabric stabilizer. I used Silhouette brand stabilizer but I’ve heard Wonder Under works well too.
For the pleather and black vinyl, I didn’t want it to melt into the iron, so I placed it pleather/vinyl side down. I put the press cloth on top of the fusible stabilizer and then gave it a long enough press to fuse it, but not so long that it would burn or melt.
NOTE: The paper backing will stay with the stabilizer material through the cutting process. When you weed it out, you will pull it away from the paper backing. It’s also worth mentioning that the Silhouette fabric stabilizer leaves a shiny film on the back. I am pretty sure this is so you can iron it onto another piece of fabric. I wasn’t doing that so I just left it as is. After all, real plants often have a shiny side and dull side, so I guess it works. 😉
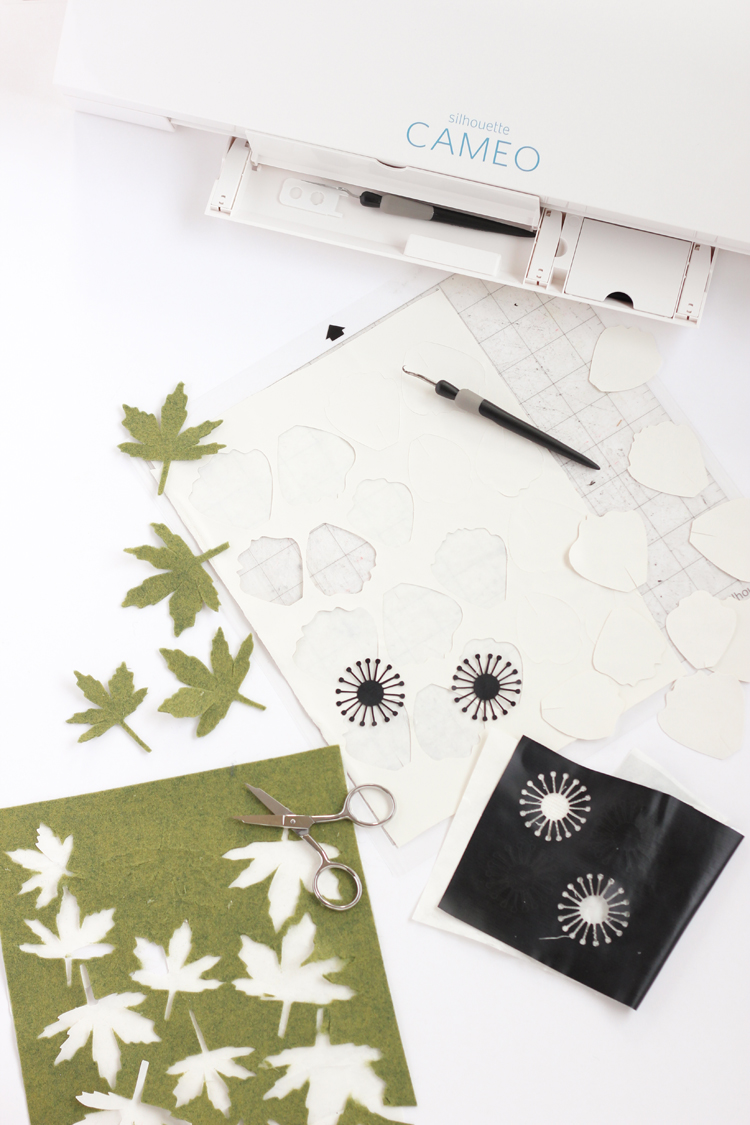
STEP THREE: Cut your material.
If you are using a Silhouette, make sure you are using a fabric specific blade or a new blade. Fabric blades are actually exactly the same as regular blades but they are a different color so you don’t confuse it with your other blades and use it on anything other than fabric. It’s the same concept of not using your fabric scissors on paper. Paper dulls the blade.
When customizing your settings, select heavy fabric, change your blade depth to 10, and your thickness to 33. Slow down your speed to 3, and select double cut. Do not select over cut. I don’t know why, but my Silhouette did not like it when I set that for fabric.
NOTE: Your mat will get a beating when cutting fabric. I recommend using an old mat that’s kind of on it’s way out.
STEP FOUR: Weed out the pieces.
For all but the felt, my flower pieces weeded right out without a hitch. Like I mentioned earlier, I had to kind of cut the felt leaves free with my embroidery scissors.
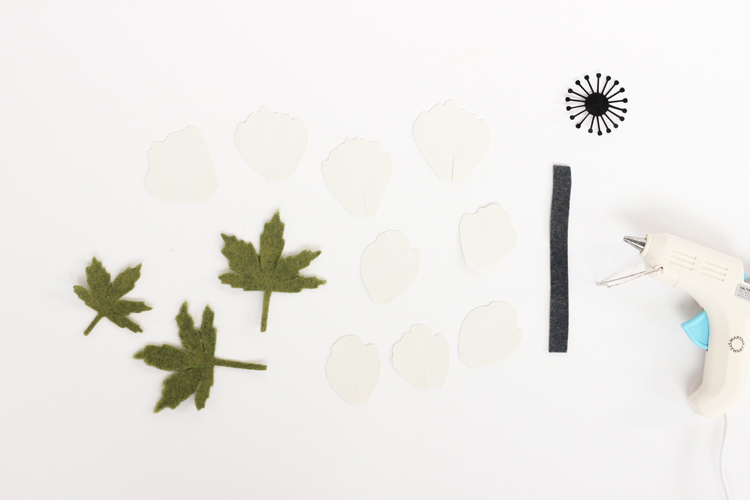
STEP FIVE: Assemble the flower.
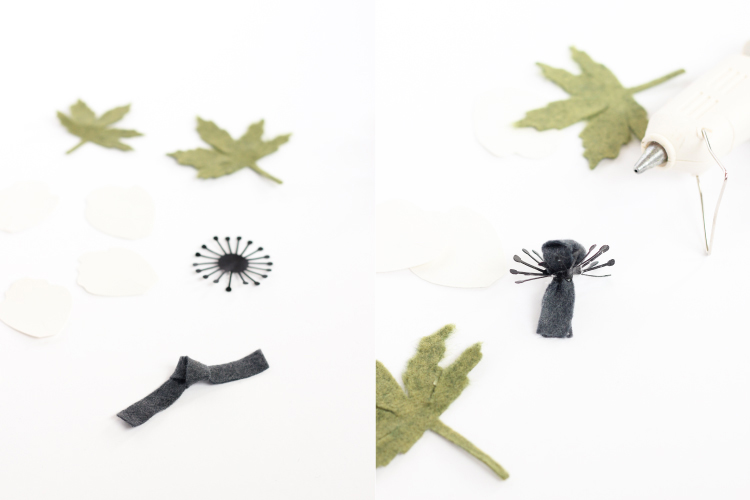
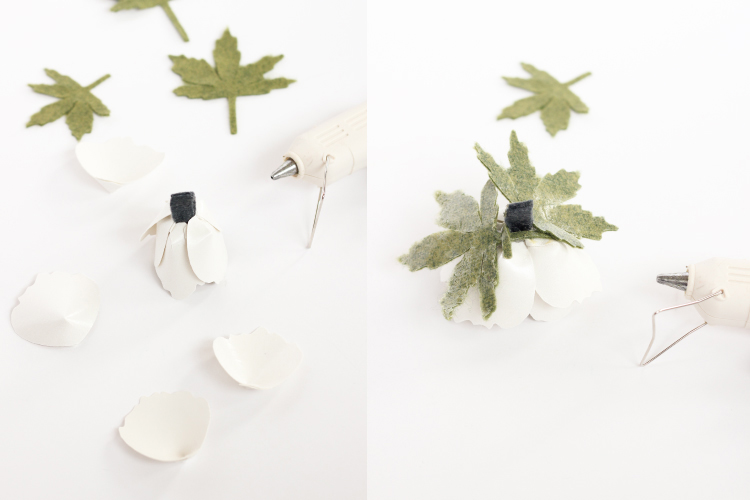
- Cut a strip of black or gray felt/material to about 1/2 inch by 5 inches. Tie a knot in the middle of it.
- Bring the ends of the knot together and insert them into the opening in the middle of the spindly center piece.
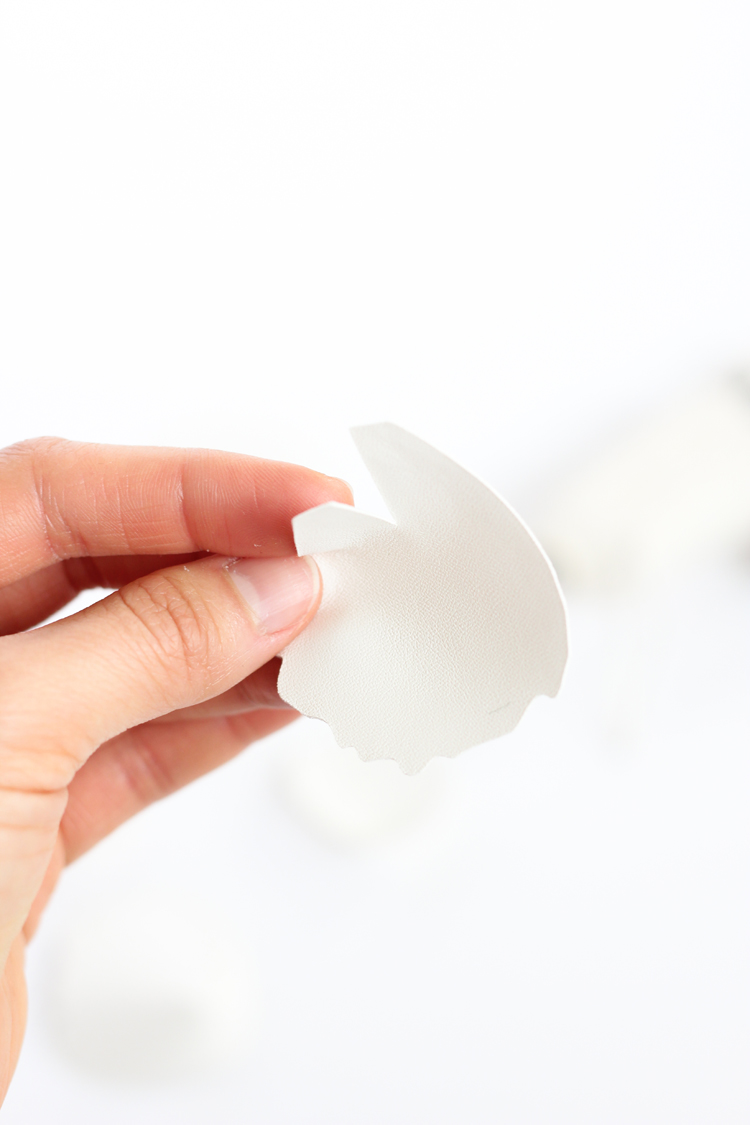
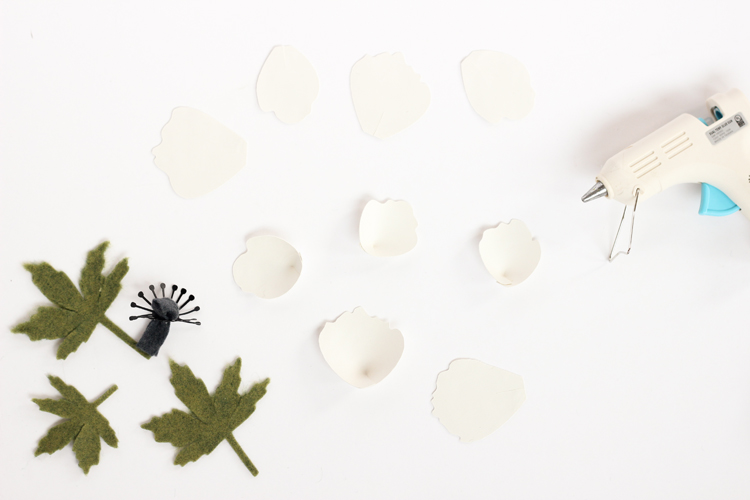
- Glue pleats into all the petals. Each petal should have a small slit at the base. Overlap and glue those pieces so that the petal forms a bowl shape.
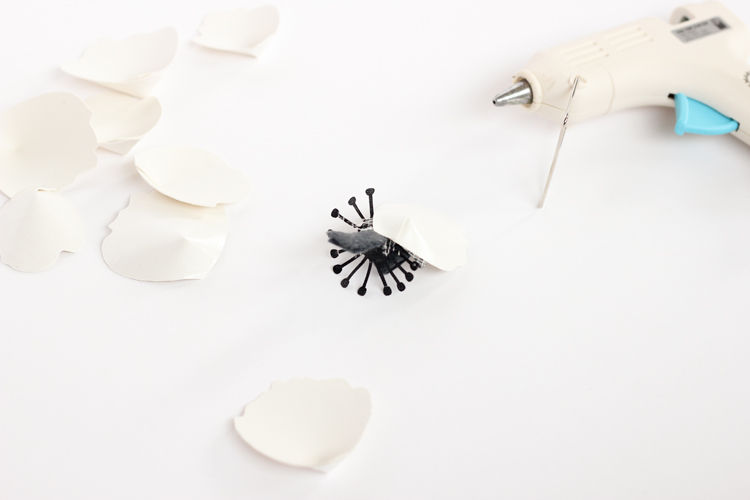
- Glue the smaller petals around the base of flower center. Stagger and layer them as you go.
- Add the larger petals.
- Glue on the leaves as desired.
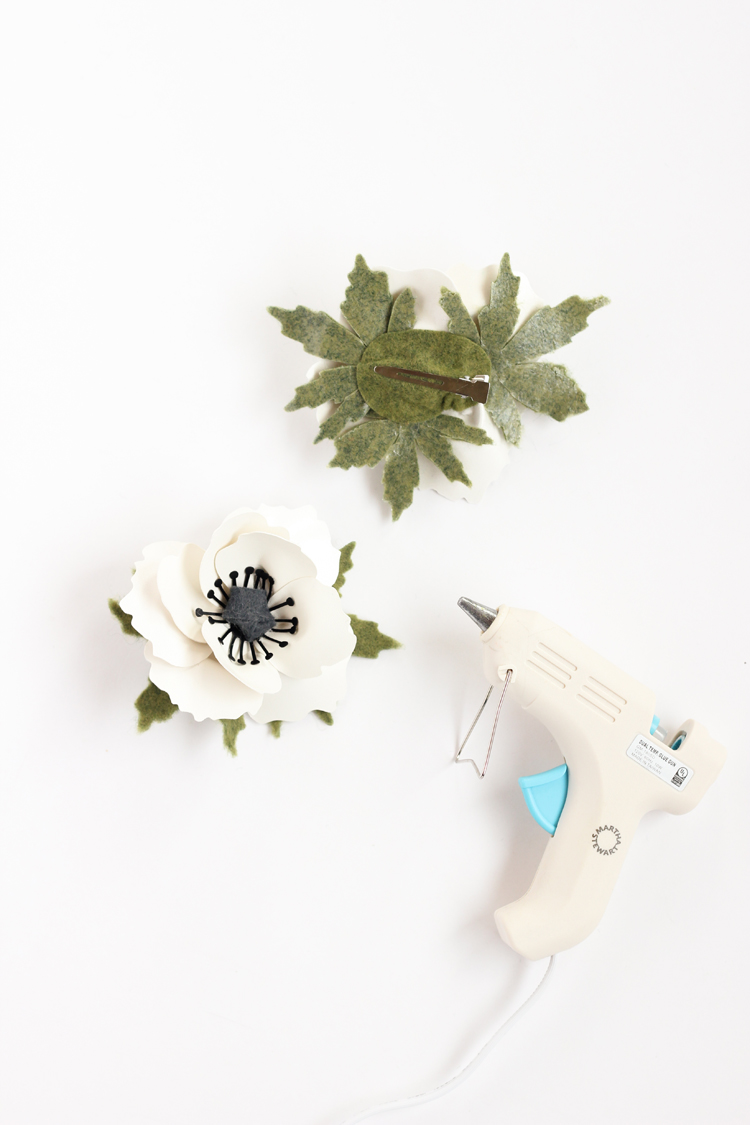
STEP SIX: Add a clip or a stem.
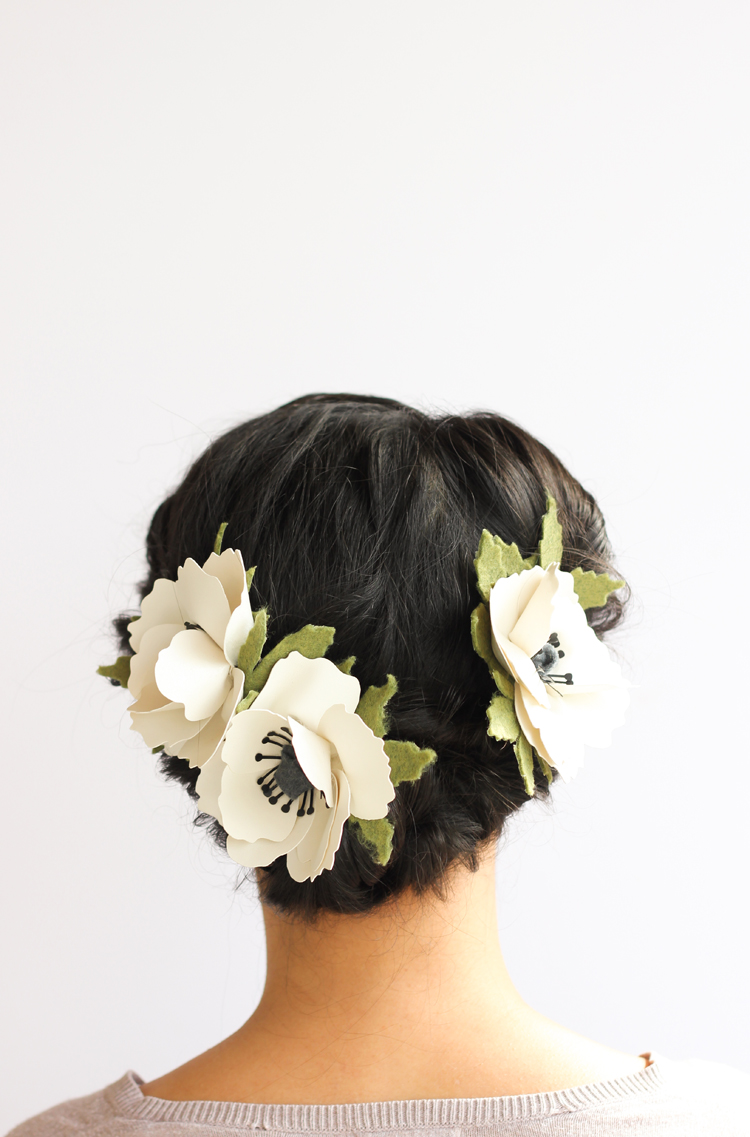
At this point, you can glue in a piece of floral wire to use as a stem, or a hair clip if you want to make it an accessory like I did.
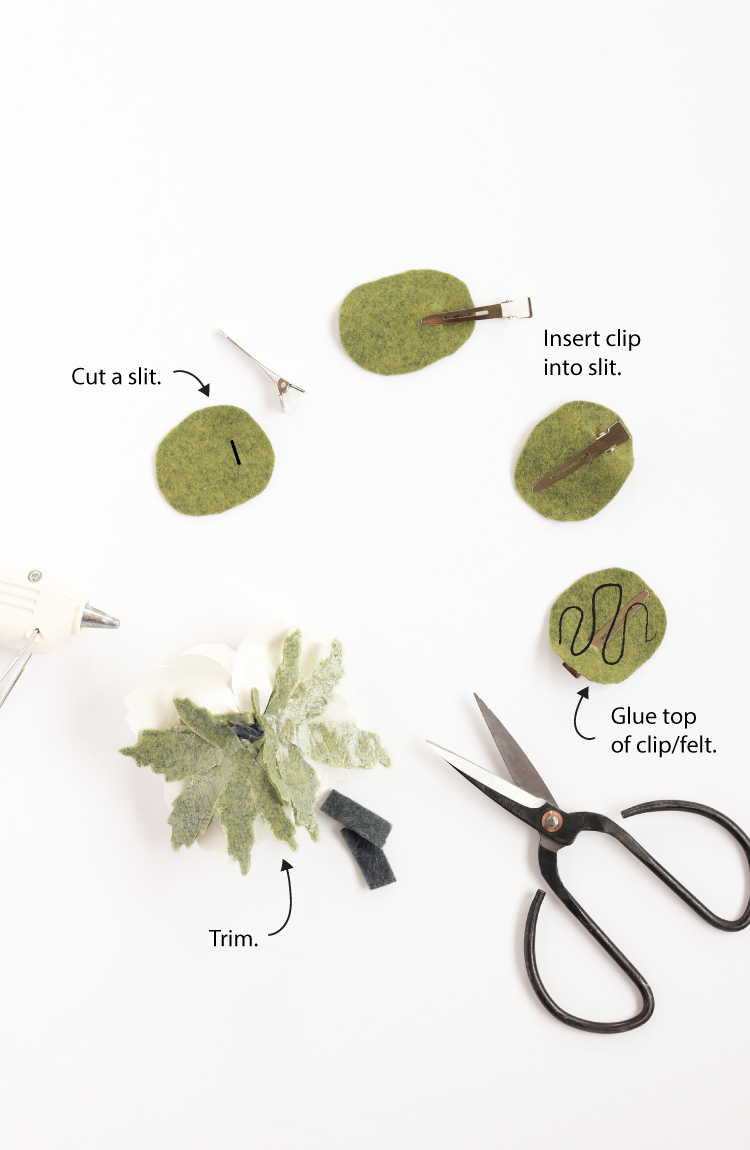

If you want to make it a hair clip:
- Trim the black knot tails.
- Cut an oval of felt just larger than the size of the alligator clip.
- Cut a slit to the side of the piece of felt.
- Slide the top half of the clip through the slit.
- Apply glue to the top of the clip and the felt and place it face down on the back of your flower. Press in place.
That’s all there is to it!
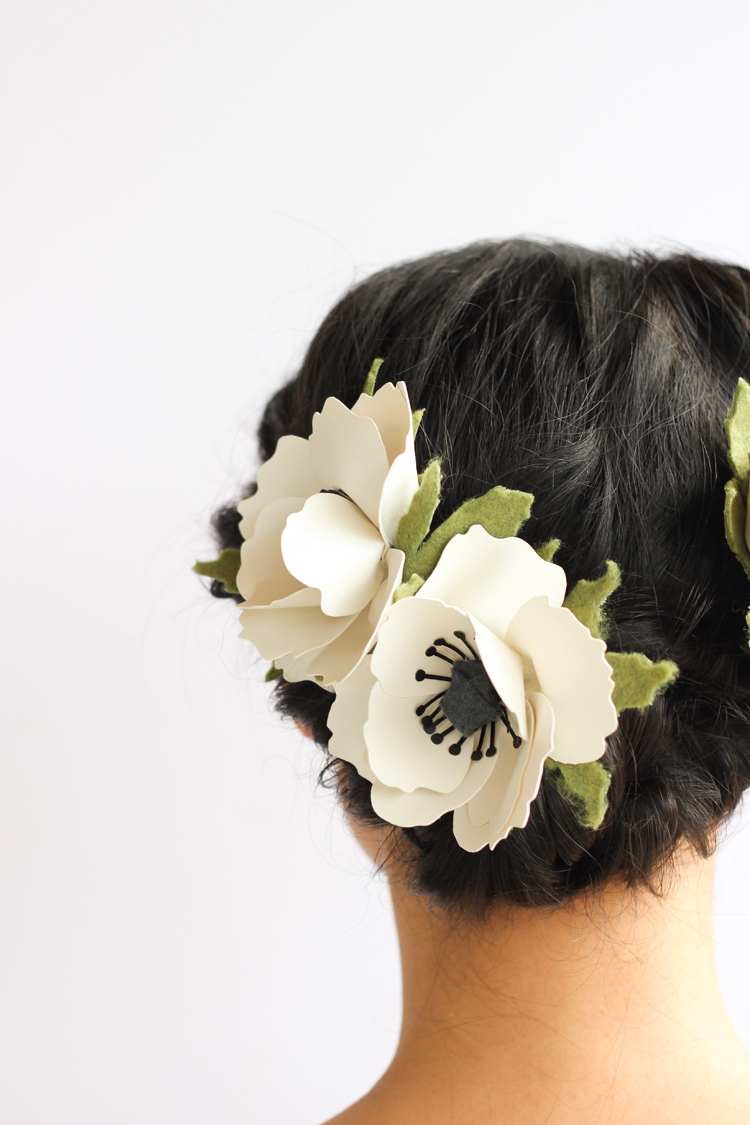
Make one flower, or a bunch. They come together pretty quick!
As someone who has made a crown full of felt flowers before, this is a game changer. It was so much more satisfying to breeze through the cutting part, get more precise cuts, and then jump right into flower assembly.
And hey, if you don’t yet have a Silhouette and you want one, there is an amazing deal going on right now.
You can get a Silhouette Cameo 3 + a Mint for $269.99 until April 15, 2017. That’s like getting the Silhouette Cameo at the Amazon price, and then getting the $100 Mint for $20. Just use this link to get the deal. (Affiliate links)
These are just gorgeous! I managed to get my Silhouette to cut a thin piece of real leather once too… I think I used the same settings as you did, then hit ‘Send to Silhouette’ a second time without unloading the mat, for a total of four cuts. I love the way these turned out!
Wonderful! They look so delicate! I love anemones so much too, gorgeous flowers 🙂
gorgeous flowers!!! I bought Cameo as well but still haven’t figured out how to cut felt with the machine. I don’t want to leave a shiny backing on the felt. Do you have any suggestions?
Thank you Athena! So, I haven’t tried it, but I’ve heard that heat and bond or another kind of iron on interfacing from the fabric store will do the same job and not leave such a shiny film. I hope that helps you at least move in the right direction. Good luck!
Hello! Love these flowers! Unfortunately, I don’t have a cutting machine. Is there anyway to post those files as PDF’s???
Thanks,
R
Hi! I actually have a hand-cut version, that you might like. The petals are an easy thing to free hand. The centers would be pretty tricky to try to trace and cut, so the yarn center version I share in that post might be a good alternative.
http://www.deliacreates.com/felt-yarn-anemone-flower-tutorial/
I hope that helps! <3
Hi, technical issue here. Google wont let me download. Is there another way to download template? Thanks
So sorry about that. Google has changed the way it allows access to files since I posted this and many of my other free files. If you make a request for the file, I can approve it via email, or you can email me: [email protected] and I can email the file back via attachment.