

I love a good bow tie. Which is probably pretty obvious, considering I have no less than six posts related to them, not including this one. Ha! This one is my favorite one.
I also have always loved this crocheted bow tie I made in the early days of this ole blog. Since it’s been about six years since I last shared it, I figured it was time for an updated version.
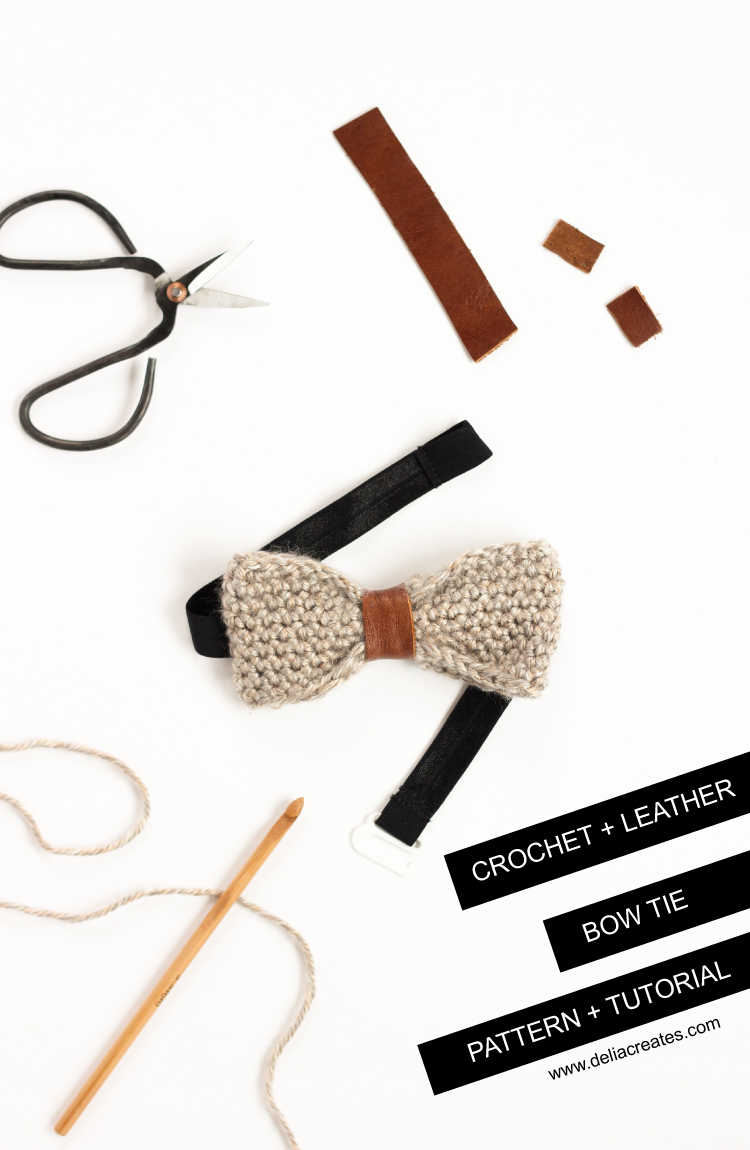
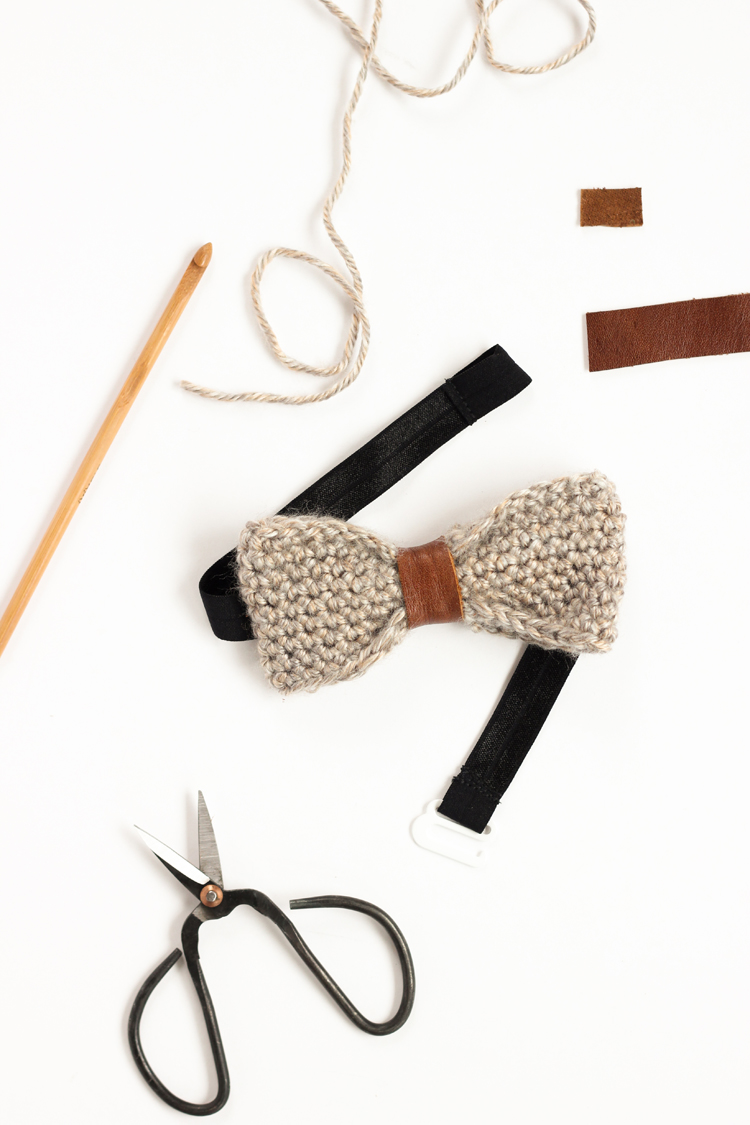
This one is kind of a mix of the crocheted bow tie and my leather bow ties. It’s a little bit of sewing, a little bit of crochet, and a great all around beginner project.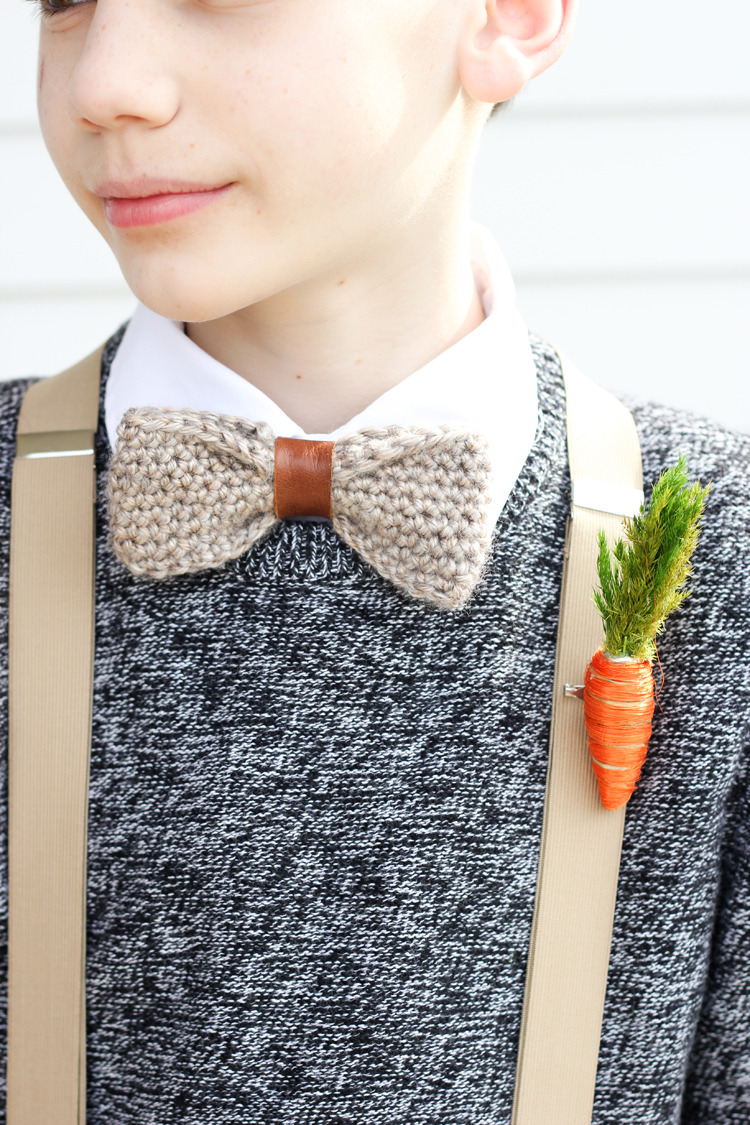
MATERIALS
- 5.5 mm crochet hook
- Category 4, worsted weight yarn
- yarn needle
- small scrap of leather
- all-purpose thread to match leather and elastic/ribbon
- optional: leather sewing needle
- clover clips or small binder clips
- sewing machine
- sharp scissors
- 1 3/4 inch wide elastic or ribbon (about 1/2 a yard)
- undergarment hook
- optional: Fray Check
Material Notes:
Leather – You can find leather scraps for very inexpensive at places like Tandy Leather. Or you can buy a bag of leather scraps at most craft stores. Just make sure the leather is thin enough to be able to sew through on your sewing machine. Remember that you will be folding the leather together, so you need to be able to sew through two layers.
Leather sewing needle – The reason why I made this optional is because you are sewing such a small amount of leather that it’s almost not worth changing needles. I use my universal needle, sew SUPER slow, and lengthen my stitch to about 3.5 mm. It can dull or bend your needle though, so if you want to play it safe, use a leather sewing needle. Use the same settings I described earlier.
Yarn – This is a great time to use up leftover yarn from larger projects because it doesn’t take much. I guesstimate that you’ll need less than 50 yards.
Clover clips – Clover clips are quilter’s clips that hold fabric in place like pins. If you stick a pin in leather you create a permanent hole and you will actually probably bend the pin in the process. If you don’t have access to Clover clips, you can use small binder clips instead. Or, if you feel confident with your leather sewing skills, you could probably get away with just holding the piece of leather in place with your fingers while you sew.
Elastic/ribbon – I like to use elastic because it adds flexibility and give at the neck. Ribbon works just fine though. Either way, I prefer to use elastic or ribbon because all the hard work is done for you. The long sides are nice and finished. You just have to sew up the short ends. The straps get hidden under the collar as well, so it doesn’t really matter too much whether they match the bow tie.
Undergarment Hook – These are sold in the notions section at the fabric store. They are sometimes called bra hooks or swim suits hooks and are usually sold in pairs. You need just one for this project.
TUTORIAL
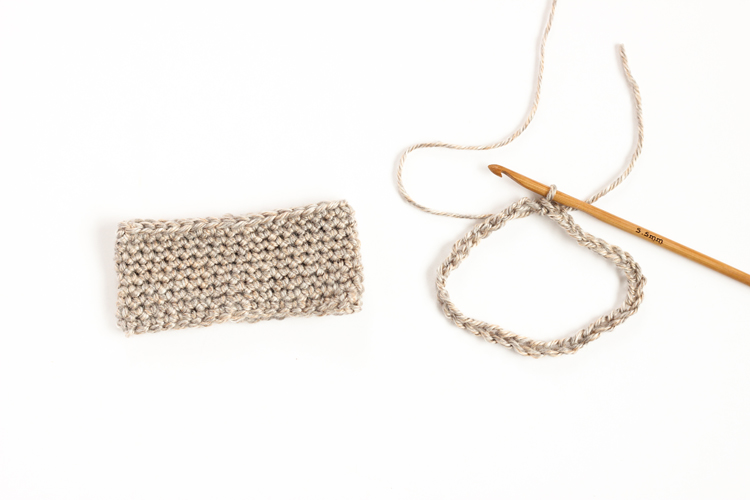
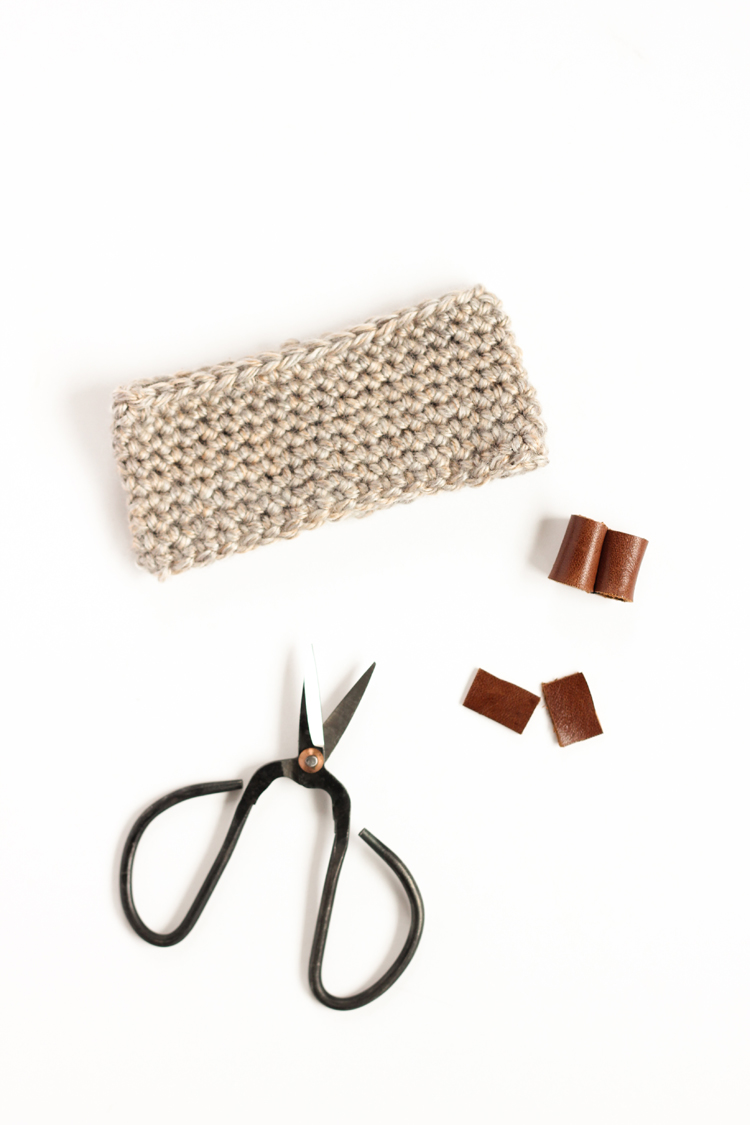
1. Crochet the bow tie.
The pattern is pretty straightforward. I don’t offer a gauge because really it doesn’t matter all that much. This project is highly customizable. You make the bow tie whatever size you prefer. Just be aware that the chain will stretch out as you work more rows into it. For reference, my bow tie is 5 inches long and 2.25 inches tall.
Chain 36, and slip stitch to first chain, creating a looped chain. Take care not to twist the chain.
Row 1: Chain 2, sc in each chain around. (36 including ch 2)
Row 2 – 9: Repeat Row 1.
Tie of end, leaving an 6 inch tail. Weave tail into rest of the bow tie with yarn needle.
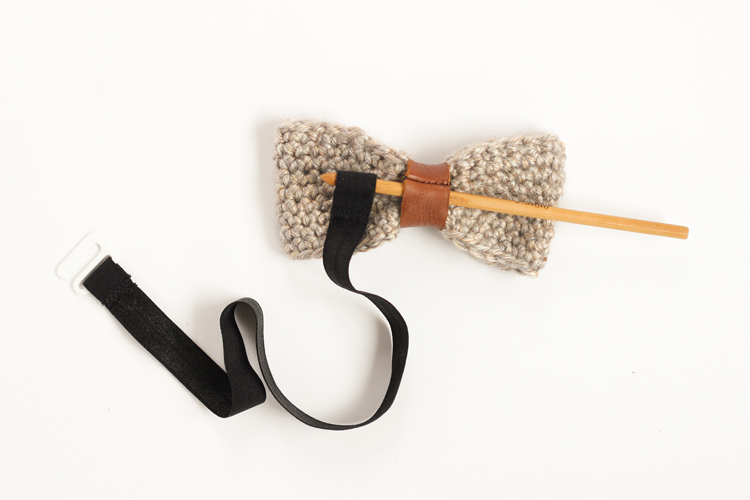
Left: Finished crocheted bow tie. Right: Looped chain that begins the bow tie.
2. Sew the leather loop.
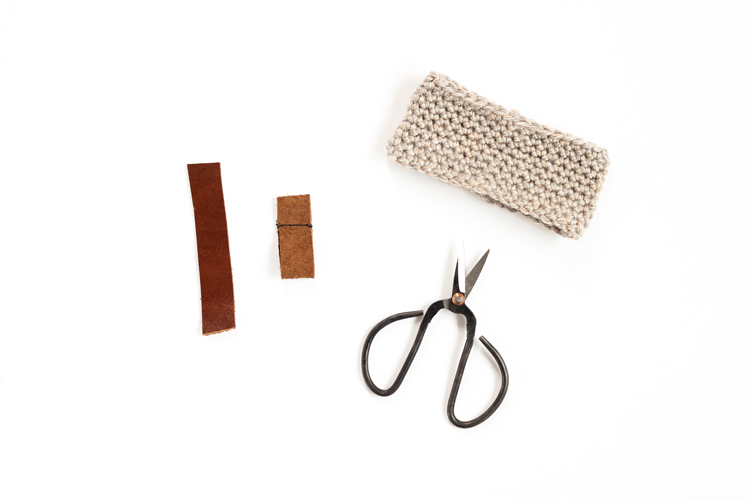
Cut a rectangle of leather 3 inches long by 3/4 inch wide. Fold the leather in half with right sides facing and clip in place (or hold it with your finger as you sew).
Sew the leather with a 1/2 inch seam allowance.
Cut the seam allowance down to about 1/4 – 1/8 inch and turn the leather loop right side out.
Note: If you are having a hard time sewing the leather, try cutting a piece 4 inches long instead, and sew with a 1 inch seam allowance. This makes it a little more stable during sewing.
3. Form the bow tie.
Pull the crocheted portion through the leather loop. I won’t sugar coat it. This is tricky. You have to use some elbow grease to pull it through, and when you do you need to kind of scrunch and press the crocheted part back into shape.

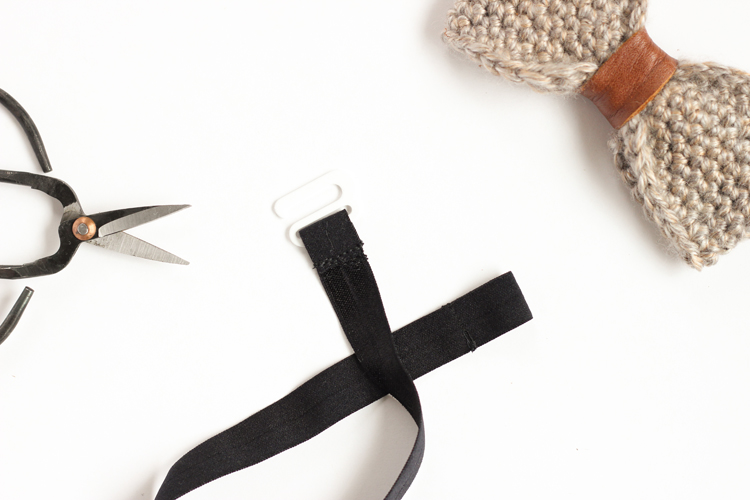
4. Sew the strap.
Measure the recipient’s neck and add 1.5 inches. Cut your elastic to size.
Slide the undergarment hook onto one end, and fold the raw edge inward 1/2 inch. Sew across the raw edge several times with a zig zag stitch, to both secure the end and to finish off the raw edge.
Fold over the other end 1 inch. Sew the raw edge in place in the same manner, creating a loop that the undergarment hook can hook into.
Optional: Apply some fray check to the ends to seal any part of the raw edges that may have gotten missed.
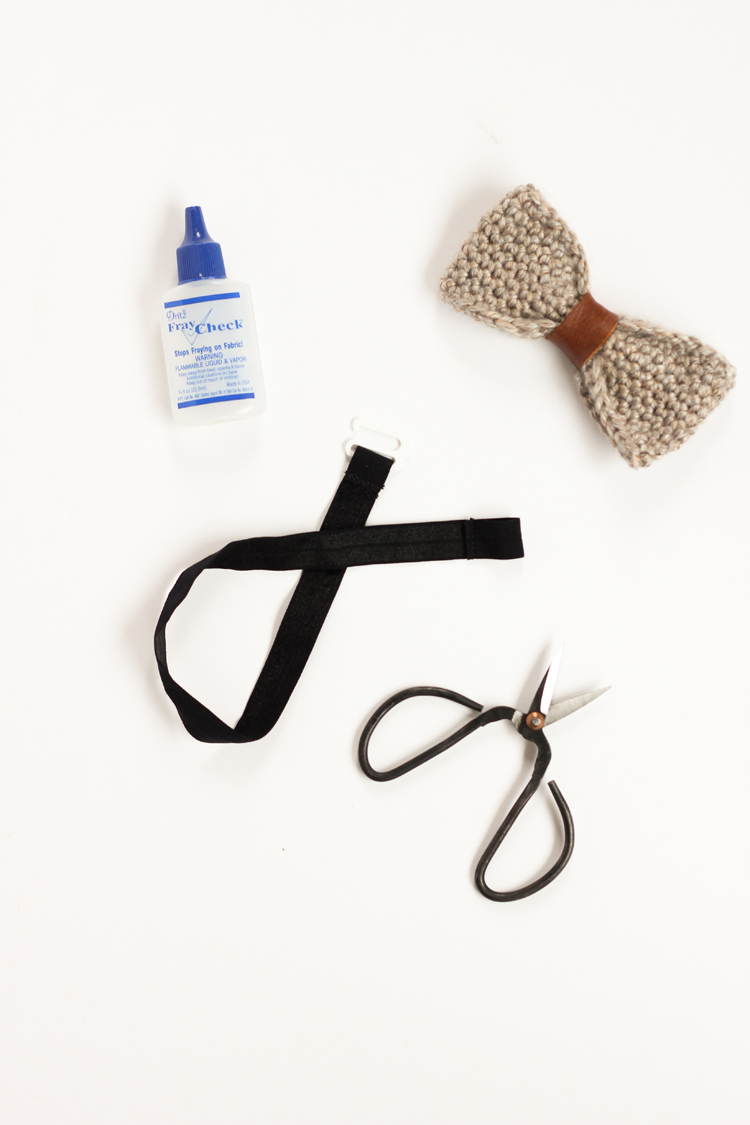
5. Put it all together.
Using your crochet hook, pull the strap through the back of the leather loop.
That’s it! You’re ready to rock the bow tie.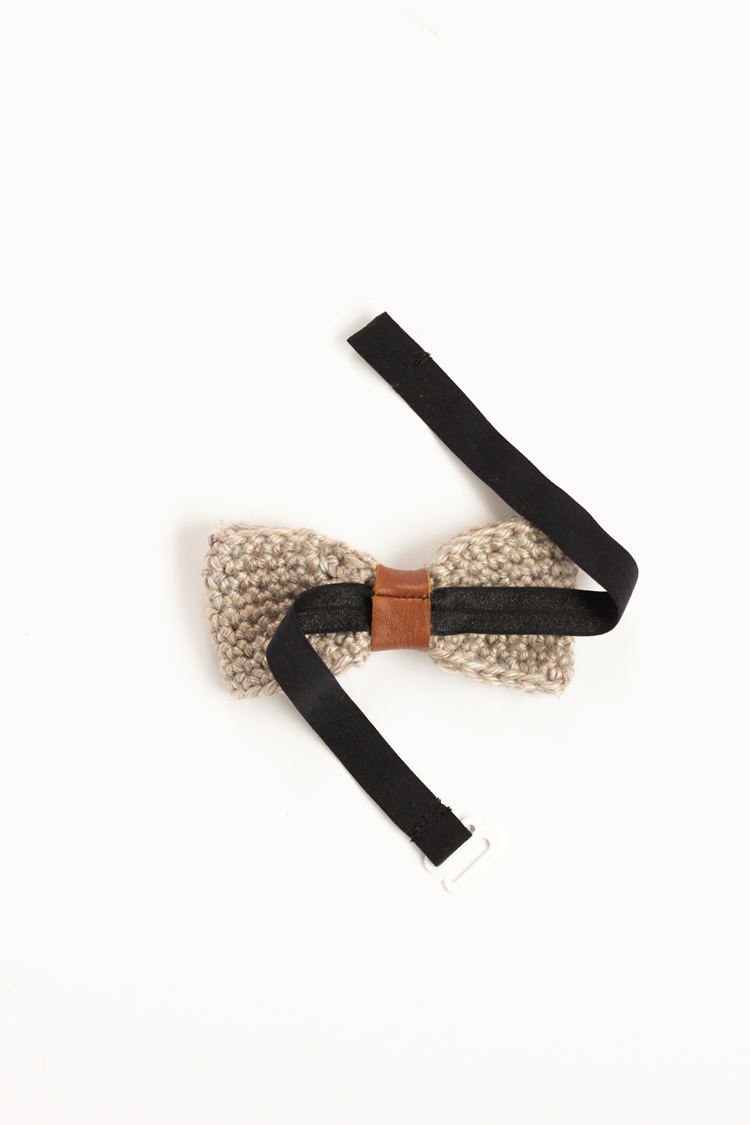

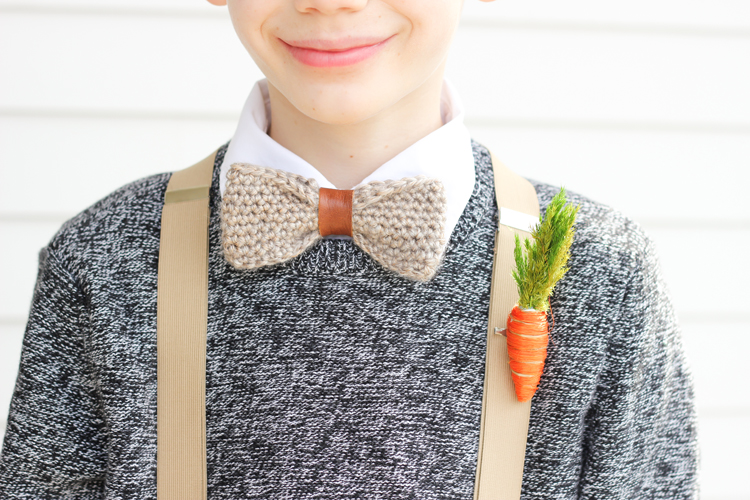
If you want to see more pictures of this bow tie in action, check out my Easter post from this year…which is not included in my earlier bow tie post count. It’s a sickness I tell you! 😉
If you’re curious about the carrot boutonnieres, I’ve got a post for those as well.
I don’t think I’ve ever seen bow-ties quite like these ones! I love the combination of the yarn and leather for them!