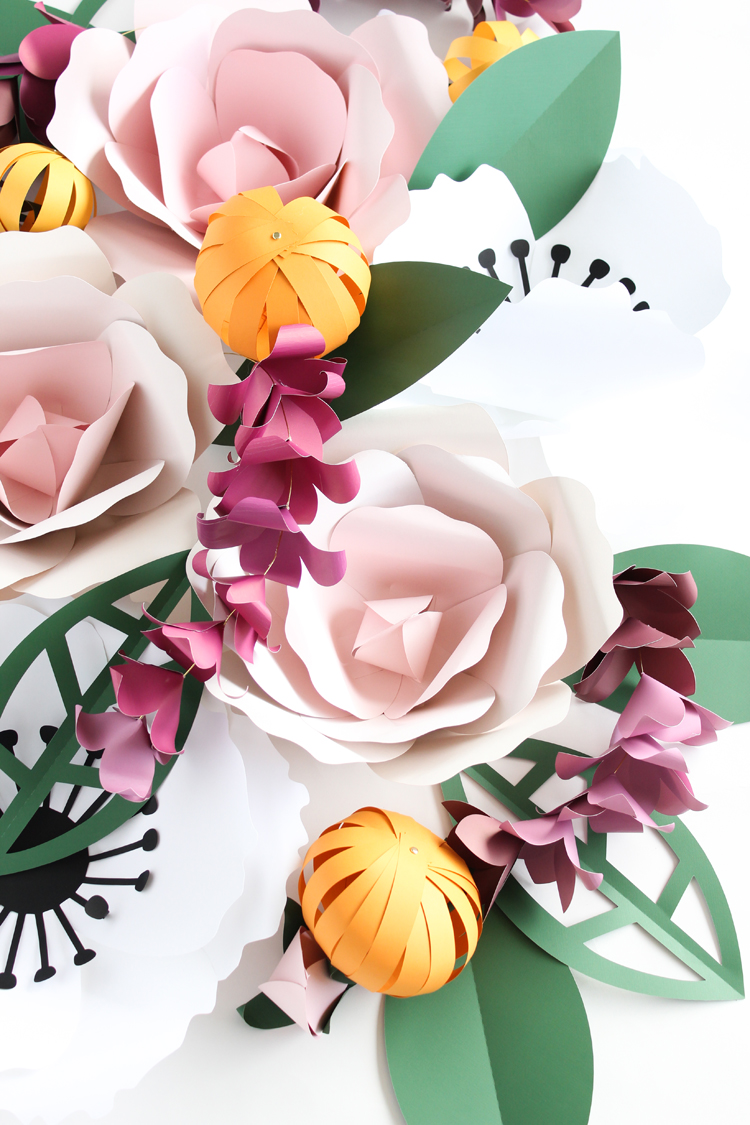
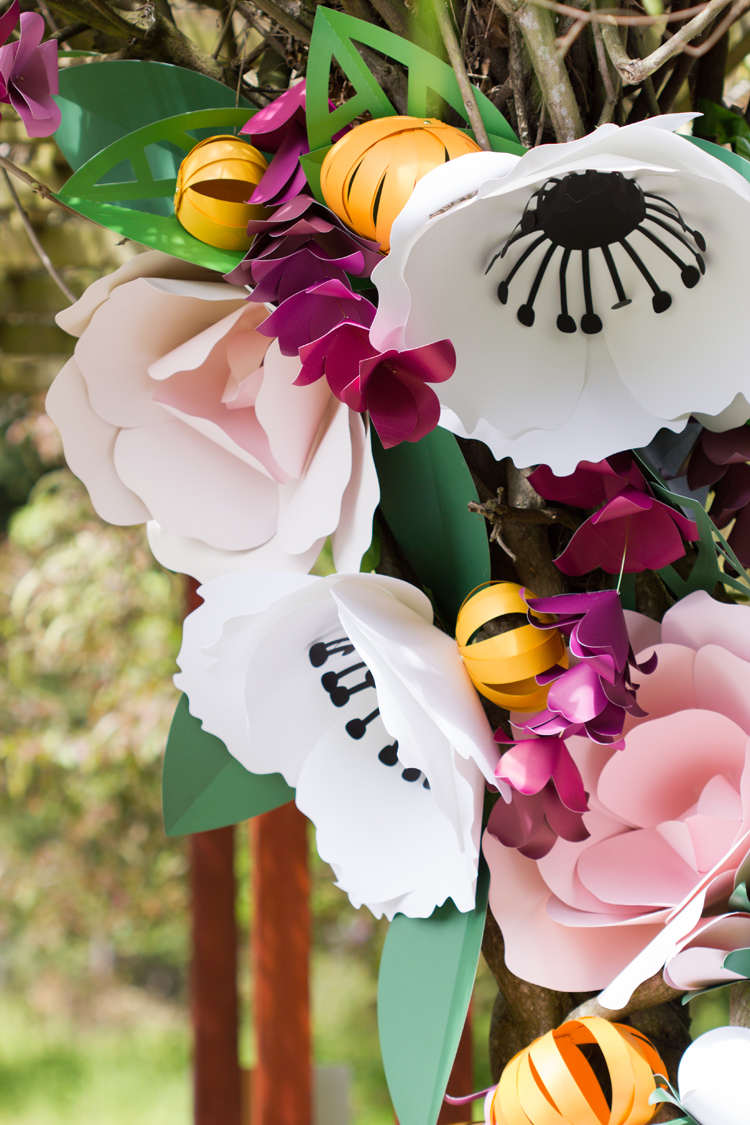
I am in love with the giant paper flower trend. It’s just so fun that you can create something so beautiful and larger than life from just…paper!
I first saw Miranda and then Miranda and Dana share a tutorial for it and I knew I just had to try it, but with my Silhouette Cameo.
So, I’ve teamed up with Silhouette to do just that!
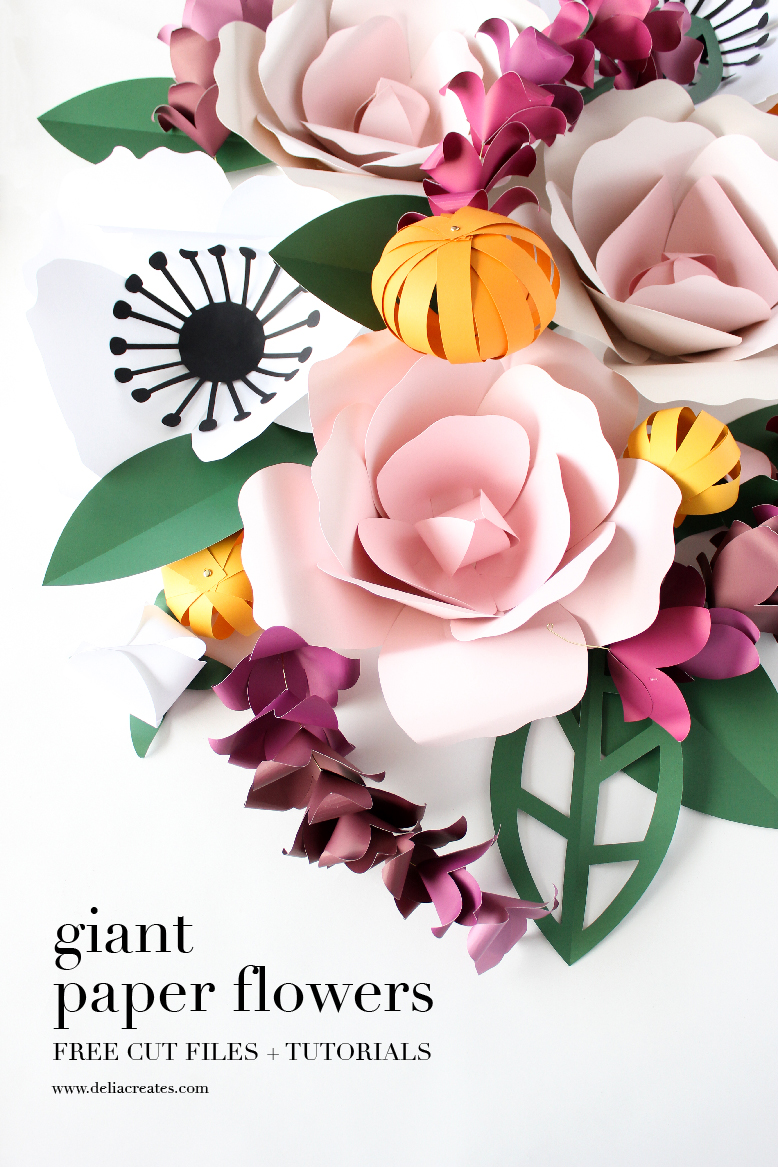
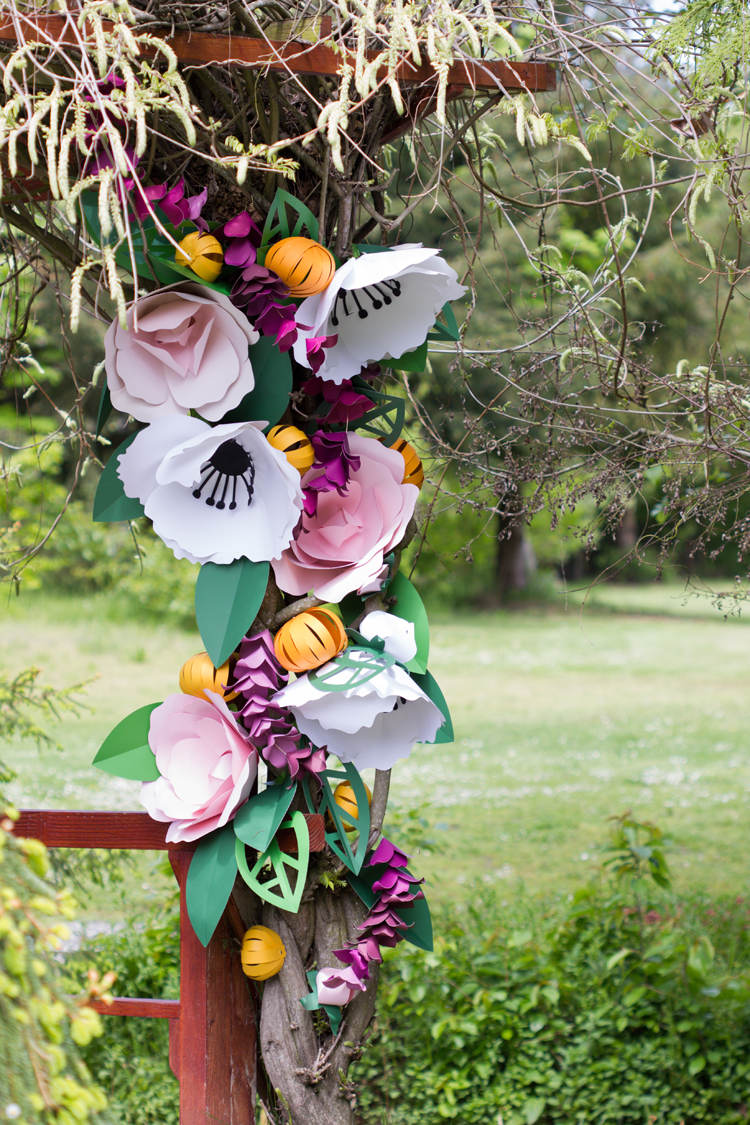
I had already been using my Silhouette Cameo to experiment with pleather and felt flowers, so trying those cut files on paper was an easy next step. I started with my anemone files, and then made a rose one, a wisteria one, and some fun geometric leaves.
The cutting process still takes some time, but it is definitely faster and easier than cutting by hand. I didn’t end up with any hand fatigue and the petals cut fairly quickly, because they are simple shapes. I would load my mat, press send and have just enough time to glue some petals before the next mat needed to be loaded. Once I got a good rhythm down it was pretty quick work.
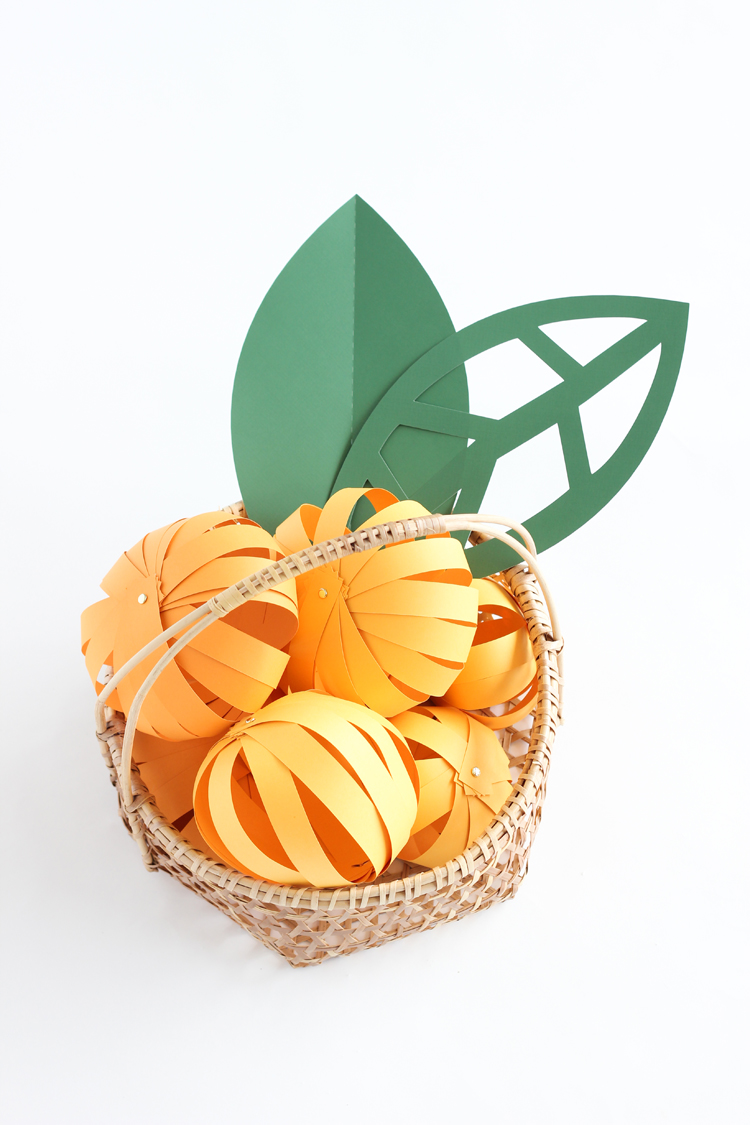
I also made some paper kumquats out of just strips of paper with holes punched on each end. I made them just like paper strip pumpkins, but with more strips for a rounder look. You can totally achieve this with a paper cutter and a hole punch, but in case you like to avoid hand fatigue at all costs like me, I came up with cut files for the kumquats too.
Before we talk instructions, let’s talk paper. Finding large packs of paper that are the same color is not as easy as you would think, but I was able to get packs with a gradient of the same color. That ended up working out really well for simulating real flower petals, since they tend to not be all one color in real life. I got all of my paper from Michaels. There is a large 8.5 x 11 inch pack of paper that ranges from blush to white, and a similar pack of yellow/orange paper, both made by Recollections. I also snagged 12 x 12 inch pads of green and pink/purple paper from Craft Smith.
PLEASE NOTE: There are .svg files and Silhouette Studio files in this post and can be downloaded HERE (Silhouette) and HERE (.svg). Individual files are also linked in each tutorial.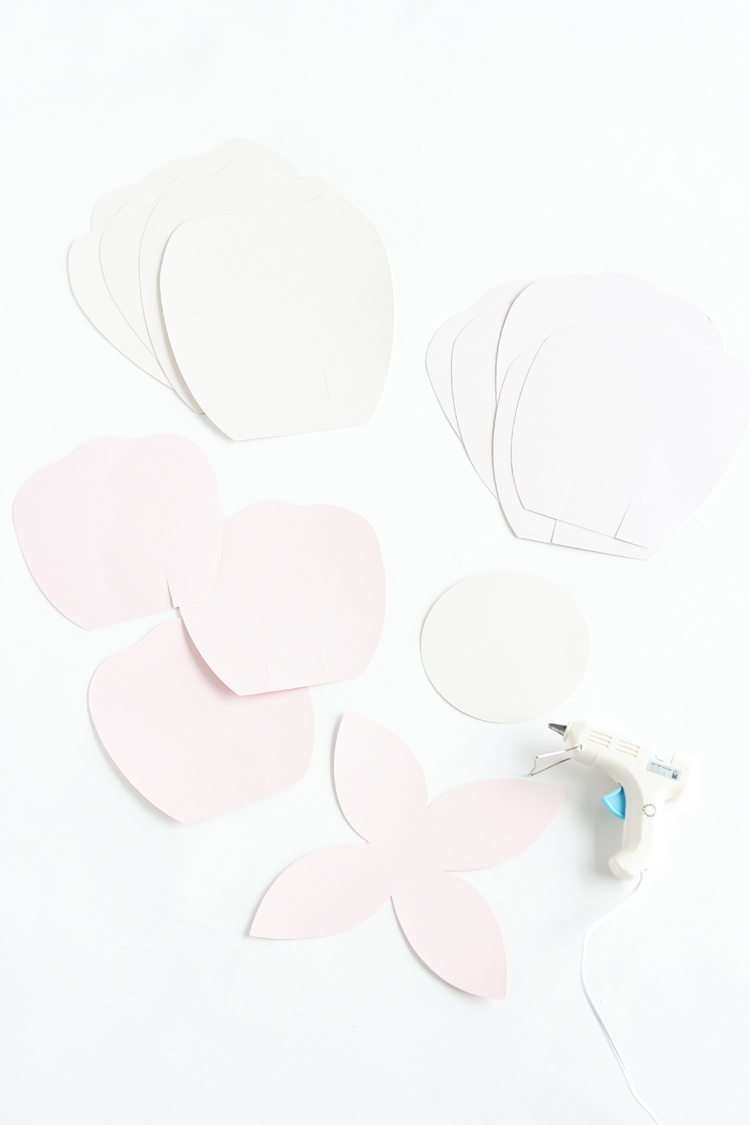
Before we begin, here are some tips for cutting cardstock with your Silhouette Cameo:
- Make sure to do a test cut for each type of paper you are using. You want the paper to pull away nicely, without cutting into the mat too much.
- What I usually do is, I select my blade (I usually use the auto adjust blade) and then select cardstock under “material type.” Then I often increase the thickness to about 25-27 and over cut by .2 for start and end. Settings can vary depending on how new your blade is though. So, start with the recommended settings, do a test cut and then make adjustments from there. FYI…The pink paper I used for my roses was pretty thick, so I ended up using a blade depth of 5 and a thickness of 30. The Craft Smith 12 x 12 papers didn’t need hardly any tweaking.
ROSE
:: materials ::
- 14-15 sheets of 8.5 x 11 inch paper or cardstock*
- hot glue
- Cut files
SVG:
Silhouette Studio:
- rose cut file – large petal
- rose cut file – medium petal
- rose cut file – small petal
- rose cut file – center bud
- rose cut file – base
*If using a gradient of shades, you need 5 of one color for the outer petals, 5 of another color for the middle petals, and 4 for the center petals and bud. The base can be any color and is cut two to a sheet.
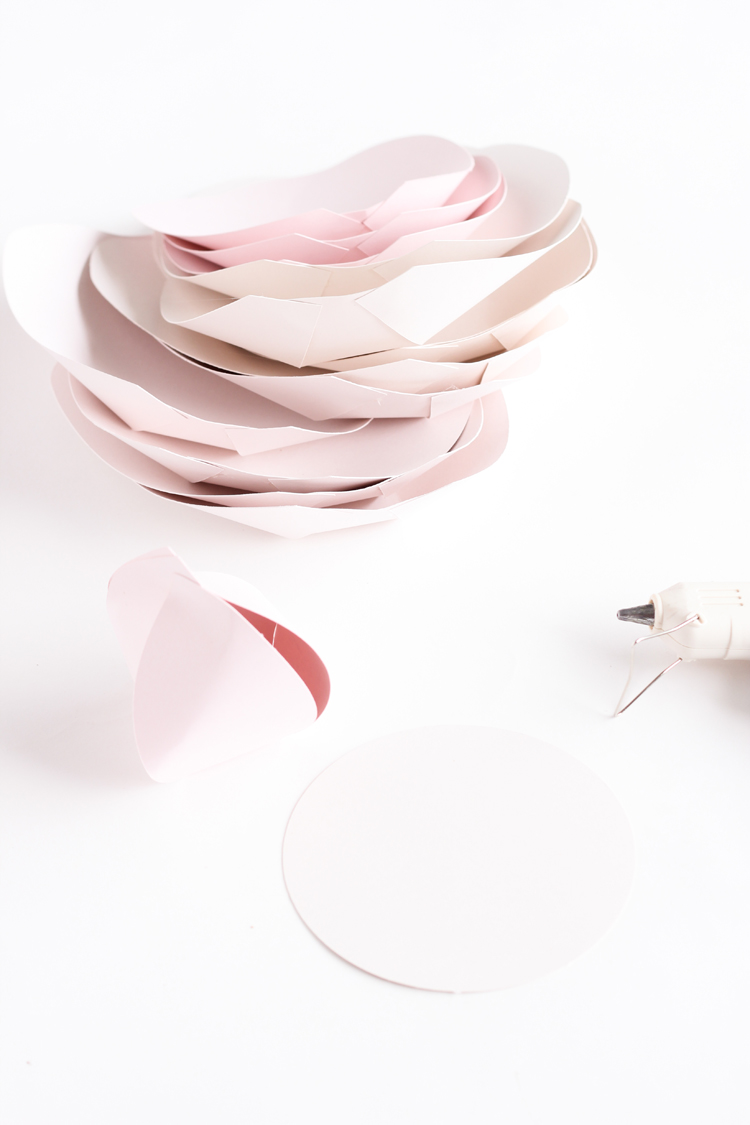
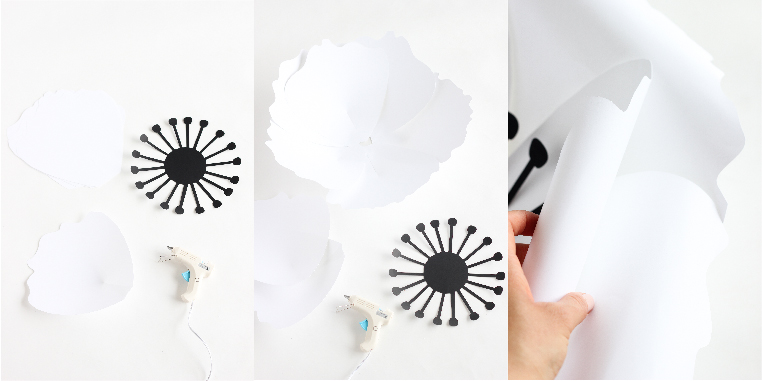
1. Glue the center bud closed.
Twist and glue the petals to each other one at a time. They should not meet in the center perfectly. They should twist and look somewhat imperfect. There may even be some gaps between the petals. This is part of the charm.
2. Pleat the petals.
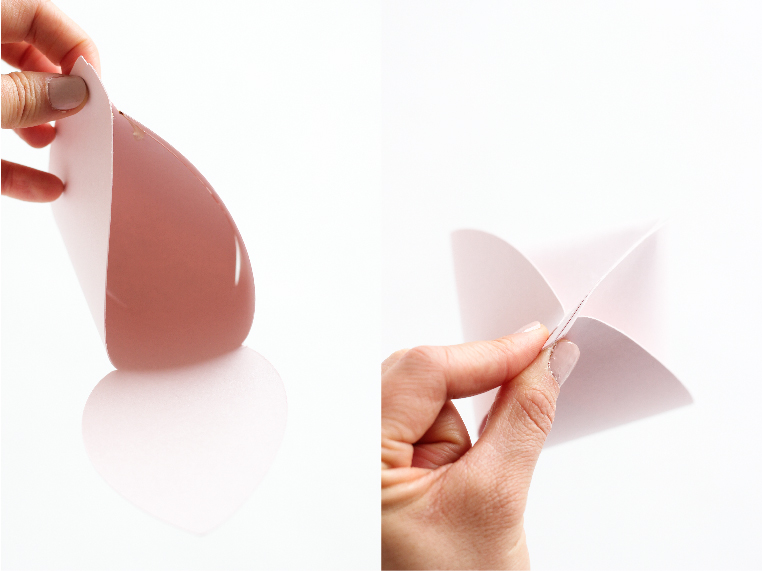
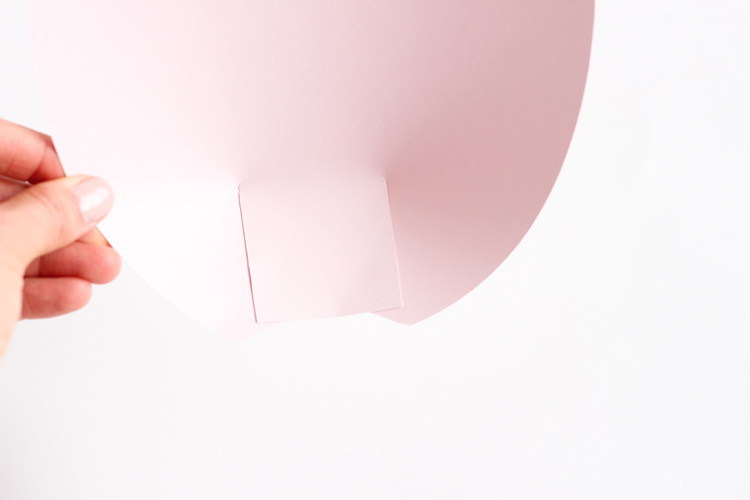
There are two slits at the bottom of each petal. Apply a small dot of hot glue to the sides of each of the slits and slide them under the center section. You should end up with a curved petal, shaped like a shallow bowl.
3. Assemble the rose.
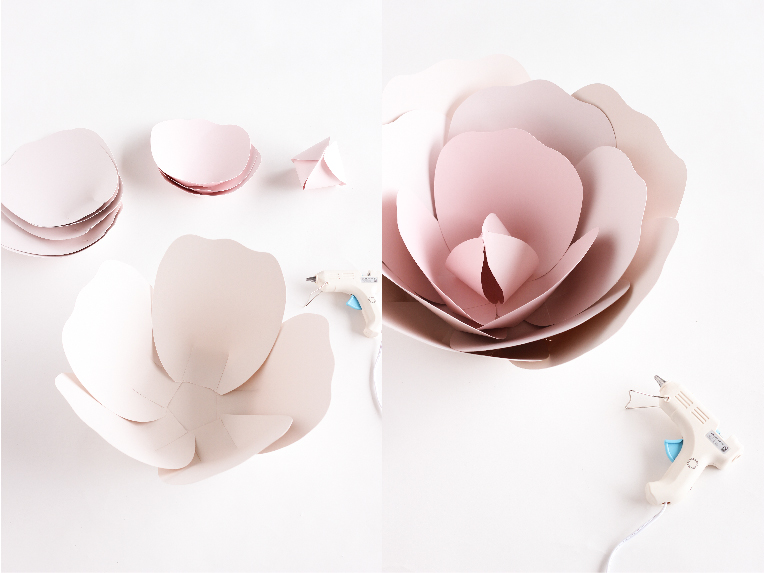
Glue the large petals around the perimeter of the base, overlapping them a little bit. Add the medium petals, and then the small petals. Finish off the flower with the bud in the middle.
4. Shape the petals.
Gently curl the petals by hand to give them shape and dimension. Be careful not to fold or crease them. You can use a cup or other large cylinder to help get a nice curl. You may want to play around with which direction you roll them to get a natural effect.
ROSE BUD
:: materials ::
- 3 sheets of 8 1/2 x 11 inch cardstock in the color of your petals
- 1 sheet of 12 x 12 inch cardstock – green leaf color
- pencil or small tool
- Cut files
SVG:
Silhouette Studio Files:
Assemble the bud, as explained in the rose section. Glue the bud to the leaves. Cut the leaves with a pencil or small tool.
WISTERIA
:: materials ::
- 4 sheets of 12 x 12 inch cardstock
- hot glue
- 12 gauge floral wire
- pliers/wire cutters
- pencil or small cylindrical tool for curling paper
- Cut Files
SVG
Silhouette Studio Files:
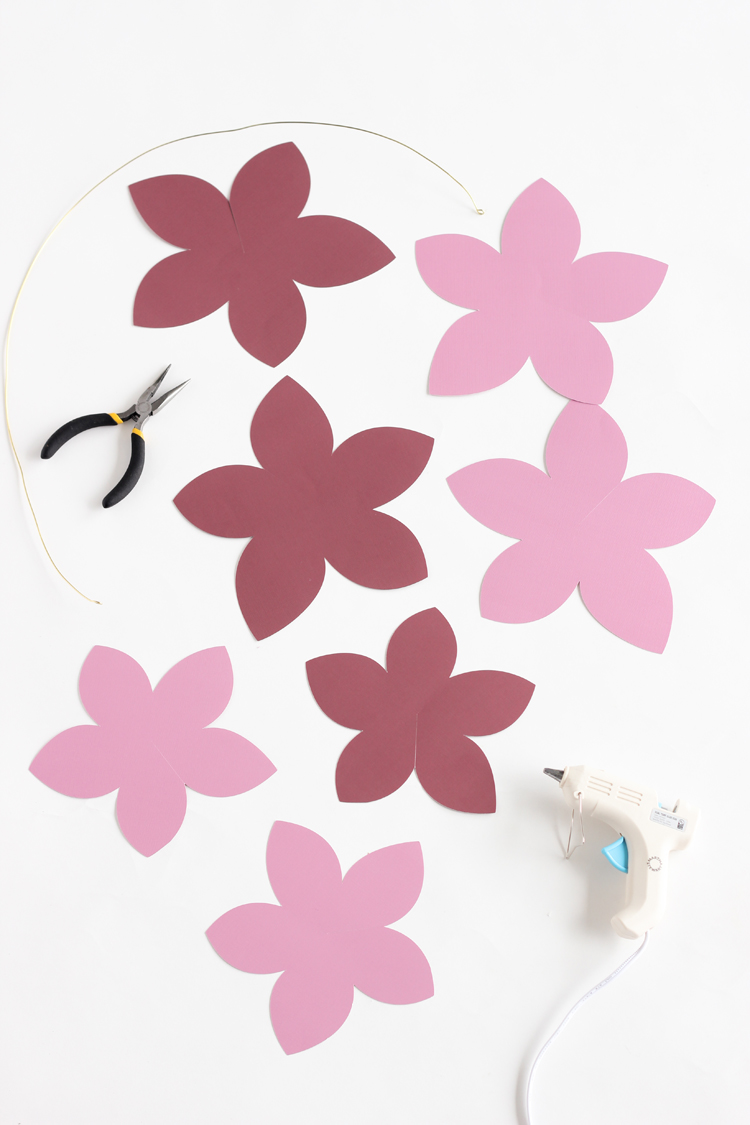
1. Gather 7-9 flower pieces.
Make sure about half are large and half are small. If you cut 4 sheets of paper you will have 8 flower pieces, four large and four small. Since I made several wisteria blooms, I varied my number of flower pieces to add interest. I also mixed and matched my colors.
2. Cut a piece of wire about 18 – 24 inches long.
3. Create flower cones.
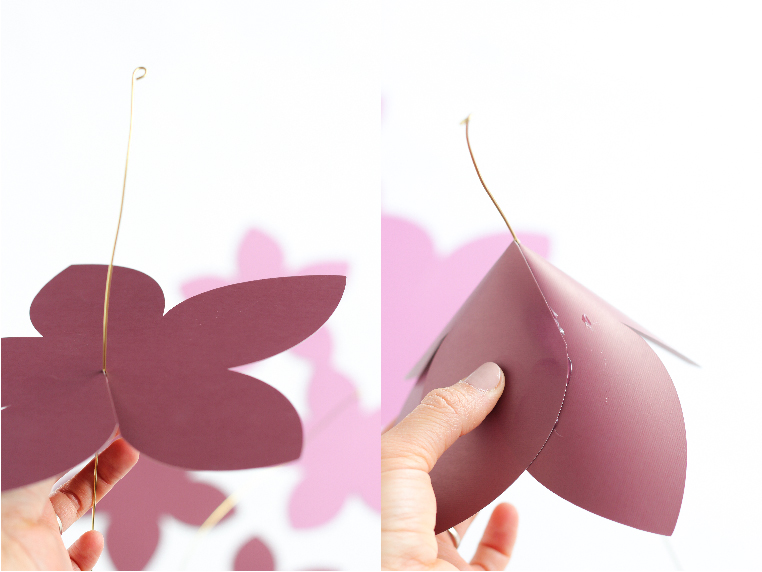
Each flower piece has a slit on one side. Through that slit, slide it on the wire. Overlap those ends until you have a cone shape. The blooms should look layered on one side. This helps add dimension. Hot glue the ends in place. Then hot glue the cone in the center to help hold it’s place on the wire.
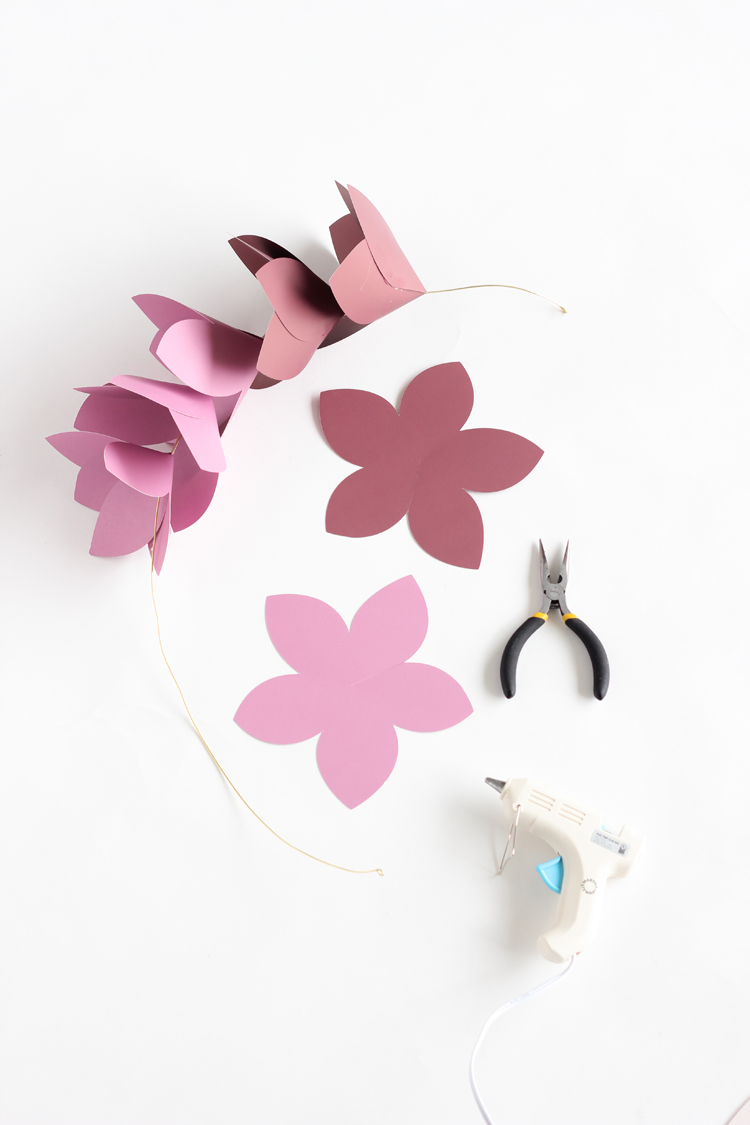
Repeat for all the blooms, starting with the larger blooms on top and the small blooms at the bottom.
4. Finish wire ends.
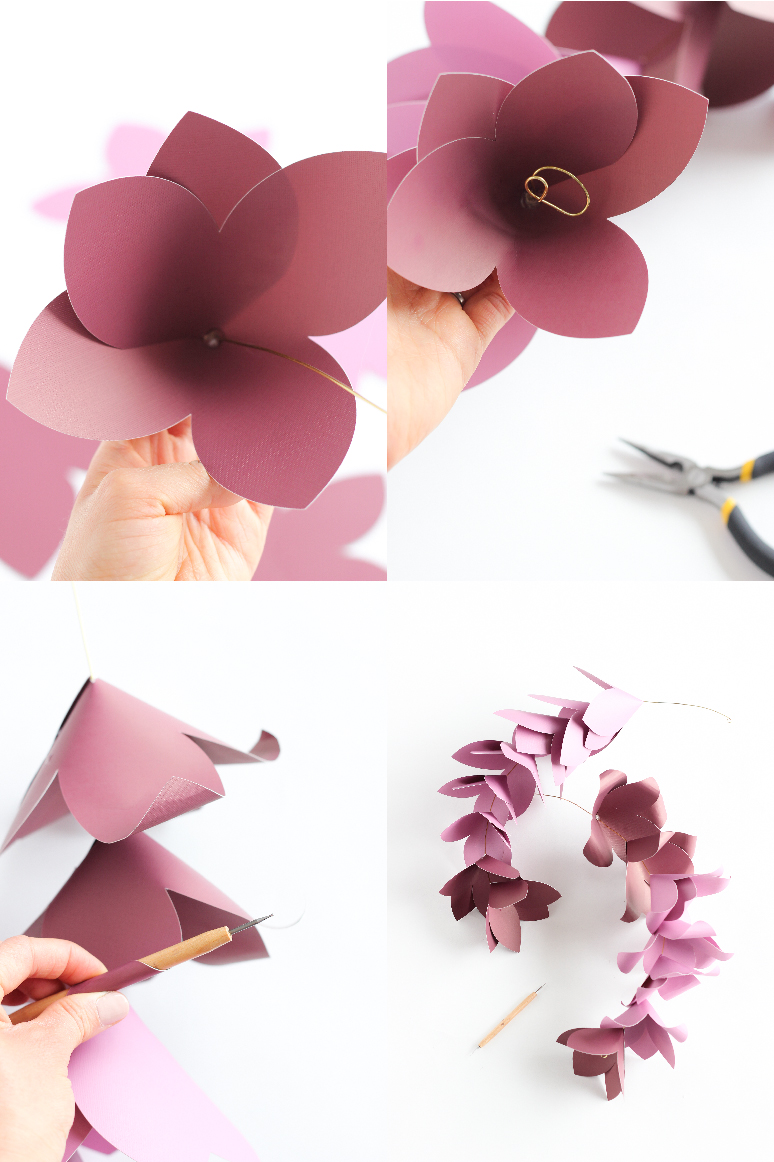
Curl the wire end at the bottom of the flower into a spiral shape. Keep the end at the top long, but curl the sharp end under to avoid snags.
5. Curl petals.
Using a pencil or small tool, curl the ends of the petals outward and upward.
KUMQUATS
:: materials ::
- 1.5-2 sheets of 8.5 x 11 inch cardstock*
- paper brads
- Cut Files
SVG Files:
Silhouette Studio Files:
- kumquat cut file large
- kumquat cut file small
- -OR- paper cutter and single hole punch
*For a large kumquat use two full sheets. For smaller kumquat, only 1 1/2 sheets is needed.
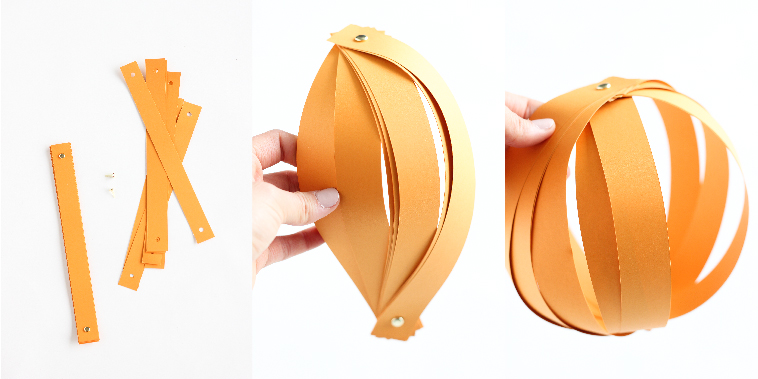
1. Cut paper strips and punch holes at each end.
2. Stack paper strips together and insert brads into each end.
3. Pull strips of paper apart until a ball forms.
ANEMONES
:: materials ::
- 8 sheets of 12 x 12 inch cardstock in one color
- 1 sheet of 12 x 12 inch cardstock in black or similar color
- hot glue
- Cut Files
SVG files:
Silhouette Studio files:
* The petals file has one version on the mat, with two other versions off mat. You can switch it up or leave them all the same.
1. Pleat the petals.
There is one slit at the bottom of each petal. Apply a small dot of hot glue to one side of the slit and overlap the sections. You should end up with a curved petal, shaped like a shallow bowl.
2. Glue outer ring.
Glue five petals into a ring, overlapping them a bit as you go.
3. Add inner ring.
Glue another round of three more petals to the first ring of five.
4. Add the center.
Glue the center piece to the middle of the flower. Curl the spokes inward a bit, if desired.
5. Curl the petals.
Using your hand, or a cup, curl the petals. Anemones tend to curl unpredictably, so feel free to curl them inward and outward or even a little sideways as inspiration strikes you.
Optional: Add a base piece using the base cut file for the rose. Although, keep in mind that anemones naturally are a more fragile, kind of floppy flower, so a base is not necessary.
LEAVES
:: materials ::
- 1 sheet of 12 x 12 inch cardstock per leaf
- leaf cut files
- Cut Files
SVG files:
Silhouette Studio files:
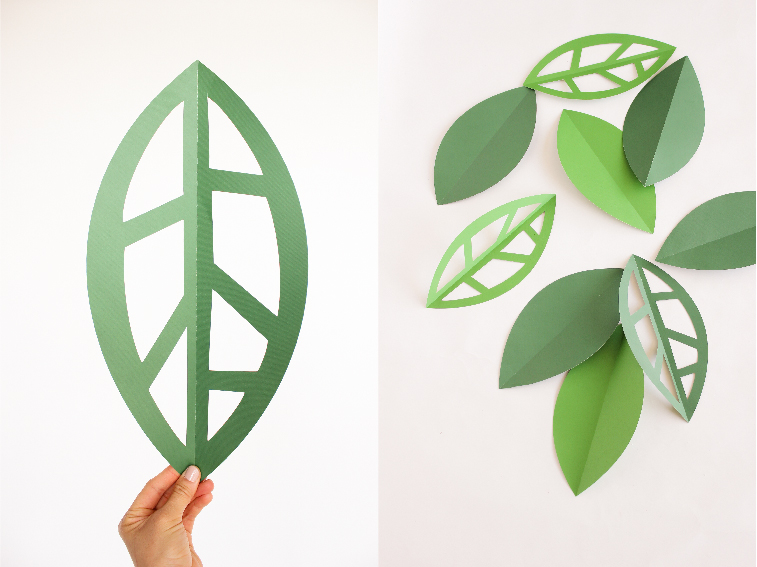
Cut the leaves and fold them along the perforated center line. Curl them if desired.
:: additional materials ::
When hanging the flowers and leaves, I used some painter’s tape so that I wouldn’t damage the arch I was using, as well as some floral wire. Sometimes the floral wire would tear through the backing of the flower. To prevent that, I used painter’s tape to reinforce the backing and to keep the wire in place.
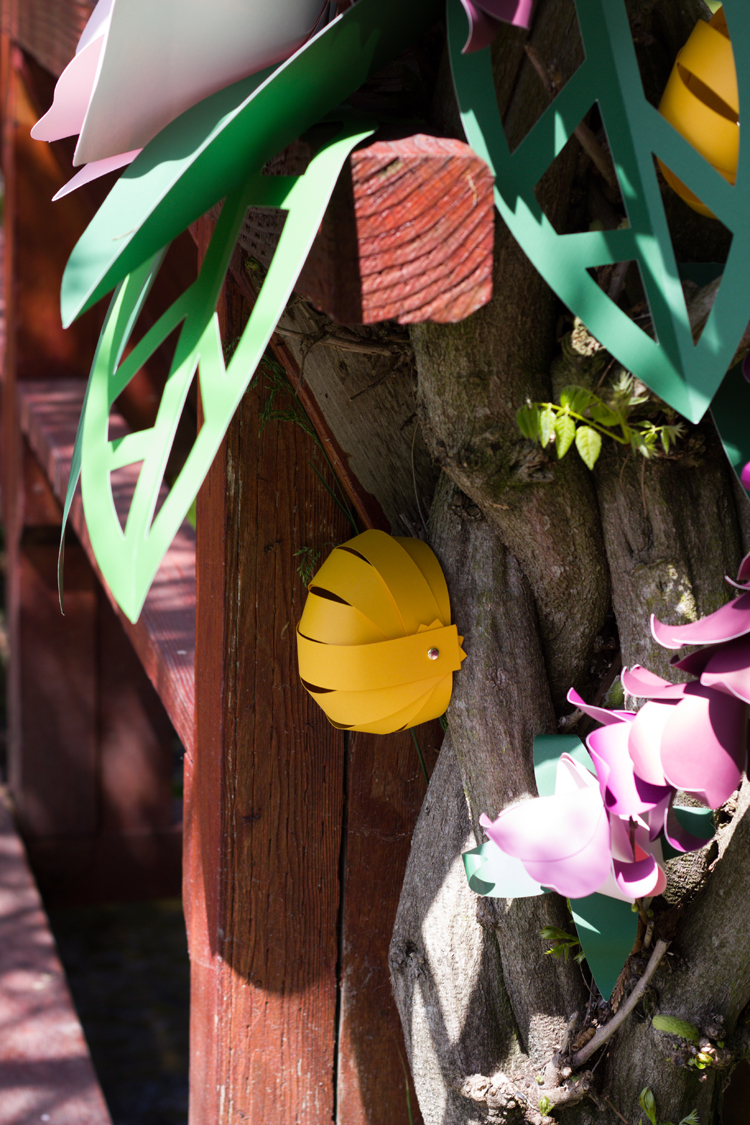
TIP: A trick for getting the kumquats to stay without tape or wire, is to allow them to fold up a bit. This makes the kumquat look fuller for the portion that you see and it allows them to hook onto other flowers or structures.
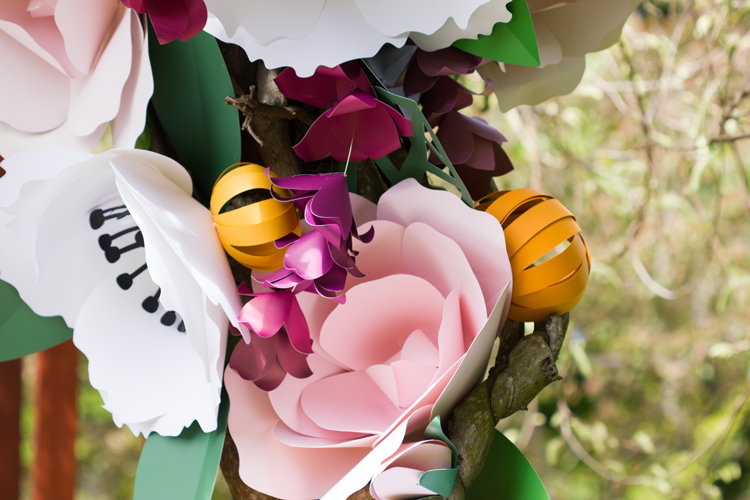
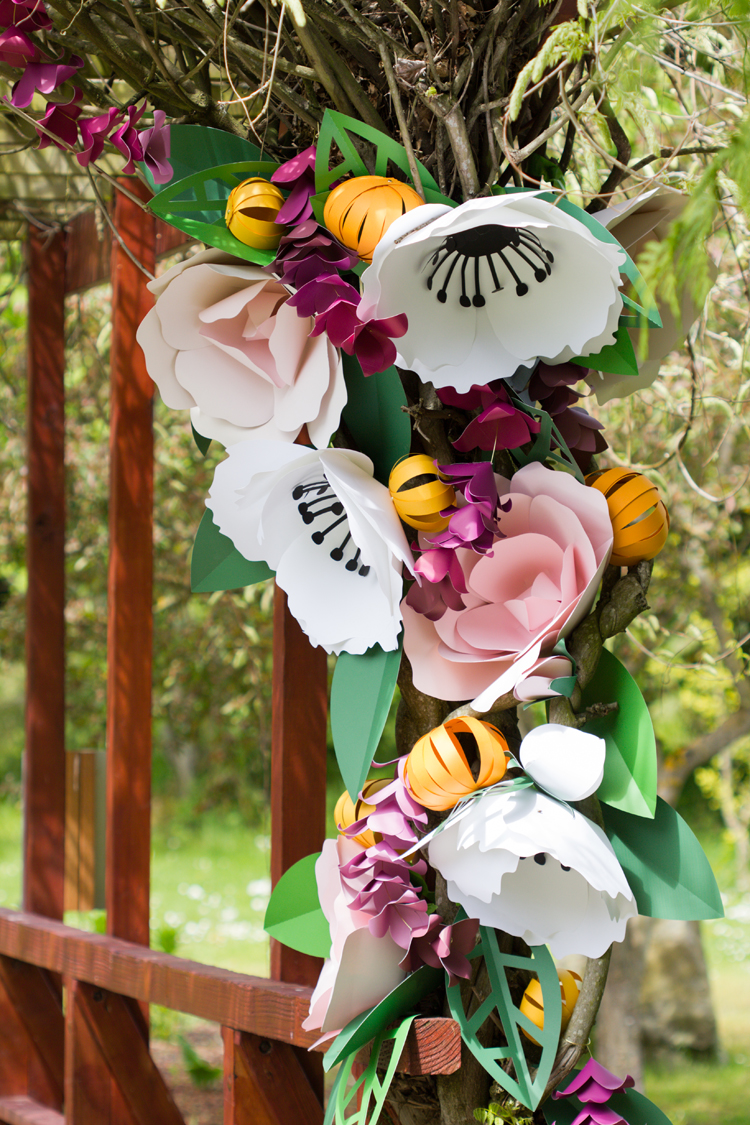
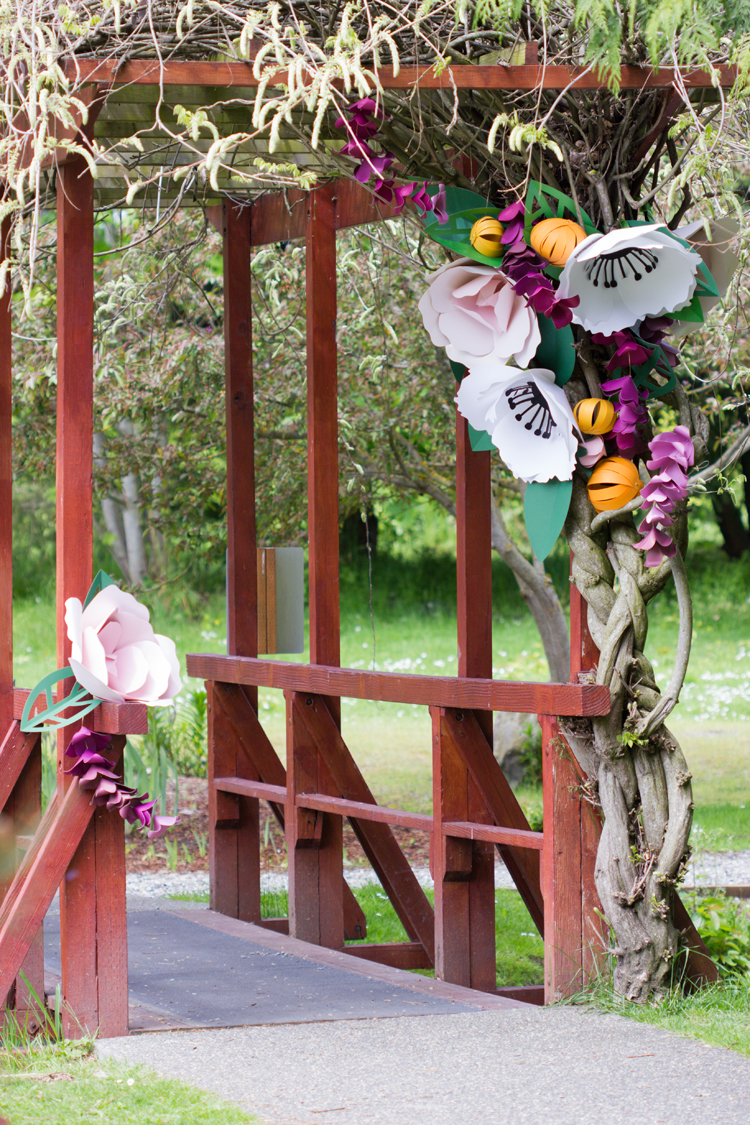
They look great wound in a tree, draped over an arch or a bridge, as wall decor for a party…wherever you want to add some show stopping beauty.
Disclaimer: This post is sponsored by Silhouette. All content and opinions are genuinely and enthusiastically my own. 🙂




Oh my gosh Delia, this is STUNNING. Wow. Really beautiful.
Thank you Dana! <3
These are stunning! The most incredible decorations for a garden party, or even a wedding
– Natalie
http://www.workovereasy.com
Thank you Natalie!
Oh my heart!! I adore this!! I’m going to make an arrangement for the wall above the stairs! I have an old silhouette 8″. How many blades did you go through to stil get clean cuts? ? Love seeing pics of your family and what you’re up to ?
Hi Jessica! It’s so good to hear from you! So, I have been using the automatic blade on all sorts of things, even felt, and I have still not had to change it. It’s kind of amazing. I hardly ever clean it too. I didn’t even think about it until you said something. I’m sure it will dull now, after saying this. Ha!
These are amazing! I love the colors!
What beautiful hand made design. I will try to make this with my little girl. Thank you.
Thank you for sharing the tips and trick. I will tell my sister about this.
Beautiful! Do I need to have a cutting machine to get the file? Don’t have one:(
Yes…you do. But if you don’t have a machine, Miranda from Live Free Creative Co. and Dana from Made Everyday, both have beautiful hand cut options. I linked to them at the beginning of the post. I hope that helps! <3
I am printing the flower. Do you have the link for the leaves?
I do! Thank you for letting me know the link was gone. I think I accidentally deleted the files from my google drive. I have added the leaf files back in. Let me know if you have any issues downloading them.
Thank you for sharing! I’m looking forward to creating these.
Ok… so I found your awesome site from Silhouette Life Inspiration Box Facebook page… and WOW… thank you so very much for the amazing giant paper flower instructions & cut files!!! No on to check out everything else you create. Thanks again!!!
Welcome Karen! So glad you’re here! <3
I’m having a difficult time downloading the petals, which program did you use? Thank you.
Hi Cynthia! So sorry to hear about the download issues. They are Silhouette Studio files. I hope that helps. Let me know if you have any more issues: [email protected].
This is stunning. I’m a beginner in paper flower crafting, your tutorial is so easy to follow. I definitely will try this. I’m so glad I randomly find this in Pinterest. Thank you Delia.
Thank you Erika! I appreciate that you took the time to leave such a kind comment. <3
Beautiful! Do I need to have a cutting machine to get the file?
You do. But if you want a print and hand cut type of template, I think Miranda from Live Free Miranda has some. Or at least she shows you how to get the shape you want.
Hello, Ill use my silhouette Cameo 2 cutter to cut this flower. I’m also will use my 12×12 mat. Do you have instructions on how I can cut the flowers with the default settings? Please help. I like to use the large size option. The default settings are large than my mat size.
I’m not sure why the file is larger than your mat. Sorry about that. You can resize it to shrink to fit your mat and you should get a nice large flower. I hope that helps.