

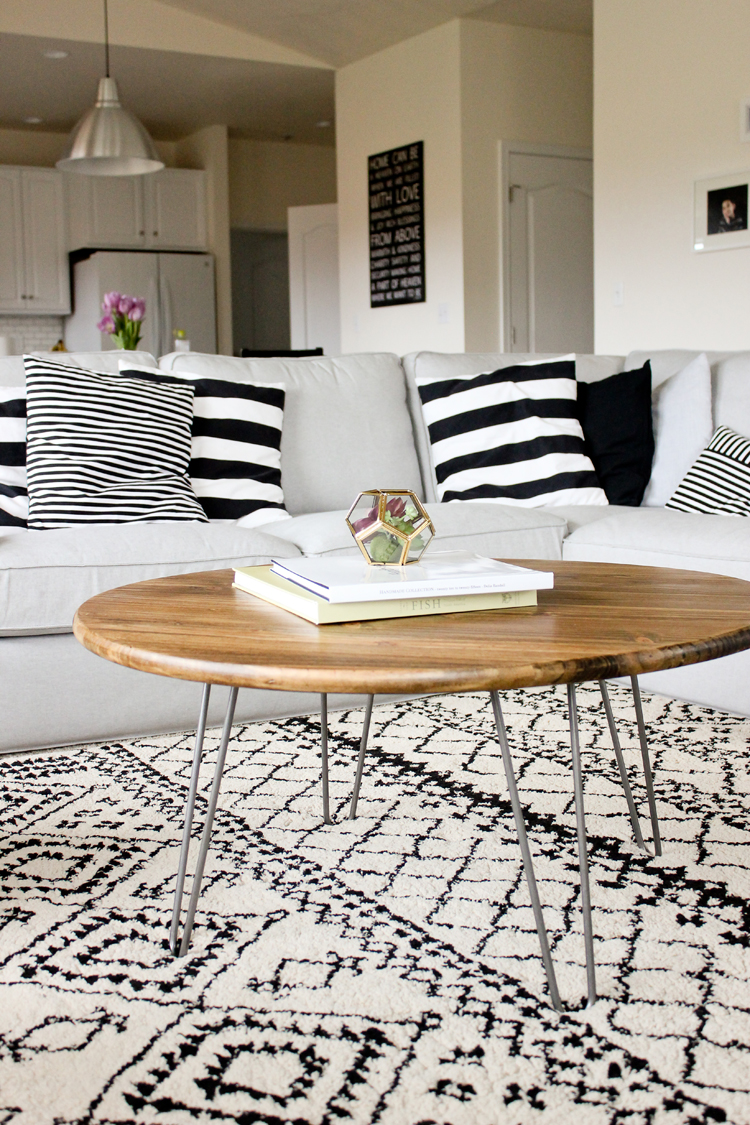
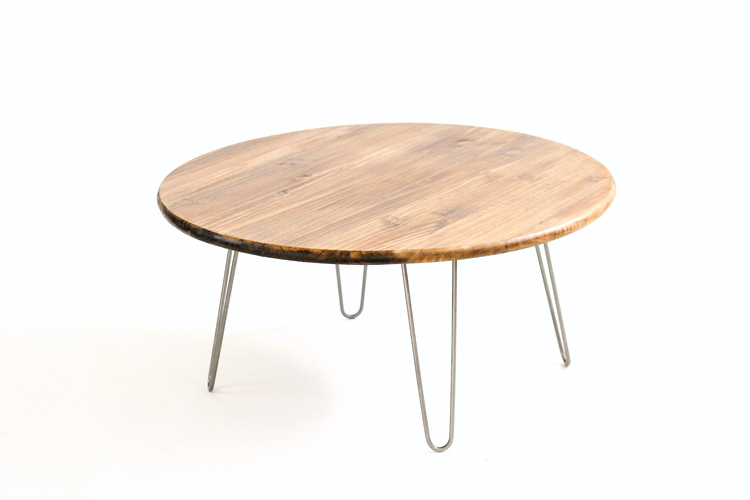
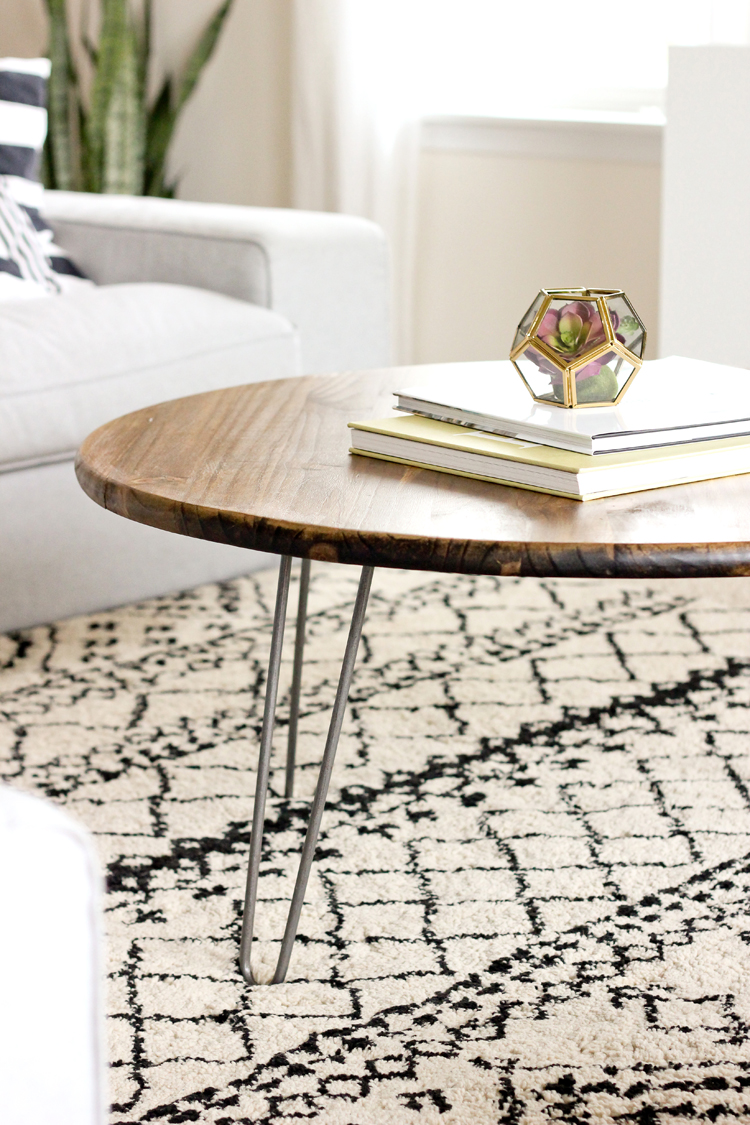
After having such success with our hairpin leg dining table, I decided to give hairpin legs another spin for our coffee table.
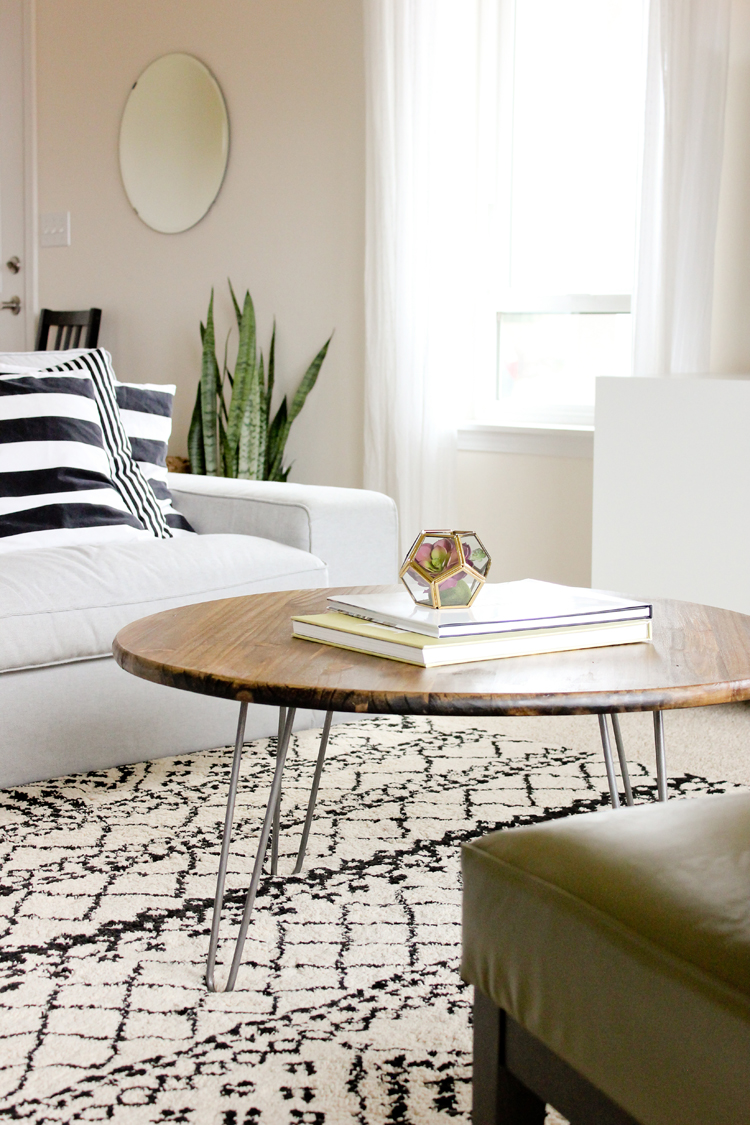
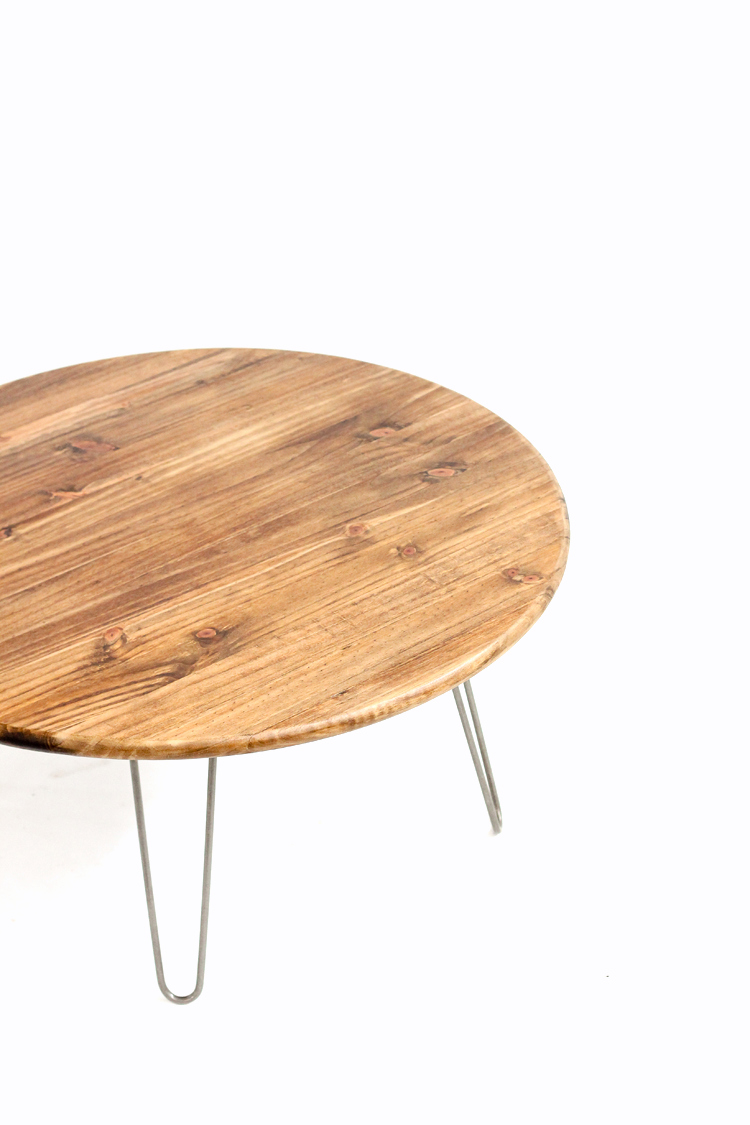
I love the industrial, modern/vintage look of the hairpin legs mixed with the warm, stained wood table top.
The history behind hairpin legs really speaks to me as well. They were designed in the 1940’s in response to war-time material limitations. The original designer, Henry Glass, believed you should “make the most with the least,” which, I think, would make a great mantra for the DIY movement of today. If you want to learn more, I found THIS article to be a great (and quick ;)) read.
Praise to Henry Glass for creating something so sturdy, so aesthetically pleasing, and reusable to boot! With three kids running around, it’s comforting to know that they really can’t break these legs, and that if the top gets ruined, I can simply replace it.
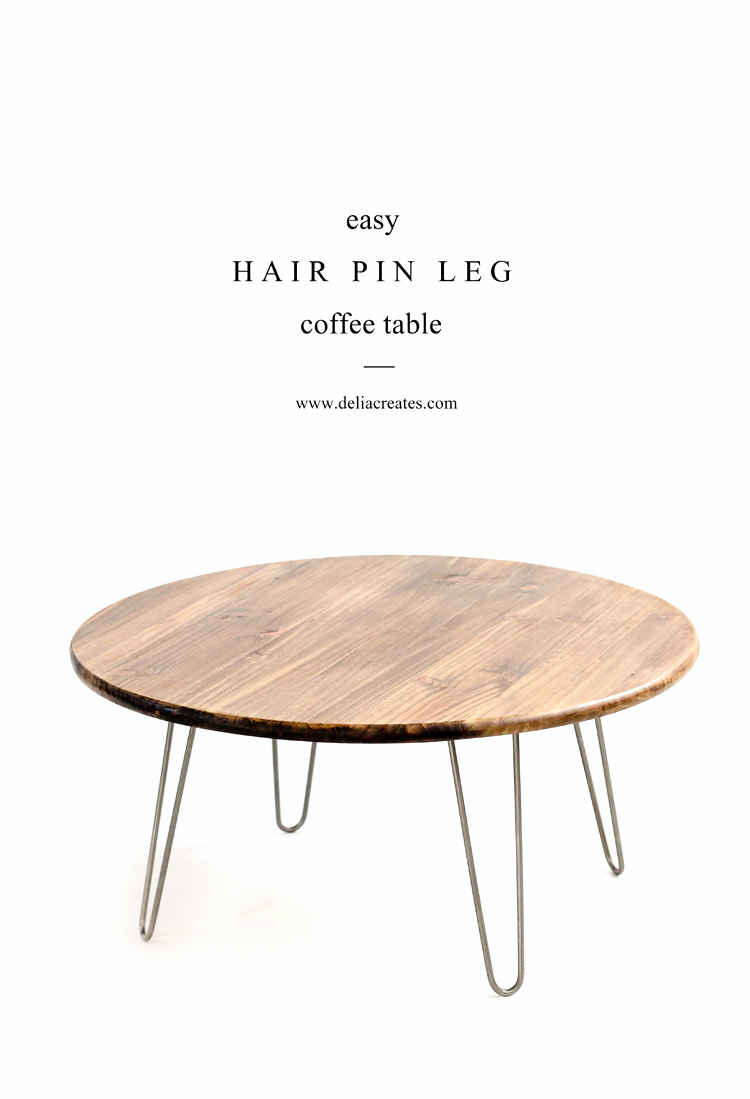
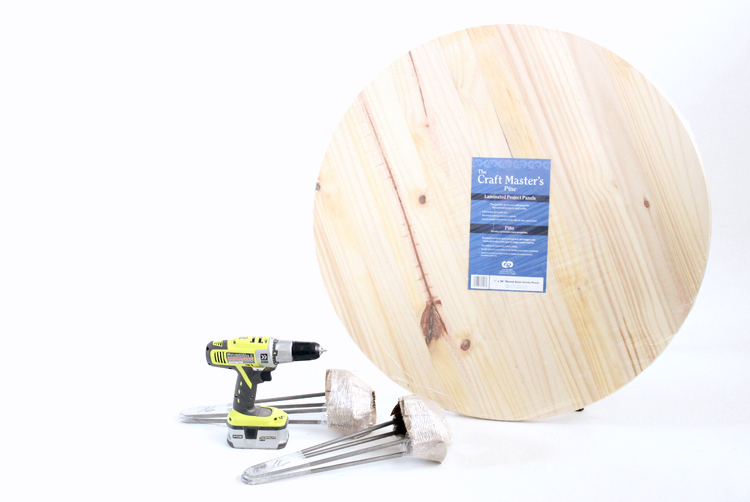
Speaking of the table top, all it is, is a 3 foot pine wood round from Lowe’s, which makes this project especially quick and easy! Hip hip hooray for that!
Ready to get started?
MATERIALS
Pine wood round from Lowe’s (3 ft. diameter)
*Hairpin steel legs
Denatured alcohol
Steel wool
Spray paint clear coat enamel
Wood stain of choice
Clear coat finish for wood
High quality paint brush
80 and 120 grit sand paper
**3/4 inch machine screws + construction adhesive (or wood screws and large washers – see notes for more explanation)***
Split ring locking washers
Power screwdriver
Measuring tape
Pencil
Optional: Construction Adhesive (see the bottom of the post for explanation)
Materials Notes:
*Most coffee tables are about 16-18 inches in height. Choose legs that are 16 inches in height to accommodate the table top. I chose very similar legs to these from Amazon (my original listing is no longer available but the look and cost is almost identical). The shipping is free (!) which is a nice bonus since these legs are heavy. Affiliate Link: Narrow Hairpin Legs, Multiple Sizes, 3/8″ Solid Steel, Set of Four (4) (16 inches)
**The pine rounds from Lowe’s come at about 1 inch thick. If you factor in the height of the leg top and the locking washers, 3/4 inch screws are just the right height.
***I used machine screws because they fit better in the hairpin leg base plate and that is what I have used for things like my hairpin leg dining table. They hold up great in plywood, but I found a year after making this table that they do not create as strong a connection in pine. Over time my table was not able to take as much kid abuse. A reader suggested using a smaller wood screw with a washer. I added some construction adhesive and it has held up beautifully since. I am updating this 2.5 years later and I have had zero problems since adding the construction adhesive (like Loctite).
TUTORIAL
STEP ONE: Prepare hairpin legs.
If you order the hairpin legs with a raw steel finish, as I did, then you will need to clean them before you use them. Wipe them down with some steel wool and denatured alcohol and then wipe it clean and dry with an old towel.
STEP TWO: Stain table top.
Sand your table table really well, especially the sides, which will be fairly rough.
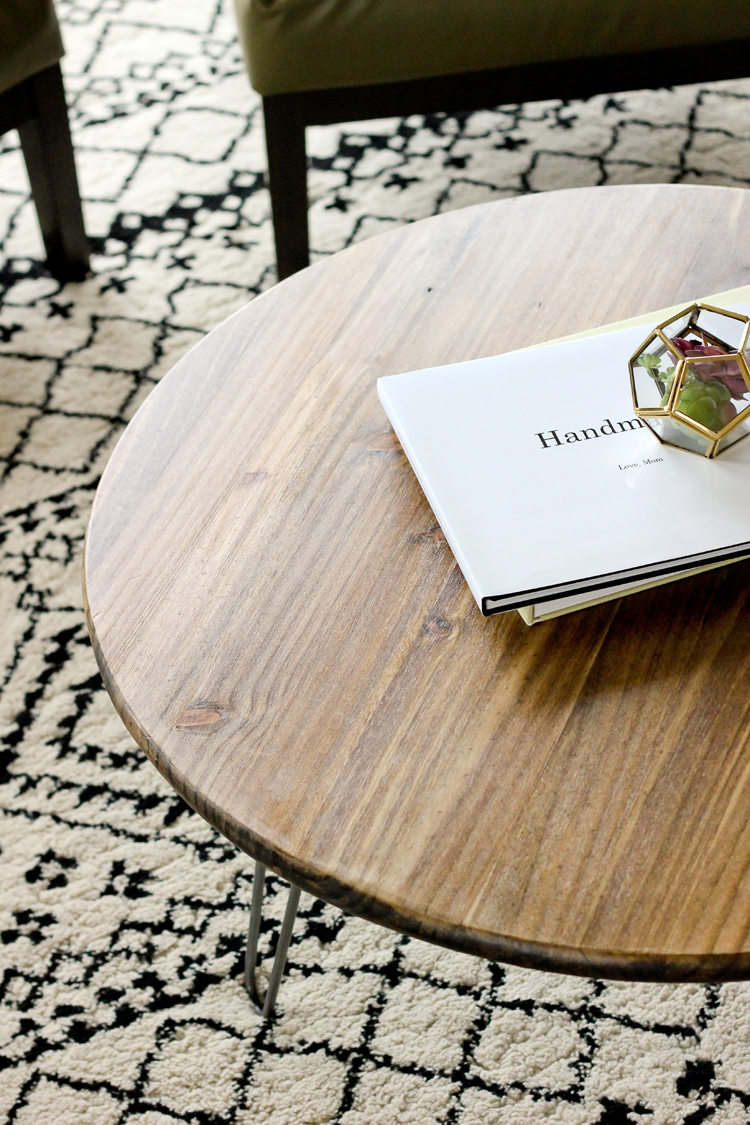
Stain your table top as desired. I started out using Minwax’s Dark Walnut on the bottom of my table, but I found it to be too dark, so I switched to Minwax Golden Oak mixed with a little bit of Dark Walnut.
Note: the sides of the table may have knots and variations in the wood that will affect how well it absorbs the stain. You can apply a primer to ensure even color, but I like how the variety makes it look unique and natural.
Let it dry completely.
STEP THREE: Finish table top.
Lightly sand the table top with 120 grit sand paper, wipe away the sawdust and apply a clear coat. I used Varathane Triple Thick because it’s held up so well on our dining table, but Miniwax’s Polycrylic would do just fine too. I used it on our kitchen cabinets with great success.
Be sure to let the clear finish cure for as long as the can dictates. This not only allows the finish to properly harden, but it also allows the fumes to dissipate before you bring it inside. If the finish still smells a little strong after the full curing time, I have found that a gentle wipe down with soap, water, and a dry towel can help as well.
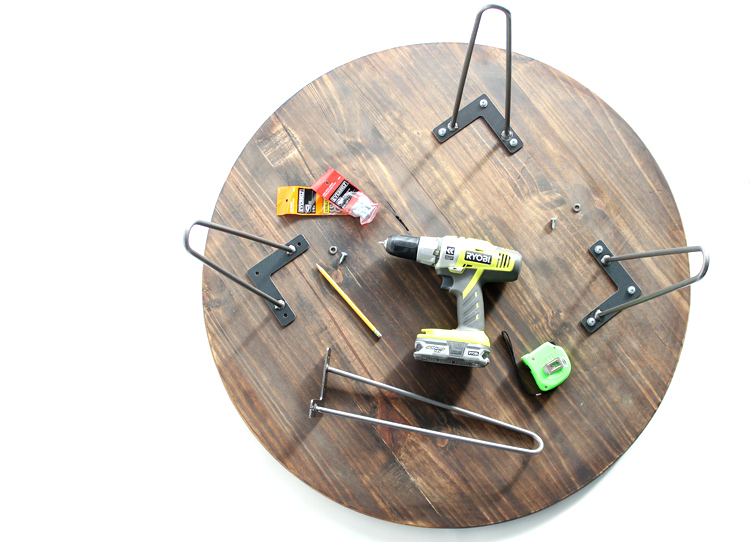
STEP FOUR: Attach legs.
Once your table top is entirely dry and finished, measure out a square on the underside of the table top, for your leg placement. You don’t want your legs too close to the edge or too close to the center. I found that in between those two extremes was a good balance for aesthetics and function. My leg top corners are about 4-5 inches away from the edge.
Once you decide your leg placement, use your measuring tape to ensure they are evenly spaced from each other and centered on the table. Be sure to measure the legs from all angles. And measure twice (trust meeeee ;)). Then mark the holes of the leg tops with pencil. This helps you keep everything lined up perfectly as you work.
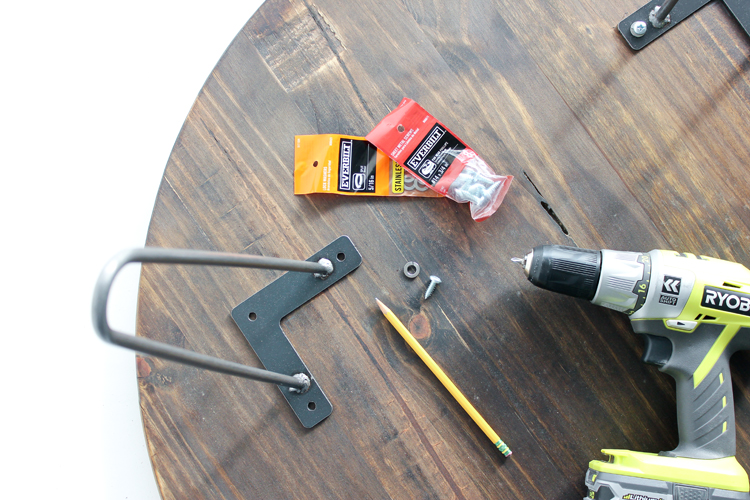
With the table top face down on a clean, stable surface, screw the legs in.
Place a split ring locking washer over the hairpin leg hole, and then screw the machine screws in until tight.
TIP: If you have a small frame, like me, it helps to go slow and lean in with as much of your weight as possible.
Updated to add: If you are using the machine screws, I recommend adding some construction adhesive to the legs first and then screwing them in. See my material notes for more explanation.
Be sure to check your pencil markings as you go, to ensure that they line up with your leg base holes.
All done! Pretty simple right?
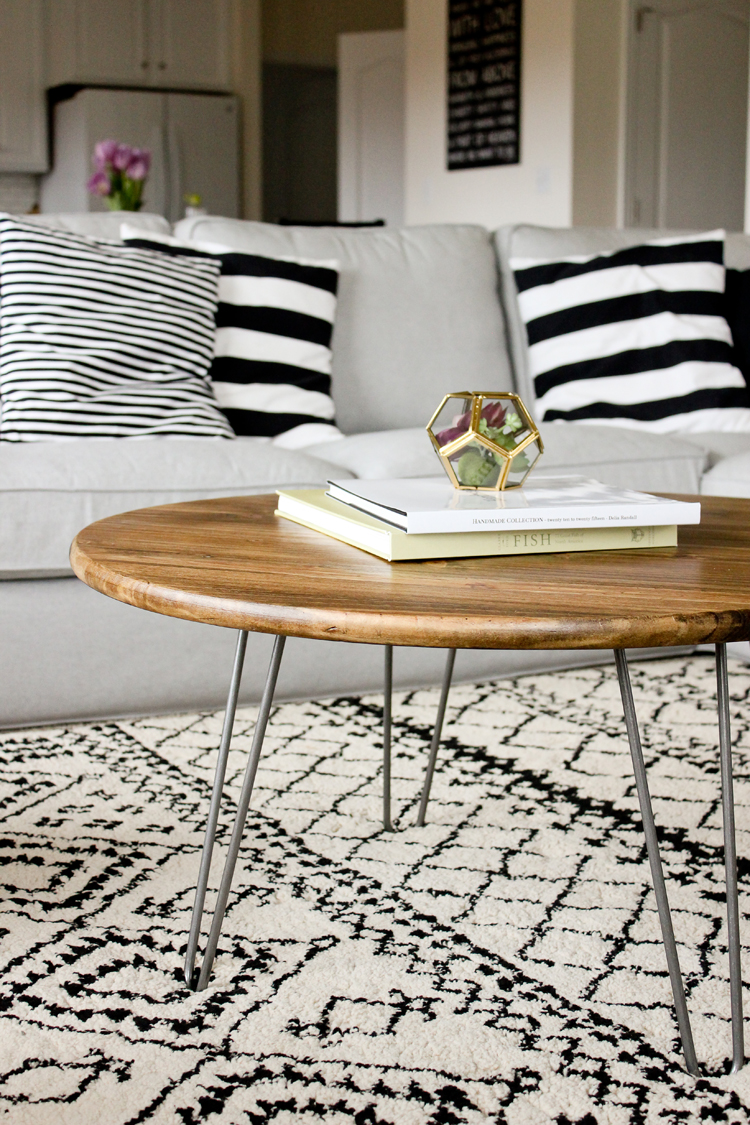
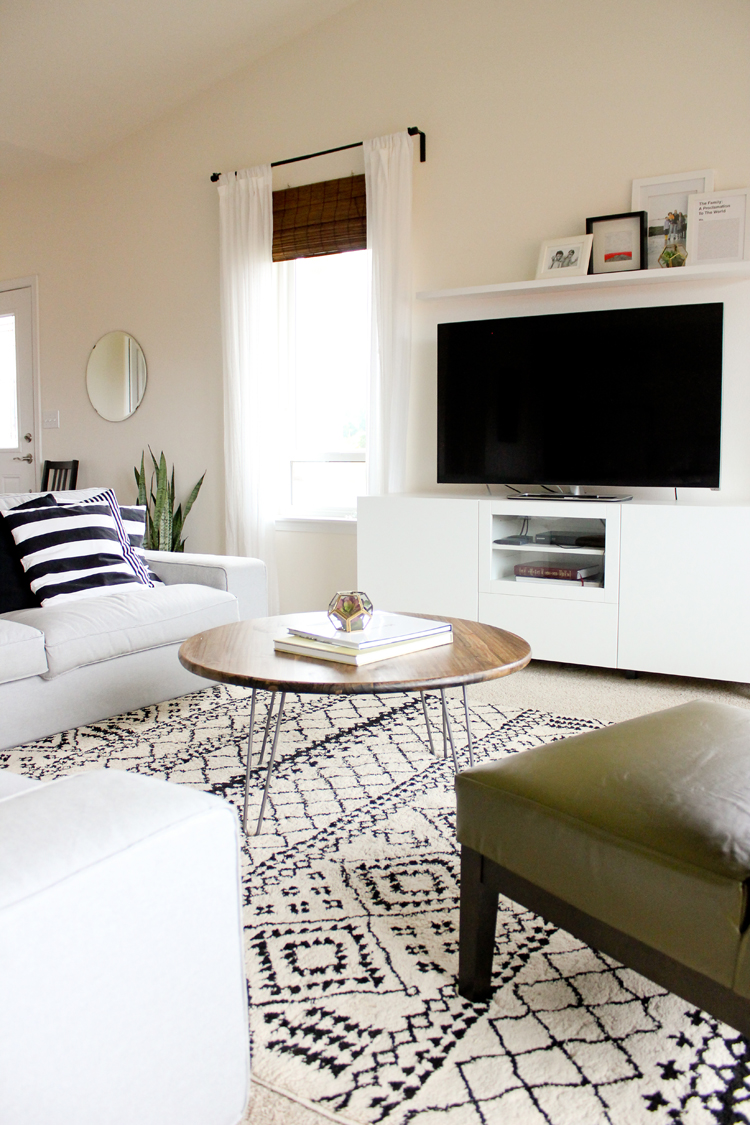
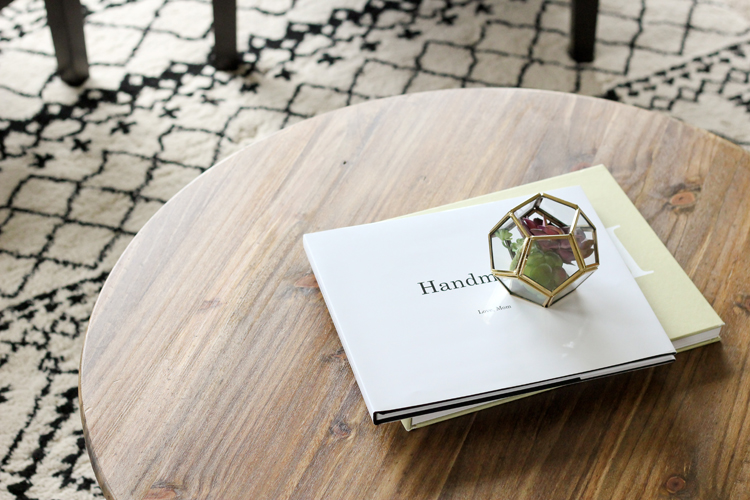
Other DIY’s featured in these pictures:
Leather Chairs || Faux Succulent Terrarium || Handmade Collection Blurb Book || DIY Kitchen Reno
Beautiful. Absolutely beautiful.
Thank you Carol!
I love that table. I may need to make one myself. You make it look easy. Thanks for the tutorial. I also love that rug. Where did you find that, if you don’t mind me asking?
Melissa
Thanks Melissa! Of course I don’t mind! It’s from Target. 🙂
I love the color variations in the tabletop… so pretty!
Thank you Charity!
I’m really impressed. I expected a much longer tutorial, but you were thorough and it was still quick! Maybe someday I’ll attempt one!
Thank you Kelli! It really is such an easy project. I’m so glad you like the tutorial!
That s it! This is such an easy project, and the results are well-worth a little elbow grease. Waiting for the stain to dry took the longest, but once that was done, I was able to complete this project in less than 20 minutes. So you can easily squeeze this into your busy weekend schedule!
Awesome! I am so glad you like the tutorial and that you were able to complete it so quickly! I’m impressed!
Wow!!! You sure are talented! Your house looks beautiful!
Goodness. Thank you Krista! You’re so kind.
Thank you for the tutorial – I just love your table! I’m going to try a variation, since I’m in need of a small round table for our breakfast nook. And if we don’t need it in our next home (we’re renting right now and we’ll likely move in the next year), I’ll just switch out the legs and make it into a coffee table!
That’s brilliant! Isn’t it so great that these legs are reusable?
Love this table and can’t wait to make my own! Would a 1/2 pint can of the wood stain be sufficient for this size table or would you recommend getting a larger can?
Good question. I think 1/2 pint would be plenty. Of course, that would depend on how dark you want it, but I get the small cans and I only use about 1/4 a can each time for projects about this size. I hope that helps!
Help! I followed your tutorial and my table looks great, but I messed up the leg measurements and they are uneven on the diagonal. Any suggestions for fixing this problem?
Thanks! I am so excited to use it and so bummed it rocks constantly.
So sorry to hear that Andrea! Do you mean that the legs are not all the same length? Or do you mean they aren’t evenly spaced? If the latter, you can remove the legs and correct the placement. You’ll just have some open holes on the bottom of your table, but no one should be able to see that unless they lie under it. Does that help?
If not, I would be happy to help you troubleshoot. The best way to communicate with me more readily is by email: [email protected]
Hello! I love this table and am excited to get working on it. Question regarding the legs: I noticed you included a clear protective enamel in the supplies list (assuming for the raw stainless steel) , but I didn’t see in the instructions if you used it. Im new to DIY and read that you need to finish raw steel or it will rust. Is this the case and if so do you use the clear enamel for that?
Great question! Yes, you use the clear protective finish for the legs.
I wanna make this one, so cute! but what is the length of the hairpin legs you used?
Thanks! They are 16 inches long.
Love this! Already purchased a slightly smaller round on Etsy. Can you tell me what brand wood stain you used for this project? I am new to staining wood and want my table to come out just like yours! Thanks in advance.
Sure! I used Minwax stain…just those little cans from Home Depot. I mixed Golden Oak with Dark Walnut about 2 to 1. I hope that helps!
Hello! I am going to order hairpins legs off of etsy and they come with screws, and dont mention having to use the locking washers. Is it absolutely necessary to add those in? Thanks for your help! I am so excited for this table.
Hilary,
That is a great question. I’m not sure, because if your legs are coming with hardware, you might not need them. I use them to keep them from coming unscrewed over time. Without the locking washers, typical screws start to loosen as the table gets moved around. You can also put a construction adhesive like Liquid Nails or Loctite on the legs as you screw them in. One of our kids kept jumping off one side of our table, and even with the locking washers, it loosened a few of the screws after a few months. We moved the screws into new holes with some Loctite, and we’ve had no issues after that.It’s been maybe 8-9 months. Good luck! I hope that helps!
As a woodworker, I would say that the problem with your screws coming loose is that you used “machine screws” (which are used in metal applications), instead of “wood screws.” Locking washers are necessary for “machine screws”, but are not typically used for wood screws. And wood screws rarely come loose. If the wood screws you have available have heads that are too small for the leg holes, then you use a flat washer that is wider than the hole. I would also recommend pre-drilling holes in the wood for the screws – I’m surprised that the fat screws you show in the photos didn’t split the pine! A properly sized hole (not too big), will give you a very strong connection.
I appreciate your advice. I used machine screws for our plywood dining table and a plywood desk using another wood worker’s blog tutorial and they both came out beautifully with zero issues. I wonder if the plywood made all the difference. I didn’t have any splitting, but the pine hasn’t held up as well to kid abuse as my other tables. I’ve had to add construction adhesive…which has actually held up really well and I have had no issues since doing that. I do see how using wood screws that have more spacing between the threads could create a better connection. Thanks for sharing your thoughts. I will definitely try a smaller wood screw with a large washer if I make another hair pin leg project that doesn’t screw into plywood.
I can=me to your site because my daughter wants to make a table like yours, and asked my advice! Glad to hear that your adhesive is doing the trick! Actually, the screws in your photo (as best as I could tell), looked to be what I would call “self-tapping sheet metal screws” with a sharp point (“machine screws” don’t typically have points). The sharp point is designed to start into a piece of thin metal (like sheet metal), and then are fairly aggressive to cut (tap) a sort of “thread” as you drive them in. So the threads on screws are engineered differently for the material they are to be used in. I’m not an engineer mind you, but you can see the difference in the threads. Its tempting to think the big fat threads in a self-tapping metal screw will hold really well, but apparently their threads really aren’t the best suited for wood.
I too would suspect that the difference you experienced with the machine screws in other projects might be in the plywood, because of it’s layered striated make-up. And lastly, indeed pine is soft and doesn’t hold up as well to wear and tear! That’s why the majority of furniture is made from hardwood. That was one of the things I told my daughter. (Although there are some soft woods that are harder…)
I value your insight. Thank you! I added some notes to my tutorial following this comment conversation. I think it has benefitted this tutorial and probably future projects. I appreciate you commenting!
Hi!
For the clear coat finish for wood, did you use matte, semi gloss or gloss?!
Good question! I used Varathane Triple Thick in satin. So, it’s kind of a dull semi-gloss finish. I’ve also used Minwax polycrylic in satin on other pieces of furniture like our kitchen cabinets. It cleans up really well and doesn’t seem to show fingerprints. I hope that helps!
Hi Delia! I can’t wait to make this table! Would you mind telling me where you purchased the sofa and the pillows! Love this combo. Going to add a blush pink chair!
A blush pink chair sounds perfect! I got my couch at IKEA and I made the pillows using some (sadly) discontinued IKEA fabric. Buffalo check fabrics have been popping up all over Jo-Ann and other fabric stores though, so I’m sure you could find a good substitute. If you need a tutorial, this is how I made them: https://www.deliacreates.com/french-seam-envelope-pillowcase-tutorial/
Thanks Delia! I love Ikea. Do you happen to know the name of the sectional? I have picked one out there but not sure I love it. I found some great striped pillows at Ballard Designs. Your room is so beautiful!
There is no tutorial for the most important aspect of making this table and that is the the process of making the table top.
Screwing legs and staining is pretty straightforward but how does one get a round table top?
The table top is a round piece of wood that you can buy from Home Depot or Lowe’s.
Hi, can you spray paint the legs a brass color or do you not recommend it for the legs?
Good question. Yes you can. You might want to use a primer and then a clear coat afterward to make the paint last. Good luck!