

Want to be festive for Halloween but don’t want to wear a costume? Or maybe you need a subtle way to celebrate where you can’t dress up, like at work. Today’s DIY might be just right for you.
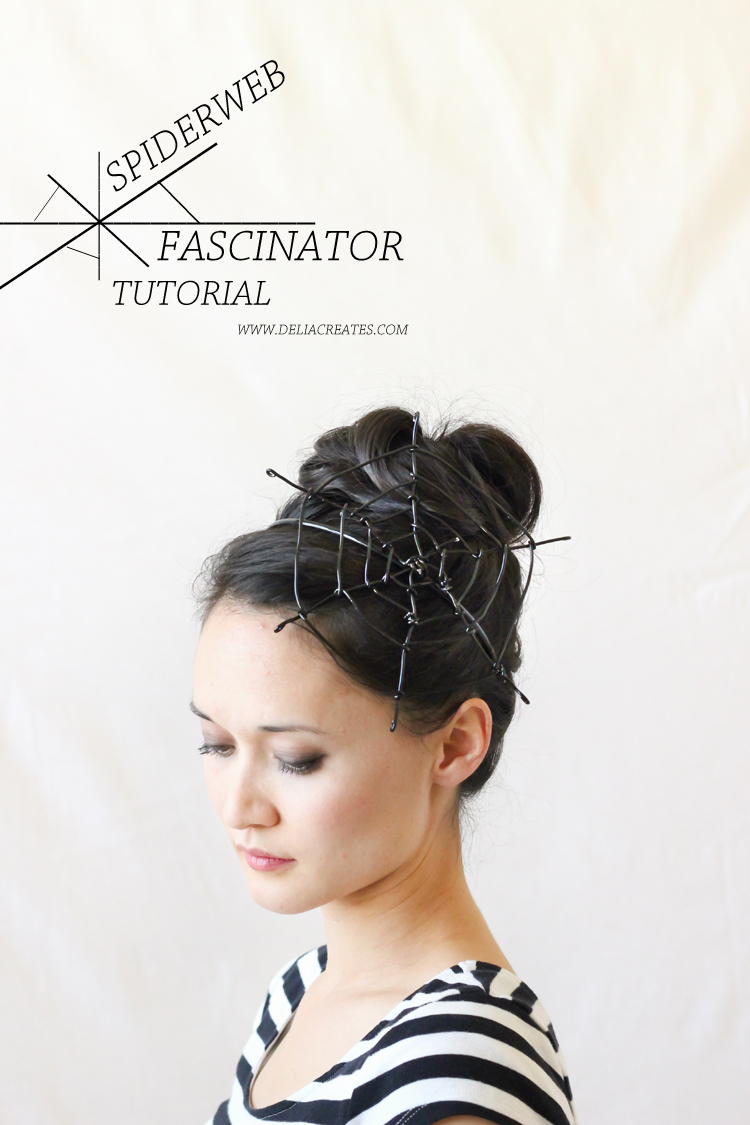
 It’s a cute little wire fascinator that you wear like a headband…
 If this project looks familiar, it’s because I first shared it in Jo-Ann’s Fall Lookbook which you can read more about HERE.
It’s simple and easy! My favorite kind of project. 🙂
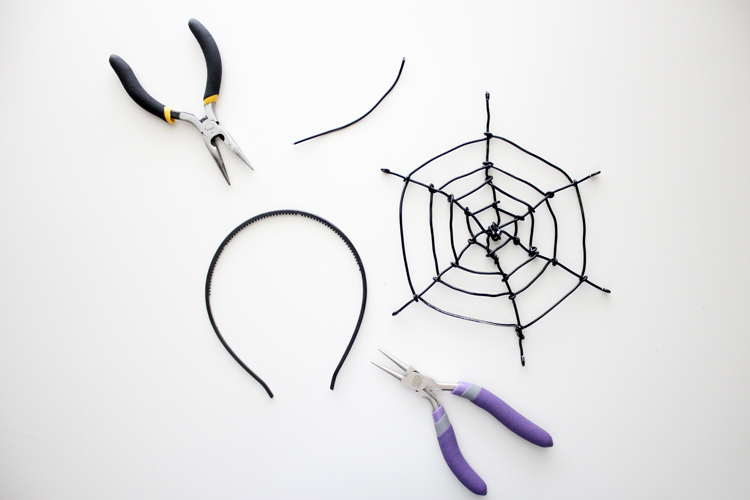
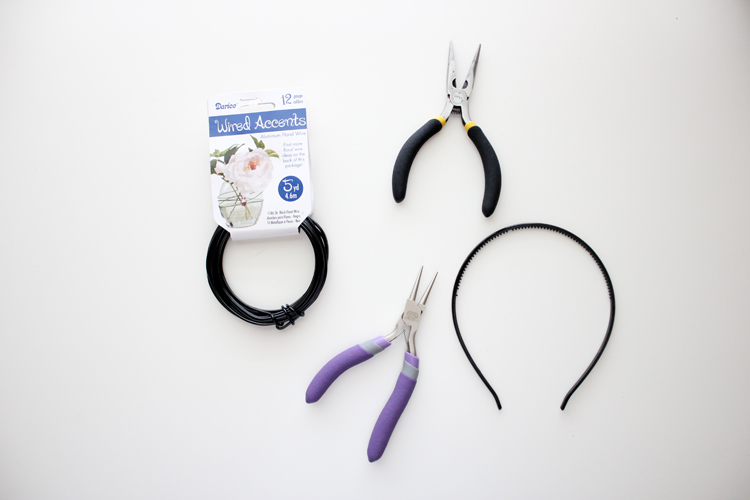 MATERIALS
* I used Darice, 12 gauge, black aluminum floral wire
INSTRUCTIONS
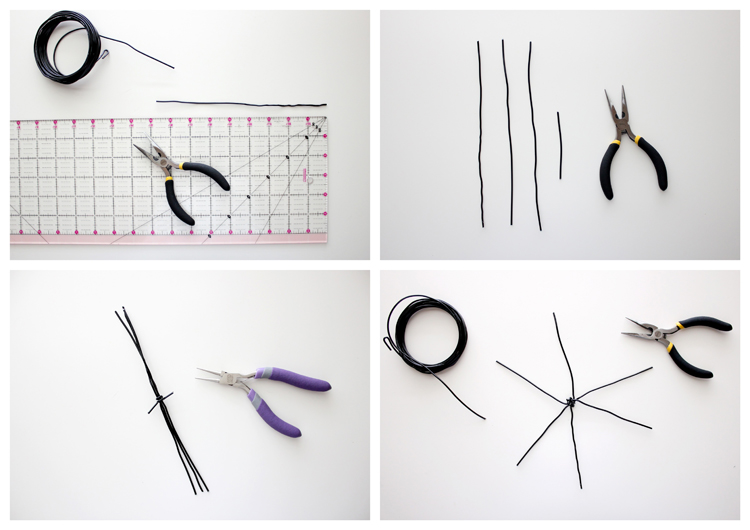 1. Cut three, 9″ long pieces of wire and one, 2-3″ long piece of wire.
2. Bundle three 9″ pieces of wire together with the shorter piece of wire. Use the pliers to twist and pinch everything tightly and neatly in the middle of the bundle.
3. Spread the ends of the longer wires out into spokes.
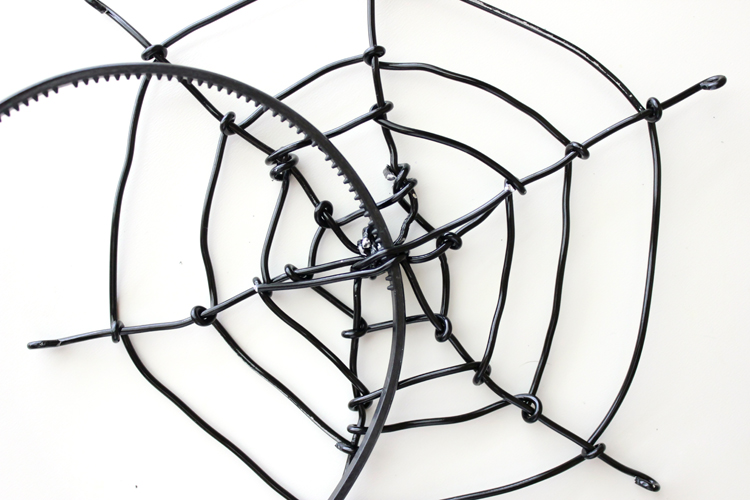
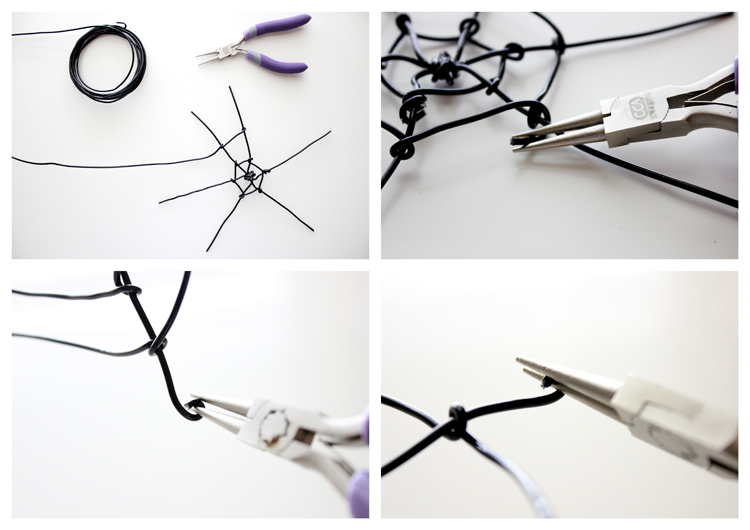 4. Starting about 1 inch from the center, take your remaining wire and wrap it around the spokes in a spiderweb like fashion. Use your round nose pliers to twist, wrap and pinch everything in place. When you make it around the spokes once, cut the wire and wrap the cut end around the spoke you started with.
5. Repeat this process again, creating larger and larger circular rows of wire until your last round is about 1 inch away from the end of the spokes.
NOTE: The wire will feel unstable at first. After adding more rows of wrapped wire, the web will stabilize and strengthen. It may also be helpful to clamp down any loose wire loops with your needle nose pliers, while working.
6. Curl the ends of the spokes under to prevent them from poking or snagging anything.
 7. Cut another piece of wire about 2″ long and use it to wrap and secure the spiderweb to the headband. Or, secure it to a clip if you prefer.
8. Touch up any scratched off paint with some craft paint or a black permanent marker.
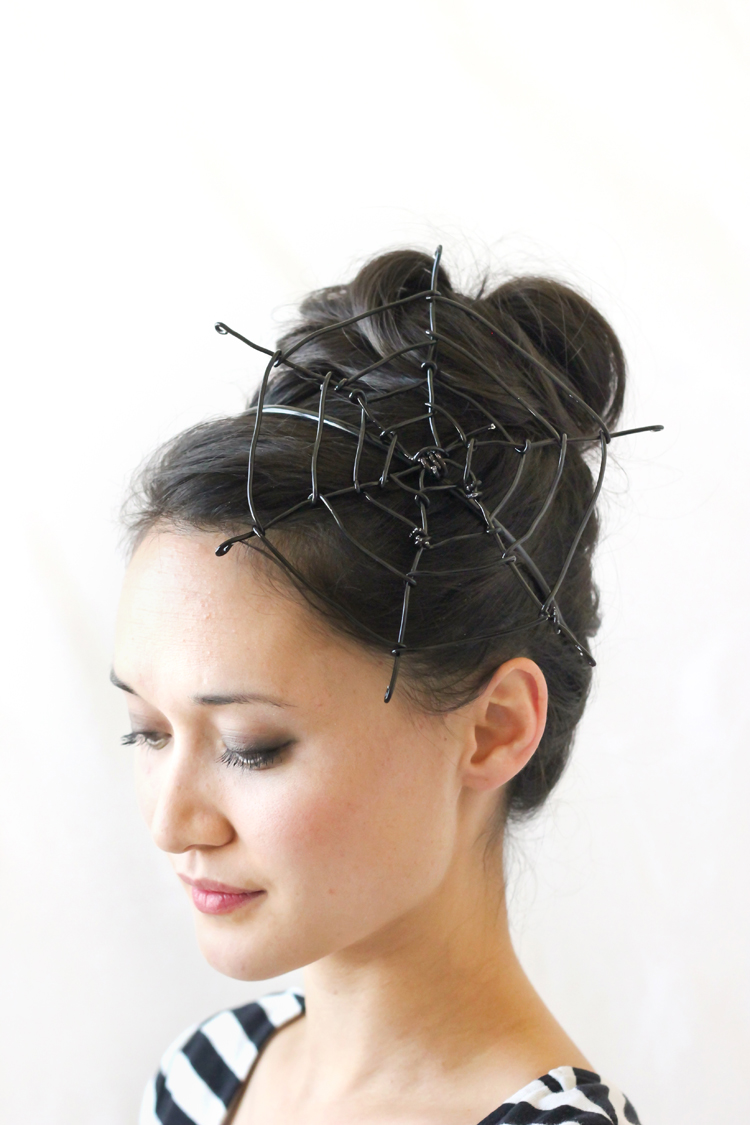 All done!
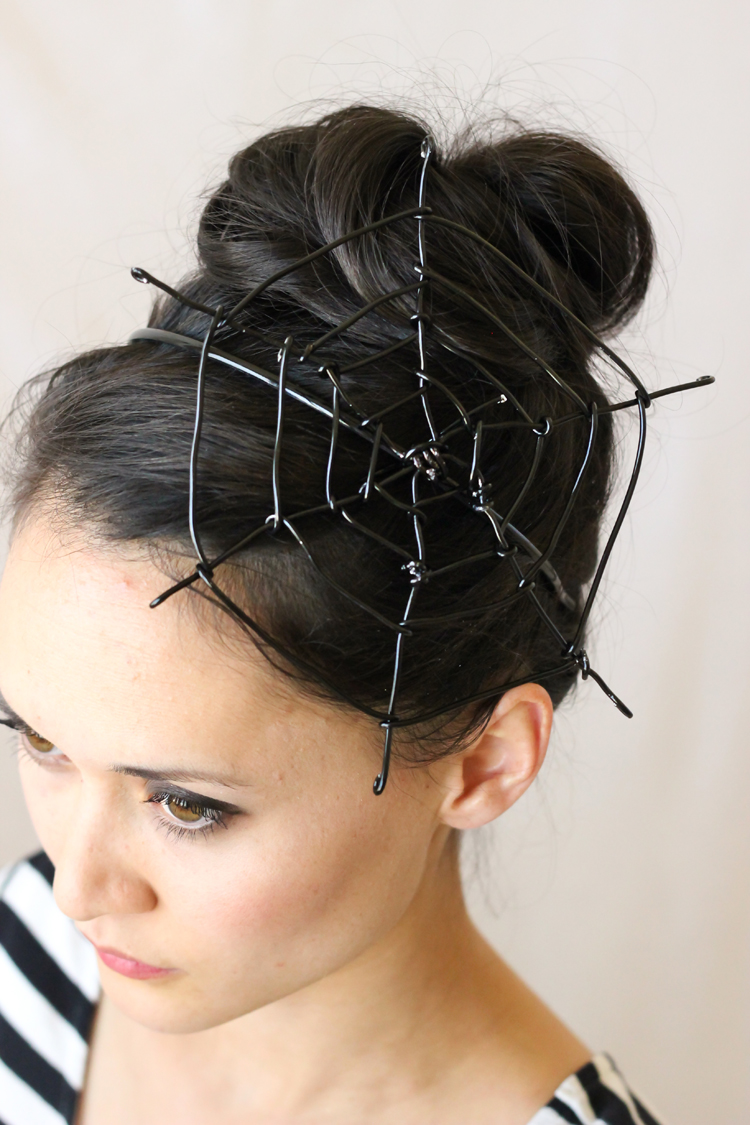 Add it to your everyday attire for a little Halloween touch, or use it as part of a full fledged costume.
Either way, it’s sure to add that extra special touch to your Halloween fashion.
This is so creative! I love the thought of being able to wear it to a workplace where you can’t really otherwise dress up. (I’m a nurse so something like this would be perfect.)
Thanks Mollie!
So fun!!
A great tutorial! Thanks Delia
I love the way this turned out! It was such a fun and easy way to dress up for Halloween at work! I even put on some spider earrings with it! Here’s a photo:
https://www.instagram.com/p/9eOuJvTV5Q/?taken-by=juniorlover88
Thanks again!
Oh I love it! You’re adorable! Thank you so much for sharing a link!