

As newbies to the Pacific Northwest, we quickly learned that rain boots are a necessity.
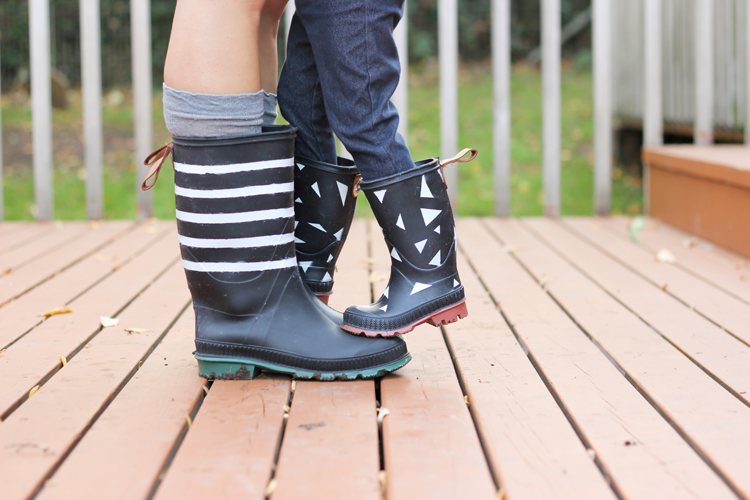
As a chronic DIY-er, I decided to pick up some plain black “chore” rain boots from Walmart (Target sells them too) and fancy them up a bit.
I read several tutorials online about spray painting rain boots and noticed that a lot of them complained that the spray paint tends to crack.
I had been experimenting with rubberized spray paint for another project (coming soon if it works out ;)) and wondered if it could work with the boots. It is normally used with cars, but can be used for crafting as well.
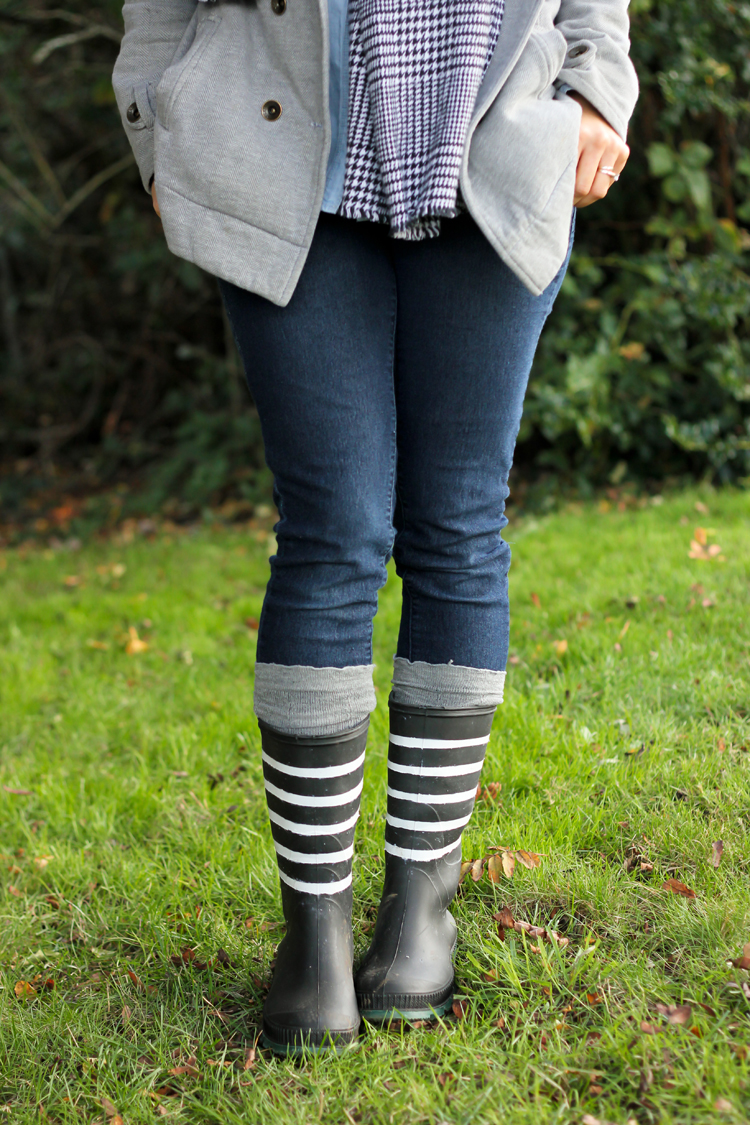
It turned out pretty well! It’s flexible and moves and bends with the boot, so there is no cracking.

It is not fool proof though, and can be peeled off, if too much friction is applied. Still… I think it’s a good alternative to traditional spray paint.
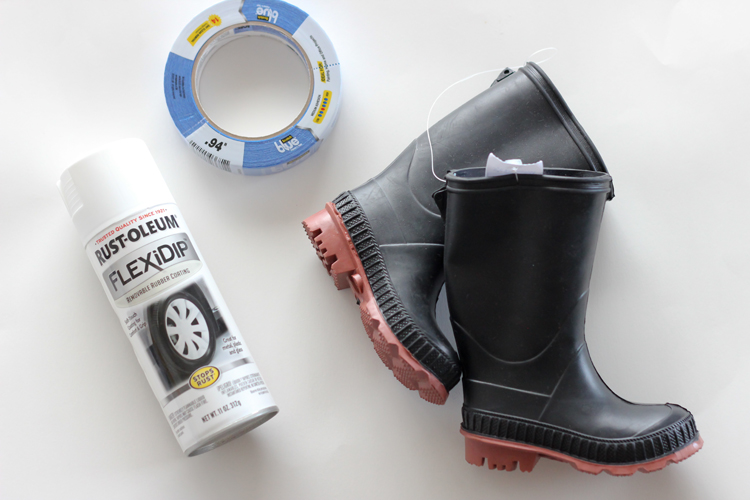
MATERIALS
Rubber boots Rubberized Spray Paint (I used Rustoleum Flexi-dip, but Plasti-dip also works) Painter’s tape Craft scissors Optional if adding leather straps: scraps of leather, exacto knife, extra large eyelet grommets, and grommet toolsNOTES:
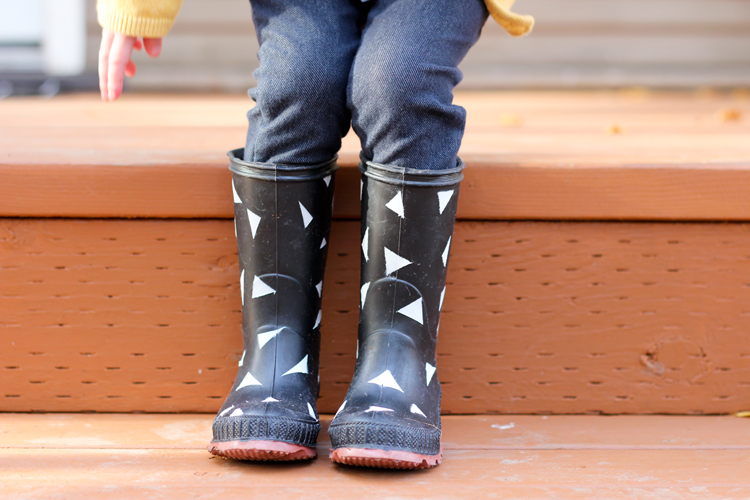
– This project works best, if the rubber boot has a gummy or sticky feel to it. My boots (also from Wal-Mart) had more of a smooth, matte finish and was much more difficult to work with than my daugther’s kid chore boots. I had to use duct tape instead of painter’s tape to get it to stick to the rubber. The duct tape left a sticky film on the boots, which I then had to remove with vegetable oil, and then soap and water. You can see in the picture, that there is still some tape residue that I sort of just gave up trying to get off. 😉 The tape residue removal process is a bit tedious.
TUTORIAL:
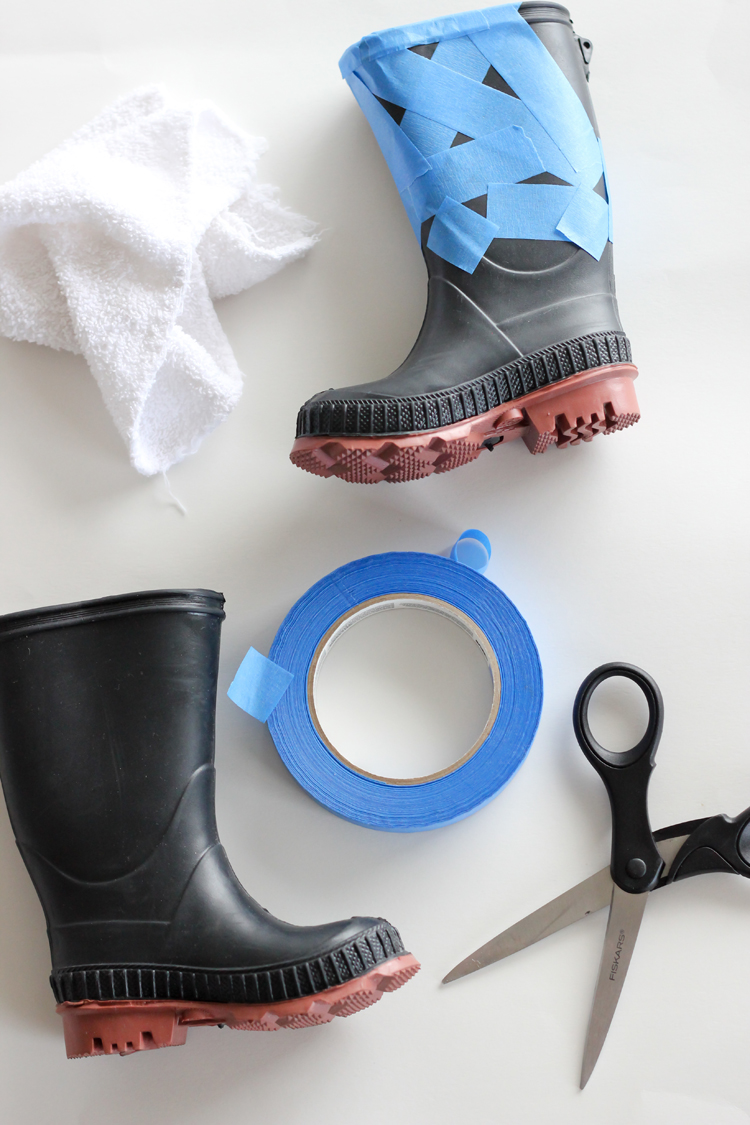
STEP ONE: Clean the boots and make sure they are completely dry before you begin.
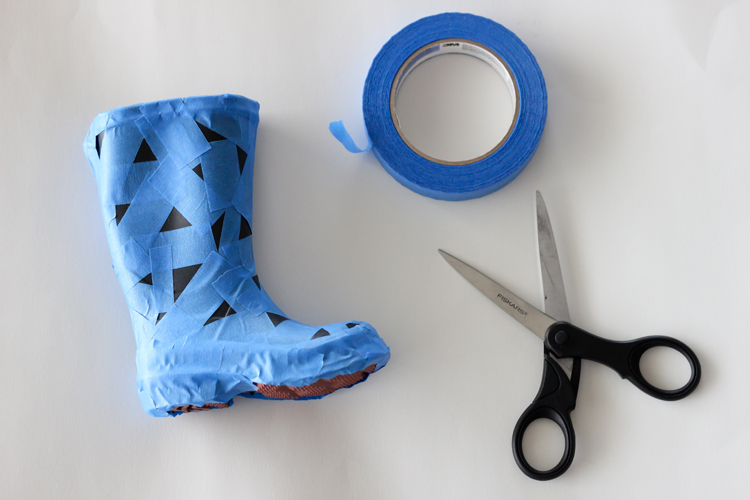
STEP TWO: Tape off the desired design on the boots. Be sure to tape off the inside of the top of the boot and stuff newspaper inside as well, so the paint doesn’t spread to the inside. You may also want to tape off the base of the sole.
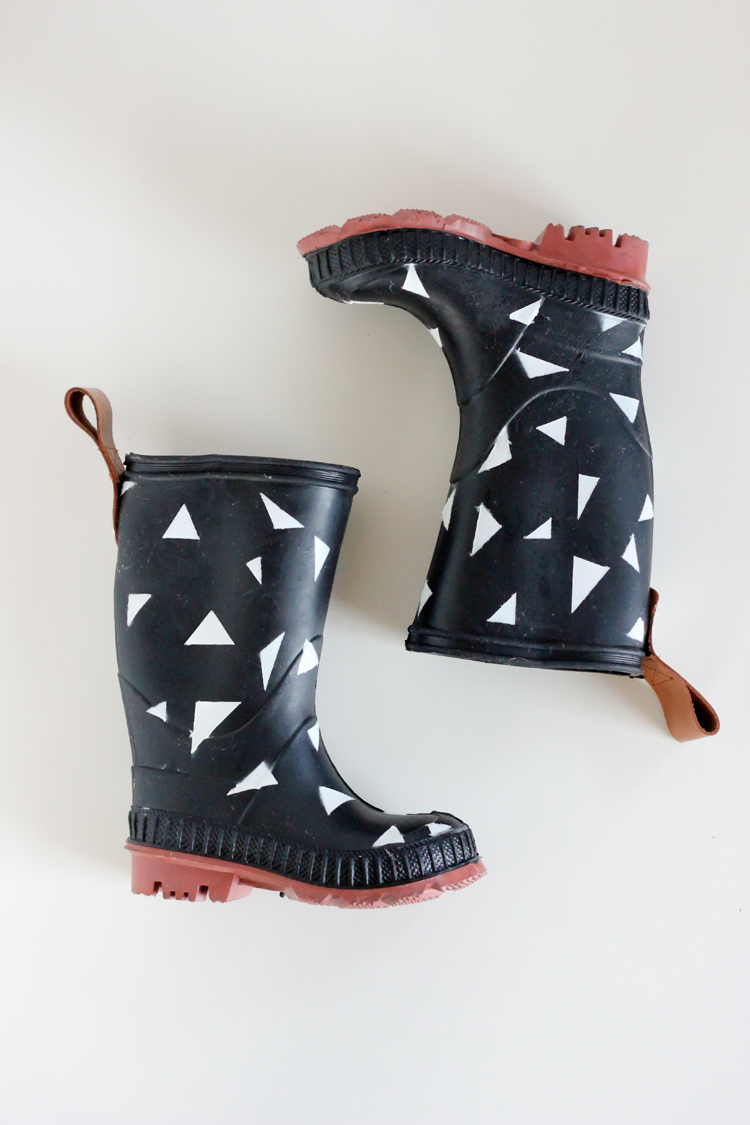
If you are painting on a design, like my boots, be sure to cut the tape with craft scissors, so you can maintain clean edges throughout your design. This will gum up your scissors, but it’s worth it.
Double check that all edges of the tape are pressed down evenly, to prevent paint from bleeding through.
STEP THREE: Take your boots to a well ventilated area that has been prepped for painting. Spray your boots, with a lot of very light, thin coats of paint, according to the instructions on the can.
Contrary to the instructions, I do not however, recommend removing the tape while it is still wet. You are technically supposed to do that so that the rubber paint won’t get pulled off after drying (it can do that if you peel too hastily). If you feel nimble enough, go ahead and remove the tape while it’s wet. I however wasn’t agile enough to pull the tape off without damaging the design. I waited until it was completely dry (at least 24 hours later) and then carefully removed the tape, taking great care to not peel the rubber paint off with it.
STEP FOUR: Clean the boot from tape residue. A little bit of vegetable oil is helpful in removing any stubborn bits of tape goo.
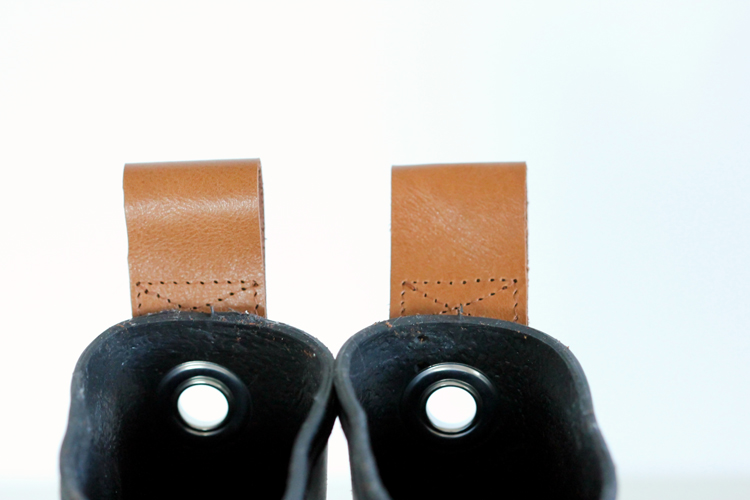
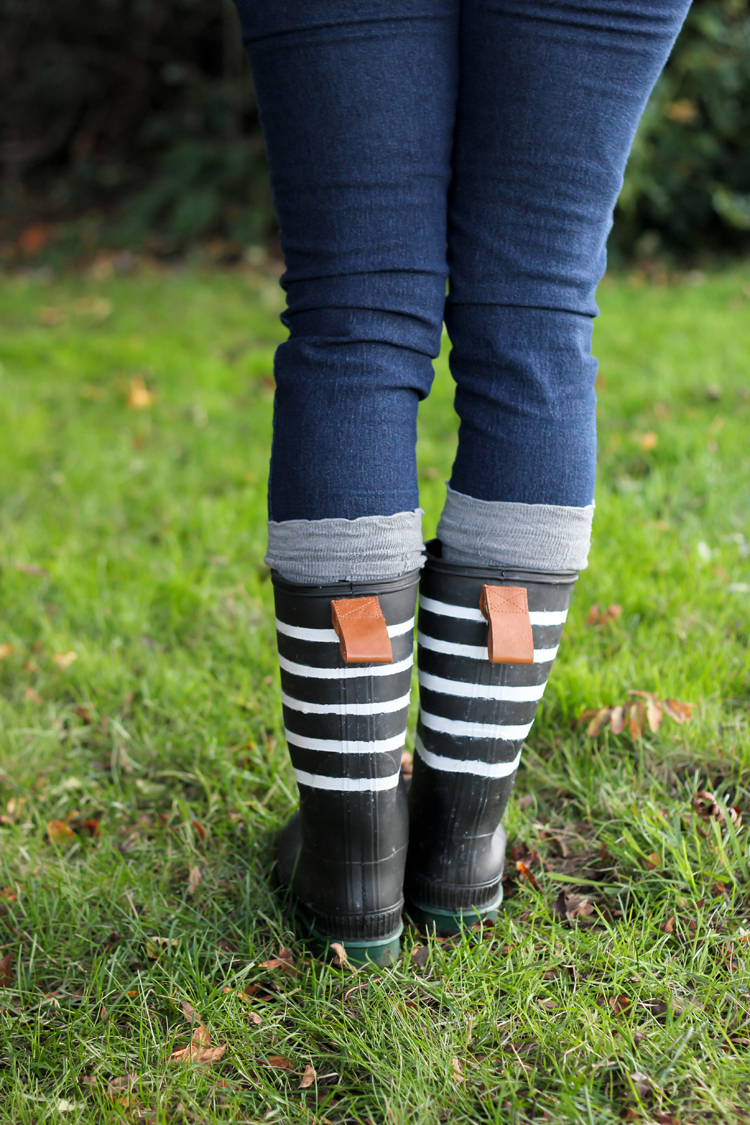
STEP FIVE: (OPTIONAL) Add a leather tab strap to the back of the boot.
a. Cut leather strips about 1 1/4 inch wide and 6-7 inches or so long. It’s up to you how large you want your tab.
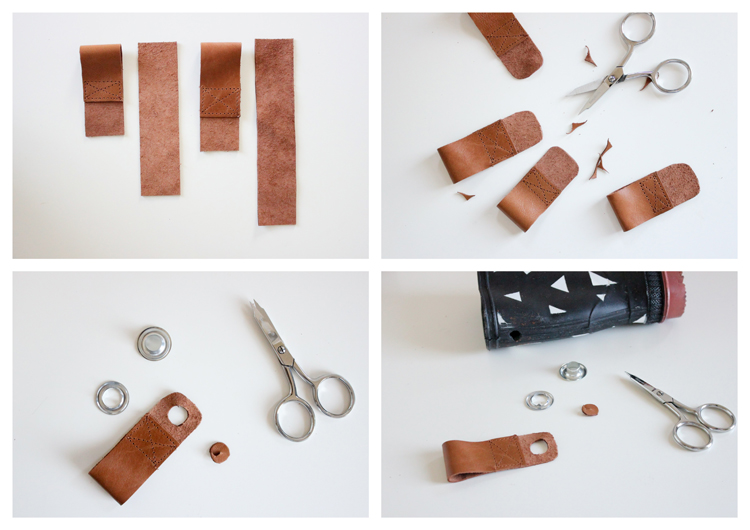
b. Fold the leather strip in half, leaving one side about 1 inch longer than the other.
c. Sew the strap folded in place, as pictured. A leather needle and a lengthened stitch is very helpful at this step.
Alternatively, you can use leather adhesive, if you choose not to sew it.
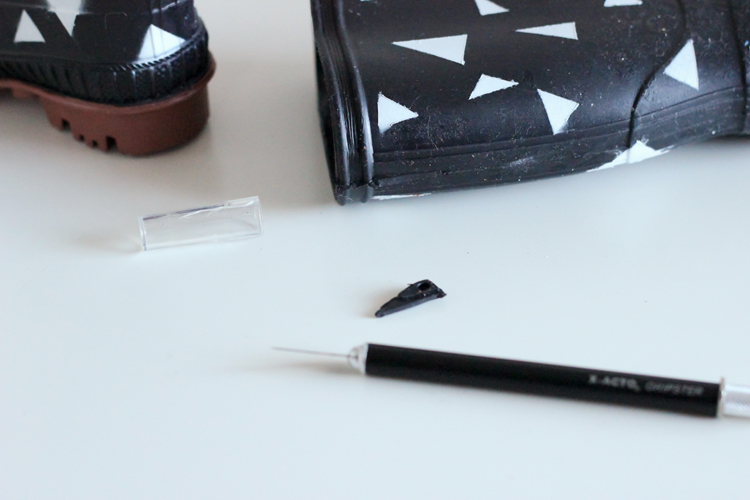
d. Using an exacto knife, trim any rubber details off the back of the boot, if there is some.
e. Cut a hole into the leather strap and the back of the boot, where you want the eyelet grommet and the strap to go.
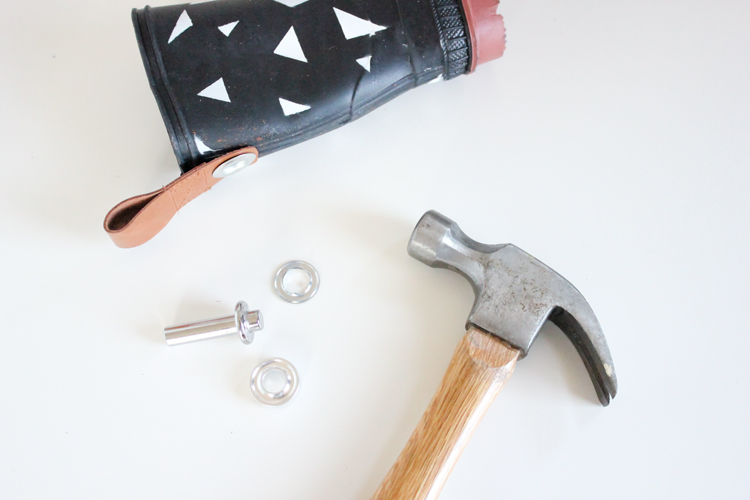
f. Install the leather strap and grommet, using the tools that come with the eyelets/grommets.
*If you can find a grommet with a longer shank, you can fold the leather strap over to the inside of the boot instead of sewing the tab in place first. My grommet wasn’t long enough and couldn’t handle two layers of leather plus the thickness of the boot.
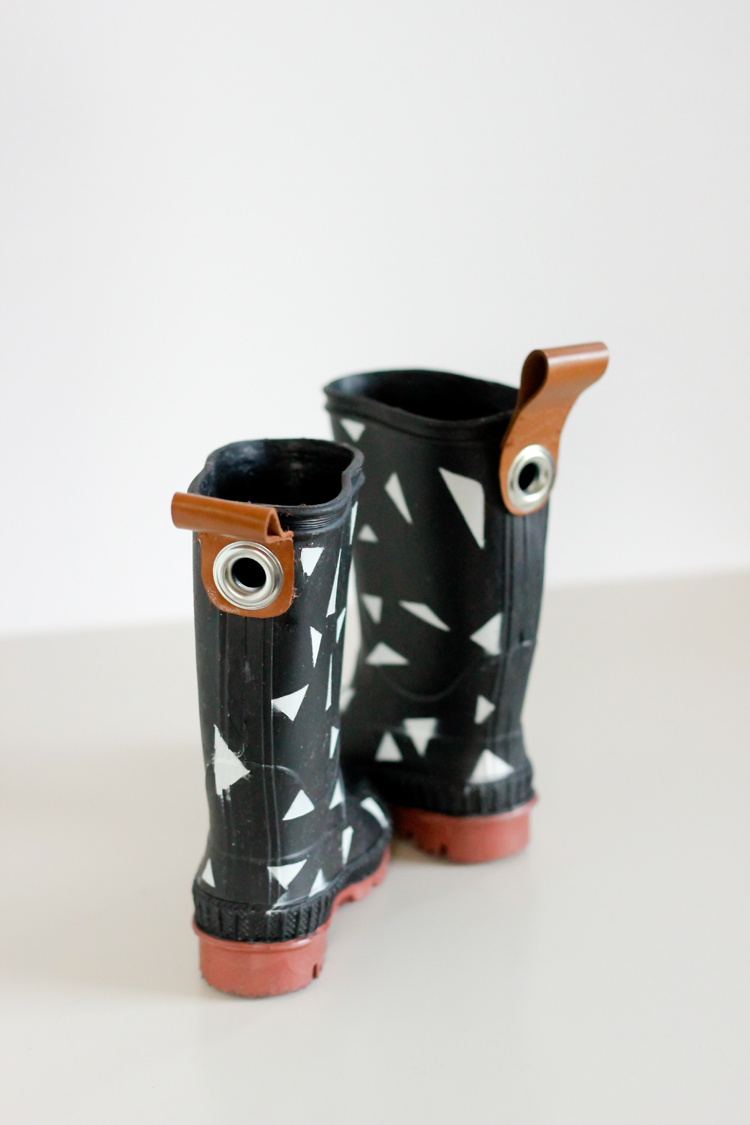
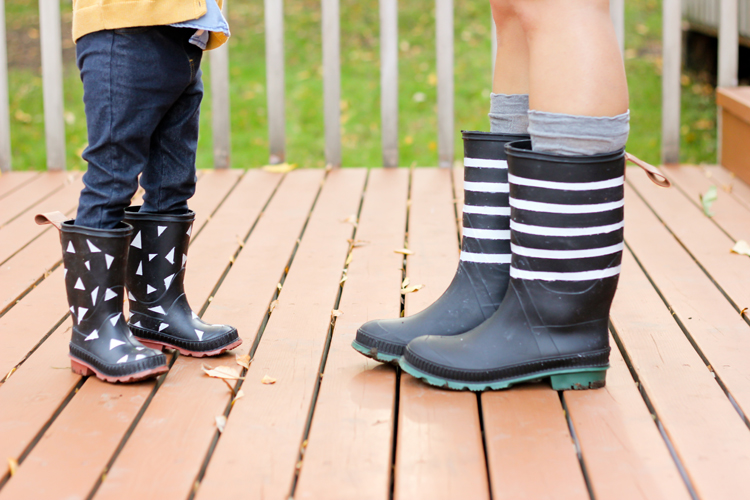
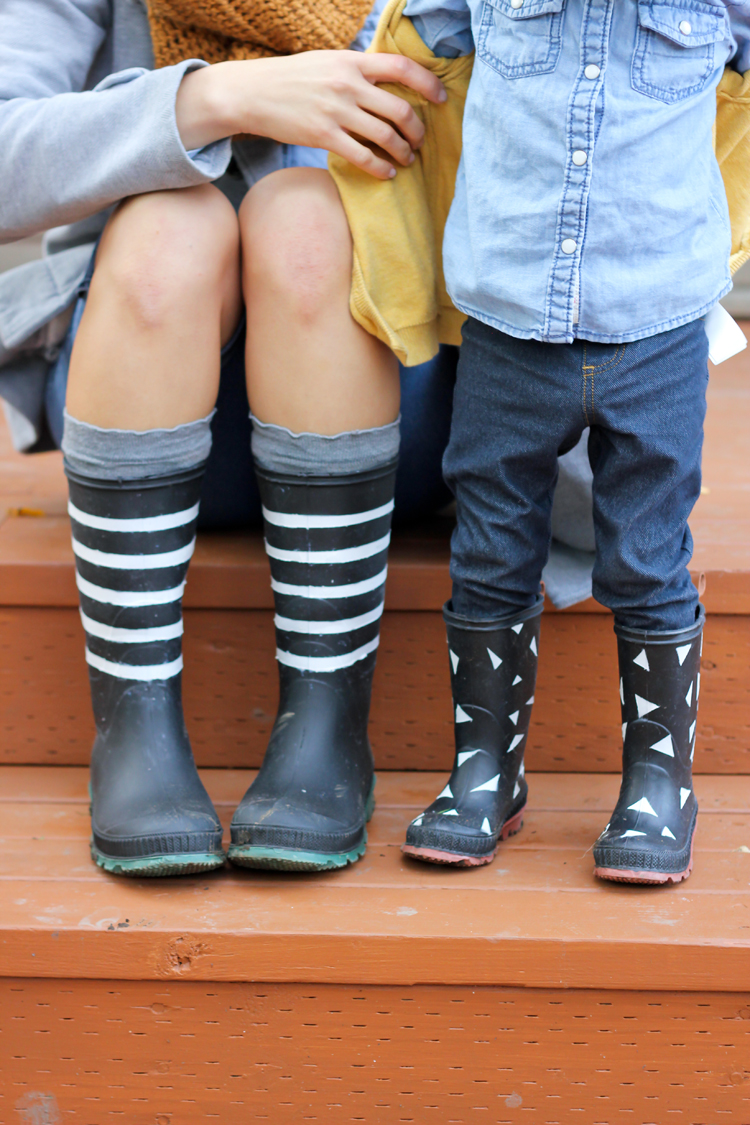
The straps stand up pretty well on Natalie’s boots. On mine, they flop down, but I am still glad I have them, because they add a nice bit of interest and color to balance the design.
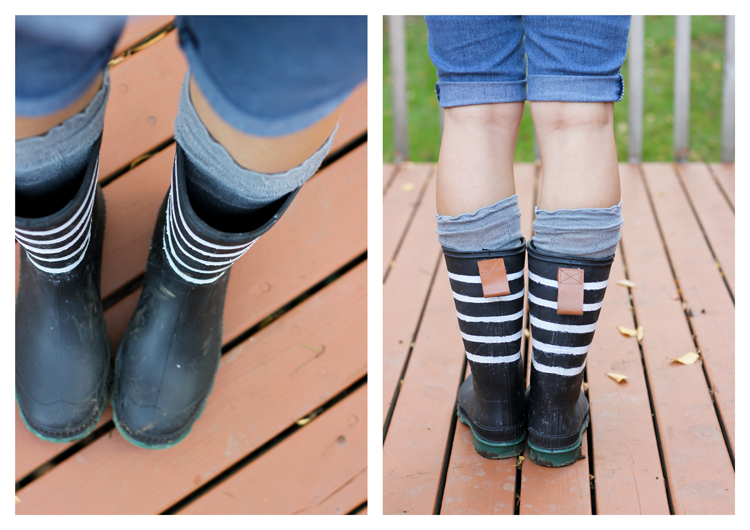
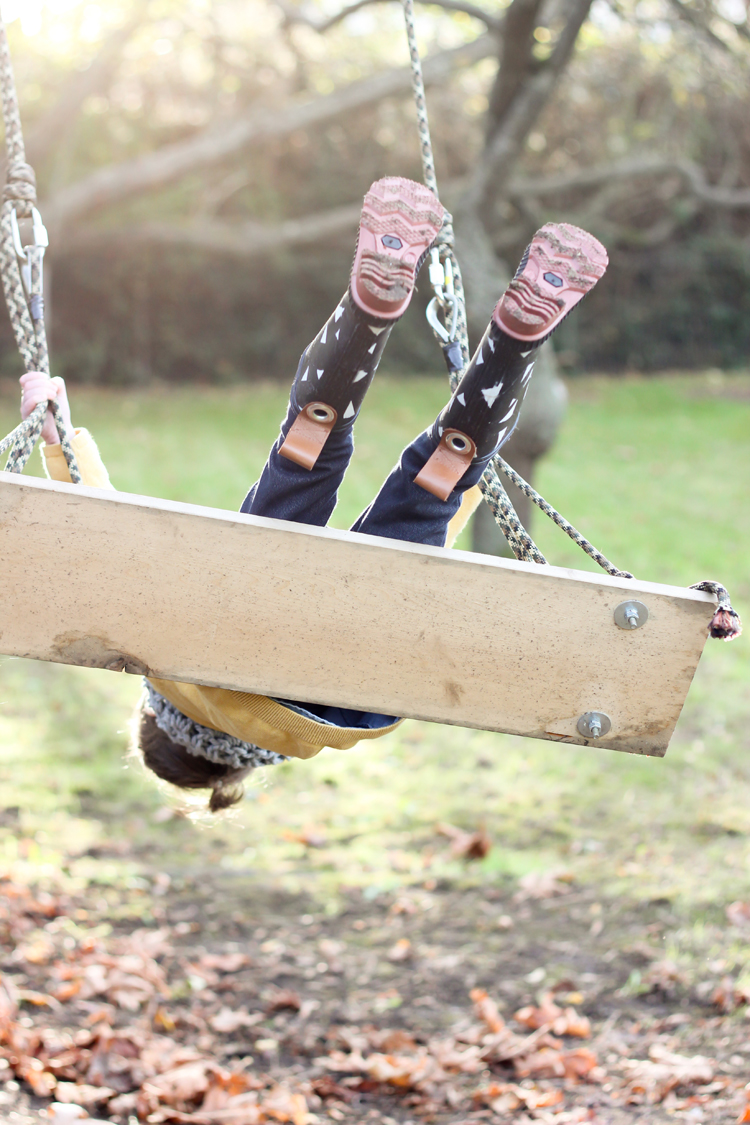
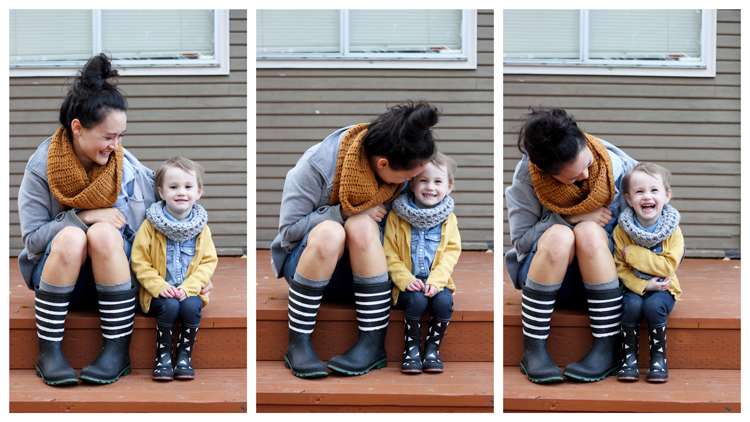
Natalie’s a fan. :)…and I am too.

Of the boots and the girl. 🙂
Sources: rubber chore boots – Walmart // Flexi-dip Rusteoluem spray paint – Home Depot // Extra large eyelet grommets – Jo-Ann (I got the eyelets that came with the tool and are the largest eyelets Jo-Ann carries)// scarves – Natalie’s, mine and mine
I saw some basic rain boots at the store today and wondered if there was any way to paint them. Now I know, thanks for sharing 😀
You are most welcome! 🙂
So that’s how you did it. Way cool! And cute- the boots and the two of you.
Thanks Courtney!
In STEP THREE, you talk about “removing the paint while it is still wet”…why are we removing the paint? Im confused!
Thanks for catching that Jen! Sorry…typo. I meant to say to remove the tape. Not the paint. I hope that helps. I just fixed the wording.
Delia I seriously stood there the other day in the paint section of home depot STARING at that rubber spray paint thinking “Oh man there has GOT to be an epic craft for this!” ha! Can’t wait to see what you have in the works and love Nat’s tiny triangles!
haha…I know right? So many possibilities! I only wish they made more colors.
What a superb craft! Its so cute!! I have some ugly green boots that could really need some upgrading.
I would love if you came and linked up at the Bewitchin’ Projects Block Party: http://creativepinkbutterfly.com/bewitchin-projects-block-party-13/
Thanks Trine!
I seriously love these! We get a decent amount of rain here (well, from July- December) and rain boots actually probably make sense for us. I LOVE this idea- well done, friend!
Thanks girl! 🙂
Do you think this paint will work on high gloss orange construction cones? I painted with a spray paint for plastics ( and other things) but 12 hours later the paint is still tacky. Maybe o just need to wait longer?
That’s a great question. I’m not sure. It’s worth a shot. Just be sure to do many, many light layers. At least on the rubber boots, if I applied it even a little too thickly, it would run. As for the other multi-surface spray paint, if it’s still tacky after 12 hours, that would concern me too. This rubberized spray may do better, but I can’t say for sure. How durable does it need to be? I wonder how craft paint would do? Or chalk paint, which is known for drying quickly…You would have to brush them on, or use a pressurized sprayer if your really wanted it sprayed. Good luck!
Hi there. I was hoping you could shed some info on this.
I painted some boots grey with plastidip for some cosplay boots and after 2 days the paint is still tacky to the point where I can still leave finger prints on it. When you sprayed your boots was it like that too? How easy was it to rub off the paint? It feels tacky to the point where if i was to handle them for trying on the paint would smear off easily.
Hi Sil. I’m so sorry to hear you’re having trouble with the paint. I didn’t have that issue, but I also only painted on some small details and not the entire boot. I don’t know if that would make a difference. There are a lot of other factors…the type of rubber boot, the brand of paint, and whether you sprayed very thin layers or thick layers. Did you use Rustoleum Flexi-dip or another brand? I found that a more matte rubber did better than shinier rubber. Can you use a paint thinner to remove the paint you have on there now and start over. Using a coat of primer before using the Flexi-dip might help too? You could test it on a small, inconspicuous spot first. I hope that helps! Good luck!
I cannot get the tape (regular painters tape or Froggy tape to stick). Any suggestions?
I can’t get the tape to stick so that I can mask our my design. Any suggestions? I’ve tried regular painters tape and Froggy tape. Thanks.
Hi Pat!
Some boots have an almost oily film to them and make it hard for the tape to stick. I ran into that problem with one pair of my boots. It’s been some time so I don’t remember exactly, but I tried electrical tape, washi tape, masking tape, and duct tape. I think either the electrical tape or the duct tape worked best. Maybe test it first to make sure it doesn’t pull away the rubber or anything. I hope that helps!
Delia